Tablet Chuwe 10.1 Touch Screen Replacement
Duration: 45 minutes
Steps: 10 Steps
Touch screens can be super fragile, and it’s pretty easy to end up with a broken one. In this guide, we’ll walk you through the process of dismounting your device to get to the Flex cable, where you’ll find the reference number you need to order a brand new touch screen and replace the broken one.
Step 1


– Grab a plastic guitar pick or, if you don’t have one handy, a plastic card (like a credit card) will work just as well to save the day.
Step 2


– Gently slide the pick in, pressing and gliding it smoothly around the edge of the tablet’s body.
Step 3

– Gently pry the back cover loose with your fingers, then flip the tablet over and lay it face down on a clean, flat surface.
Step 4

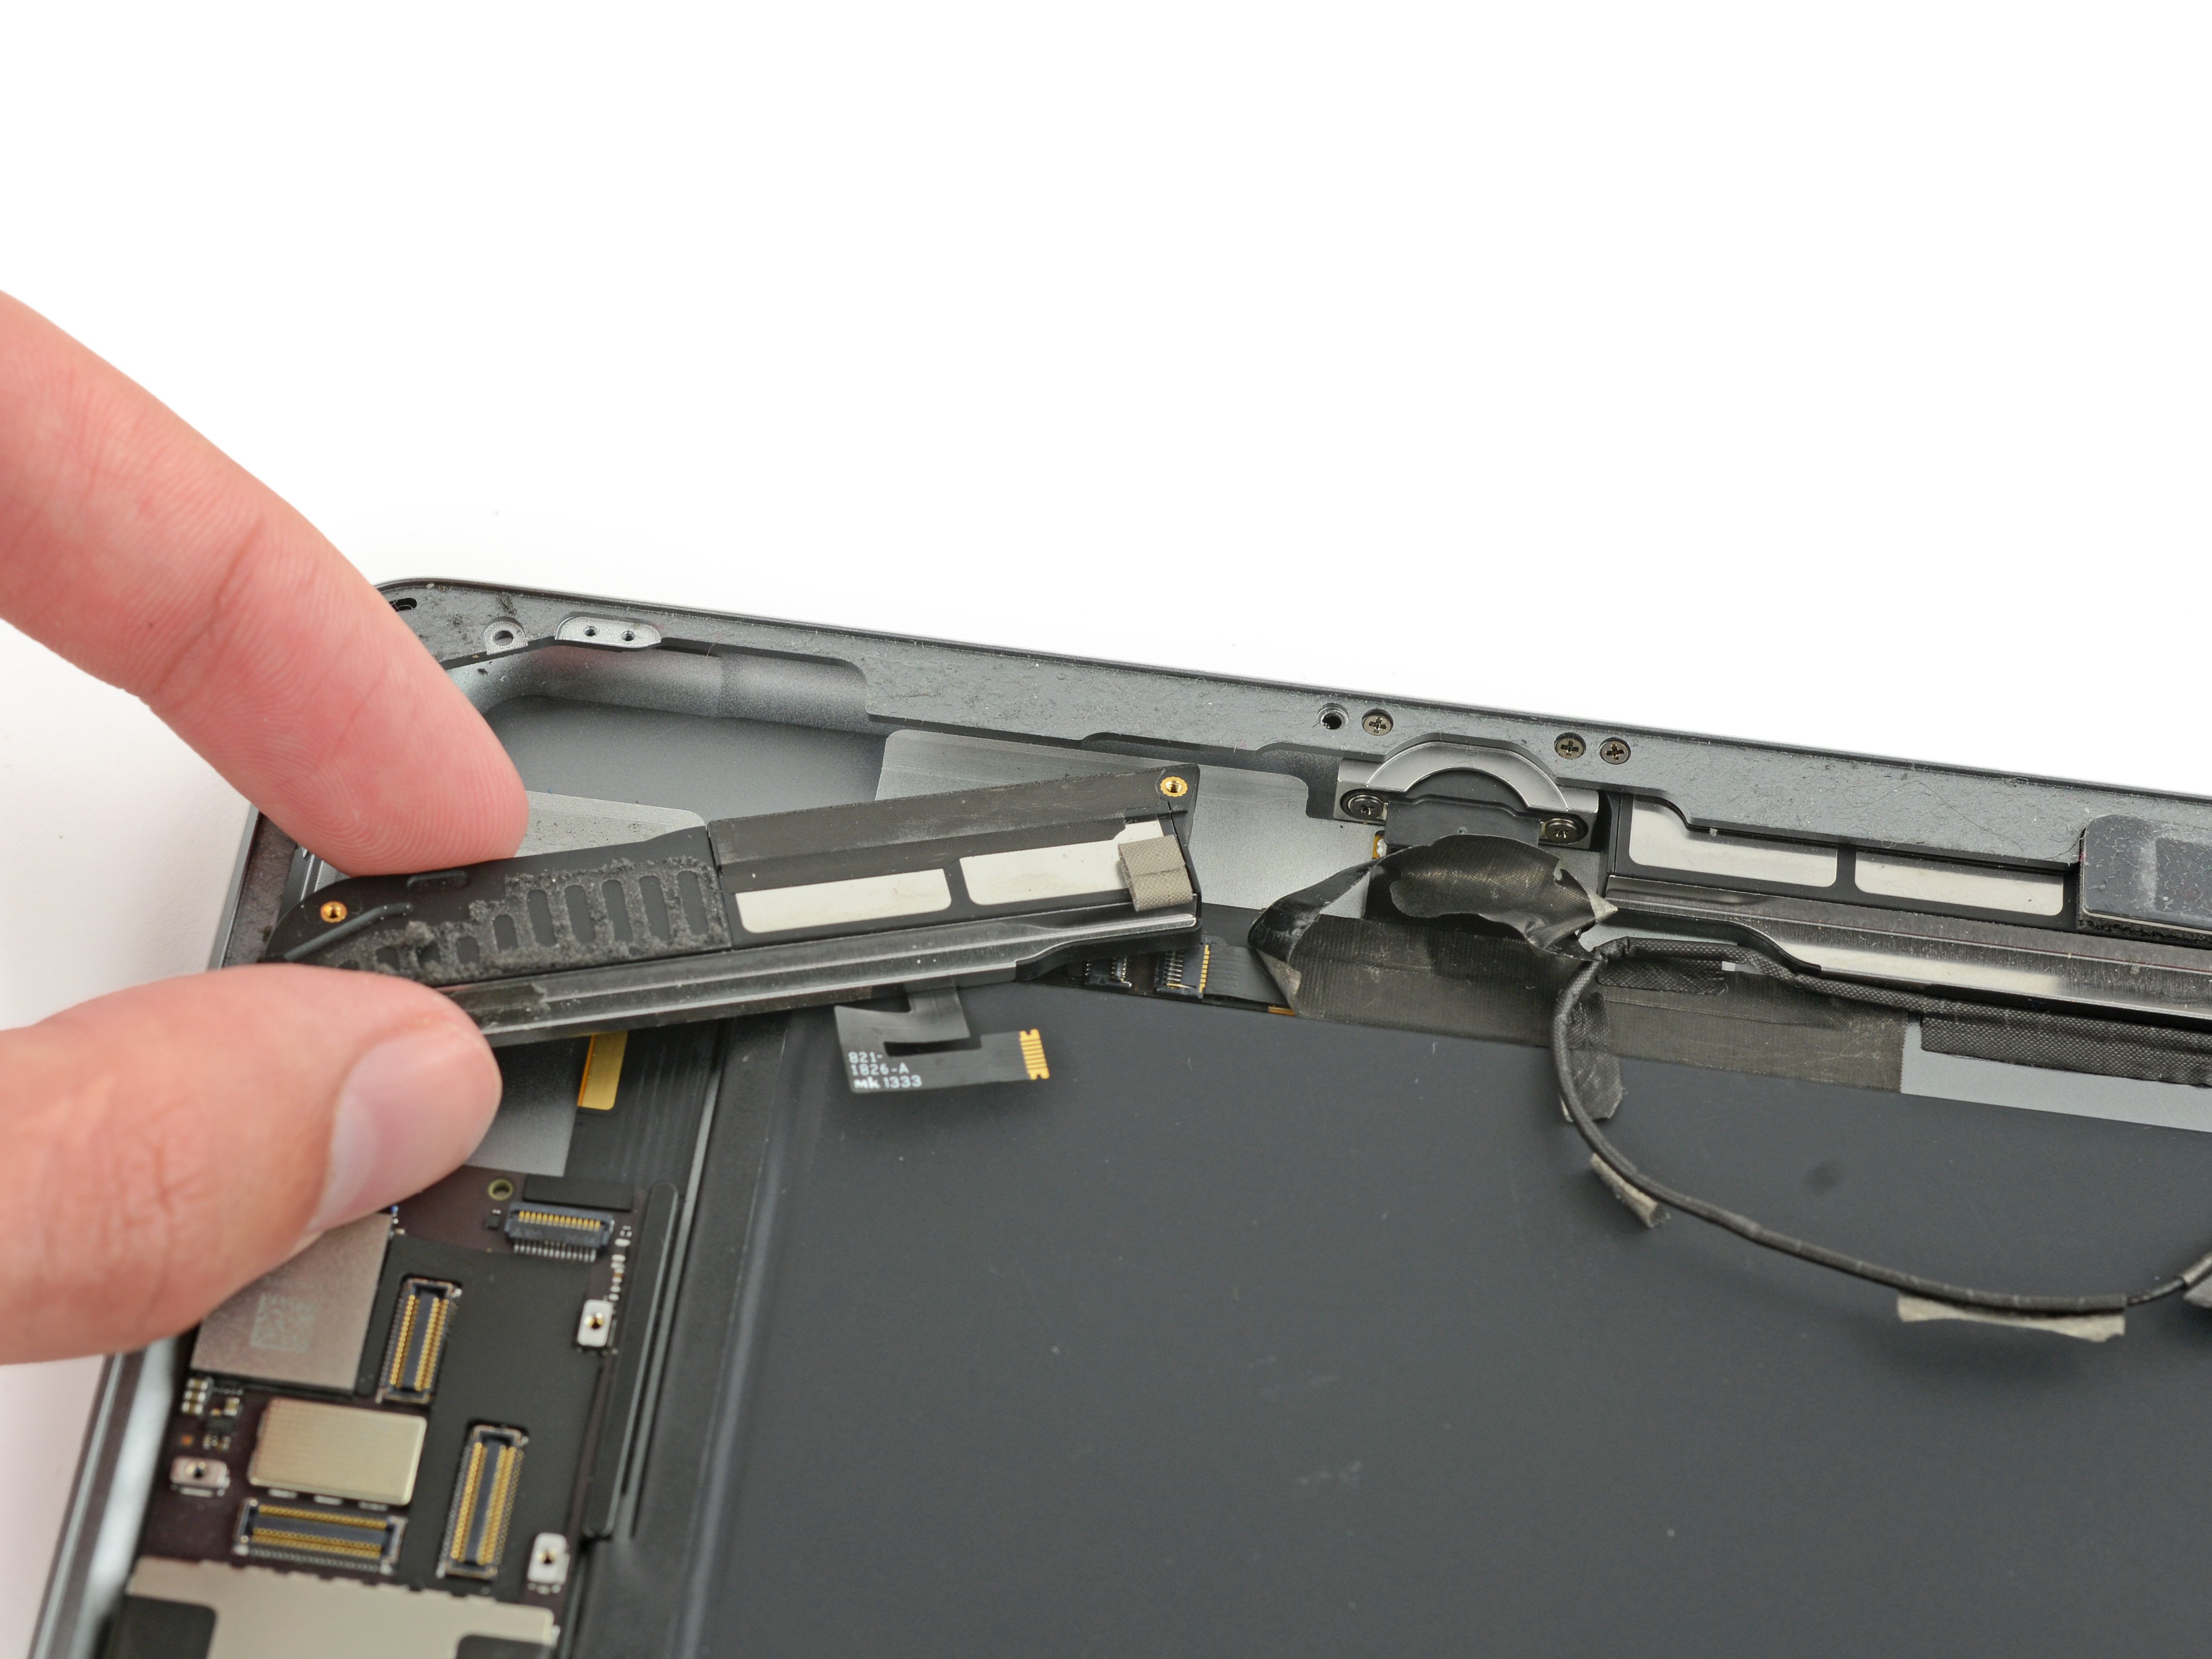
– The speaker is secured next to the touch chassis. Let’s unscrew that little guy and put the screw somewhere easy to find. The speaker will stay in place with some trusty adhesive tape right next to the battery.
Step 5

– Using either the pua or your fingers, gently pry the data FLEX connector up and away to disconnect it with a little upward nudge.
Step 6

– Heads up! The FLEX cable connecting the front and rear camera is going to be a little loose. Make sure to set it aside in a clean spot so it’s ready for reassembly later.
Step 7

– We’ve got a third FLEX cable on the motherboard. Just like before, gently press up on the connector until it pops free. Take your time—these FLEX cables are delicate and don’t like rough moves.
Step 8

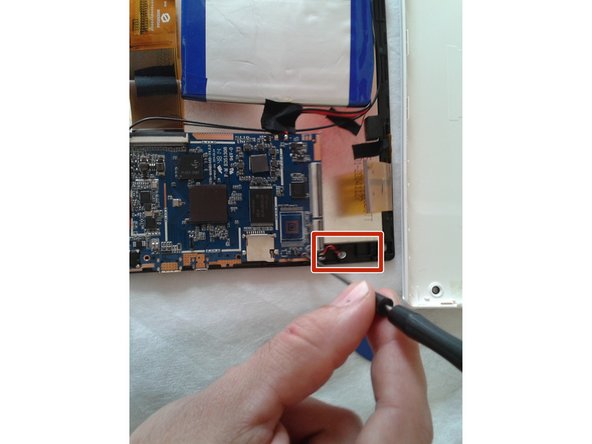
– Grab your trusty Phillips screwdriver and let’s get to work! Carefully unscrew those three little screws that keep the base plate of the touch screen chassis snug as a bug. Don’t forget about the sensor – it’s got those positive and negative cables that might need a gentle nudge from your fingers to help them along. You’re doing great!
Step 9


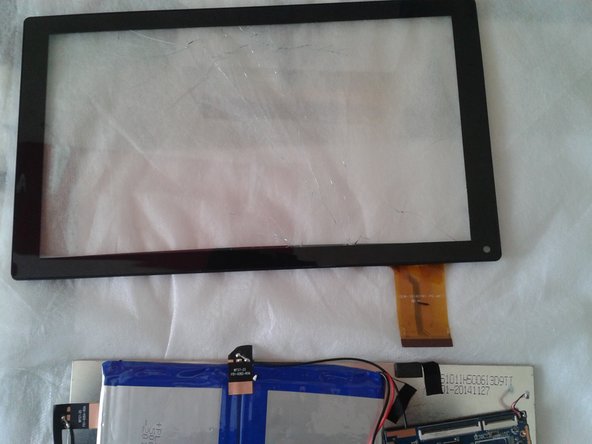
– Alright, we’ve got the touch chassis base plate loose—nice start! Now, scope out the little connectors that link the touchscreen to the LCD. With a bit of finesse and gentle pressure, wiggle them apart to separate the touchscreen from the LCD without breaking a sweat.
Step 10

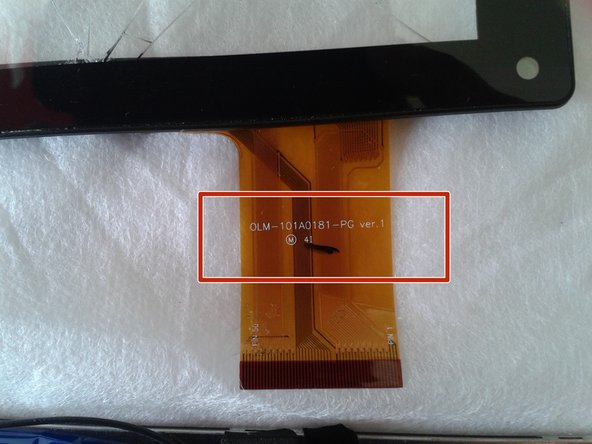
– Alright, now that we’ve got the LCD screen and the touch screen housing loosened up, it’s time to hunt for that reference number on the FLEX cable of the touch screen. This is what you’ll need to order a new one—easy peasy!
Success!