TP-Link Archer C7 Teardown
Duration: 45 minutes
Steps: 4 Steps
Meet the TP-Link Archer C7, your go-to AC1750 dual-band gigabit wireless router! As of 2021, it’s gone through five hardware makeovers, each proudly labeled on the bottom as ‘Ver X.0’.
Step 1


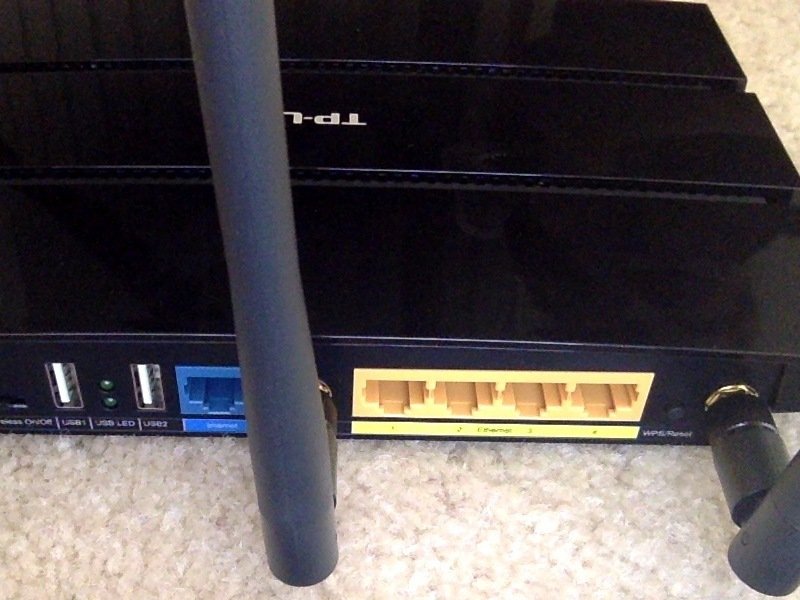
– Gently unfold each antenna at the hinge to straighten it out. It’s like giving it a little stretch to get it ready for action!
– Grip each antenna by its knurled (ribbed) base and carefully unscrew it from the router body. Once you’ve got one, move on to the next—time to remove all three antennas!
Step 2


– Unscrew those 4 screws holding the top cover of the router to the base—easy peasy! If you need help, you can always schedule a repair.
Step 3


Hook the top cover onto the slotted tabs on the base. Keep in mind, the back joint is a bit different: here, the hooks are on the base and the slotted tab is on the cover. Just a little twist to connect everything smoothly—salvation repair is here to help if you need it!
– Grab your trusty pry tool and carefully work your way around the top cover. Gently pull the edges outward from the base at each of the 9 joints. A little tug here and there, and the cover should pop right off.
– Once the cover is loose, just lift it off and you’re good to go.
Step 4

When putting the router back together, make sure the ports align perfectly with the back of the base, and that all buttons and switches move smoothly. If anything’s off, like a misaligned port or switch, the snap-fit joint at the back won’t lock into place properly. Take your time and get everything just right!
– Nice job, you’re all done with the teardown!
Success!
