
Unifi Dream Machine Teardown
Duration: 45 minutes
Steps: 9 Steps
The Ubiquiti Unifi Dream Machine (UDM) is a powerful all-in-one networking device that combines a router, switch, access point, and security gateway into a sleek, compact unit. While Ubiquiti is widely used and recommended by IT Professionals, like any electronic device, the UDM isn’t immune to failure. In this teardown, I’ll be looking inside the UDM, identifying key components, potential failure points, and walking you through step-by-step disassembly with detailed photos and insights. Warning: Disassembling your UDM will void any remaining warranty, so proceed with caution. If your device is still under warranty, check with Ubiquiti Support before attempting any repairs.

Step 2

– With your trusty PZ0 Phillips screwdriver bit, unscrew the 3 screws holding things together.
– Gently lift the WiFi antenna and take out the last screw hiding underneath.
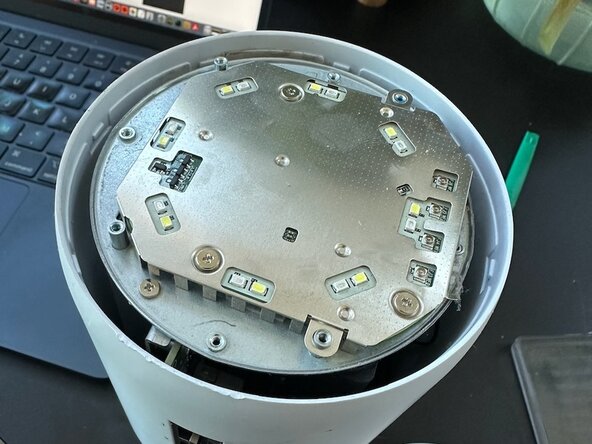
Step 3

– Take out these 4 screws—don’t worry, they won’t bite!
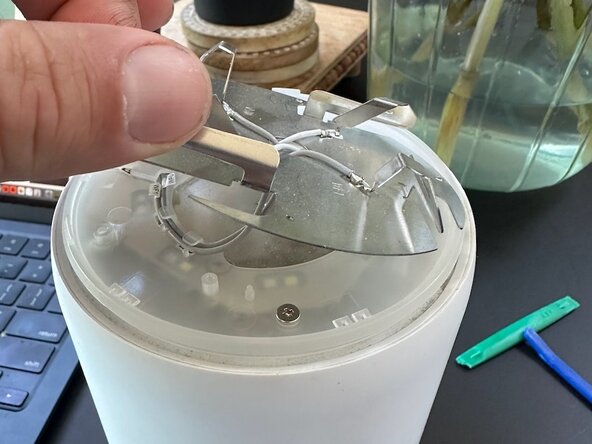
Step 4

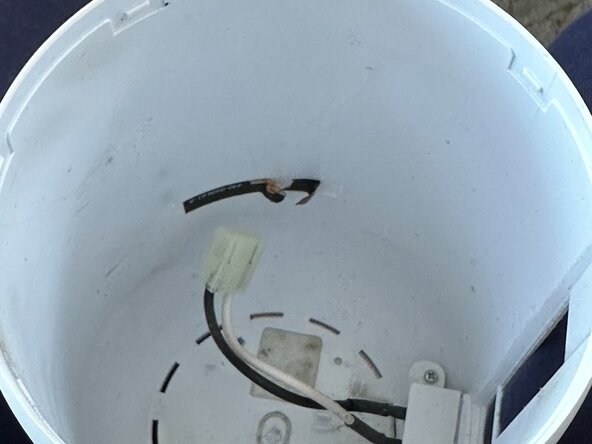
– Slide your opening tool under the edge of the ring and gently pop that white plastic ring loose.
– Lift off the ring and set it aside.
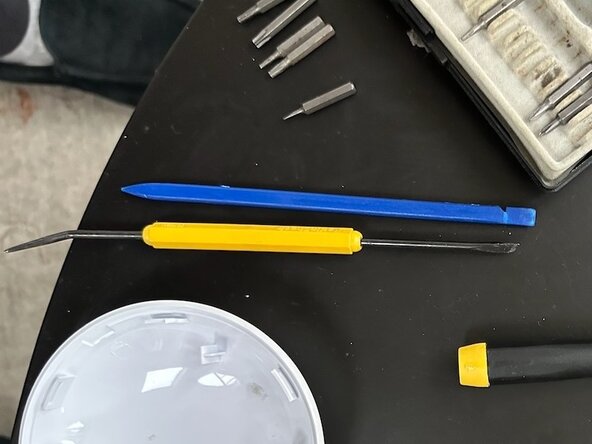
Tools Used

Step 5

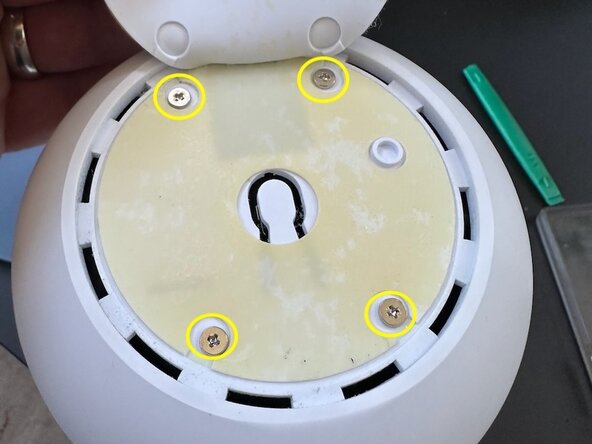
– Carefully peel away the bottom rubber pad – take your time!
– Unscrew the 4 screws hiding beneath the rubber pad with a PH1 Philips screwdriver bit. Nice and steady!
Step 6

– Alright, this part can be a bit tricky, so take it slow and steady.
– The power supply pin clip and RF grounding wire are still holding the shell in place, so we need to deal with those first.
– Grab a spudger or pick and carefully work your way under the RF grounding wire tape to peel it off. No rush!
– Once that tape is free, gently twist and pull to release the power supply pin clip. Take your time here, it’ll come apart with a little patience.
Tools Used
Step 7

– Grab your screwdriver and loosen those two screws to get started.
Step 8

– Ready to see if your PSU is feeling energetic? Go ahead and plug that power connector back in for a quick test run.
Step 9

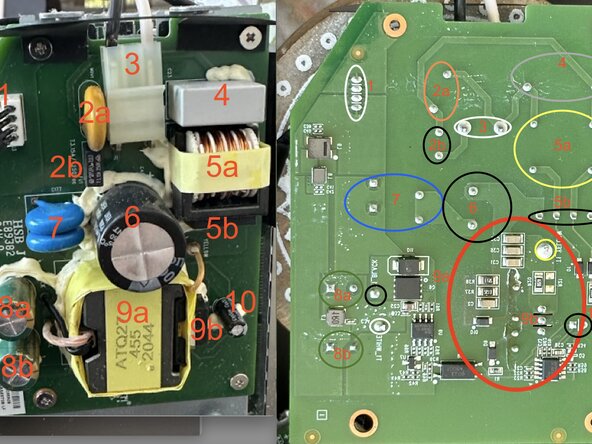
– In my case, the power was reaching the motherboard, but it wasn’t being properly converted from AC to DC, so no juice was flowing through.
– If you look closely at the red circle, you’ll notice some discoloration—probably from overheating. Given how tight the design is, it likely got a bit too hot to handle.
Success!