
Unlock NAND Data for NAND Repair – Fix iPhone X Stuck in Recovery Mode
Duration: 45 minutes
Steps: 8 Steps
Ready to tackle the challenge of replacing the NAND storage chip in your iPhone X? It’s a tricky process, and you’ll definitely need the right tools to pull it off smoothly. It's definitely not a walk in the park, and there's a risk of damaging the motherboard or the chip itself if you're not careful. But don't worry—take your time, stay focused, and if you feel unsure at any point, you can always schedule a repair.
Step 1


- Start by pressing the power button, but wait—your phone seems to be stuck in recovery mode, huh? Don't worry, it happens! Next up, let's try flashing it. Open 3uTools and get ready to flash the phone. The progress bar should pop up, but when it gets stuck at 20%, don't freak out! An error might pop up too, but we’re not out of options yet!
Step 2

- Getting stuck at various progress bars can give us a clue about the repair solution ahead. For instance, if you're hanging out at 11%, it might be a sign that the CPU is throwing a tantrum. If you hit 13% with an error, it’s likely the connecting port is acting up. And when you reach 20% with an error, it's often due to a NAND fault. So, it looks like we could be dealing with a NAND issue here!
Step 3
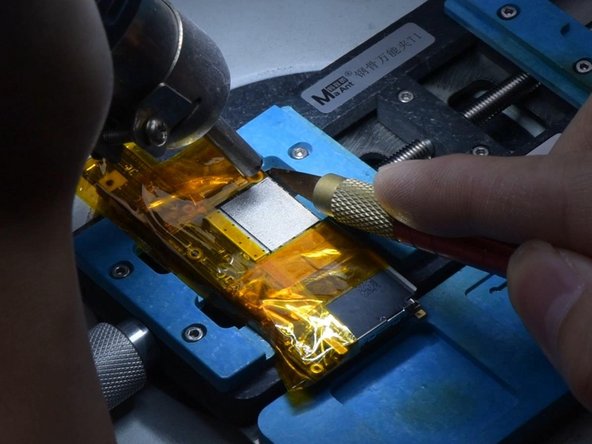
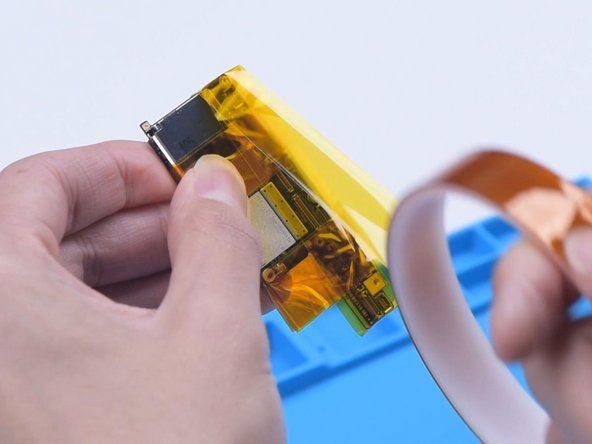
- First up, let's dive into the fun part—disassembling the phone! Carefully peel away the foam from the motherboard and give it a cozy wrap with some high-temperature tape.
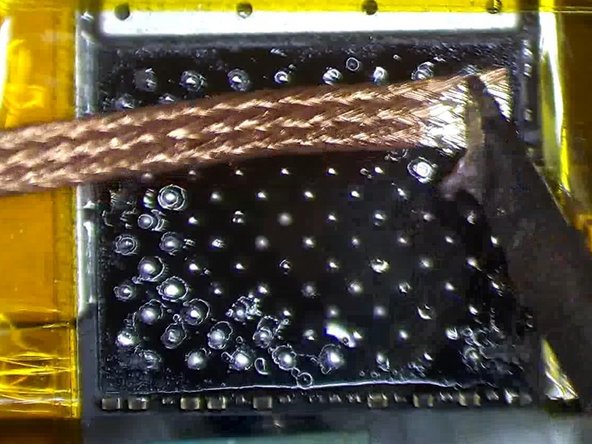
- Next, it's time to attach that motherboard to its holder like a VIP guest! Grab your Hot Air Gun and heat things up to 260 °C to melt away the adhesive hugging the NAND. Once that's good to go, crank it up to 380 °C and evenly warm that NAND. Finally, with your trusty Pry Blade, gently coax the NAND out of its home.
Step 4
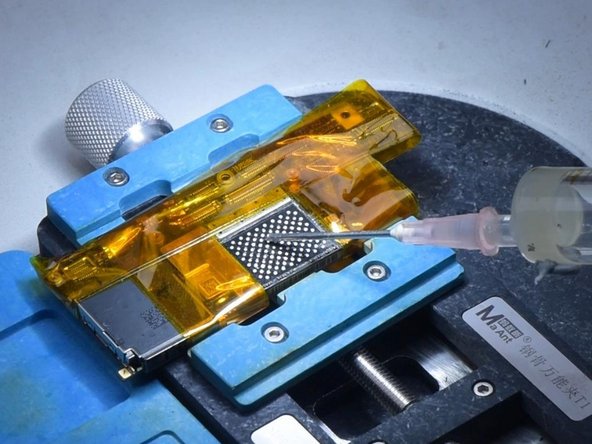
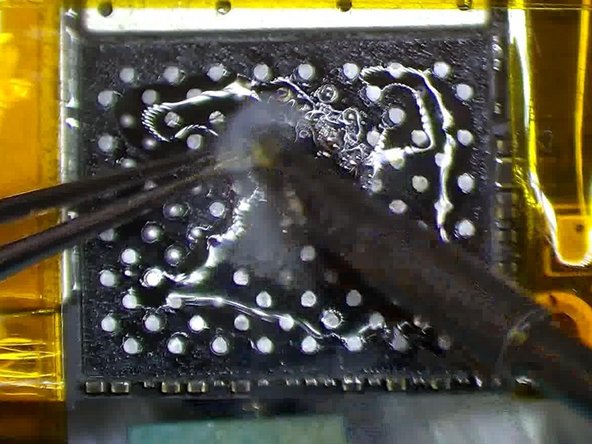
- Give those bonding pads a little spa day with some Paste Flux. Next, treat them to a cool layer of middle-temp Solder Paste and bring in your Soldering Iron set to 360 °C. The goal? Getting those pads feeling just right.
- Time to tidy up: use Solder Wick to clean the pads. Then, blast away any leftover black adhesive with your Hot Air Gun at 280 °C.
Step 5
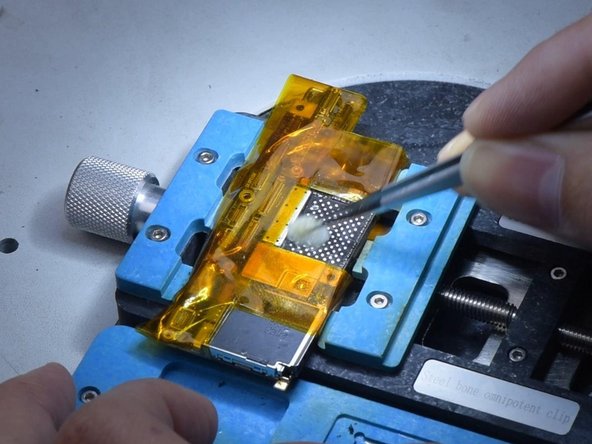
- Give those bonding pads a good scrub with some PCB Cleaner to get them squeaky clean.
- Slap on a bit of Paste Flux, then gently place a reliable NAND chip right where it needs to be.
Step 6

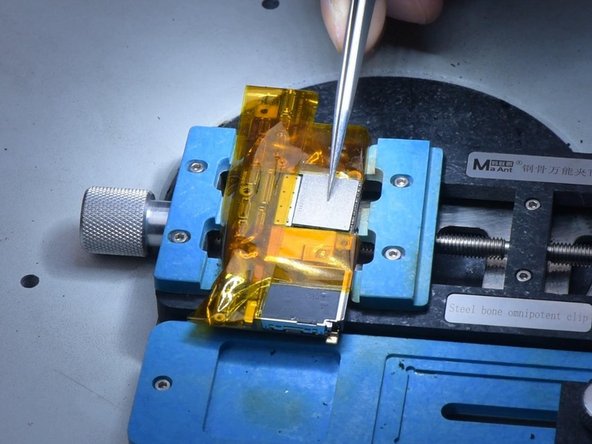
- Warm up the area with a hot air gun set to 340 °C. Gently nudge the NAND chip using tweezers. Once the NAND resets on its own, the soldering job is done.
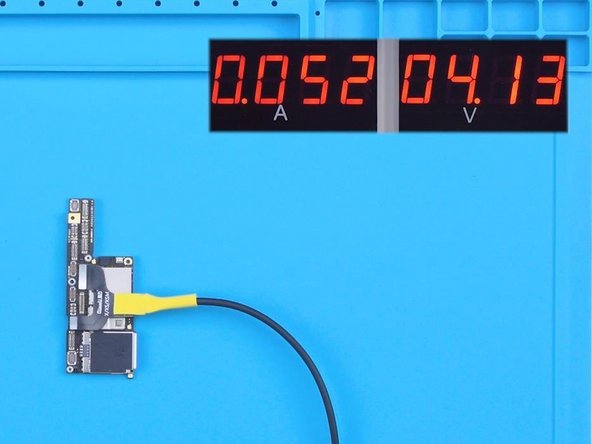
- Peel off the heat-resistant tape carefully. Hook up the motherboard to a power cable and check the current. Seeing 52 mA? Perfect, that means everything’s normal.
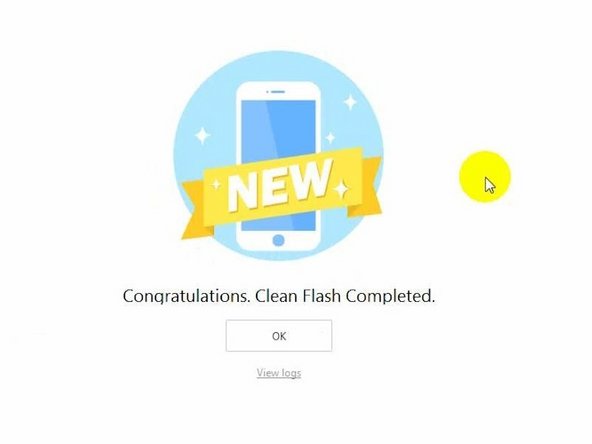
- Plug the phone into your computer and start flashing. Success! The phone boots up fine now, confirming the NAND was the troublemaker all along.
Step 7
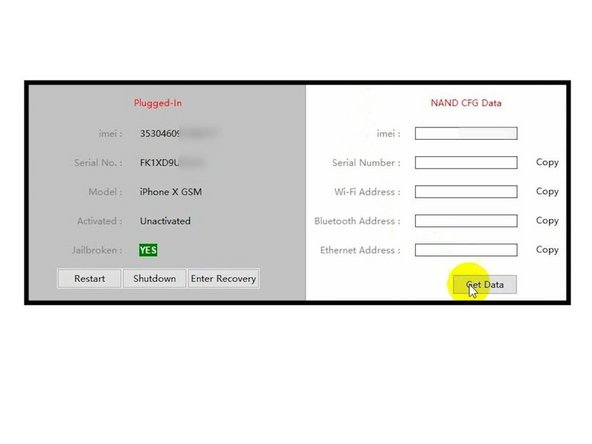
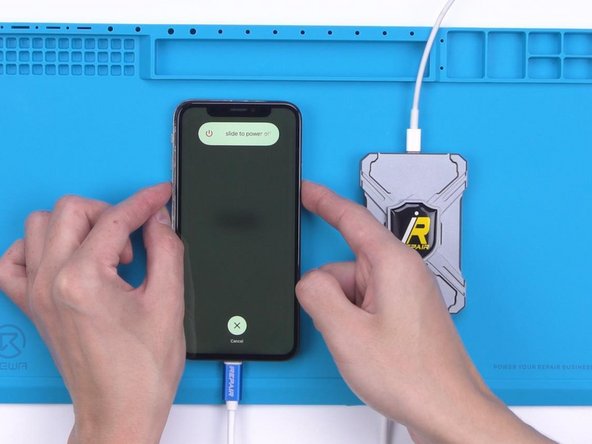
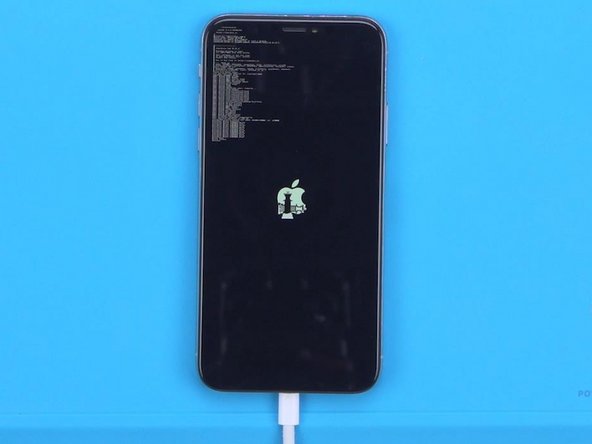
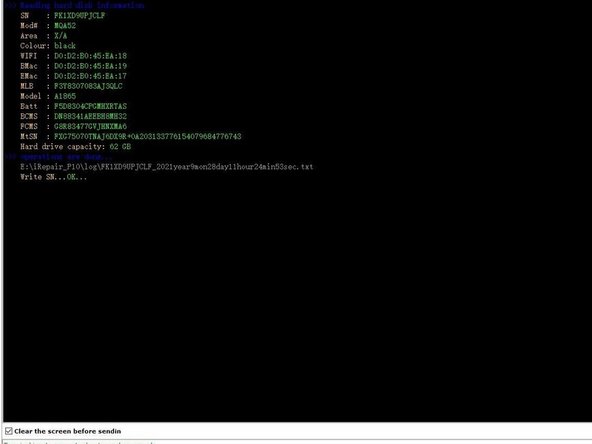
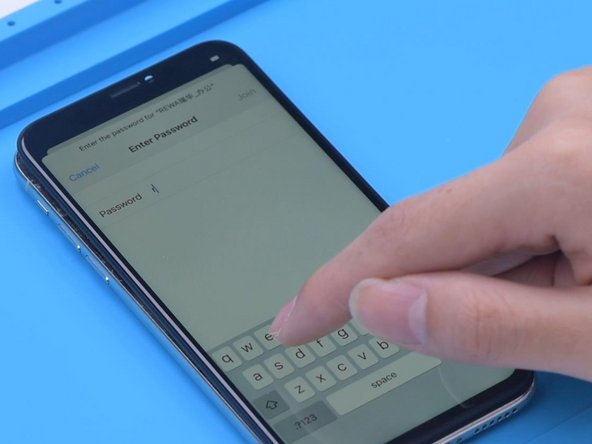
- Let's kick things off by powering up that phone for a little test run! Since the WiFi and Bluetooth addresses are cozy in the NAND, and our shiny new NAND doesn't recognize the addresses on the motherboard, we’re going to need to grab the original NAND's data. First up, let’s jailbreak that phone!
- Once you’ve jailbroken it, plug the phone into your computer and fire up 3uTools. This nifty software will help us read the original data in no time.
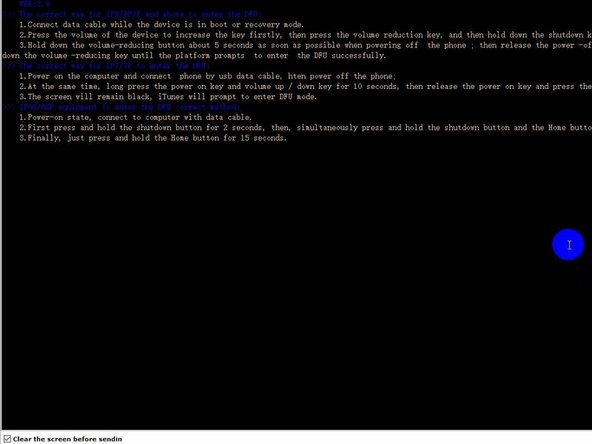
- Next, we’ll be using P10 to write that data back in. Connect your phone to P10 and let’s get it into DFU mode!
Step 8
- To put your device back together, just follow these steps in reverse—and if you hit a snag, no worries! You can always schedule a repair with us.


