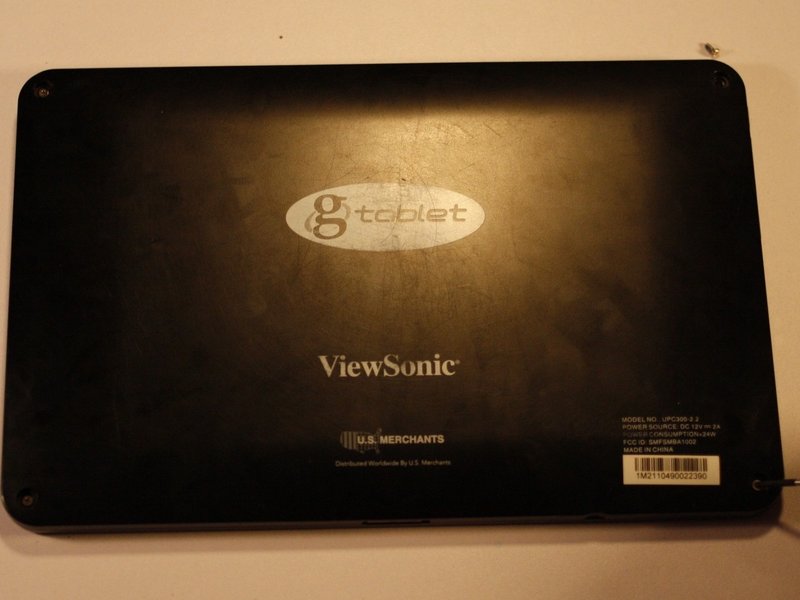
Viewsonic gTablet UPC300-2.2 Antenna Replacement
Duration: 45 minutes
Steps: 7 Steps
Step 1


Take a deep breath and get ready to be patient! These parts are stuck on with glue, so it might take a few tries and some persistence to get them loose.
– Grab your trusty spudger or some metal tweezers, and gently coax those rubber screw covers out of their snug little homes at each corner of the back cover.
– Next up, take your PH00 screwdriver and let’s unscrew those 5.8mm screws hiding underneath each rubber cover—there’s four of them waiting for you!
Tools Used

Step 2


Keep your prying tool at a safe distance! Only gently slide it in enough to separate the back cover. We wouldn’t want you to accidentally poke anything else in there!
– Grab your trusty prying tool and use the flat end to start nudging that back cover loose—it’s time to crack this case open (figuratively, of course).
– Begin near the charging port and work your way around the perimeter of the device, moving in one steady direction. No zigzagging—we’re going for precision here.
– Once you’ve worked your way all the way around, gently lift off the back cover and reveal the tech-y wonderland inside.
Step 3

– The battery is the big black rectangle that takes up most of the inside of the device.
– You’ll notice some tape keeping wires in place—remove it carefully, as you’ll need it again later to get the battery out.
Step 4
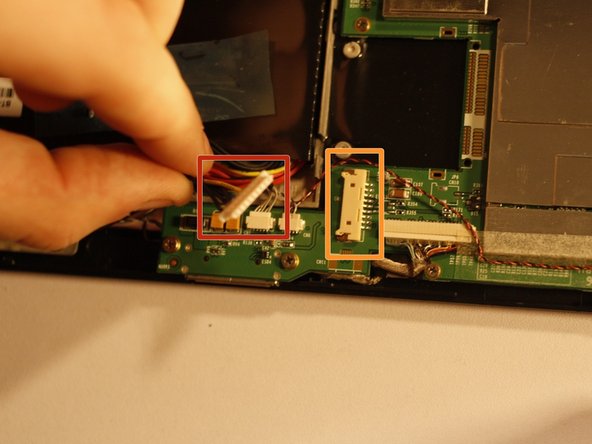

The white connector (marked in red) pops off effortlessly, while the off-white connector (marked in orange) stays snugly on the motherboard.
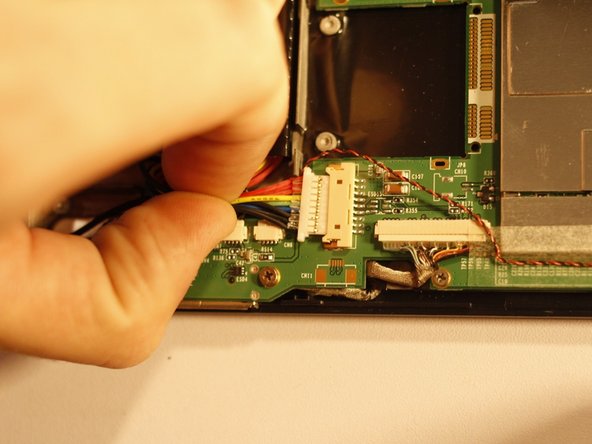
– Grab a PLASTIC tool of your choice and gently nudge each end of the power cable connector away from its cozy home. Take it one end at a time, and watch as the connector wiggles its way out. You’ve got this!
Step 5


Before tackling the battery, gently shift any wires aside—they’re still connected and deserve to chill without any extra stress!
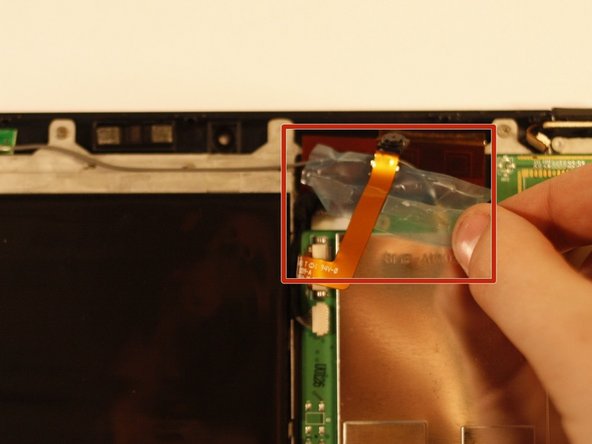
– With your trusty tweezers, carefully pluck off the foam backing arch protecting the front-facing camera—it’s like peeling off a sticker, but cooler.
– Gently wiggle the camera out of its snug little housing and set it aside—it deserves a break!
– Lift the battery up and away from the device like you’re rescuing it from a spa day—relax, battery, relax.
Step 6
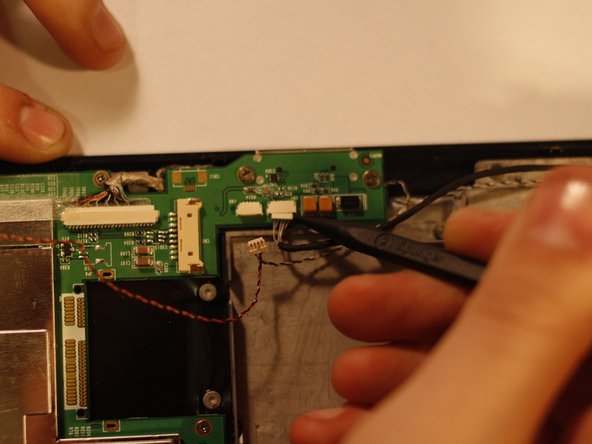

Be careful with those wires! They’re delicate, and it’s super easy to mess them up. Take your time, go slow, and apply just the right amount of force to keep everything intact. Patience pays off here!
– With a trusty pair of tweezers or by giving that spudger a little wiggle, carefully disconnect the two wires (just to the right of the battery power cable housing) from their homes.
Tools Used
Step 7
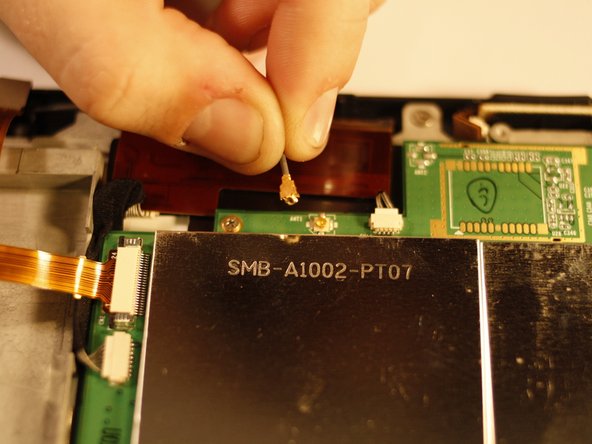

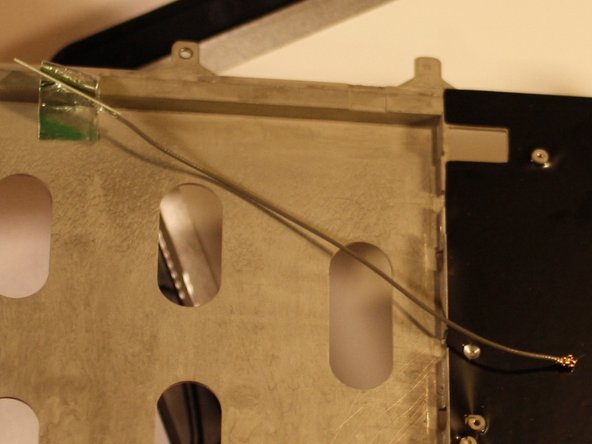
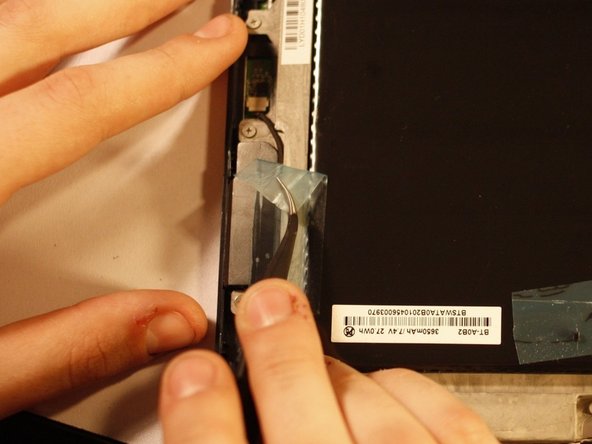
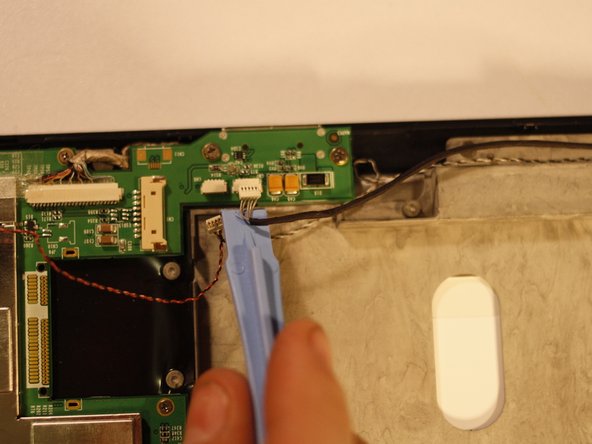
– Locate the antenna receiver stuck to the LCD Screen chassis with some foil tape. Carefully lift the foil tape and take out the antenna.
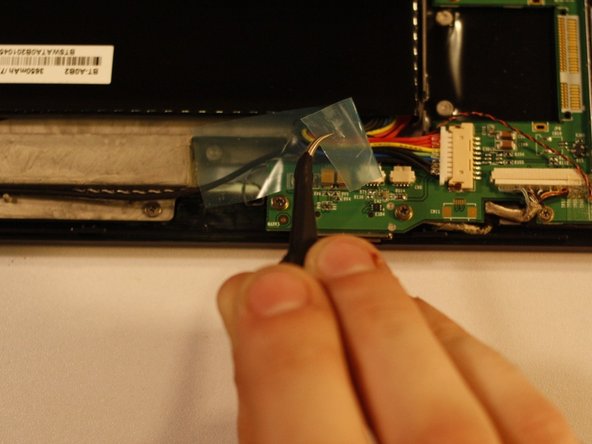
– Trace the wire from the antenna back to its connection point on the motherboard. Gently twist and lift the connector until it pops free.
– To put in a new antenna, just follow these steps in reverse order.
Success!