Viewsonic gTablet UPC300-2.2 Front Facing Camera Replacement
Duration: 45 minutes
Steps: 6 Steps
Step 1


Take your time! These parts are stuck in with glue, so it might take a bit of patience and a few tries to get them loose.
– Grab your trusty spudger or some metal tweezers, and gently work the rubber screw covers out of their snug spots, located on each of the four corners of the back cover.
– Now, take your PH00 screwdriver and remove the 5.8mm screws hiding beneath each rubber cover—there are four of them in total.


Step 2


Keep that prying tool in check! Go too deep and you might end up nudging other delicate components—nobody wants that.
– Grab your prying tool and use the flat end to gently wiggle the back cover away from the rest of the device. Take it slow, no need to rush!
– Start at the charging port and carefully work your way around the edge of the device. Keep a steady pace, and it’ll come off in no time.
– Once you’ve made your way around, lift the back cover off to uncover the inner workings of your device. You’re almost there!
Step 3

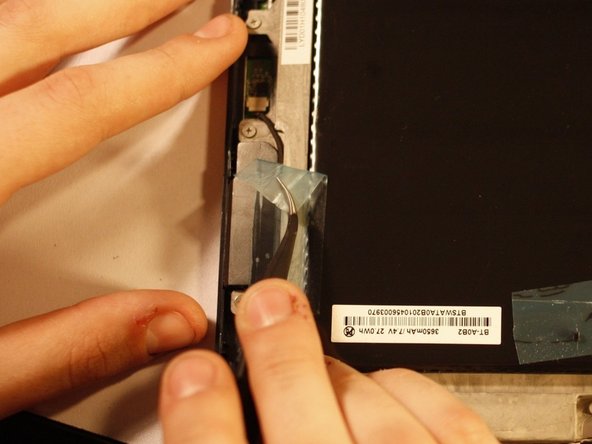
– The battery is that big, bold black square taking up the spotlight in your device’s interior.
– You’ll spot some tape holding a few wires snugly in place. Time to gently peel that off before you can lift out the battery. Be careful, you’ll want to keep that tape for later!
Step 4
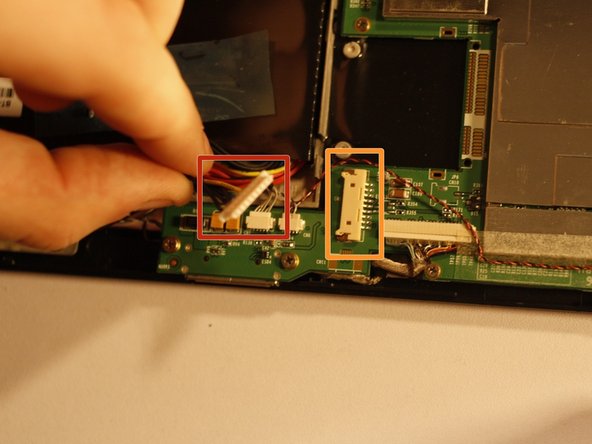
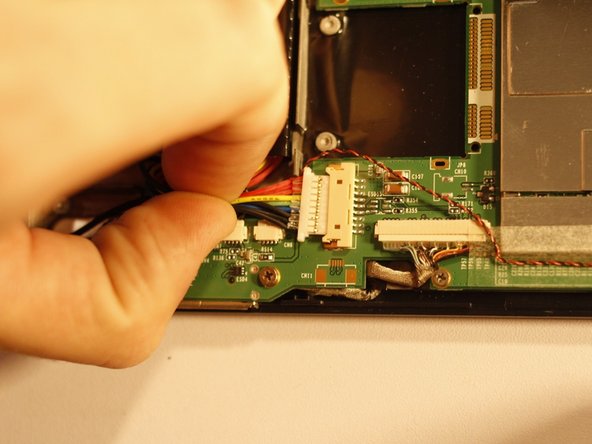

Now, let’s tackle the connectors. The white one (marked in red) is the one that comes off, while the off-white connector (marked in orange) stays put on the motherboard.
– Grab a trusty PLASTIC tool and gently nudge each end of the power cable connector, one side at a time, away from its snug little home. A bit of patient wiggling, and voilà—it’ll slide out like a charm!
Step 5


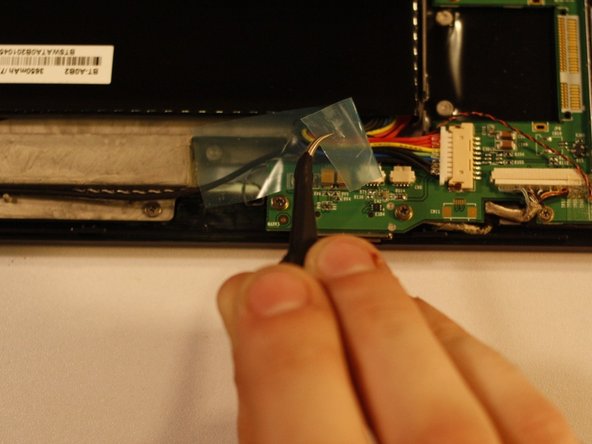
Before you dive in and move that battery, make sure to gently shift any wires out of the way. They’re still connected and we don’t want to put them under any unnecessary stress!
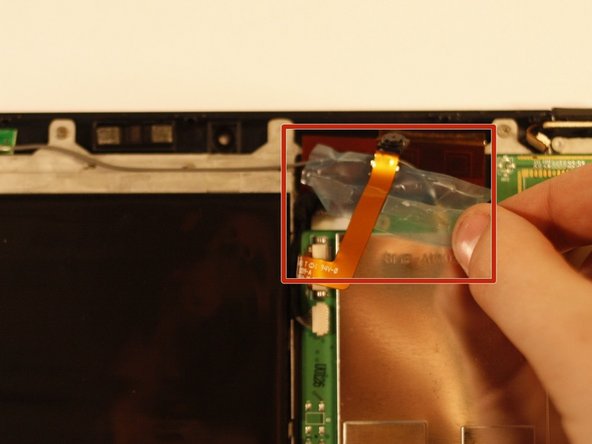
– Grab those tweezers and carefully peel away the foam arch that’s cozying up to the front-facing camera.
– Slide the camera out of its snug little housing and gently place it off to the side—let it relax for now.
– With a soft touch, lift the battery up and away from the rest of the device like you’re cradling a baby bird, and set it aside.
Tools Used
Step 6
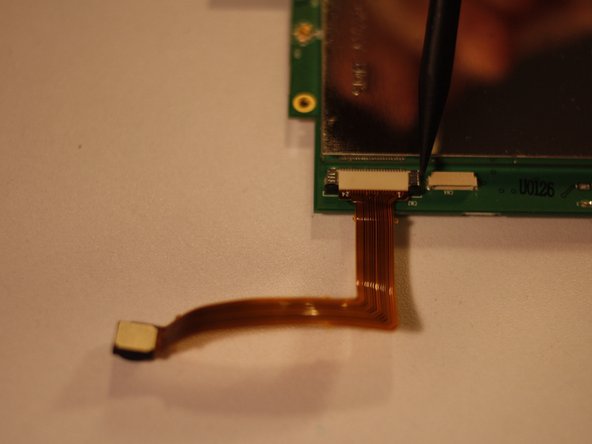

– The front-facing camera is secured by a sneaky connector with two black tabs. To free it, gently lift those tabs first. Then, carefully pull the connector out using tweezers.
– Put the new camera in place by following these steps backward.
– Make sure to press the black tabs back down once the replacement camera is connected so everything stays snug.
Tools Used
Success!