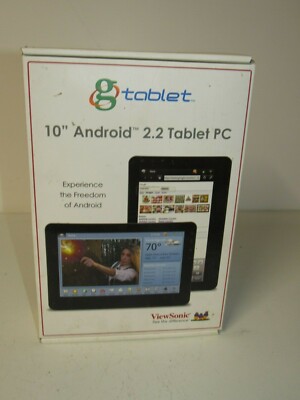
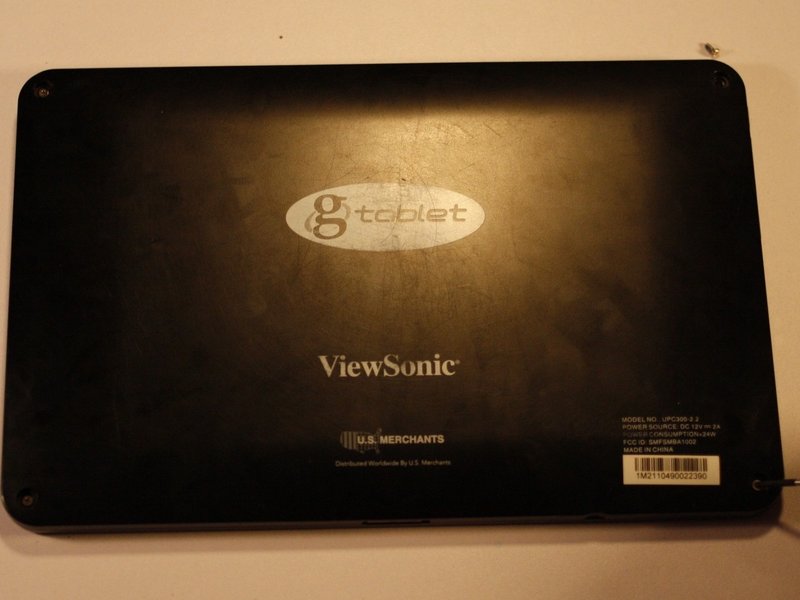
Viewsonic gTablet UPC300-2.2 Motherboard Replacement
Duration: 45 minutes
Steps: 9 Steps
Step 1


Take a deep breath and hang in there! These parts are stuck with glue, so it might take a few tries and some patience to get them free.
– Grab your trusty spudger or some metal tweezers and gently tease those rubber screw covers out of their cozy little homes—one in each corner of the back cover.
– Now, take your PH00 screwdriver and go ahead and unscrew those 5.8mm screws hiding beneath each rubber cover (there are four in total).


Step 2


Hey there! Just a friendly reminder: keep that prying tool a bit on the surface when you’re separating the back cover. Going too deep might cause some unexpected damage to other components. Stay safe and happy fixing!
– Grab your trusty prying tool and gently pry away the back cover from your gTabet. You’re doing great!
– Start at the charging port and work your way around the edge of the device, taking it one step at a time.
– Once you’ve loosened everything up, carefully lift off the back cover to uncover the inner workings of your device. Nice job!
Step 3

– Meet the battery, the big black square that takes up a lot of space inside your device! It’s quite the character.
– Now, there’s some tape securing a few wires in place. You’ll want to carefully peel that off before saying goodbye to the battery. Go easy on it; you’ll need that tape for later!
Step 4
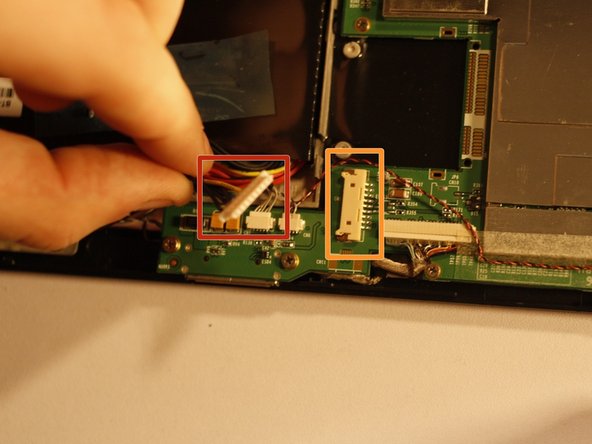

Time to get that connector sorted! The white connector (marked in red) is the one that needs to come off, while the off-white connector (marked in orange) stays put on the motherboard.
– Grab a PLASTIC tool you like, then gently nudge each end of the power cable connector—one side at a time—away from its slot. Think of it as coaxing the connector to slowly dance its way out of place.
Step 5


Gently nudge those wires aside before you tackle the battery—remember, they’re still connected and deserve some TLC, not stress!
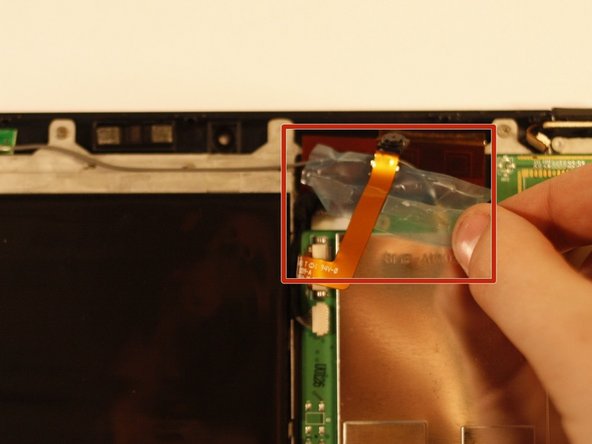
– Grab your trusty tweezers and gently peel away the protective foam backing from the front-facing camera. You’ve got this!
– Carefully wiggle the camera out of its snug little home and set it aside. Nice and easy!
– Now, with a gentle touch, lift the battery away from the rest of the device and place it to the side. You’re making great progress!
Tools Used
Step 6

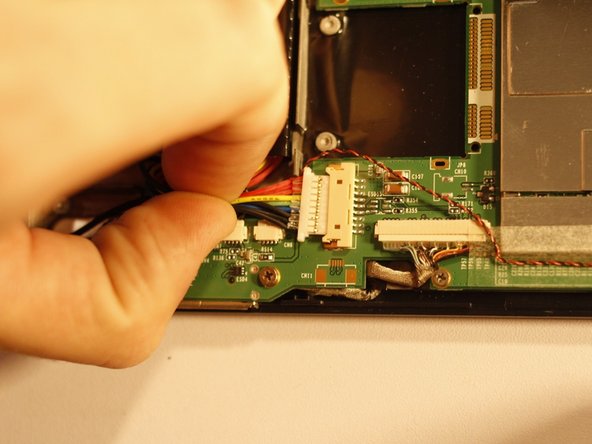
Be careful not to accidentally mess up those delicate wires connecting to these connectors! Take your time and use just the right amount of gentle pressure to keep everything safe.
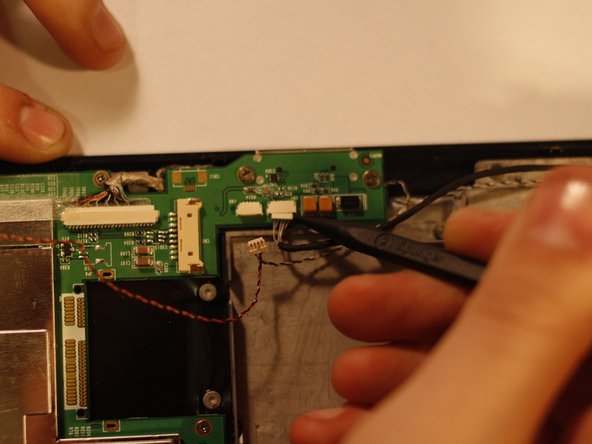
– Grab those tweezers or whip out your trusty spudger and give those two wires a gentle wiggle to disconnect them from their cozy little homes next to the battery power cable. You’ve got this!
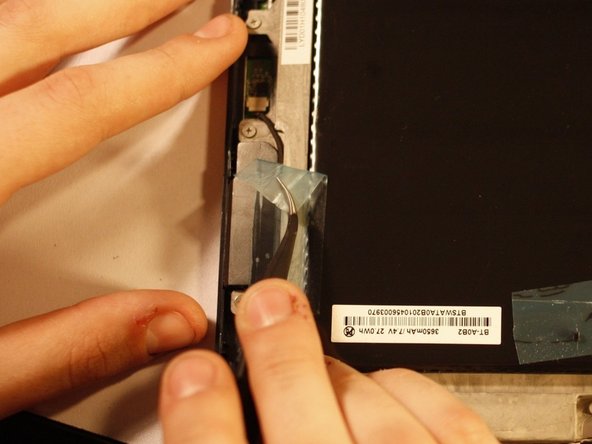
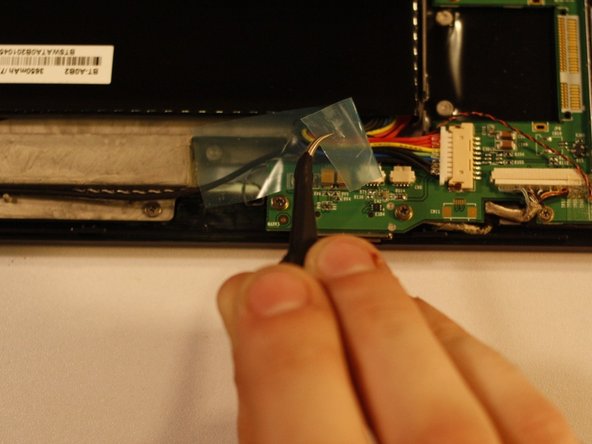
Step 7
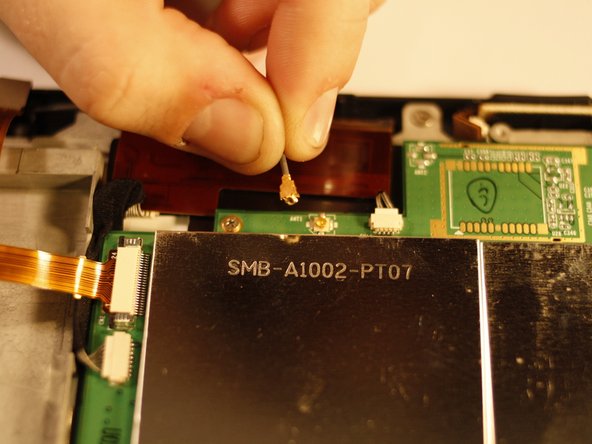

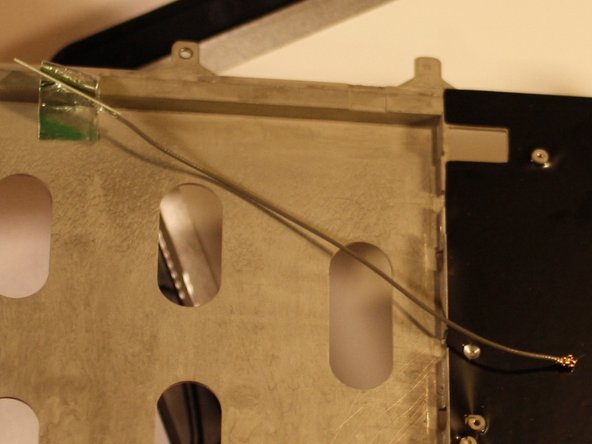
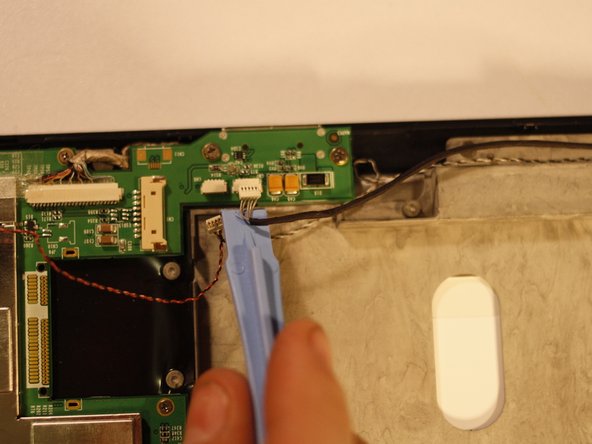
– Locate the antenna receiver that’s snugly stuck to the LCD Screen chassis with some foil tape. Carefully peel back that tape and set the antenna free.
– Next, trace the wire from the antenna back to its cozy spot on the motherboard. Gently twist and lift the connection until it pops off.
– Now it’s time to bring in the new antenna! Just retrace your steps to get it installed.
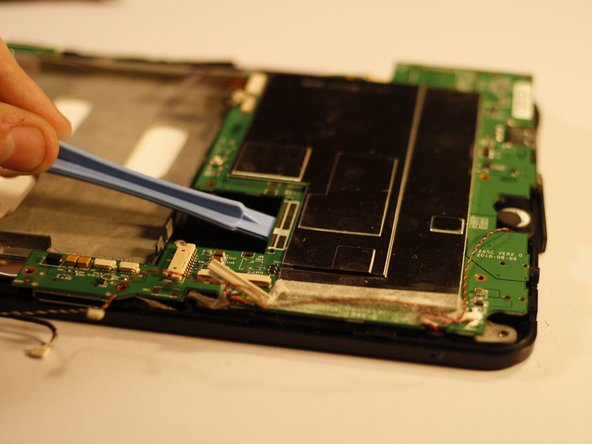
Step 8

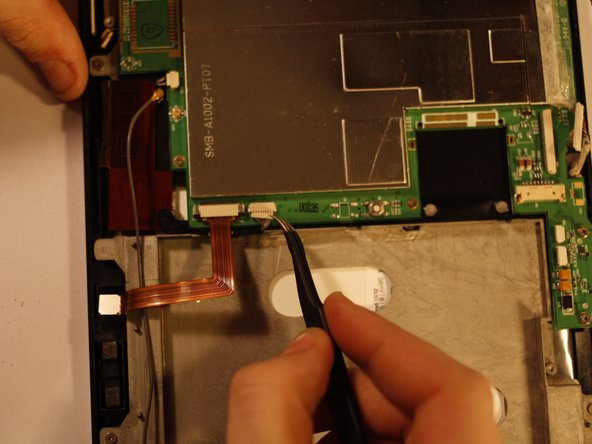

– First off, let’s disconnect that LCD Video cable, which is hanging out just to the right of the battery power housing. If you need a little extra grip, a pair of pliers can help with this big connector—just be gentle!
– Before you move ahead, there are two more connections to take care of. The first one is located to the right of the front-facing camera housing on the motherboard. It’s a tiny little thing, so handle it with care.
– Now, the second one is hiding right next to the antenna connection on the motherboard, diagonally across from the previous connection you just tackled.
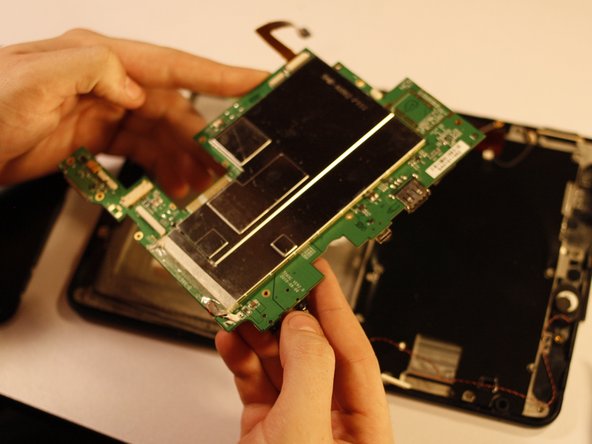
– And voilà! With all those connections undone, you’re ready to safely lift out the motherboard. If you need help, you can always schedule a repair.
Step 9

Heads up! Most screws here are a chill 3.3mm, but we’ve got two party crashers: one at 5.9mm (orange) and another at 5.7mm (yellow). Best move? Set up a “Motherboard Pile”—a special little zone just for the screws that keep that motherboard locked down tight.
– Now, to bring your device back to life, just retrace your steps and put everything back together like a pro!
–
Success!