Vizio VTAB1008 Digitizer (Touchscreen) Replacement
Duration: 45 minutes
Steps: 6 Steps
Hey there! Let’s dive into replacing the digitizer on your Vizio VTAB1008. Stick with me, and you’ll have your device up and running like a champ in no time!
Step 1


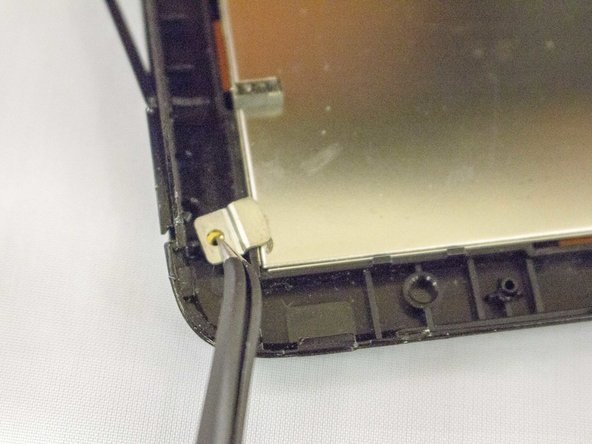
Hey there! Just a friendly tip: be careful not to shove that opening tool too deep into the tablet; you wouldn’t want to accidentally mess up those connectors hanging out near the edges of the cover.
To make your life easier, use the angled tip of the opening tool. Just press the back of it with your thumb, and slide it gently to free all those tabs like a pro!
– Gently slide the heavy-duty opening tool into the gap along the side of the device where there are no buttons.
– Corners can be a bit stubborn—if needed, carefully wiggle a metal prying tool into the corners to pop those tabs loose without breaking a sweat.
Step 2

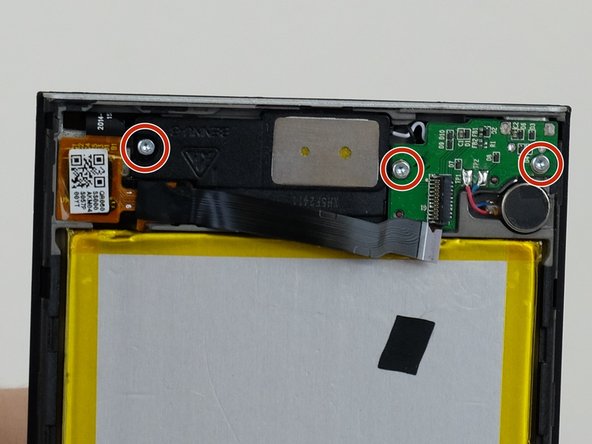
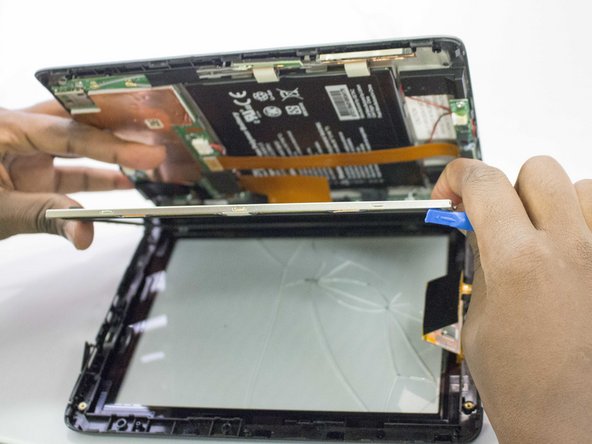
You’ll find three connectors hanging out here: one for the screen, one for the digitizer, and one for the motherboard. They’re all kept snug by the pressure from the backing and screen assemblies. No worries, they’re not going anywhere!
– Check inside the tablet for any loose connectors that might be causing trouble.
– Carefully flip the backing from the side without buttons, making sure to keep the ribbon connector attached to the display screen.
Step 3

This little screw sports a head size of 4.3 mm and stands tall at 3 mm. Just the right fit for your repair needs!
– Unscrew those two screws with your trusty J1 Screw bit. You’ve got this!
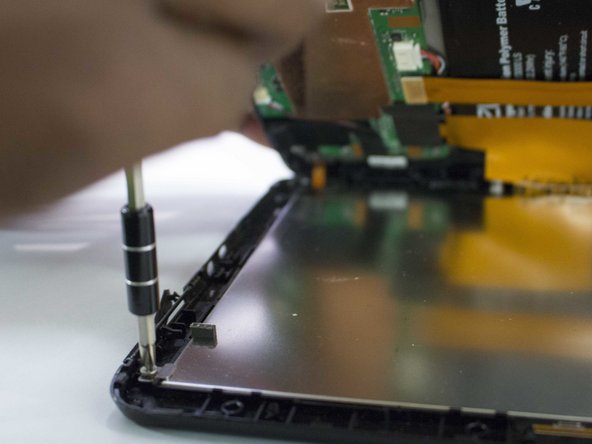
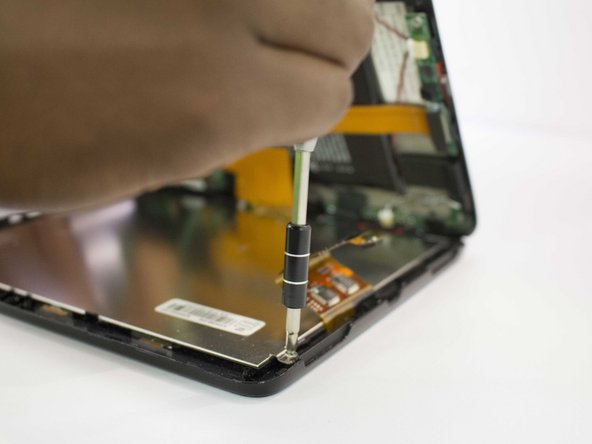
Step 4

The dimensions of the brackets are 8.5 mm by 6.55 mm. Keep these measurements in mind as you proceed with your repair adventure!
– Gently lift the two brackets holding the screws and move them away from the screen. Easy does it!
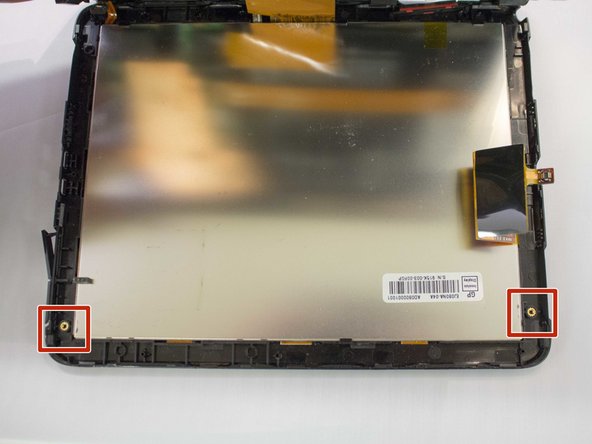
Step 5

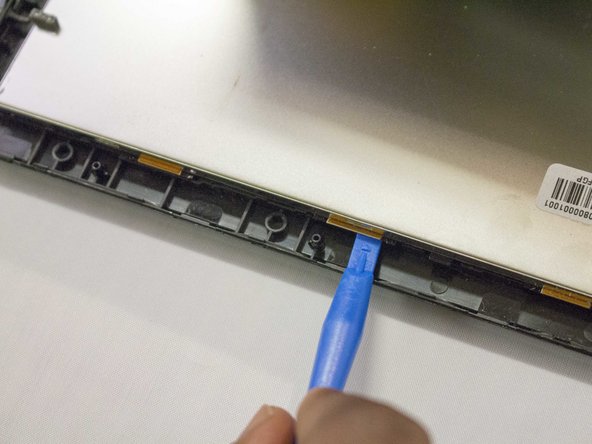
If you’re having trouble getting things apart, grab a spudger and give it a little nudge. It’ll help you separate those pieces with ease!
– Gently detach the screen digitizer from the display screen, and keep an eye on where that quick disconnect ribbon cable is hanging out.
Step 6


– Now, just retrace your steps in reverse, and your device will be back in action! If you need help, you can always schedule a repair.
–
Success!