Vizio VTAB1008 Front Facing Camera Replacement
Duration: 45 minutes
Steps: 6 Steps
Ready to bring your Vizio VTAB1008 back to life? In this guide, we’ll show you how to swap out the front-facing camera and light sensor. Follow these easy steps and you’ll be back to snapping selfies in no time. If you hit a bump along the way, don’t hesitate to schedule a repair and we’ll take care of the rest.
Step 1


Be gentle when inserting the opening tool – don’t push it too far into the tablet, or you might accidentally damage the connectors near the edges of the cover.
To wedge the angled tip of the opening tool into place, press on the back of the tool with your thumb. Slide it smoothly to make sure all the tabs are freed up and separated.
– Gently slide your heavy-duty opening tool into the side gap where there are no buttons—think of it as sneaking in through the back door.
– Some corners have stubborn tabs that need a bit more muscle. If that’s the case, carefully wedge a metal prying tool into the corners to pop those tabs loose without breaking a sweat.
Step 2

Inside, you’ll find three connectors just hanging out: one for the screen, one for the digitizer, and one for the motherboard. They’re snugly held in place by the pressure from the backing and screen assemblies, so a little gentle wiggle might be needed to free them.
– Check the tablet for any loose connectors that might be causing issues.
– Carefully flip the backing from the side without the button, making sure the ribbon connector stays securely attached to the display screen.
Step 3

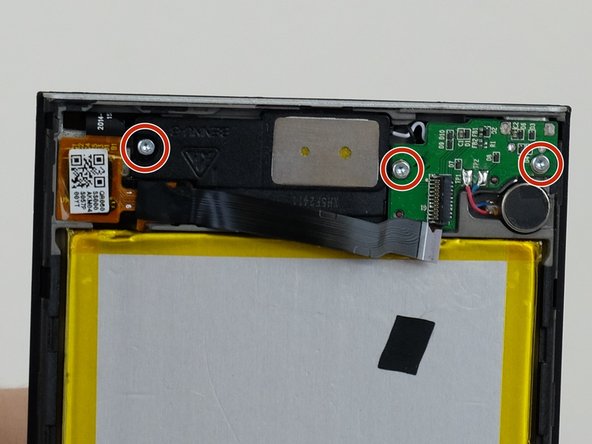
This little screw has a head measuring 3.66 mm and stands tall at 3.5 mm.
– Time to get that J1 screwdriver or bit ready and give that screw a little twist to set it free!
Step 4

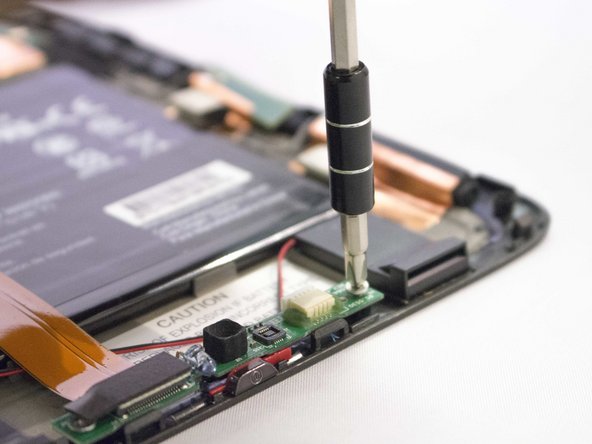
This little screw sports a head that’s 3.66 mm wide and stands tall at 3.5 mm. Perfect for holding things together, don’t you think?
– Flip up the flap that’s hiding screw number two—it’s time for it to come out of hiding.
– Grab that J1 screwdriver and spin out the screw like a pro.
Step 5
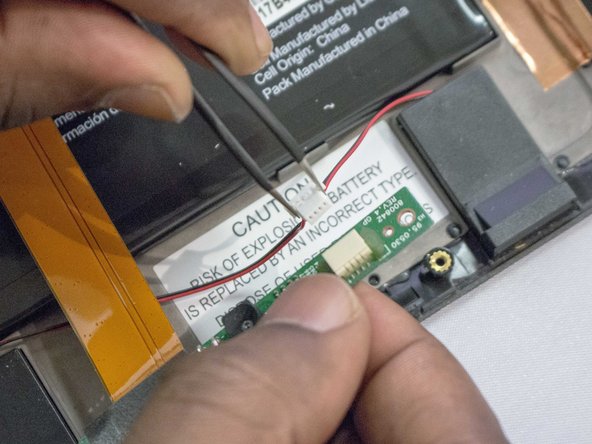
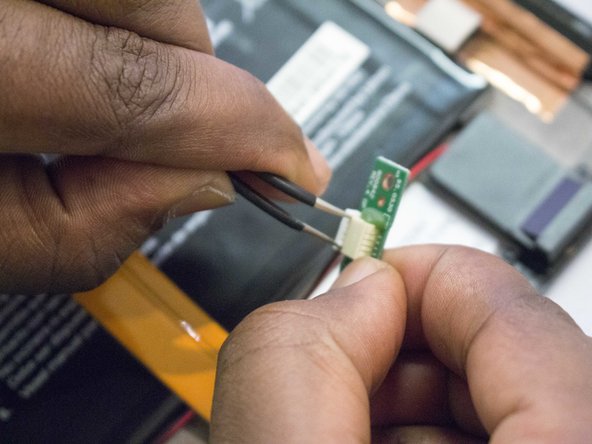

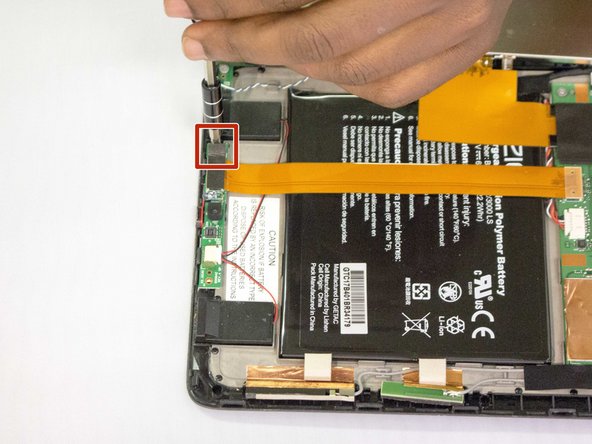
Tweezers can be your best buddies when it comes to nabbing those tiny connector flanges!
– Unplug the black-and-red connector from the camera strap—easy does it!
Step 6
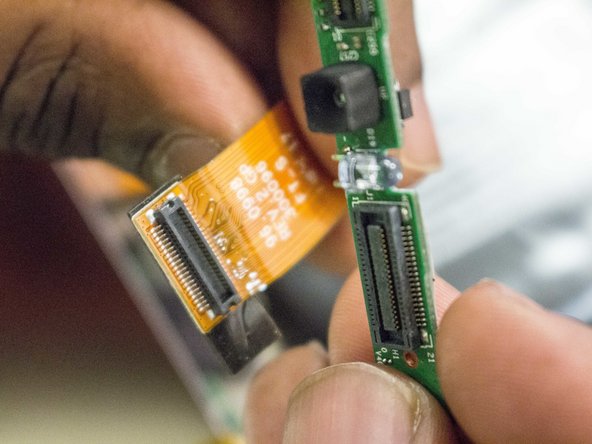

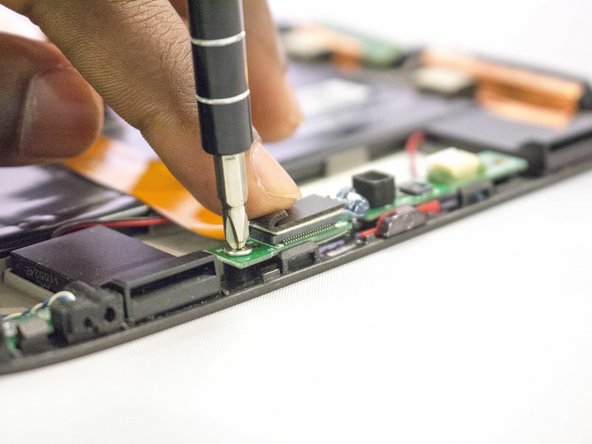
Grab your trusty spudger—it’s about to be your best friend for popping off that ribbon cable with just the right amount of leverage. No need for brute force, just a little finesse!
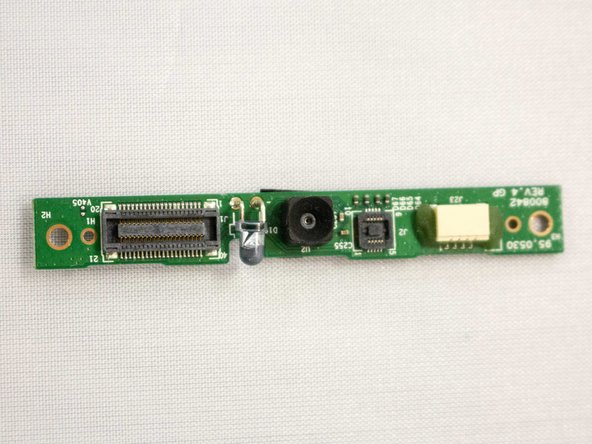
– Gently detach the ribbon cable from the camera circuit board by lifting it away with care. You’ve got this!
Success!