Xbox 360 Fan Replacement Guide: DIY Tutorial
Duration: 45 minutes
Steps: 13 Steps
If your XBOX 360 power supply is sounding a little scary (like a dragon’s trapped inside!), it’s a good idea to replace that fan.
Step 1
– That power brick was making some pretty funky noises, right? You’re not alone! Time to give that little guy some peace and quiet. Let’s do this!
Step 2


Before you dive in, make sure to unplug the power supply – safety first!
– First, let’s get those 4 screws out – you’ll need to carefully remove the rubber feet to access them
– Don’t worry if the rubber part comes off the plastic one, it’s pretty common
– If they’re being stubborn, grab some pliers and gently coax them out – you got this! If you need help, you can always schedule a repair
Step 3

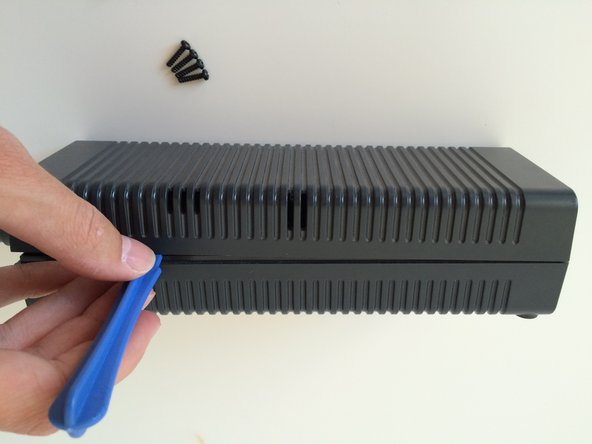

– Once you’ve taken out those 4 screws, give the edge a gentle nudge to separate the two halves. You’ve got this!
Step 4


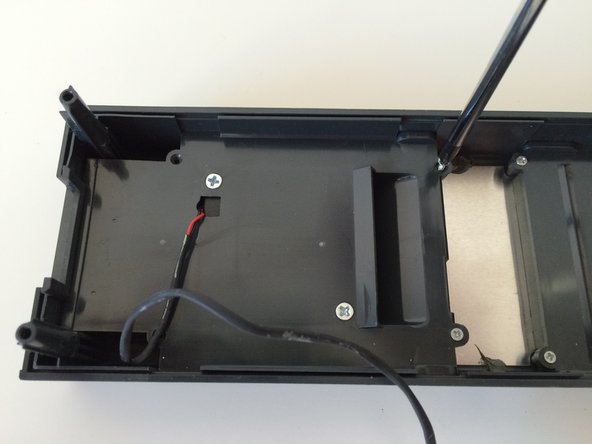
– Time to get this repair started – gently lift up the light diffuser
– Next, carefully lift up the power-connector and DC out wire
– The main board should now come out pretty easily, nice job getting this far!
Step 5

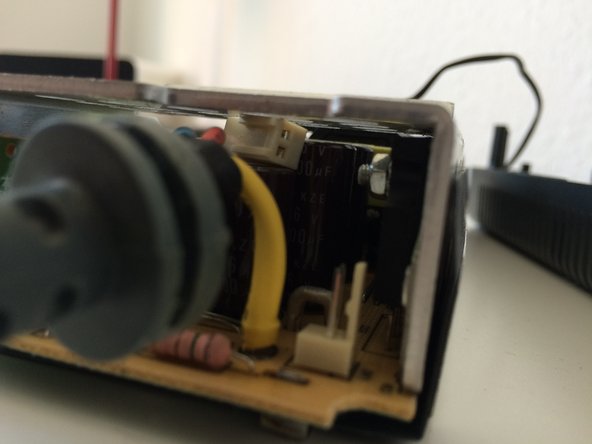
– Gently disconnect the fan from beneath the main heatsink.
– Take your time when pulling the wire out, as it tends to cling to the heatsink and capacitors – remember, a little patience goes a long way!
Step 6


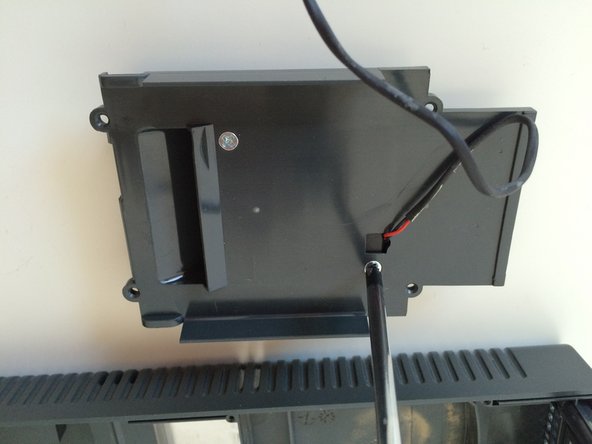
– Alright, let’s get started! Begin by removing the two smaller screws, but keep the two larger ones in place for now.
– Once you’ve got those out of the way, you’ll notice just a few clamps holding the assembly together – you got this!
Step 7

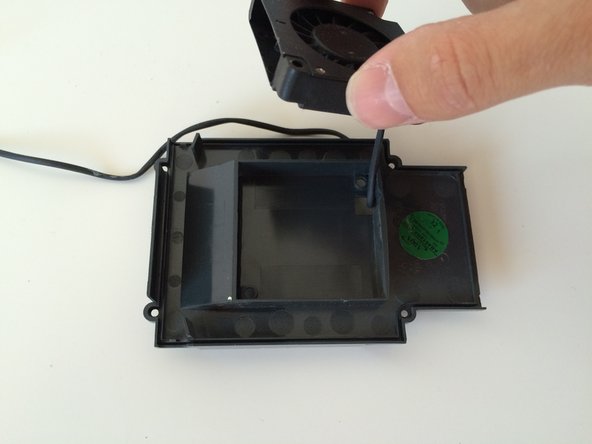
– Kudos to the designer – there’s yet another sub-assembly that’s holding the fan in place, making this a fun little challenge
Step 8


– The size of the fan-holder in your device may not match mine, as Microsoft likes to switch things up with suppliers for various reasons (probably to tackle airflow issues that may arise).


Step 11


– First, I took a little sandpaper and smoothed down that pesky bump that was holding the old fan hostage.
– Next up, I grabbed some trusty epoxy resin (Poxipol) and secured the new fan in place like a pro.
– To ensure the best airflow, I tilted it slightly to the right, just like you see in the second picture.
Step 12

– Right before the resin hardens, give that fan a spin and make sure it’s not stuck!
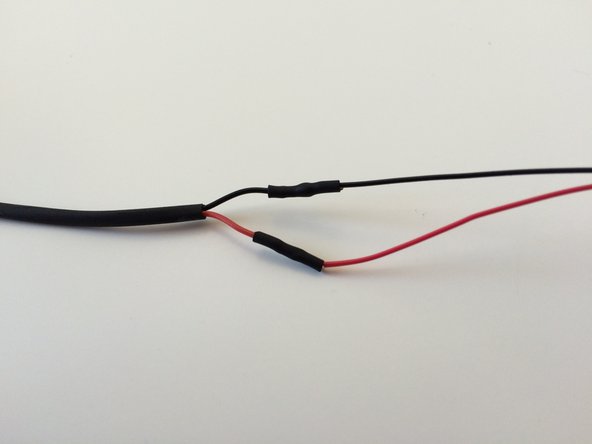
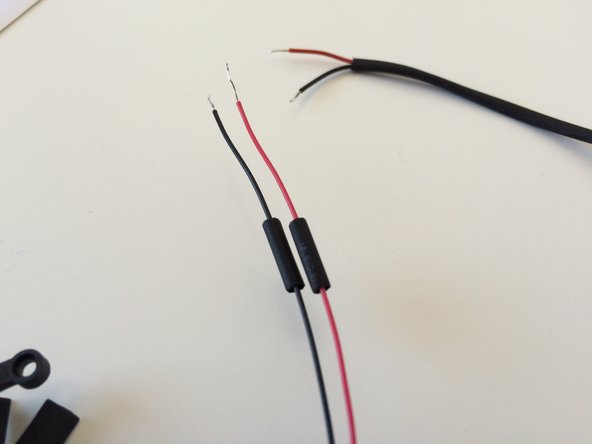
– Let’s get those wire ends ready for some soldering action – a little solder on each should do the trick.
– Slide a tiny piece of shrink wrap onto the cable, and then solder those bad boys together. (I’ve totally been there with the whole desoldering thing – it happens!)
Step 13

– Almost done! Now, just reassemble everything, and hopefully you’ve found the right fan that’s quiet enough to not overpower your gaming sessions, like when you’re playing on your XBOX. If you need help, you can always schedule a repair
Success!