Xbox 360 Lower Case Replacement Guide
Duration: 45 minutes
Steps: 25 Steps
Swap out that scratched or worn-out lower case for a brand new one and get your device looking sharp again. If you’re not feeling confident, don’t worry – it’s easier than you think, and we’ve got you covered every step of the way. Just follow along and you’ll be done in no time. And if you need help, you can always schedule a repair
Step 1


– Take hold of the hard drive assembly and calmly press that release button while gently lifting the front edge up.
– With a little finesse, remove the hard drive assembly from the top vent like a pro!
Step 2

As you dive into this opening procedure, feel free to use the finger of an Xbox 360 opening tool instead of a spudger. It’s just as handy and might even give you a smile as you get started!
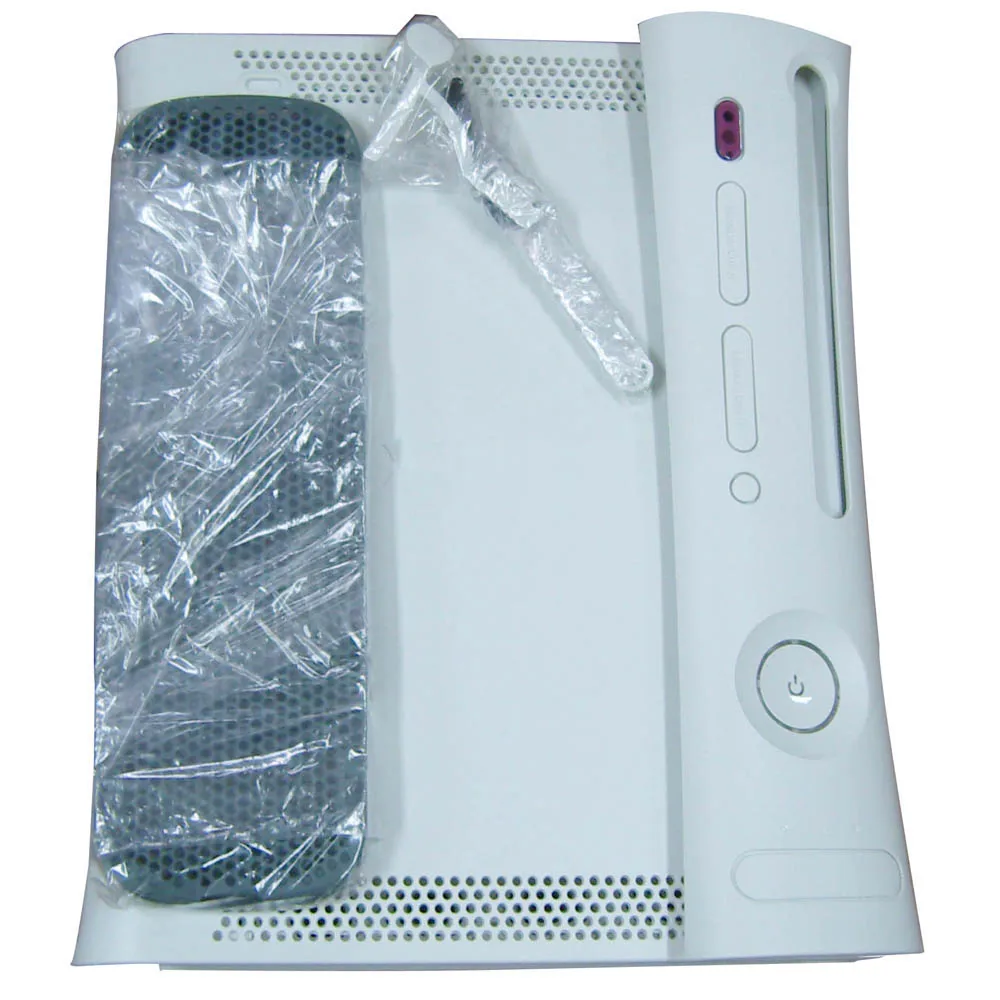
– Position the console upright with the bottom edge pointing towards the sky.
– Gently slide the flat end of a spudger or your trusty Xbox 360 opening tool into the tiny gap at the front edge of the bottom vent.
– Carefully pry the front edge of the bottom vent away from the faceplate like you’re peeling a banana.
Tools Used


Step 3


Alright, let’s get those clips on the left and right sides of the bottom vent released! Grab your trusty spudger or the finger of an Xbox 360 opening tool and gently work your magic. The spots you need to focus on are marked in red, so you can’t miss them!
Now, slide that tool into the handy holes molded into the white plastic side case pieces. You’re doing great!
Tools Used
Step 4


– To pop those clips free, start at the front edge of the bottom vent. It’s like a little dance move!
– While gently lifting the front edge of the bottom vent, take the tip of your spudger and nudge the clips nearest to the front of the bottom vent inward, as if you’re giving them a friendly push into the console.
Tools Used
Step 5


– Give those two center clips on the bottom vent a little love and repeat the same process to set them free!


Step 7

– Alright, let’s get that bottom vent off the 360. It’s like giving your device a little breath of fresh air!
Step 8


Feeling adventurous? You can totally grab the edge of your Xbox 360 opening tool to give this a go, but watch out! It might leave a little scratch on that plastic case.
If you’re up for a challenge, just use your hands to gently wiggle the faceplate away from the Xbox. It’s like giving your console a little hug!
– Gently slide the flat edge of your trusty spudger between the faceplate and the outer casing, right by the power button. You’re doing great!
– Now, glide that spudger along the edge of the faceplate to pop those clips loose that are holding it snugly to the front of the console. Keep it up!
Tools Used
Step 9

– Use the same smooth moves as before to gently pop the left side of the faceplate free. You’ve got this!
Step 10

– Pop off the faceplate from the front of the console and let the fun begin!
Step 11


– Position the console upright with the top edge pointing skyward.
– The top vent is held in place by some sneaky clips. The first two clips are hiding just beneath the top vent, right near the faceplate, as you can see in the pictures.
Step 12


Want a fun trick? You can also use the long finger of an Xbox 360 opening tool to get the job done. See? We told you this was going to be fun! If you need help, you can always schedule a repair.
– Gently slide the flat end of a spudger into those tiny gaps we talked about earlier to pop those clips loose. You’ve got this!
Tools Used
Step 13


In the upcoming steps, grab the tip of a spudger or the finger of an Xbox 360 opening tool to gently pop those clips along the left and right sides of the top vent. We’ve highlighted their spots in red for you, so you can’t miss them!
Tools Used
Step 14


– Alright, let’s loosen those clips! Start in the middle of the top vent and work your way out.
– Now, gently lift the front edge of the top vent. Use the tip of a spudger to give those clips near the center a little nudge towards the inside of the console. You’ve got this!
Tools Used

Step 16


The final clip is cleverly tucked away beneath the rubber foot that’s closest to the back of the console.
– Grab your trusty spudger and gently nudge the clip on the top vent closest to the back of the Xbox. It’s like giving it a little high-five!
– Once that’s done, carefully lift off the top vent from the 360. You’re making great progress!
Tools Used
Step 17

– Let’s get this party started! Stand your console up with the top facing down.
– Now, gently peel off that warranty sticker. Don’t worry, you’re not breaking any rules.
Step 18


The upper and lower cases are buddies, held together by some latches hangin’ out in the front and back of the console. Just gotta give those latches a little nudge to free the upper case from the console.
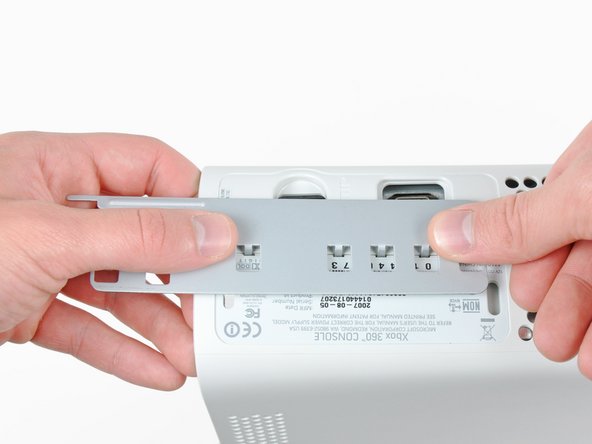
– Time to get started! Use the flat end of a spudger to release the following latches:
– First, locate the area above the front-facing USB ports.
– Next, find the latches beneath the front-facing USB ports.
– Lastly, release the latches above the Memory Unit slots.
Tools Used

Step 20

– Gently raise the front edge of the lower case to make sure those pesky latches up front are all set free.
Step 21


The upper and lower cases are connected by seven sneaky release latches hiding on the back of the console – we’ve highlighted their spots in red for you.
Step 22


– Gently slide the Xbox 360 opening tool into the clips that are holding the lower case snugly against the upper case, right by the I/O ports.
– While keeping the tool pressed down, give a little push to the lower and upper cases to pop those retaining clips apart. You’ve got this!
Tools Used
Step 23


– Push the upper and lower cases apart gently while using the tip of a spudger or the finger of an Xbox 360 opening tool to nudge the long clip highlighted in red toward the center of the 360.
– This clip should pop right off, leaving the clips near the power connector as the only things keeping the upper and lower cases together.
Tools Used
Step 24

– Let’s get those last clips out! Gently press the Xbox 360 opening tool down into the two remaining clips near the power connector.
– Now for the grand finale! Push the upper and lower cases apart to fully release those stubborn retaining clips.
Tools Used
Step 25

Handle the lower case near the power plug with care – too much bend can lead to cracks, and nobody wants that!
– Now that you’ve tackled the reassembly, just retrace your steps and put everything back together like a pro!
– If you hit a snag, remember, you can always schedule a repair for some extra help.
– You’ve got this, and soon your device will be as good as new!
Success!