Xbox 360 S PSU Replacement Guide: Step-by-Step DIY Tutorial
Duration: 45 minutes
Steps: 7 Steps
Be careful when working with the power supply – make sure it’s unplugged and the white/orange indicator light is off. Those high voltage capacitors can pack a punch, so let’s stay safe and avoid any shocks. Take your time and exercise caution during this step, and if you’re feeling unsure, remember that you can always schedule a repair if you need a little extra help.
This guide is your go-to for all things repair and refurbishing! Just a friendly reminder: steer clear of the power supply when it’s plugged in or when the white or orange indicator light is shining bright. Those high voltage capacitors can pack a serious punch if they’re still charged, so let’s keep safety as our top priority while we tackle this repair together!
Step 1


– Let’s kick things off by gently removing those rubber boots. They might be clingy, but you’re stronger!
– Next up, it’s time to tackle those T10 screws. Grab your precision driver and show them who’s boss!
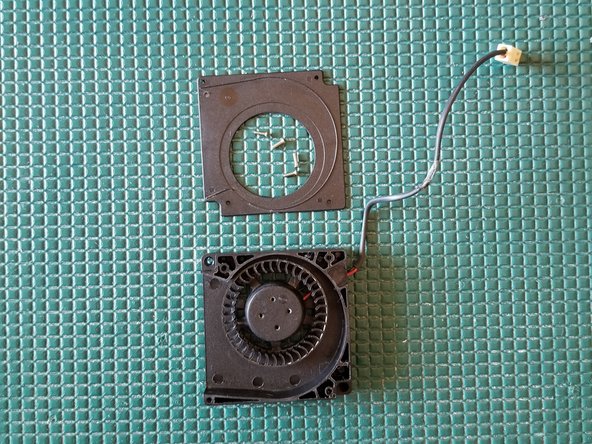
Step 2


The two halves are connected by the cooling fan wire. So, take it easy and be gentle when you’re separating them!
Watch out! It’s super easy to accidentally snip that cable. If you happen to cut the red/black wires, no worries, you’ll just need to patch them up. Remember, ‘slow is smooth, smooth is fast’!
Ah, Microsoft strikes again with their signature complexity! Getting that fan wire out is a bit of a puzzle. It’s snugly tucked between two transistors and has a stubborn epoxy-like grip holding it in place. Just take your time with it, and if you find yourself in a real bind, you can always schedule a repair.
– First things first, take off the top shell, flip it over, and set it next to the lower shell. They’re just two friends having a little break!
– Now, grab your trusty craft knife and gently slice through that sticky epoxy to free up the cable. Remember, patience is key here, so take your time! The thick gooeyness and those tricky angles might make this feel like a mini adventure, but you’ve got this!
Step 3


– Let’s start by taking out those PH2 screws – they won’t stand a chance against you!
– Now, it’s time to tackle the PH1 screws – they’re fleeing before you even start!
– No need to remove that part – we’ll leave that one be!
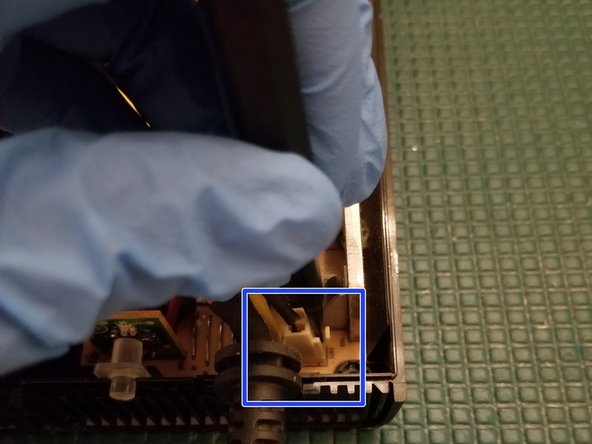
– Unplugging the cooling fan plug is next; gently disconnect it without any fuss.
– And finally, give that wire a little tug to pull it through!
Step 4

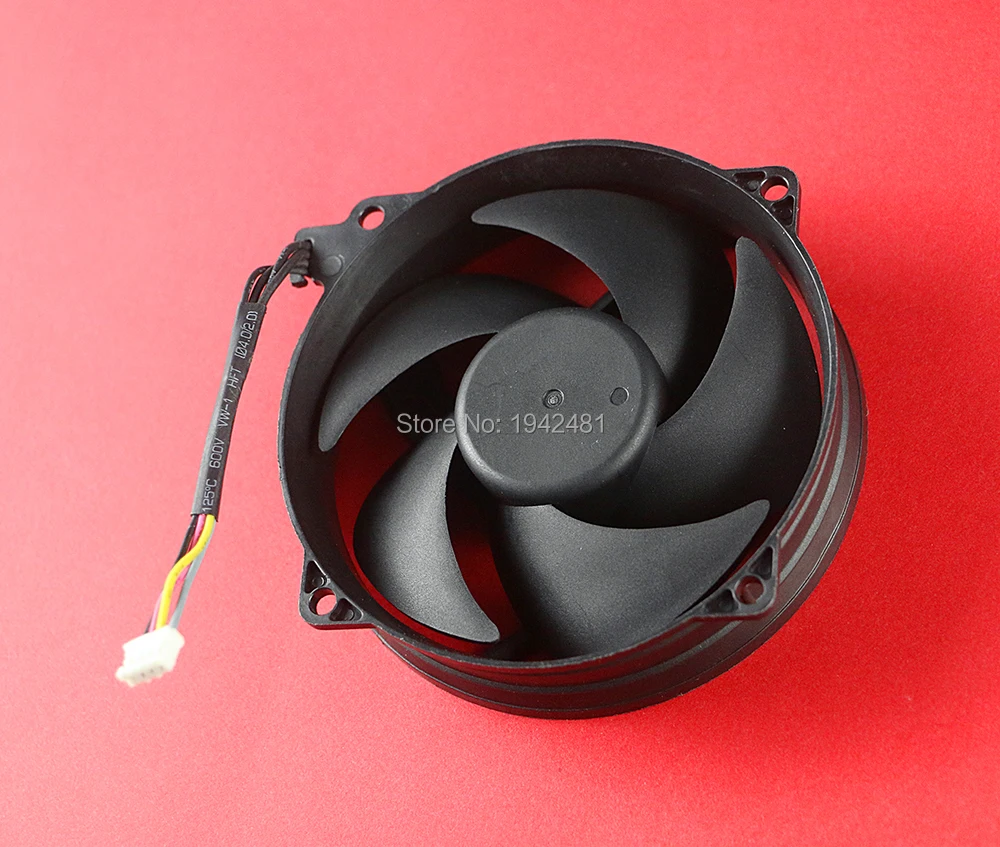
Be sure to check out the fan – it’s probably collected a bunch of dirt and dust. If it’s not cooling properly, it could cause some serious issues, like shutting down your device or even starting a fire. Let’s get it cleaned up!
Don’t worry, you’ll need to put some tape back on when you’re putting everything back together. Any kind of electrical tape or kapton tape will do the trick!
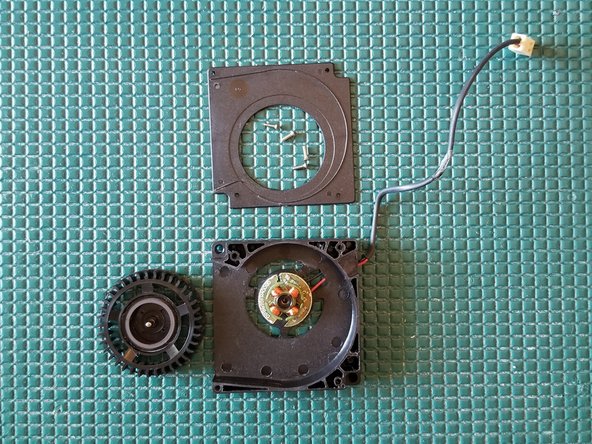
– Let’s kick things off by peeling away that tape so we can free the fan from its cozy little home. Surprise! There’s a sneaky screw just waiting to be discovered.
– Next up, grab your trusty screwdriver and take out those 4 PH0 screws – they’re just hanging out, waiting to be released.
– Now, gently remove the upper housing plate of the fan. It’s like lifting the lid off a treasure chest!
– With a little finesse, lift that fan up and over the post – it’s almost like a graceful dance move!

Step 6

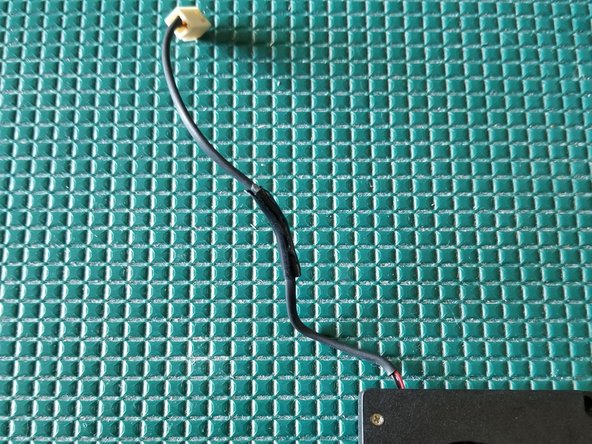
Initially, we found that using shrink tubing here can be a bit tricky – the smallest diameter that fits around the plug is a 3/8″ tube, which doesn’t quite seal properly around the cable when heated.
If you accidentally cut through the entire cable (wires and all), don’t worry – you can resolder them together and cover with shrink tubing to get everything working smoothly again.
– The wires for the fans are snugly wrapped in a thin protective sleeve. Keep an eye out for that!
– If you find any issues, feel free to use some electrical or Kapton tape to seal the deal!
Step 7

To get to the bottom of the power supply PCB, you’ll need to remove the metal shield – it’s a crucial step to get started with the repair!
– Gently detach the PCB from the lower shell and set it down with the components facing you.
– For a smooth and secure removal, give ChipQuik a shot on those two single-sided through holes. If that’s not on hand, solder wick will do the trick just fine!
Success!