Xbox DVD Repair Guide
Duration: 45 minutes
Steps: 15 Steps
Get ready to dive into the world of Xbox repairs! This guide will take you through disassembling the Xbox DVD Drive, helping you tackle repairs or simply rescue a stubborn game by giving that drive a gentle manual nudge to eject. Let’s get started on this journey!
Step 1

– Alright, let’s get this party started! First things first, make sure your Xbox is unplugged and chilling on a nice, flat surface. You wouldn’t want things getting too hot, would you? 😉
Step 2

Flip that Xbox over and check out those four rubber feet! You’ll need them for the next step.
– Let’s get started by using a metal spudger to carefully remove the four rubber feet – it’s time to get a little hands-on!
Tools Used

Step 3


– Surprise! There are 2 sneaky screws hiding under those two labels at the bottom of your case. They’re playing hide and seek!
– You have a couple of options here: either peel back the labels to uncover the treasures, or if you’re feeling adventurous, just poke a little hole through them to reveal the screw holes. No need for a treasure map here!
Step 4

– Let’s get this top cover off! Grab your T20 Torx screwdriver and remove the six screws holding it down.
Step 5


– Now that the bottom and top shells are separated, it’s time to flip your Xbox right-side-up. Gently lift and remove the top cover to get to the next step.
Step 6


The screw in the lower left corner of the disk drive is playing a little hide and seek! It may look like it’s snug in the hole, but it’s actually just hanging out a bit closer to the corner. Keep that in mind as you work your magic!
– First up, let’s kick things off by unscrewing those three 3 mm T10 screws that are holding the hard drive in place on your Xbox. Easy peasy!
– Now, here’s a little secret: there’s one sneaky screw hiding on the rear left side of the hard drive, and it only shows itself when you give that IDE ribbon cable a little lift. The other two screws are hanging out at the front right and left sides of the hard drive, just waiting for you to find them!
Step 7


– First, gently release the hard drive power cable from the carrier to get some slack – you’ll need it to lift out the hard drive.
– Next, carefully lift the plastic hard drive carrier out of the Xbox case. It’s like freeing a tiny captive – be gentle!
Step 8


– Let’s get started by removing the four 3.4 mm T15 Torx screws from the plastic hard drive carrier – two screws on each side, nice and easy.
– Now it’s time to carefully coax the hard drive out of its plastic carrier. A little gentle rocking motion should do the trick, and it’ll come out smoothly.
Step 9


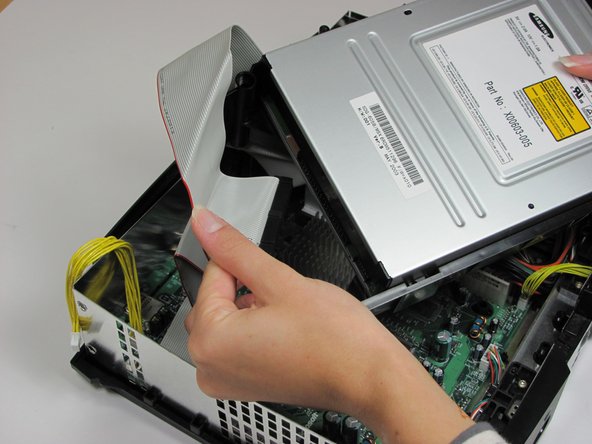
These connectors might be holding on tight, so be careful when you’re trying to remove them. Don’t yank on the wires, you might end up damaging the cable assembly!
– Gently lift both the hard drive data ribbon cable and the power cable straight up from the hard drive. You’ve got this!
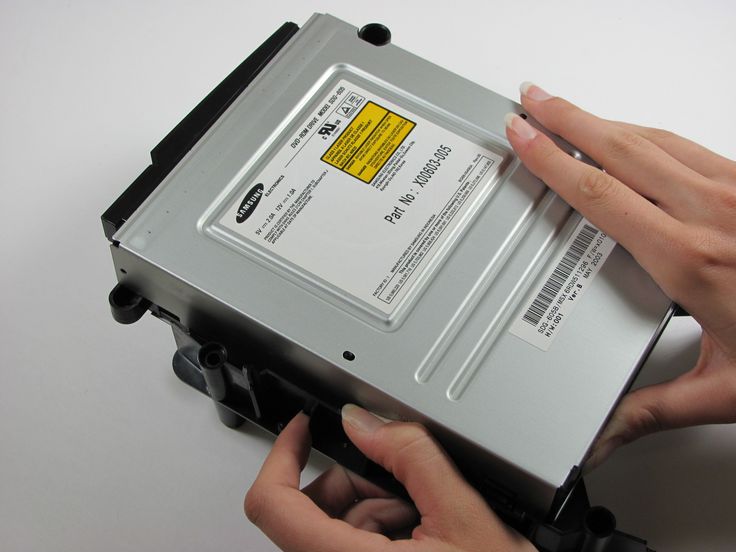
Step 10


– Let’s take that disk drive out. It should pop right out.
– Now, gently unplug the ribbon cable and yellow cables from the back of the disk drive. Easy peasy!
Step 11

If you’re trying to get to the motherboard and the disk drive is in the way, don’t worry about removing the plastic housing – you can skip that step!
– Let’s get those black plastic tabs around the disk drive outta there! Carefully pry them back to free the drive from its cozy little home. Once it’s out, set it aside for a bit – it’ll be back in action soon enough!
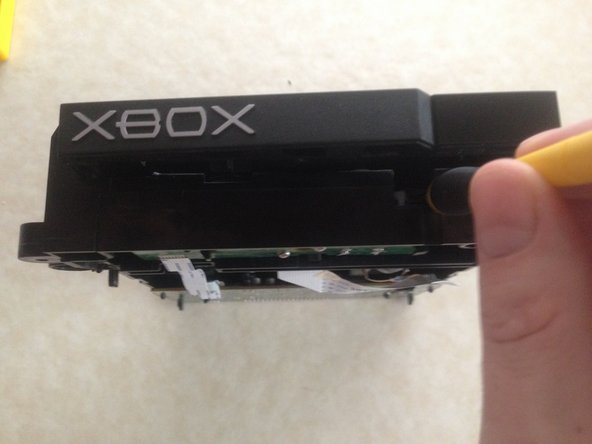
Step 12


– First, let’s get started by removing those 4 PH1 screws – it’s time to take apart your device!
– Now that the screws are out, gently lift the bottom half of the case up and away from the drive. Easy does it!
– Next, flip the drive over and carefully remove the top half of the case. You’re making great progress!
Step 13


– Carefully release the ribbon retention tab by gently pressing it back, then pull the ribbon cable back to release it. If you’re not sure, take a deep breath and remember that you’ve got this – it’s a simple step to get you closer to fixing your device!
Step 14


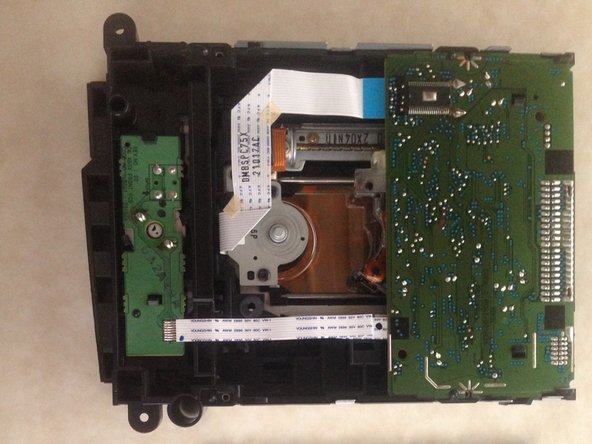
If your drive has taken a permanent vacation, it’s time to roll up those sleeves and swap out the electrolytic capacitors on the board. Just so you know, the Samsung is sporting 13 capacitors—9 radial and 4 SMD. Let’s get down to business!
– Gently push outwards on those two little plastic tabs – they’re just waiting to be set free!
– Carefully lift the PCB up and over those tabs. It’s like giving it a little lift-off!
– Only disconnect those ribbon cables if you’re planning to take the whole PCB out. They’re snug little buddies, held in place by friction. In my experience, they also have a piece of tape keeping them cozy with the connector.
Step 15


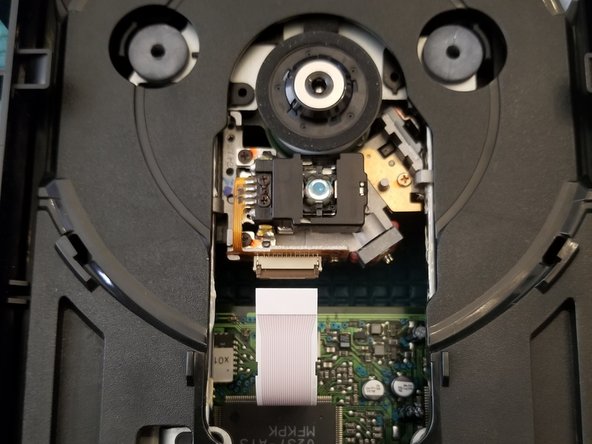
– Grab your trusty screwdriver, or any slim tool you have on hand, and gently nudge that white lever back. Position your device on the right side of the lever, giving it a little push to the right as you push back.
– With a little coaxing, the lens will drop down and your drive door will pop open about a quarter inch.
– Now, gently pull that tray all the way out. If you’ve got a game lodged in there, this is your moment to rescue it!
– If your drive door is feeling a bit stubborn when you hit the eject button, it’s the perfect time to swap out the drive belt.
– Carefully remove the old drive belt and replace it with a fresh one. We’ve even highlighted the approximate location for you.
– And don’t forget to reset that white lever when you’re putting everything back together!
Success!