Xbox One Kinect Infrared Blasters Replacement Guide
Duration: 45 minutes
Steps: 11 Steps
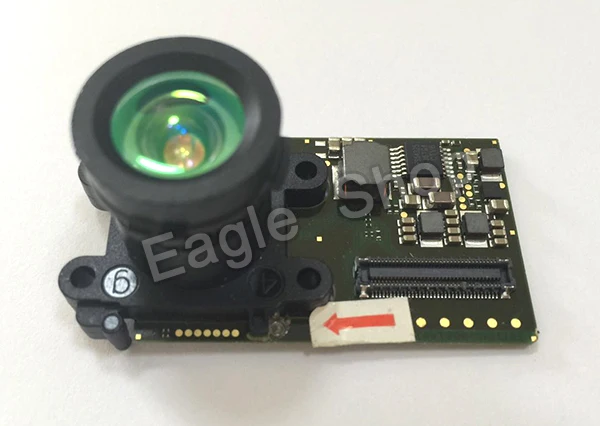
Infrared blasters mimic an IR signal, acting like your remote control buddy for nearby devices that want to join in on the fun with your Kinect. They’re all cozy and nestled on the heat sink inside the Kinect, ready to spread some wireless love!
Step 1

– Let’s start by peeling off the sticker from the bottom of your device—consider it a warm-up for the real work ahead!
– Next, grab your T10 screwdriver and remove those four 3.1×23.5 mm screws hiding beneath the sticker. They won’t bite, promise!
– And while you’re at it, don’t forget to take out the four 3.1×7.5 mm screws tucked away right beneath the sticker too. Keep track of their sizes and spots; it’s like a little scavenger hunt!
Step 2


– Time to get cozy with your device! Start by gently popping off the back panel. It’s like unwrapping a present!
– Next, let’s tackle those black side panels around the Kinect. Remove them carefully, and don’t forget to unscrew those sneaky 3.1×7.5mm T10 screws hiding underneath. You’ve got this!
Step 3


– Give those thumbs a workout! Press down firmly on the outer case, right where the stand meets the case. This will help the internal assembly loosen up.
– Now, grab that spudger and give the internal assembly a gentle lift. No need to be rough, just enough to release it from the case.
– And there you have it! The internal assembly is free! Now you’ve got easy access to the inner workings of the Kinect, including the heat sink, microphone, and LED sensor.
Tools Used

Step 4

– Time to tackle those eight pesky T9 screws measuring 2.9×7.6 mm at the back of the internal case. Grab your trusty screwdriver and let’s get to it!
– Once those screws are out of the way, gently lift the internal metal case away from the plastic shell that’s hugging the heat sink assembly. You’ve got this!
Step 5


– First up, gently disconnect that ribbon cable linking the sensor driver board to the motherboard. Easy peasy!
– Next, grab your trusty T9 screwdriver and remove the 3.0×7.5 mm screw that’s keeping the sensor driver board snug against the heat sink.
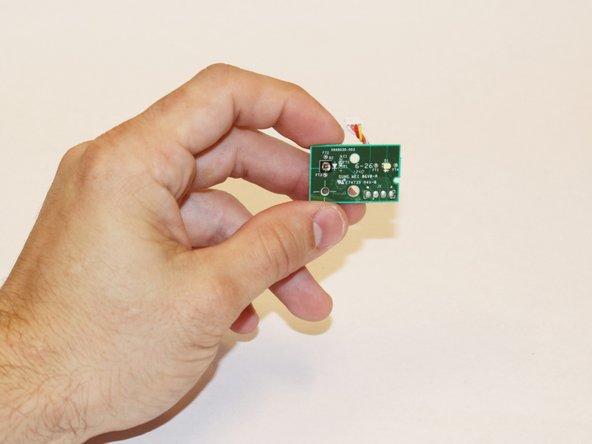
– Finally, it’s time to take out the infrared sensor board for the Kinect. You’ve got this!
Step 6


– Use your trusty tweezers to carefully detach the ribbon cable connected to the microphone – you’re making great progress!
– Next, remove the four 3.1×7.7 mm T9 screws that hold the microphone in place on the heat sink assembly. Take your time, it’s an easy step!
– Now, go ahead and remove the stand. You’re one step closer to a fully repaired device! If you’re feeling stuck, remember that you can always schedule a repair with Salvation Repair.
Step 7

– Let’s kick things off by unscrewing those eight 3.0×7.6 mm T9 screws from the motherboard. You’ve got this!
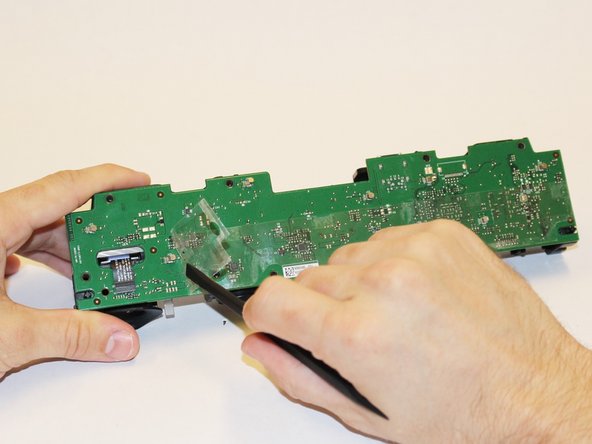
– Now, gently peel away the plastic film from the motherboard using your trusty spudger. Take your time, it’s like unwrapping a present!
– Next up, carefully detach the ribbon cable that connects to the color camera with the spudger. You’re making great progress!
Tools Used
Step 8


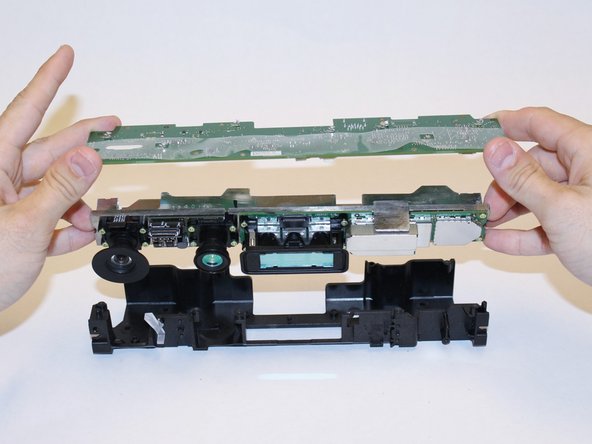
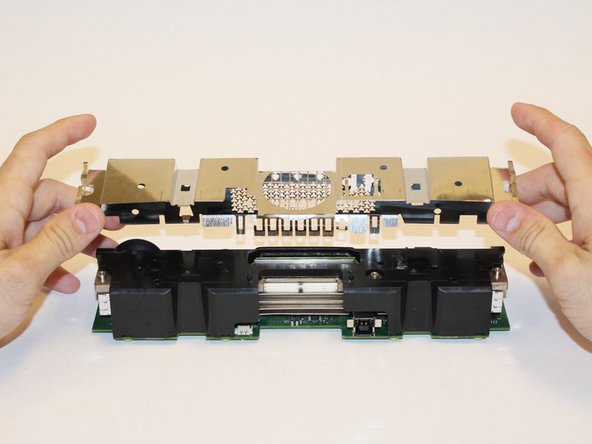
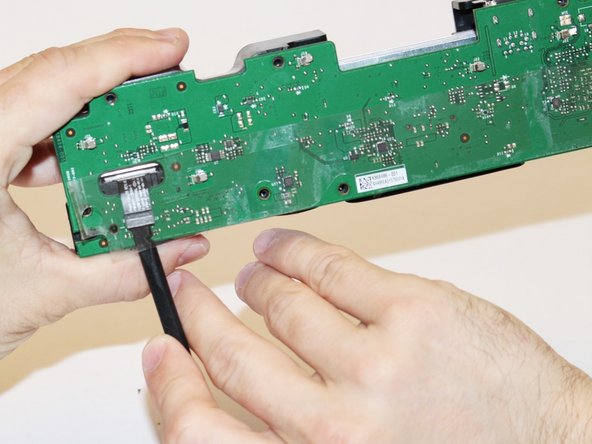
– Gently lift the motherboard along with the heat sink assembly out of the plastic shell. Now, you’ve got easy access to the components attached to the heat sink!
Step 9


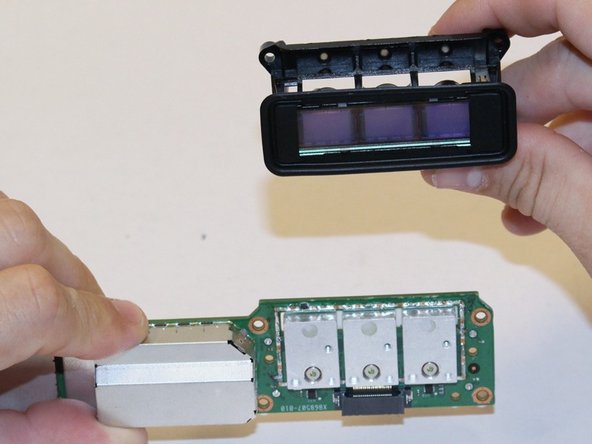
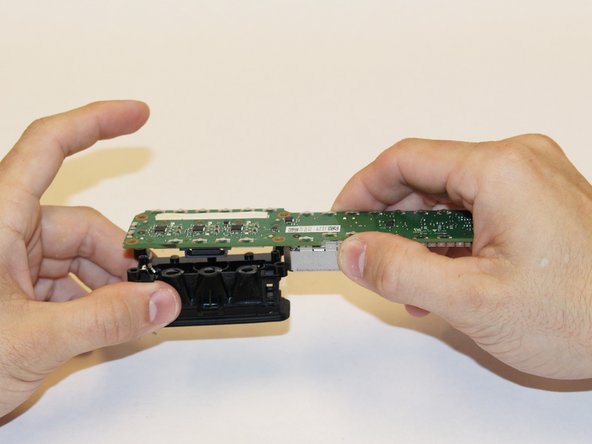
– Grab your trusty T5 torx driver and let’s get to work! First off, you’ll want to take out those four screws measuring 1.9×10 mm located on the corners of the blasters. You’re one step closer to greatness!
– Next up, locate the two 1.9×5.1 mm T5 screws chillin’ on the right-hand side of the board. Go ahead and remove them with your T5 driver. You’re doing awesome!


Step 11

– Now, you’re ready to put your device back together! Just follow these steps in reverse order, and you’ll be good to go.
– If you ran into any trouble along the way, or you’re just not feeling it, you can always schedule a repair.
–
Success!