Xbox One Kinect Microphone Replacement Guide: Step-by-Step DIY
Duration: 45 minutes
Steps: 5 Steps
The microphone is tucked away inside the Kinect stand, and it’s not meant to be taken apart. Don’t worry, you’re not alone! We’ve all been there. The good news is, you can usually find a used Kinect with a working microphone. Swap out the stand, and you’ll be back in business! If you need a hand, you can always schedule a repair.
Step 1

– First, let’s get started by removing the sticker on the underside of your device – it’s time to uncover what’s underneath!
– Next, grab your trusty screwdriver and remove the four 3.1×23.5 mm T10 screws that are hiding under the sticker. Easy does it!
– While you’re in the zone, go ahead and remove the four 3.1×7.5 mm T10 screws that are also beneath the sticker. Take a moment to note the sizes and locations of these screws, so you can put everything back together smoothly later on.
Step 2


– Let’s get started by taking off the back panel. It’s like opening a present, but way cooler!
– Next up, gently remove the black panels on each side of the Kinect. Underneath, you’ll find those sneaky 3.1×7.5mm T10 screws waiting for you. Time to unscrew them and keep moving forward!
Step 3


– Get a grip on that outer case – literally! Use your thumbs to press firmly on either side of the stand. This will help disengage the internal assembly, and you’ll be one step closer to fixing your device.
– Now it’s time to bring in the spudger. Use it to carefully lift the internal assembly, and you’ll start to see things come apart.
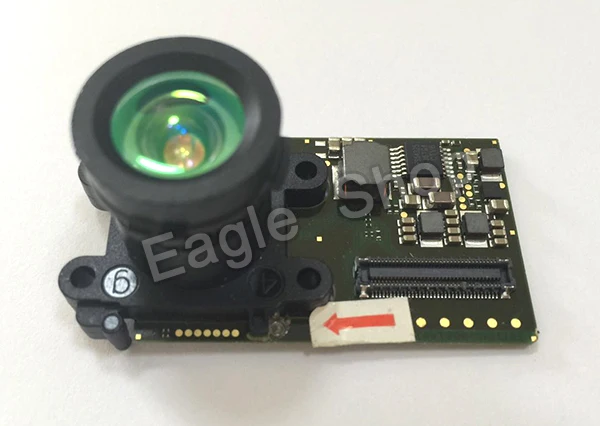
– The final step is to remove the assembly from the case. And just like that, you’ll have access to the inner shell, heat sink, microphone, and LED sensor. You’re making great progress!
Tools Used

Step 4


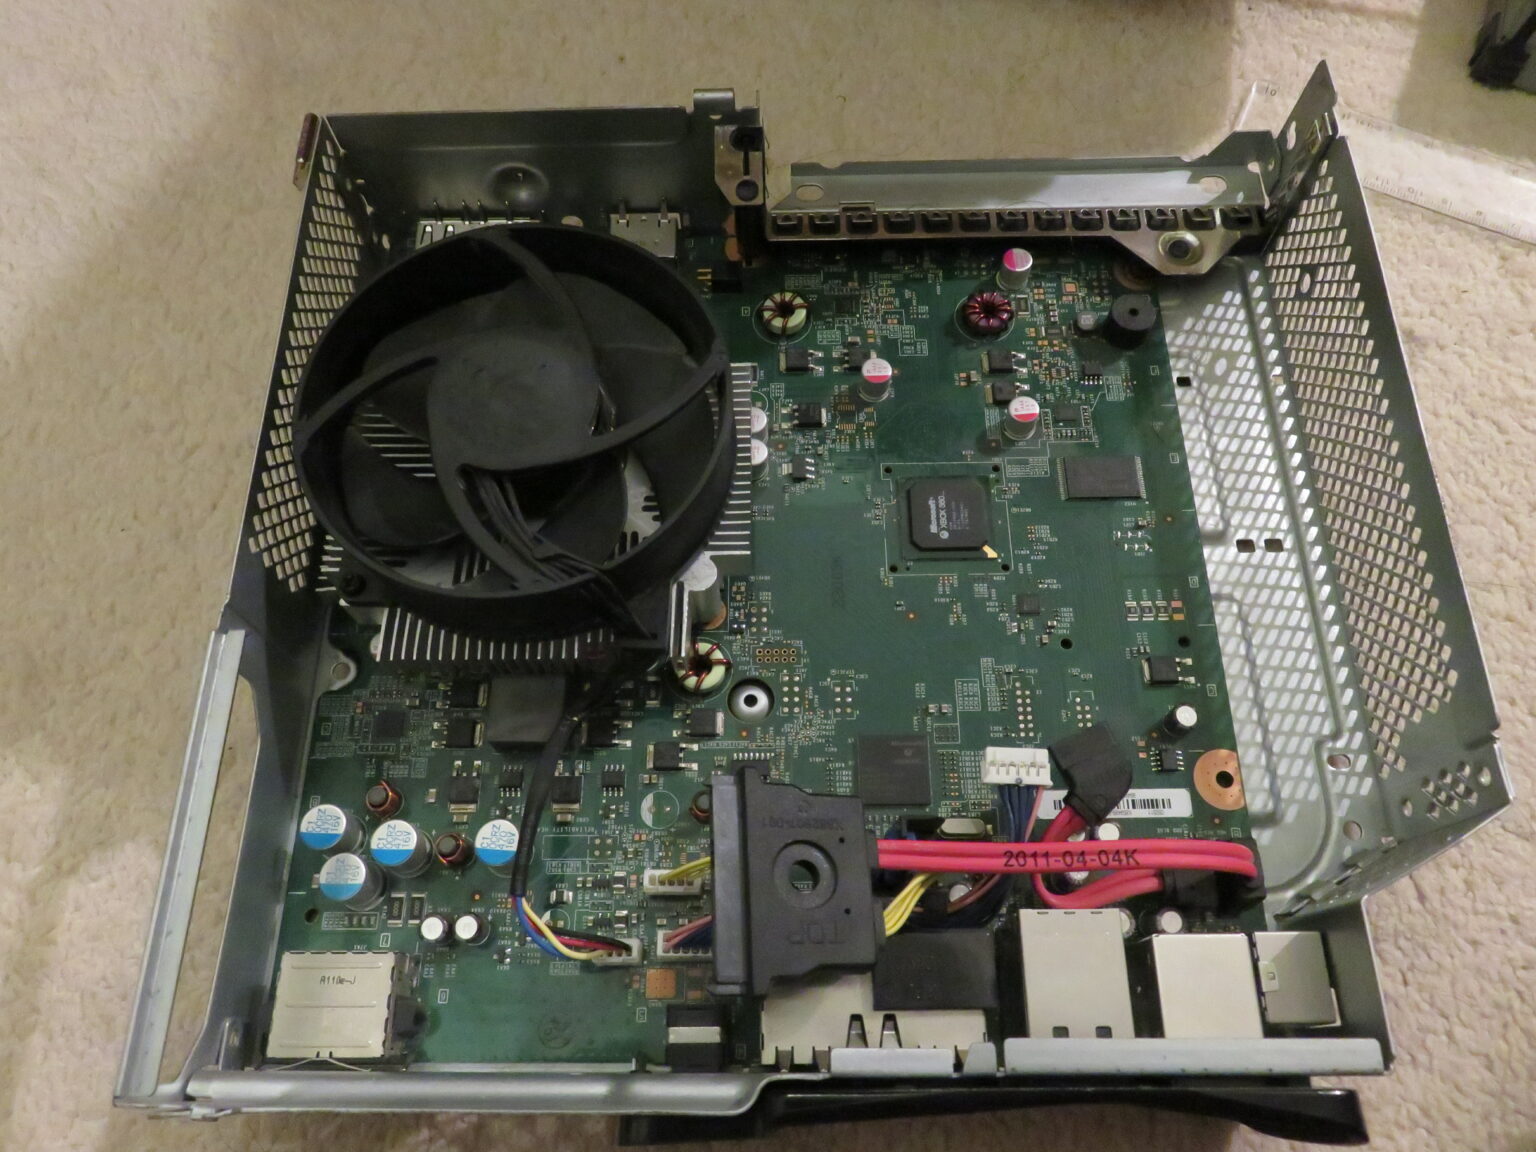
– First things first, unplug that cable linking the infrared sensor to the motherboard – give it some space!
– Next up, grab your trusty T9 screwdriver and remove that lone 3.1×7.7 mm screw holding the infrared sensor in place.
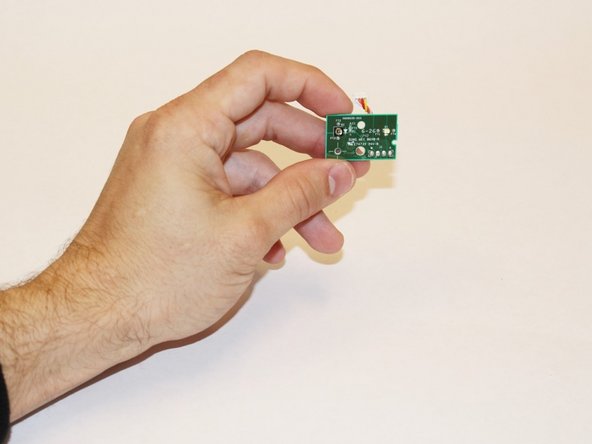
– Finally, gently lift out the infrared sensor board for the Kinect and set it aside with care.
Step 5

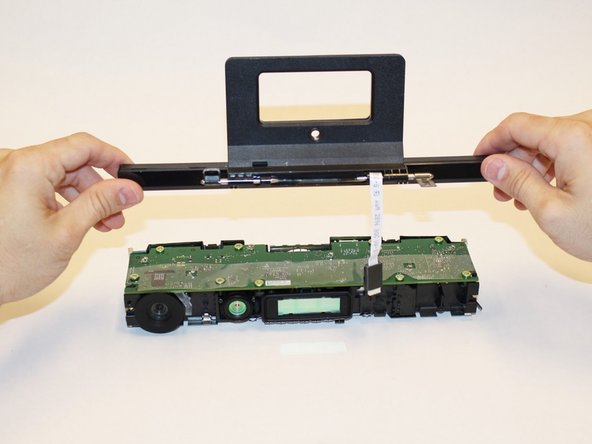

– Let’s get started by carefully removing the white ribbon cable from the motherboard using tweezers – it’s like a tiny little dance, but be gentle!
– Next, remove the four 3.1×7.7 mm T9 screws that are holding the stand with the microphone in place. Easy does it!
– Now, use a spudger to carefully unstick the black bracket that’s holding the ribbon cable, and then remove the stand from the body of the Kinect. You’re making great progress!
– Finally, replace the stand with a working one from a different Xbox One Kinect. If you need help, you can always schedule a repair with Salvation Repair.

Success!