Xbox One S Hard Drive Replacement Guide: Step-by-Step DIY Tutorial
Duration: 45 minutes
Steps: 11 Steps
Ready to upgrade your device’s hard drive for more storage without the hassle? This guide will help you swap out your old hard drive for a bigger one, step by step. Let’s get you rolling and make that upgrade happen!
Step 1

– Turn the Xbox One S upside down so the bottom of the case is pointing toward the sky!
Step 2

Watch out! Those clips might just decide to break a leg when you’re removing the bottom from the case.
As you work your magic to pry the case open, don’t be alarmed if you hear some clicking sounds – that’s just the clips letting go! Removing the bottom might take a bit of effort, but you’ve got this!
We suggest starting at the back where the warranty sticker hangs out. Gently pry along the rear edge until all the clips have freed themselves. Then, tackle each side one by one. Once you’ve got three sides loose, head to the front opposite the sync button. Remember, take your time and stay chill, and everything should come apart without a hitch!
– Let’s kick things off at the back of your device where that sneaky warranty sticker is hiding. Take your trusty plastic opening tool and slide it into the tiny gap between the bottom of the case and the top, which is all grated and cool. Now, keep your eyes peeled for those clips that are working hard to keep everything snug. With a little finesse, use the opening tool to gently release those clips. A great strategy? Try prying the black case away from the bottom – it usually works like a charm!
– Remember to focus on popping those clips out using your opening tool. Just like before, the key is to gently pry the black case away from the bottom. You’ve got this!
Step 3

– Now that you’ve got all the clips open, it’s time to take off the bottom part of the case.
Step 4


– Grab your trusty T10 Torx screwdriver and let’s get to work! Carefully unscrew the six charming green screws, each measuring 50 mm, from the metal case. They’re labeled F1 through F6, so keep an eye out for them!
Step 5


– Carefully pry the interior case away from the white exterior case – it’s like opening a little present!
– Gently push the white plastic sides outwards at the back to release them from the plastic I/O shield. Take your time, it’s an easy step!
Step 6

– Now it’s time to flip that interior case so the fan side is facing up – let’s get this repair started!
Step 7

– To get to the inner workings of your device, simply give the top panel a gentle pop and lift it off. It should come away easily!
Step 8


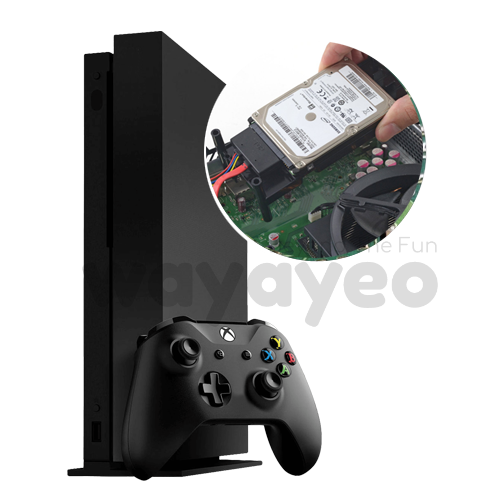
Now it’s time to set that hard drive free! Detach the plastic casing surrounding it from the rest of the console – it’s like a little liberation party in there.
Some models might need a little extra help from their friends C4 and C5, so be sure to check your console’s specs.
– Alright, let’s get this hard drive swapped out! Flip your console over and locate those two 10 mm T-10 Torx screws, C3 and C5. Give them some love and remove them from the back of your Xbox One S. You’re doing great, keep it up!
Step 9


– Carefully release the hard drive from the motherboard by gently pulling it away from the two plastic connector bodies. If you’re not sure, take a deep breath and remember that you’ve got this – it’s a straightforward process!
Step 10

– Let’s get started by removing the four black 10mm T10 Torx screws from the black plastic mount. Take your time and make sure they’re all out before moving on to the next step.
Step 11


Now that you’ve successfully removed your hard drive, it’s time to put everything back together! Simply follow this guide in reverse order to reassemble your Xbox One S and get back to gaming.
– To put everything back together, just follow these steps in reverse – easy peasy!
– If you didn’t quite get it done, no worries! You can always schedule a repair and let the pros handle it.
– You’re almost done! Take a deep breath, and you’ll be enjoying your freshly repaired device in no time.
Success!