
Xbox One Stereo Headset Microphone Replacement Guide
Duration: 45 minutes
Steps: 6 Steps
Alright, let’s get this mic swap done! It’s just a few easy steps to get to the microphone. But, to fully detach it and install the new one, we’ll need to do a little soldering. No worries, we’ve got you covered! Just check out our soldering technique guide to learn how to solder and desolder like a pro. If you need help, you can always schedule a repair.


Step 2

– Time to get handy! Start by taking out that lone 6 mm flathead #2.0 screw that you’ll see after you pop off the rubber stopper. You’re doing great—keep it up!
Step 3

– Gently swing the boom joint up and over its pivot point to unhook the mic from the headset.
Step 4


The back plate is stuck on there with some glue, so you’ll need to gently pry it off. Just take your time and be careful not to damage anything while you’re at it!
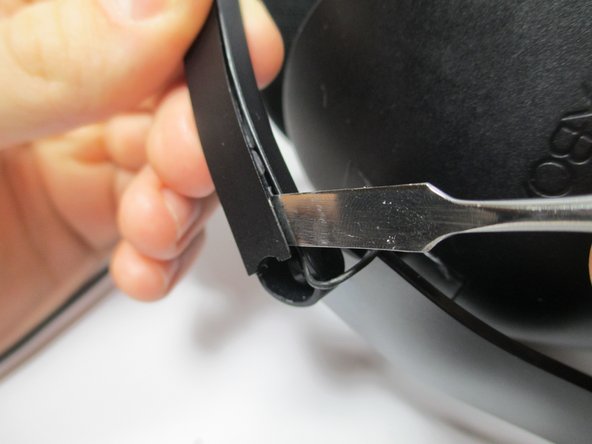
– Grab the flat end of your trusty metal spudger and carefully pop off the back plate of the boom.
– When reassembling, just add a few drops of super glue to keep it secure.
Tools Used

Step 5

– Gently pop off the back plate from the boom.
Step 6

– Now that you’ve tackled the assembly, just retrace your steps and put everything back together like a pro!
– If you hit a snag, remember, you can always schedule a repair for some extra support.
– You’ve got this!
Tools Used
Success!

