Xbox Original Disassembly Guide
Duration: 45 minutes
Steps: 20 Steps
Hey there, this repair guide’s all about taking apart the OG Xbox, not the Xbox 360. You’ll be a console master in no time!
Step 1

– Let’s get started! Begin by placing your Xbox on a flat, stable surface with the power cord unplugged. This will give you a safe and secure workspace to tackle the repair.
Step 2

– Flip the Xbox over, and with your trusty metal spudger, gently pry off the rubber feet. You’ve got this!
Tools Used

Step 3

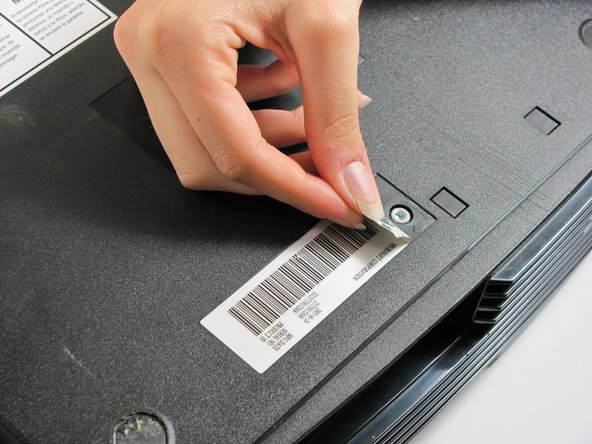
– Now it’s time to get to the good stuff! Peel back the silver sticker and the white barcode sticker to expose two more screws that were hiding underneath.
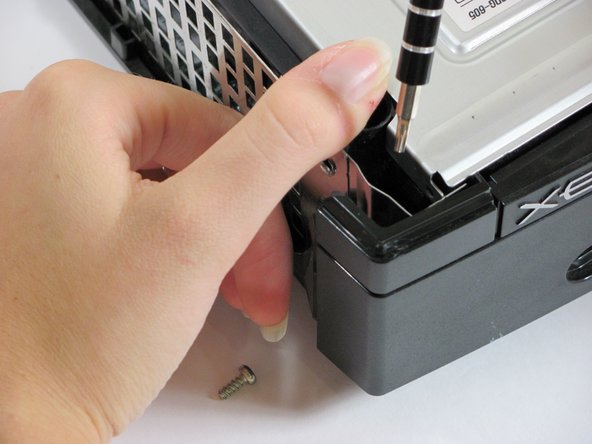
Step 4

– Grab your trusty T20 Torx screwdriver. Let’s remove those four screws hiding under the rubber feet we just took off, along with the two we freed from those stickers earlier!
Step 5


– Alright, with the bottom shell out of the picture, carefully flip your Xbox right-side-up. Now you can just lift that top shell right off!
Step 6

That screw on the lower left corner of the disk drive? It’s playing hide and seek! It’s not actually in that hole – look a tad closer to the corner, you’ll find it!
– First, gently move that grey ribbon cable out of the way so you can access the three 3 mm screws. Grab your trusty T10 Torx screwdriver and remove these screws, which are conveniently located on the upper right, lower right, and lower left corners of the disk drive.
Step 7
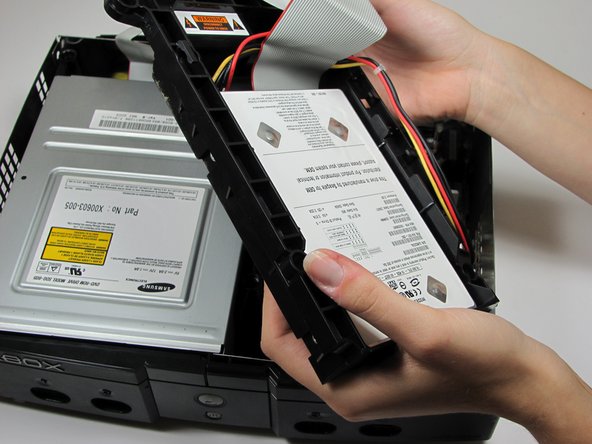

– Gently lift the hard drive storage unit out of the Xbox; it should slide out with ease. No fuss, no muss!
– Unplug the power cable from around the hard drive so it can pop out smoothly. A little wiggle goes a long way!
Step 8


– Grab your trusty T15 Torx screwdriver and remove the four 3.37mm screws from both sides of the hard drive – it’s time to get this repair started!
– Now, gently pry off the plastic housing from the hard drive. Don’t worry about the clips, they’re easy to release and it should come off smoothly.
Tools Used

Step 9


These screws can be a bit stubborn, but with a little gentle persuasion, you’ll get them out in no time!
– Let’s get started by unplugging both the ribbon cable and the power cable from the hard drive. This is a crucial step, so make sure to disconnect them carefully.
Step 10


– First things first, let’s get that disk drive out of the way! Give it a little tug, and it should slide right out like it’s saying goodbye.
– Next up, we’ll gently detach the ribbon cable and those yellow cables from the back of the disk drive. They’re ready to take a break, so unplug them carefully.
Step 11

– Alright, time to free that disk drive! Gently pry those black plastic tabs around the drive to pop it loose. Once it’s out, set it aside safely.
Step 12

– Time to unplug that multi-colored power cord from the motherboard. It might be a little stubborn, so give it a good, steady pull. Don’t worry if it feels tight—just keep at it, and it should come free!
Step 13


– Grab your trusty T10 Torx screwdriver and give those two 3mm screws on the power supply board a gentle nudge. You got this!
Step 14

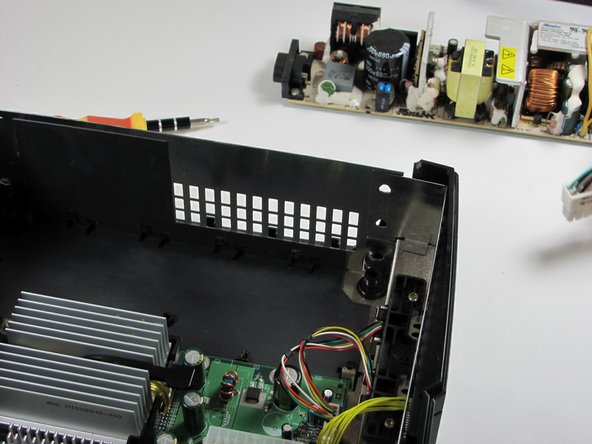
– Gently detach the power supply and set it aside. It should pop right out like a champ!
Step 15


– Time to unplug! Disconnect the yellow cable bundle and the rainbow cord from the motherboard.
Step 16
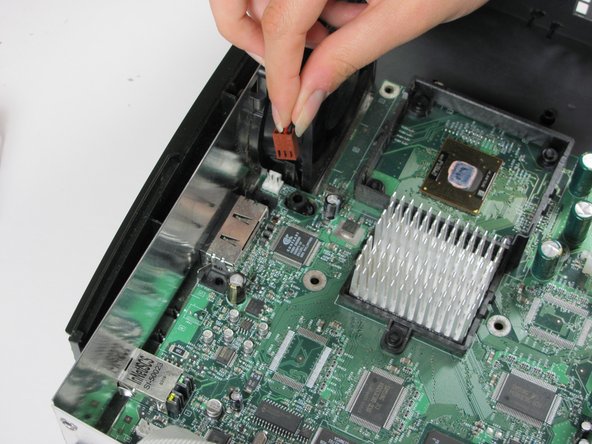
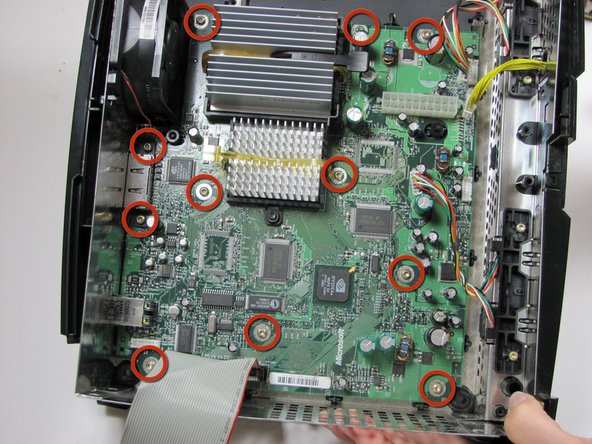
– Let’s get started by removing eleven 3mm screws from the motherboard. Grab your trusty T10 Torx screwdriver and refer to the picture to locate all eleven screws.
– Next, carefully unplug the power cable attached to the fan. Easy does it!
Step 17

– Alright, let’s get that motherboard out! Just make sure you’ve removed all the screws and disconnected the fan. Then, it should lift right out – easy peasy!
Step 18

Be prepared for a bit of a workout, as those clips can be pretty stubborn. And don’t say we didn’t warn you – the fan is likely to be clogged with dust and dirt!
Step 19

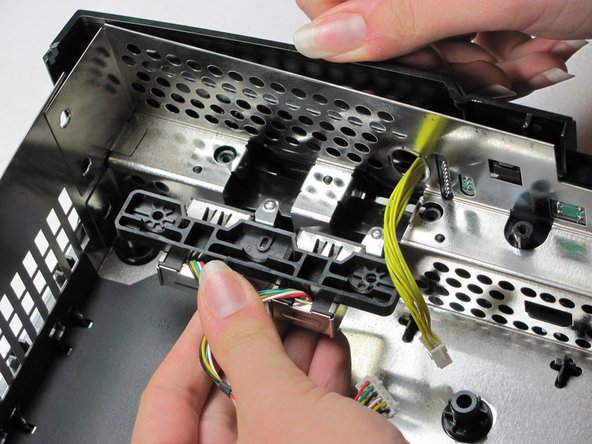
– Grab your trusty T10 Torx screwdriver and let’s tackle those two 3mm screws nestled in each of the two controller sockets. Time to get them out!
– Now, gently pull the sockets back and up at the same time. They should come right out, just like magic!
Step 20

– Awesome! You’ve successfully taken apart your Xbox. Time to tackle the next steps with confidence!
Success!