Zeki Droid Tablet Battery Replacement
Duration: 45 minutes
Steps: 8 Steps
Ready to give your tablet a new lease on life? This step-by-step guide will walk you through taking it apart and swapping out the battery. Expect to spend about forty minutes, and be prepared to handle some soldering gear and sharp tools along the way.
Step 1
– Gently work your way around the edges, popping each tab out one by one with a plastic opening tool to lift off the back casing.
Step 2
– Carefully peel off the tapes from the connecting wires one at a time using tweezers—slow and steady wins this race!
Step 3
Give those clips a gentle pop, and they’ll come loose—no need to wrestle with the speakers.
– Gently pop off the black clips from each side of the casing using your trusty plastic opening tool. You’ve got this!
Step 4
Be gentle with the speakers—they’re hooked up to delicate wires, so no yanking, okay?
– Gently remove the speakers from the back casing. Take your time and don’t rush – we’re almost there!
Step 5
– Gently detach the speakers from the back casing, taking your time to ensure nothing gets damaged.
Step 6
Keep that battery straight and steady—no bending allowed!
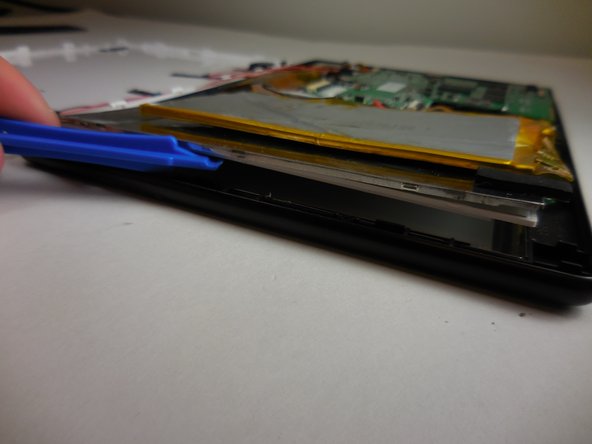
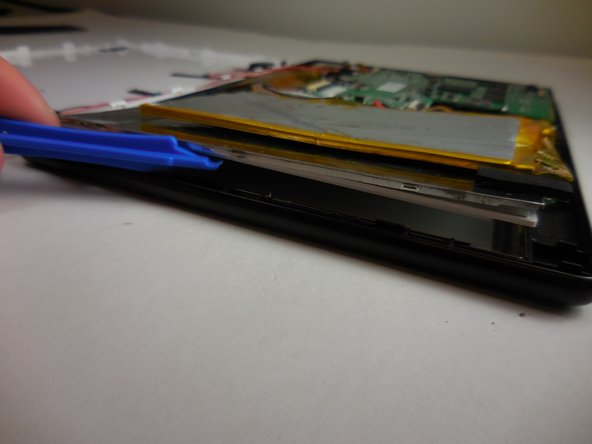
– Grab an opening tool and gently wiggle it between the battery and that pesky sticky glue. With a little finesse, the battery should pop right out!
Tools Used
Step 7
If your new battery comes with the circuit board already in place, feel free to desolder the red and black wires from the motherboard instead of messing with those metal tabs. You’ve got this!
– First things first, let’s find those two metal tabs that are holding the battery to the tiny circuit board. You’ve got this!
– Now, grab your trusty soldering tool and carefully desolder those tabs from the circuit board. Take your time, and remember, practice makes perfect!
– If you need a little guidance on soldering, check out the How To Solder and Desolder Connections.
Step 8
If your battery is still connected to the circuit board, it’s time to bring those red and black wires back to their home on the motherboard with some soldering magic!
– Ready to bring your device back to life? Just work through these steps backward, and you’ll have it all set in no time!
– If things get tricky or overwhelming, you can always schedule a repair for expert help.
Success!


