Zeki Droid Tablet Camera Replacement
Duration: 45 minutes
Steps: 8 Steps
Time to swap out those cracked or malfunctioning cameras on your Zeki Droid Tablet! Don’t worry, this quick adventure will only take about twenty minutes. Grab your trusty spudgers and tweezers, and let’s get to work! If you need help, you can always schedule a repair.
Step 1
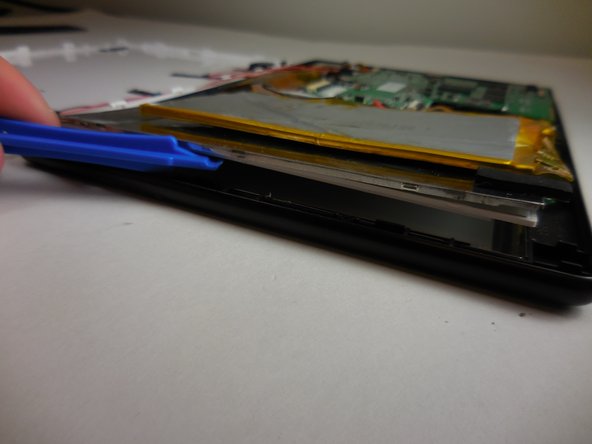
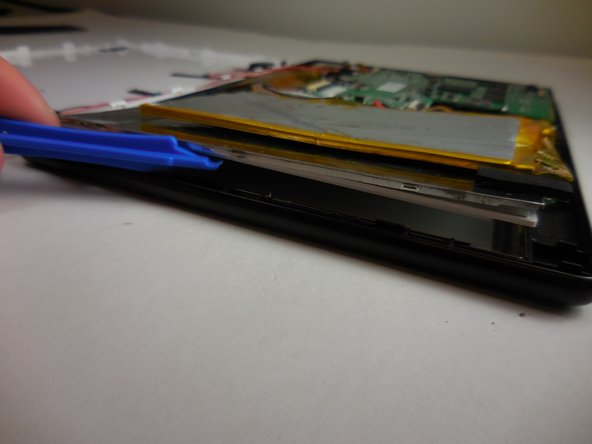
– Gently detach the back casing by carefully popping each tab out using a plastic opening tool. You’ve got this!
Step 2
– Gently peel off each tape from the connecting wires using your tweezers, one by one. Take your time and keep it steady – we don’t want any surprises here!
Tools Used
Step 3
The clips should pop off independently from the speakers—no drama, no hassle. Just give them a firm but respectful nudge, and they’ll part ways like old friends.
– Use a plastic opening tool to gently pop off the black clips from both sides of the casing. They’ll come off with a little nudge, no need to force it!
Step 4
Handle those speakers with care! They’re connected to some delicate wires, so let’s avoid any tugging.
– Take out the speakers from the back casing with care.
Step 5
– Gently wiggle those speakers away from the back casing. You’ve got this!
Step 6
The adhesive can be a bit stubborn, making it tricky to free the cameras from the tablet. A little extra patience here goes a long way!
– Gently grasp the camera on either side with your tweezers or fingers, and lift it off the board with care.
Tools Used
Step 7
Take it easy with the ZIF connector! It should separate smoothly without much effort at all.
This guide offers all the juicy details you need to tackle that ZIF connector like a pro!
– Gently release the ZIF connector that links the cameras to the motherboard using a plastic spudger or even your trusty fingernail. You’ve got this!
Tools Used
Step 8
– Now, simply work your way back through these steps to reassemble your device. It’s like putting together a puzzle, but much cooler.
– If you’re stuck or need a hand, don’t hesitate to schedule a repair. We’re here to help!
Success!


