Zeki Droid Tablet Reflective Screen Replacement
Duration: 45 minutes
Steps: 8 Steps
Swap out that reflective sheet tucked inside your screen to boost the clarity of those images on your tablet. It’s easier than it sounds!
Step 1
– Gently detach the back casing by carefully prying each tab loose with a plastic opening tool. Take your time and enjoy the process!
Step 2
– Let’s get started by carefully removing the tapes from the connecting wires one by one using tweezers.
Tools Used
Step 3
The clips should cheerfully detach from the speakers, making your repair journey a breeze!
– Use a plastic opening tool to gently pry off the black clips from both sides of the casing. Take it slow and steady—no need to rush this part. If things get tricky, don’t hesitate to schedule a repair.
Step 4
Handle the speakers gently—those wires are delicate little things, so no yanking!
– Gently detach the speakers from the back casing. Take your time—this part can be a little tricky, so don’t rush it. If things get tough, you can always schedule a repair.
Step 5
– Carefully detach the speakers from the back casing, taking it slow and steady to avoid any mishaps.
Step 6
Don’t lose track of those little screws! They’re your best pals when it’s time to put the motherboard back in place at the end of your repair adventure.
– Grab your trusty Phillips #000 screwdriver and carefully unscrew those three little screws holding the motherboard in place. You’ve got this!
Tools Used
Step 7
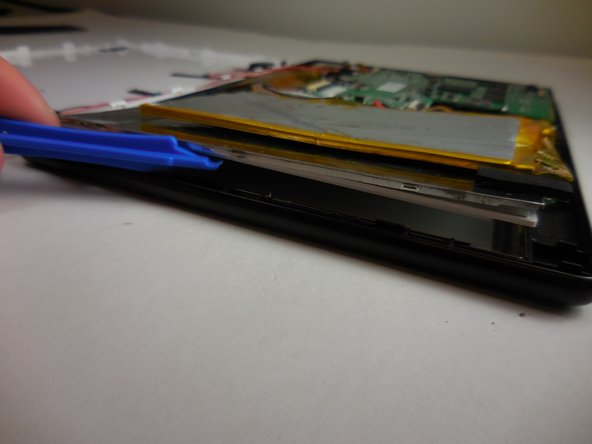
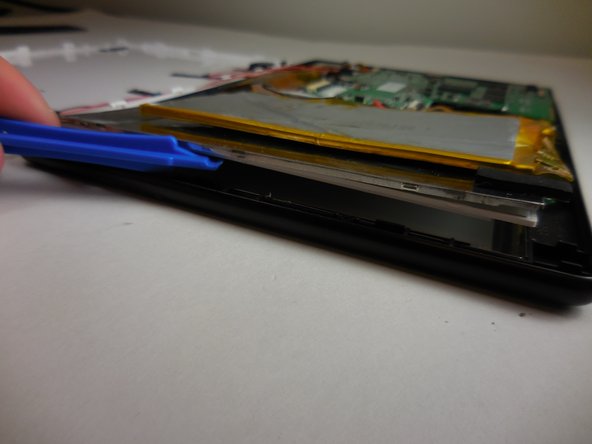
– Grab your plastic opening tool and gently wiggle those metal and plastic plates away from the tablet’s insides. Take your time popping each tab off one by one until the plates are mostly free from the base.
Step 8
– To get your device back in action, simply reverse the steps you followed to take it apart.
– If you need help or have any questions, you can always schedule a repair with Salvation Repair.
Tools Used
Success!


