Canon EOS 5D Mark II LCD Replacement
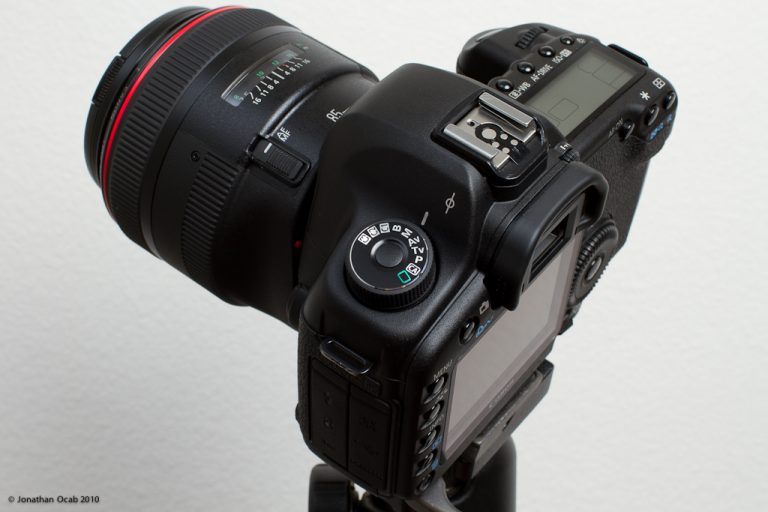
The Canon EOS 5D Mark II is a professional-grade digital single-lens reflex camera that is widely used by photographers around the world. Like all electronic devices, it is not immune to damage and may require repair at some point. In this tutorial, we will guide you through the process of replacing the LCD screen on your Canon EOS 5D Mark II.

Before you begin, make sure you have the necessary tools and replacement parts. You will need a Phillips #000 screwdriver, a plastic spudger, and a new LCD screen. It is also a good idea to have a can of compressed air and a soft cloth on hand to clean the camera’s interior.
Step 1: Remove the Rubber Flap
Lift the rubber flap covering the input/output jacks. Using a Phillips #000, remove the single 3.4 mm screw.

This step will permanently erase all user settings. The memory battery can now be easily slid out of place.
Step 2: Remove the In/Out Port Cover
Peel back the rubber cover above the in/out ports to reveal two screw heads. Remove both 5.4 mm screws using a Phillips #0.

Lift the in/out port plastic covering from the bottom where the backup battery used to be.
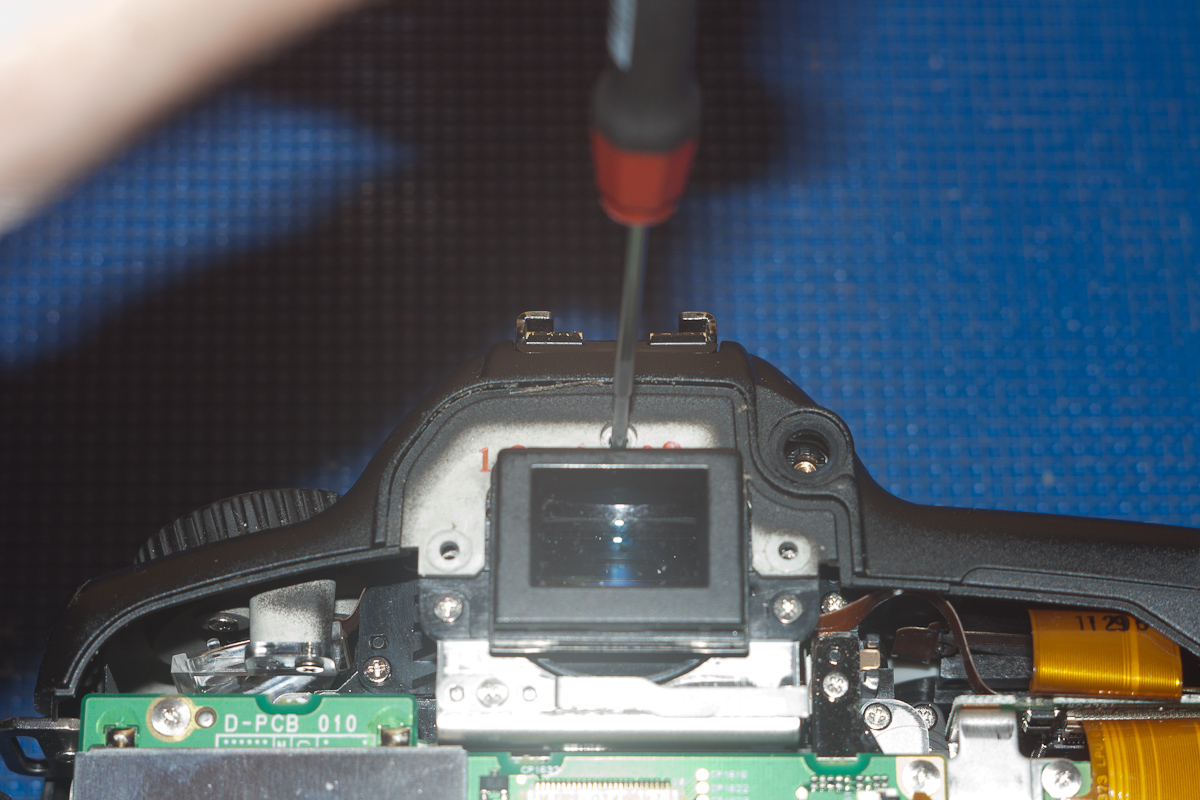
Step 3: Remove the Viewfinder Screws
Remove each 6.3 mm screw on either side of the viewfinder using a Phillips #0 screwdriver.

Remove the three 4.8 mm screws on the bottom of the back plate using a Phillips #0.
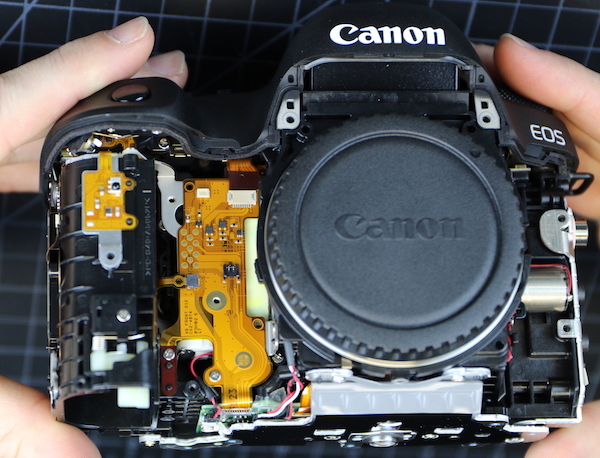
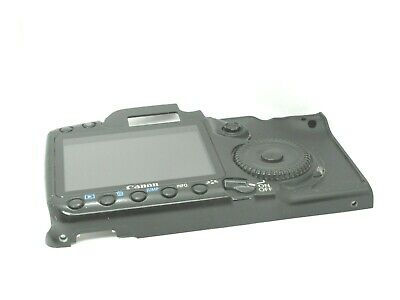
Step 4: Remove the Back Panel
Peel back the rubber covering next to the menu dial to access the screw. Remove the single 3.4 mm screw using a Phillips #0.

The back panel can now fall off easily by turning the device upside down. Be sure to catch it so the data ribbons do not tear or tug.
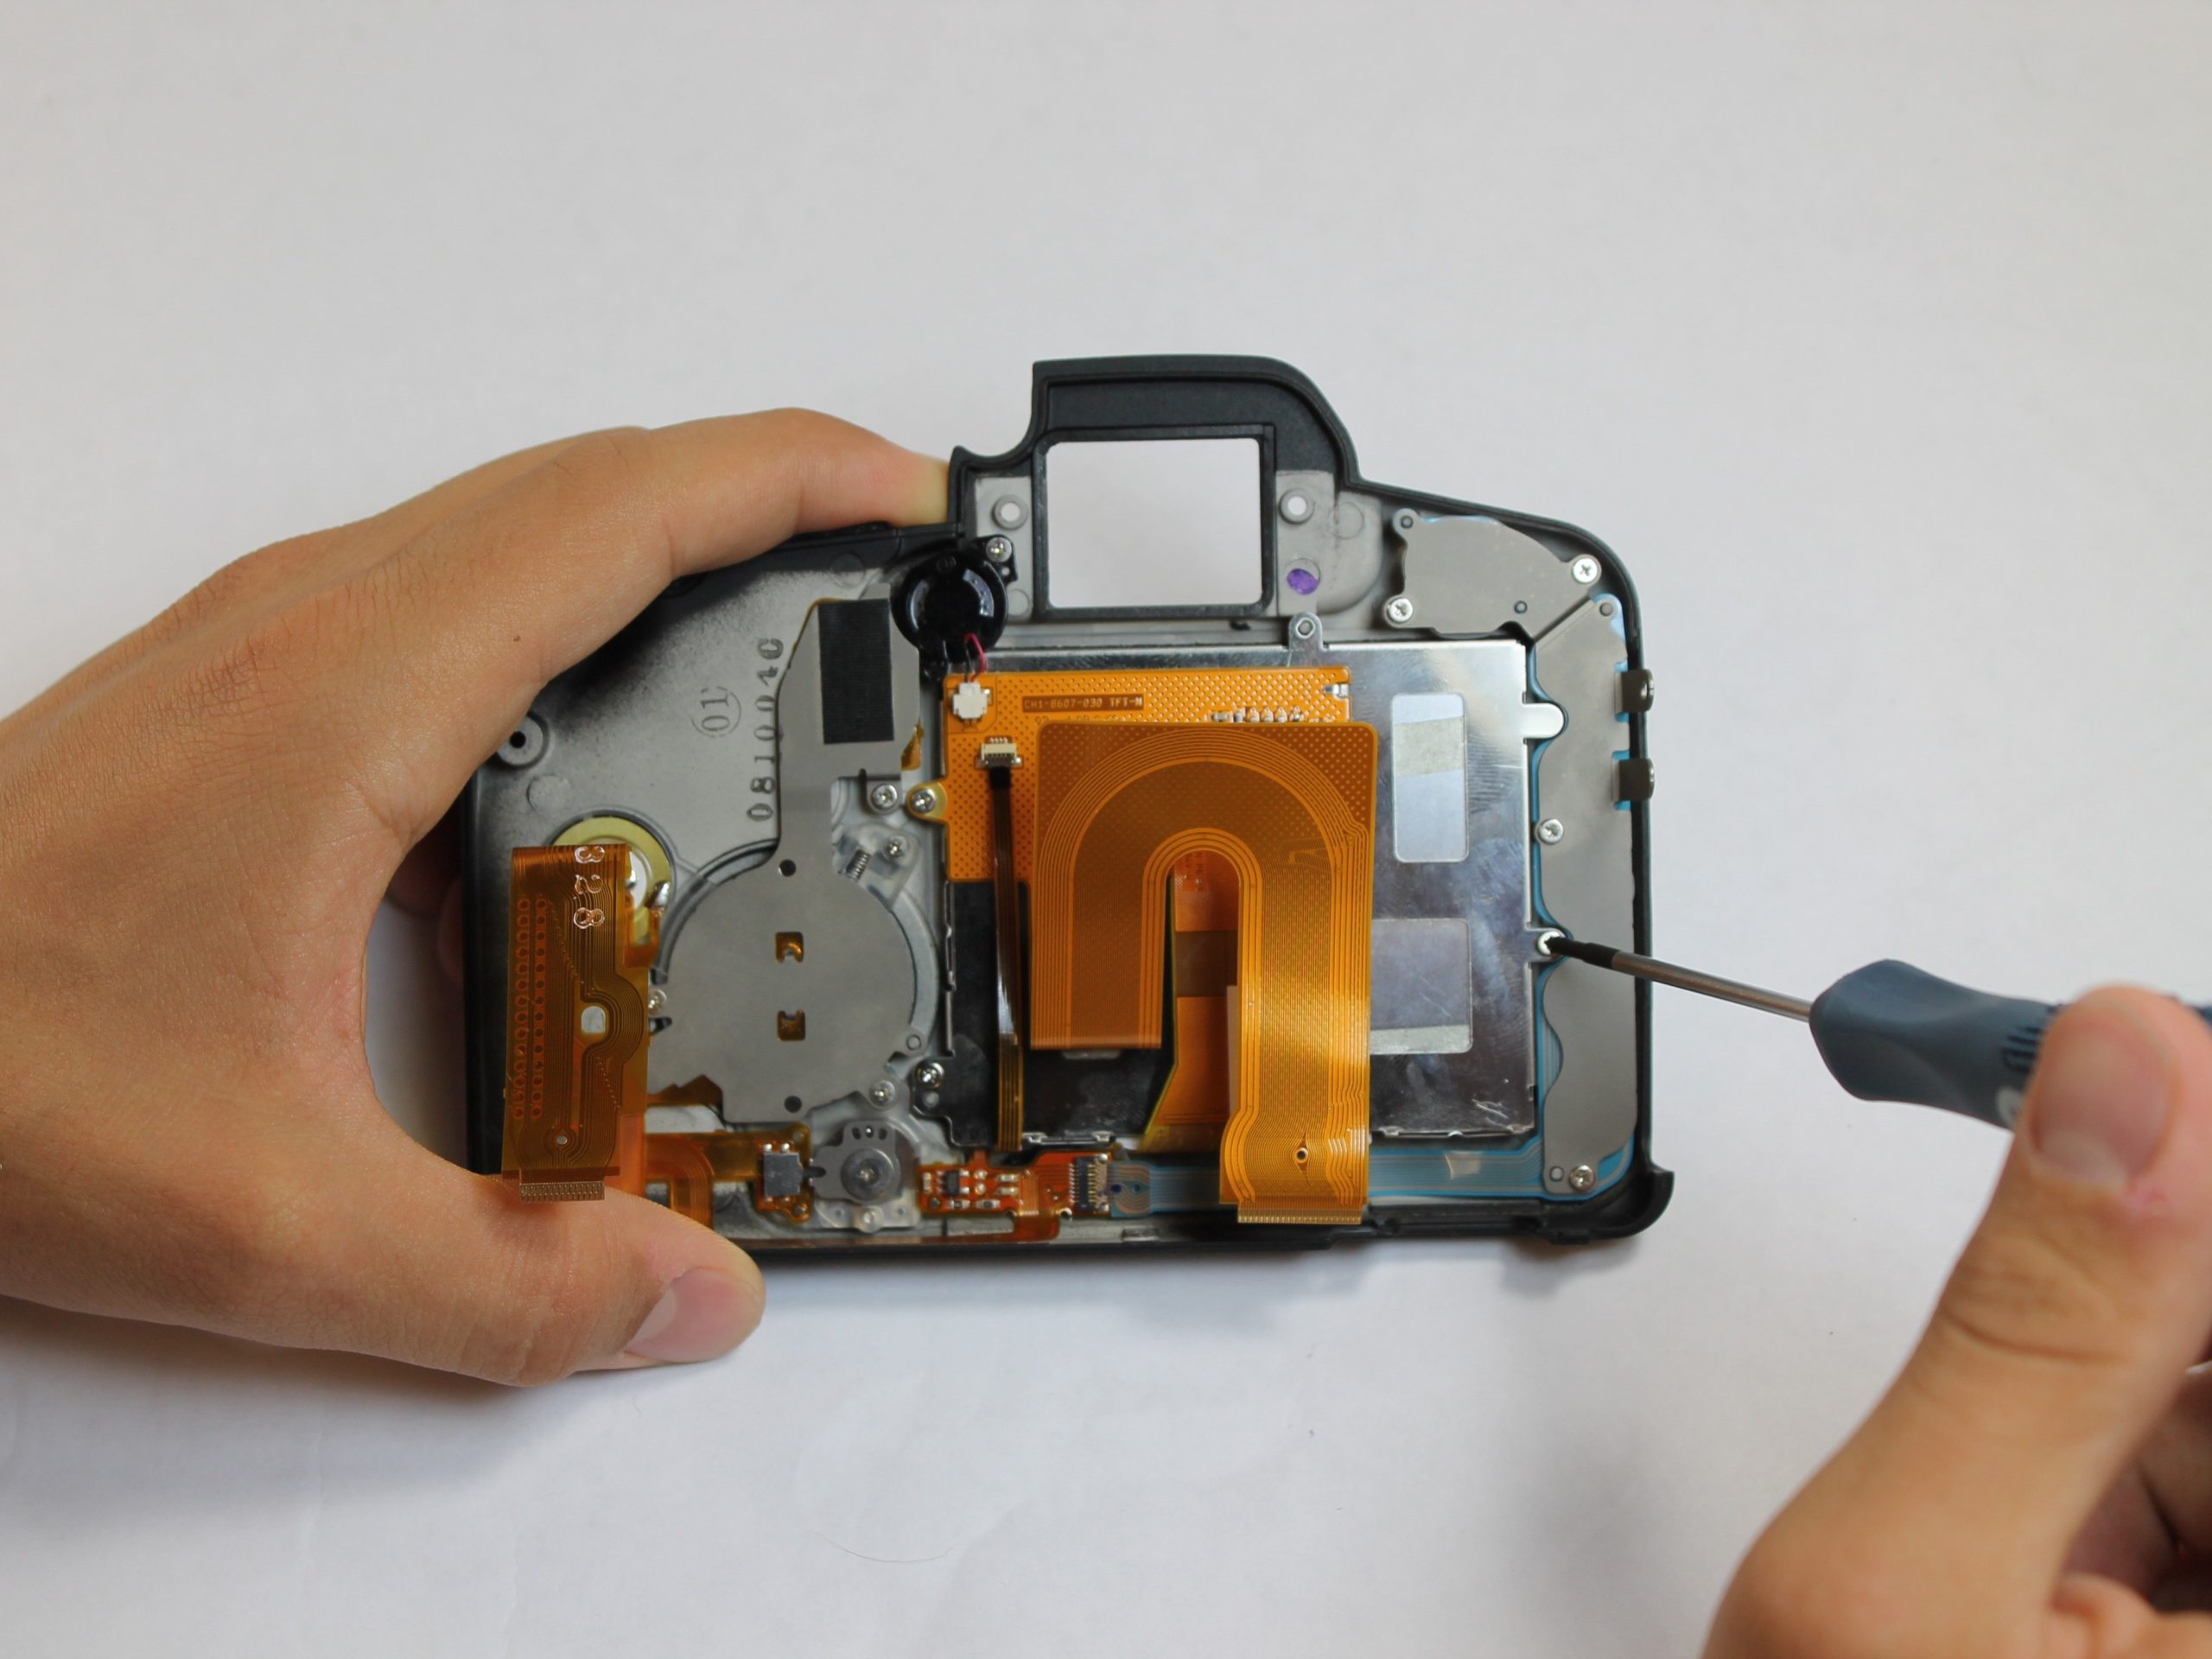
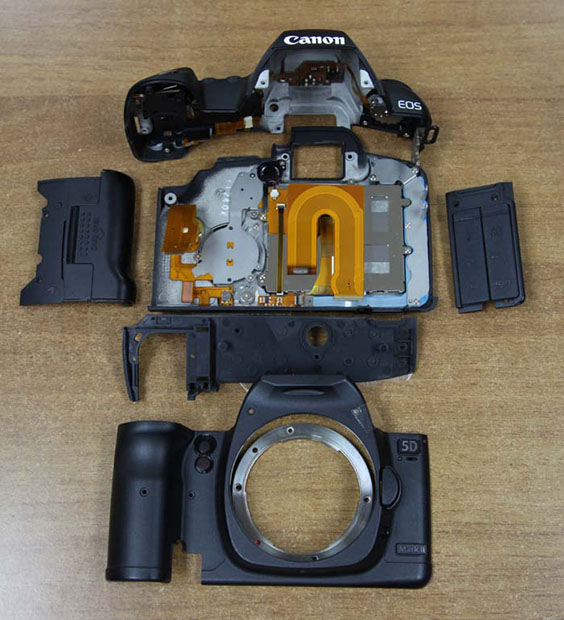
Step 5: Remove the Data Ribbon Cables
Remove each data ribbon cable from the motherboard by applying pressure down towards the motherboard and gently sliding your thumb upwards on the slot where the cable meets the motherboard. This will raise a very small clip that locks the cable in place.
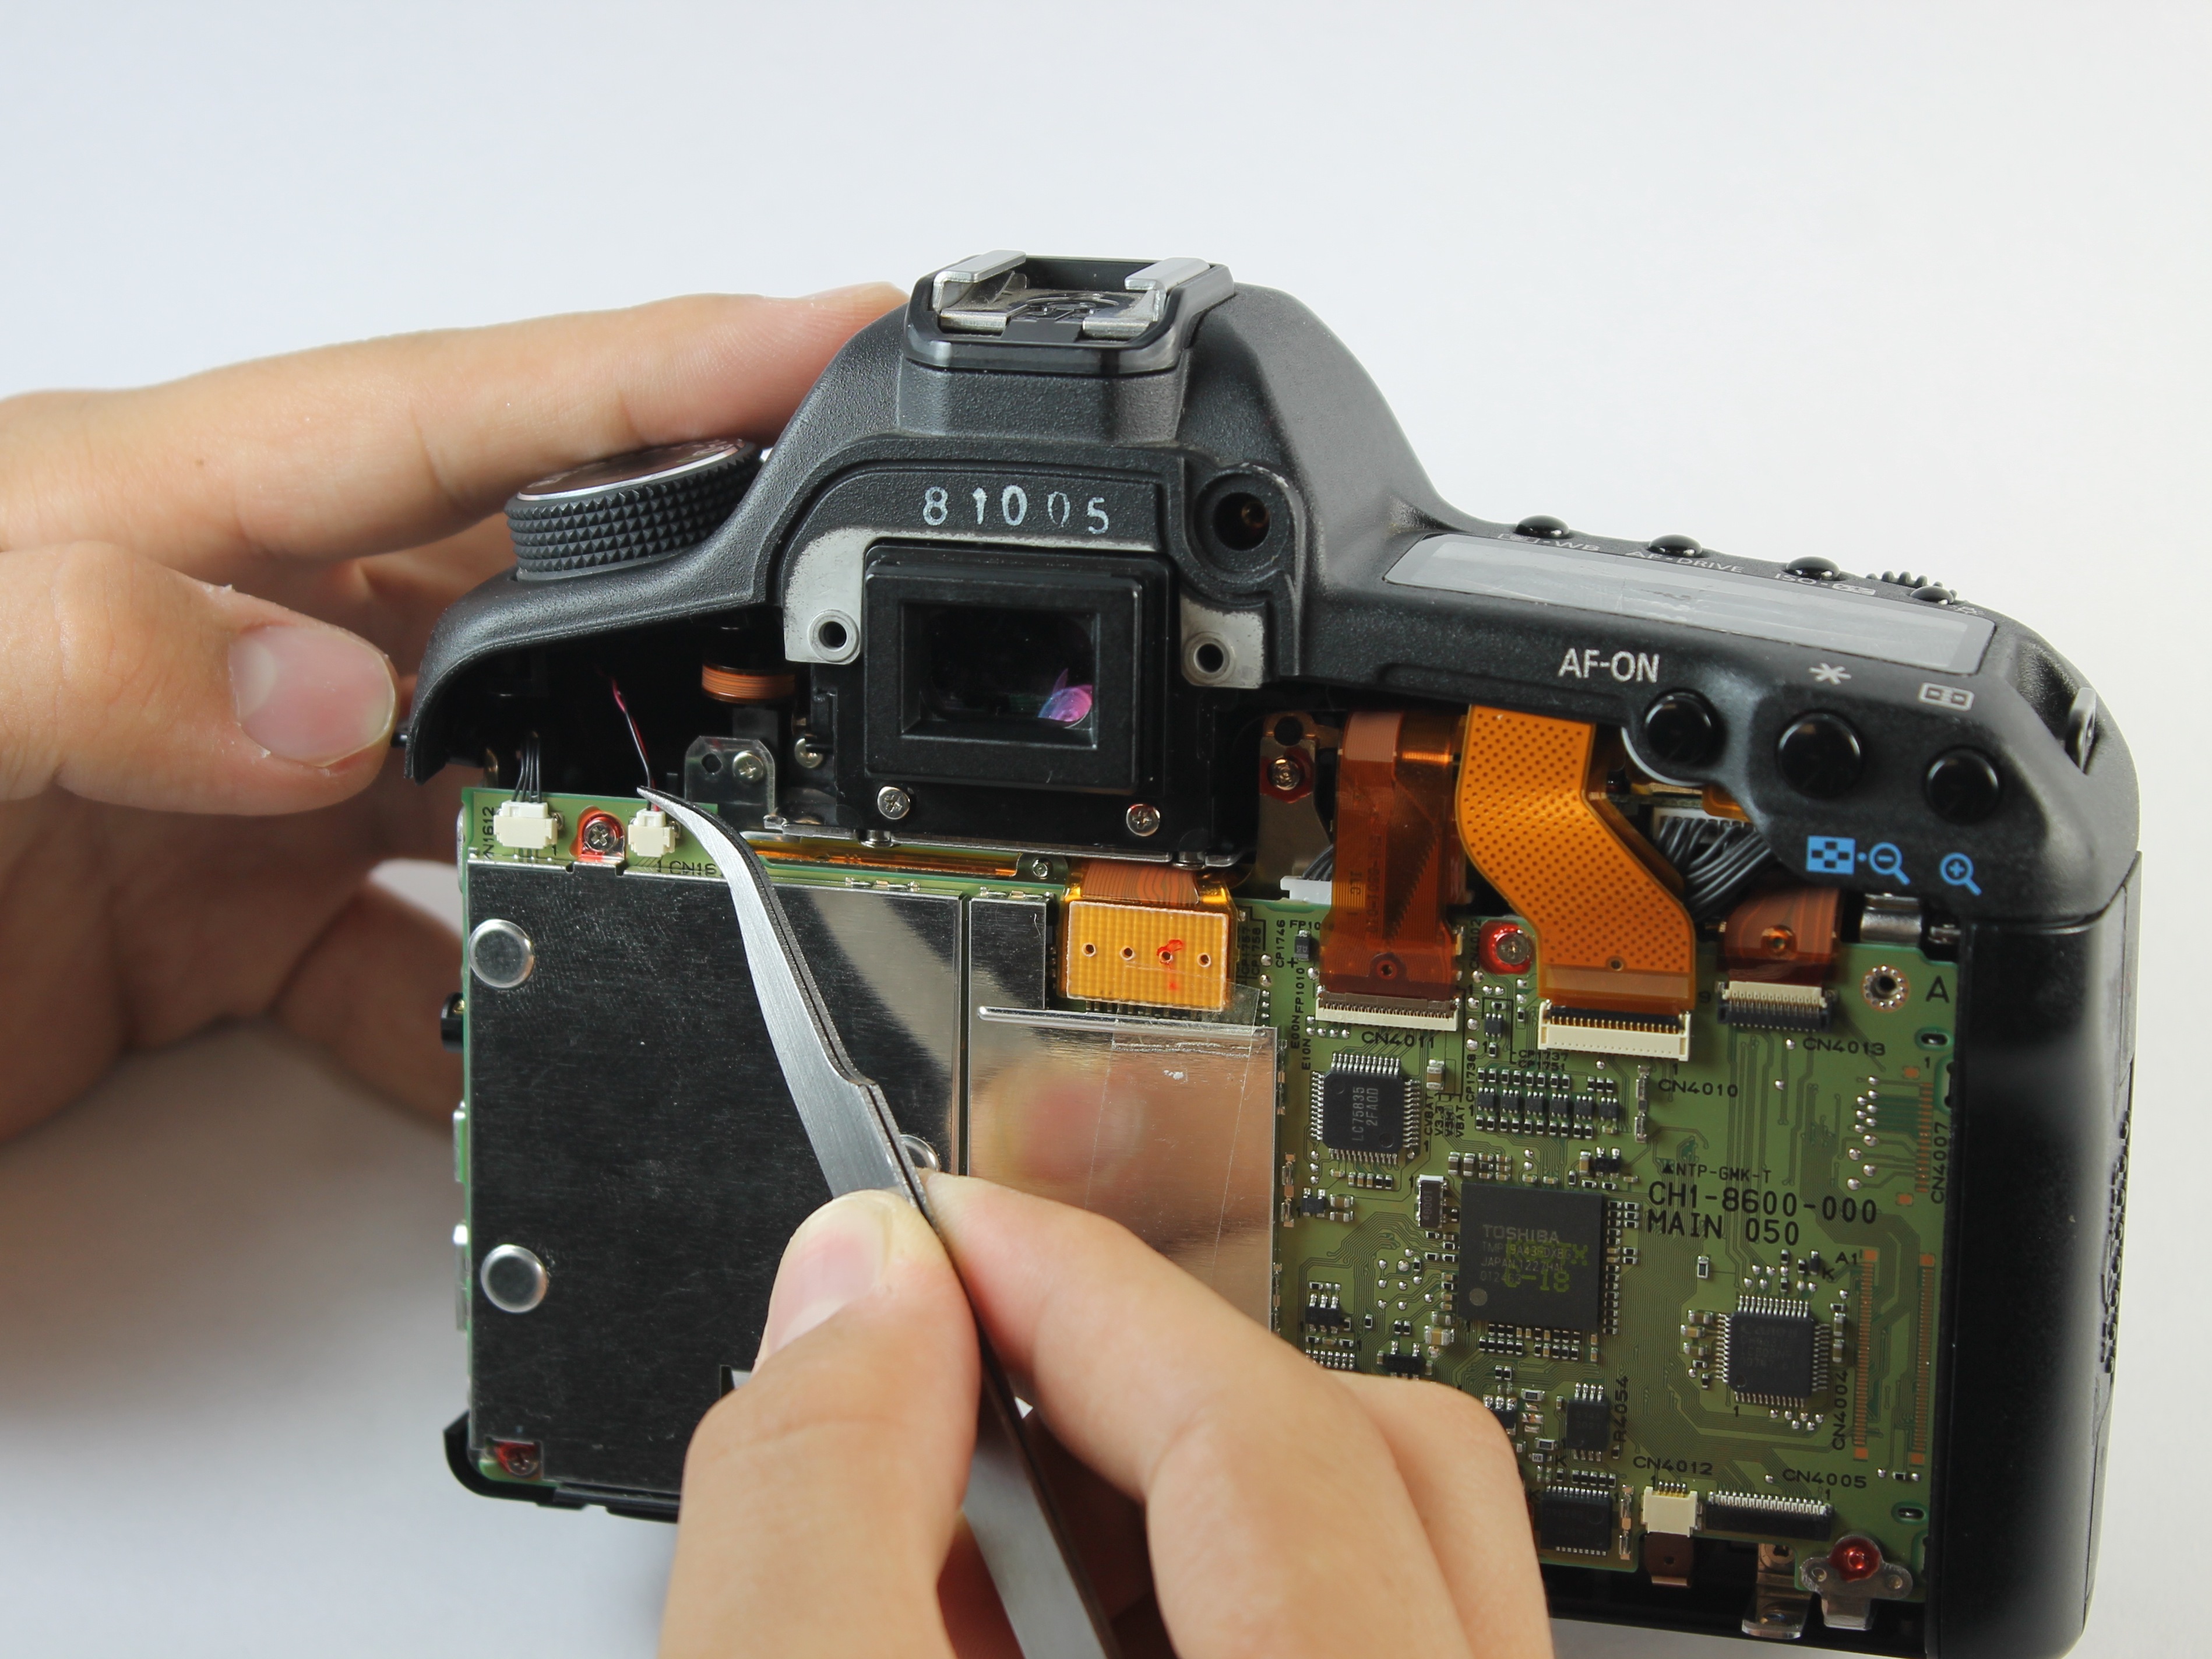
The back panel is now free from the rest of the device.
Step 6: Remove the LCD Screws
Remove each of the 3.4 mm screws holding in the LCD using a Phillips #0.

Grip the wire attaching the speaker to the data ribbon cable and pull it out.
Step 7: Remove the LCD
The LCD is now free from the back panel.

Now that the LCD is removed, you can replace it with a new one. Make sure to handle the new LCD carefully to avoid damaging it.
Step 8: Reassemble the Camera
Reattach the back panel to the camera body, making sure to secure it with the 3.4 mm screws.

Reattach the data ribbon cables to the motherboard, making sure to secure them with the small clips.
Step 9: Test the Camera
Turn on the camera and test the LCD to make sure it is working properly.

If the LCD is not working properly, you may need to adjust the settings or replace the LCD again.
At Salvation Repair, we offer a limited lifetime guarantee of all parts and labor. If you have any questions or need further assistance, please do not hesitate to contact us. You can schedule a repair at https://salvationrepair.com/repair.


 ribbon cable disconnection”/>
 frame removal”/>


:format(webp)/cdn.vox-cdn.com/uploads/chorus_asset/file/13938122/canon-5d-mk-iii-teardown.1419966719.jpg)