DIY Guide to Replace iPhone SE vibration motor Motor
Duration: 30 min.
Steps: 11 Steps
Welcome to the ultimate guide for giving your iPhone SE a little TLC by swapping out that tired old vibration motor motor! If your phone is feeling a bit shy and hardly vibrates, it’s time for a change. We’re here to walk you through each step of the process, so don’t worry—you’re in good hands! Ready to get started? Let’s do this!
Step 1

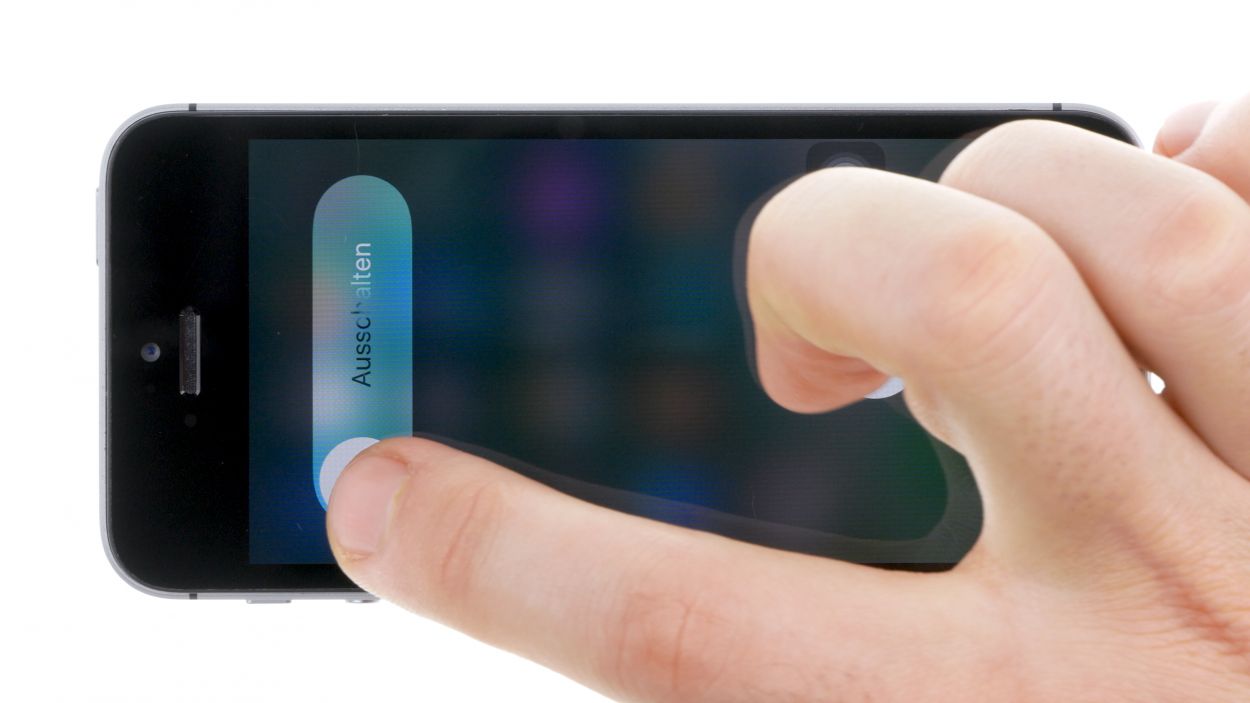
– First things first, power down your iPhone completely to keep it safe during the repair process. We want to avoid any accidental mishaps!
– Next up, press that standby button for about three seconds until the slider shows up. You’re almost there!
– Swipe the slider from left to right, and voilà! Your iPhone will shut down entirely, which may take around ten seconds. Easy peasy!
Step 2

2 × Pentalobe
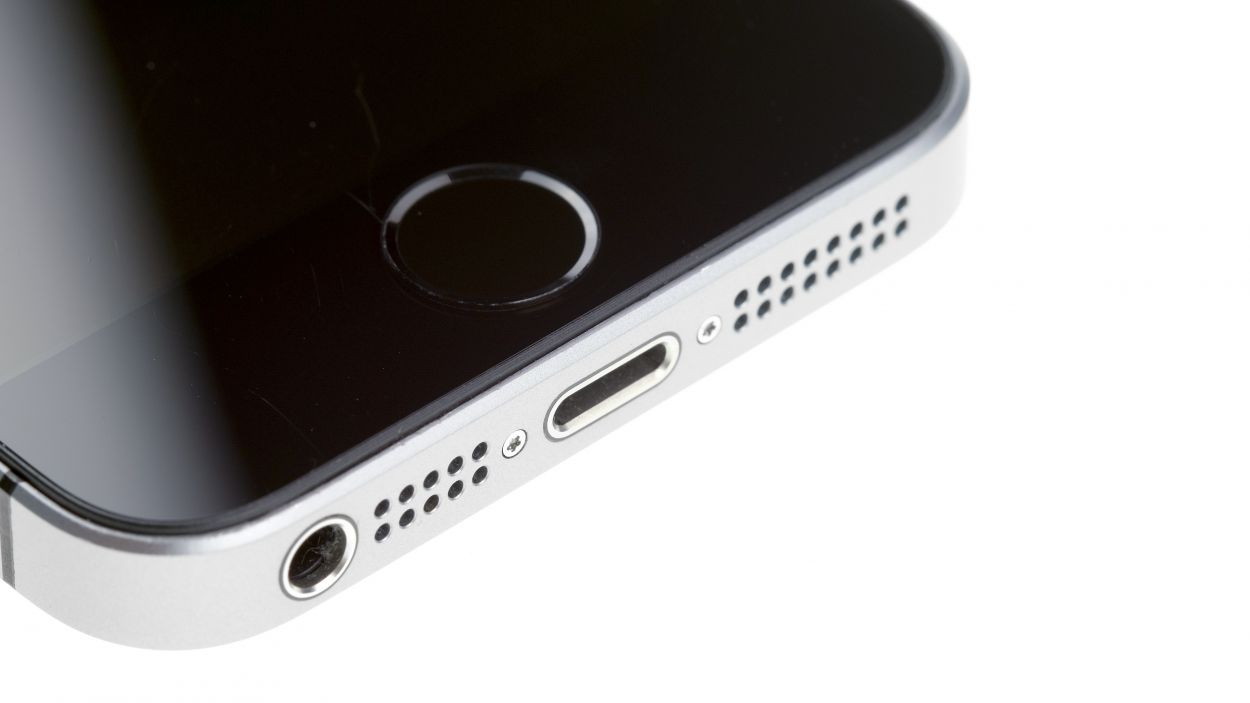
– Grab your trusty pentalobe screwdriver—it’s your key to unlocking the iPhone SE!
– Now, let’s tackle those two pentalobe screws at the bottom of the enclosure. They’re hanging out right next to the Lightning connector, just waiting for you! Don’t forget to keep these little guys safe in the same box.
Step 3
Watch out for those sneaky shards of glass! They can be sharp, so handle with care while you work on your device.
– Lay your iPhone SE down on a soft, clean surface to keep that back from getting scratched—nobody wants that!
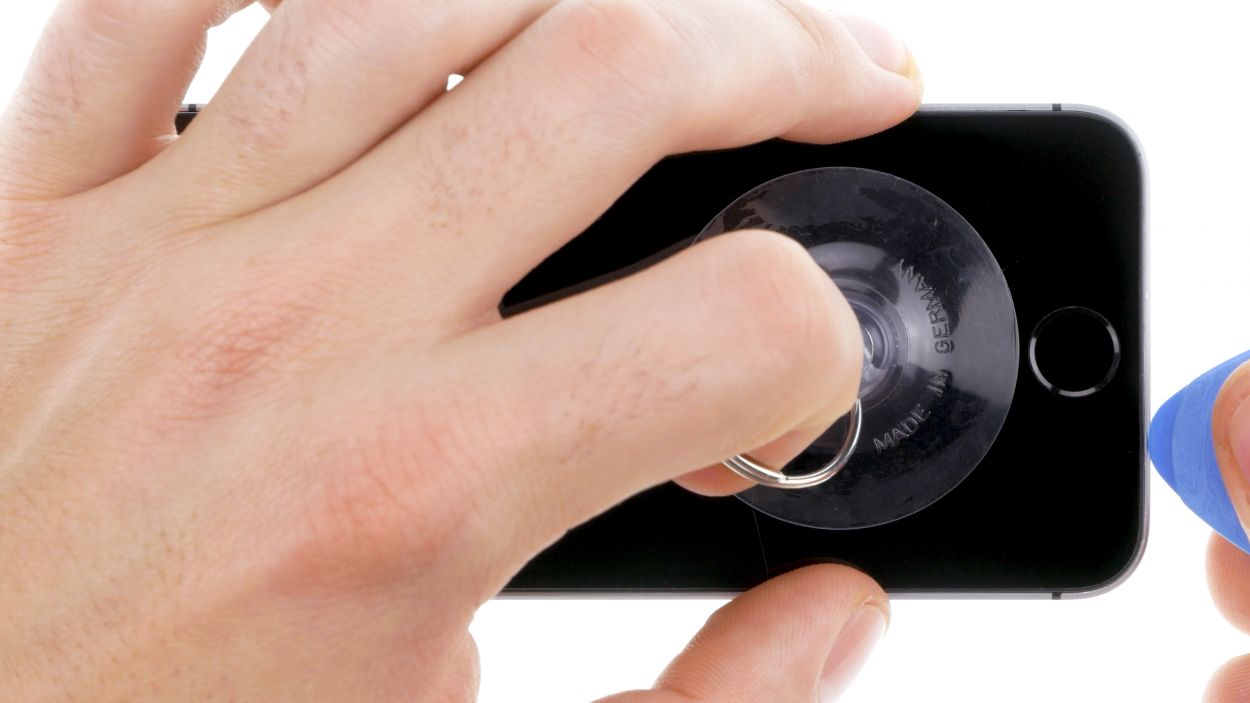
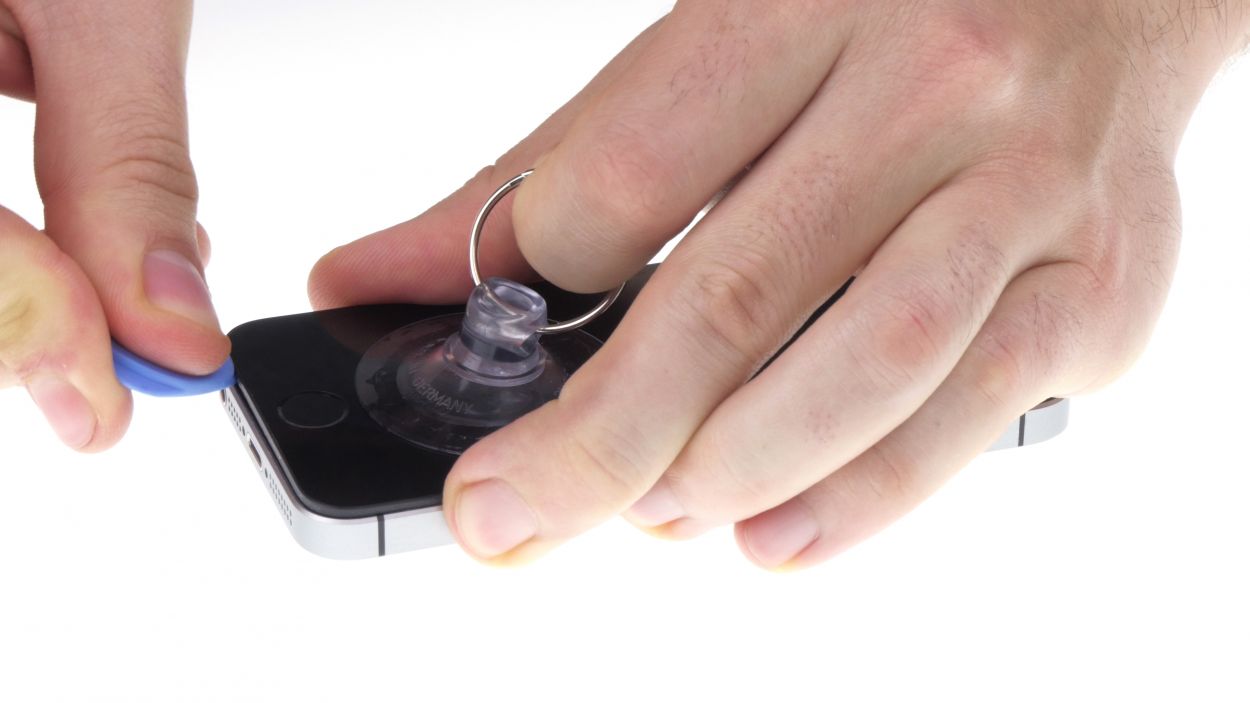
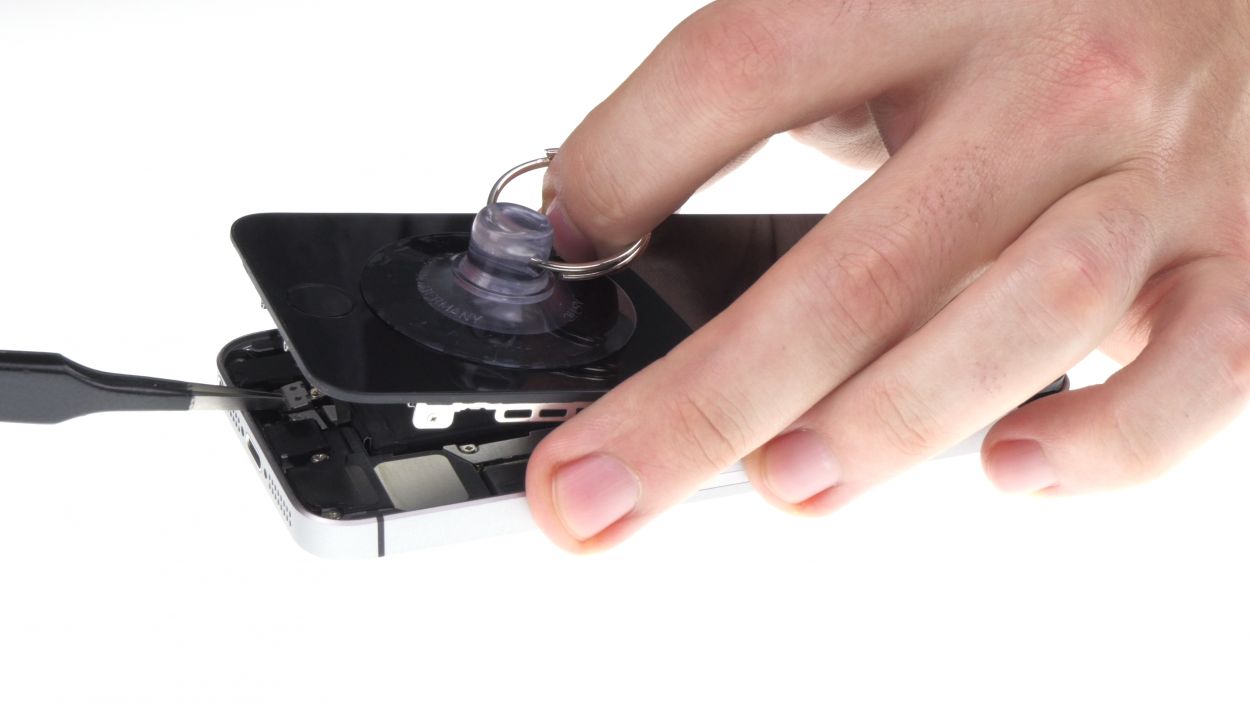
– To pop the display off, grab a suction cup and a hard plastic pick. If your screen is really cracked, cover it with tape first to prevent any glass injuries. Safety first, right?
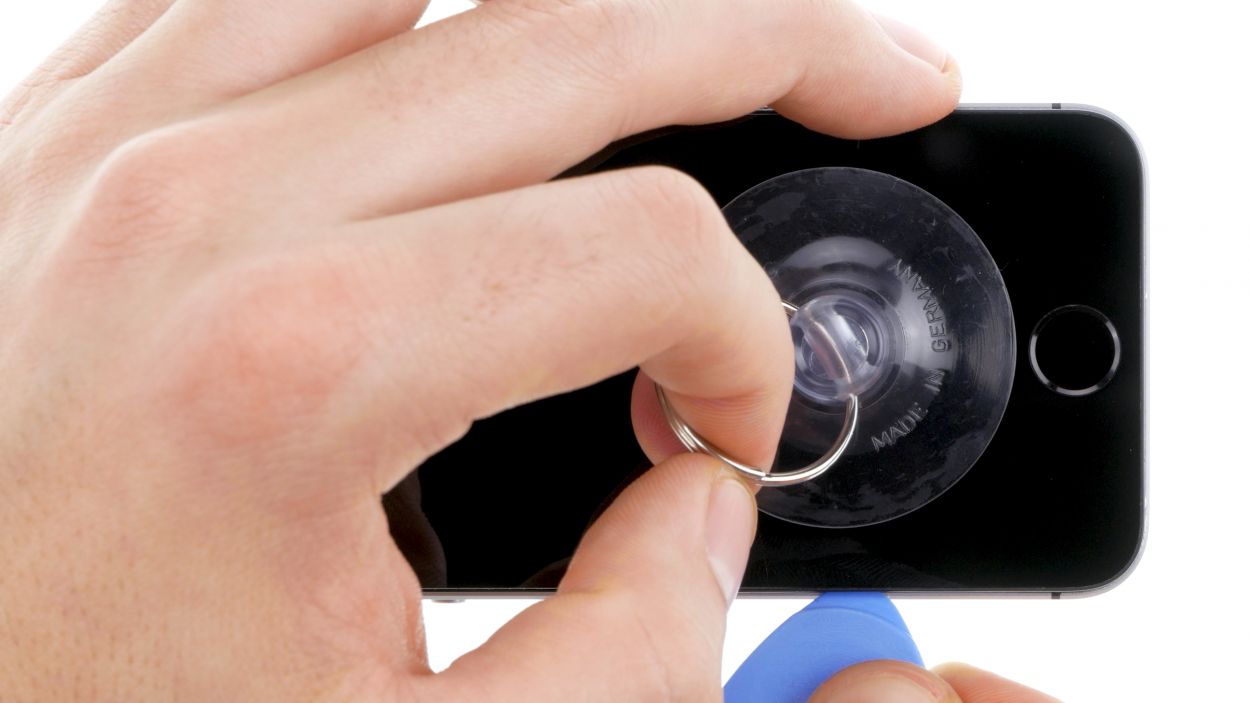
– Stick the suction cup over the Home button if you can (if not, just place it nearby). As you lift the display with the suction cup, use the hard plastic pick to gently press down on the aluminum frame. Slide that pick between the frame and the display—this might take a few tries, but you’ve got this!
– Once you’ve created a tiny gap between the two parts, you can gently twist the pick to open it a bit more.
– When you can lift the display a couple of millimeters, carefully work your way around the edges until it’s loose on both sides. Remember, don’t completely remove the display just yet—you need to disconnect the Home button first.
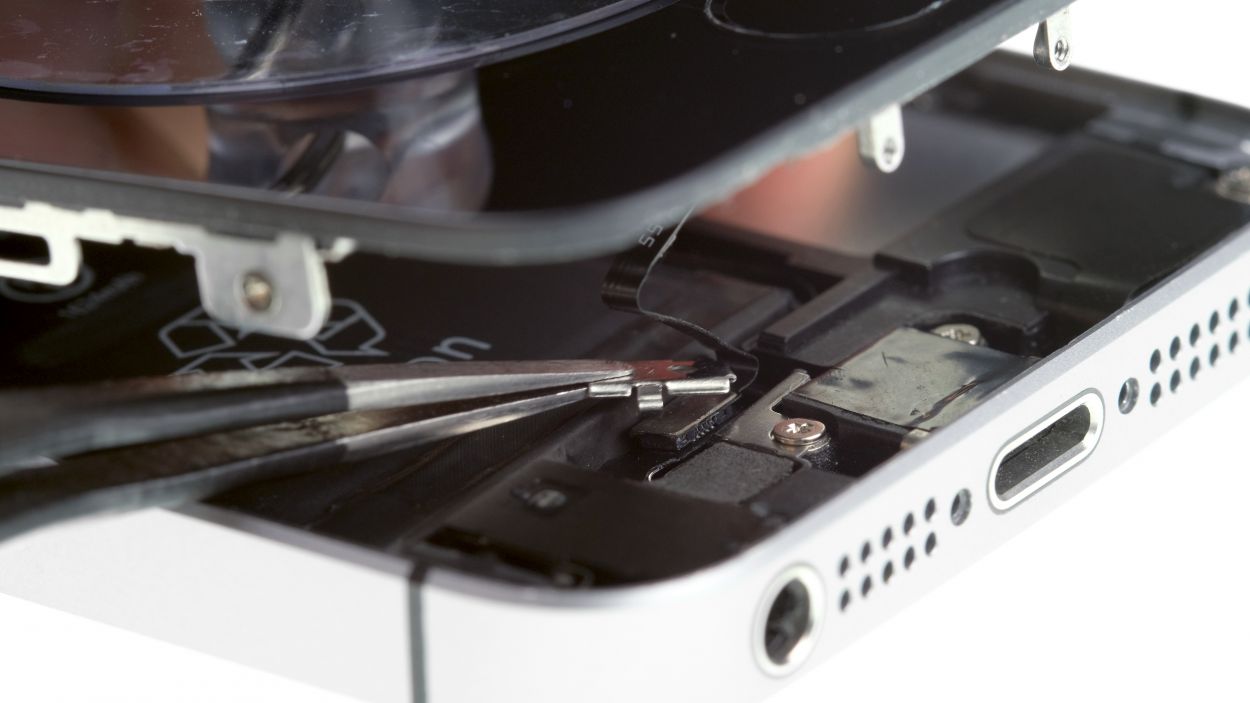
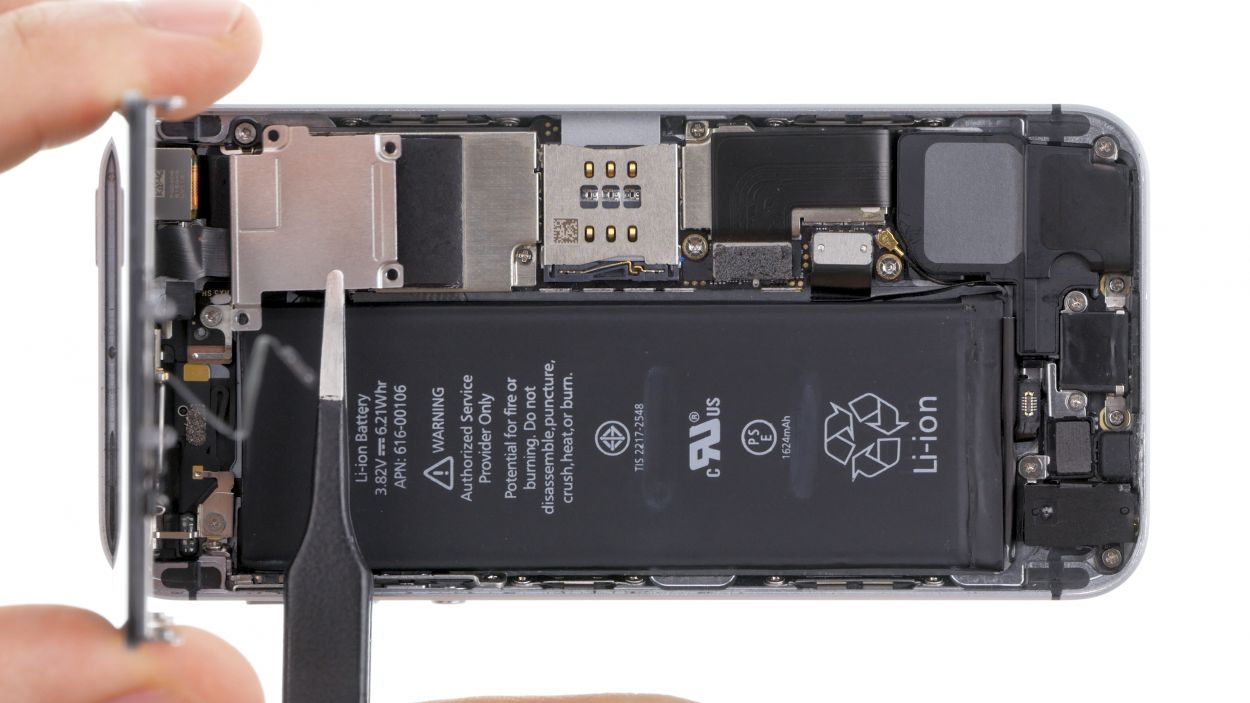
– There’s a metal cover blocking the Home button. Use some tweezers to gently remove that cover.
– Once the cover is off, you can disconnect the Home button from the flexible flat Lightning cable.
Step 4

2 × 1.5 mm Phillips
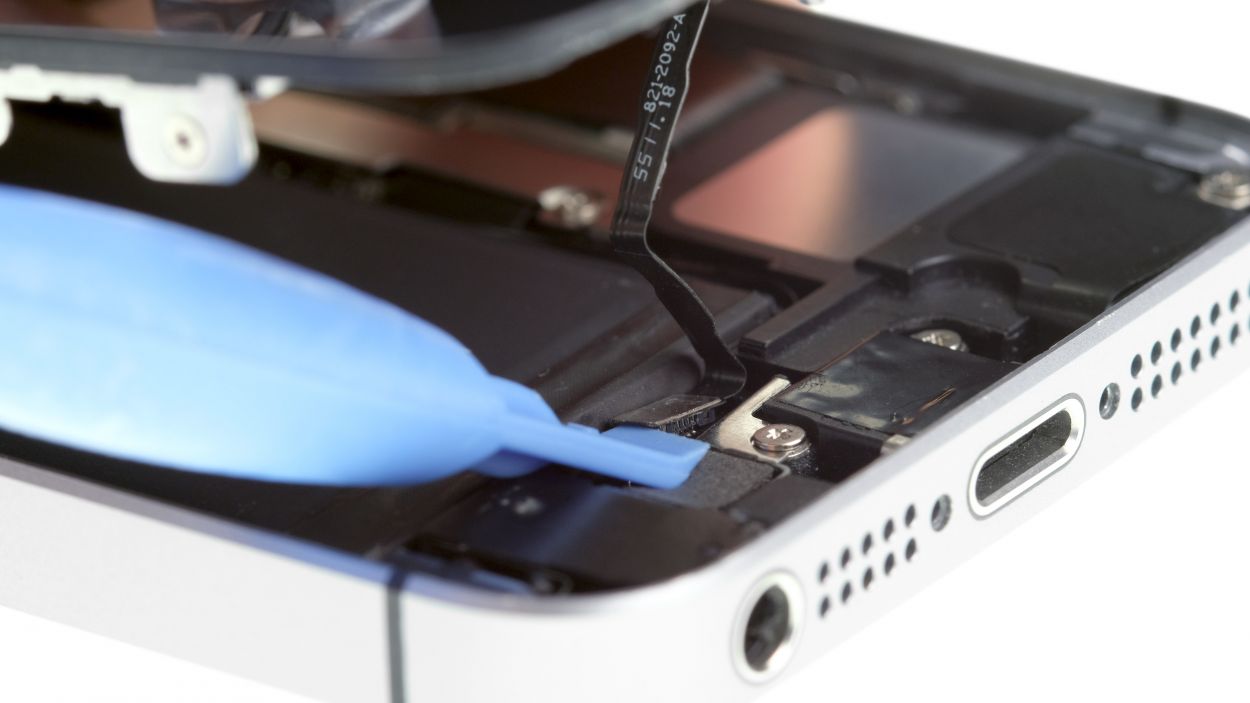
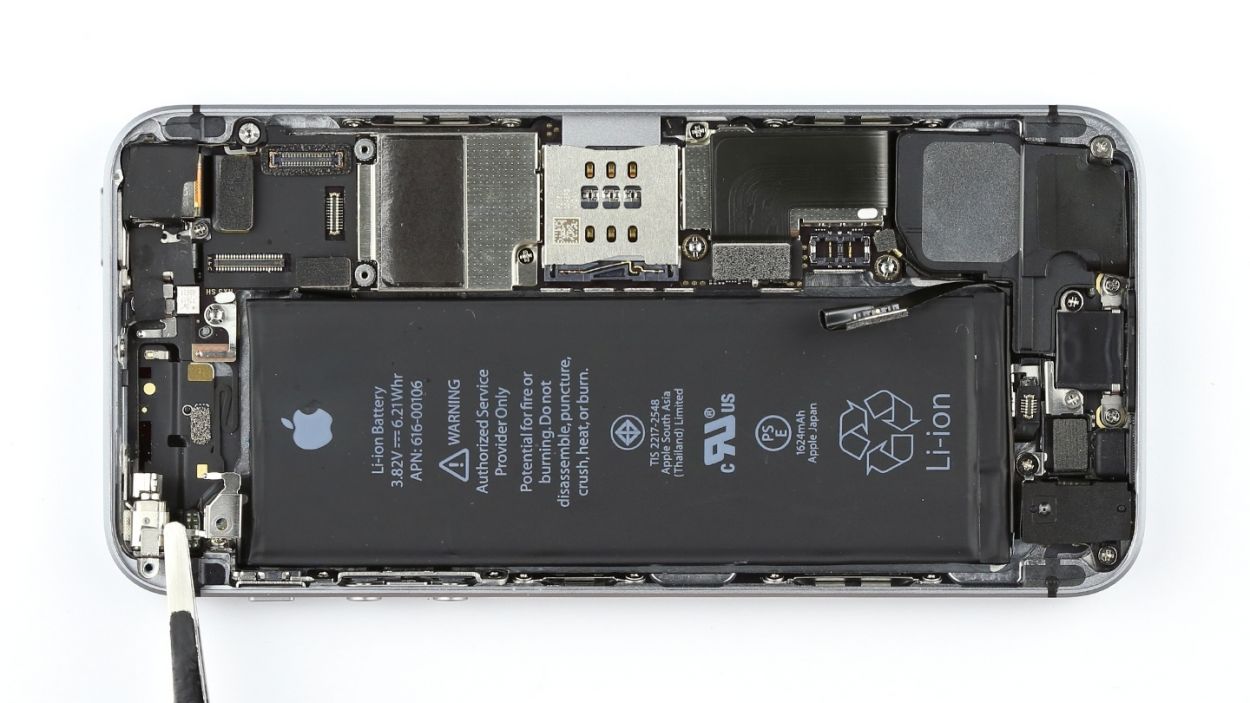
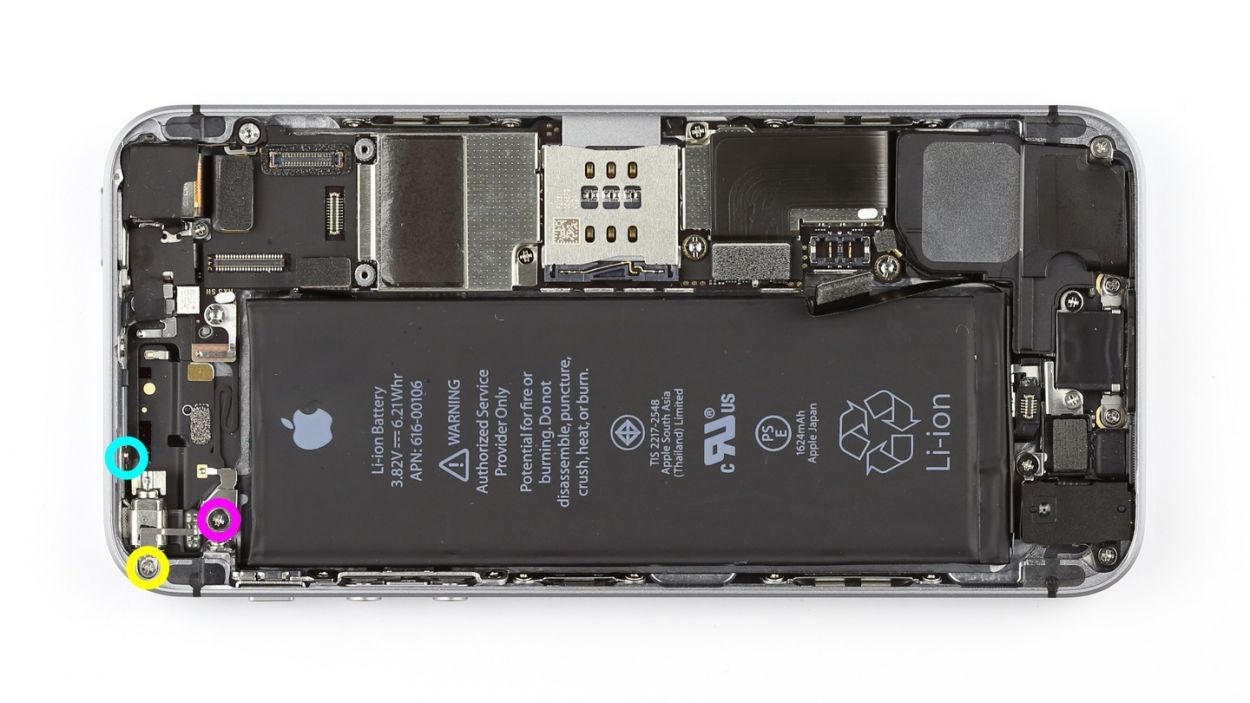
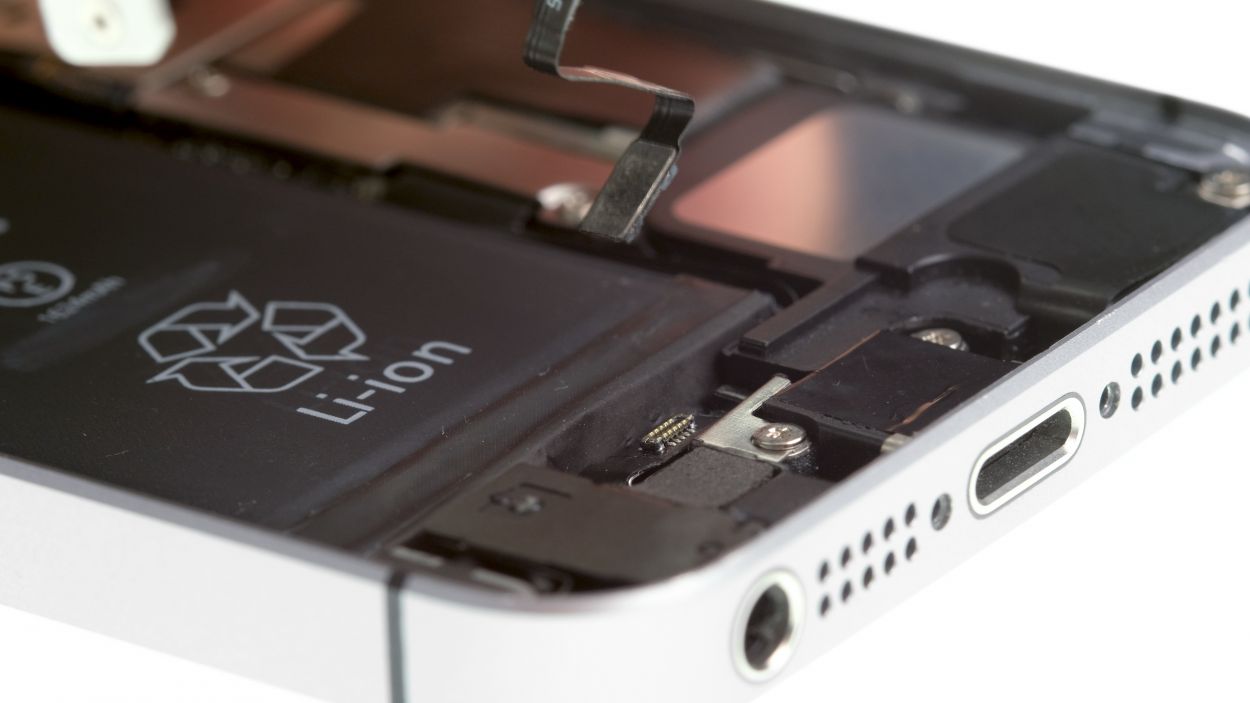
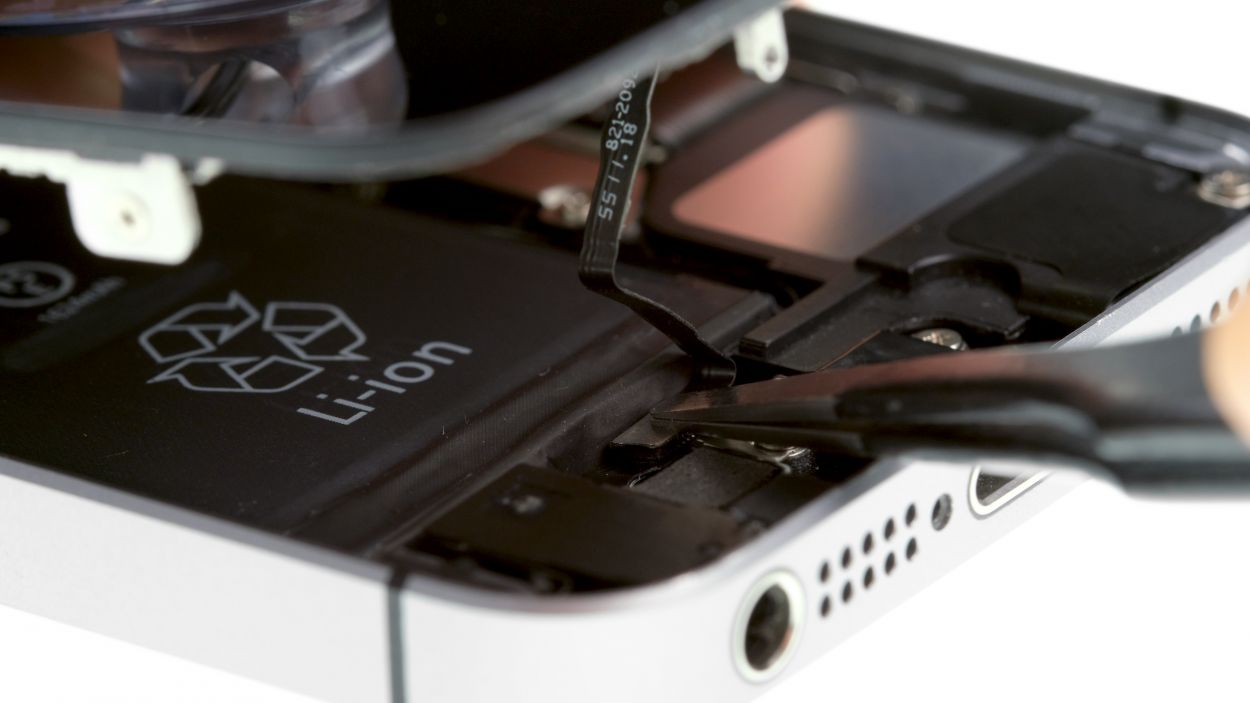
– Underneath a cover, you’ll find the battery contact and the flexible flat Lightning cable connection. This cover is held in place by two Phillips screws. Grab your Phillips screwdriver and remove those screws, then use tweezers to gently lift off the cover. Make sure to keep all the parts together in the same compartment of your organizer tray.
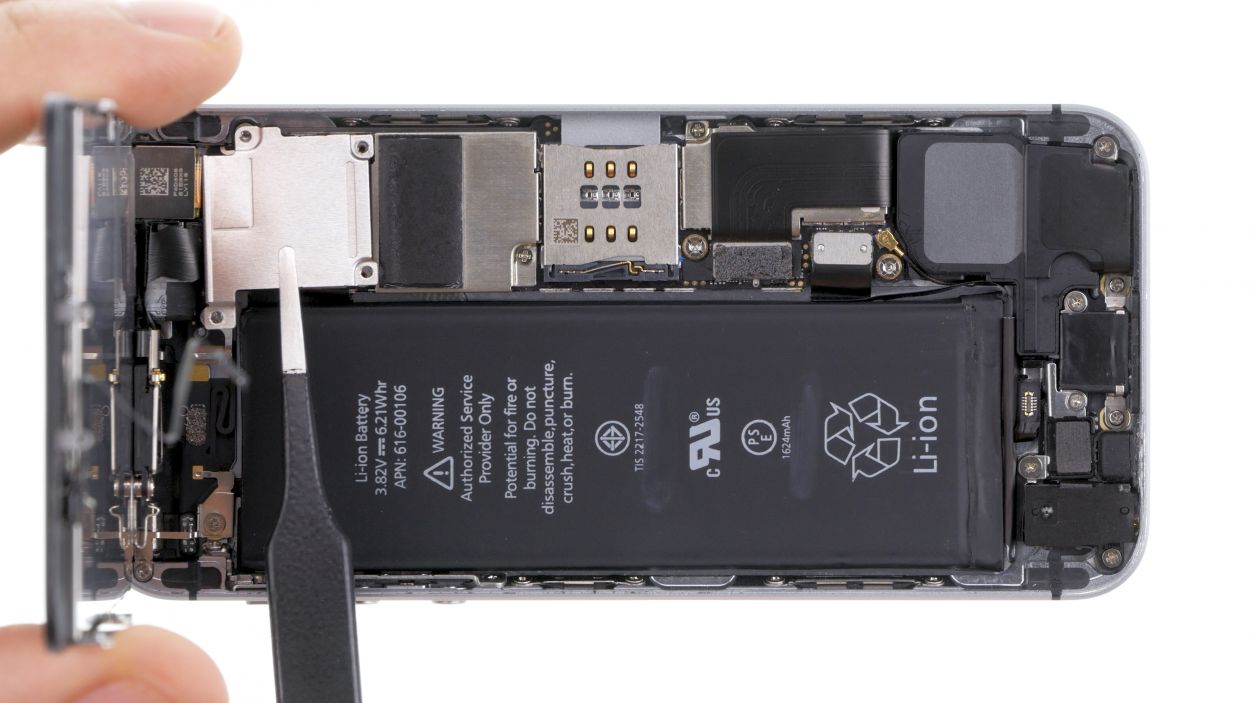
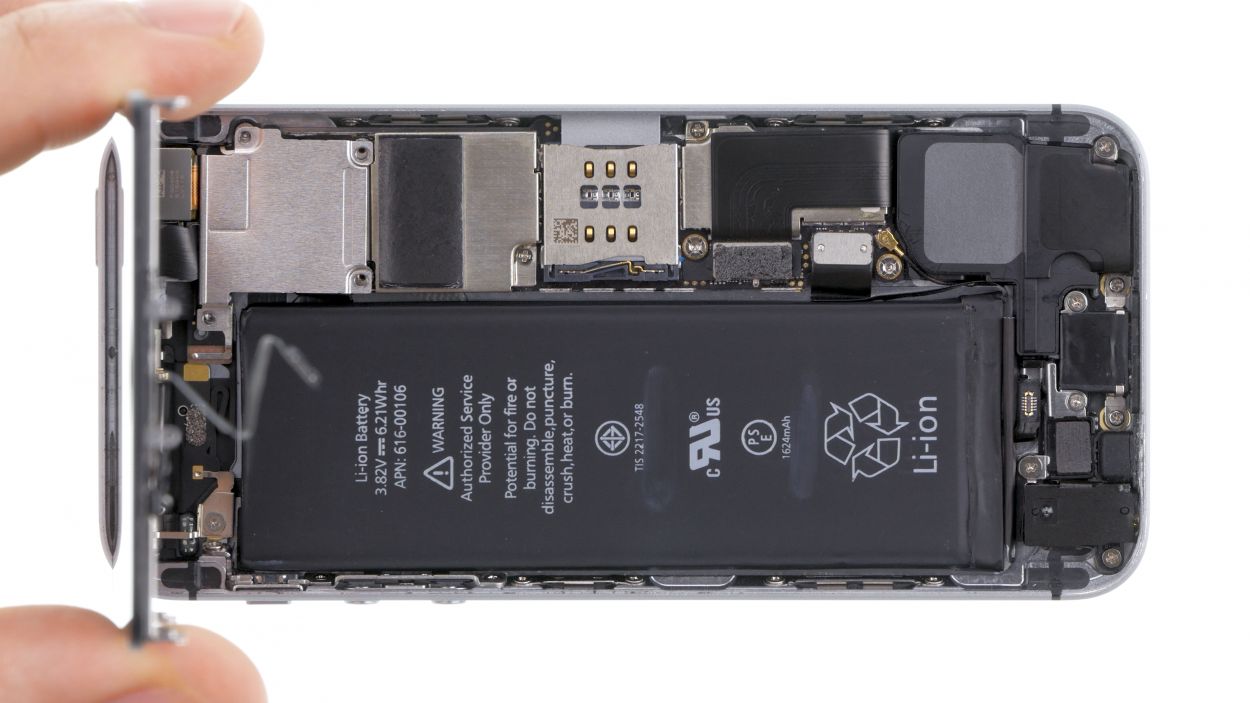
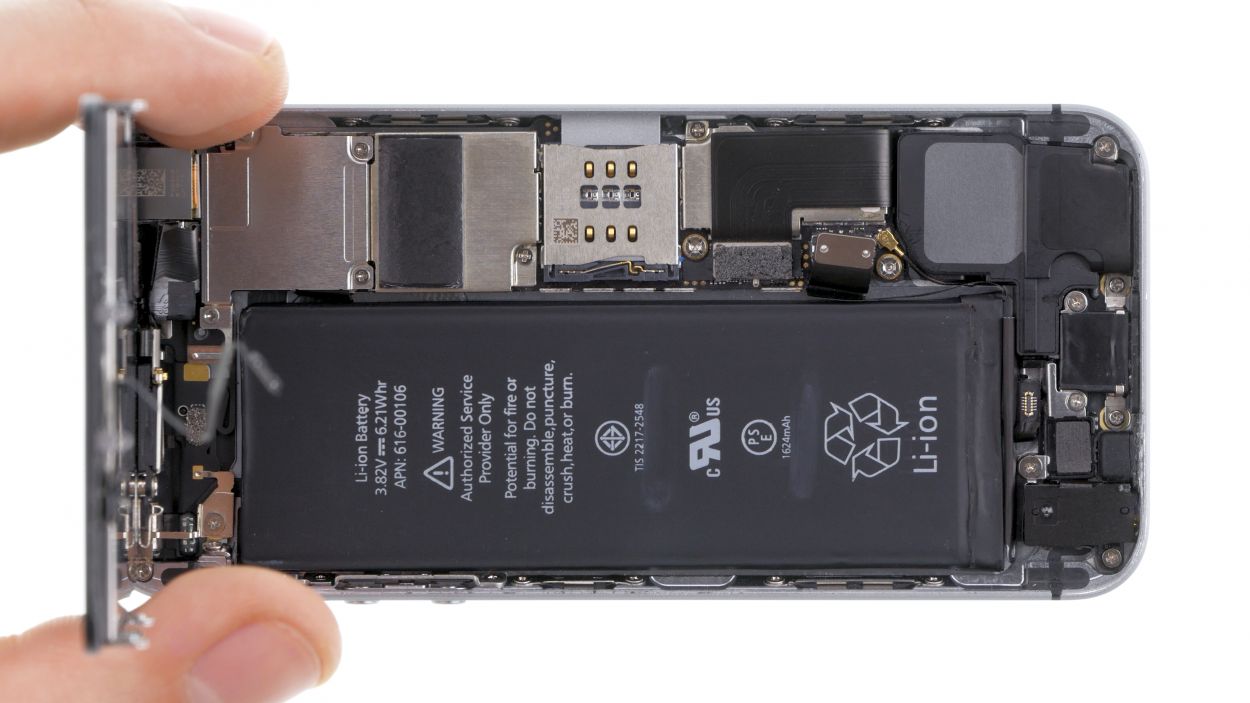
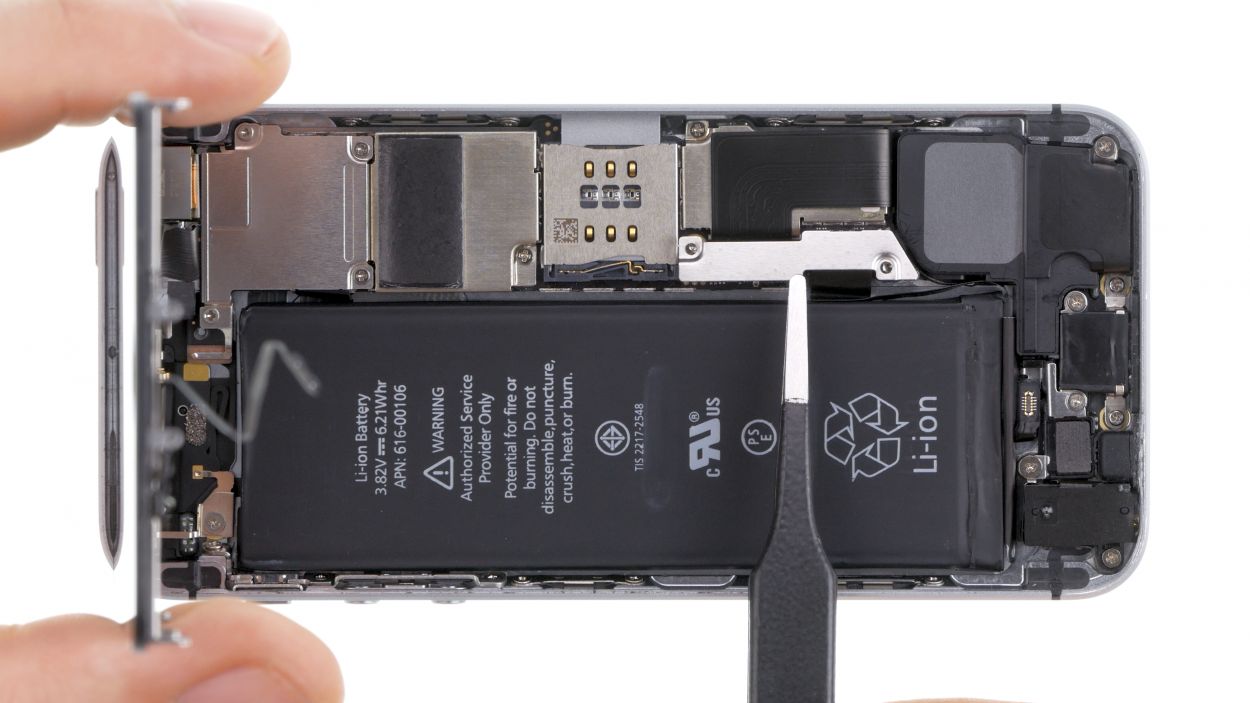
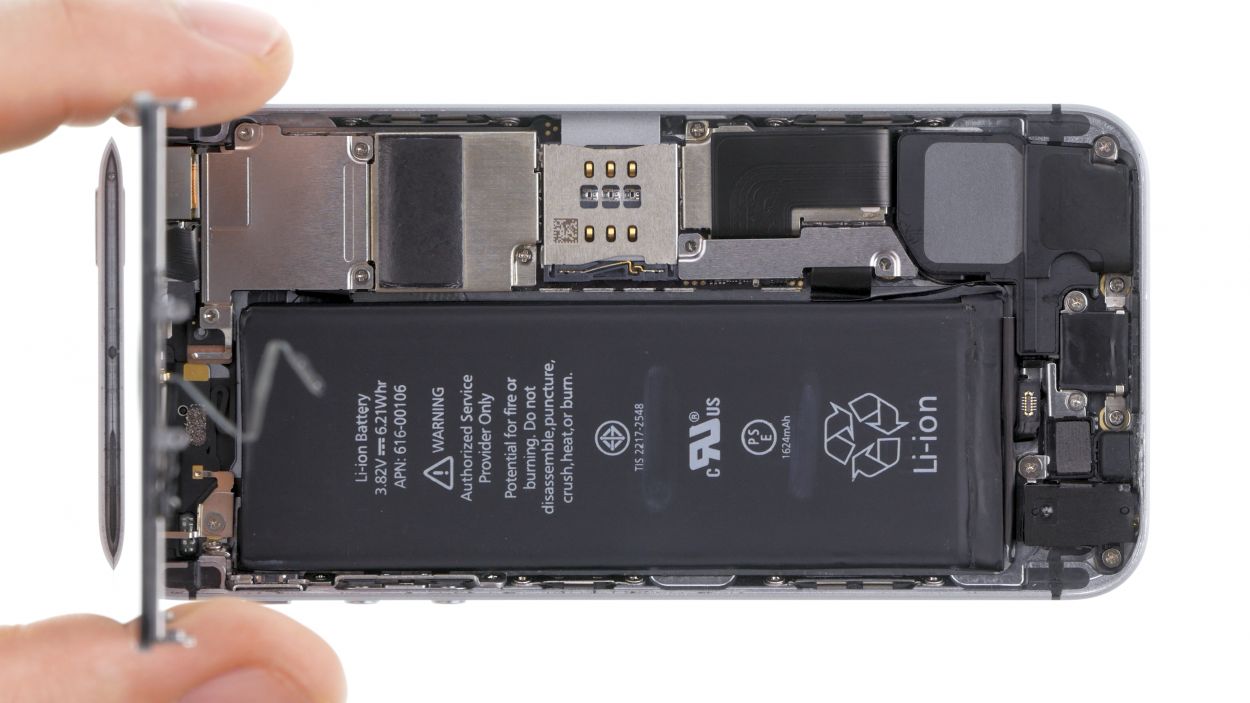
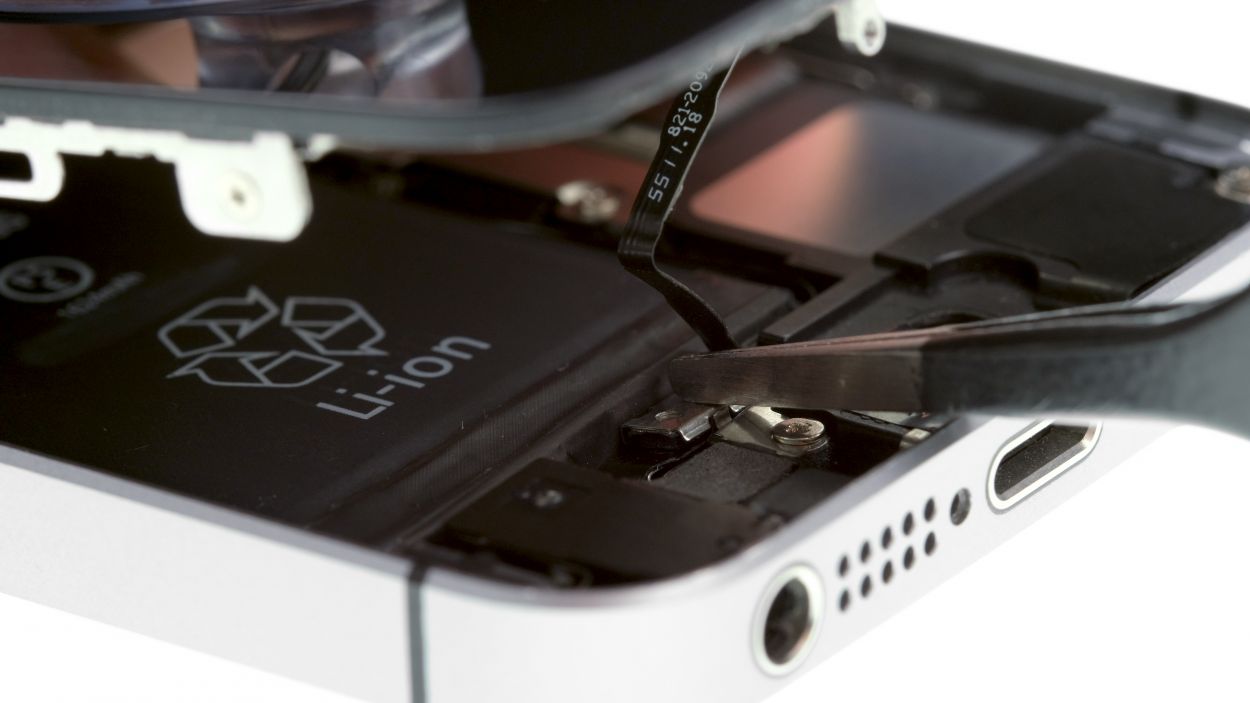
– Now, it’s time to carefully disconnect the battery contact with a spudger. Just slide the pointed tip of the spudger a little below the connector. If you don’t have a spudger handy, your fingernail can do the trick too!
Step 5
1 × 1.4 mm Phillips
1 × 1.5 mm Phillips
2 × 1.1 mm Phillips
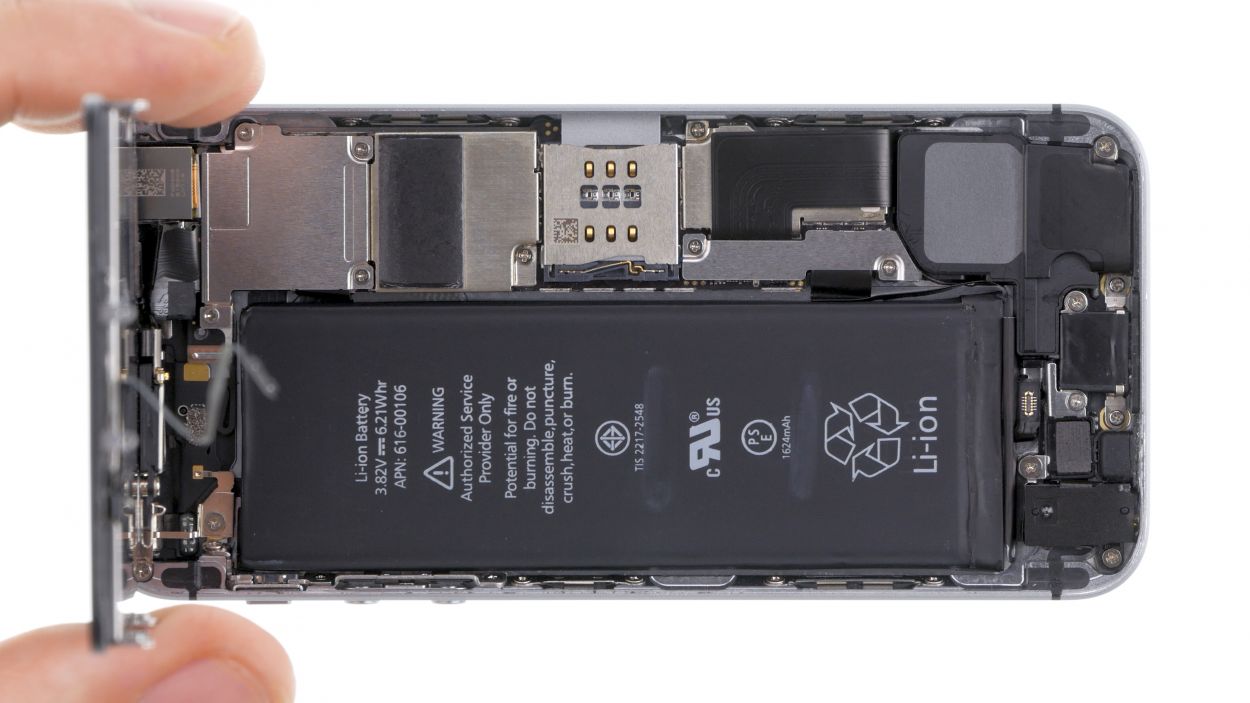
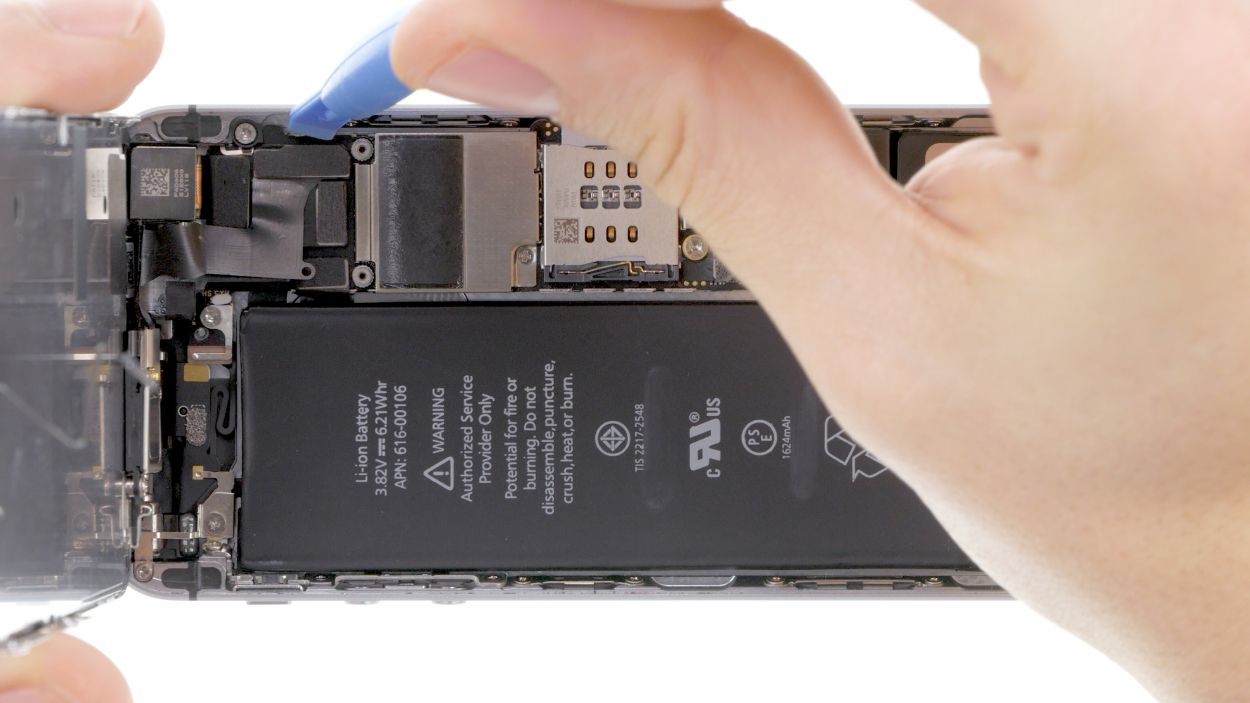
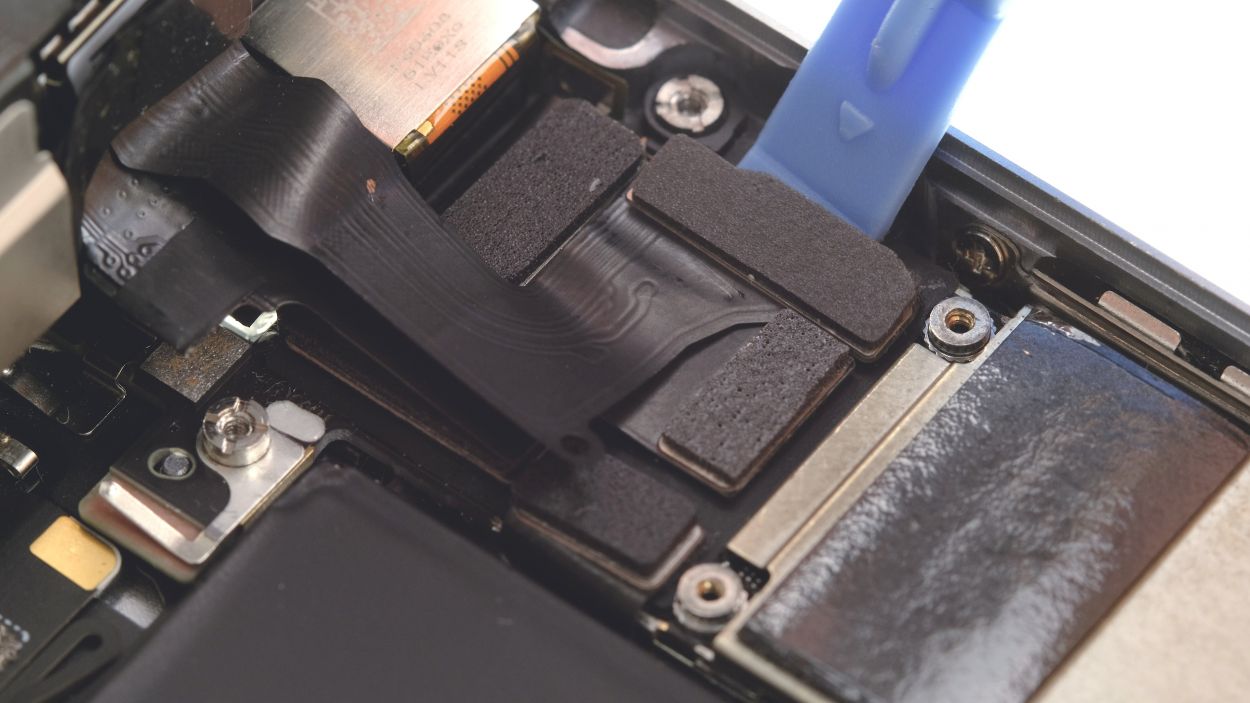
– First, let’s take off those four Phillips screws from the shiny silver cover. Be sure to toss those screws into a container so they don’t go on an adventure of their own! Once they’re out, gently lift the cover off.
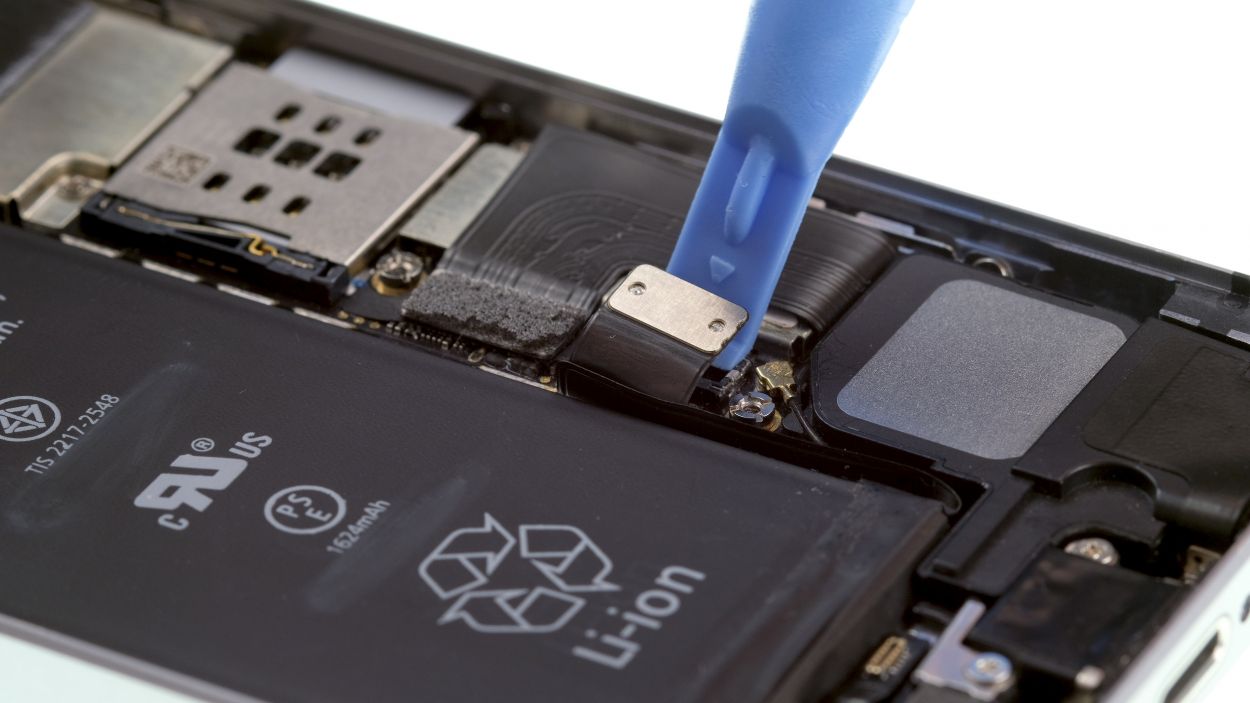
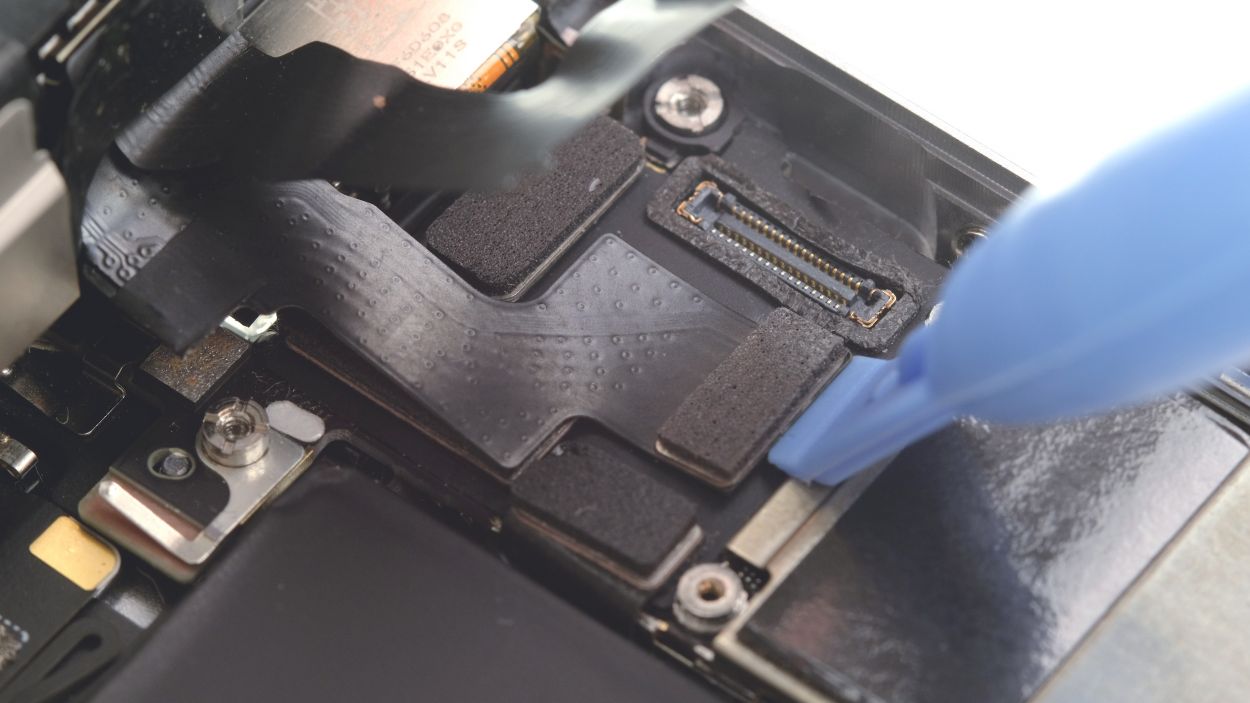
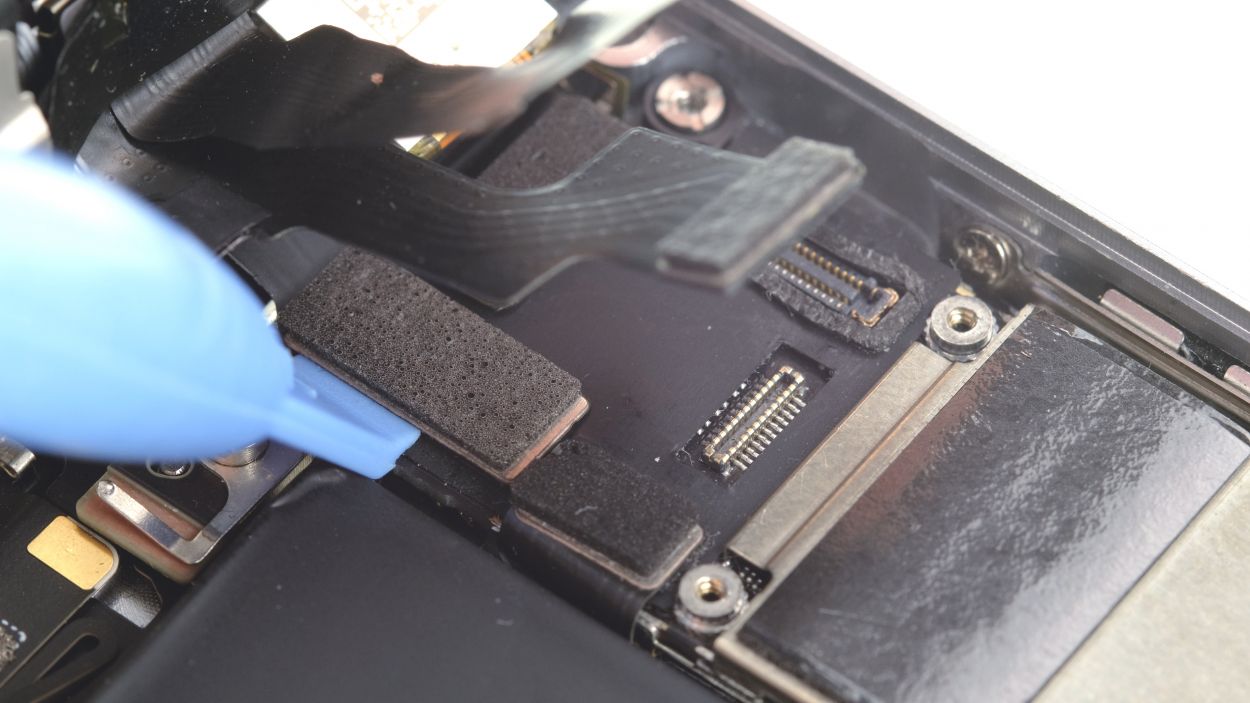
– Now, it’s time to disconnect the three overlapping connectors in the order shown in the image. Take it slow and steady! Use the pointed tip of your spudger and slide it just a tad below each contact, then lift it up. You’ve got this!
Step 6


– Remove the three Phillips screws that hold the vibration motor motor in place.1 x 2.3 mm Phillips screw1 x 1.5 mm Phillips screw (at 90° angle)1 x 1.5 mm Phillips screw
– Remove the motor.
Step 7

– Place the vibration motor motor back in its cozy spot where it belongs.
– Secure the motor to the back cover using the three Phillips screws: one 2.3 mm Phillips screw, one 1.5 mm Phillips screw at a 90° angle, and another 1.5 mm Phillips screw. You’re doing great!
Step 8


– Reconnect those connectors! Sometimes getting the display connector just right can take a few attempts. Be super gentle to avoid any bending—nobody wants that!
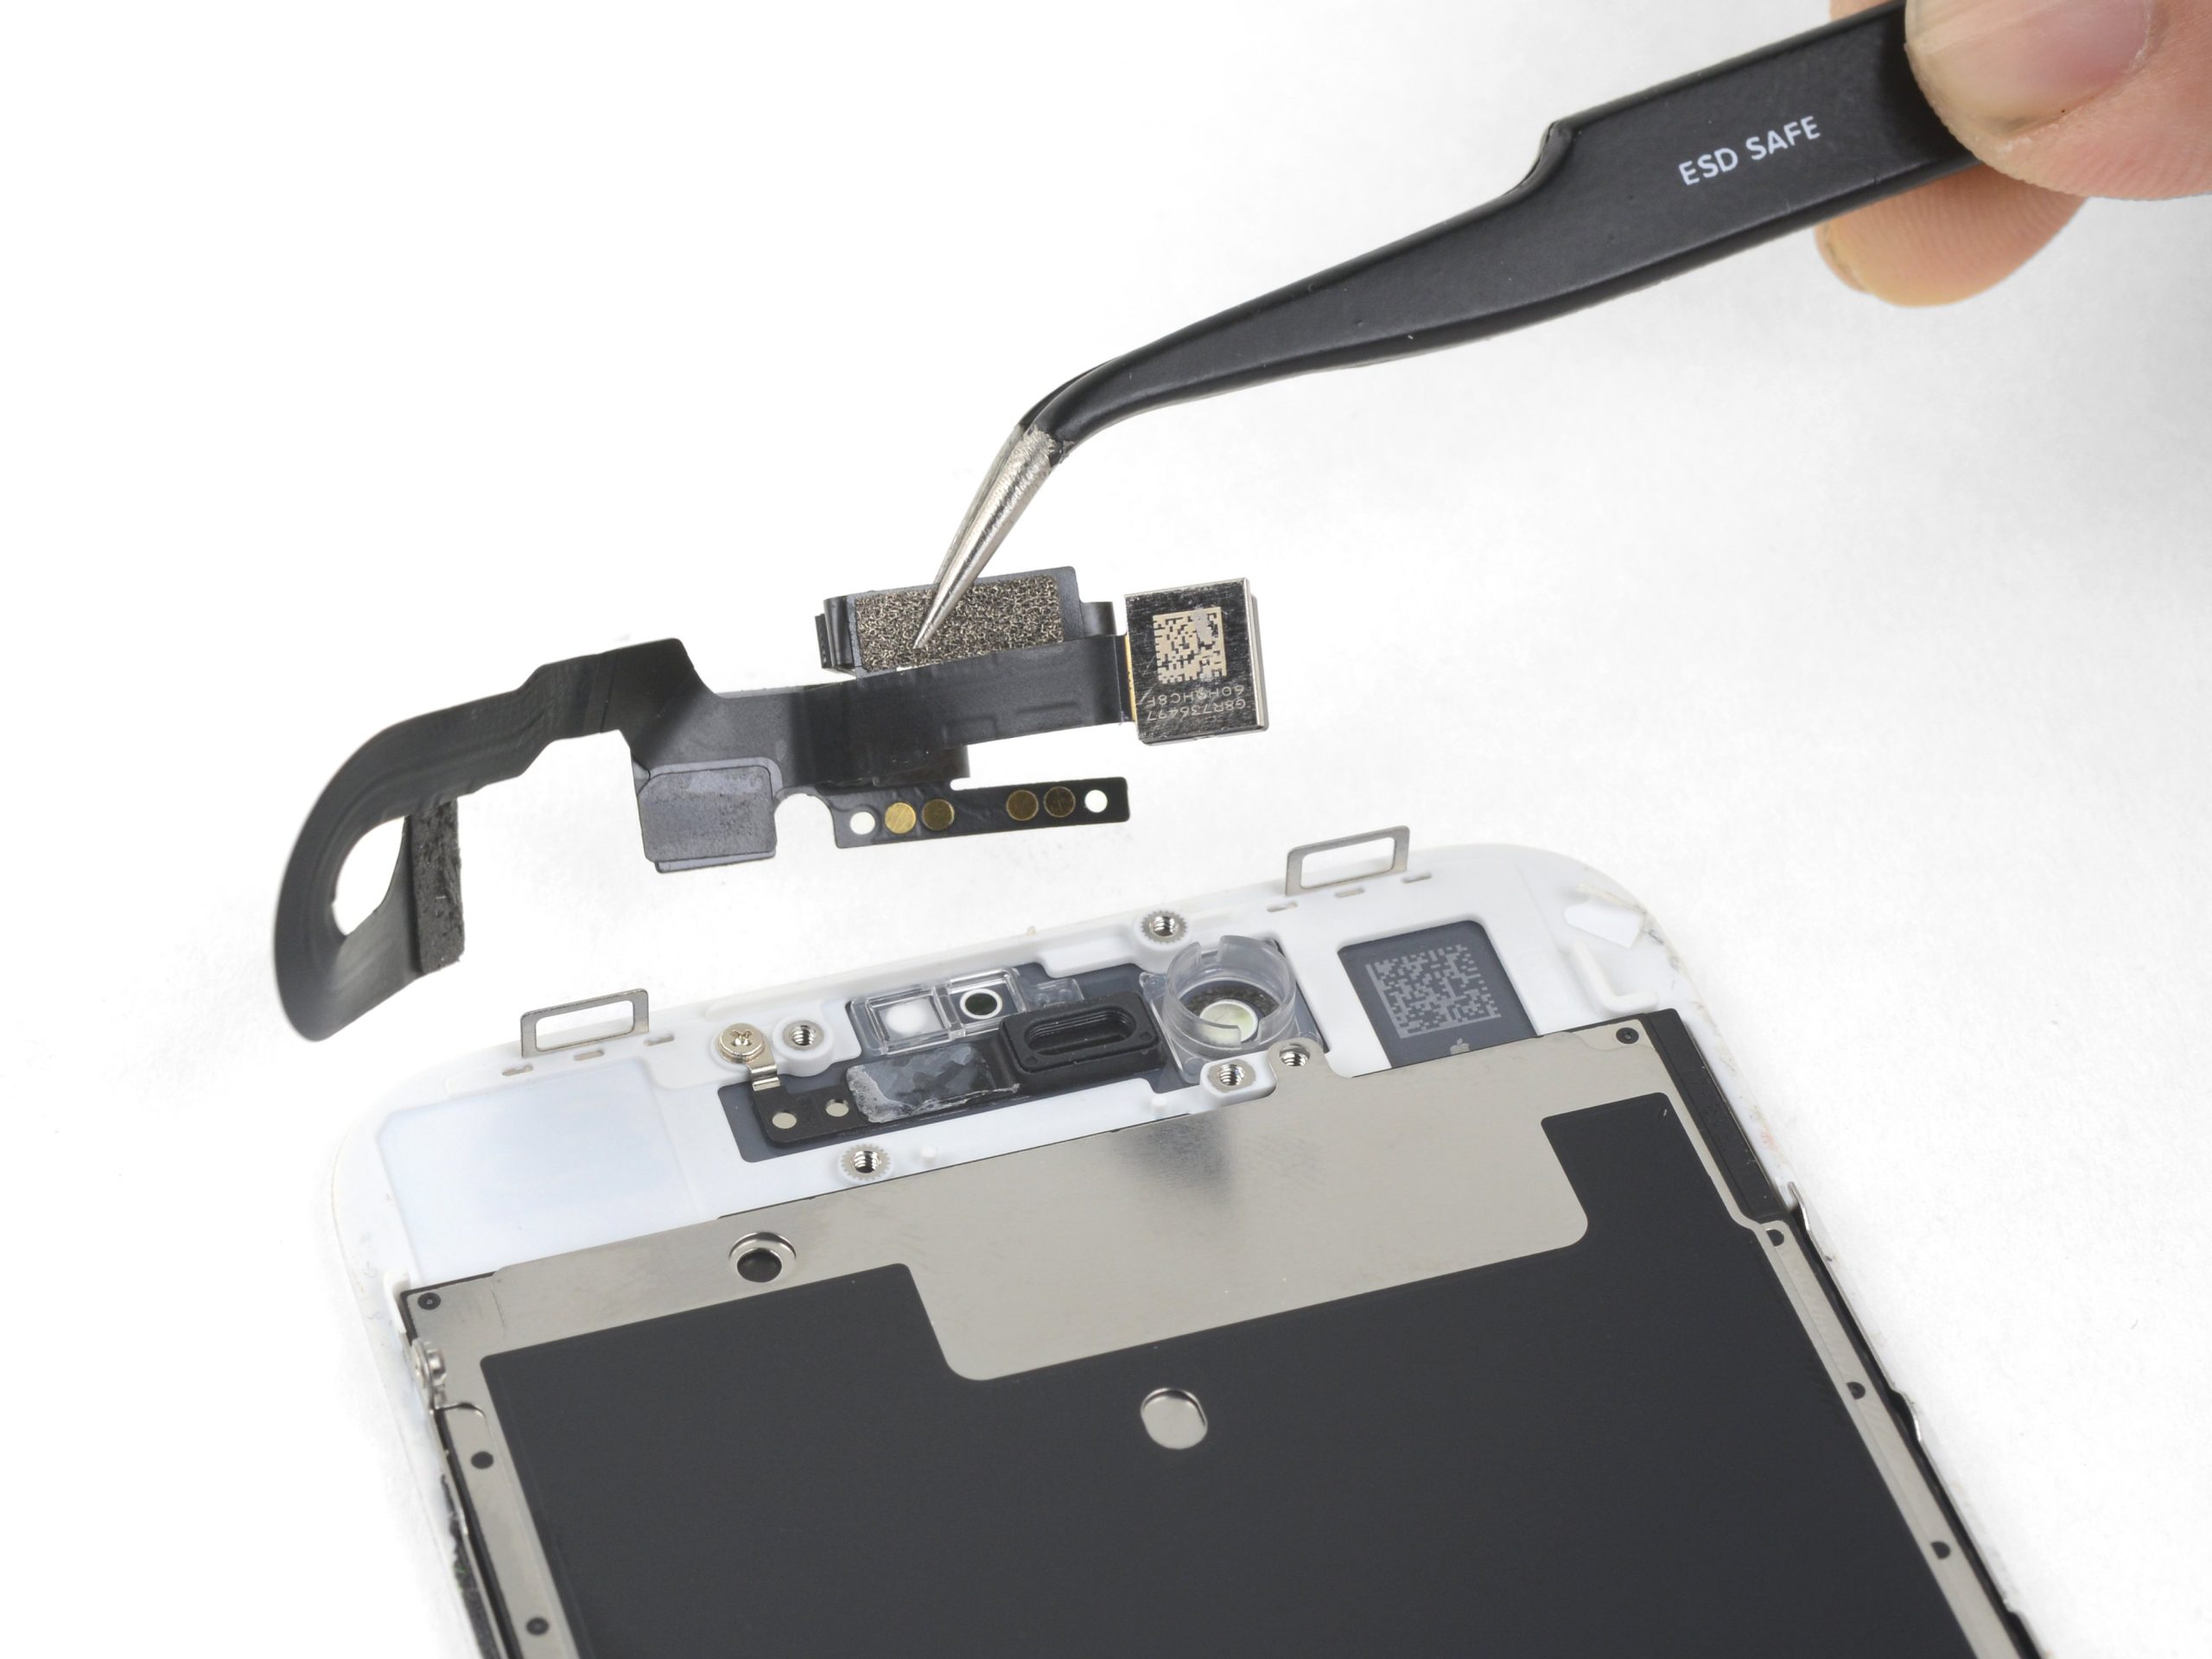
– Once the connectors are snug and secure, power up your iPhone! Check that the LCD, touchscreen, proximity sensor, front camera, and earpiece are all working like a charm. If those display connectors aren’t snug, you might see some funky stripes on your screen or some parts of the touchscreen might take a little vacation.
– Time to put the cover back on and screw it in place. You’re almost there!
Front camera flex
LCD
Digitizer
1 × 1.4 mm Phillips
1 × 1.5 mm Phillips
2 × 1.1 mm Phillips
If those display connectors are feeling a bit shy and aren’t snugly connected, you might see some funky stripes on your screen or parts of the touchscreen might decide to take a break. Let’s make sure everything’s plugged in right!
Step 9
2 × 1.5 mm Phillips
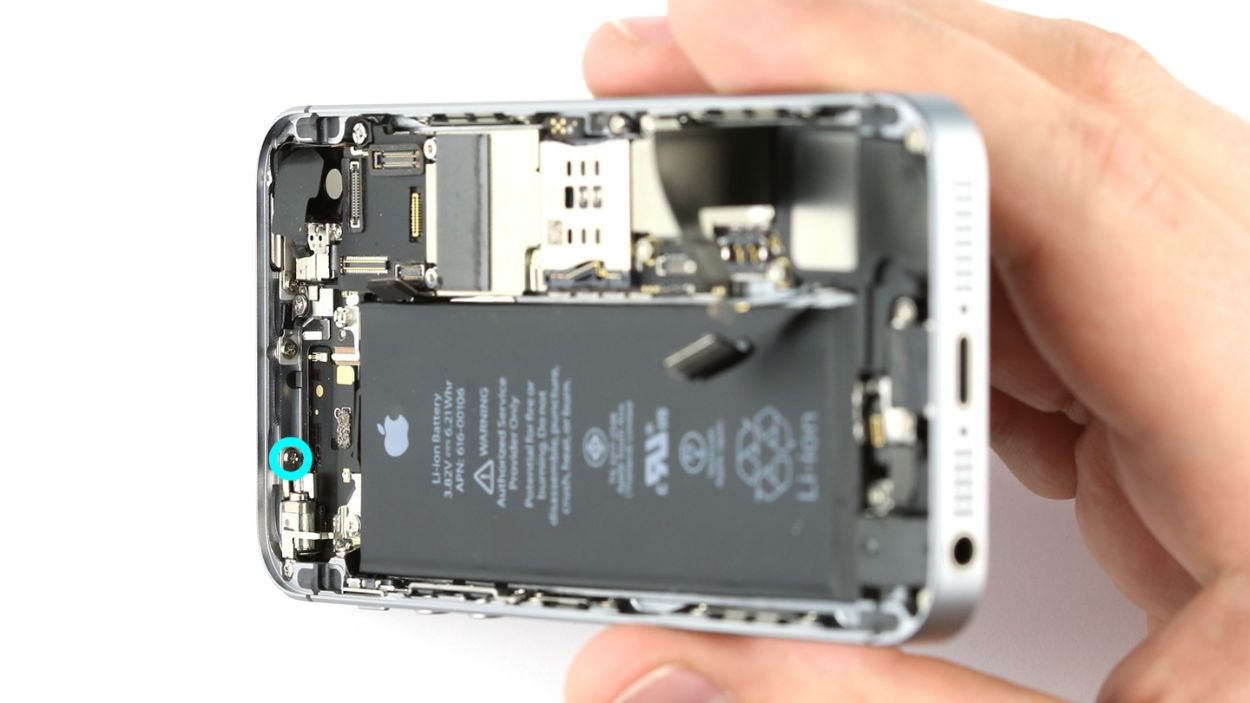
– First, connect the battery contact to the logic board—it’s like giving your phone a warm hug!
– Now, pop that cover back on and secure it with the two Phillips screws. You’re almost done! Just a couple more twists and you’ll be ready to go!
Step 10
– Slide that display into the enclosure at the top edge where the connection cables are hanging out. Give it a little push until you hear that satisfying click—it’s got to fit just right!
– Before you can get your device all cozy with the display, make sure to connect the Home button to the Lightning connector and secure them under the cover.
– Gently press down on the display towards the Home button until it’s snugly in the frame. It should sit perfectly flush with the frame—just like a dream!
Step 11
2 × 3.8 mm Pentalobe
– Now, let’s get those two pentalobe screws snugly back into the bottom of the enclosure. They’re just waiting for you to give them a home!