iPhone 11 SIM Module Replacement Guide: Step-by-Step DIY Repair Tutorial
Duration: 45 min.
Steps: 15 Steps
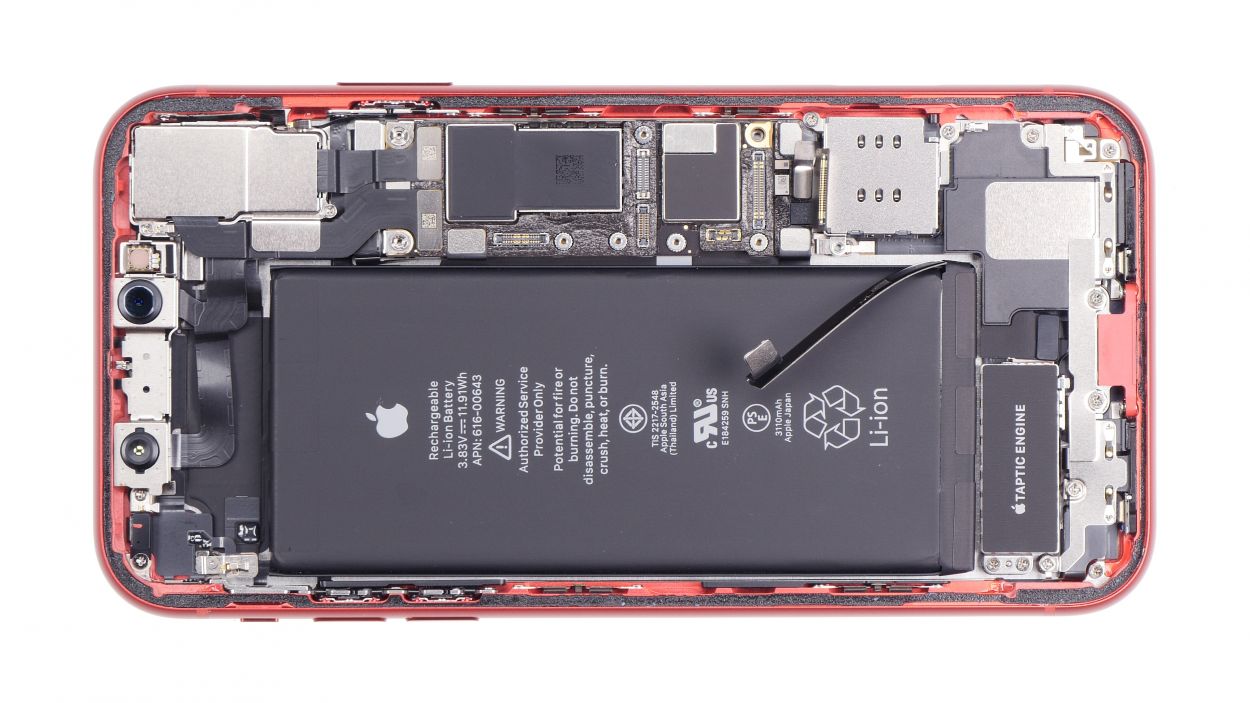
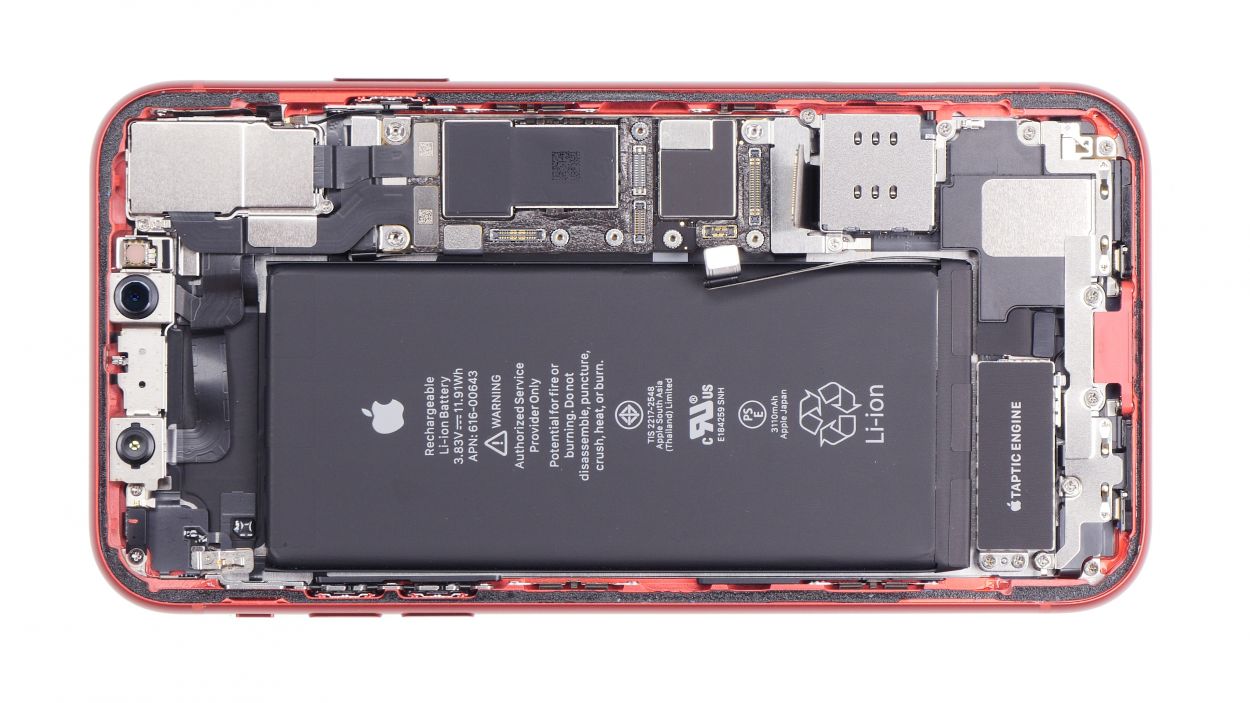
In this photo guide, we’re here to help you swap out your SIM module with ease! Before diving into the repair, make sure to back up your data and get ready for the task ahead: find a cozy, well-lit spot and give yourself plenty of time to avoid any last-minute stress. Keep these tips in mind, and soon you’ll be back to making calls without a hitch!
Step 1

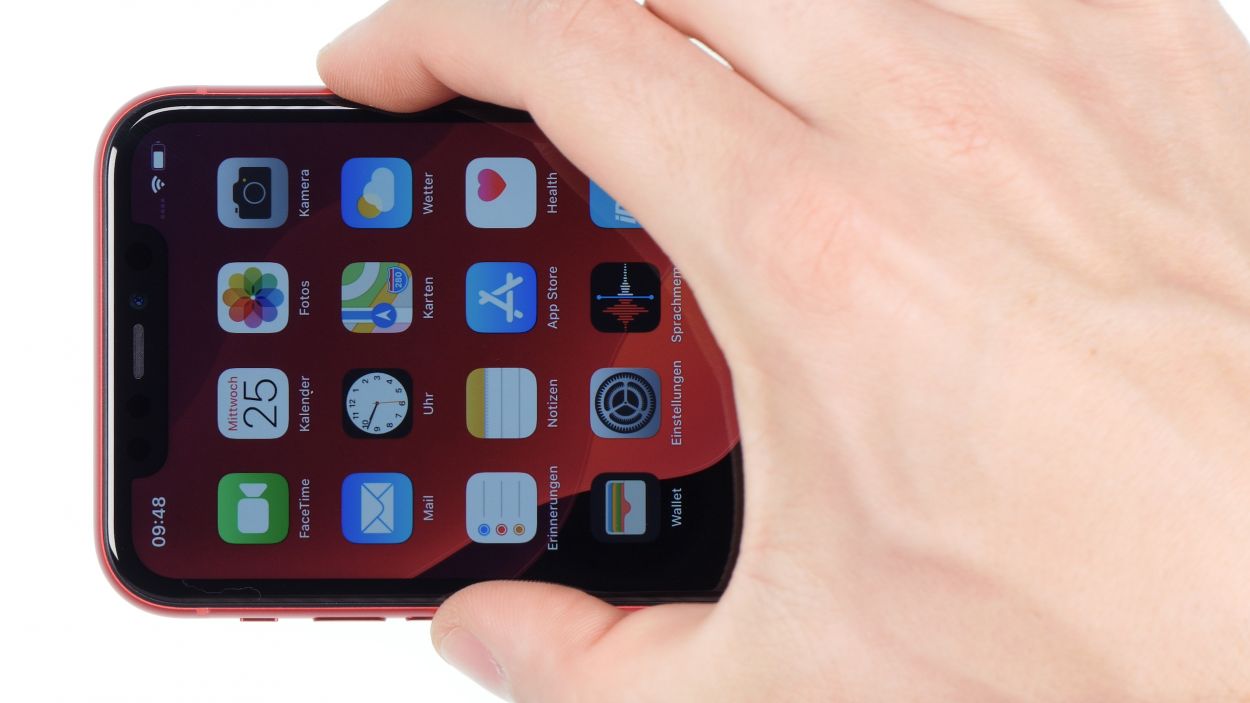
– To keep your iPhone 11 safe while you work your magic, let’s turn it off completely. Just press and hold the Standby button along with one of the volume buttons for about three seconds.
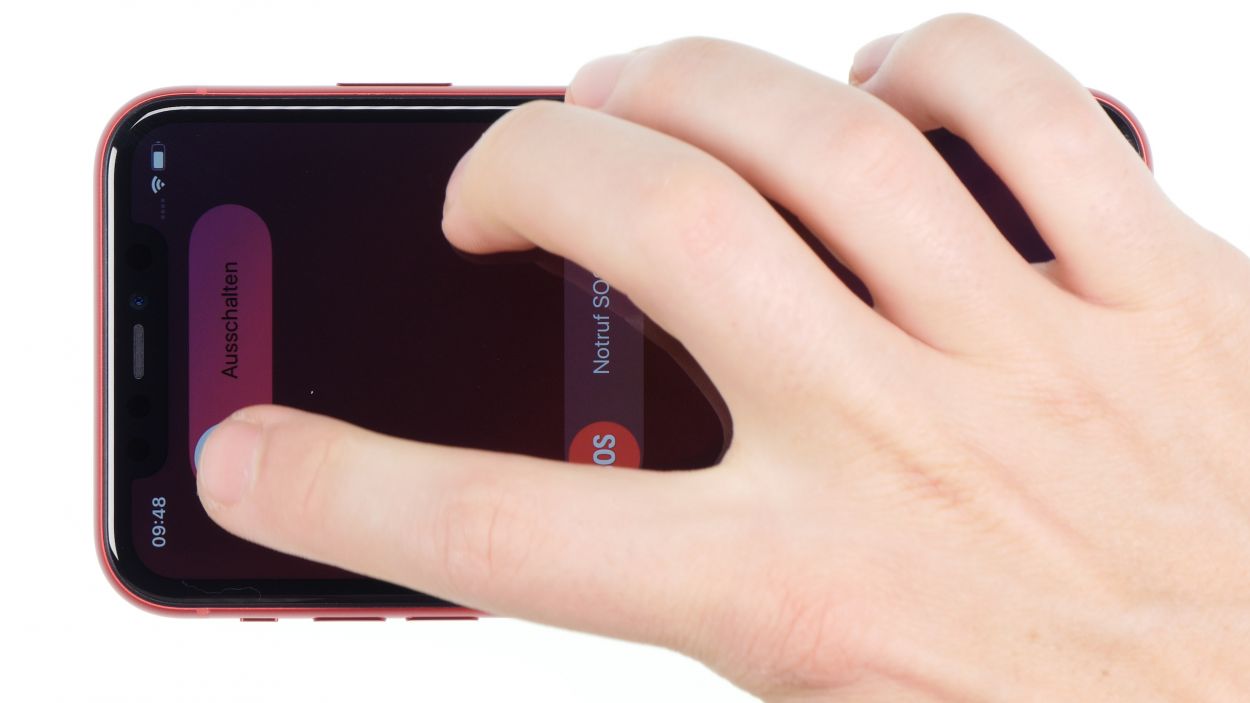
– If you see the ‘Turn off’ slider pop up, slide it from left to right. Your phone will power down entirely in about ten seconds. Easy peasy!
Step 2

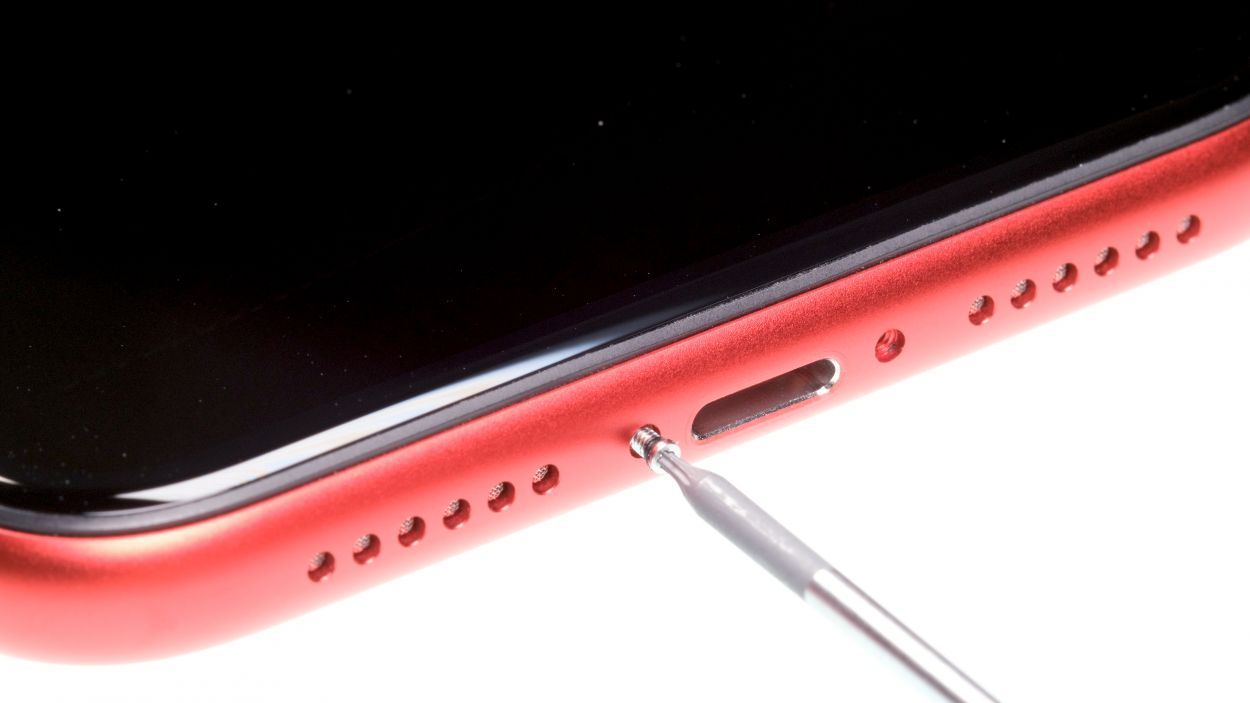
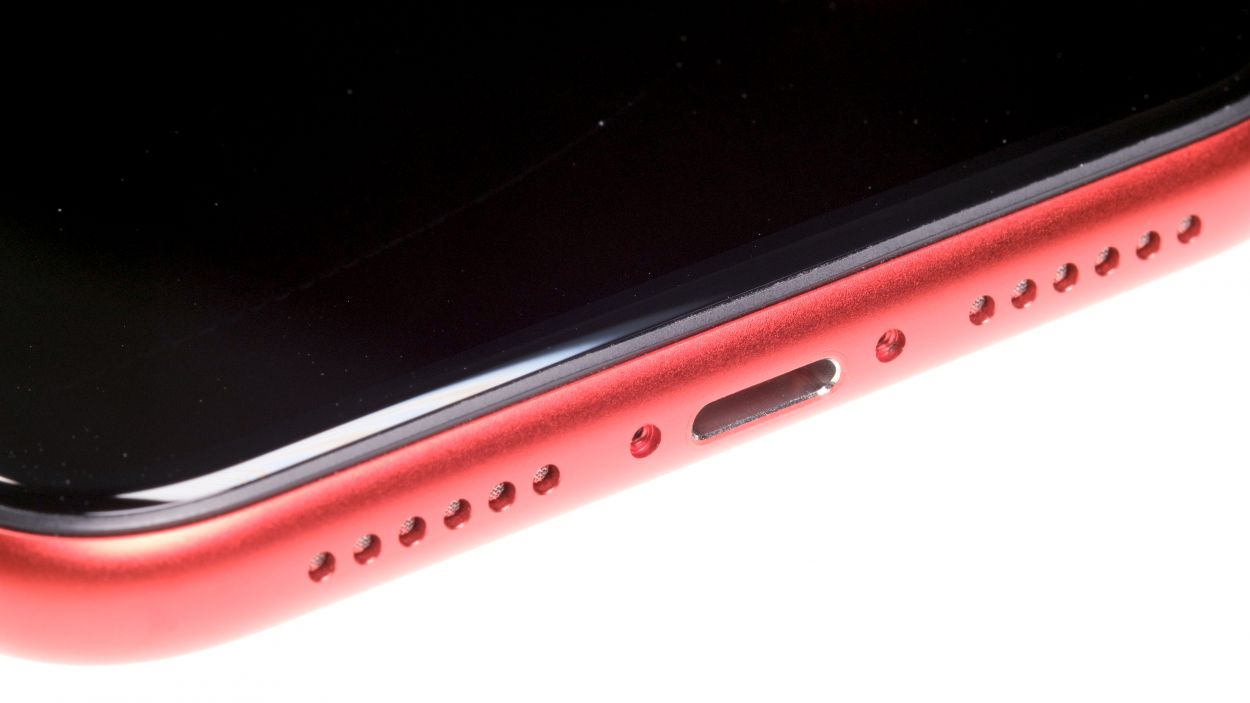
2 × 6,8 mm Pentalobe
Once you pop the device open, its superhero cape against dust and splashes (thanks to that nifty IP68 rating) will be off duty. So, handle with care!
– On the lower side of the housing, flanking the Lightning connector, you’ll spot two Pentalobe screws just waiting to be removed. Go ahead and take them out, then stash them in a cozy spot on your magnetic pad!
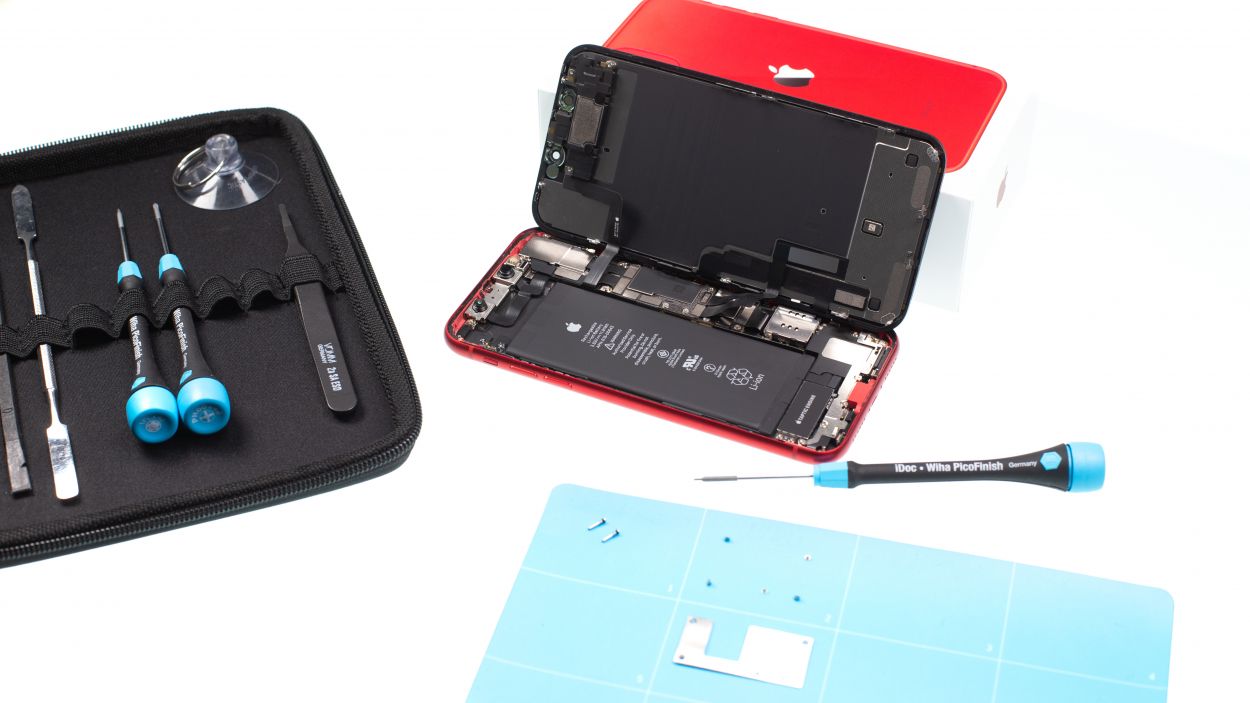
Tools Used
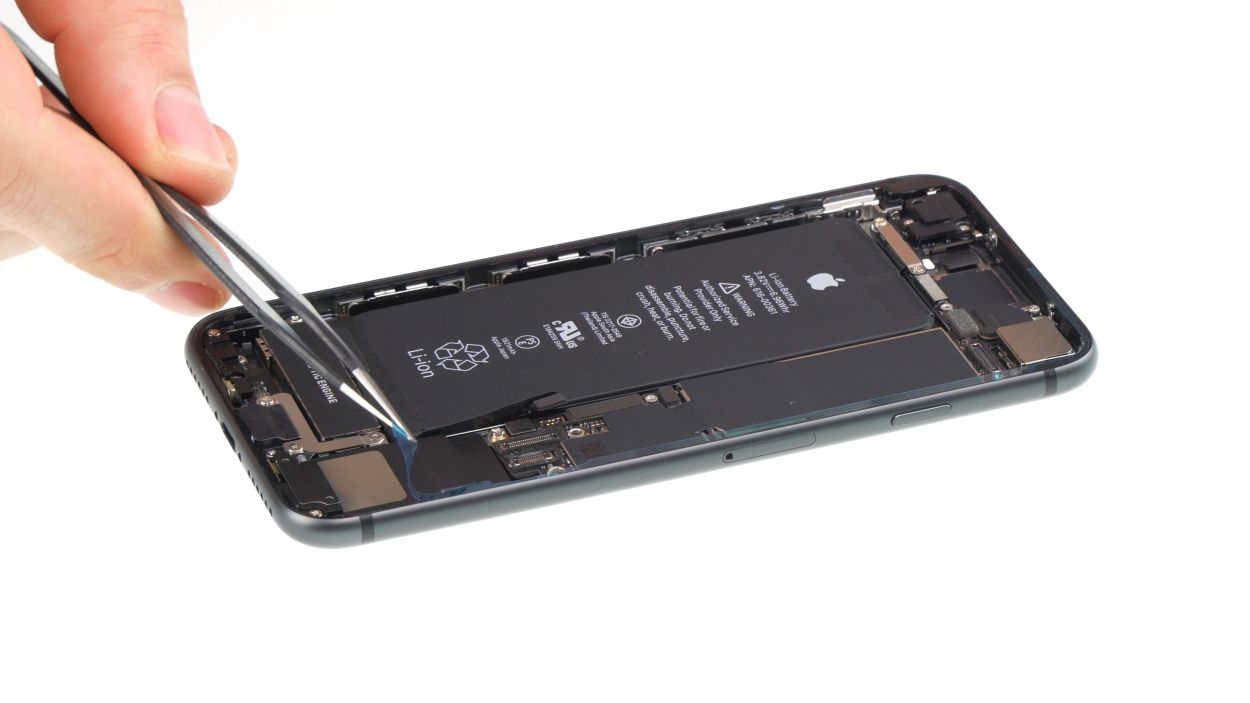
Step 3
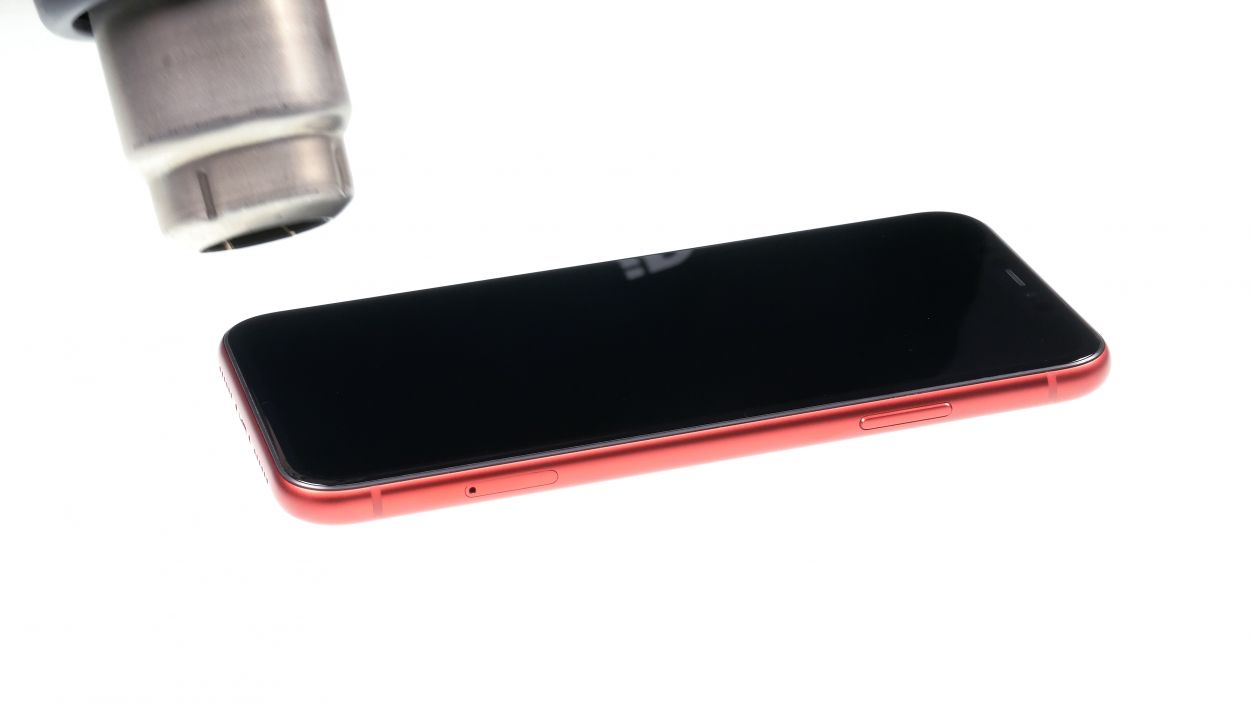

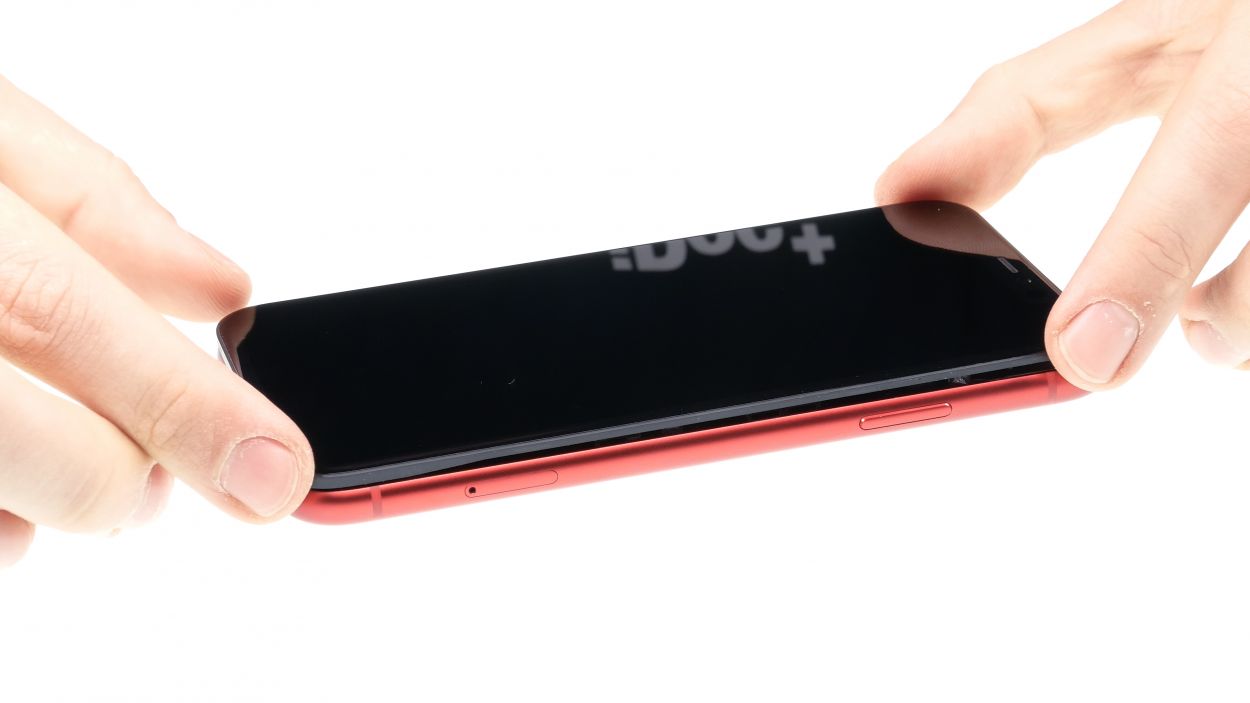
– Set your iPhone 11 on a soft and clean surface. This will help keep the back of your device scratch-free during this step.
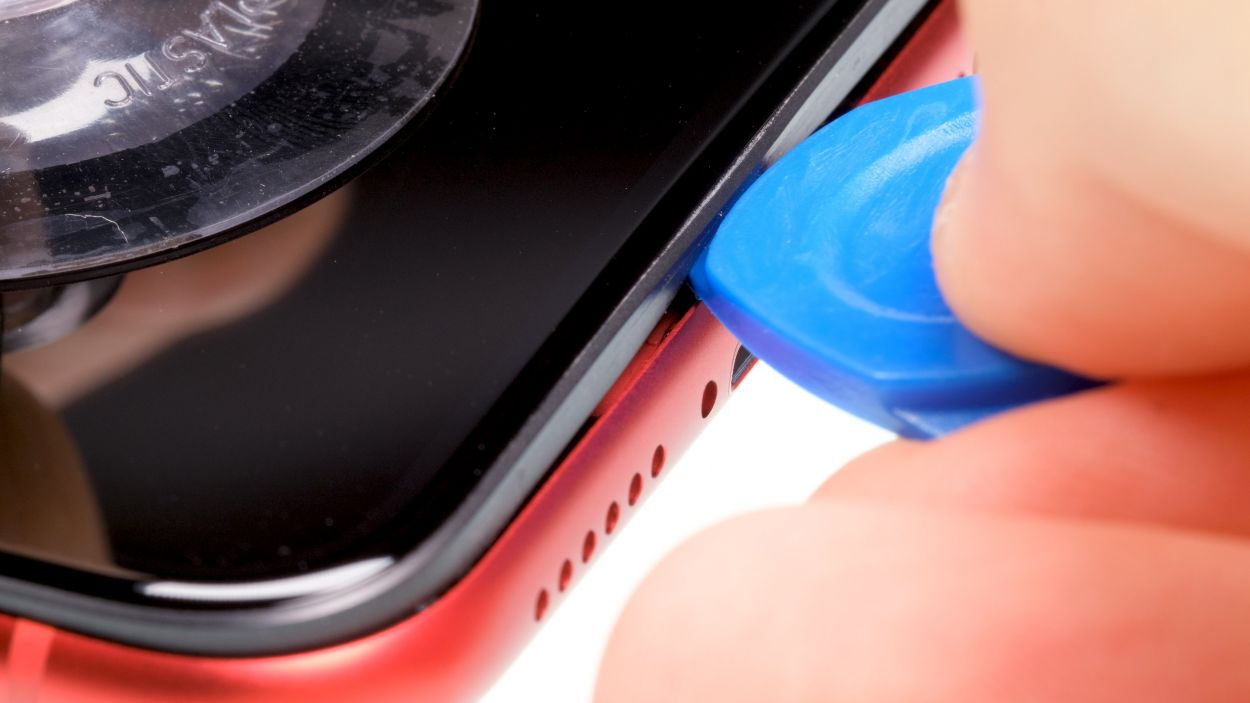
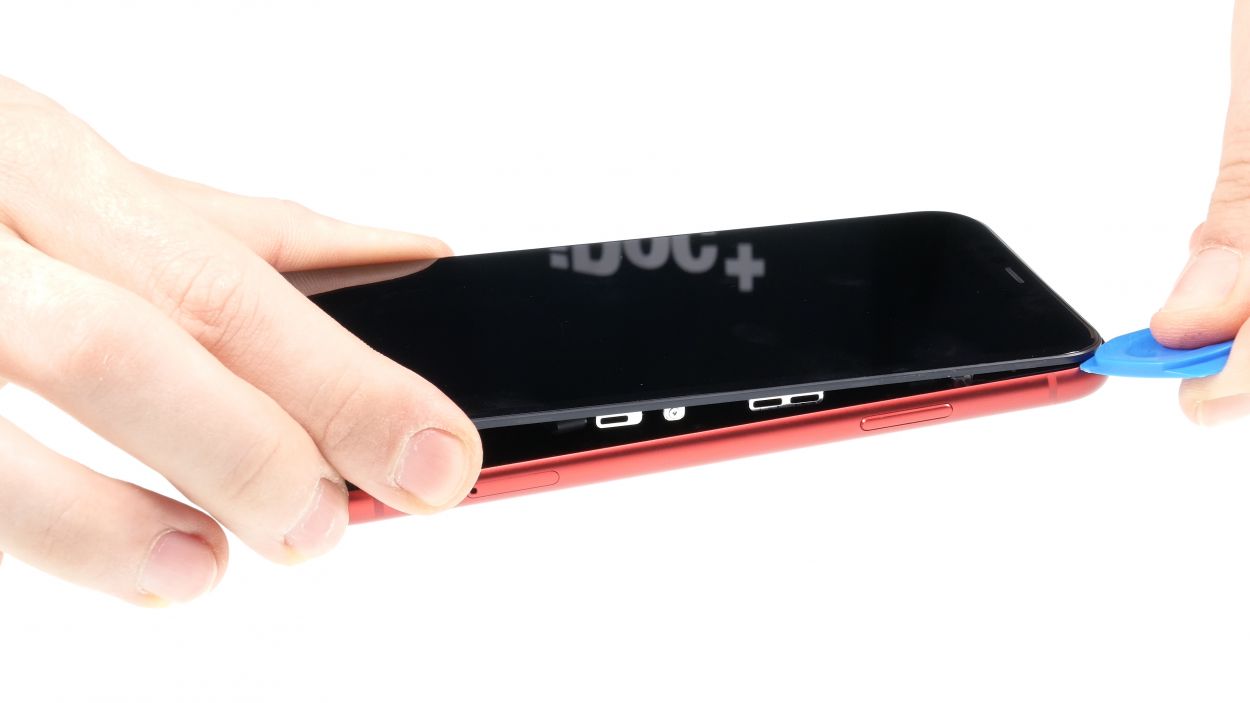
– To lift the screen, grab a suction cup, a sturdy plastic plectrum, and a hairdryer. If your glass is shattered, apply a strip of parcel tape on it first to shield yourself from any splinters.
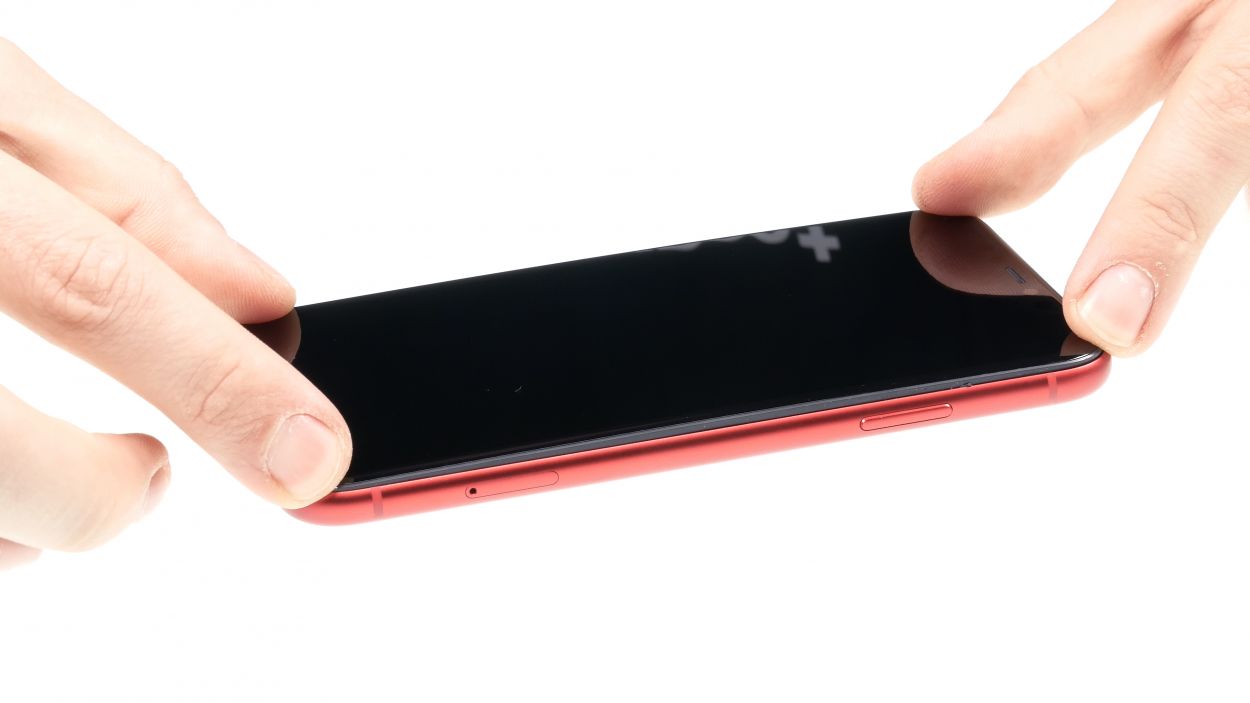
– Next, warm up the edge of the display with your hairdryer to around 60° C (140° F) to help loosen the glued screen from the frame.
– Now, place the suction cup on the lower edge of the iPhone. Use the key ring on the suction cup to gently lift the display. While you do this, slide the hard plastic plectrum between the case and display frame, and press the case frame down. To fully remove the display adhesive, move the plectrum all the way around the iPhone.
Be careful not to insert the tool more than about 5mm into the device. We wouldn’t want you to accidentally bump into any delicate components inside your iPhone! This is especially crucial near the standby button, where those sensitive flex cables from the display are hanging out.
You can totally swap in an iFlex instead of that hard plastic plectrum! Just a heads up, though: it might leave a few scratches on the frame. But hey, a little character never hurt anyone, right?
Tools Used
- heat gun to heat parts that are glued on so they’re easier to remove.
In most cases, you can also use a hairdryer.” rel=”noopener”>Heat gun - Pick Set
- iFlex Opening Tool
- VAKUPLASTIC Suction Cup
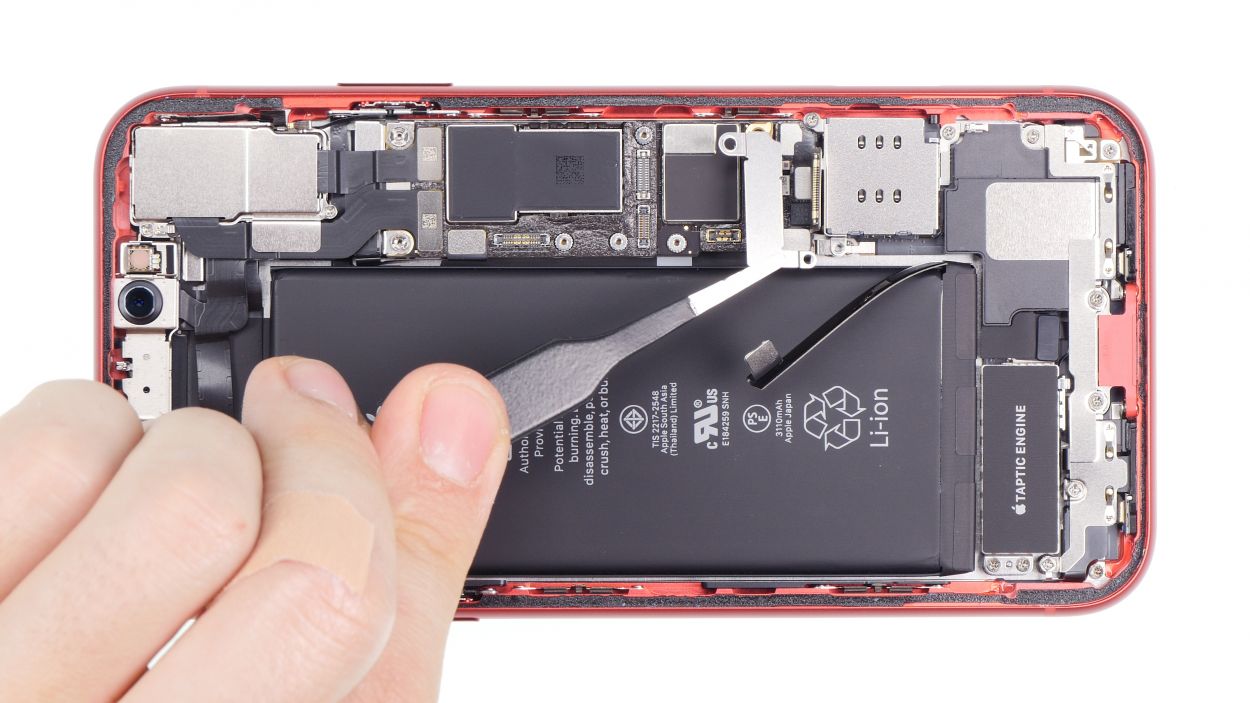
Step 4


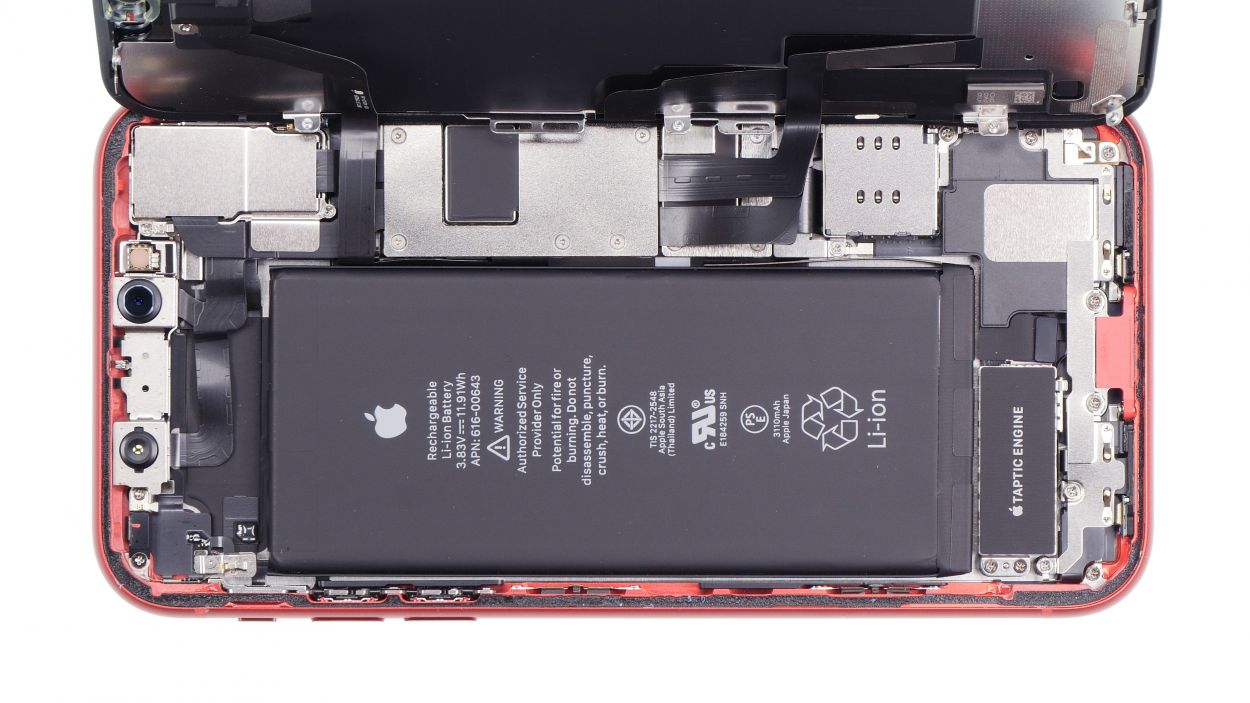
– Grab your trusty Y-type Y000 screwdriver and let’s tackle those Y-type screws holding the metal cover in place! As you go, make sure to keep all the little pieces cozy on your magnetic mat so they don’t wander off.
5 × 1,1 mm Y-Type
Touch connector
LCD connector
Earpiece connector
With the iPhone 7, Apple decided to shake things up by introducing Y-type screws. You might have heard the terms Tri-Point or Tri-Wing floating around, but those are just fancy names that don’t quite hit the mark. So, when you’re ready to tackle those screws, make sure you’ve got the right screwdriver handy to keep those heads looking sharp!
Tools Used
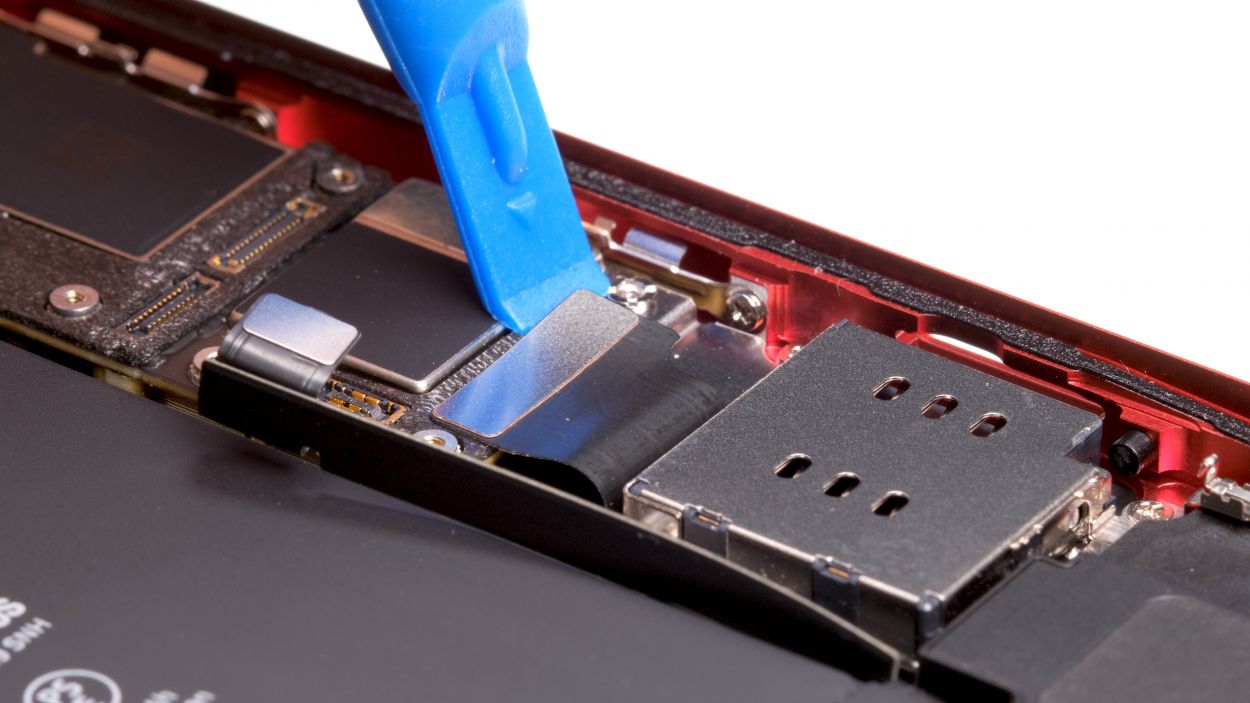
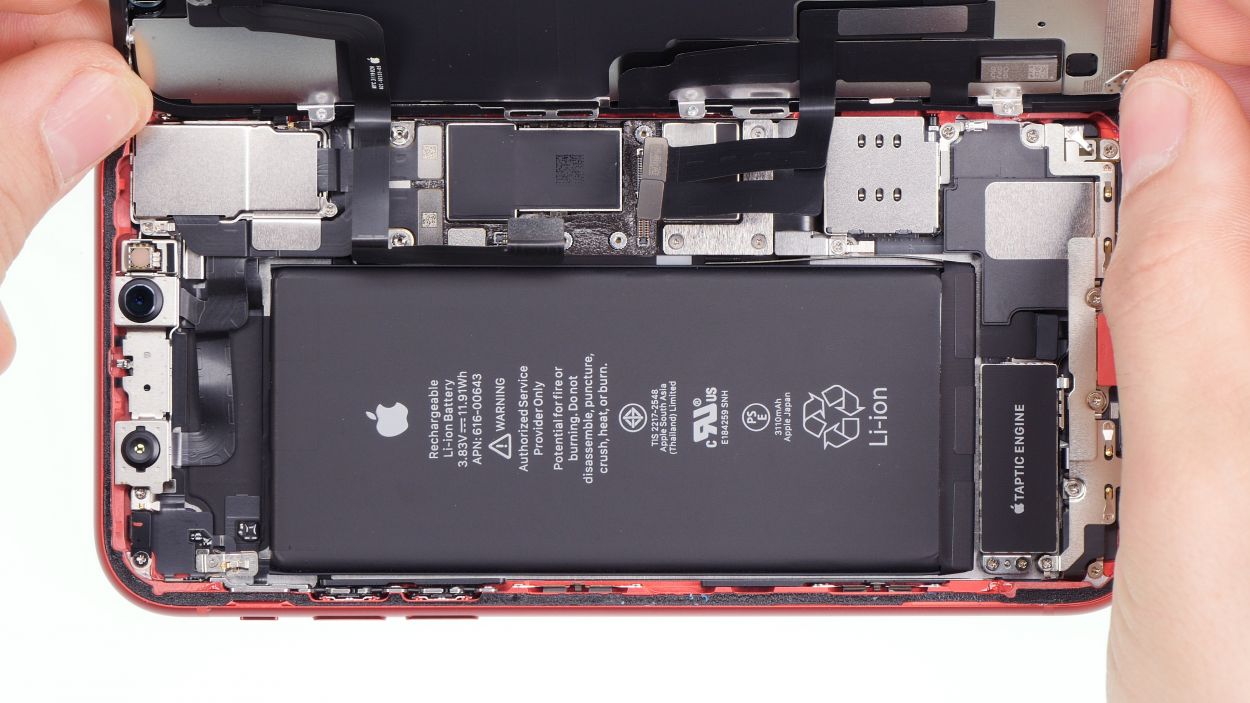
Step 5

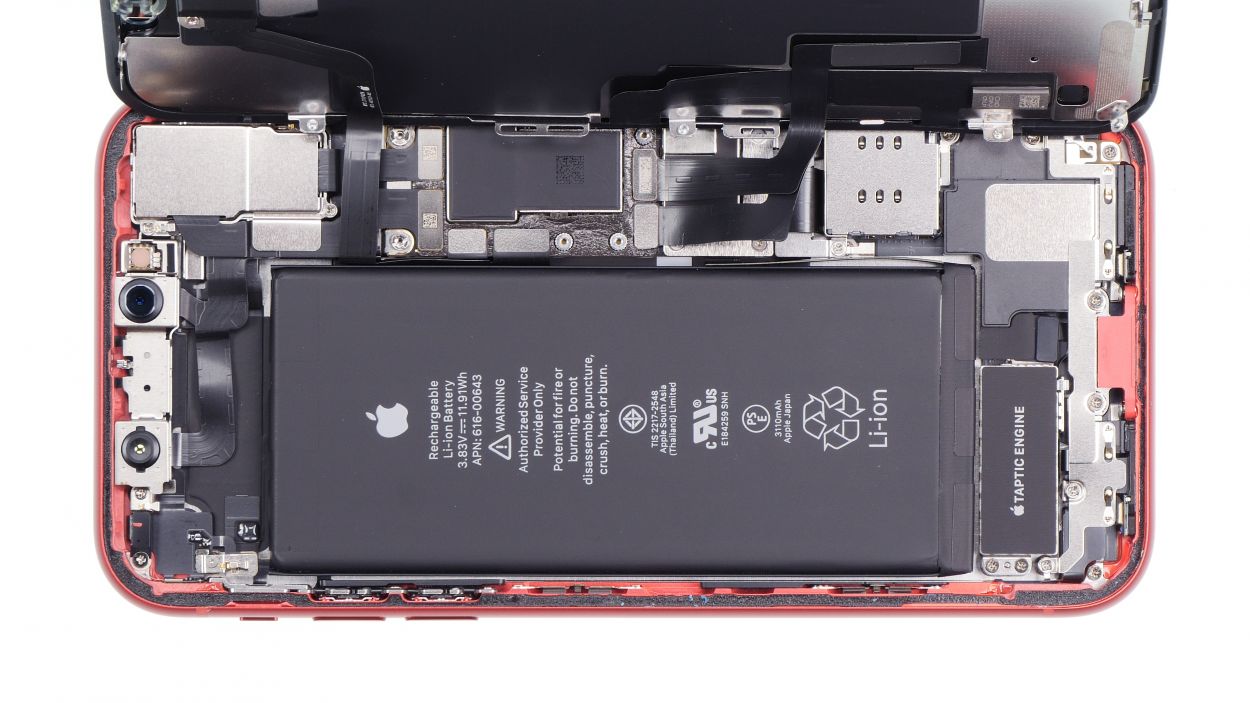
3 × 1,1 mm Y-Type
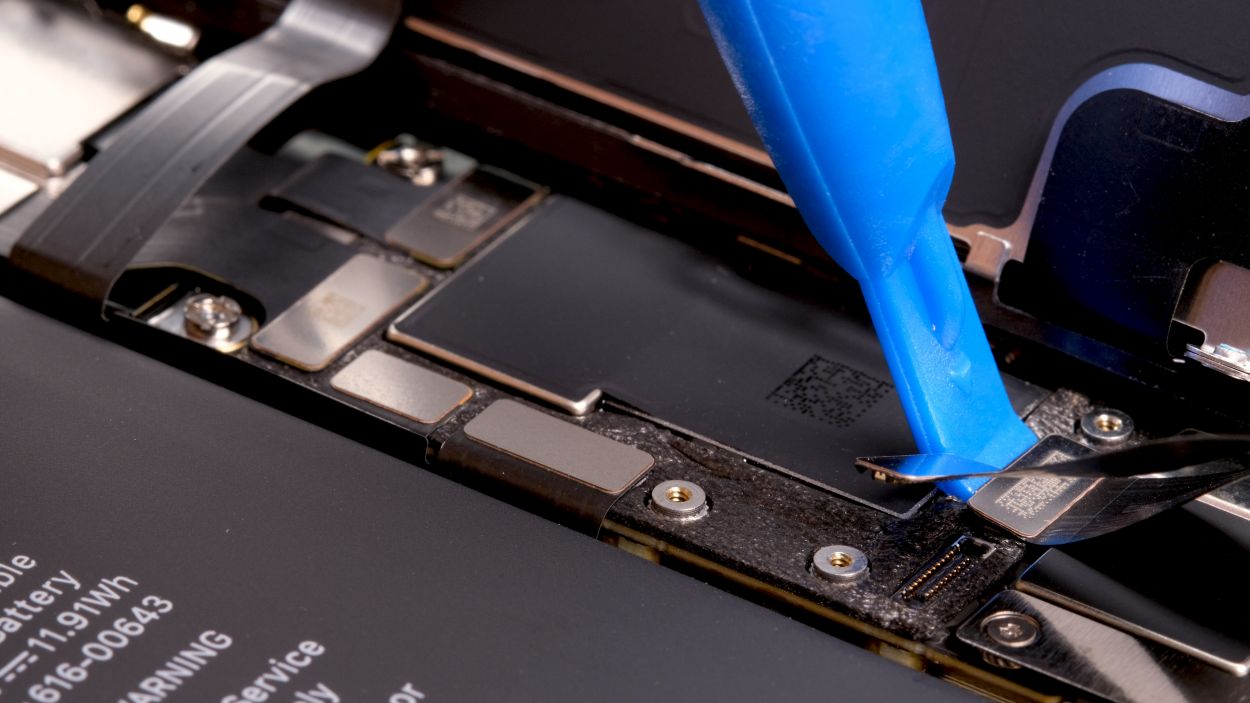
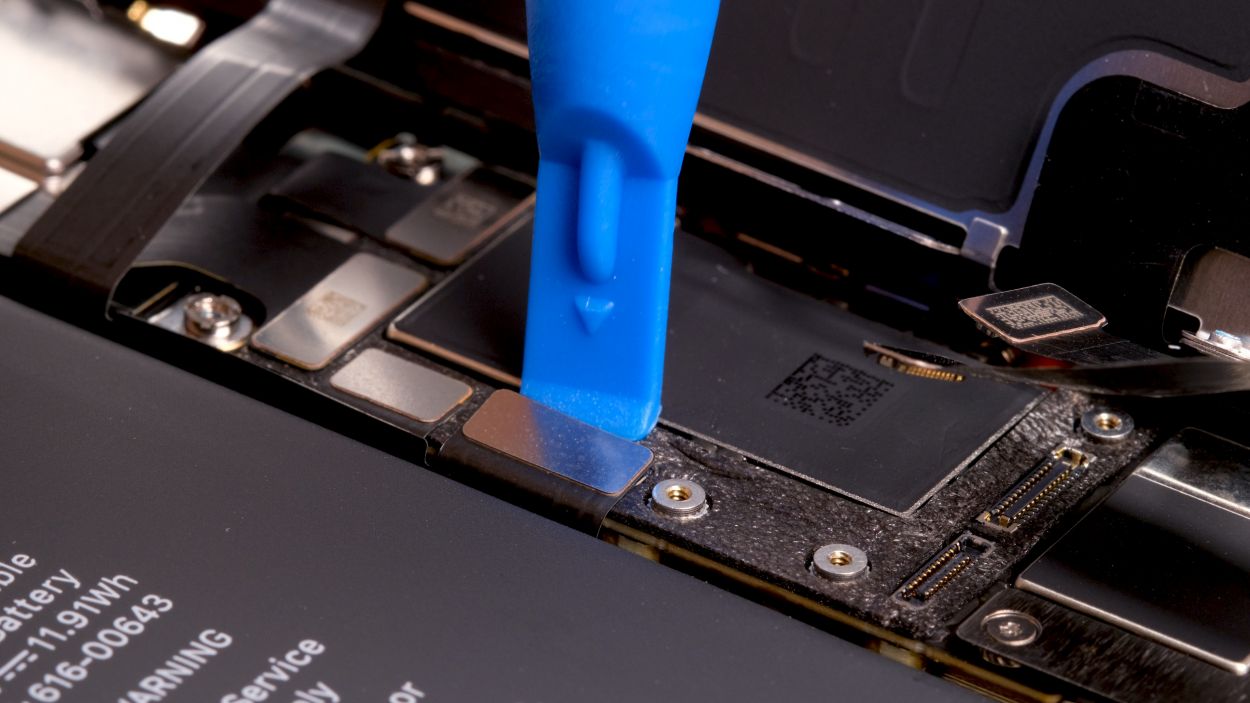
Battery connector
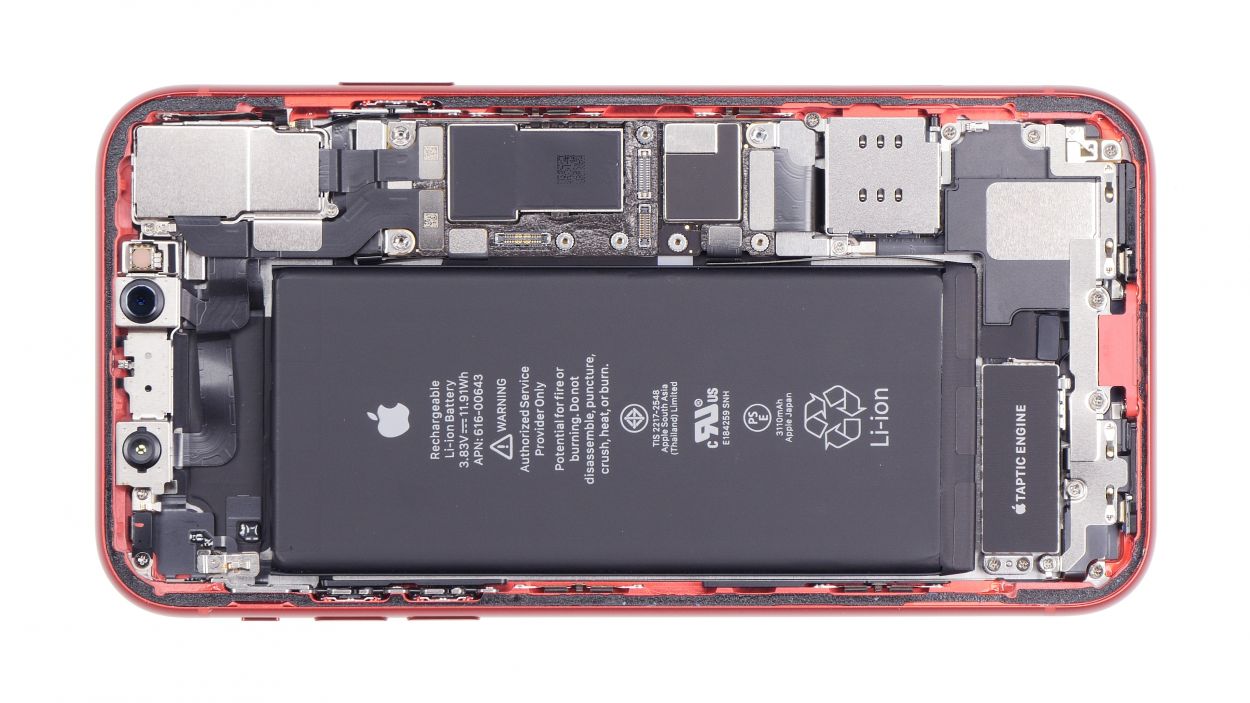
– Let’s get those screws out from the cover plate above the battery contact! Grab your trusty screwdriver and get to work.
– Once those screws are gone, gently lift off the cover plate and make sure to keep all the little pieces organized on your magnetic mat – they’ll thank you later!
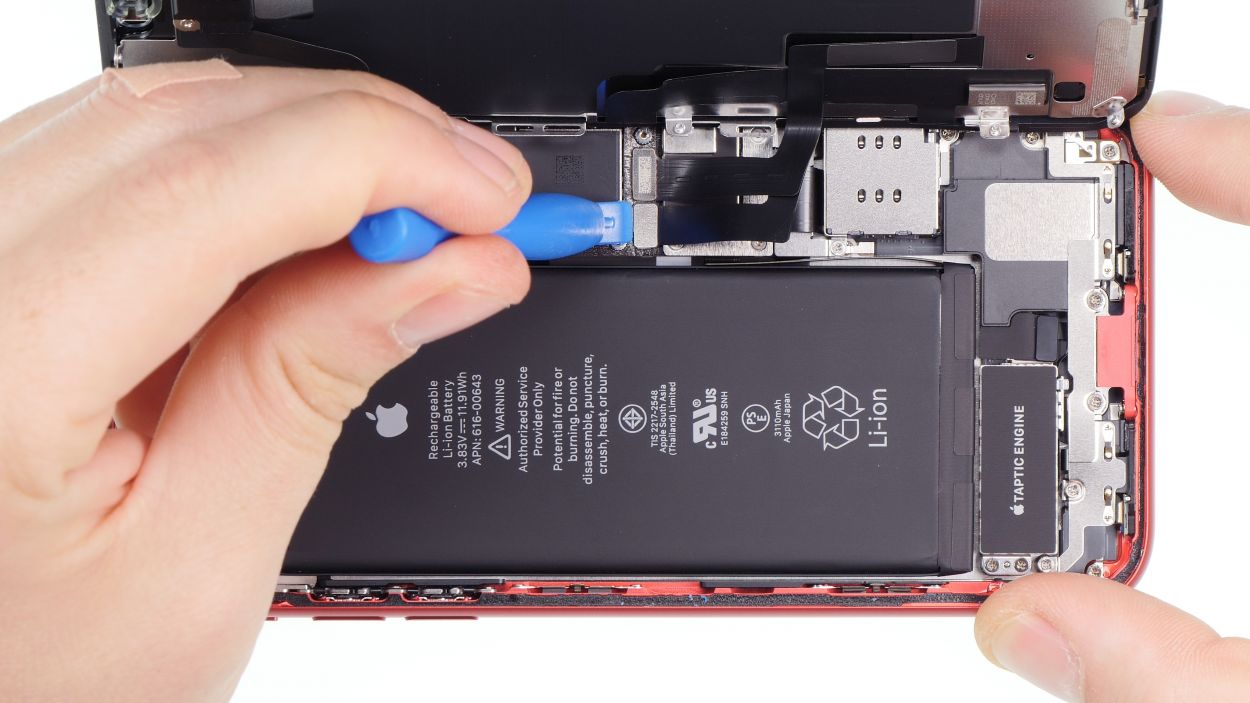
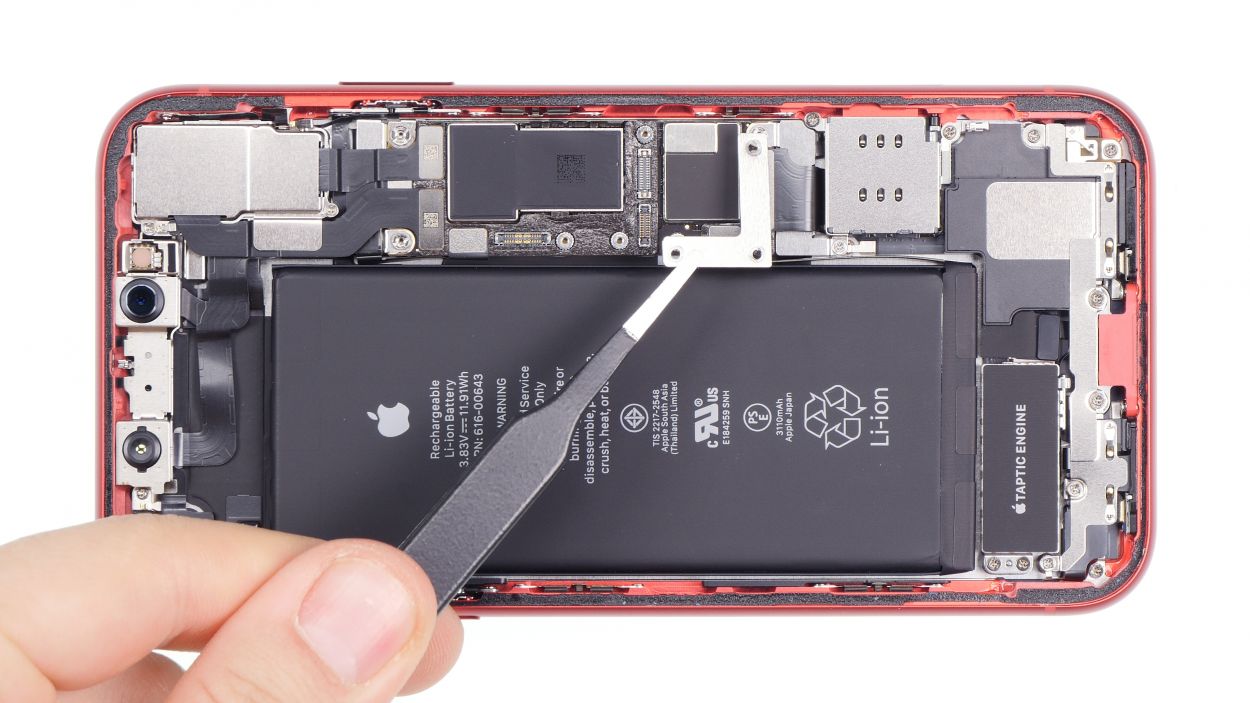
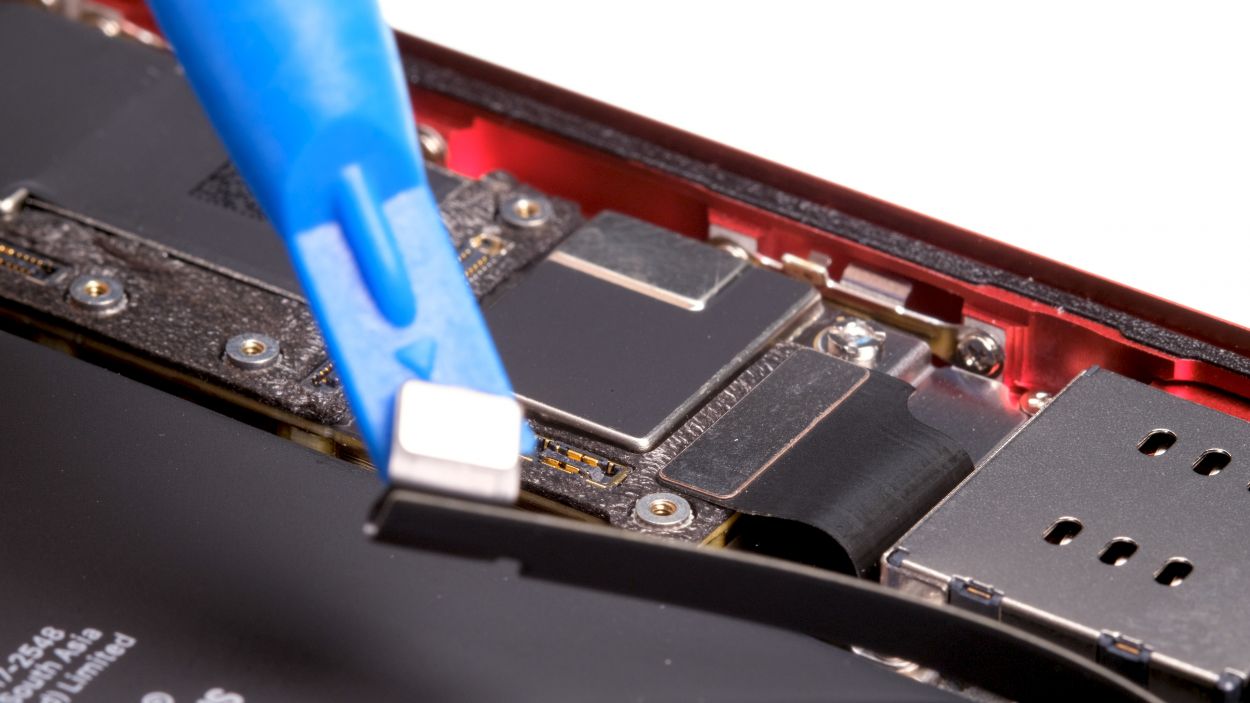
– Now, using a plastic spudger, carefully lift off the battery contact and give it a little bend to the side. Remember, we’re using plastic here to keep things safe and avoid any short circuits!
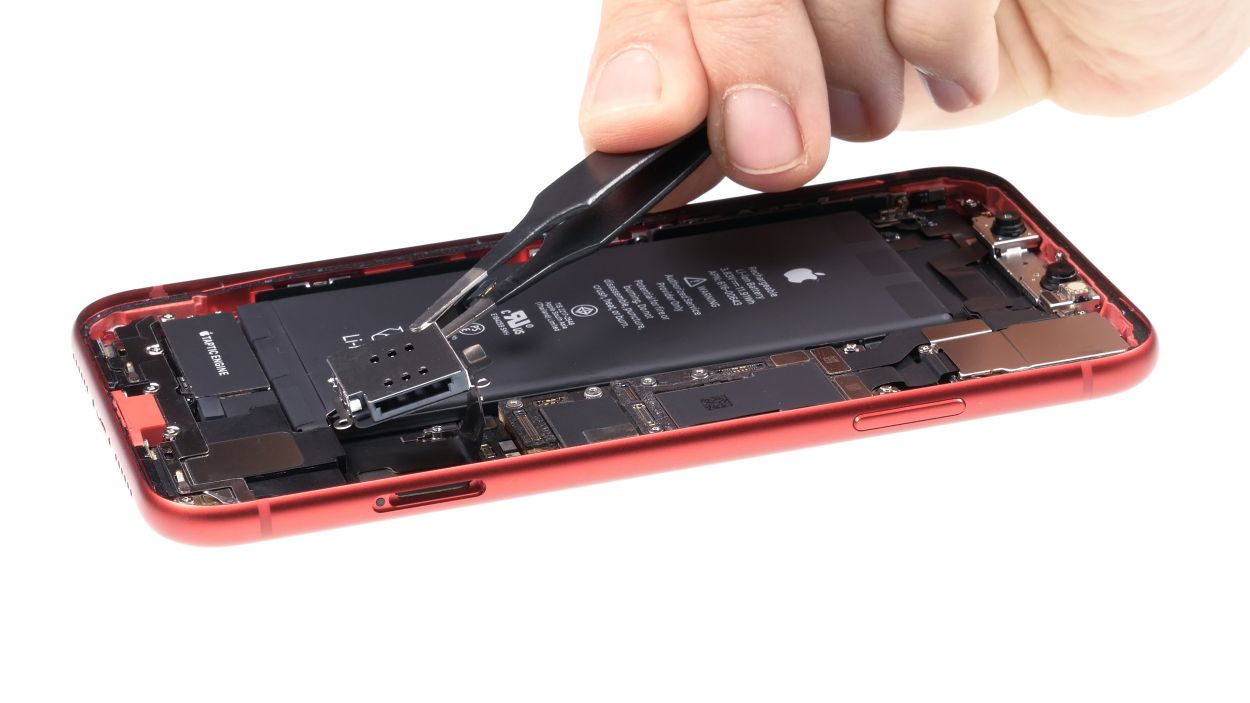
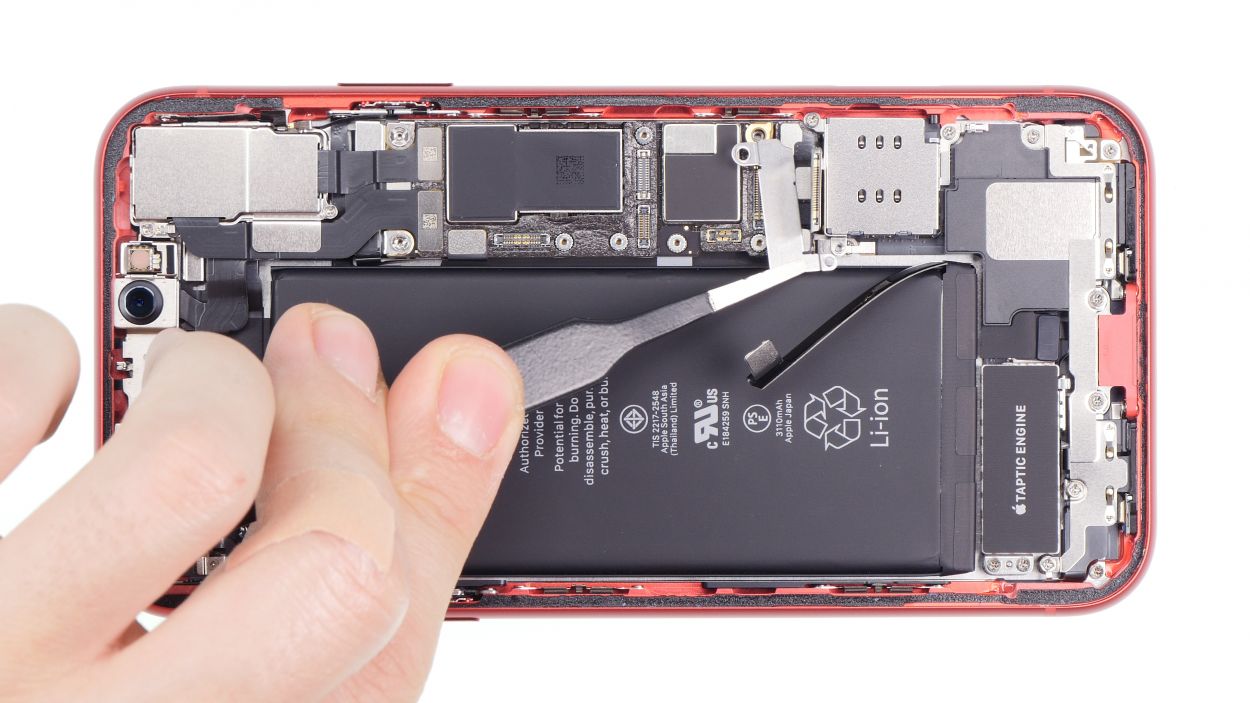
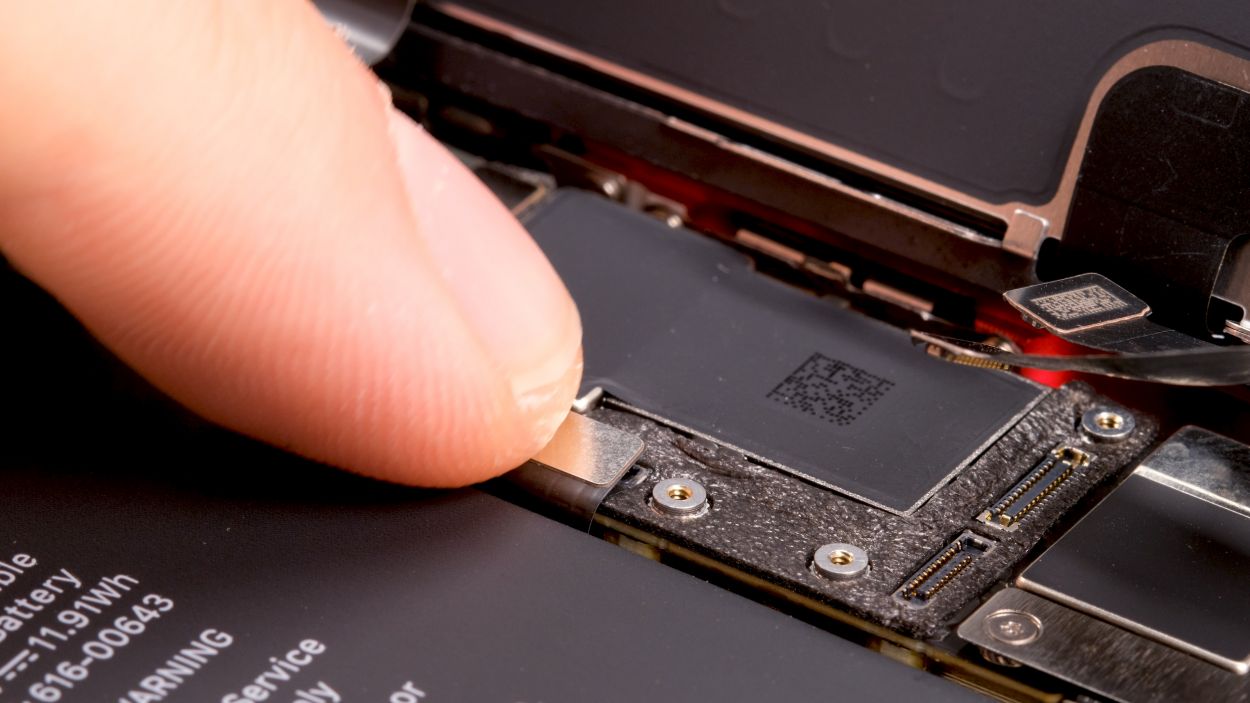
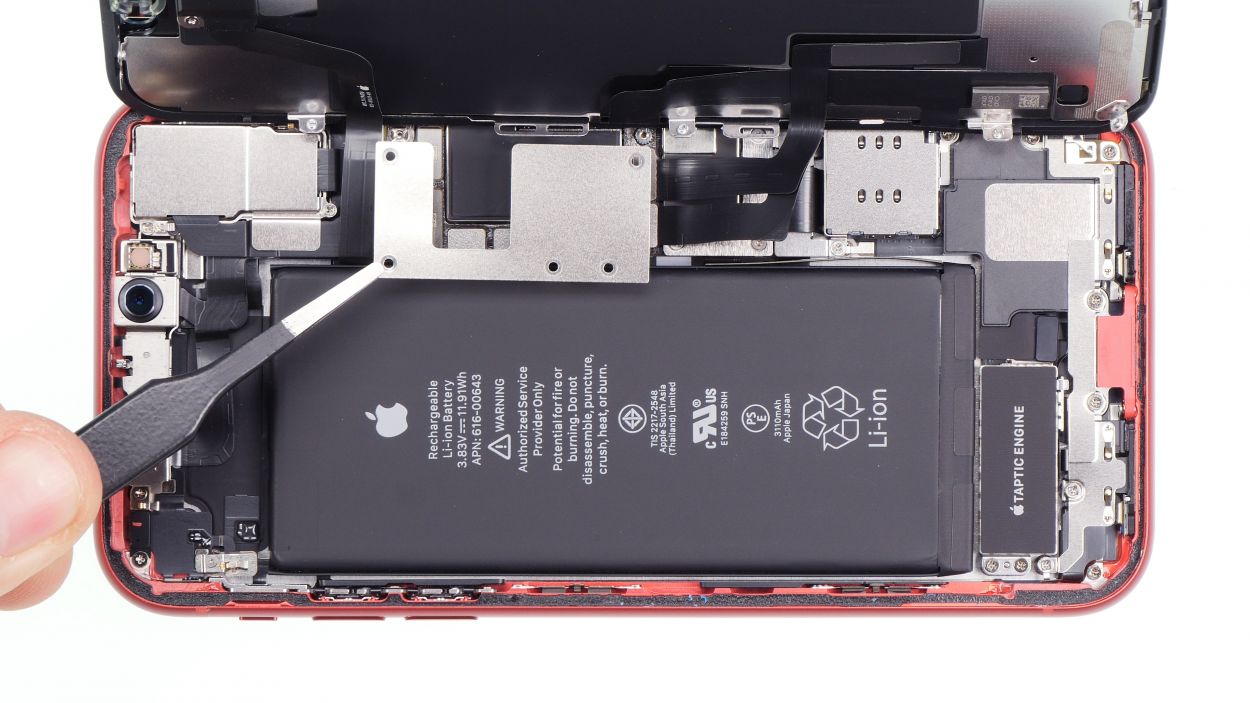
Step 6
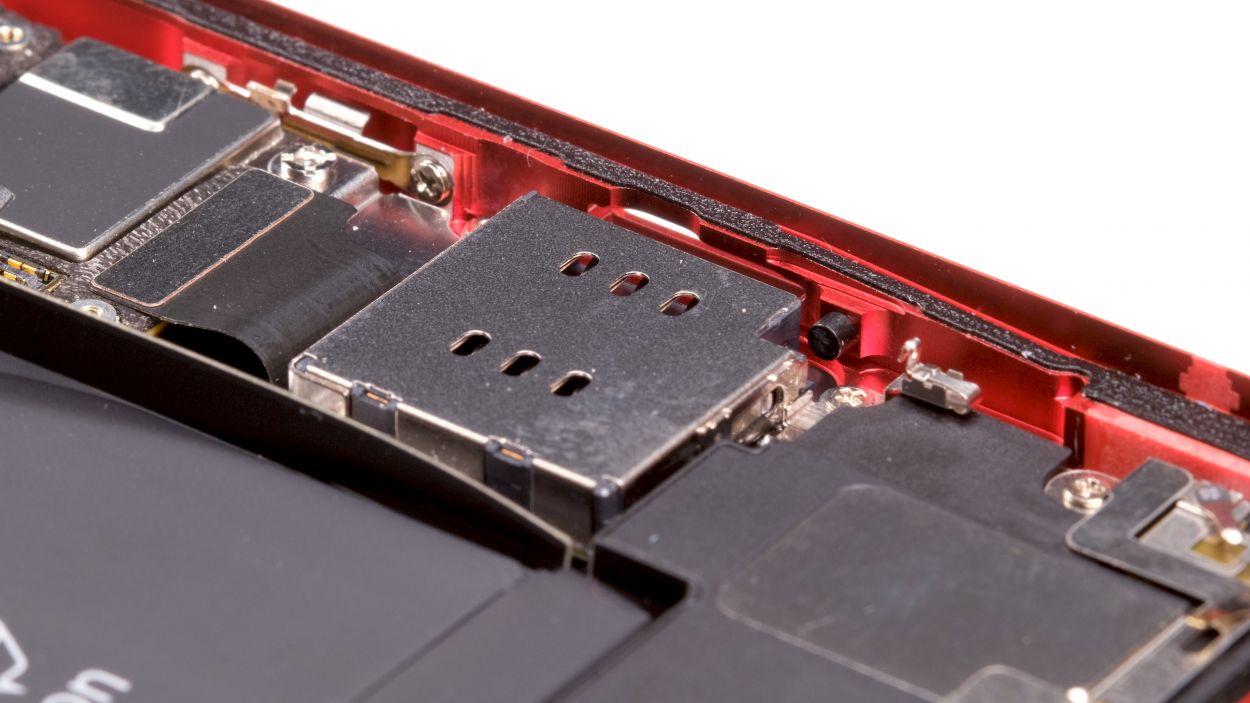

– Time to get that SIM card holder out of your device! Give it a gentle tug and it should come right out.
– Next up, let’s pop that little pin back into its cozy spot in the case.
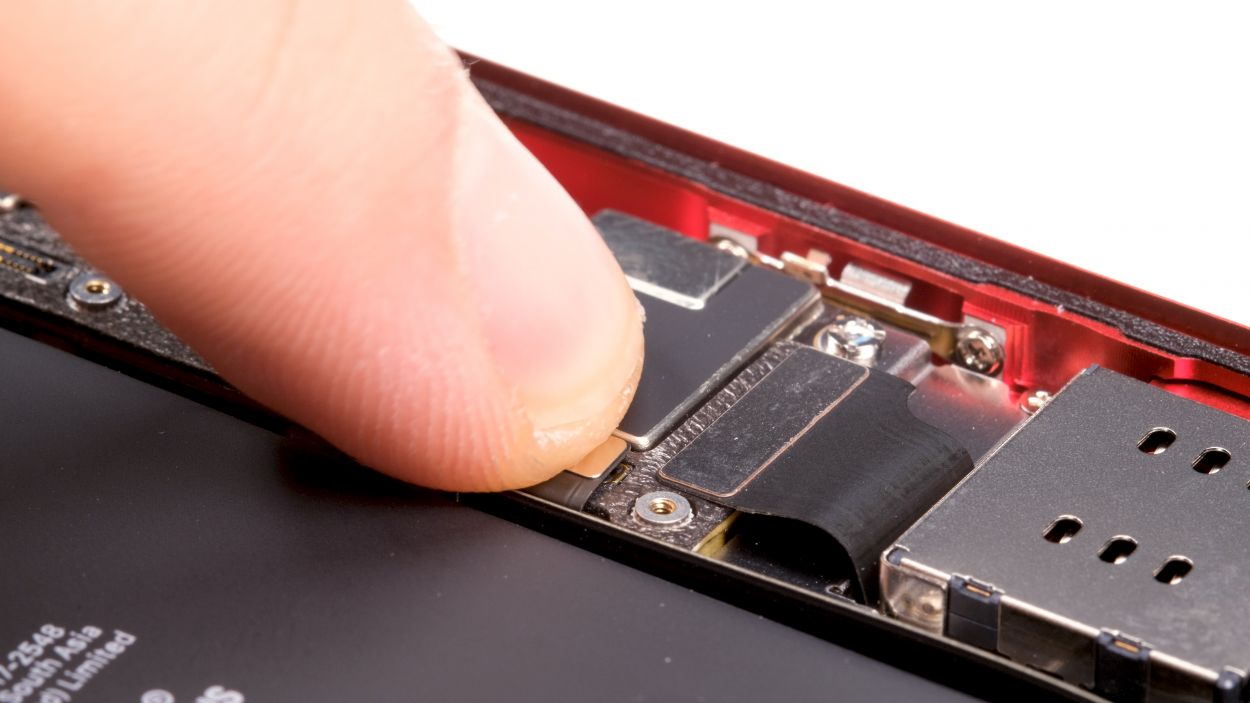
– Now, loosen the broad contact of the lightning connector unit to access the SIM card reader’s connector.
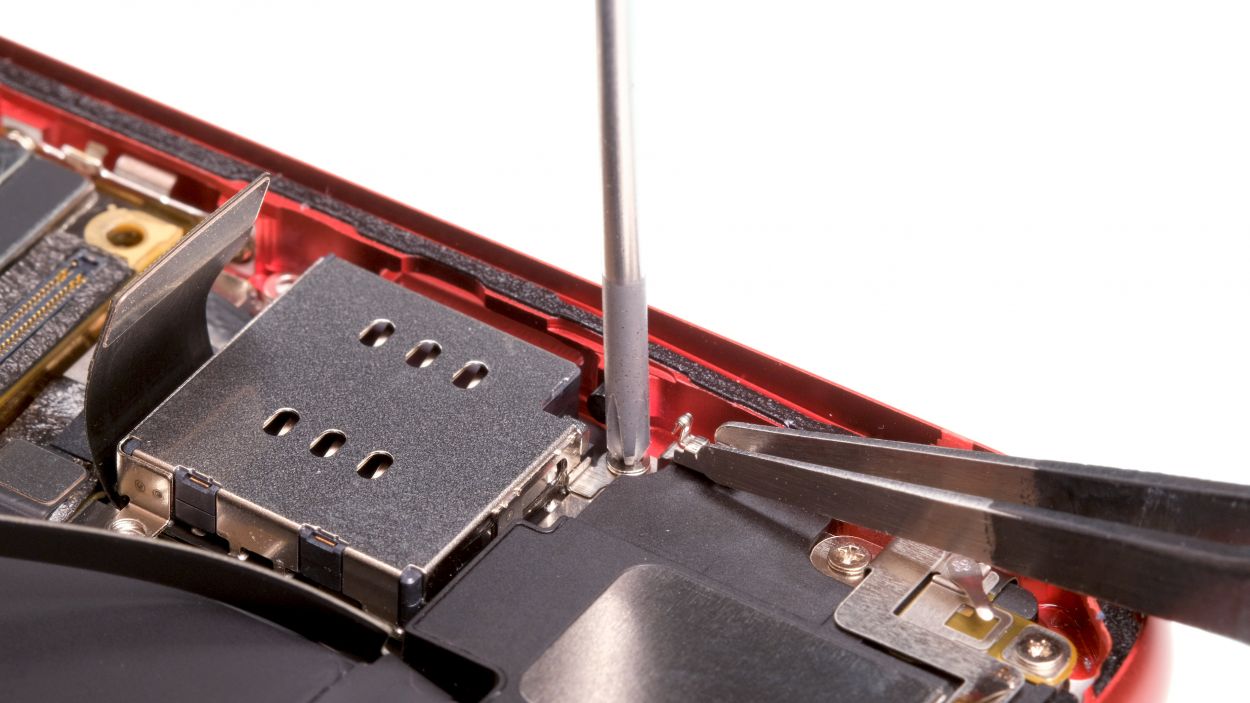
– Finally, unscrew those two screws holding the metal plate in place. You’ve got this!
1 × 3,0 mm Standoff
1 × 1,5 mm Phillips
Lightning connector
SIM card reader connector
To tackle those standoff screws, grab a special screwdriver that features a centering pin – it’s like the VIP pass to screw removal! This method is the smoothest ride for getting those screws out. If you’re feeling adventurous, a narrow slotted screwdriver can also do the trick!
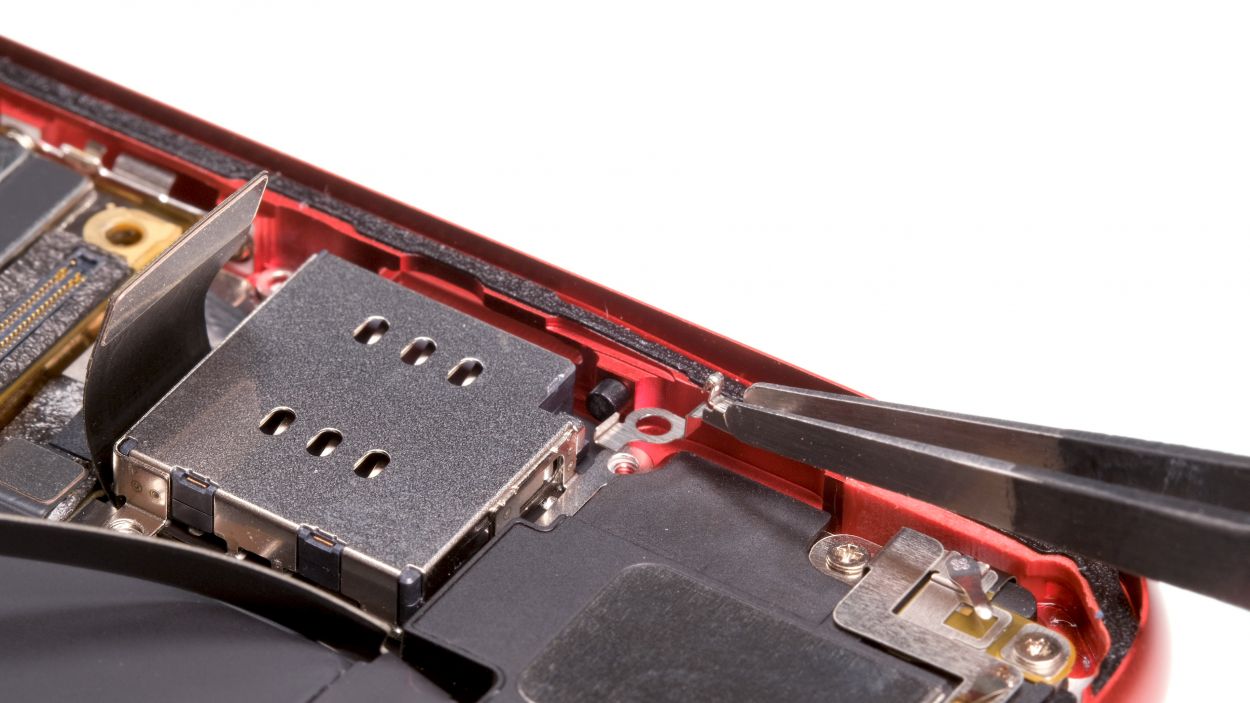
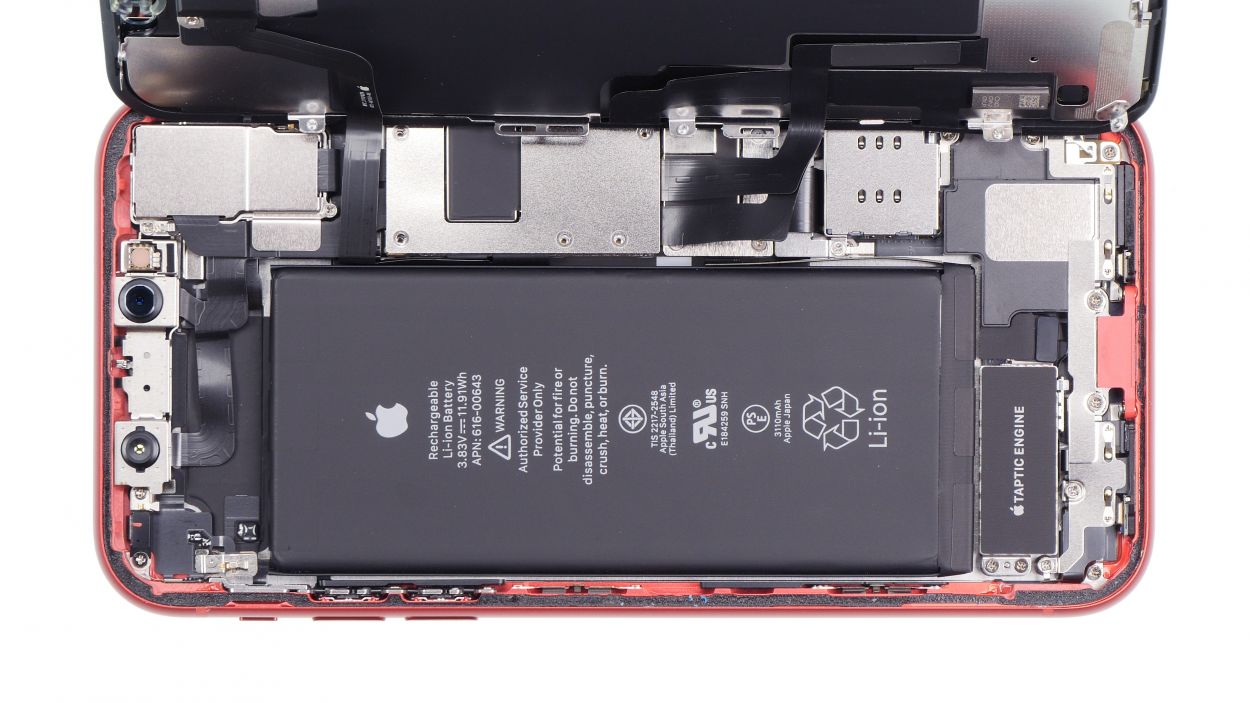
Step 7
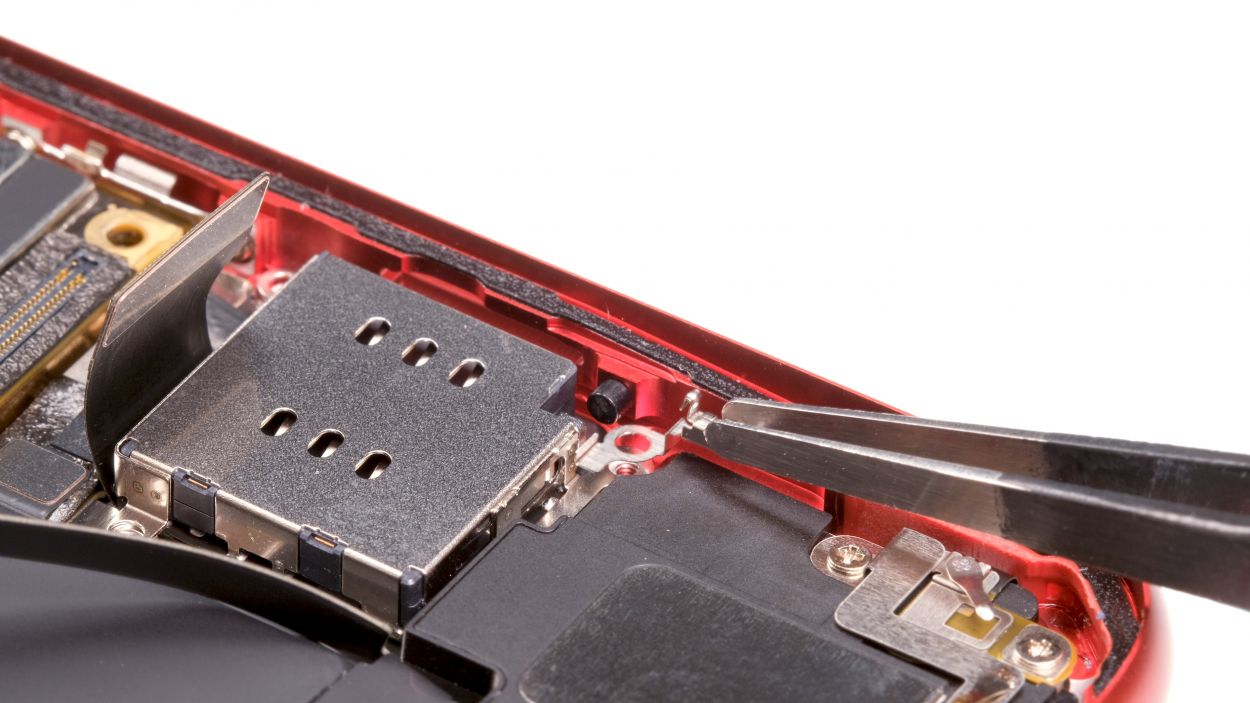
2 × 1,5 mm Phillips
One of the screws secures a tiny metal clip. Keep track of how that clip is oriented so you can pop it back in just right later!
– It’s time to take out those screws keeping the SIM card reader snug in your iPhone!
Step 8

2 × 1,5 mm Phillips
Don’t forget about that little metal clip on one of the screws! It’s like the secret sauce for putting everything back together just right.
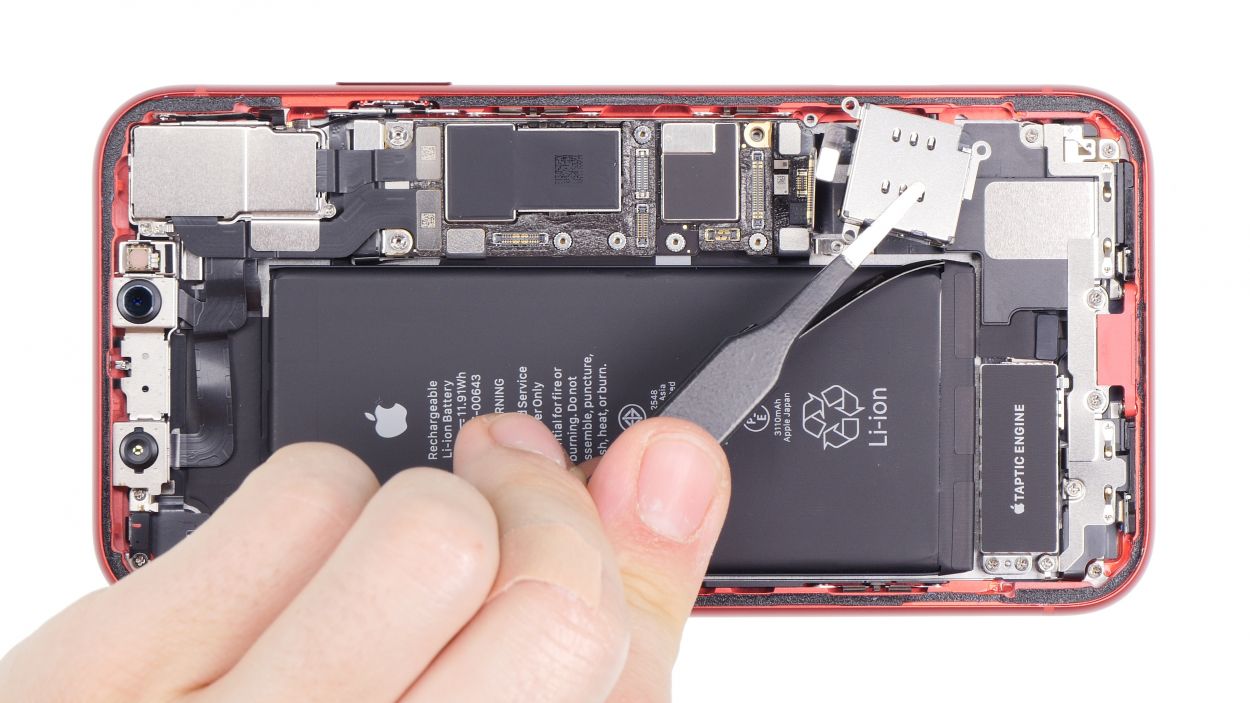
– Slide that shiny new SIM card reader into your device, making sure it fits just right. You’ve got this!
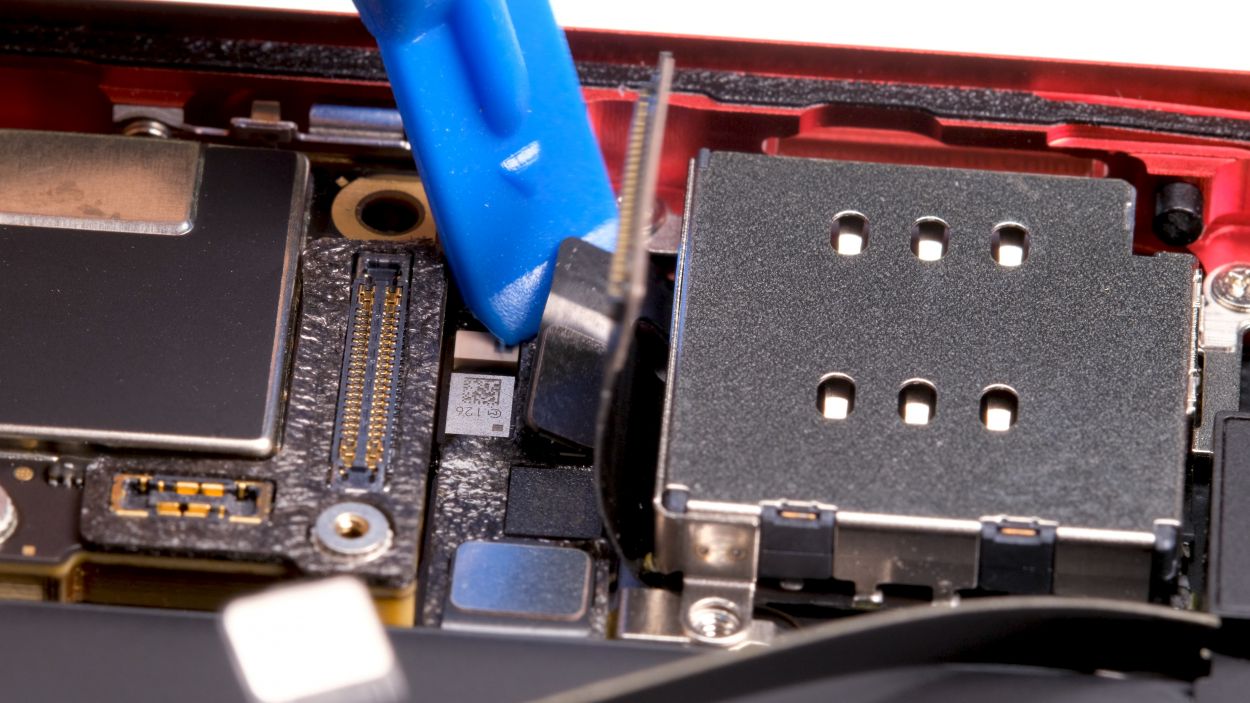
Step 9

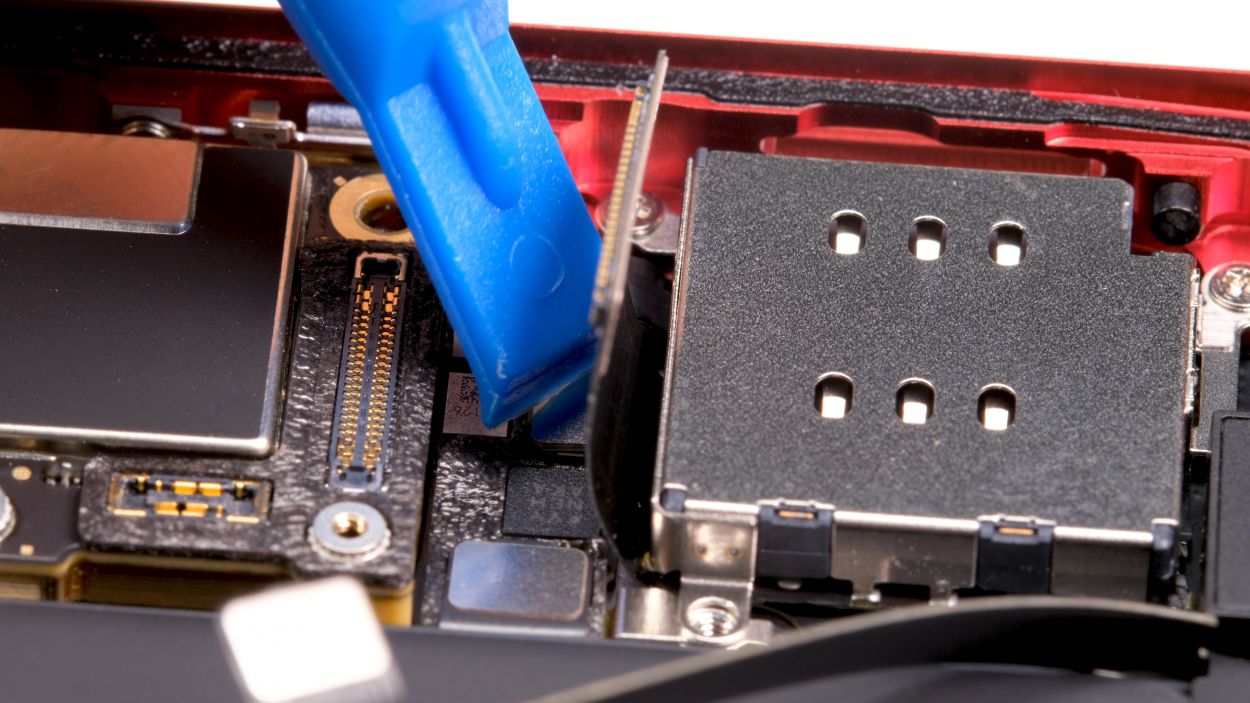
SIM card reader connector
1 × 3,0 mm Standoff
1 × 1,5 mm Phillips
Lightning connector
– Alright, it’s time to connect that SIM card reader! This one can be a bit tricky to get to, so grab your trusty spudger to help you out. Give it a nice push until you hear that satisfying click – that’s how you know it’s snug!
– Next up, let’s get that cover plate back in place and screw it down nice and tight.
– Now, reconnect the wide connector to ensure everything’s in sync.
– Finally, pop the SIM card holder back in. If you feel it pushing back, don’t force it – it means the card reader isn’t seated just right yet.
Step 10


3 × 1,5 mm Phillips
Battery connector
– Gently position the contact back onto its rightful spot on the logic board and give it a little press to secure it in place.
– Now it’s time to bring back the metal cover and fasten it down with those trusty screws.
Step 11
The iPhone is no longer 100% waterproof after repair!
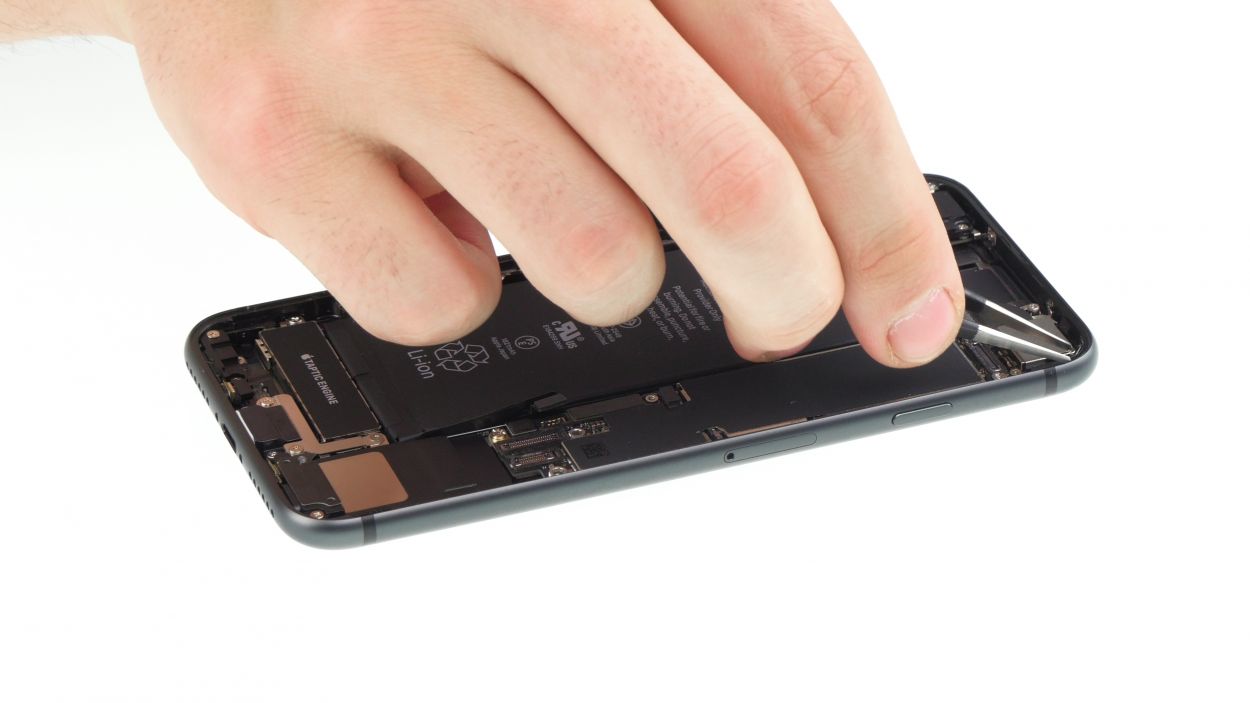
– First up, let’s get rid of any sticky residue on the metal frame and display. This little step will make sure your new adhesive frame fits like a glove!
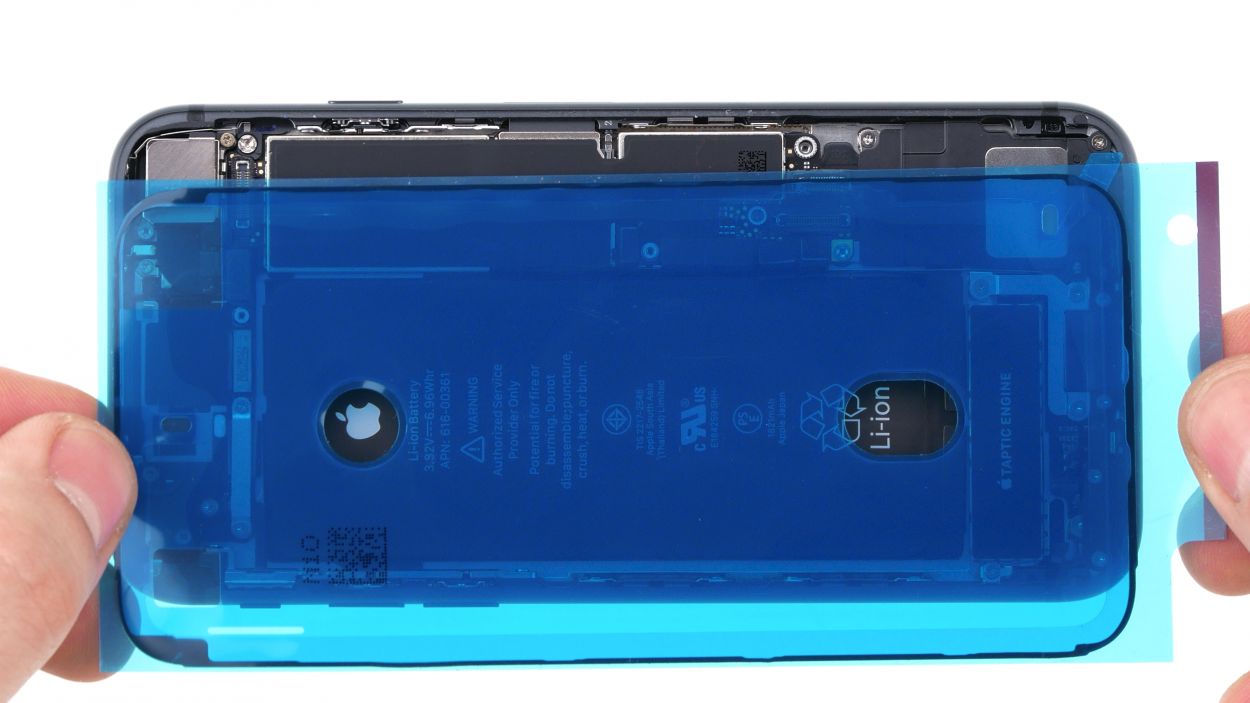
– You’re all set to apply the new glue frame! Just peel off that first protective film and let’s get going.
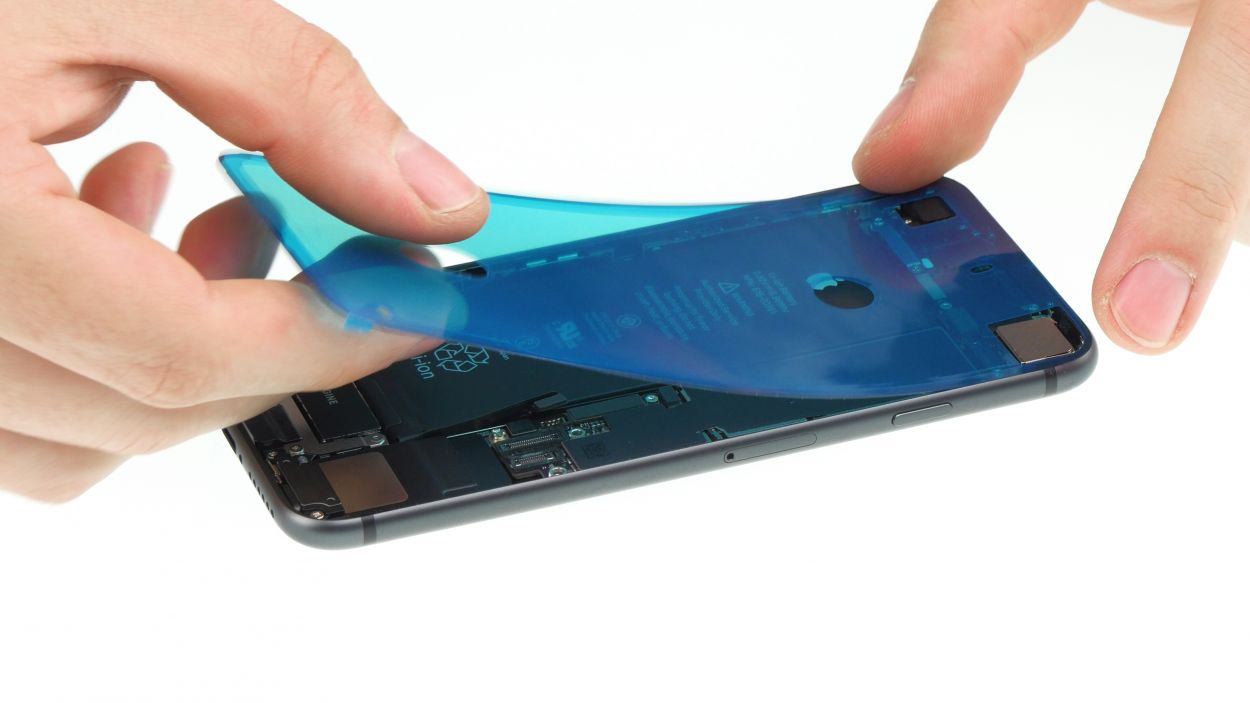
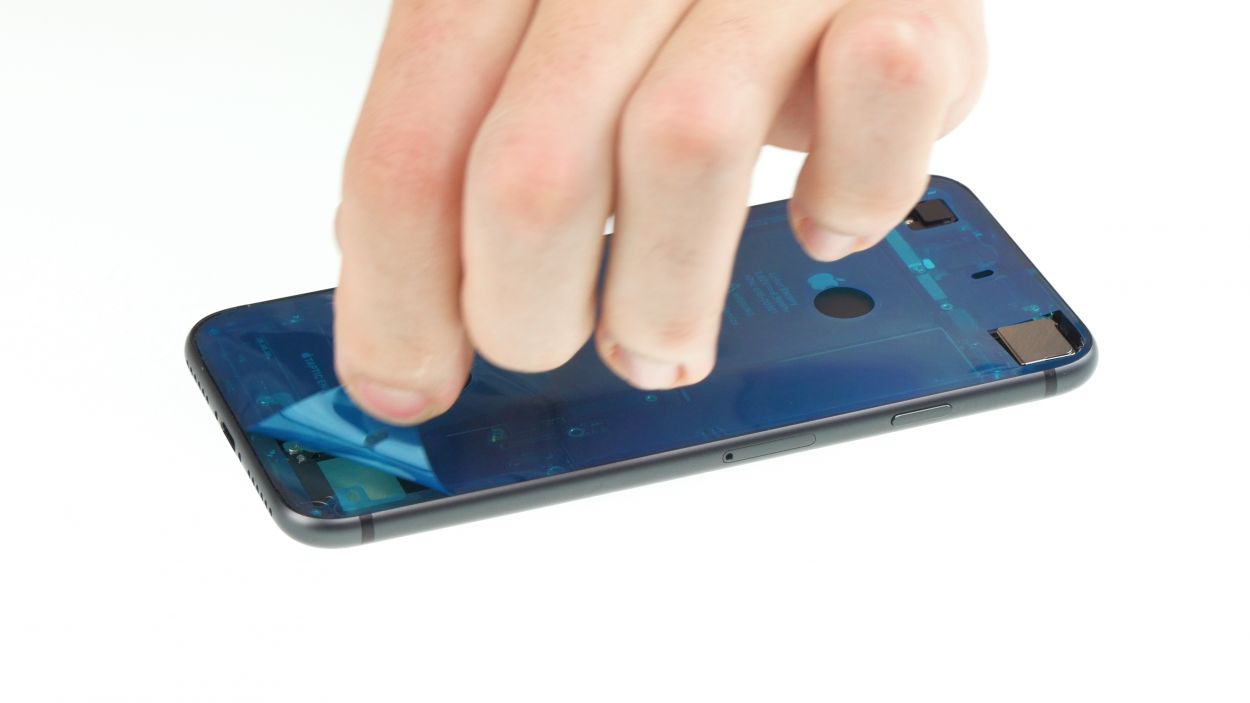
– Start by placing the adhesive frame on one edge of the case. From there, you can gently apply it to the device bit by bit. Remember, hold off on pressing it down firmly until you’re absolutely sure it’s in the right spot. A plastic spudger can be your best buddy here!
– Next, time to remove the next large protective foil.
– And here’s a pro tip: don’t take off that last small protective film until you’ve connected the display and secured the cover plates. This will help keep the adhesive frame clean and free from any pesky bits.
Step 12

Touch connector
Display connector
Earpiece connector
5 × 1,1 mm Y-Type
Make sure those connectors slide in just right! Avoid dragging them across the Logicboard slots, or you might accidentally give those contacts a rough time.
– Now it’s time to gently place the display unit back onto the frame. To keep those delicate flexible cables from getting overstretched, lean the screen against a sturdy object. Just be careful that your iPhone doesn’t decide to take a little tumble while you’re working!
– Next up, reconnect the two display connectors and the earcup connector. You’ve got this!
– Secure the cover plate with screws that are all the same length.
Step 13
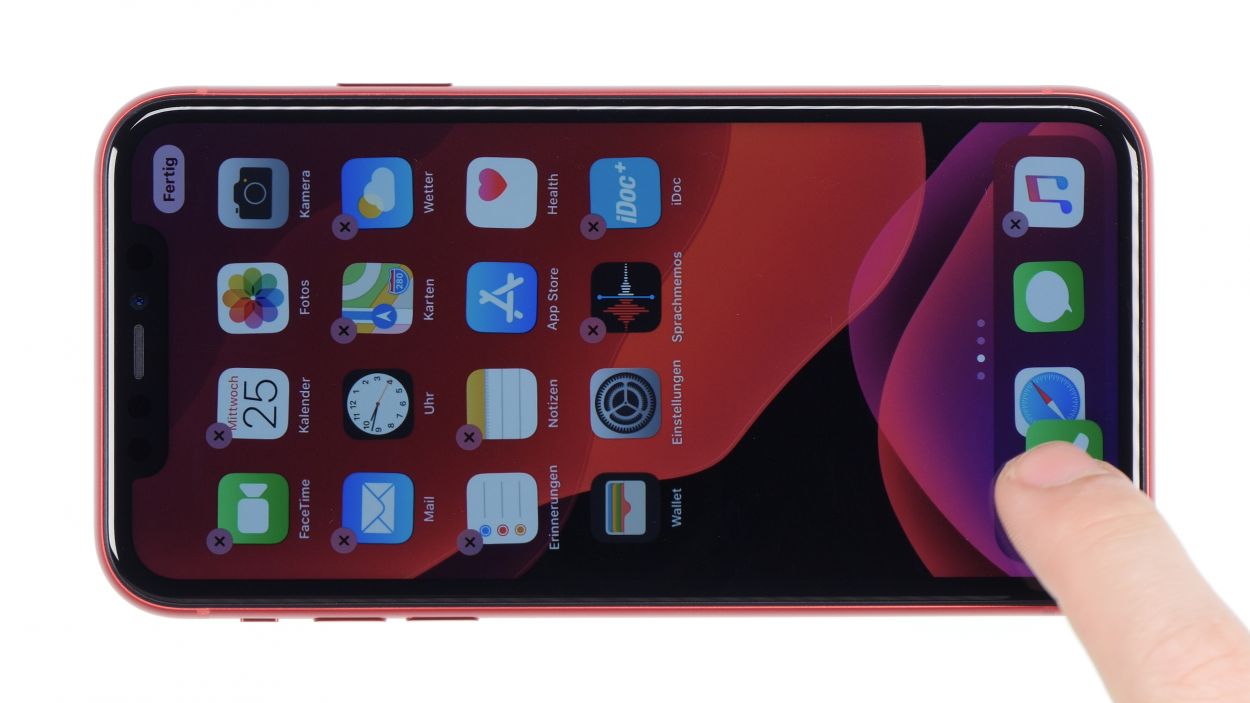
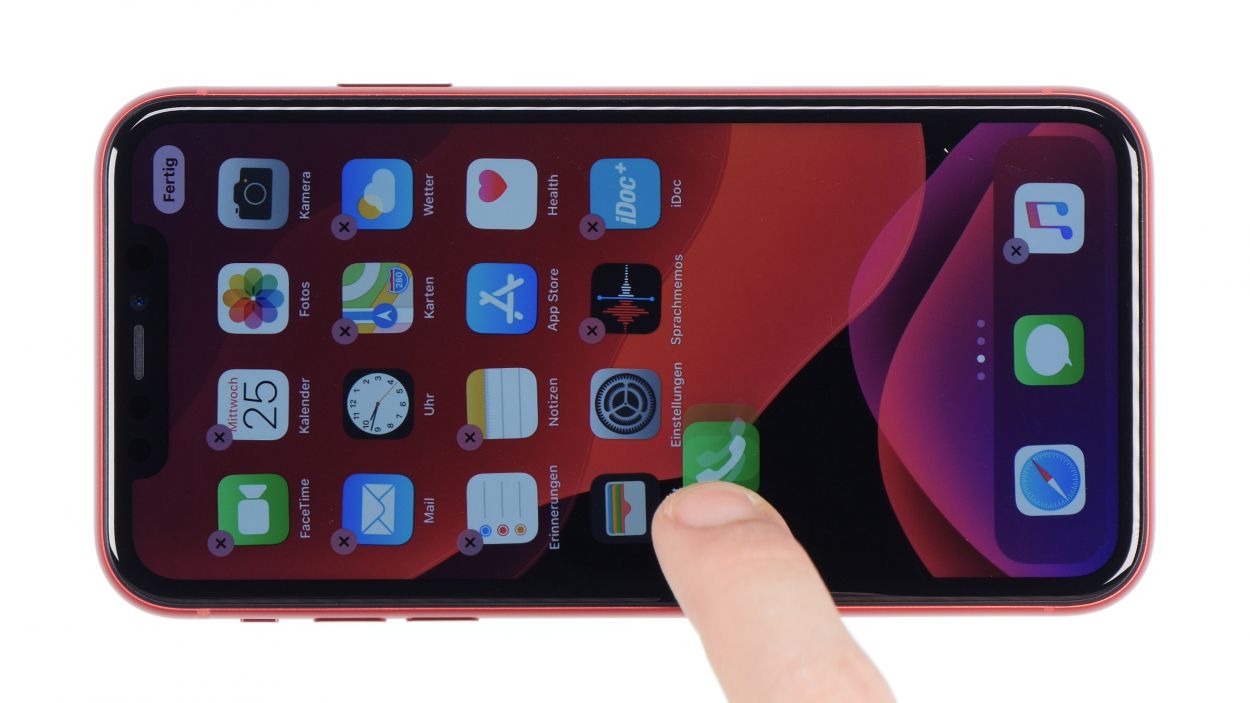
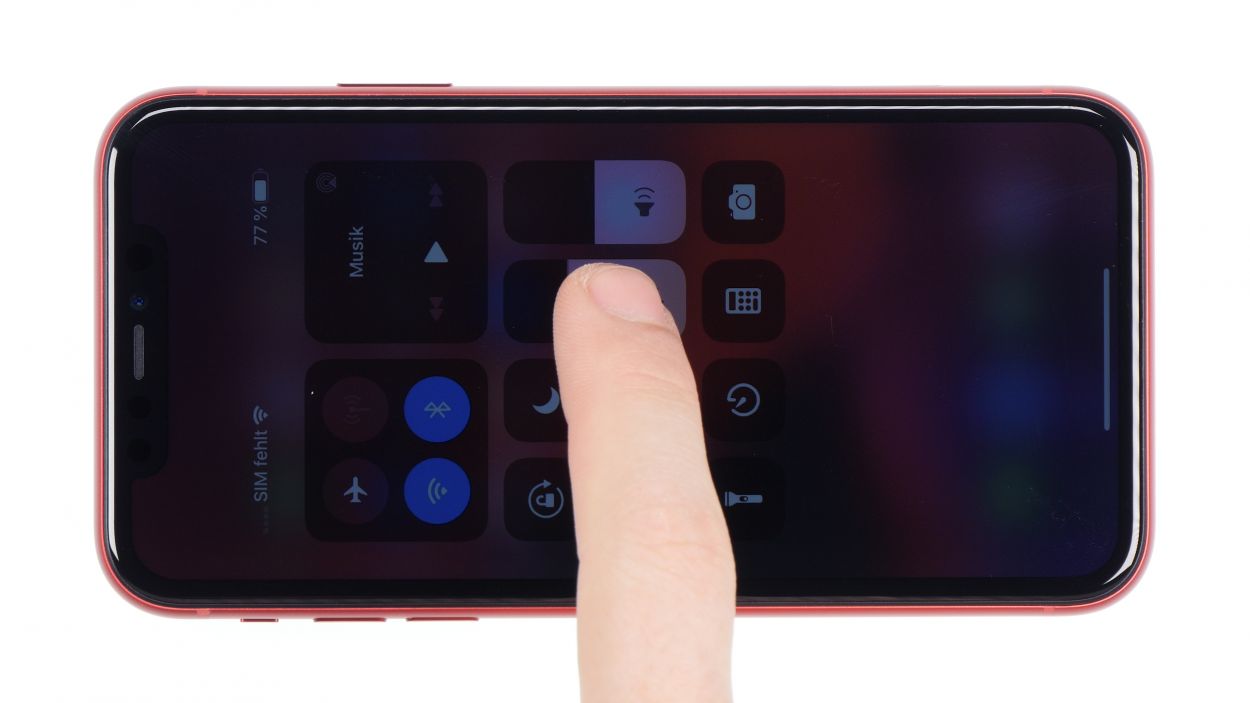
– Want to see if your touchscreen is still in the game? Just pick an app and slide it around the screen like you’re on a joyride! If it follows your every move without a hitch, you’re good to go.
– Give that display brightness a whirl and see how it shines!
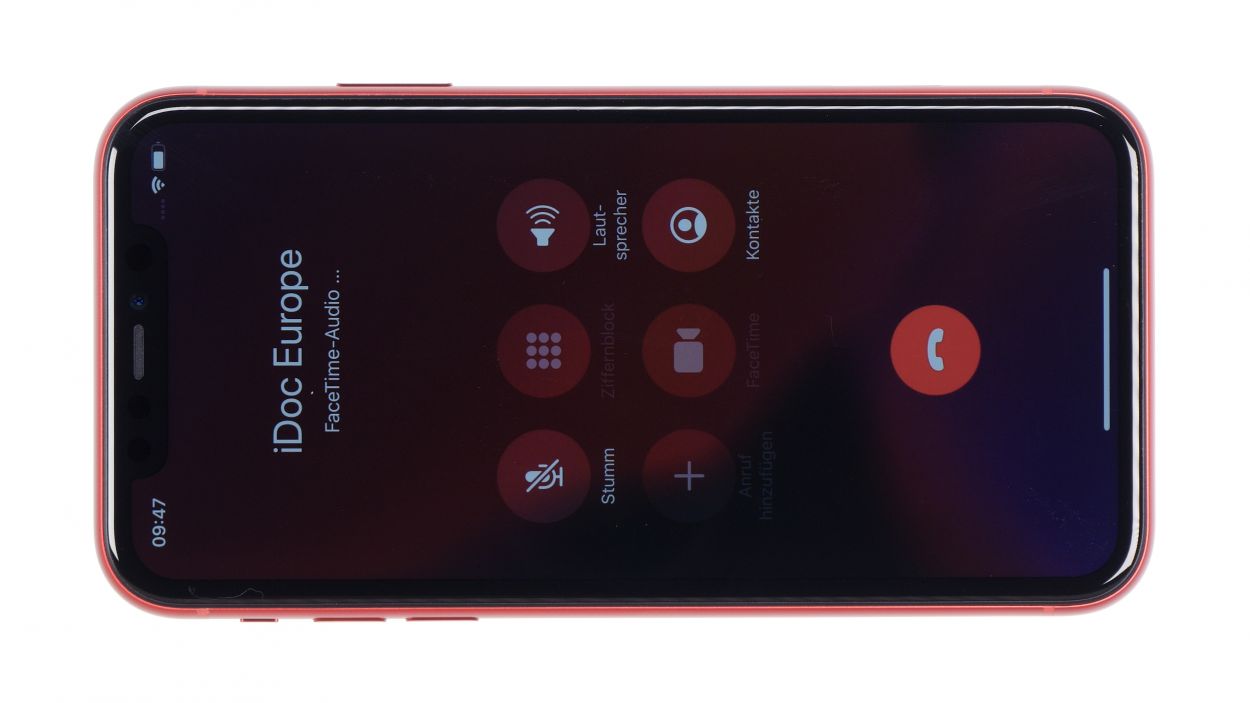
– Make a call to check the microphone, speakers, earpiece, and proximity sensor. Let’s see if your phone can still hear and be heard!
Step 14
Step 15
2 × 6,8 mm Pentalobe
– Pop those two pentalobe screws right into their cozy spots on either side of the Lightning connector. They’re ready to hold down the fort!
