Samsung Galaxy S9 NFC Antenna and Charging Coil Replacement
Duration: 45 minutes
Steps: 11 Steps
be careful not to mess up the waterproof seals
Ready to swap out the NFC antenna and charging coil on your Samsung Galaxy S9? Let’s get to it! Just a heads-up: cracking open your S9 means saying goodbye to those waterproof seals. If you skip swapping in new adhesive seals, your phone will still work—just don’t take it for a swim. Make sure you’ve got some fresh adhesive ready to stick things back together when you reassemble.
Step 1

The adhesive holding the Samsung Galaxy S9 is pretty stubborn. If you're having trouble prying it open, a hair dryer, heat gun, or hot plate can help loosen things up—just don’t get overzealous with the heat, since the AMOLED display and battery are heat-sensitive. Keep the temp in check to avoid any mishaps.
You may find it helpful to give the iOpener a quick reheat and reapply it a few times during this removal adventure. It helps warm up that pesky adhesive so you can slice right through it! Just remember to keep an eye on the temperature and follow the iOpener instructions to avoid any overheating mishaps.
- First things first: power down your phone. Trust me, it's way less dramatic than letting it surprise you halfway through.
- Grab a heated iOpener and park it along one long edge of your phone. This gives the sticky glue under the rear glass a chance to chill out. Keep it there for at least two minutes to let the magic happen.
Tools Used

Step 2

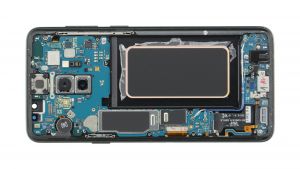
Check out the layout of the adhesive inside the back cover—just like in the image, it’s all set up to keep everything snug.
- In this part, we're gently slicing through the adhesive that holds the back cover in place—think of it as peeling away a sticky sticker but with finesse.
- Follow these lines where the adhesive is thicker—it's the hearty stuff that needs a little extra love to get through:
- Now, target the thinner, more delicate adhesive areas—they're more like the thin layer of frosting on a cupcake, easy to slice into.
- Just a heads-up: steer clear of the zone near the fingerprint sensor flex cable—no slicing or prying there, to keep that sensitive part intact and happy.
Step 3


- Stick a suction cup onto the back cover—think of it as giving your device a little handle.
- Gently lift the bottom edge of the back cover using the suction cup, just enough to get a sneaky peek between the cover and the frame.
- Slide an opening pick into that gap and cruise over to the bottom right corner.
- Grab a second pick and glide it over to the bottom left corner—you're basically a pick-wielding ninja now.
- Pop in a third pick to keep the adhesive from sticking things back together while you work your magic.
If the back glass is cracked and the suction cup won’t stick, try sticking it down with some strong tape or even superglue the suction cup in place—just let it cure a bit before moving on. When lifting, a little force goes a long way; you only need to create a tiny gap with the suction cup to slide in your tool. If it’s stubborn, warm things up a bit to soften the adhesive—just keep in mind it cools quickly, so a few rounds of gentle heating might be necessary. Need a hand? You can always schedule a repair.
Step 4


- Slide just the tip of your opening pick from the bottom left corner up along the side to the top. Easy does it—no need for a deep dive!
- Swing the pick around the top corner and leave it chilling there. That way, the sticky adhesive won’t get any ideas about closing back up.
Step 5


Hold up! Don’t flip the phone open completely just yet—the delicate fingerprint sensor cable is still hanging out between the back cover and the motherboard.
If the sticky stuff is putting up a fight, give it another blast of heat. The back cover is under a lot of stress during removal and can crack if the adhesive isn’t soft enough.
- Gently slide the opening pick from the bottom right corner along the side, working your way up. Then, carefully maneuver the pick around the corner and cut through the remaining adhesive at the top of the device. Need a hand? You can always schedule a repair if things get tricky.
Step 6


- Gently lift the side of the rear glass where the volume button hangs out. Keep it steady, and you're halfway there!
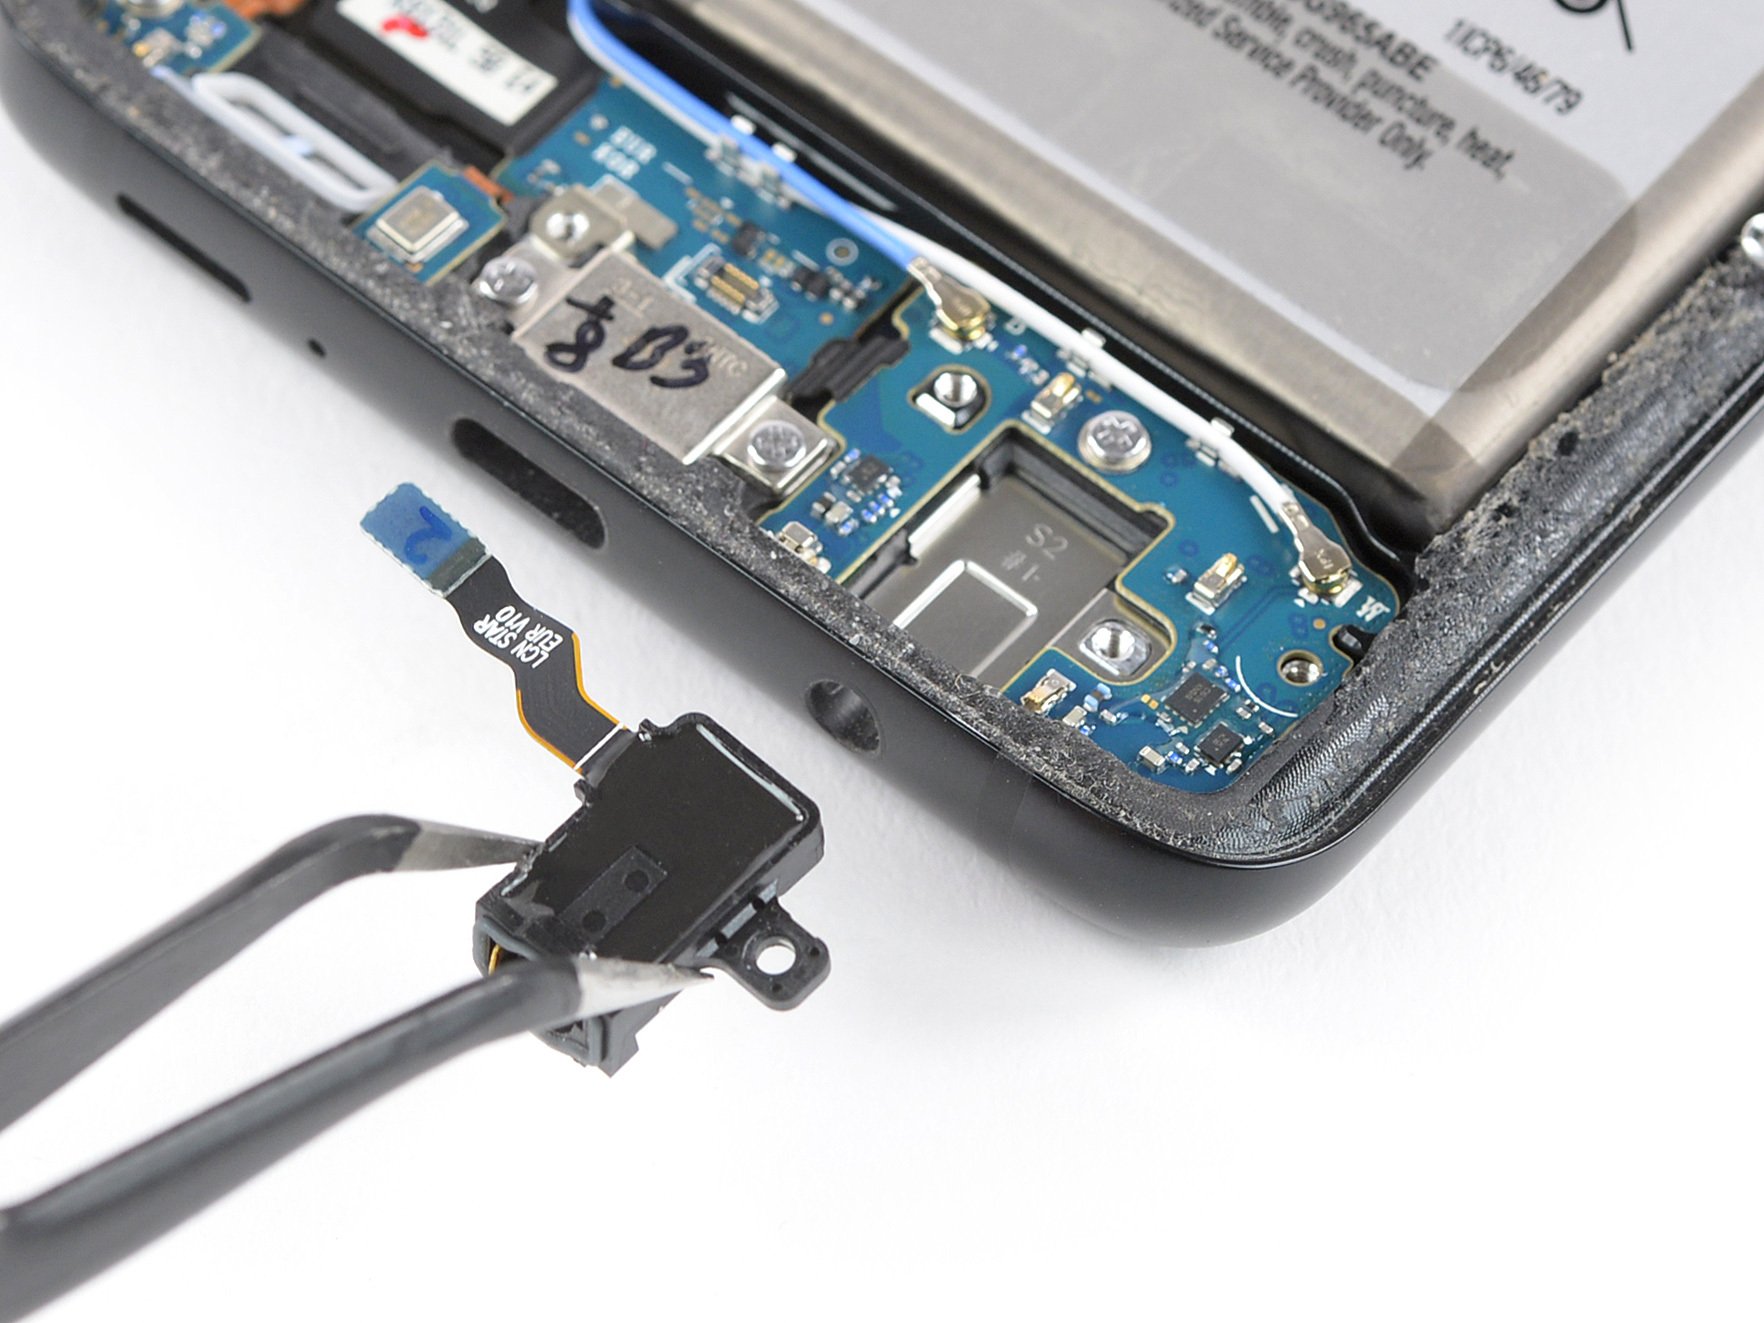
- Grab your spudger and carefully work its edge under the fingerprint sensor flex cable. Pry it up to disconnect—easy does it!
Tools Used

Step 7

- Pop off that rear glass—gently does it!
- Putting things back together? Just follow these steps to swap in fresh adhesive and set the rear glass back in place.
- Thinking about a new rear glass? Check out this guide to transfer your rear camera bezel, fingerprint and all.
Step 8

- Unscrew those eight 4 mm Phillips #00 screws—like loosening tiny bolts on a secret hatch.
Step 9


- Gently slide an opening pick under the right edge of the plastic cover that hides the NFC antenna and charging coil. Then, give it a twist or a gentle pry to pop loose the plastic clips holding the cover in place. If you need help, you can always schedule a repair.
Step 10


- Slide an opening pick under the left edge of the plastic cover, like you're sneaking a peek at a surprise party.
- Give it a little twist or gentle pry to pop those plastic clips loose, freeing the cover like a magician revealing their next trick.
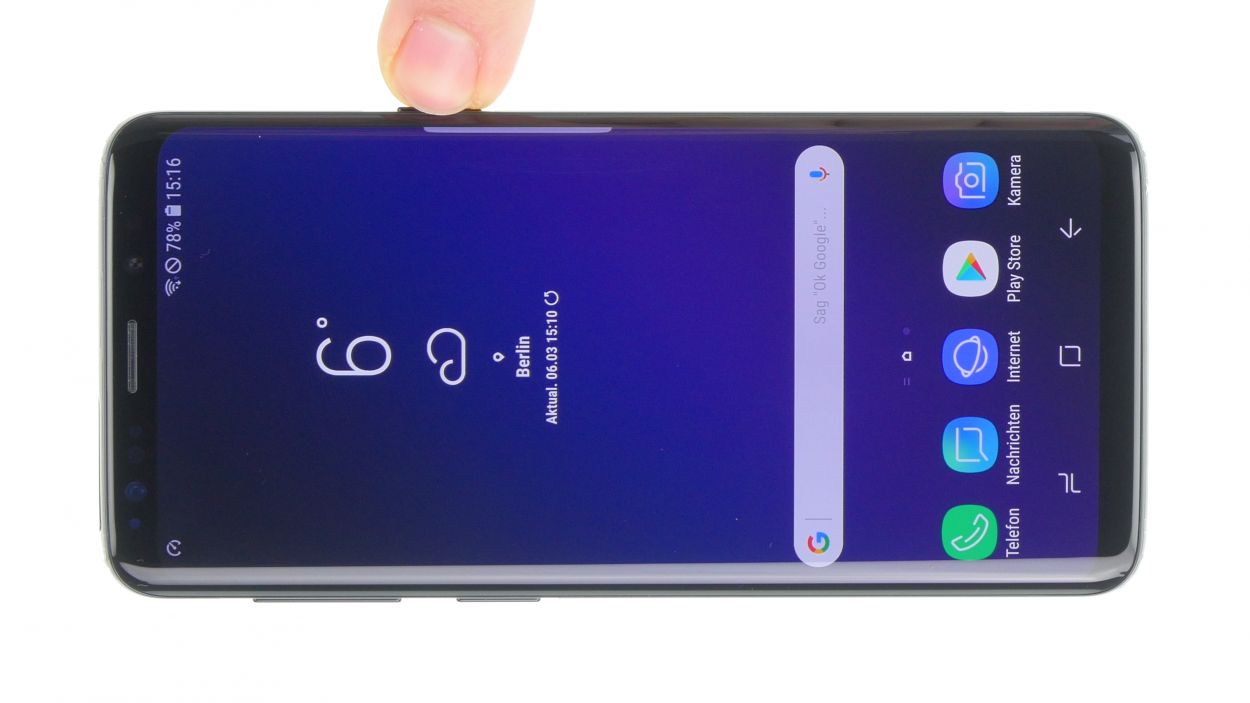
Step 11

- Give your phone a test run before sealing it up—just to make sure everything’s working as it should.
- To put everything back together, flip through these steps in reverse. It’s like rewinding, but with more screws.
- Once you’re done, check out the guide to make sure your repair is on point. If you hit a snag, you can always schedule a repair.