DIY Guide: Step-by-Step Asus Tablet Battery Replacement
Duration: 45 minutes
Steps: 7 Steps
Get ready to dive in and give your Asus VivoTab Smart tablet a little TLC! In this guide, we’ll walk you through the steps to pop off that back panel and swap out the battery like a pro. And once you’ve got everything back in place, don’t forget to give your shiny new battery some love by draining it to below 10% and then charging it up all the way to 100% without interruptions. If you run into any tricky spots, remember, you can always schedule a repair!
Step 1
Before diving in, make sure to power off your device. Safety first!
– Let’s get started by flipping your device over so the back is facing down on a nice, flat surface.
– Now, grab that trusty plastic opening tool and gently glide it around the edge of the back panel to pop it off. Easy peasy!
Step 2
– Gently peel off the tape covering the 3 ribbons using your hands or tweezers.
– Carefully detach the ribbons from the device’s motherboard by pulling outward with tweezers.
Step 3
The Philips #00 Screwdriver we’ve got on our recommended tools list is the perfect fit for all those tricky screws. You’re going to do great!
– Let’s kick things off by peeling away that tape covering the spots highlighted by the black arrows!
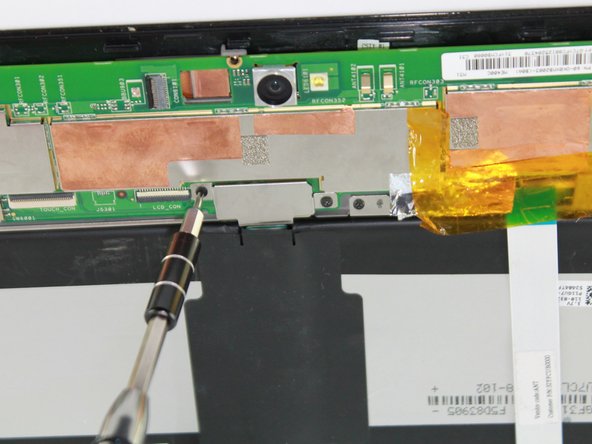
– Next up, grab your trusty screwdriver and take out those two 3.7 mm Phillips #00 screws.
– Now, it’s time to tackle the eleven 2.7 mm Phillips #00 screws—let’s get them out!
Step 4
Handle the speaker wire with care!
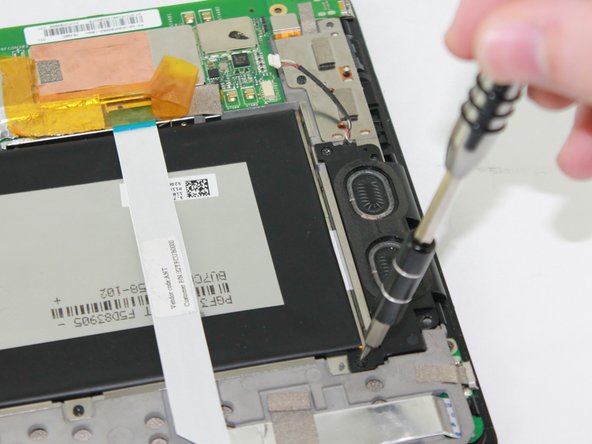
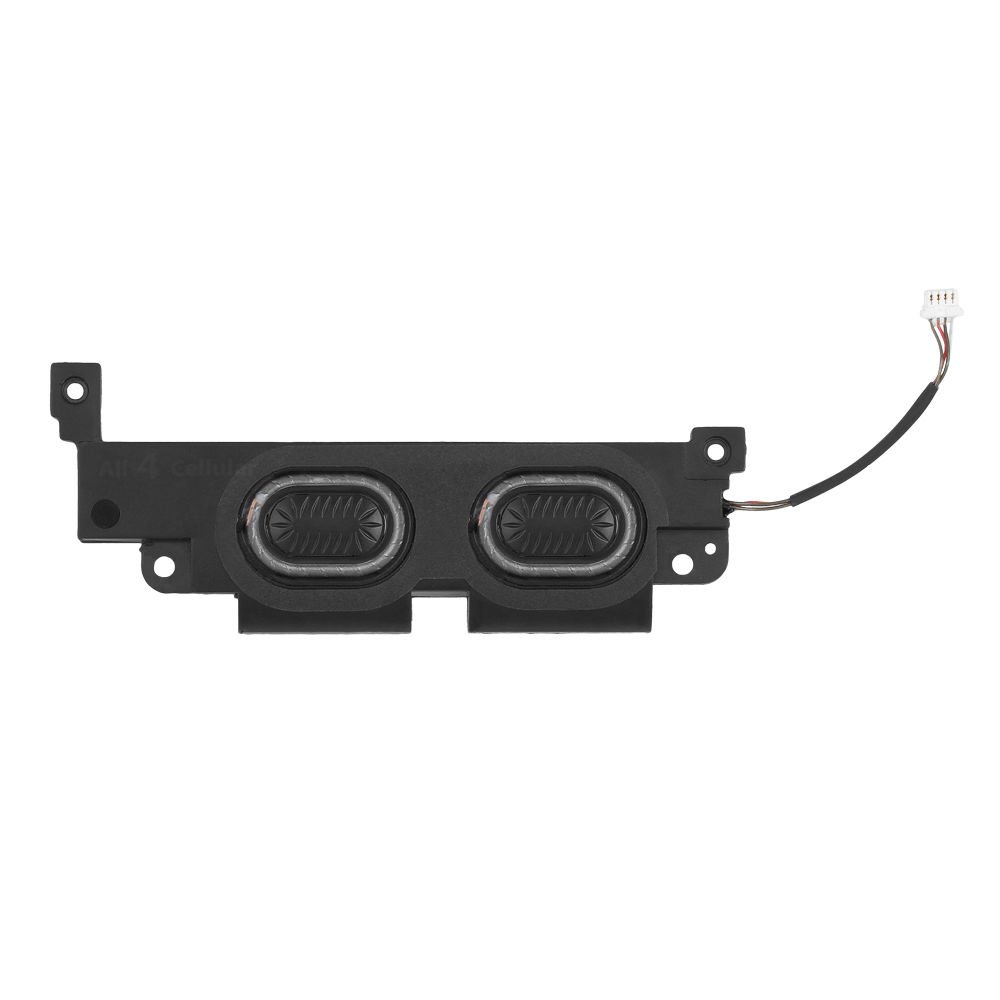
– Carefully unplug the speaker from the motherboard by grasping the wire close to the little white plug with your tweezers and gently pulling it out.
– Using your fingers, lift the speaker up and away to remove it.
Step 5
– Carefully pop the battery pressure plate off the motherboard—easy does it, no rush!
Step 6
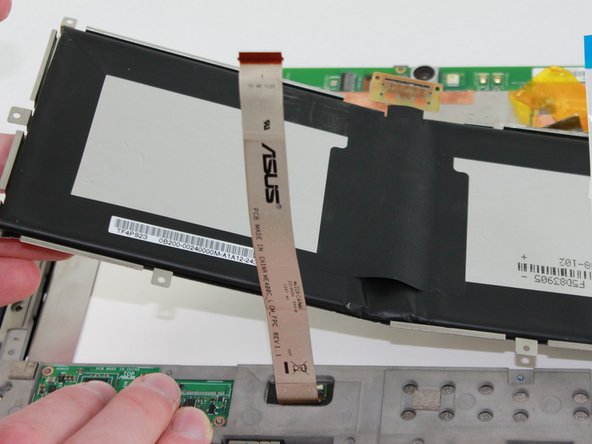
– Grab those tweezers and gently pry the battery tray away from the device.
– Now, using your hands, carefully lift the battery tray out of the device.
Step 7
The battery is held in place with some seriously sticky adhesive, so be gentle when removing it. Try not to bend the tray—it’s more fragile than it looks!
If you’re having a tough time lifting the battery from the tray, don’t sweat it! A little heat can work wonders. Grab a blow dryer and warm up the backside of the tray—this will loosen the adhesive and make it much easier to pop that battery out. You’ve got this!
– Time to put it all back together! Just follow these steps in reverse, and you’ll be golden.
– Didn’t finish? No worries, you can always come back to it later.
– Need a hand? If it’s feeling tricky, you can always schedule a repair.
Success!
