Asus Tablet: Asus VivoTab Smart Teardown Guide
Duration: 45 minutes
Steps: 5 Steps
Step 1
– Pop off the back panel using a plastic spudger or another pry tool.
Step 2
There are two screws securing the power connector. Remove them first before anything else.
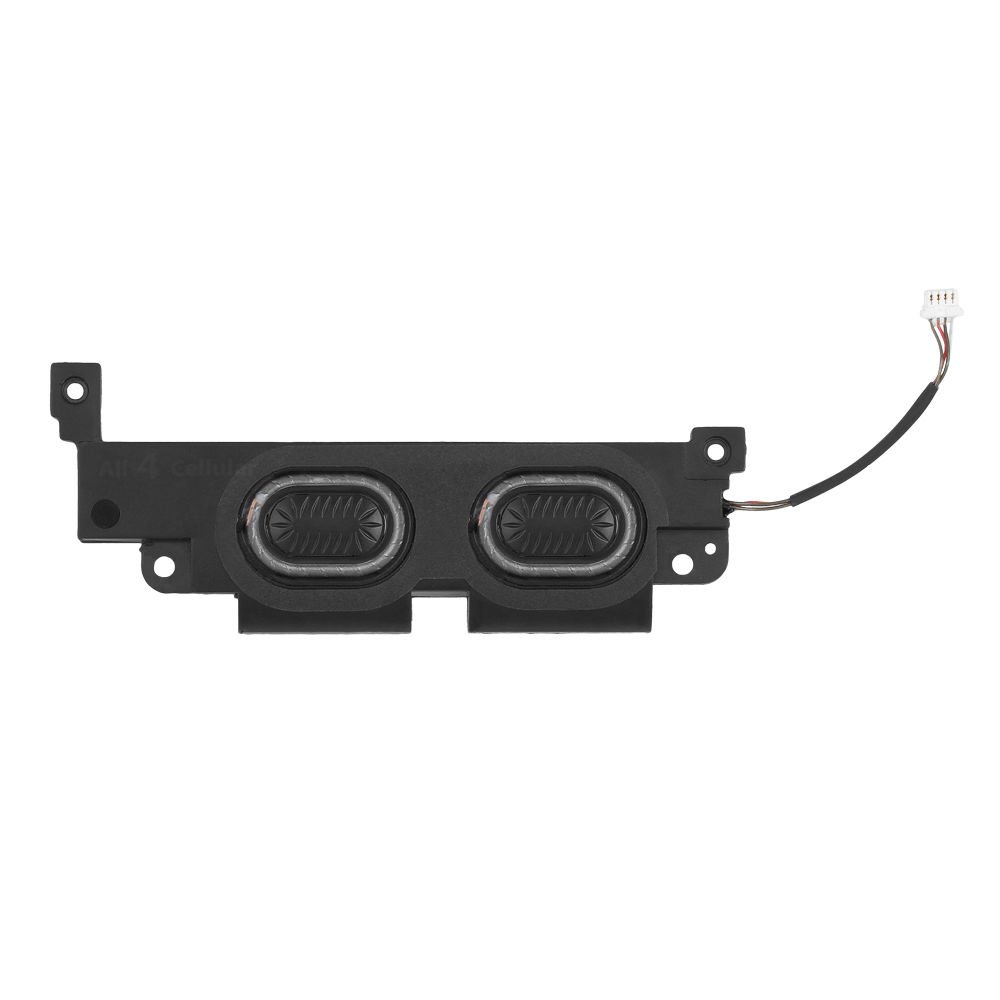
– Remove four screws and a cable to free the speaker assembly. Let’s get those tunes flowing!
– Secure the micro-SD reader with three screws and a pop-on connector. Almost there!
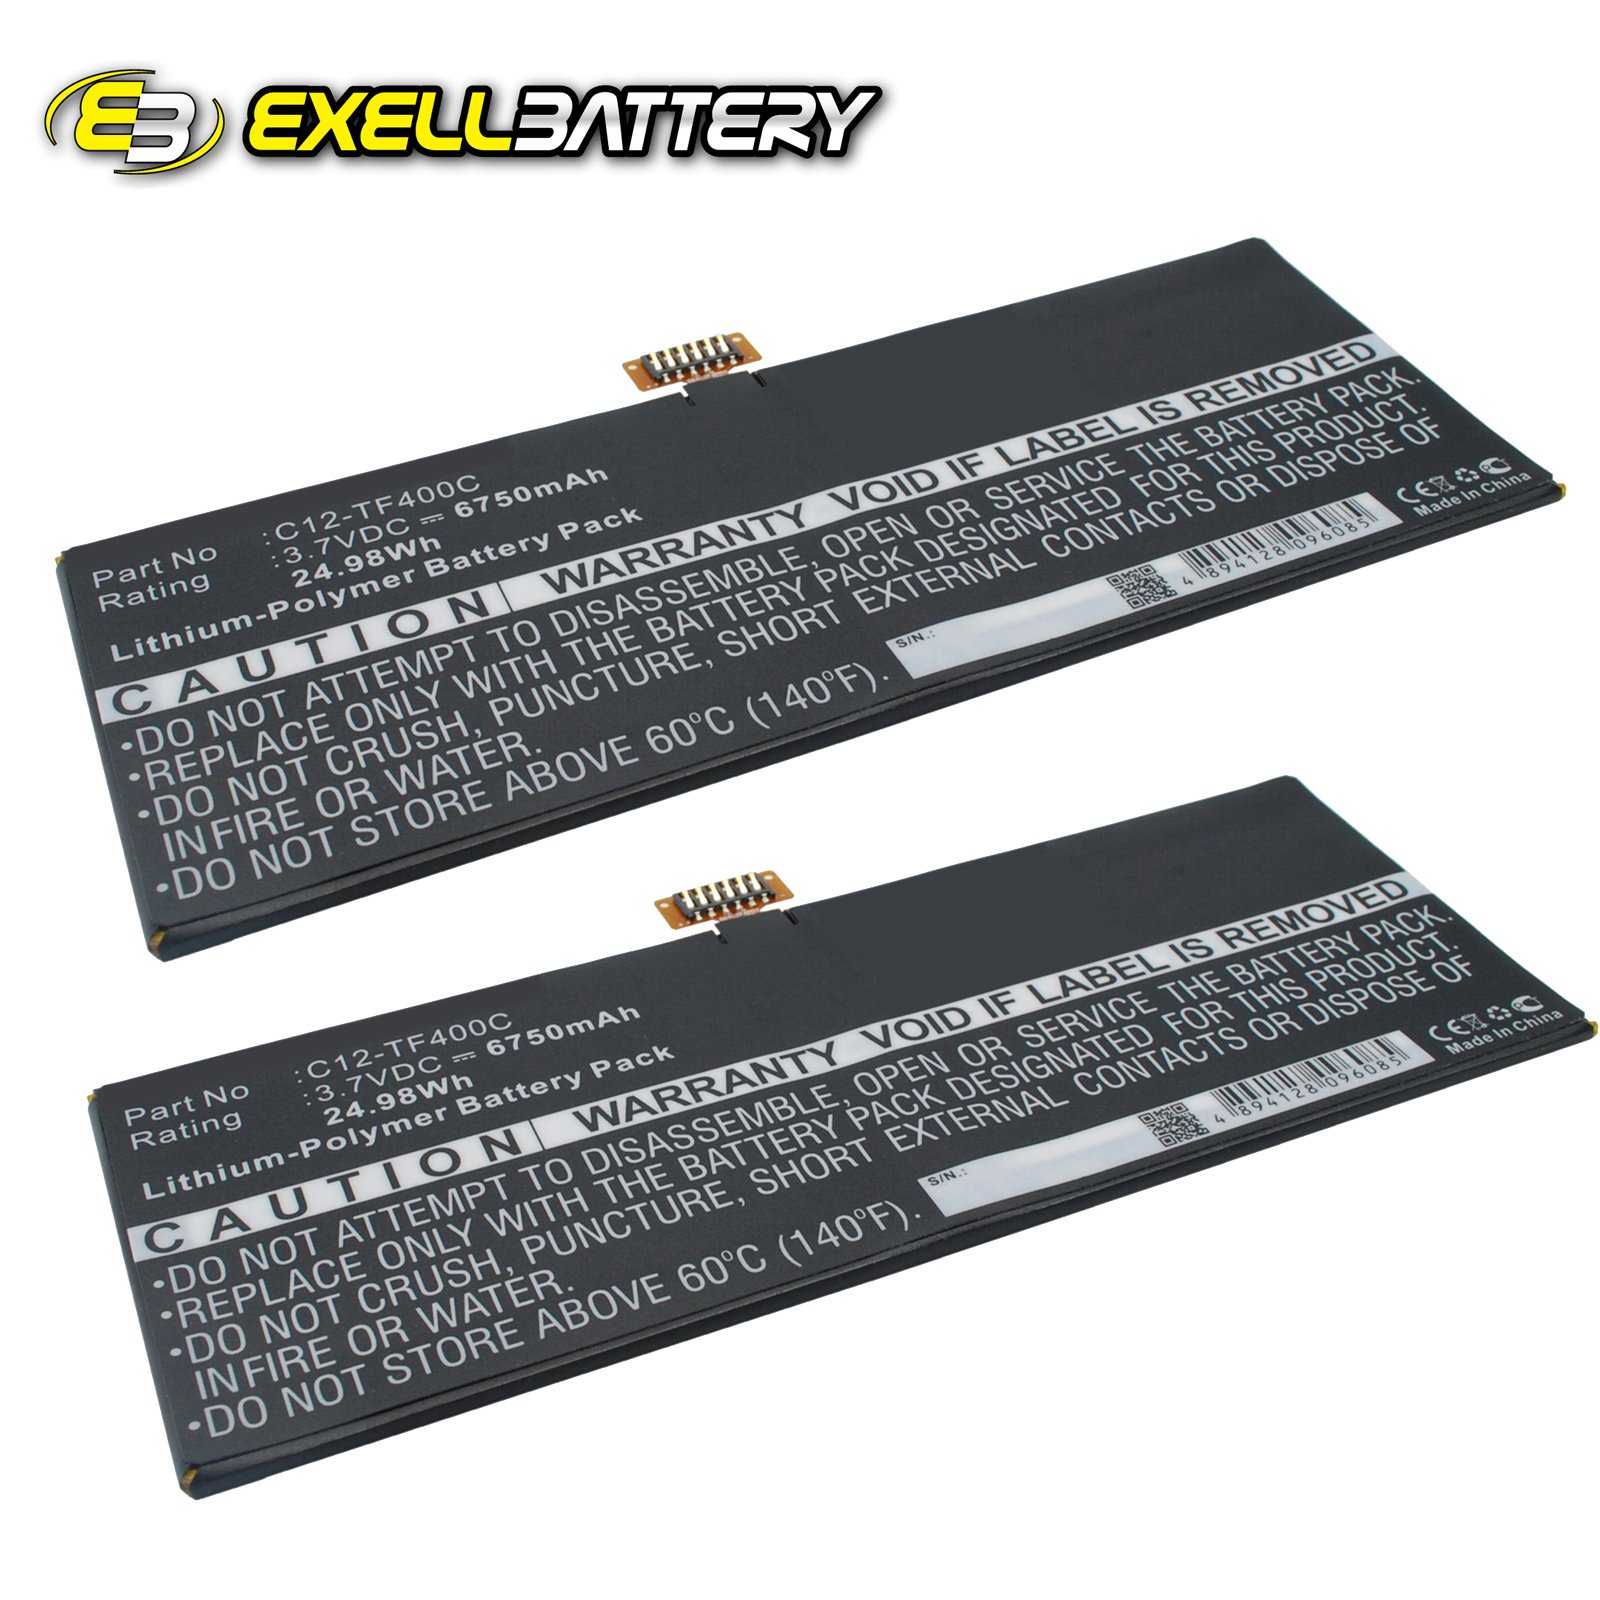
– Several screws hold the battery tray in place. The battery is super sticky, so it’s best to leave it in the tray for now. No need to wrestle with it.
– Three cables are connected to the touch board. Leave it in the frame; no need to remove it.
– Disconnect the four cable connectors that lie across the battery. The ones with blue tabs don’t have a locking mechanism, so it’s a piece of cake.
– Two magnets are located at the bottom center. They’re likely for a case cover or some other cool feature not included on this tablet.
Step 3
– You’re making great progress! Now that the boards, speakers, and micro-SD card reader are disconnected, you’ll see the frame sitting on top of the LCD-digitizer.
– There are nine screws holding the frame in place, so get ready to get a little hands-on.
– Remove those screws and gently lift the frame to access the LCD, micro USB jack, and digitizer. It’s like unwrapping a present, and the goodies are inside!
– When removing the frame, be careful not to snag the wire for the micro USB jack – it runs through the frame, so take your time and thread it through the holes by hand. Easy does it!
Step 4
– There are two little screws keeping that micro USB jack snug as a bug. Don’t forget to unscrew them!
– Another pair of screws is holding the LSD in place, so make sure to tackle those as well.
– Be super careful not to touch the face of the LSD or the inside of the digitizer if you’re planning to reuse them. Trust me, finger prints inside the tablet are a permanent souvenir after reassembly!
Step 5
– Lay out all the parts after you’ve taken everything apart. It’s like a puzzle waiting to be solved!
– And hey, don’t mind the mess on the desk—it’s just a sign of your hard work!
Success!


