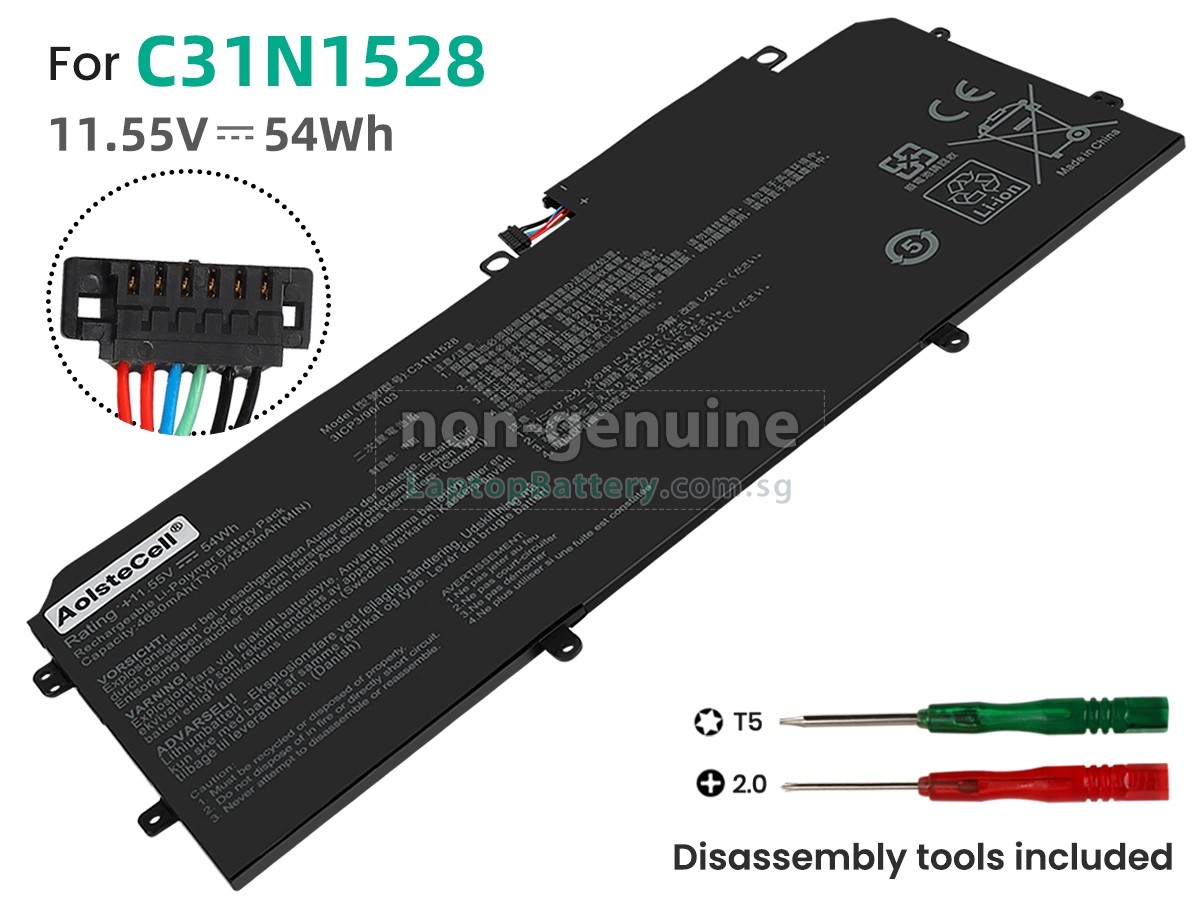
Asus ZenBook Flip UX360C Solid State Drive Replacement
Duration: 45 minutes
Steps: 5 Steps
If your Asus Zenbook flip UX360C is feeling a bit sluggish—like it’s taking forever to retrieve or save files, crashing during boot-up, needing frequent restarts because of pesky corrupted files, or just running slow because it’s running low on storage—this guide has your back! We’re diving into replacing that solid-state drive, the hero of your laptop that stores and accesses your data. Think of it as the speedy cousin of the hard drive, giving you lightning-fast access to your files. But hold on! If your laptop is crashing and asking for restarts, don’t jump to conclusions about the solid-state drive just yet; there could be other culprits behind those corrupted files. If you’re feeling nervous about losing data while trying to tackle those errors, it might be best to let a professional handle it. If this is the only issue your laptop faces, it could be something else entirely. However, if constant restarts come with the other symptoms mentioned, it’s likely time to swap that solid-state drive out. Now, before you get started, here’s a friendly heads-up: make sure to don an anti-static wrist strap during this process to keep electrostatic discharge at bay—nobody wants to zap their computer! You’ll be unscrewing and prying apart some parts with the tools listed in this guide, so be gentle; those components are delicate! And don’t forget to power off your laptop and unplug it before diving in. Ready? Let’s get that laptop back in action! If you need help, you can always schedule a repair.
Step 1

– Strap on your ESD wristband and connect the clamp to something metal and grounded—static-free is the way to be!
Step 2

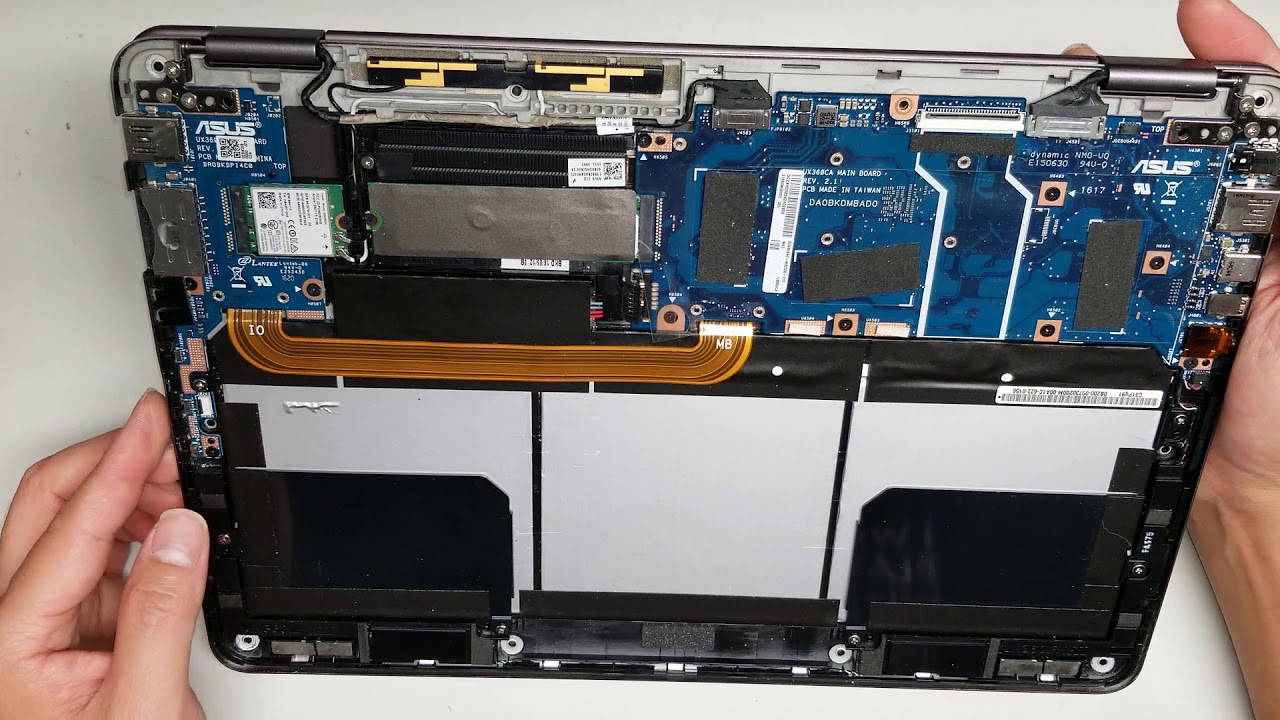
– Unscrew the eleven 5 mm Phillips #1 screws on the back cover. Take your time, and make sure to keep them in a safe spot so they don’t run away on you!
Step 3

– Grab your plastic opening tools and carefully pop off that keyboard panel—nice and easy does it!
Step 4

– Grab your plastic opening tool and gently pop the ZIF keyboard ribbon cable loose from the motherboard. Easy does it!
Step 5

– Grab your screwdriver and undo the 5 mm Phillips #1 screw that’s keeping the SSD cozy in its spot.
– Gently lift out the SSD—no need to rush, just a careful wiggle does it!