Asus ZenBook Flip UX360C Battery Replacement
Duration: 45 minutes
Steps: 7 Steps
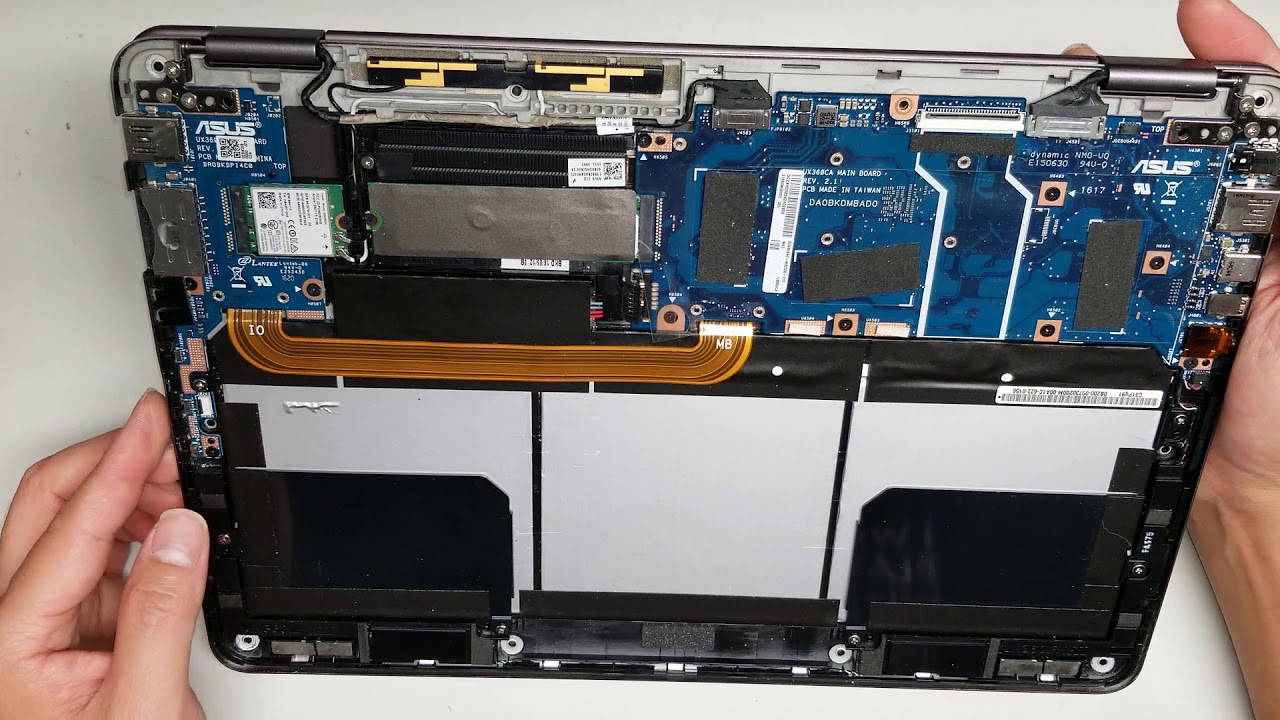
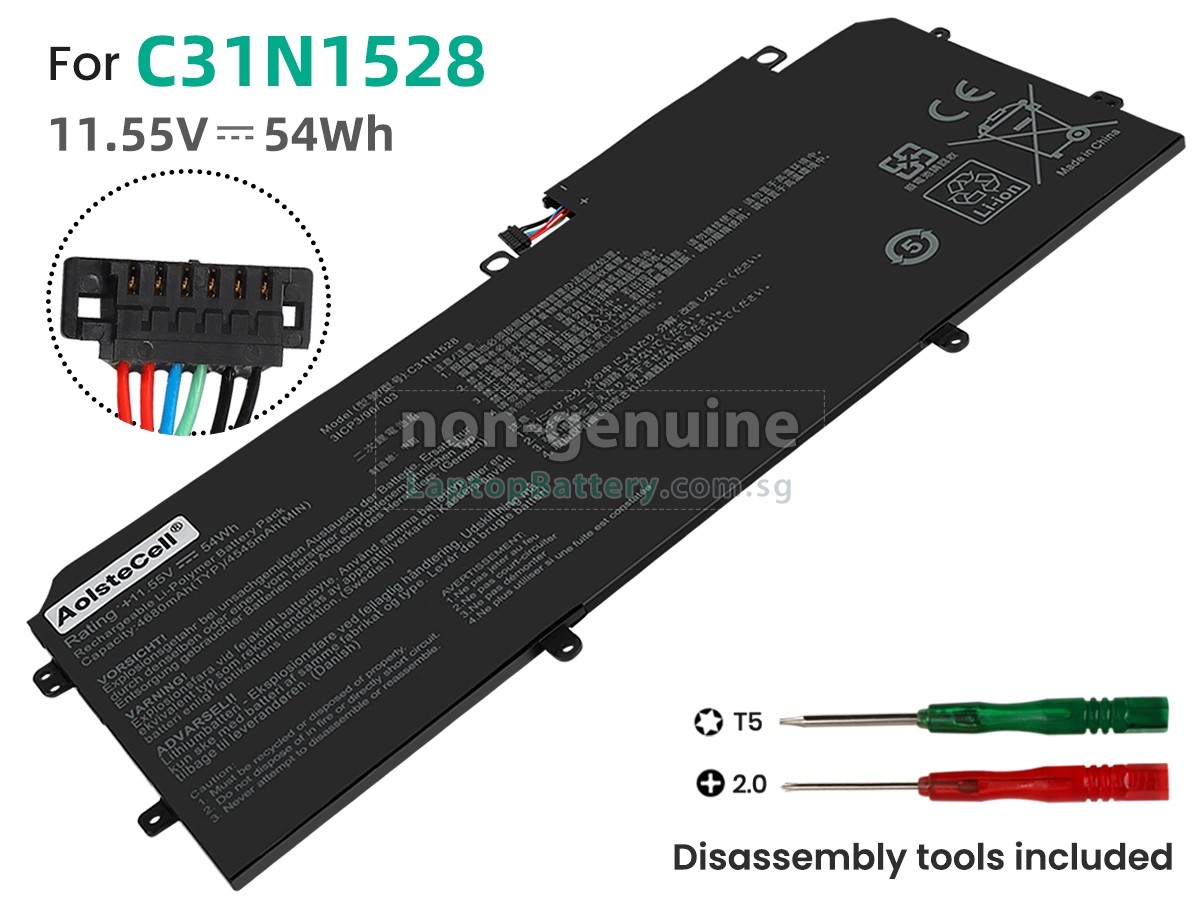
Is your Asus ZenBook Flip UX360C feeling a little puffy on the bottom, running hotter than your morning coffee, dragging its feet on bootup, or refusing to wake up at all unless plugged in? Maybe the battery life is down to a coffee break, or it needs to be on life support (the charger) to turn on. Sounds like the battery is ready for retirement. The battery is the laptop’s power pack—without it, you’re not going anywhere fast. It’s rechargeable, but after enough cycles, it’ll start giving you signs that it’s ready to call it quits. Old batteries can be a little dramatic, especially if they’re swollen, so be smart: rock some long sleeves and pants, put on safety glasses, and have a battery-safe disposal bag ready. Swollen batteries are known for their explosive personalities (literally), so handle with care—no puncturing! And when you’re done, don’t just toss the old battery in the trash; take it to a hazardous waste site to keep the planet happy. If at any point you feel like you’re wrestling a battery that’s out of your league, you can always schedule a repair.
Step 1

– Slip an ESD wristband onto your wrist and clip its grounding clamp to a grounded metal surface. This keeps static sparks at bay and keeps your device safe during the fix. If you need help, you can always schedule a repair.
Step 2

– Let’s get that back cover off! Start by unscrewing all eleven of those 5 mm Phillips #1 screws. You’ve got this!
Step 3

– Grab your trusty plastic opening tool and gently pry up the keyboard panel. It should come off smoothly, no force needed!
Step 4

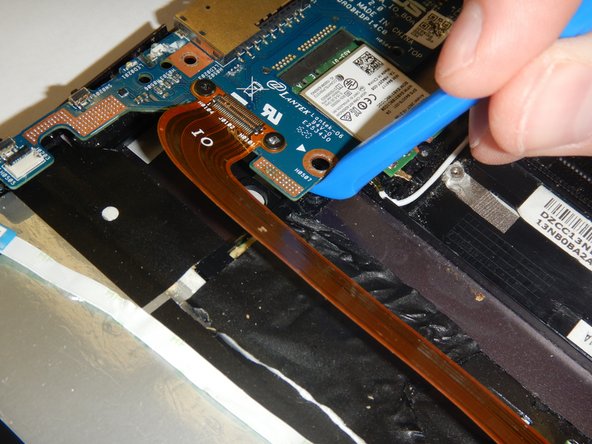
– Grab your trusty plastic opening tool and gently pop the ZIF keyboard ribbon cable free from the motherboard.
Step 5


– Gently pop off the battery connector using your trusty plastic tweezers—no metal tools invited to this party!
Step 6

– Unscrew all ten of those Phillips #1 battery retaining screws. You’ve got this!
Step 7


– Carefully pry the electrical board upwards using your plastic opening tool, then lift the battery out – it’s like a little waltz, one smooth motion!
– Time for a fresh start – grab that new battery and pop it in, making sure it’s securely seated.
Success!