iPhone 11 Pro Max Screen Glass Replacement Guide: Step-by-Step DIY
Duration: 45 minutes
Steps: 11 Steps
Hey there! Just a friendly reminder to take your time and double-check your work. If you run into any bumps along the way, don’t hesitate to reach out for help. You can always schedule a repair if you need a hand!
Get ready to tackle that iPhone 11 Pro Max screen glass repair like a pro! We’ll walk you through the essential steps: removing the bezel, separating the glass, getting rid of the old glue, laminating the LCD, and finally, reattaching the bezel. It’s easier than it sounds, and with a little patience, you’ll have your device looking brand new in no time. If you need help, you can always schedule a repair.
Step 1


– Warm up that screen on the heating platform! Just a friendly reminder to keep the temperature around 90℃ for the best results.
– First on our agenda is to gently apply the specialized glue remover XII to the space between the bezel and the OLED.
– Next, grab a plastic slice and carefully scrape away the cold glue at the base of the bezel’s flex cable position.
Step 2


Keep an eye on your strength as you tackle that bracket! When you’re ready to pull it out, remember: a gentle press down is the way to go. You’ve got this!
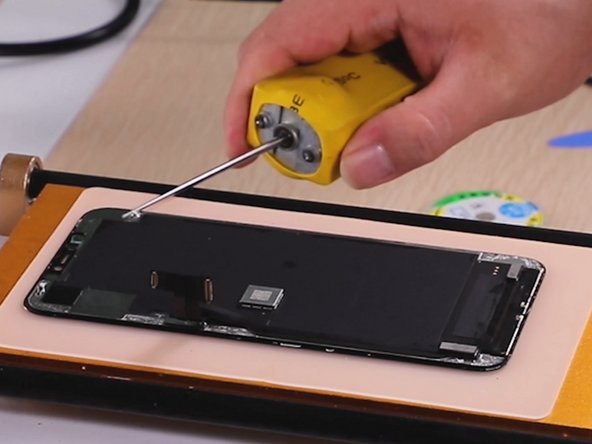
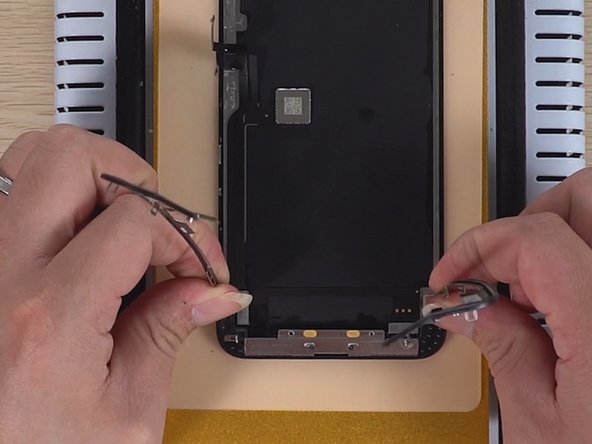
– Alright, let’s get started! First, we need to carefully snip the bracket around the bangs with some trusty cut pliers.
– Next up, it’s time to tackle the bezel. But hold on! There are a couple of important tips to keep in mind as we take this step.
Step 3


If the bracket gives you a hard time, no worries! Just grab some XII glue remover and apply it to the plastic slice. Then delicately slide it into the gap to remove that stubborn cold glue. But remember, go easy on the flex cable and IC area with the remover.
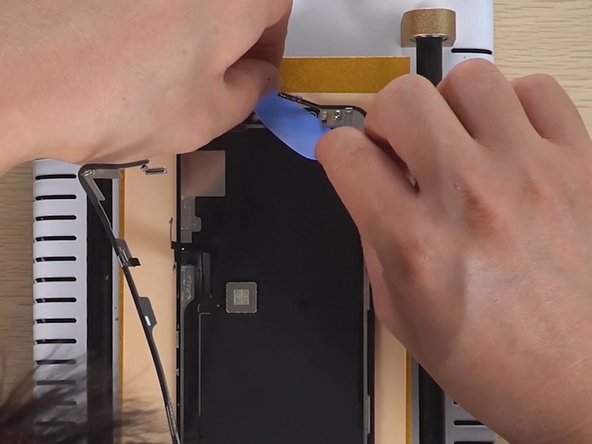
– To kick things off, start by gently prying off one side of the bezel and pause when you reach the flex cable. Then, tackle the other side and stop at the flex cable again. Easy peasy!
– Here’s a pro tip: when it comes to removing the bezel around the flex cable, keep these two important points in mind. A little caution goes a long way!
Step 4

– Alright, we’re almost there! For this part, it’s time to detach the bezel at the bottom. Use both hands to gently pull the glued bezel out, keeping it nice and parallel. Imagine you’re giving the bezel a little lift-off party—grasp it firmly and lift it up gently, then let it lower back down with style.
– Next up, let’s tackle that leftover glue! Grab your glue removal device and say goodbye to any sticky remnants.
When the plastic slice ends up at the other end of the touch IC flex cable, grab a soft plastic slice and gently wiggle it back and forth until it smoothly slides back into place. Remember, you’ve got this – just keep calm and repair on! If you need a hand, don’t hesitate to schedule a repair for some extra support.
Step 5


– Alright, let’s dive into this step with a few handy tips! First up, make sure to slide that steel cutting wire in from the side where the flex cables are hanging out.
– Next, when you’re pulling the steel wire, keep it steady and even. If the left side is being a bit stubborn, feel free to switch it up and try pulling from the right or even the middle of the screen.
– And if you run into any pesky leftover glue while you’re at it, just give it a little scrape and keep on moving forward!
Step 6
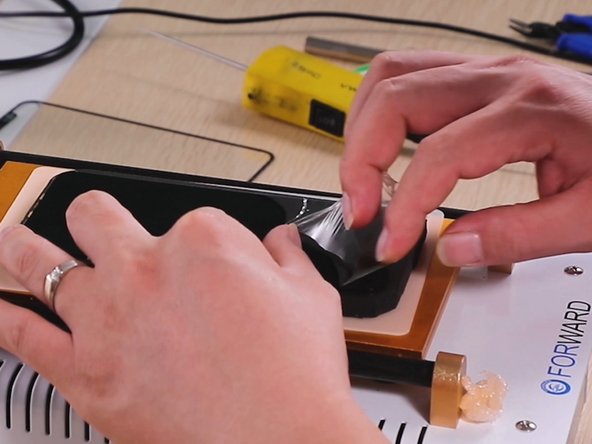

– First things first, slather on some 8333 glue remover over that stubborn OCA glue and give it a quick 30-second breather.
– Once the countdown is done, carefully peel it off with one hand. Just remember to take it easy – we don’t want to give the OLED screen any unnecessary drama!
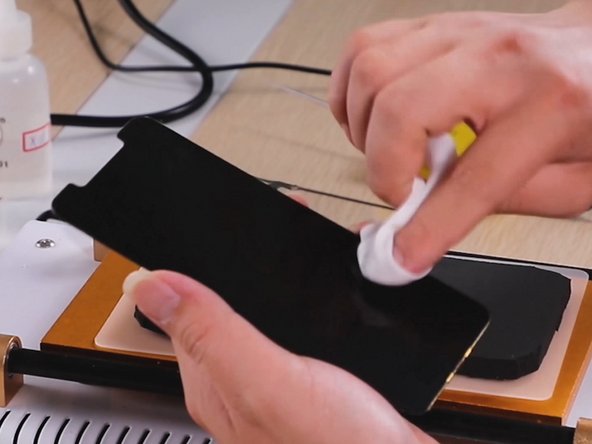
– After you’ve tackled the glue, it’s time to pamper your screen with a little white oil. A couple of pro tips to keep in mind: be extra gentle around the golden touch circuit at the screen’s edges and use a light touch with that dustless cloth.
– Too much pressure could lead to a broken touch cable, and that’s a definitely not-so-fun situation.
– Also, when you’re cleaning the area around the flex cables, keep it gentle and don’t go overboard with the white oil. A little is all you need!
Step 7
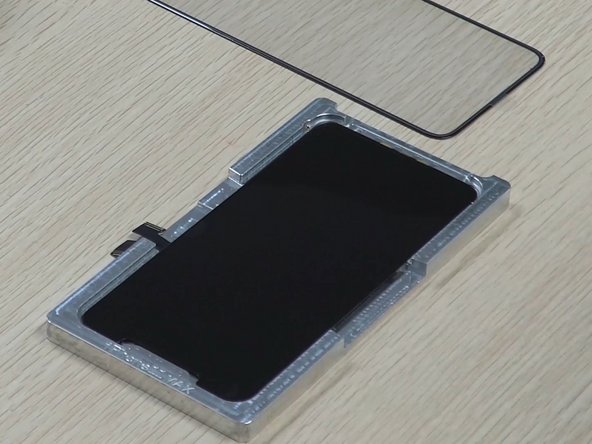

– Alrighty, let’s get this iPhone11 Pro Max fix party started! First up, grab your special locating mold. It’s like a cozy little bed for your LCD. Place that baby flat and make sure it doesn’t budge, yes even while dusting off. Now, be a tape whisperer and peel off that protective film from the OCA. Yay, we’re halfway there! If you need help, you can always schedule a repair with the cool kids at Salvation Repair!
Step 8


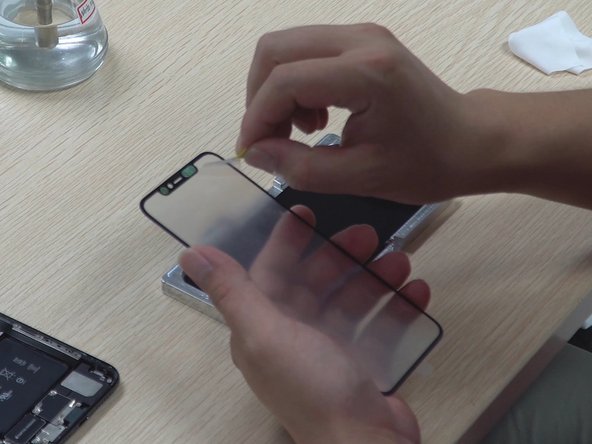
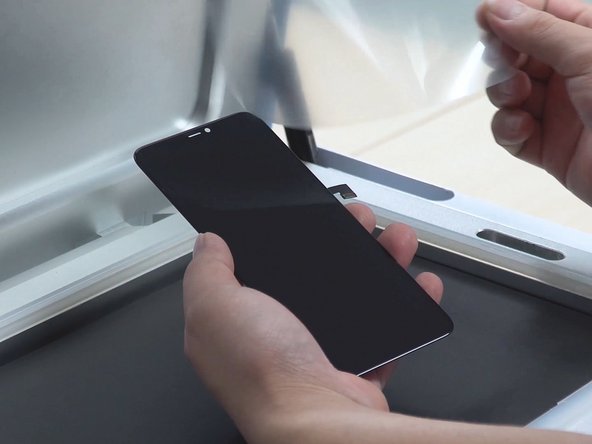
– First up, let’s get that glass lined up perfectly with the LCD and snug it into place on the right side.
– Next, give the center of the glass a gentle press with one hand while you carefully fit it to the LCD.
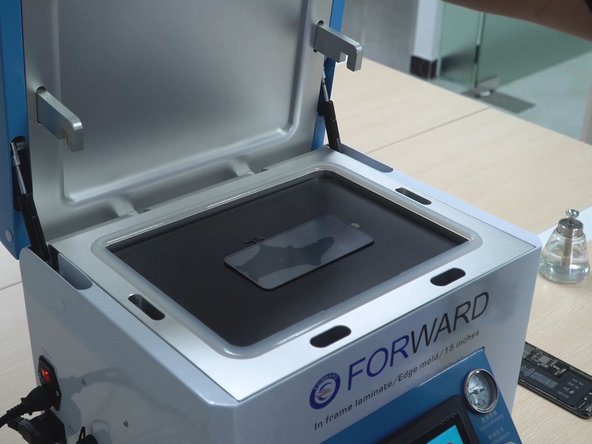
– Finally, place the prepped LCD on the trusty black magic mat and slide it into the CEO-2+ OCA lamination machine for a smooth laminating and bubble-busting experience.
Step 9

– Alright, let’s kick things off! Make sure that flex cable is hanging out nicely outside the LCD while you gently place the LCD on the mat.
– Next up, it’s time to set the clock and hit that ‘START’ BUTTON! We’re going for a vacuum time of 20 seconds, laminate time of 15 seconds, and bubble-busting time of 180 seconds. You’ve got this!
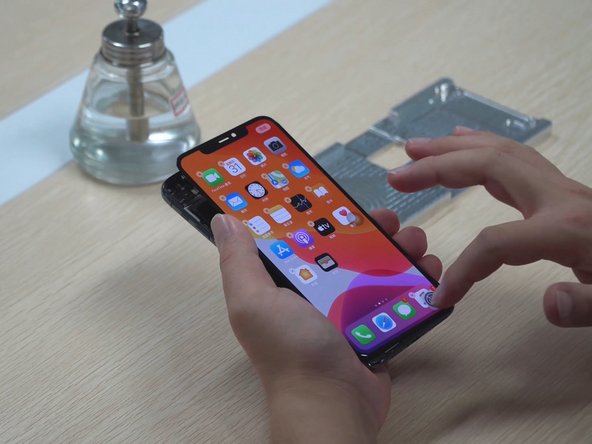
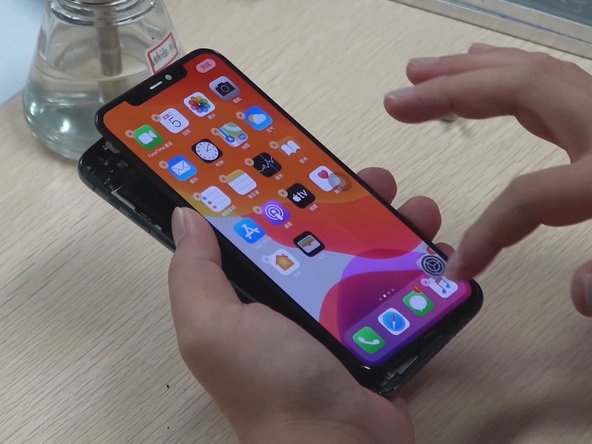
– Now, let’s give that display and touch screen a little test drive. Make sure everything is working like a charm!
Step 10

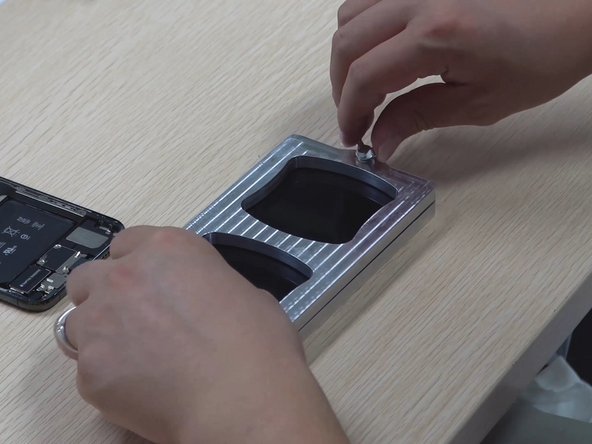
– Alright, let’s keep the momentum going! First up, slide that shiny new bezel into the protection pressure mold like a pro.
– Next, once the bracket is securely in place, it’s time to spread that bezel glue around it – nice and neat!
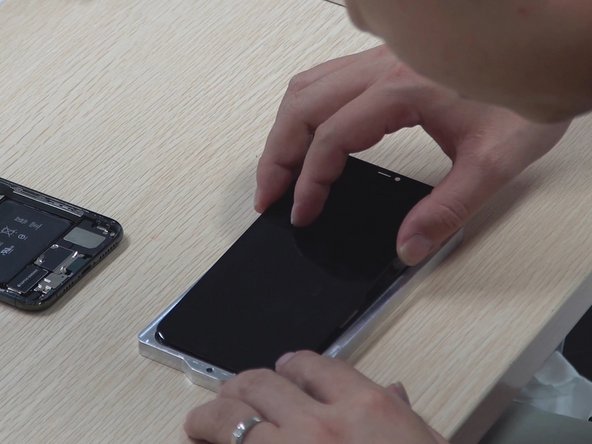
– Now, for the third step, carefully position the pasted LCD with the bracket. Just a little tip: start placing the LCD from the flex cable side for the best fit.
– Fourth step, give that screen a firm press all around with your hand to ensure the LCD is snugly seated in the frame. We want it cozy in there!
– Finally, cover it all up with the protection pressure mold and let it chill for 30 minutes. Patience is key!
Step 11

Hopefully, this nifty guide will steer you in the right direction!