iPod Shuffle 4th Generation Teardown
Duration: 45 minutes
Steps: 13 Steps
Kicking off a week of teardown fun with the first of three iPod disassemblies! We’ll be diving into the new iPod Touch and iPod Nano as soon as they land in our hands. Keep an eye on our Twitter for updates throughout the week. If you missed it, last week we hit a big milestone—along with supporting Apple repairs, we’ve added parts and manuals for most game consoles! To celebrate, we took a nostalgic trip, ripping apart five retro consoles: Magnavox Odyssey 100 (August 1975), RCA Studio II (January 1977), Atari 2600 (October 1977), Nintendo Famicom (July 1983), and Nintendo Virtual Boy (August 1995). Want to keep your old Shuffle alive and kicking? We’ve got complete repair manuals and parts for the iPod Shuffle too.
Step 1


– Apple’s newest Shuffle is quite different from its last version. It’s got a fresh look and feel, but don’t expect it to be much like the one before it.
– Sure, the Shuffle comes in ‘new, smaller packaging,’ but don’t get too excited—its shipping box is still big enough to hold 30 of these little guys. Seriously.
– Apple’s model number for this one is A1373, upgraded from the older A1271 number on the previous Shuffle.
Step 2


– The 4th Gen Shuffle is priced at a paltry $49.99! The original iPod shuffle cost $99, and had only 512 MB of storage.
– There’s a button just for VoiceOver: push once for artist and song , twice for battery status , and hold for playlist menu .
– Apple admitted that people actually like buttons and brought them back for this generation.
– Pshhh! Those of us with 3rd Gen Shuffles just printed out this convenient chart and carried it around for reference.
Step 3


– Here’s the full lineup.
– iPod Shuffle 4th Generation:
– A bank got hit last week in Ba Sing Se. Witnesses were shown this lineup to help spot the culprit.
– Notice a pattern? Skinny, fat, skinny, fat. Looks like Apple’s still figuring out which shape is their favorite.
– Height: 1.14″
– Width: 1.24″
– Depth: 0.34″
– Weight: 0.44 oz.
Step 4


Heads up: Aluminum gets toasty when you heat it up!
– Don’t let this step fool you—getting the Shuffle open is a real workout. Expect to spend some quality time prying and warming things up before it finally pops open.
Step 5

– Check out those exposed guts!
– The logic board hangs out right next to the battery in the outer shell.
– Spot the leftover adhesive around the edges—it put up a good fight.
– Apple mashed and glued the back clip onto the case. No wonder popping this open was a major workout!
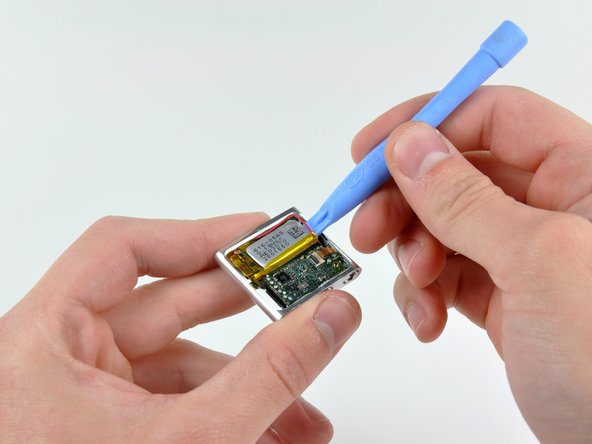
Step 6


– Disconnecting the control pad ribbon cable sounds easy, but when the connector is barely wider than a grain of rice, it’s definitely a challenge.
– As tech gets tinier, so do the tools—soon enough, it’ll look like a pair of tweezers is doing all the work.
– We’ve got a microscope on standby for the day things get microscopic, but for now, your regular tools will do.
Tools Used

Step 7

– Grab your trusty #00 screwdriver—those logic board screws won’t stand a chance.
– Use a plastic opening tool to gently pop the battery free from its mild adhesive grip.
– Once the battery’s out, reach for a dental pick to flick away the tiny plastic retainer holding the logic board.
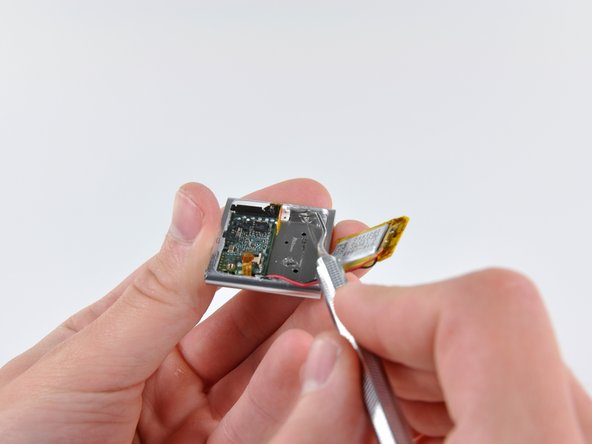
Step 8

– We take out the logic board and battery all at once from the iPod because Apple decided to solder the battery directly onto the logic board this time around. The trade-off? You get a smaller, sleeker design, but it means less user-serviceability. If you need help along the way, you can always schedule a repair.
Step 9


– Start by unscrewing the last four screws on the iPod Shuffle. These screws are holding the control pad to the front, so take them out gently.
– Once those screws are gone, the button and control pads will pop out with a light push. Easy does it!
Step 10

– The control pad slides right out of the front case, no fuss, no mess.
Step 11


– This little 3.7V lithium-ion battery, with a modest 0.19 Whr capacity, delivers an impressive 15 hours of audio playback. Not bad for its size!
– It’s pretty amazing how much life you can get from a battery when there’s no backlight to drain it. Simple but effective!
– To figure out the capacity in amp-hours, use the formula P(power) = I(amps) * V(volts), so I = P/V. This works out to about 0.051 amp-hours, or 51 mAh. It’s on the smaller side compared to bigger batteries, but still pretty cool for such a compact unit.
Step 12


– Here’s what these codes are telling us: The first one, ‘APPLE 338S0860 C0AN1021 TWN’, points to Apple parts made in Taiwan. The next, ‘339S0128 / K9GA608U0E BC80 / FDEF26QV 1025 / 8443 ARM / N2N63MQ1 1031’, includes a bunch of manufacturing codes and dates—kind of like a phone’s birth certificates. Those date codes—1025 and 1031—mark production in late June 2010 and early August 2010, respectively. And when you see ‘K9GA6’, it’s indicating Samsung’s 16Gb flash memory, which is different from the Toshiba flash used in Nano and Touch models. So, when you’re working with these parts, keep an eye on those codes—they help ensure you’re using the right components for your repair. If you need help, you can always schedule a repair.
Step 13
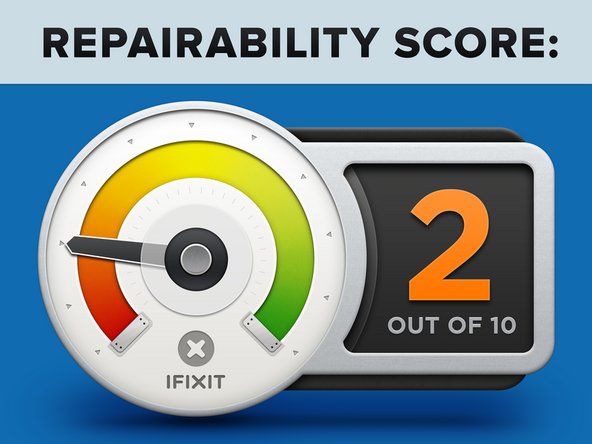

– iPod Shuffle 4th Generation Repairability: 2 out of 10 (10 being a walk in the park to repair)
– Good: The control pad is connected to the logic board with a connector, so you can easily detach it without much hassle.
– Good: No screen means no weak spots that could easily crack, making the Shuffle a little more drop-friendly. But maybe don’t test its durability by tossing it into a toilet.
– Bad: To open it, you’re pretty much going to have to break it. It’s a bit of a struggle.
– Bad: The battery is soldered directly to the logic board, which makes replacing it a bit more challenging.
– Bad: Apple has a knack for making connectors smaller and more delicate. These tiny cables are increasingly tough to handle without risking a break.