The 7 Best iPhone Screen Repairs Compared
Is Your iPhone Screen Cracked? Here Are the Best Repair Options in 2026
Best iPhone screen repair comes down to three key choices: where you get it fixed, what parts are used, and how fast you need it done.
Here’s a quick breakdown to help you decide right now:
| Repair Option | Best For | Starting Price |
|---|---|---|
| OEM Screen (In-Store) | Best quality, no compromise | $149.95 |
| Aftermarket OLED (In-Store) | Balance of quality and cost | $129.95 |
| Aftermarket LCD (In-Store) | Budget repairs on older iPhones | $89.95 |
| Apple Out-of-Warranty | Official Apple service | $129–$379 |
| DIY Repair | Tech-savvy users willing to risk it | Varies |
| Same-Day Emergency Repair | Urgent situations | Varies by model |
| Mobile/On-Site Repair | Busy professionals who can’t leave | Varies by model |
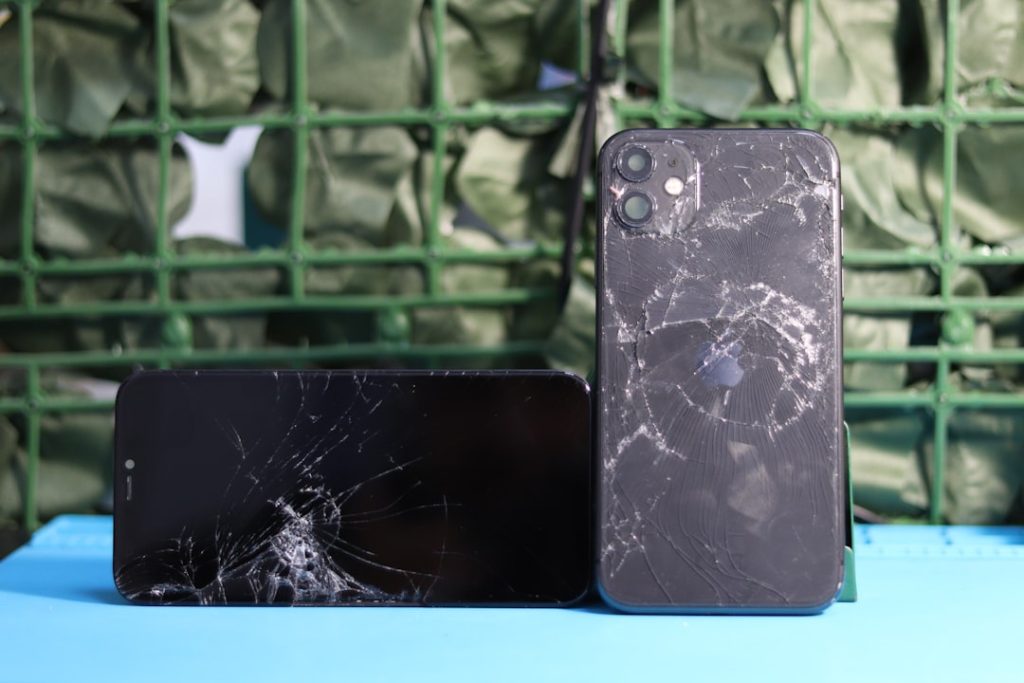
A cracked iPhone screen is more than just an eyesore. It can make your phone hard to use, expose internal components to dust and moisture, and tank your device’s trade-in value. In 2026, you have more repair options than ever — from Apple’s official service to affordable third-party shops to doing it yourself. But not all repairs are created equal, and the wrong choice can cost you more in the long run.
I’m Ralph Harris, a repair technician with over 20 years of experience and more than 500 Apple repair certifications, and I’ve built my career on helping people find the best iPhone screen repair for their specific situation and budget. In this guide, I’ll walk you through every major option so you can make a confident, informed decision.

Best iPhone screen repair definitions:
Comparing the 7 Best iPhone Screen Repair Options in 2026

Navigating the repair market in April 2026 can feel like walking through a tech jungle. Between the latest iPhone 17 rumors and the aging but reliable iPhone 12s still in circulation, knowing where to turn is half the battle. Choosing the right provider isn’t just about the initial price; it’s about the longevity of the device. A cheap screen that flickers or loses touch sensitivity after a month isn’t a bargain—it’s a headache.
At Salvation Repair, we believe in transparency. We know that a one-size-fits-all approach doesn’t work for our neighbors in Laurel or Jackson. Someone trading in their phone next week has different needs than a parent handing a phone down to a teenager. That’s why we offer a tiered system to ensure you get the best iPhone screen repair for your specific goal.
| Screen Type | Quality Level | Salvation Repair Price | Typical Apple Out-of-Warranty |
|---|---|---|---|
| OEM (Original) | Highest (Factory Standard) | $149.95 | $329 – $379 |
| Soft OLED | High (Flexible/Durable) | $129.95 | N/A |
| Hard OLED | Medium (Vibrant/Budget) | $129.95 | N/A |
| LCD | Entry (Budget/Older Models) | $89.95 | $129 – $189 |

1. Salvation Repair Professional In-Store Service
Sometimes, you just need to talk to a human. Our phone screen repair stores provide a personalized experience that a mail-in box simply can’t match. When you walk into our Laurel or Ellisville locations, we don’t just take your phone and tell you to come back later. We perform expert diagnostics right in front of you.
We’ve found that many “broken” screens are actually just failed digitizers or loose internal cables. Our face-to-face consultation ensures you aren’t paying for a full screen replacement if a simpler fix exists. We are deeply rooted in the local community, serving Jones County and the surrounding areas with a focus on trust and reliability.
2. Salvation Repair Mobile and On-Site Service
We get it—life in 2026 is fast. Between school drop-offs in Soso and meetings in Meridian, finding time to sit in a repair shop isn’t always possible. This is where our mobile iPhone repairs near me service shines. We bring the repair shop to you.
Whether you’re at your office desk or your kitchen table, our technicians arrive equipped with specialized mobile workstations. This is the ultimate convenience for busy professionals. You don’t have to worry about being without your device for hours or fighting traffic. We perform the repair on-site, ensuring your data never leaves your sight. For more on how this works, you can explore mobile on-site phone repair options we offer.
3. OEM (Original Equipment Manufacturer) Screen Replacement
If you want your iPhone to feel exactly like it did the day you unboxed it, OEM is the only way to go. These are genuine displays that meet the exact factory specifications for color accuracy, brightness, and touch response.
When you look at our iPhone screen repair cost guide, you’ll see OEM at the top of the tier for a reason. It offers full compatibility with features like True Tone and Face ID without the “non-genuine part” warnings that can pop up with lower-quality components. At $149.95, it’s the gold standard for those who refuse to compromise.
4. Aftermarket Soft OLED Screen Replacement
For most modern iPhones (iPhone X and newer), a Soft OLED is the “sweet spot.” Unlike Hard OLEDs, these are built on a flexible substrate, much like the original screens Apple uses. This makes them significantly more resistant to impacts. If you drop your phone again (we won’t judge!), a Soft OLED is much more likely to survive than its “Hard” counterpart. It offers high color accuracy and deep blacks at a more palatable price point of $129.95.
5. Aftermarket Hard OLED Screen Replacement
Hard OLEDs are a great mid-range choice. They still offer the vibrant colors and true blacks that make OLED technology famous, but they are built on a rigid glass substrate. This makes them slightly more brittle than Soft OLEDs but allows us to offer them at a competitive price. If you’re preparing your phone for a trade-in or simply want the OLED look on a tighter budget, this is an excellent path.
6. Aftermarket LCD Screen Replacement
For older models like the iPhone 8 or 11, or for those who need the absolute lowest price, LCD is the answer. Starting at $89.95, this is our most budget-friendly option. It’s important to note that LCDs use a backlight, so they have a slightly thicker profile and won’t have the “perfect” blacks of an OLED. However, for a reliable daily driver that just needs to work, check out our pricing details for LCD options.
7. Same-Day Emergency Repair Service
We know that a broken phone can feel like a broken limb. That’s why we offer phone repair same day with turnaround times often as fast as 45 minutes. We prioritize emergency repairs because we understand that minimizing digital downtime is crucial for your work and family life. You can schedule repair online to jump to the front of the line and get back to your day.
Understanding Screen Quality: LCD vs. OLED vs. OEM

Understanding the tech behind your glass is vital for finding the best iPhone screen repair.
- LCD (Liquid Crystal Display): Uses a backlight. It’s reliable but uses more battery and has lower contrast.
- OLED (Organic Light Emitting Diode): Each pixel lights itself. This allows for “true” blacks and better battery life.
- OEM: The peak of quality, ensuring all sensors (like the ambient light sensor for True Tone) work perfectly.
Using non-genuine displays can lead to risks of using non-genuine Apple displays, such as multi-touch issues or brightness inconsistencies. At Salvation Repair, we use high-quality parts that mitigate these risks, ensuring your Face ID and True Tone remain functional whenever possible.
Choosing the Best iPhone Screen Repair Part for Your Budget
- Aftermarket LCD: Best for cost-savings on older devices or secondary phones.
- Aftermarket OLED (Soft & Hard): The standard for modern iPhones. “Soft” is better for drop protection; “Hard” is better for the wallet.
- OEM (Original Equipment Manufacturer): The top choice for flagship devices and users who want the original factory experience.
The Impact of Parts Pairing in 2026
Apple uses a process called “parts pairing,” where the serial number of your screen is linked to your logic board. If a shop doesn’t have the right calibration tools, you might see a “System Assistant” warning. We stay ahead of these trends, using specialized programmers to transfer data from your old screen to the new one, helping you avoid those annoying pop-ups and keeping your iPhone screen repair professional and clean.
The Risks and Rewards of DIY iPhone Screen Replacement
We love the DIY spirit, but iPhone repair in 2026 is like surgery. It requires specialized tools, steady hands, and a lot of patience. One wrong move with a pentalobe screwdriver can tear a delicate Face ID cable, turning a $100 repair into a $500 nightmare.
Before you try it, check out our broken phone screen troubleshooting guide. If you’re working on an older device, our iPhone X screen repair cost guide might show you that professional repair is actually cheaper than buying the tools and parts yourself once you factor in the risk of breaking something else.
What to Look for in a Reliable Repair Service
When searching for the best iPhone screen repair, don’t just look at the price tag. Look for:
- Lifetime Warranty: We offer a lifetime warranty on parts and labor because we stand behind our work.
- Price Matching: We will match and beat any local competitor’s price.
- Certified Technicians: Ensure the people touching your $1,000 phone know what they’re doing.
- Transparency: You should know exactly what grade of screen is going on your device.
Frequently Asked Questions about iPhone Screen Repair
How much does an iPhone screen repair cost at Salvation Repair vs. Apple?
Apple’s out-of-warranty repairs typically range from $129 to $379. For an iPhone 15 Pro Max, you’re looking at the higher end of that scale. At Salvation Repair, our aftermarket OLED options start at $129.95, providing significant savings without sacrificing the visual experience. You can see our full pricing details online.
How long does a typical screen replacement take?
While Apple or Best Buy might take a few hours or even days if they have to mail it out, we specialize in same-day service. Most of our in-store repairs are completed in about 45 minutes. Our mobile service takes roughly the same amount of time, plus the travel to your location.
Does an independent repair void my Apple warranty?
This is a common myth! Under the Magnuson-Moss Warranty Act, a manufacturer cannot void your entire warranty just because you used a third-party repair service, unless they can prove the third-party repair caused the specific damage you’re claiming later. However, the third-party part itself won’t be covered by Apple—that’s why our lifetime warranty is so important. You can read the Apple Limited Warranty for the fine print.
Conclusion
At Salvation Repair, we’re proud to be the go-to experts for the best iPhone screen repair in Laurel, Jackson, Meridian, and throughout Jones County. Whether you need the absolute best OEM display or a budget-friendly LCD to get your phone back in action, we have the parts and the passion to help.
We repair “any device with a power button,” and we back it up with a lifetime warranty and price matching. Don’t let a cracked screen slow you down. Schedule your professional screen repair today and let us bring your device back to life!