DIY Galaxy S8 Vibration Motor Replacement Guide: Step-by-Step
Duration: 45 min.
Steps: 20 Steps
Ready to get your Galaxy S8 buzzing again? In this guide, we’ll walk you through the steps to swap out that pesky vibration motor all by yourself. If your phone has turned into a quiet companion that barely vibrates, this repair is just what you need. Let’s get started!
Step 1
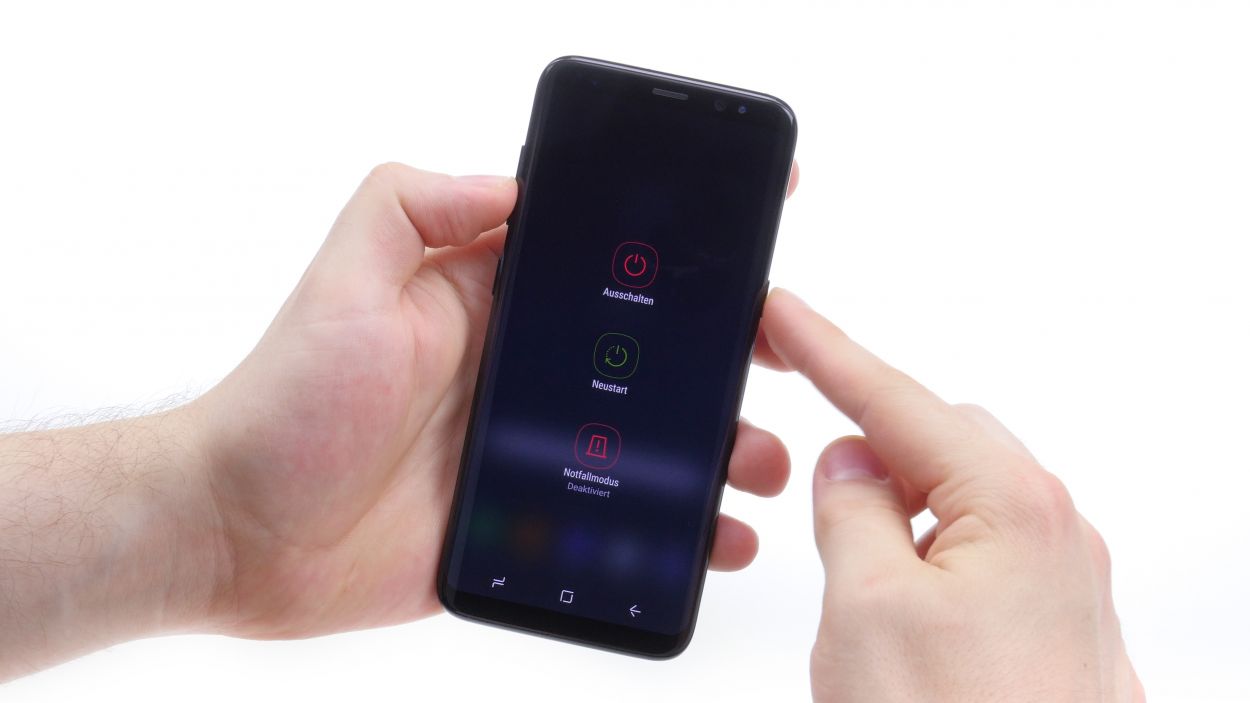
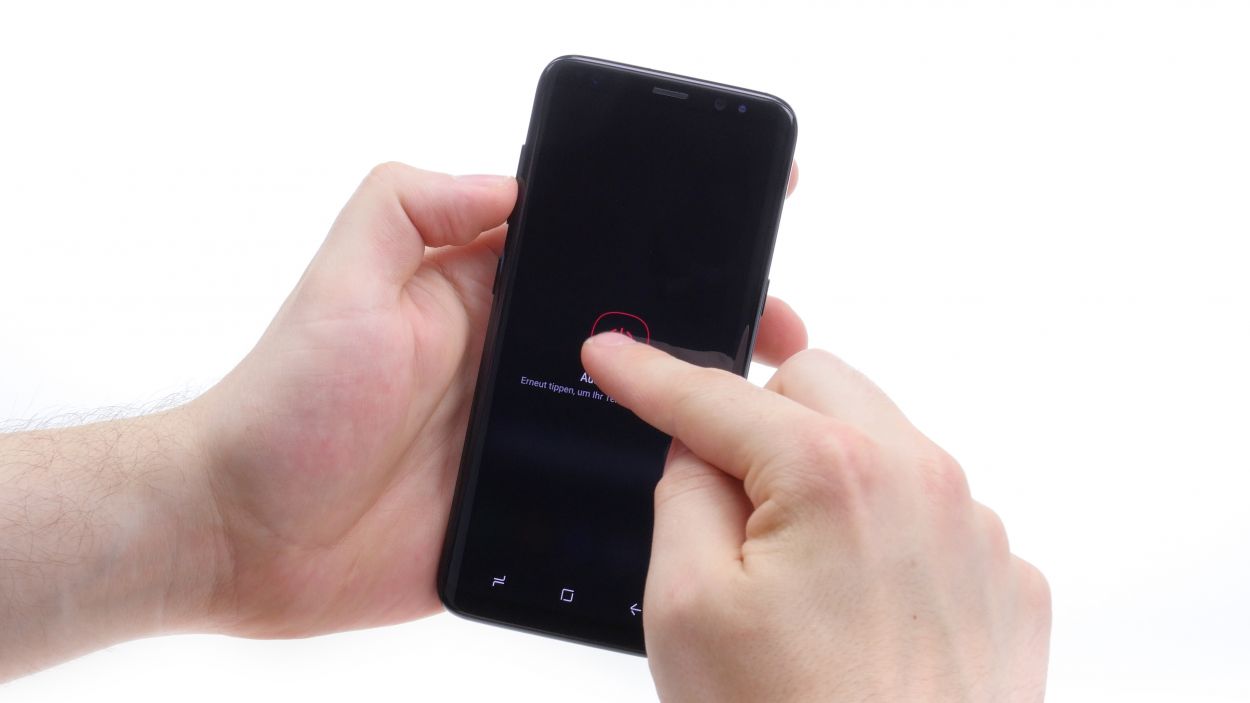
– First things first, let’s power down your Galaxy S8! Just press and hold that power button until you see the ‘Switch off’ option pop up.
– Once you’ve confirmed the shutdown, hang tight! Start the next step as soon as your screen goes completely dark.
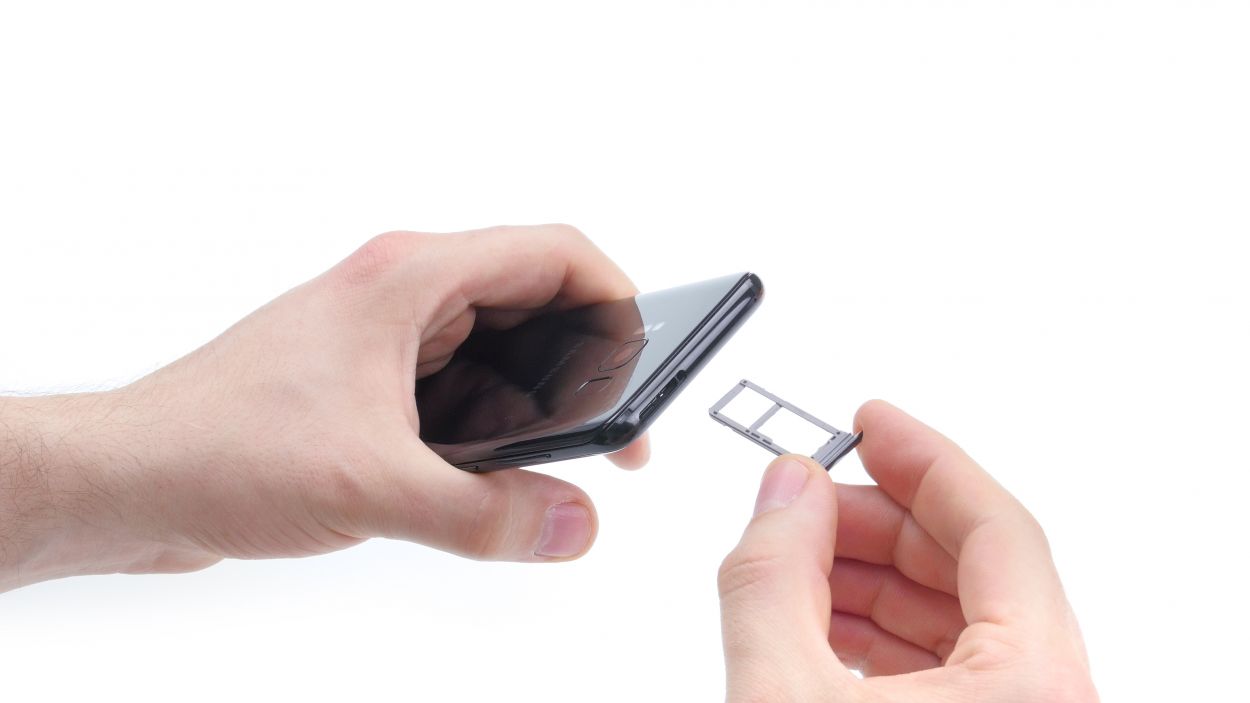
Step 2
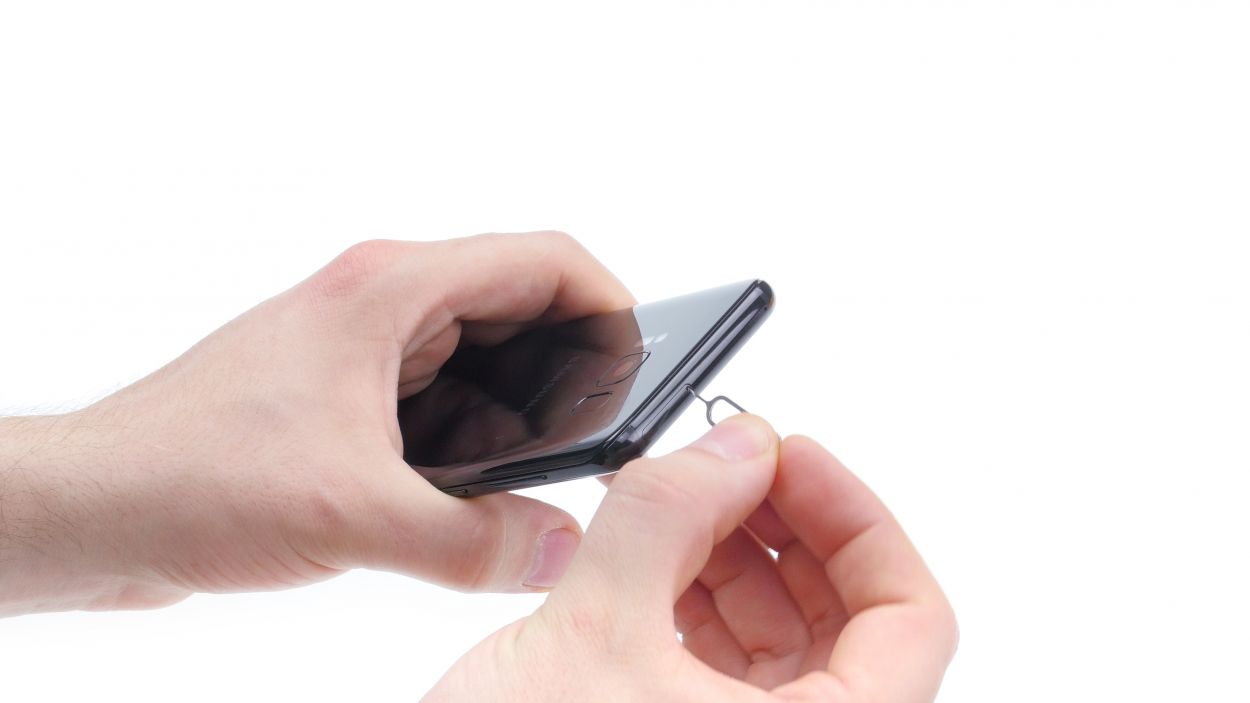
– Now remove the SIM tray including your card by using a SIM tool.
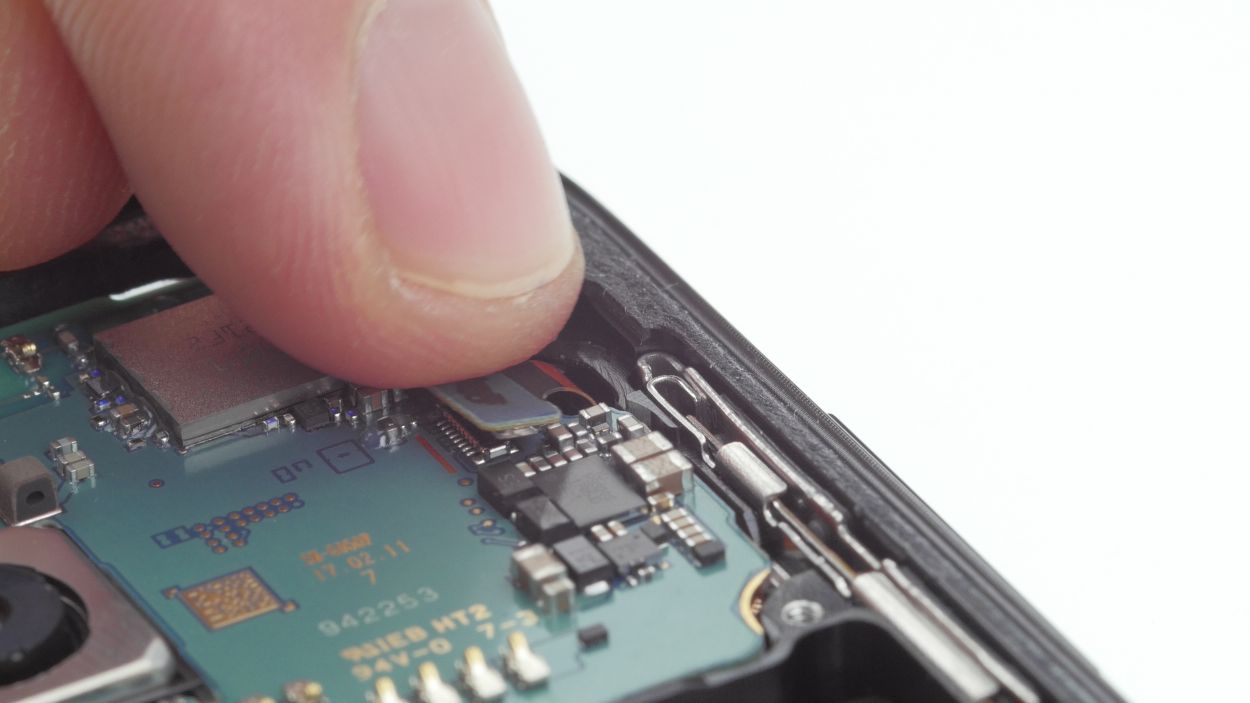
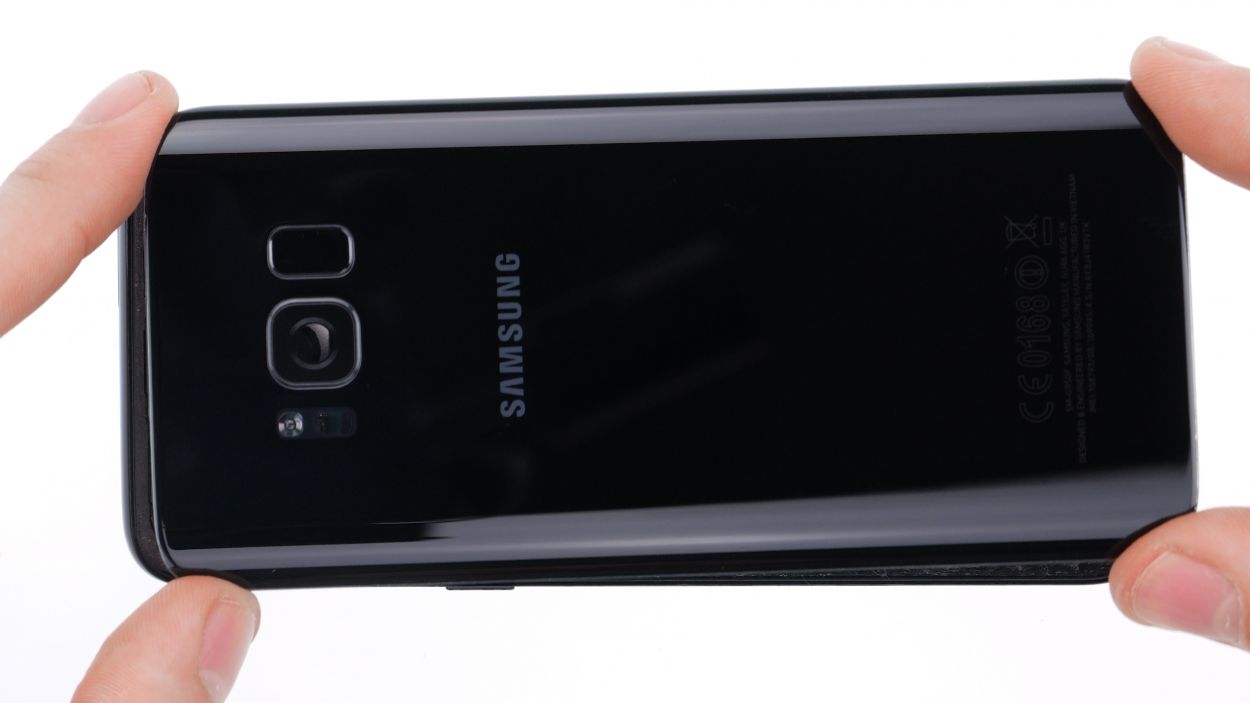
Step 3
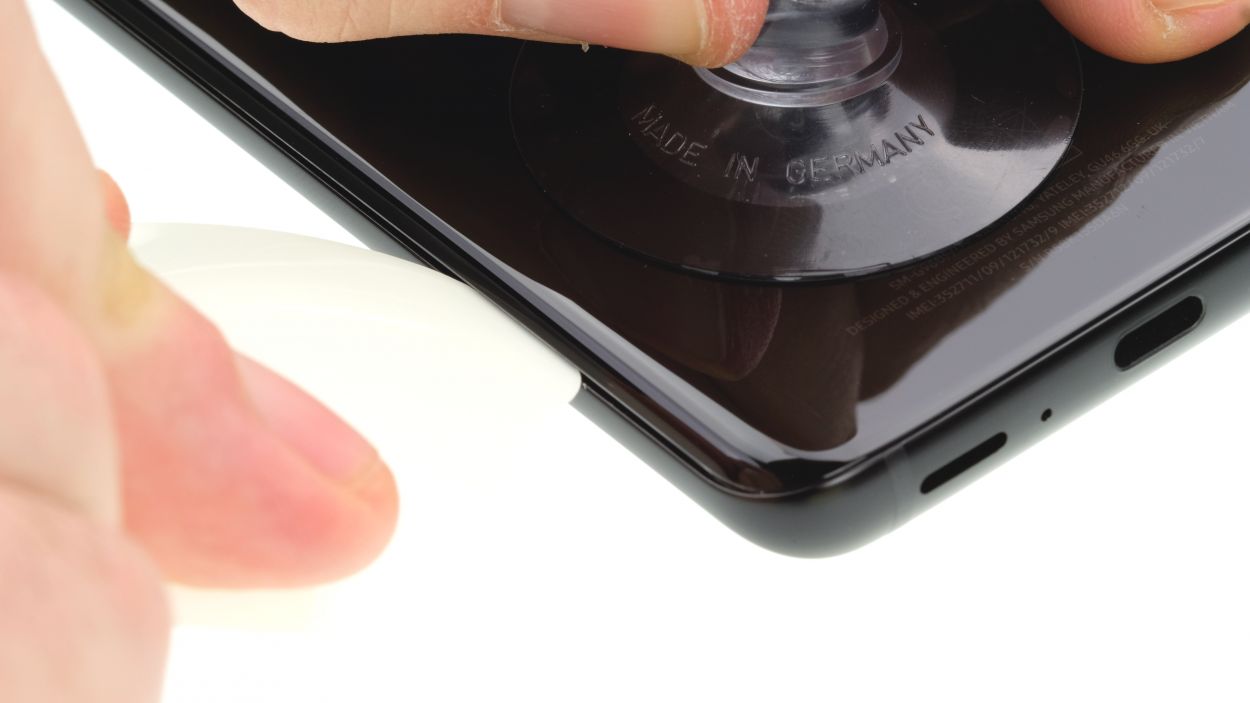

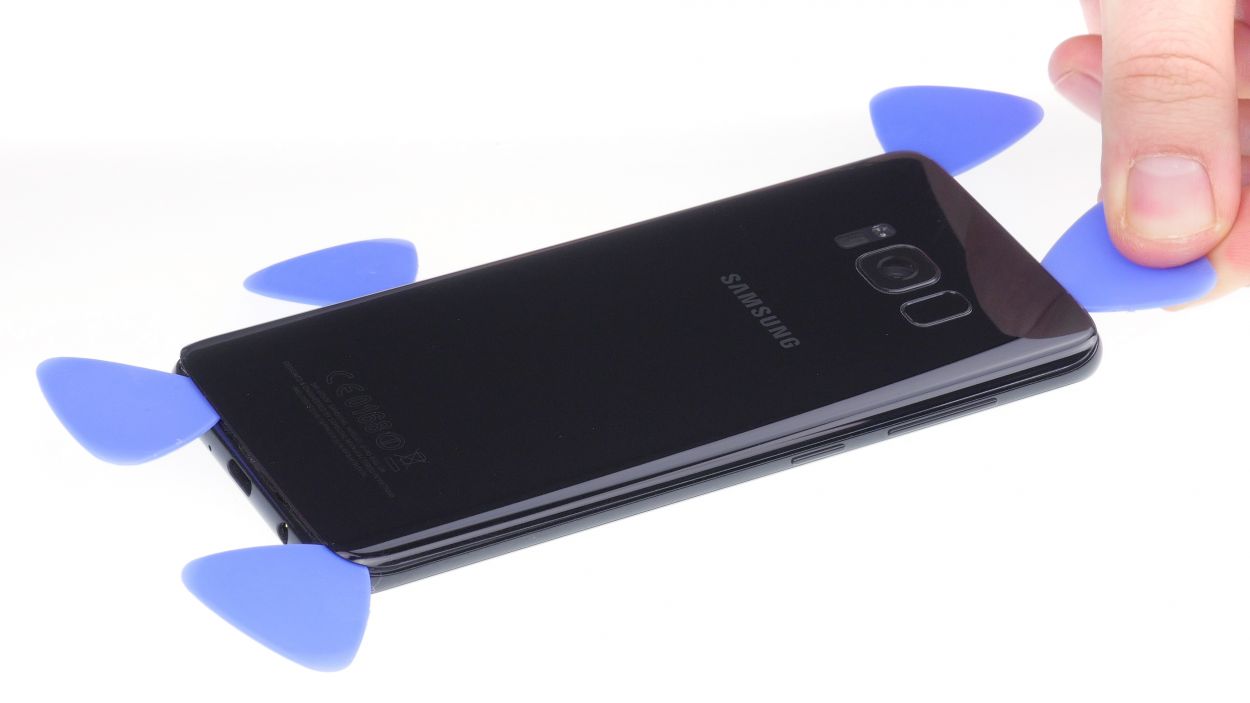
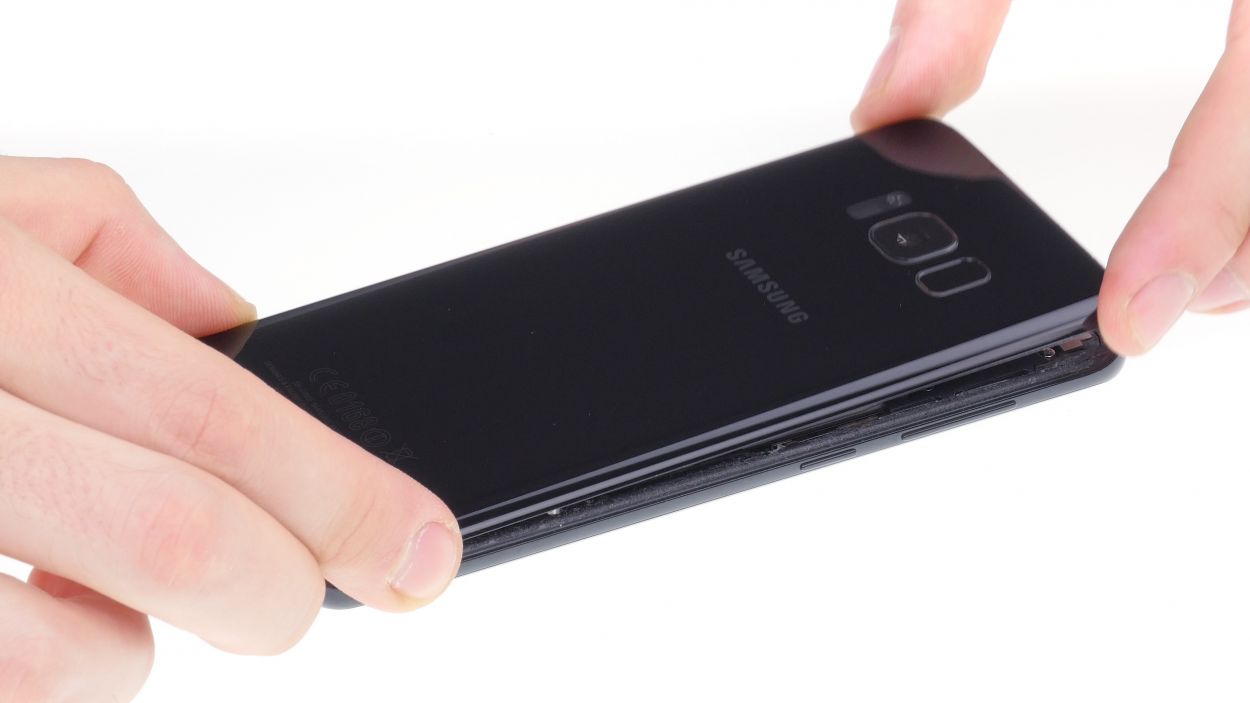
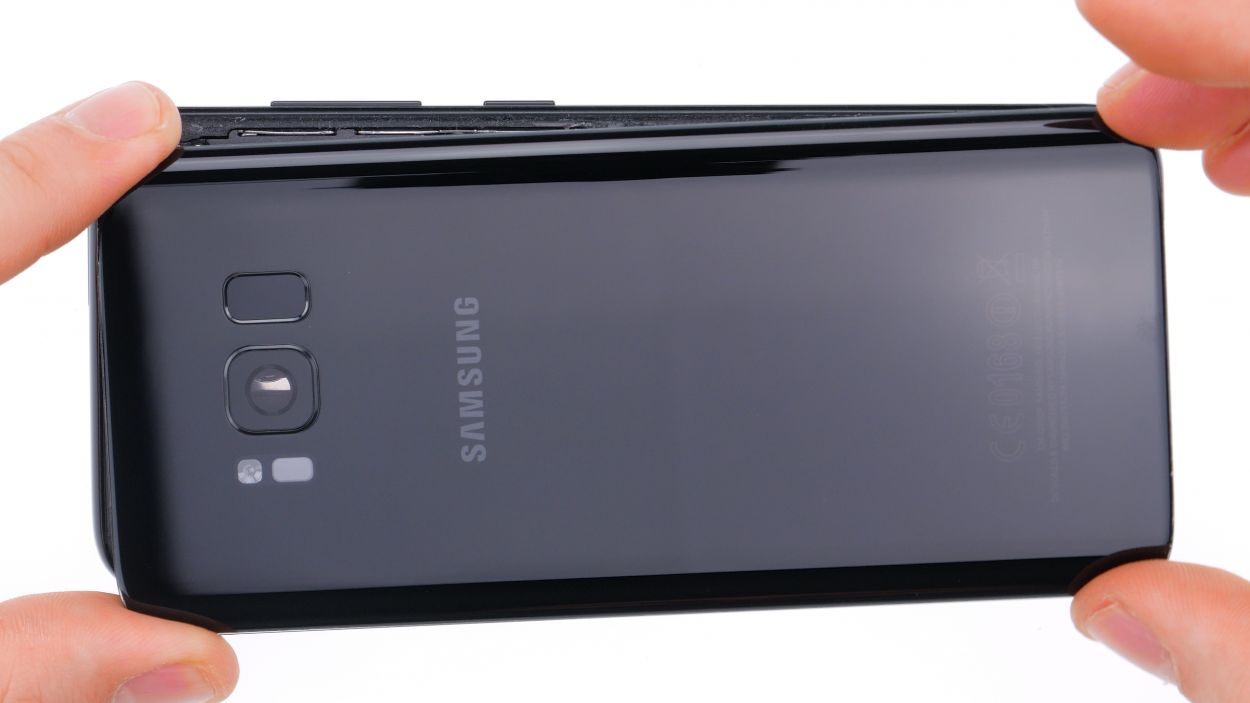
– Warm up the back cover with a hair dryer all around to loosen that stubborn glue. Keep the dryer close by, as you’ll be using it a few times! Next, grab a suction cup and stick it on the bottom of the back cover.
– Now, give that suction cup a gentle pull while trying to slide a flat tool like the iPlastix or iFlex between the back glass and the frame. Remember, the hair dryer is your friend here—use it to add a little heat to help loosen the glue during this step.
Hey there! Just a heads up: the back cover is made of glass and can be a bit fragile. So, when you’re getting ready to take it off, be gentle! If you need to, feel free to use that hair dryer and flat tool as much as you need. It might take a little longer than expected—seriously, even the pros can take up to half an hour to get it right. So take your time and make sure everything stays in one piece. And remember, if you need help, you can always schedule a repair.
The iPlastix is crafted from plastic, providing a nifty shield against scratches on your frame. Just a heads-up, though—this tool is a bit on the softer side, which might make it a tad tricky to slide in. But don’t worry, you’ve got this!
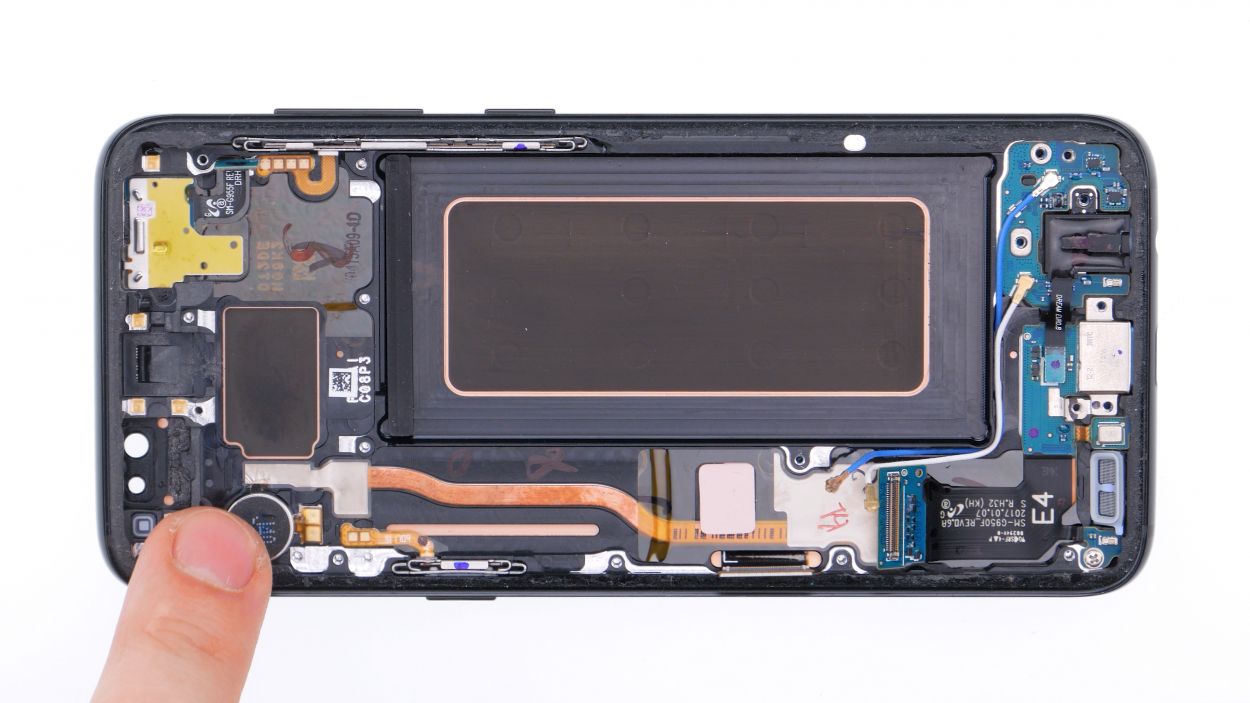
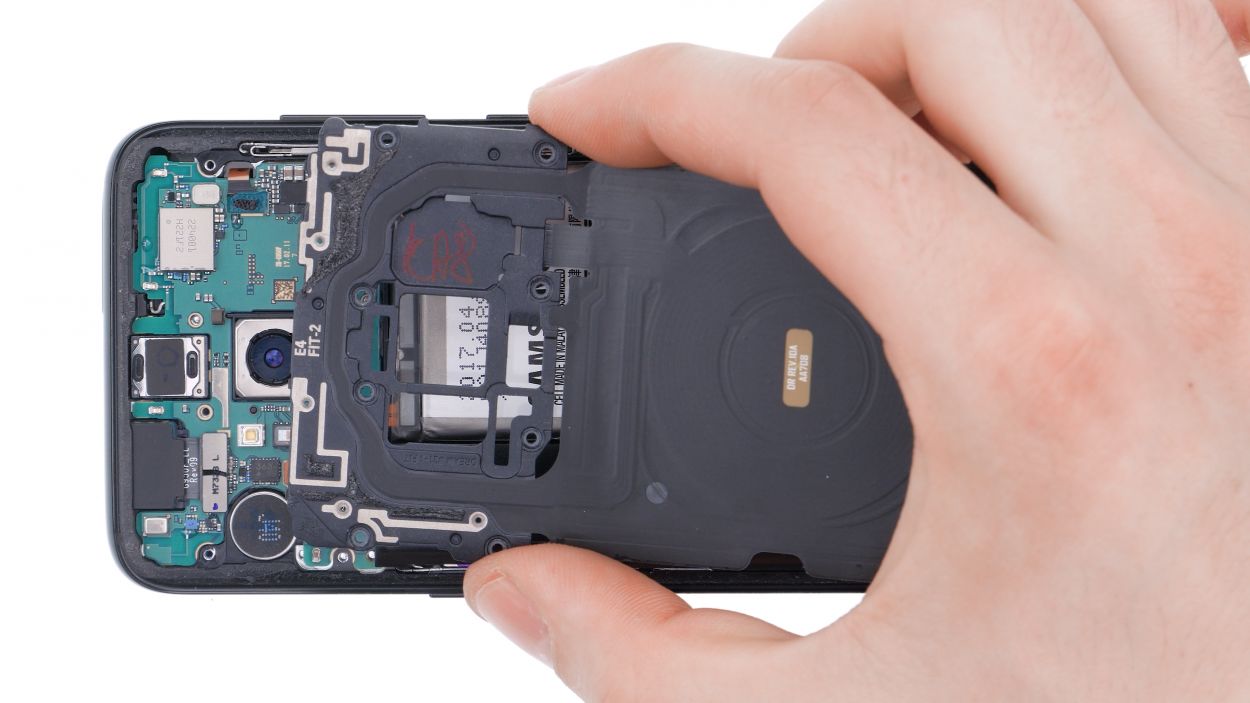
Step 4
Step 6
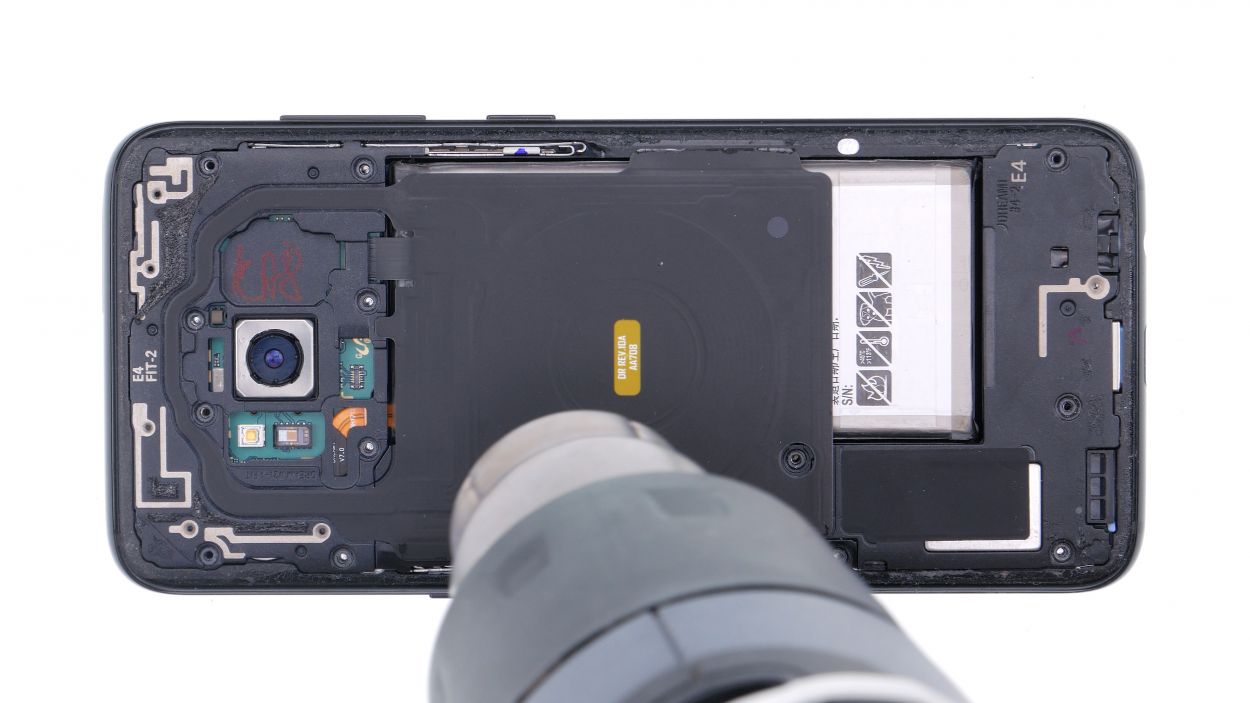
– Alright, let’s get that NFC antenna cover off! It’s got a little glue holding it down, so grab your trusty hot air tool or a hair dryer to warm things up a bit.
– Once it’s nice and toasty, gently slide a flat tool underneath the antenna to lift it off. Just a heads up, the cover is hooked onto the housing, so be careful!
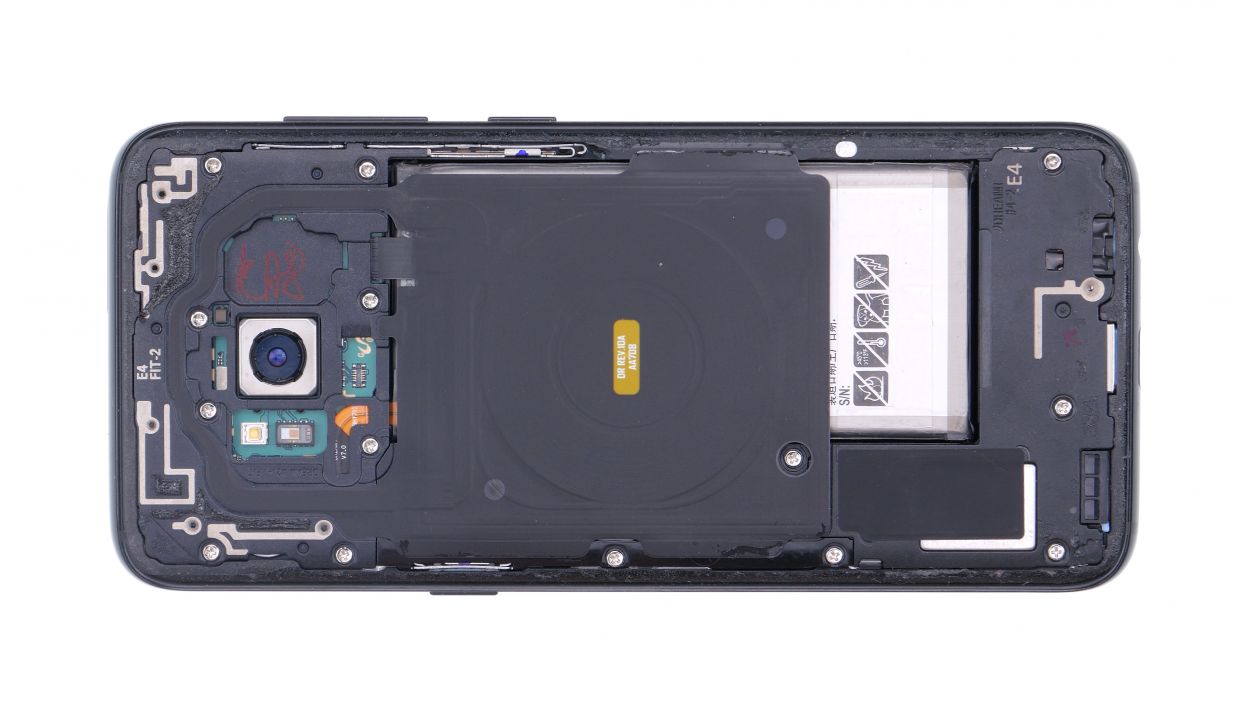
– Now, it’s time to remove the middle cover. You’re doing great!
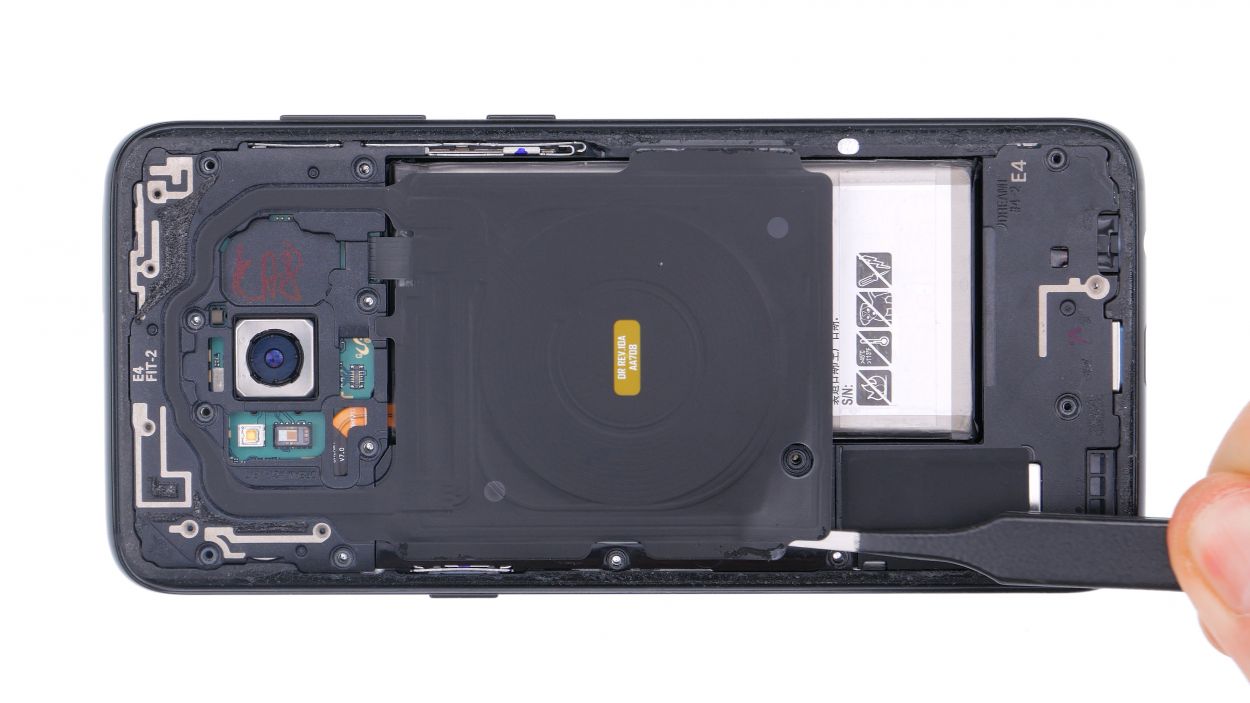
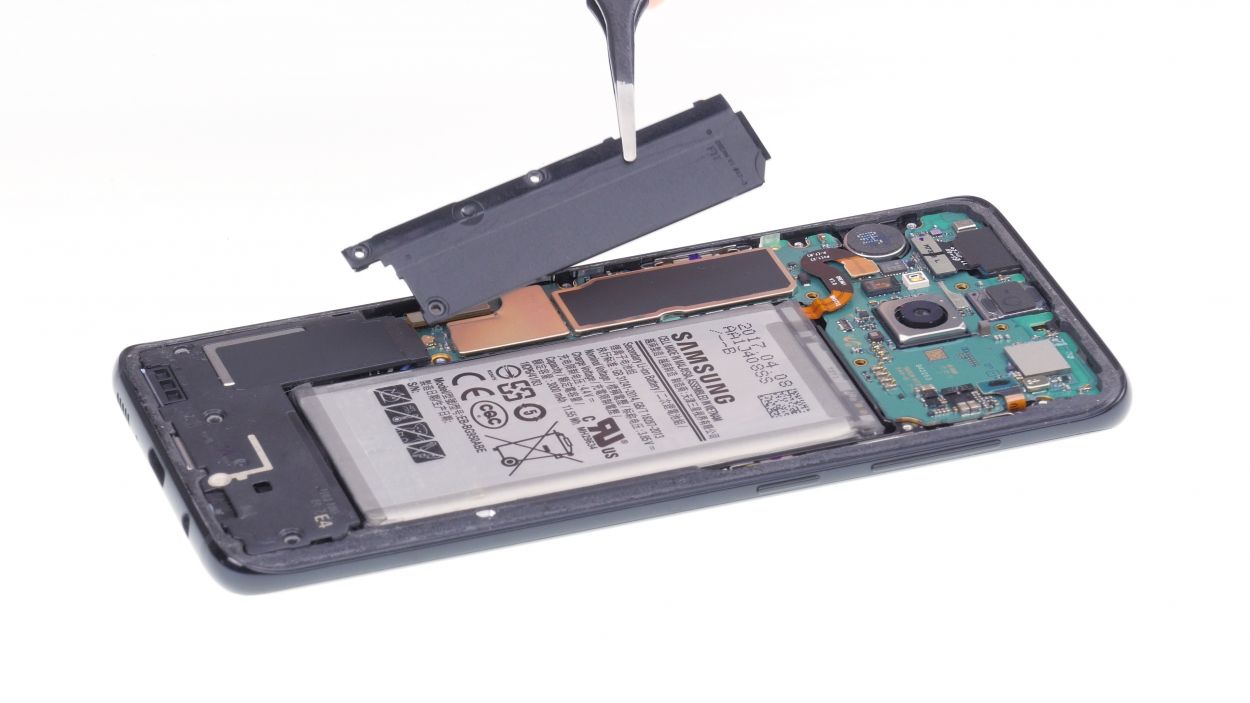
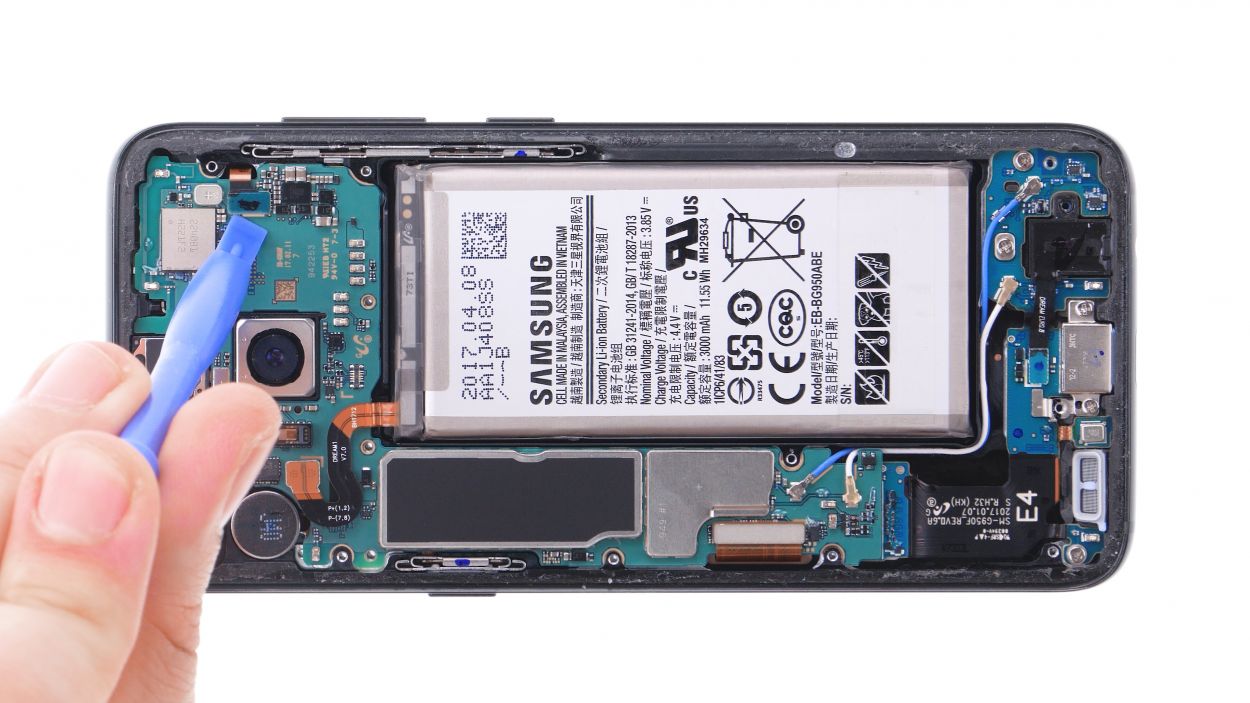
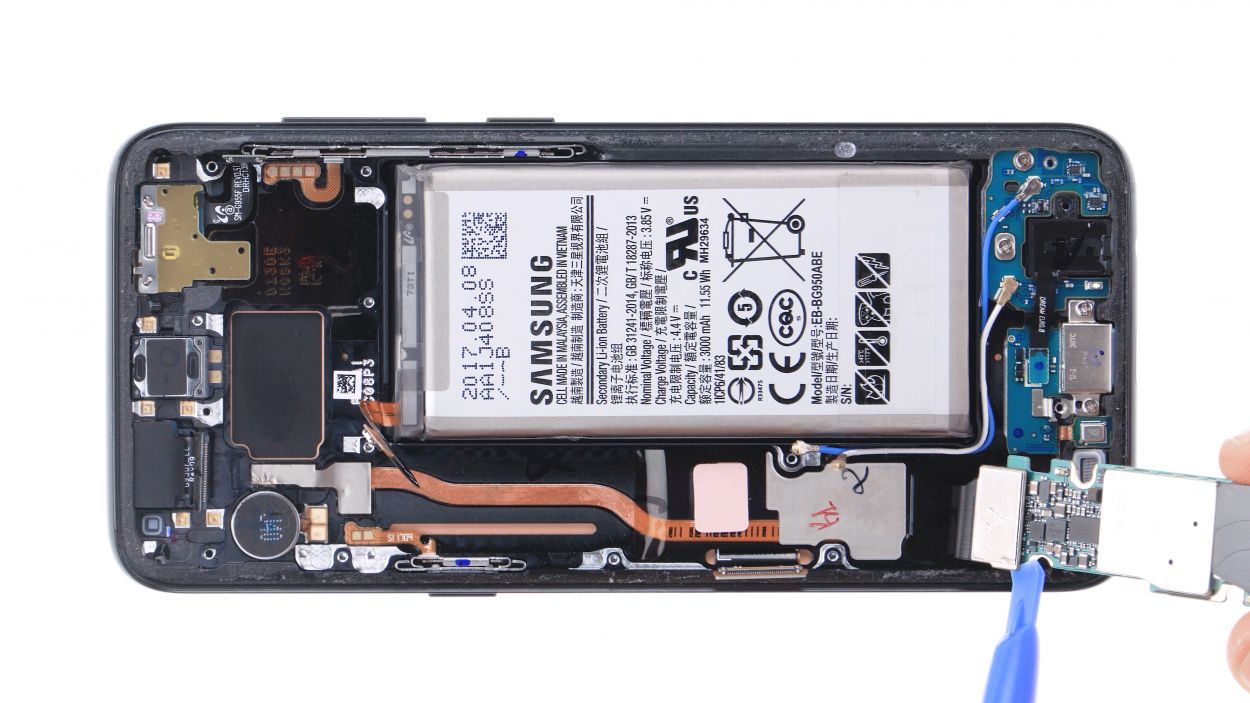
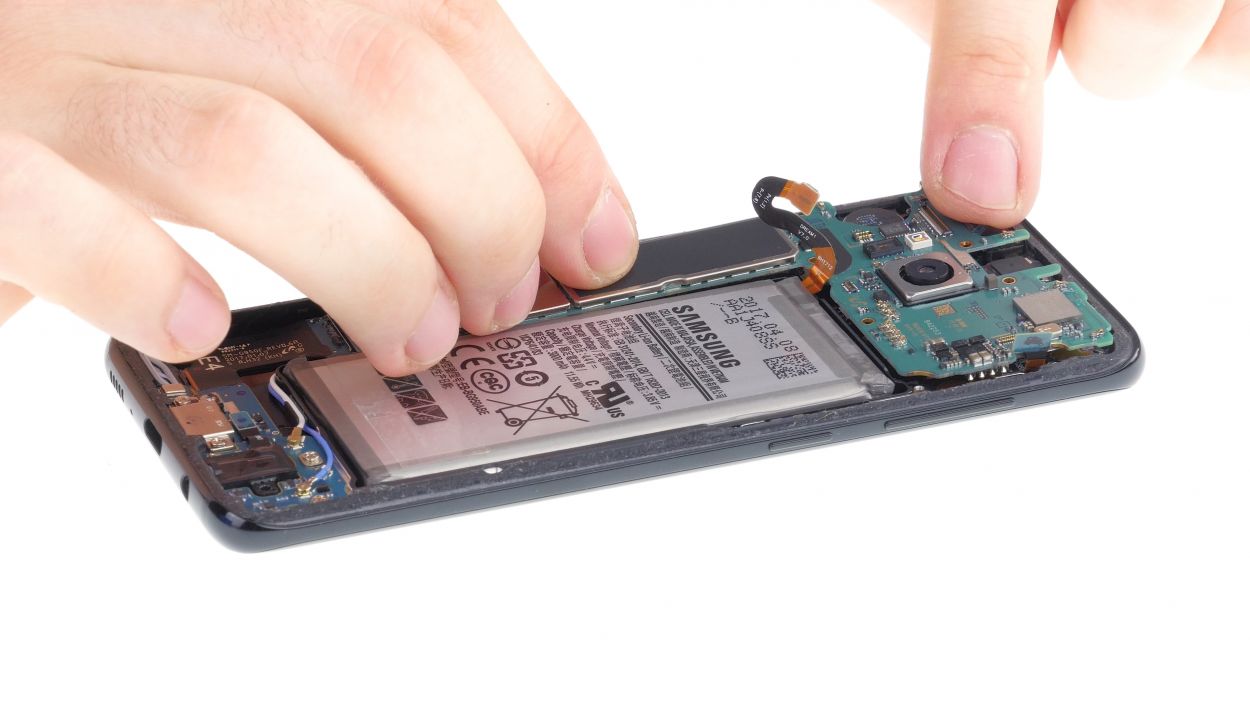
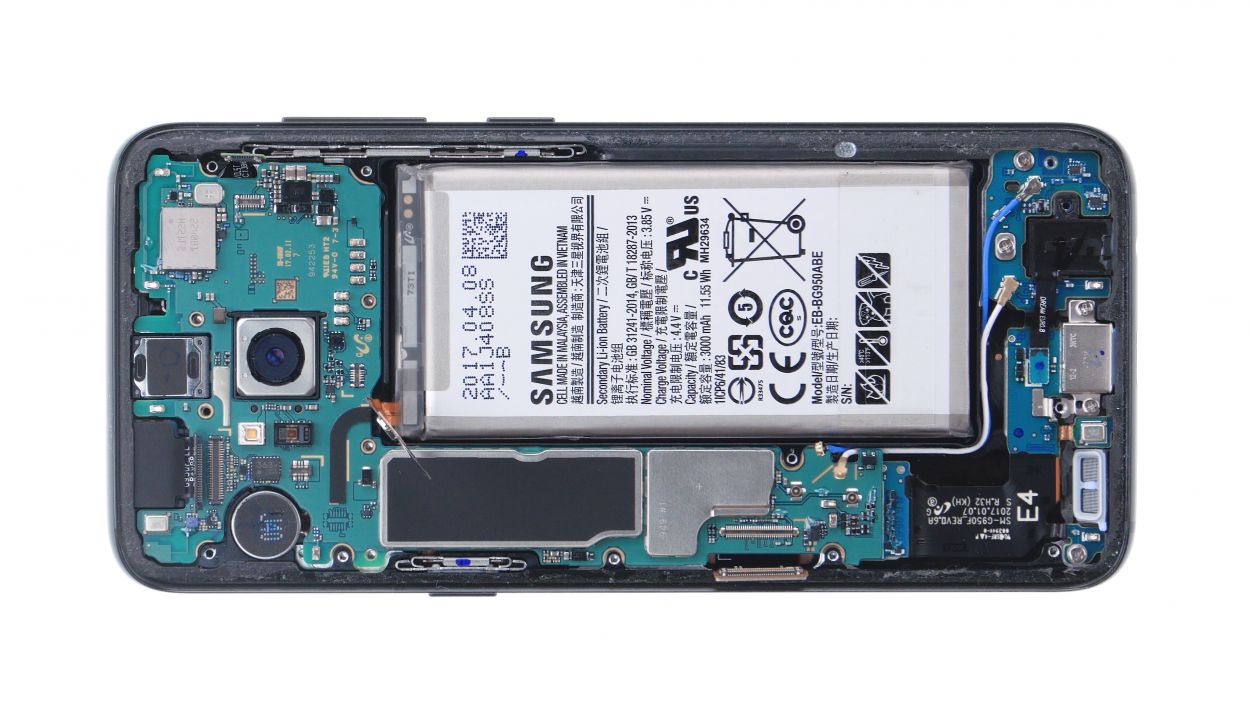
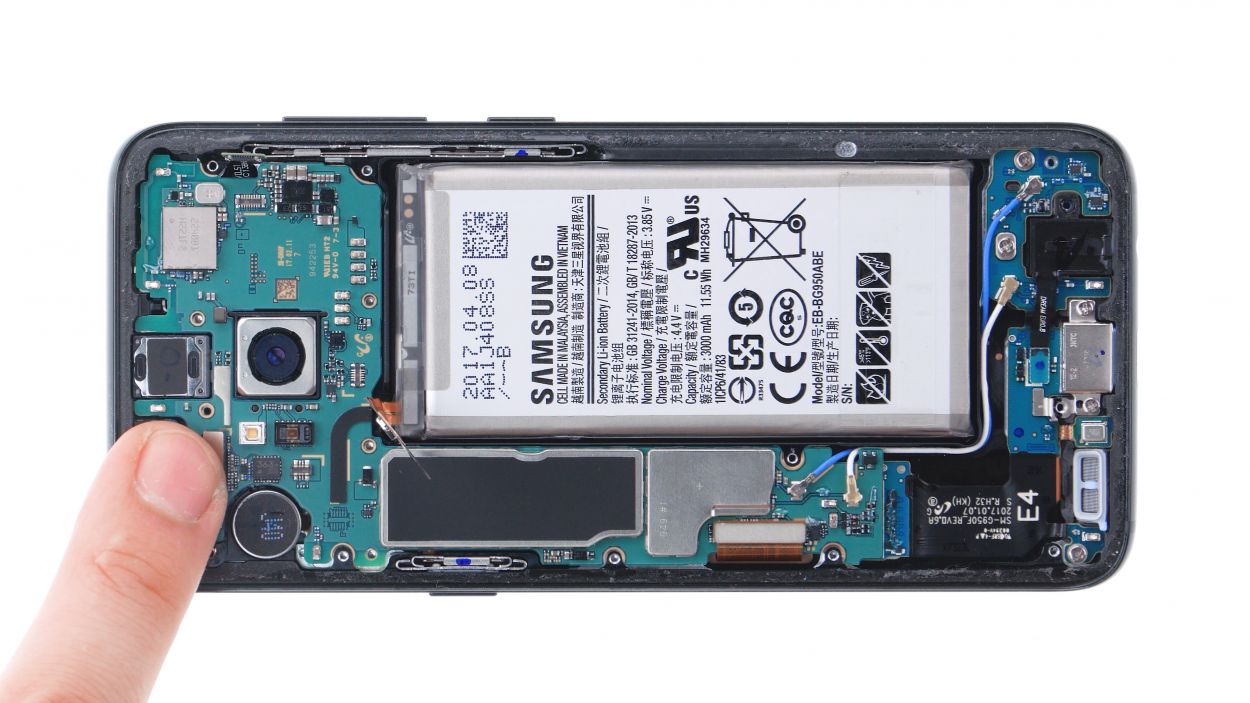
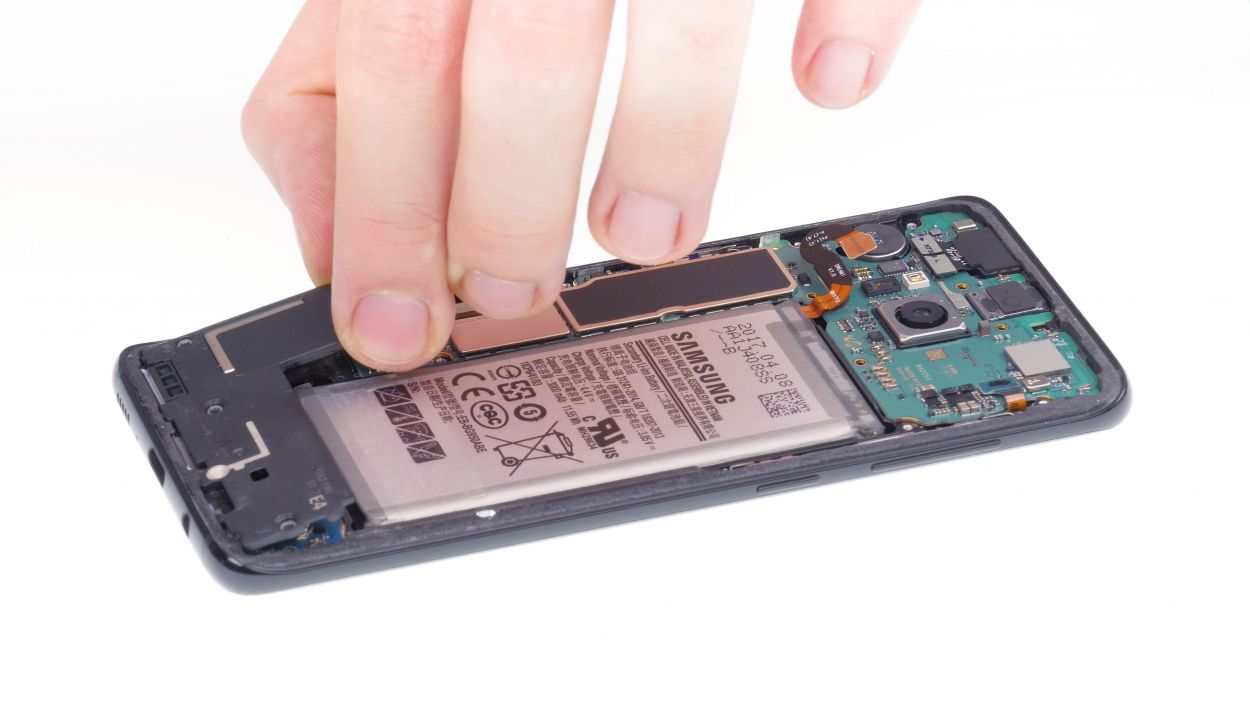
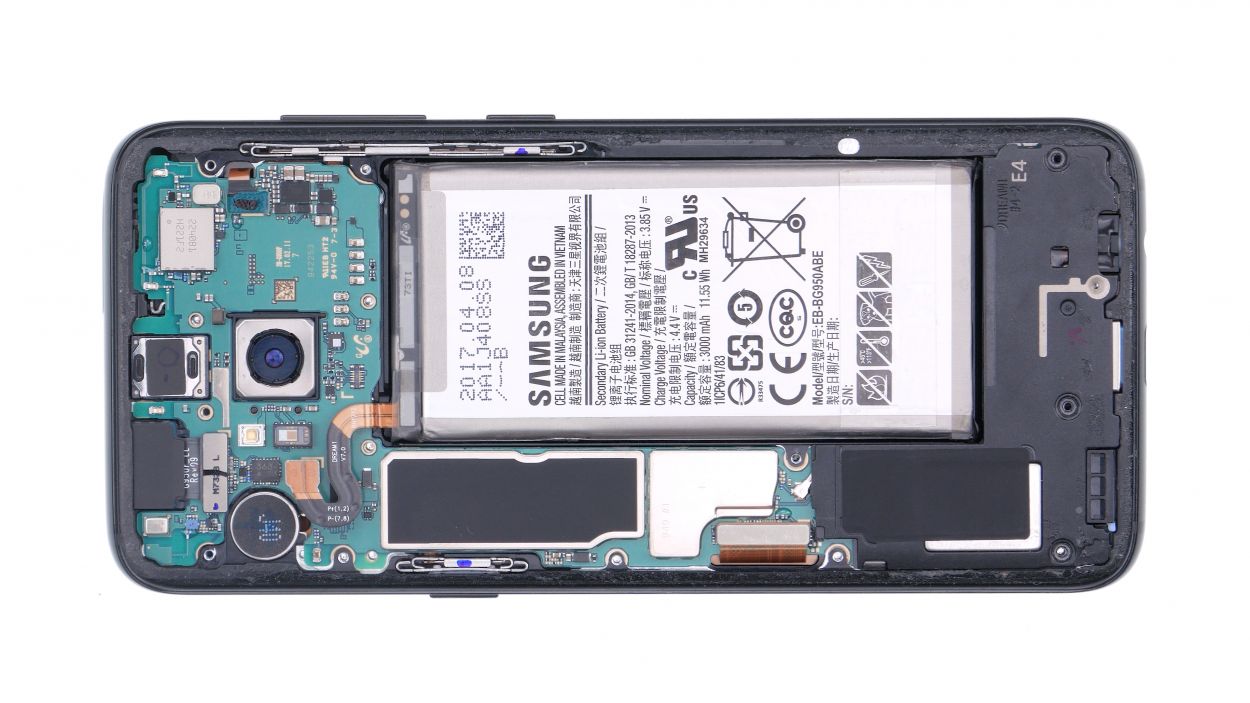
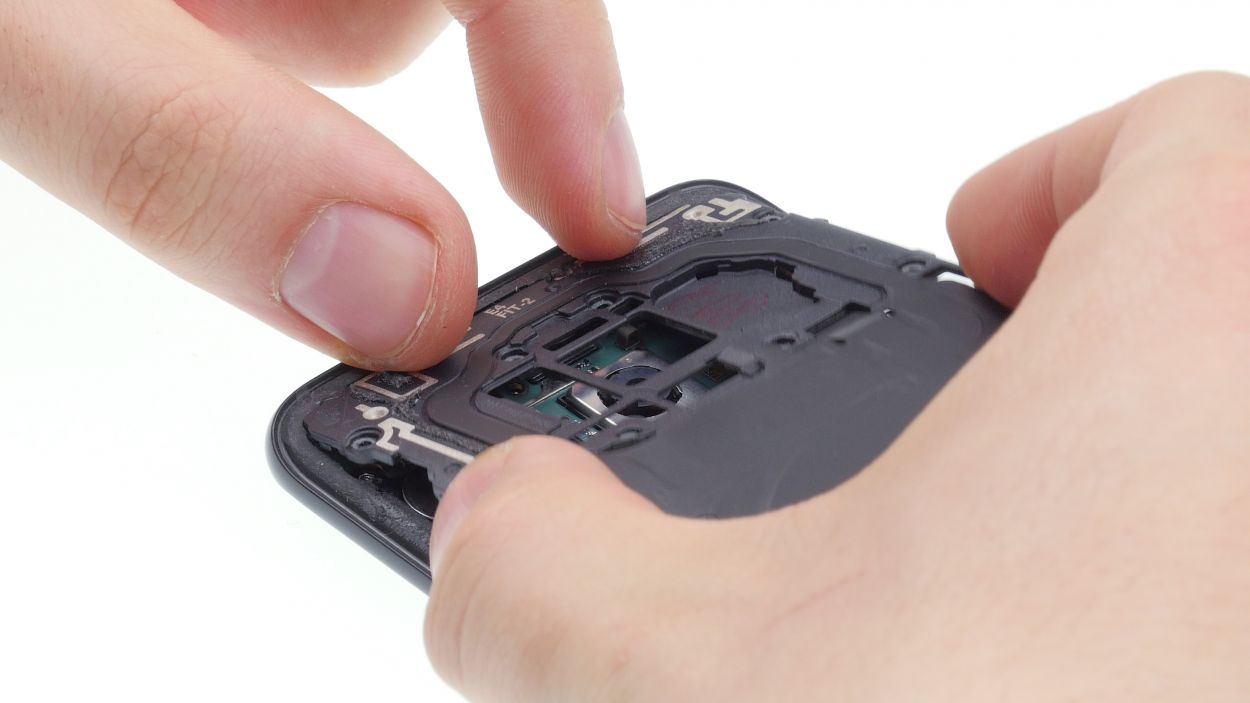
Step 7


Battery Connector
– Gently detach the battery connector using a spudger. Remember to stick with a spudger+Galaxy+S8&crid=1TJIMMAJSUJUZ&sprefix=repair+tools%2Caps%2C165&linkCode=ll2&tag=salvationrepa-20&linkId=c486487cf454ce8edd6f5beefab4110f&language=en_US&ref_=as_li_ss_tl’>plastic spudger to keep things safe and avoid any unexpected short circuits!
Step 8
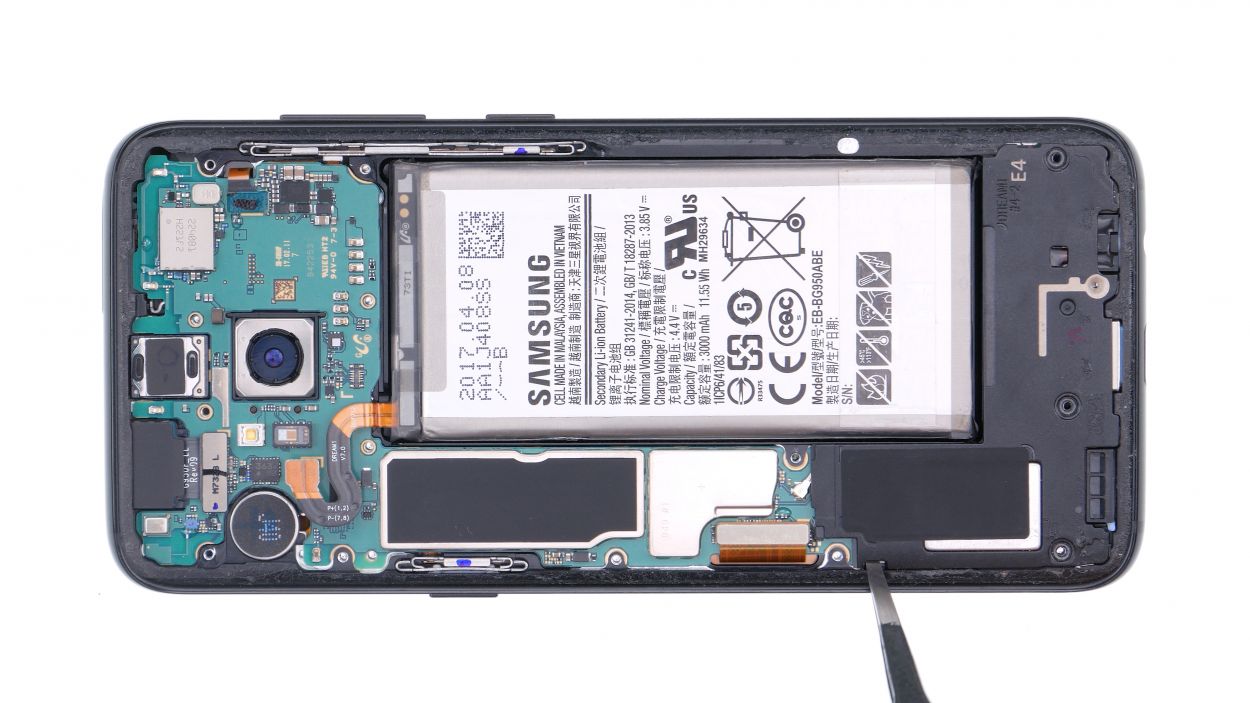
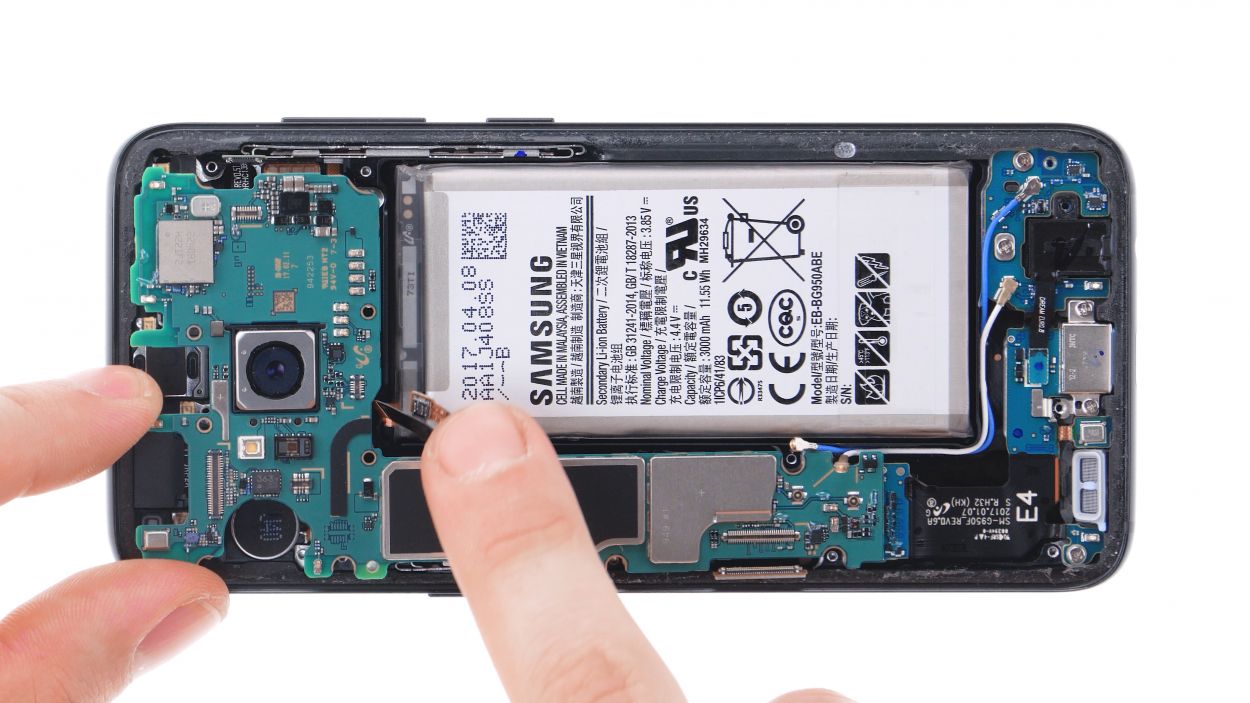
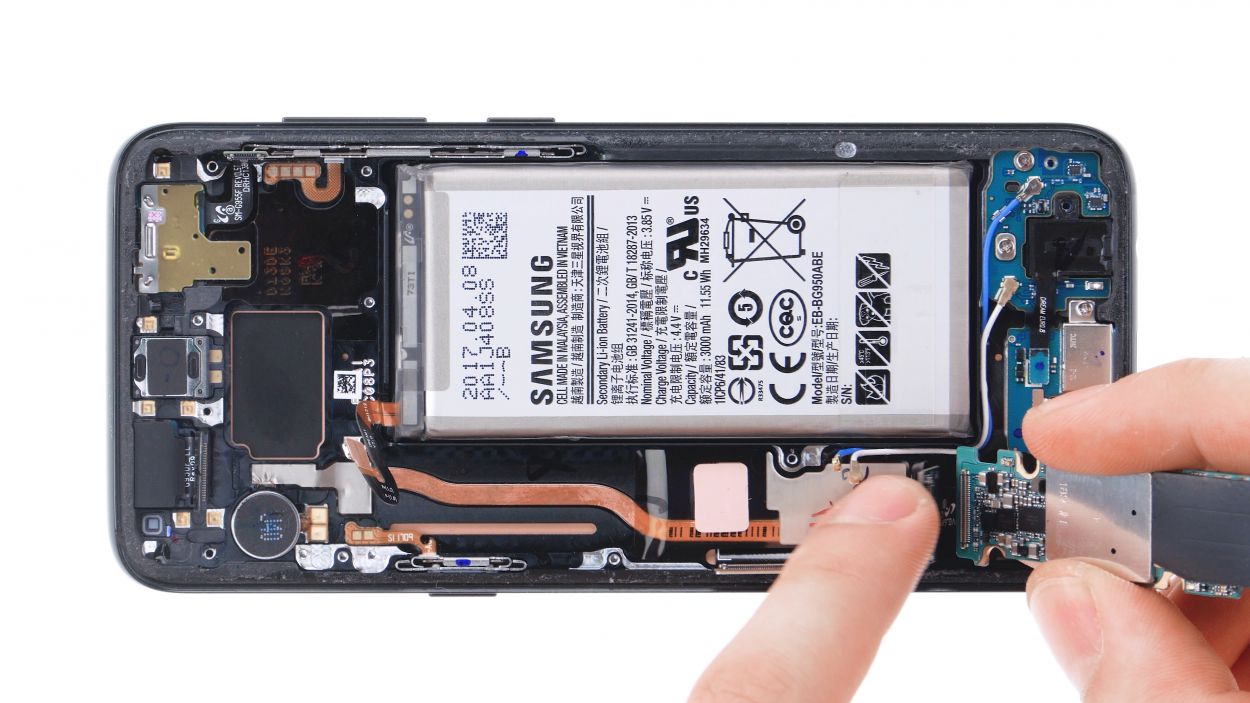
– Grab some tweezers or a flat tool and gently coax the speaker loose. You’ve got this!
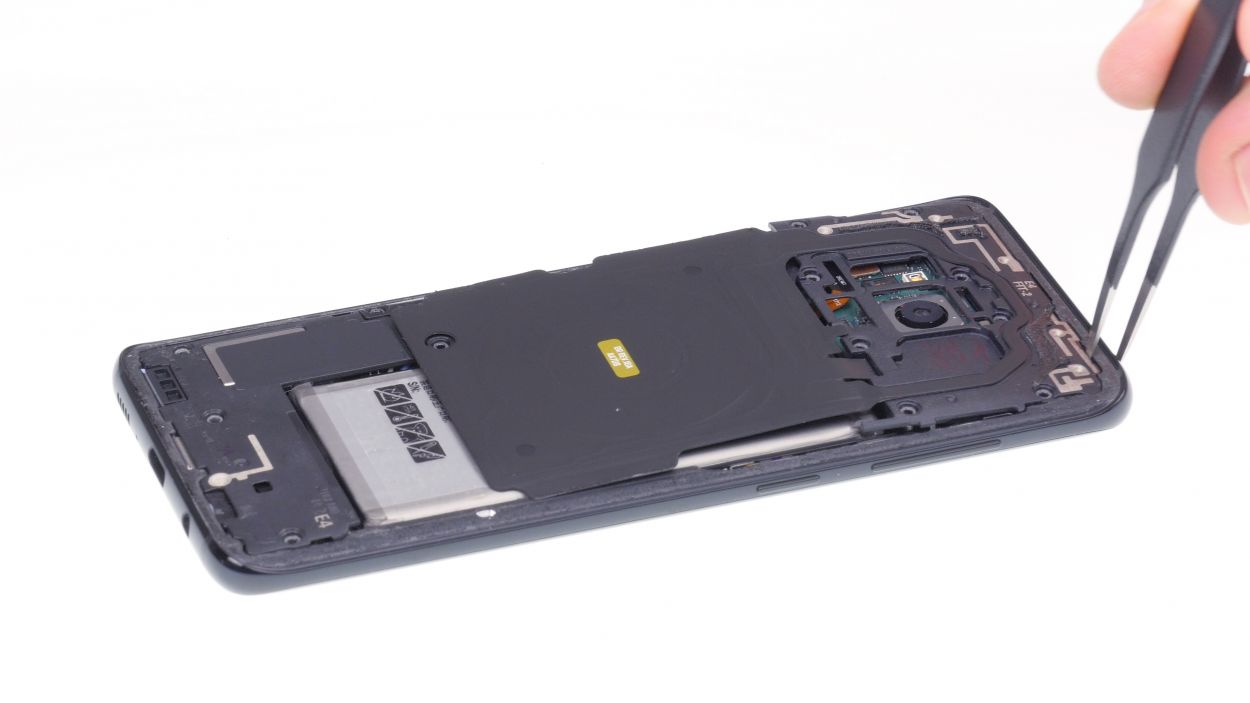
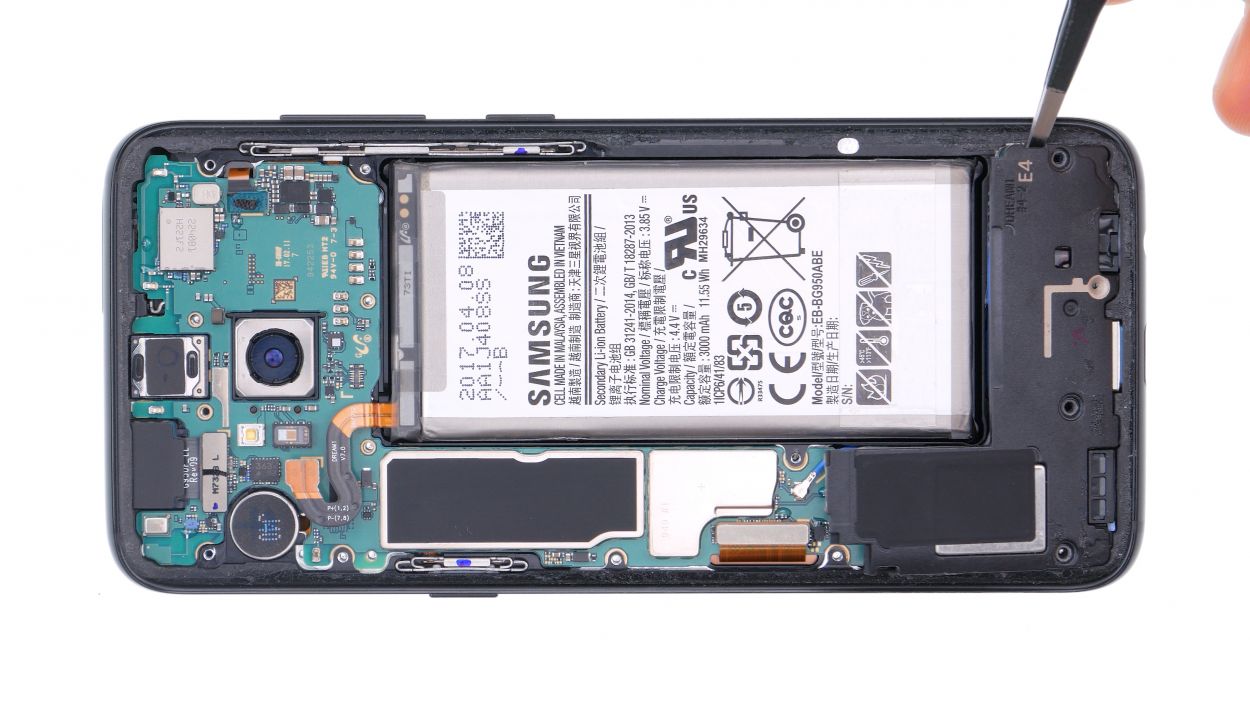
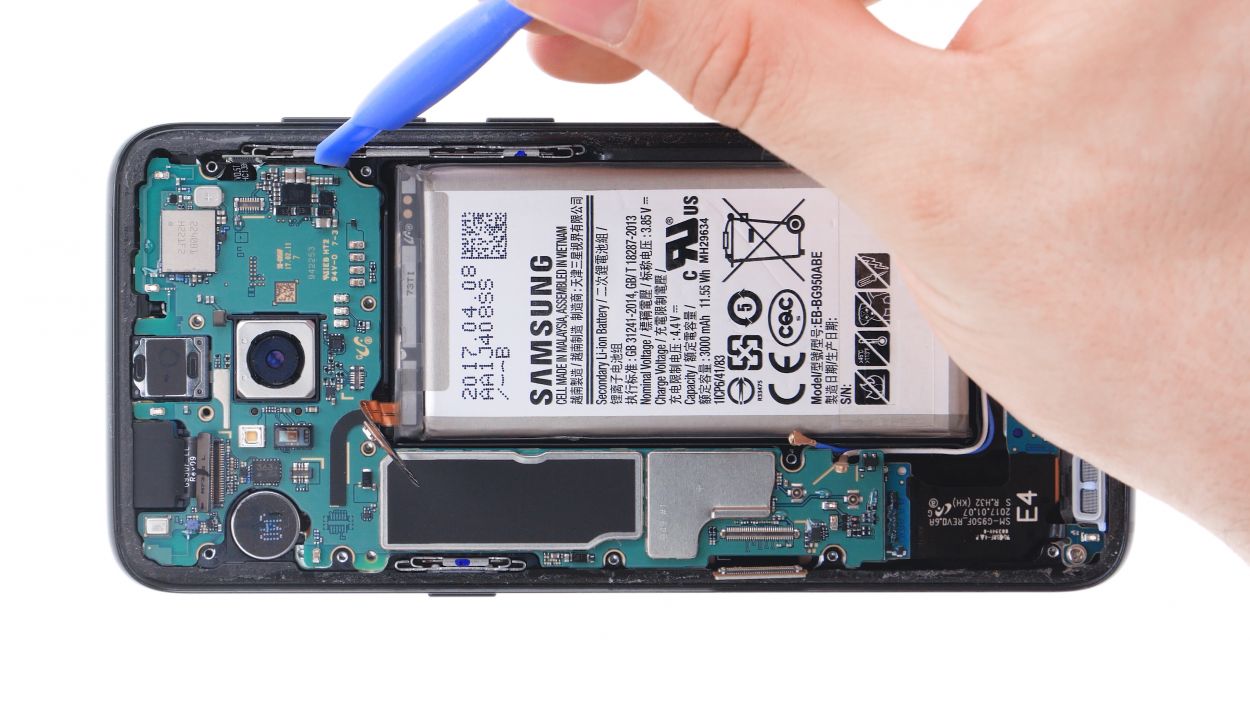
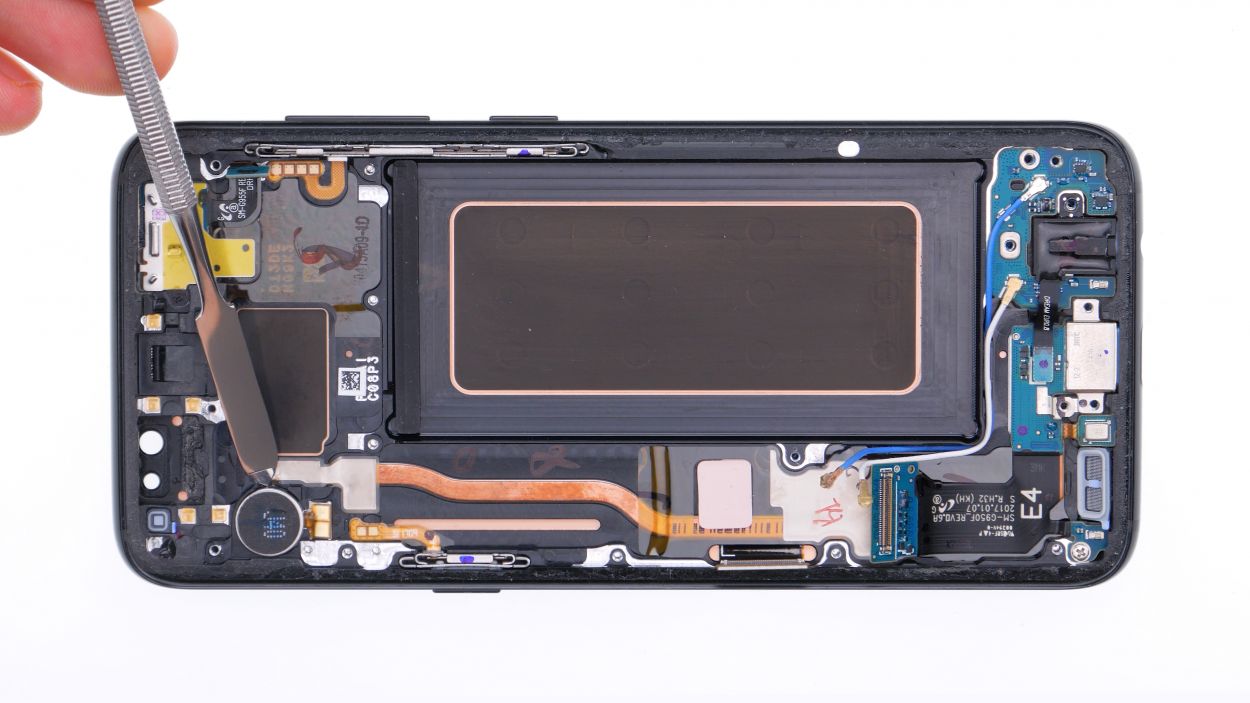
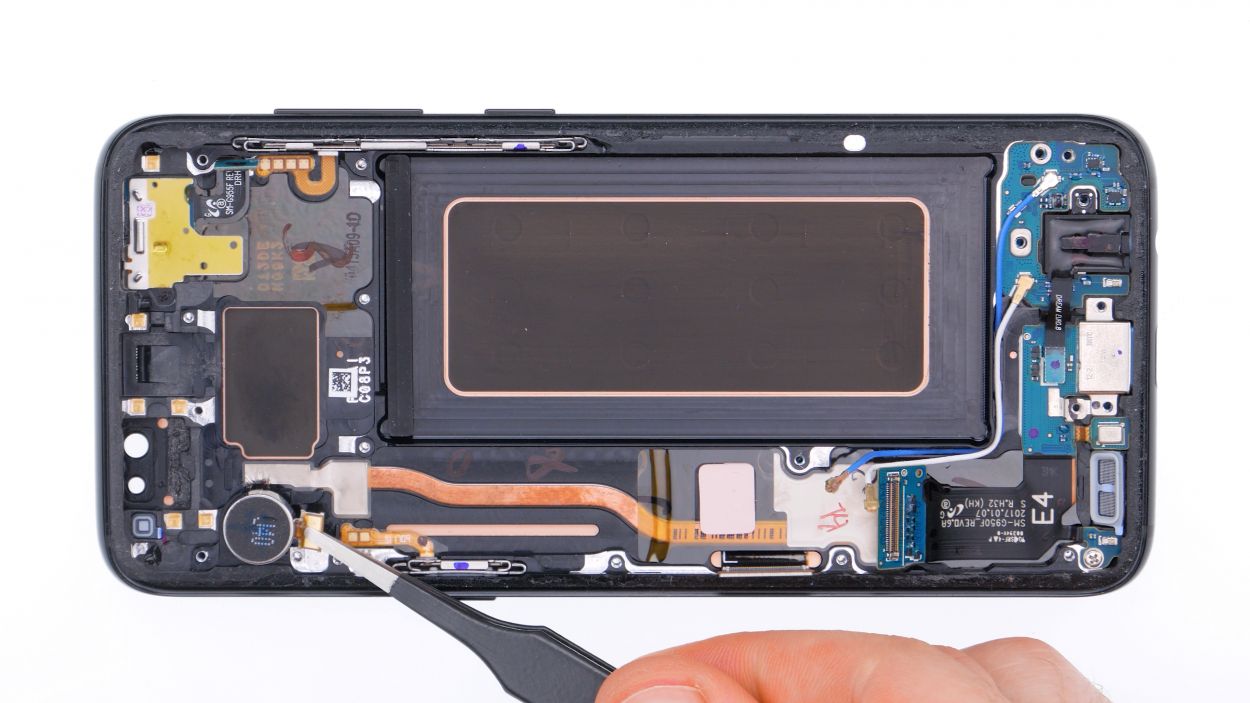
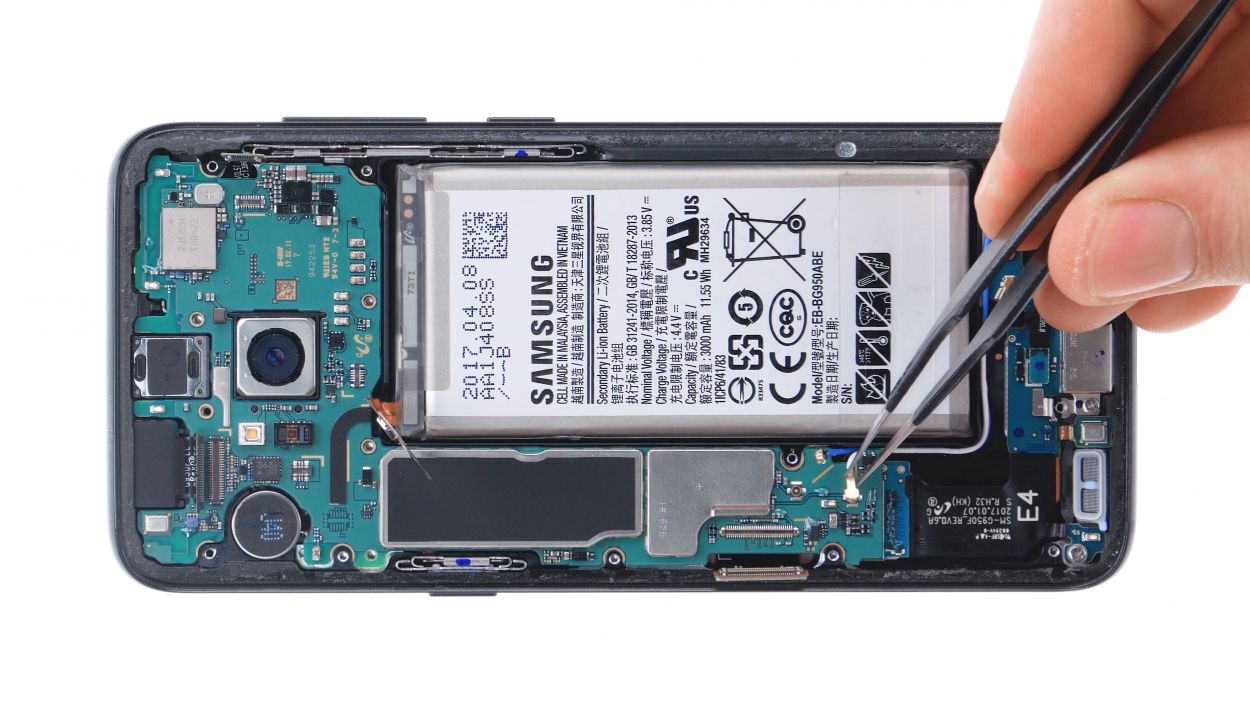
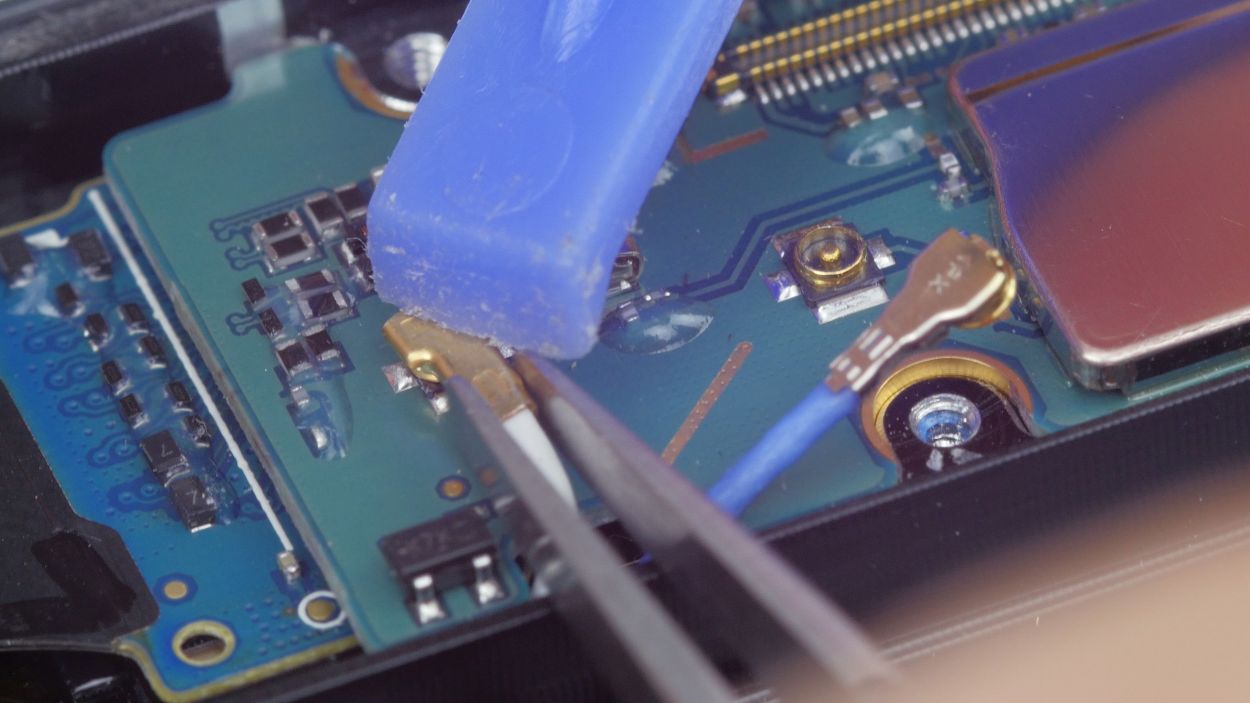
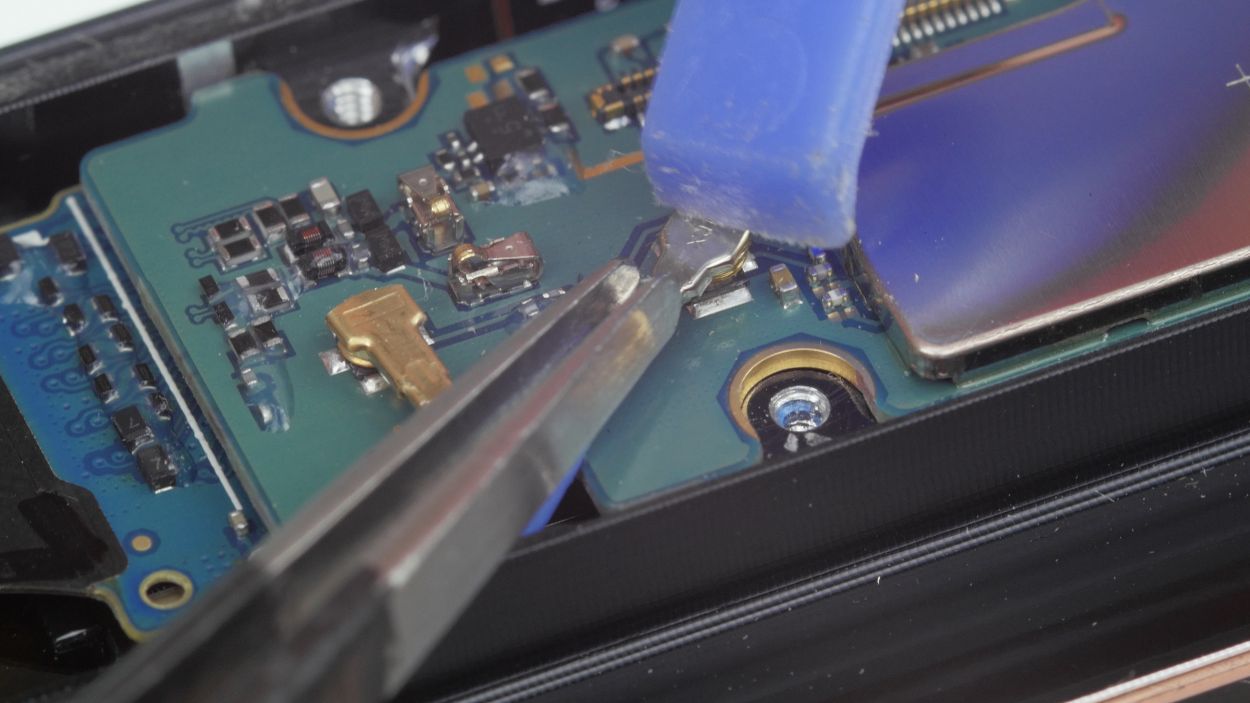
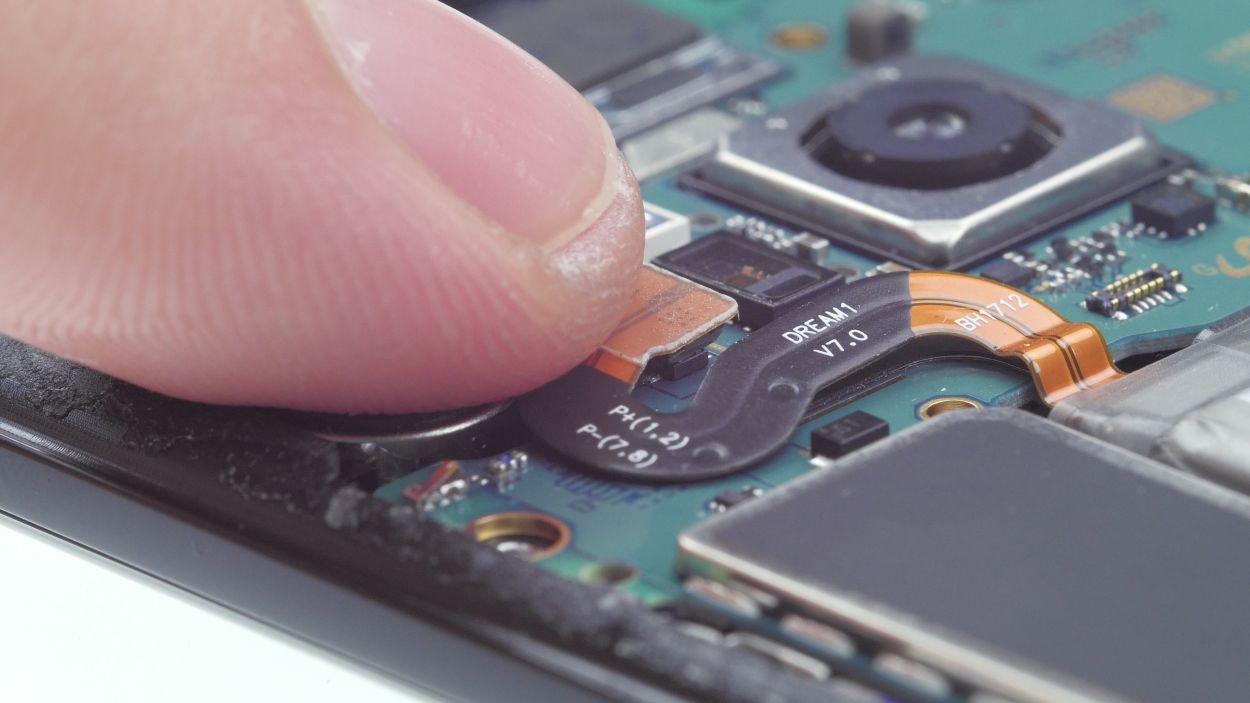
Step 9


– With your trusty spudger in hand, gently pry apart the highlighted contacts from the motherboard. You’ve got this!
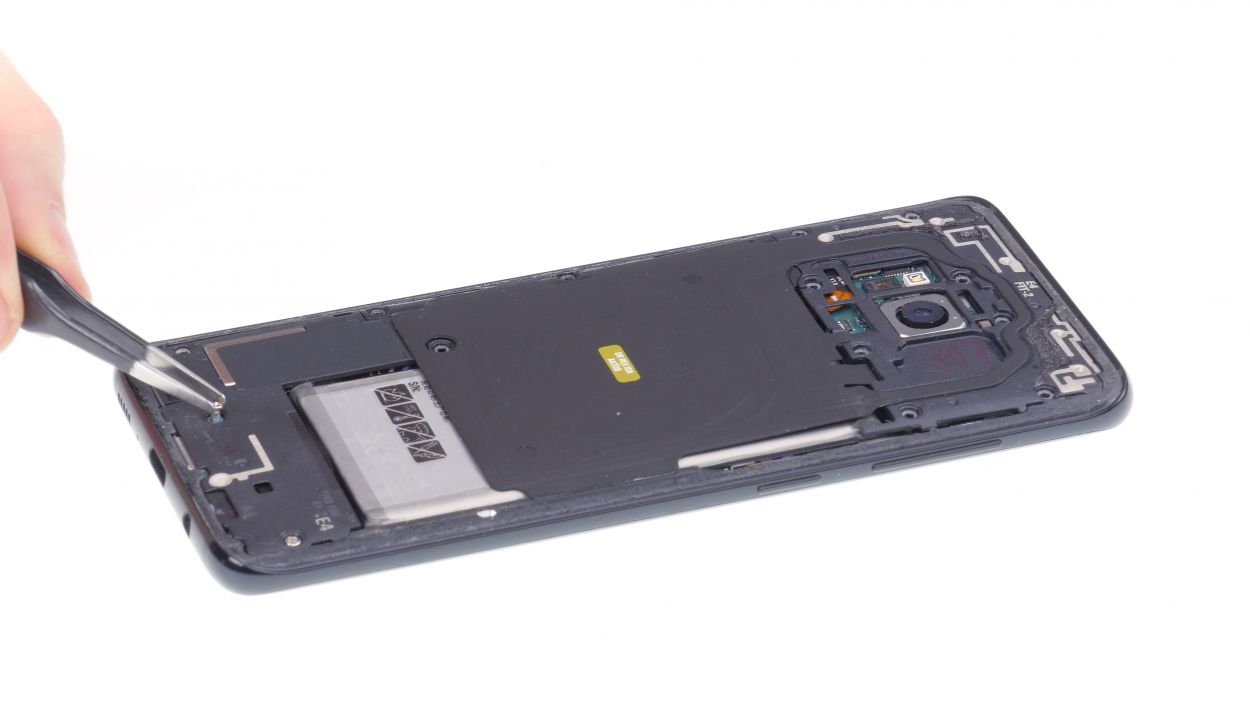
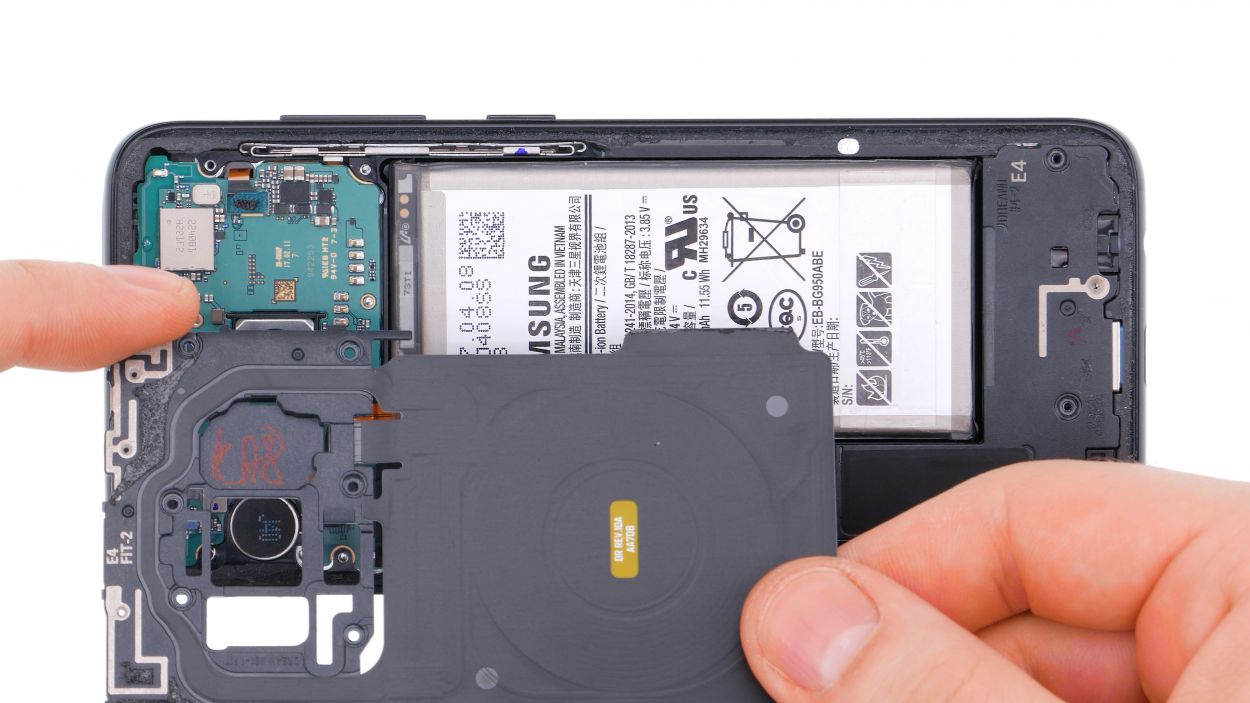
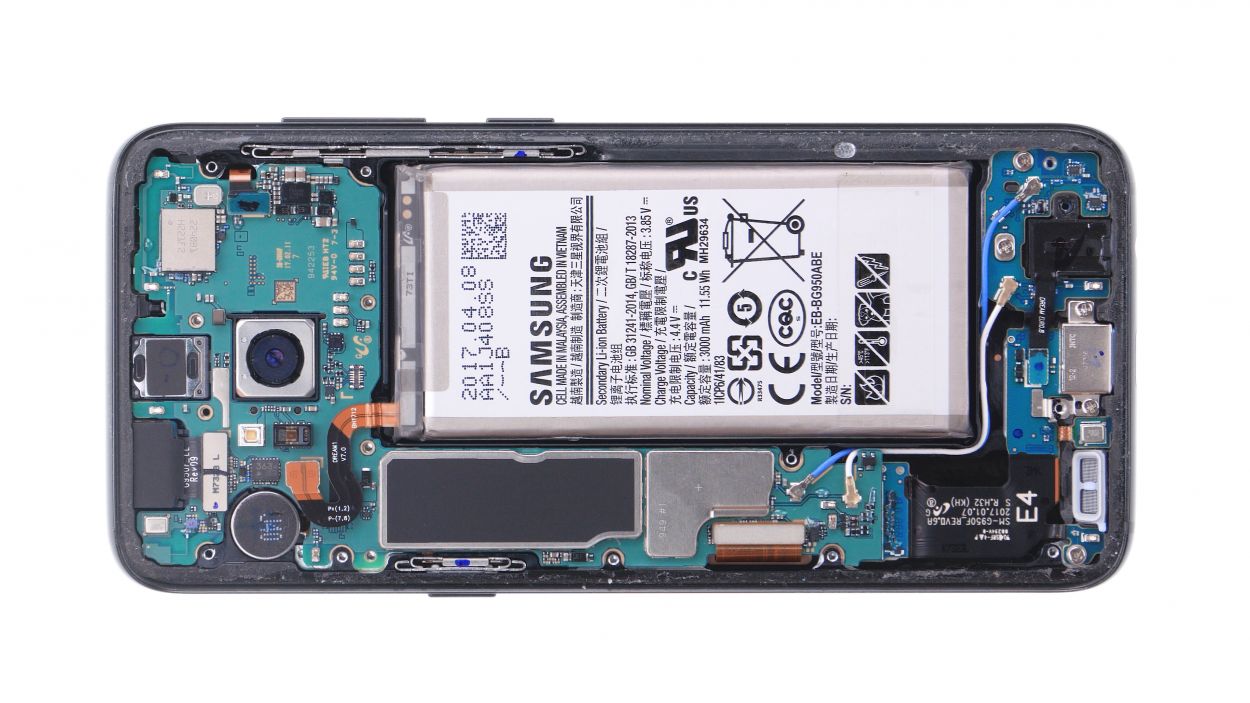
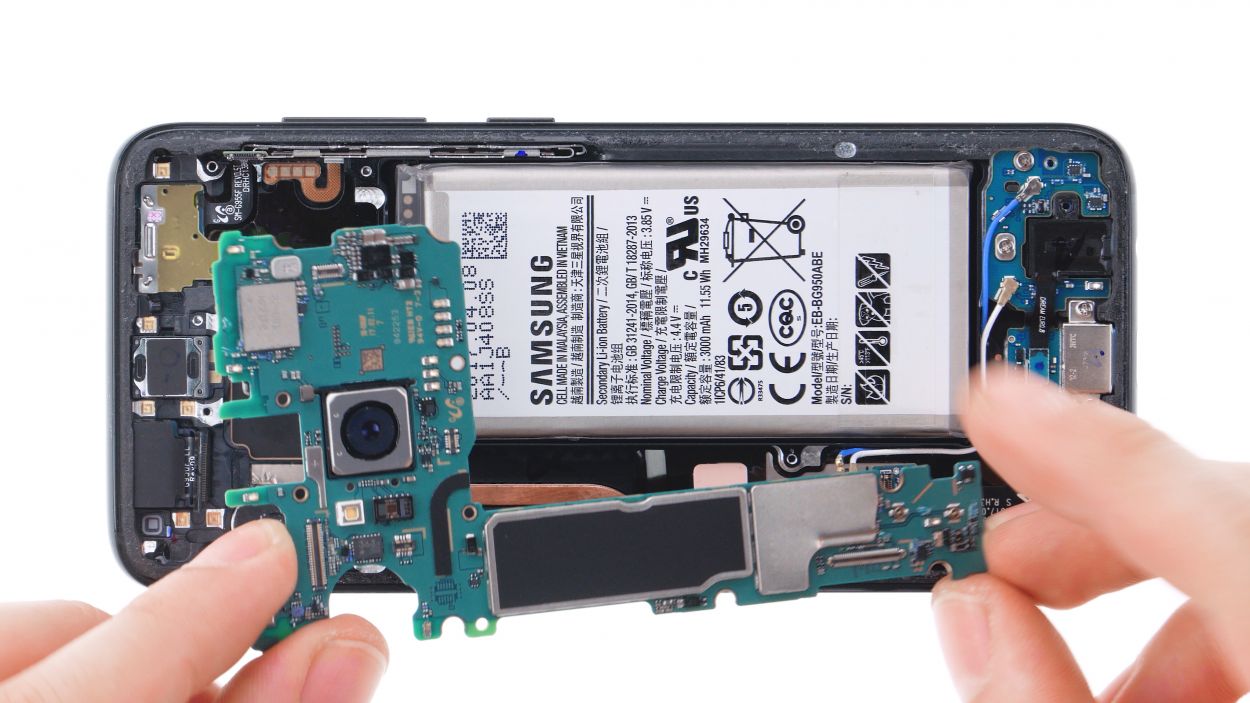
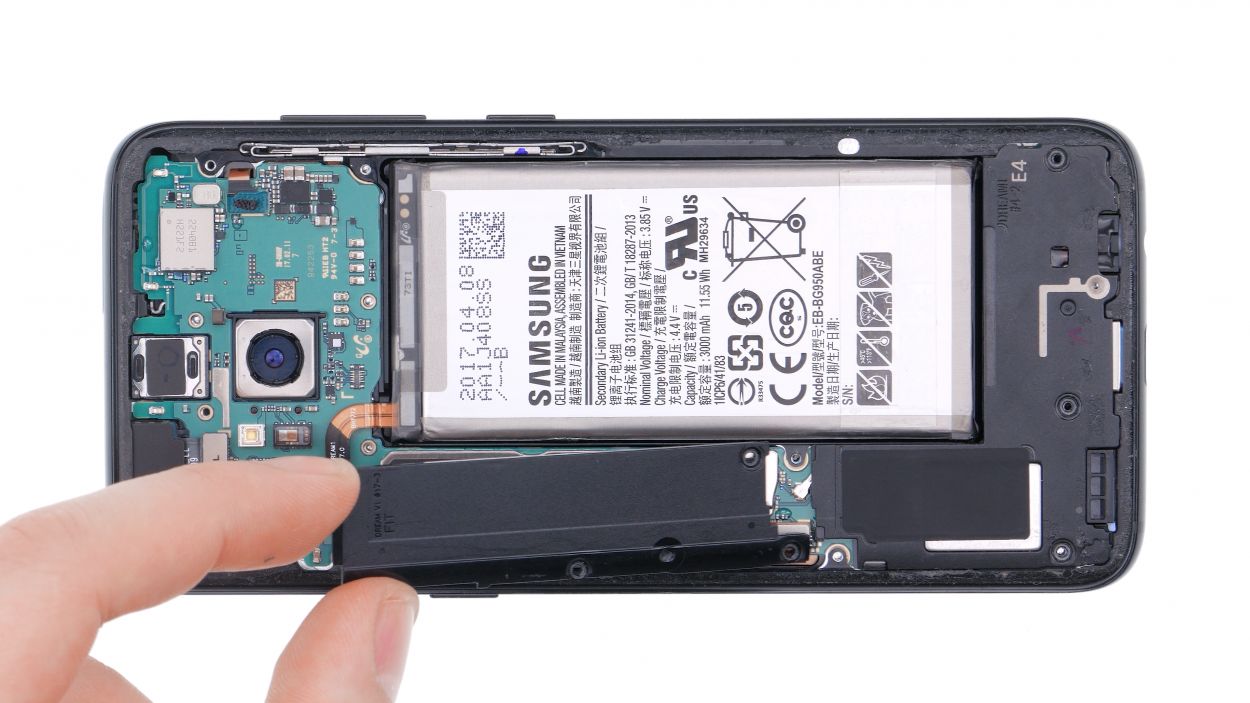
Step 10
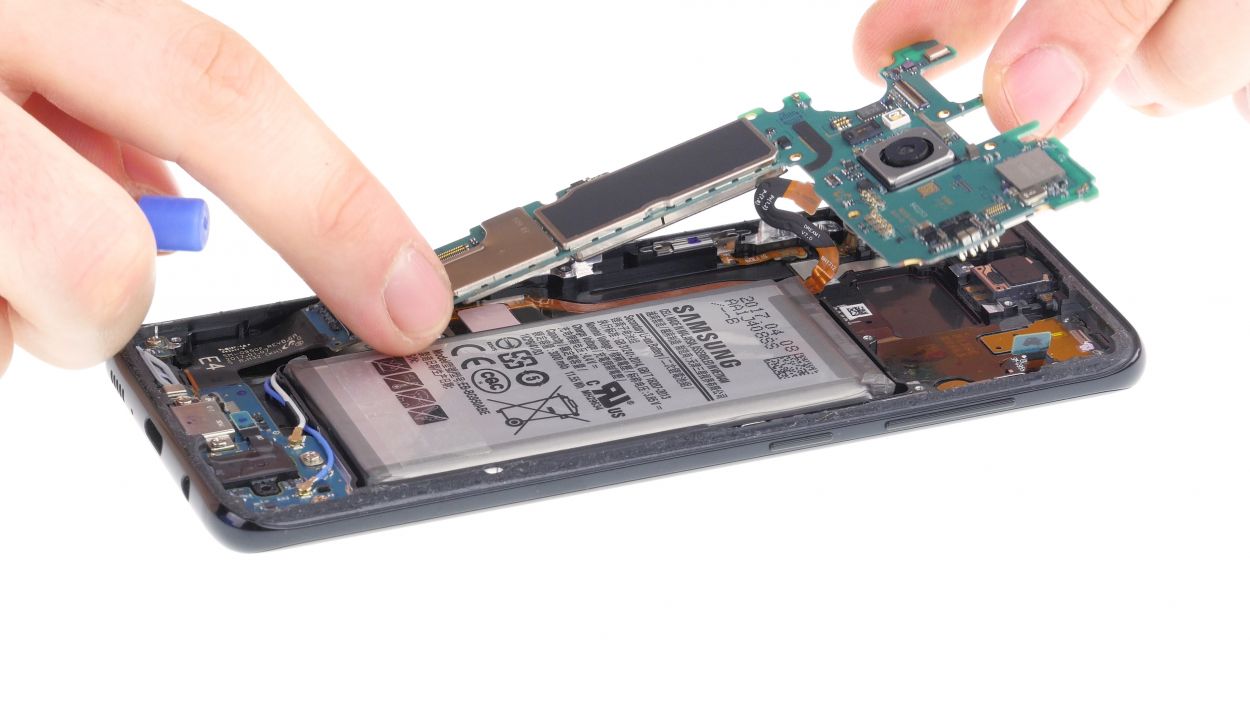
Hey there! Just a heads up: there’s a tiny plastic pin hanging out in the SIM tray opening. Keep an eye on it so it doesn’t take a little tumble!
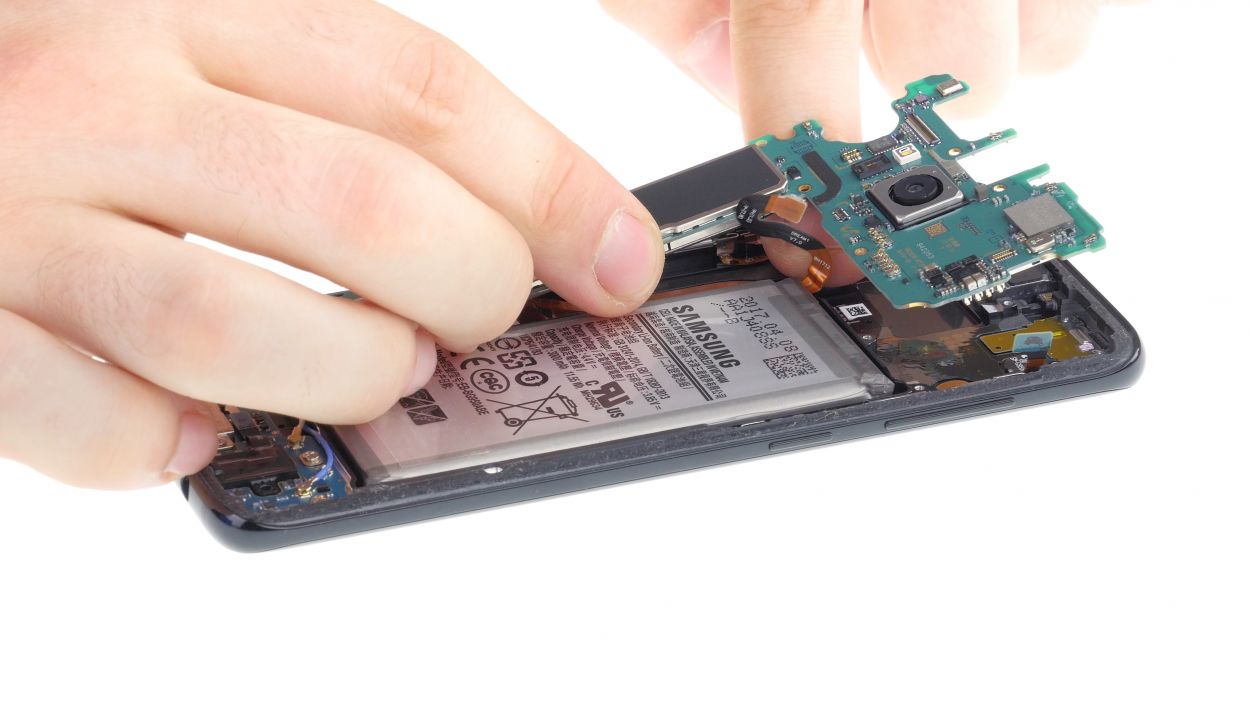
– Alright, it’s time to gently lift out the motherboard! Just be careful and ensure it’s not snagged on any of those connectors you’ve already unplugged.
– Don’t forget, the USB port is still hanging on to the back of the board. After you’ve lifted the board, grab your trusty spudger to disconnect this connector.
– Now, find a nice safe spot to set the board aside and give it a little rest.
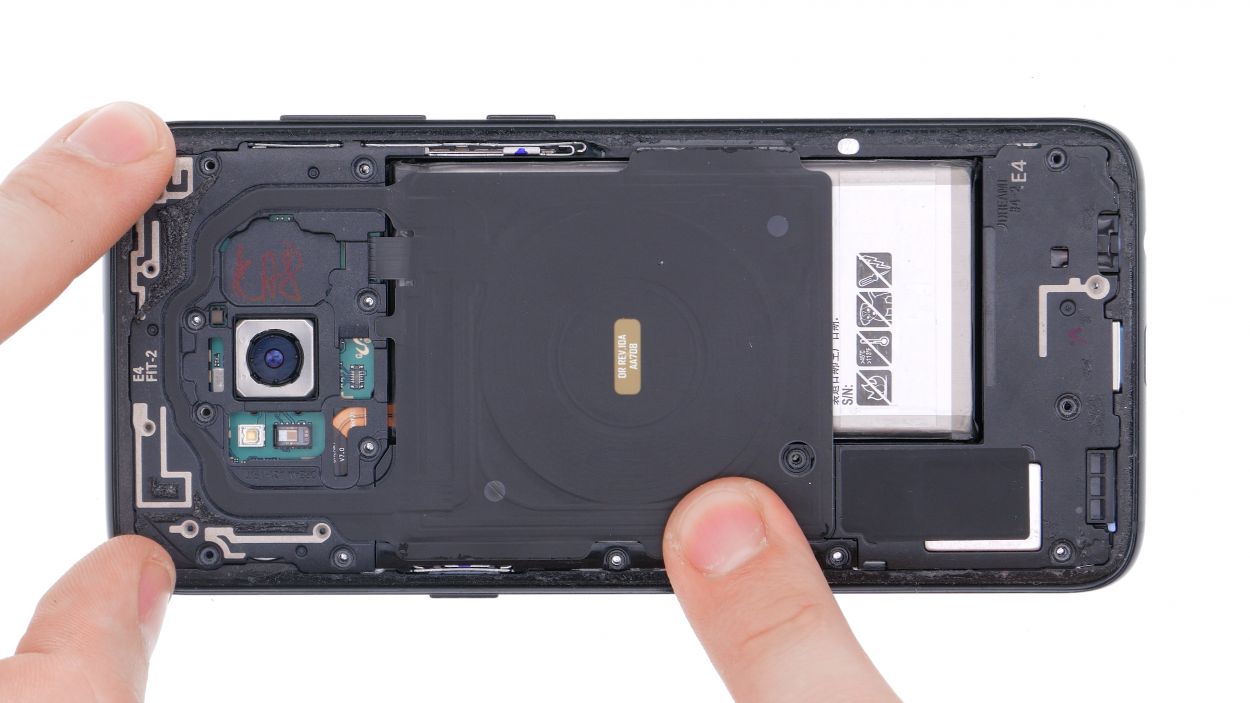
Step 11
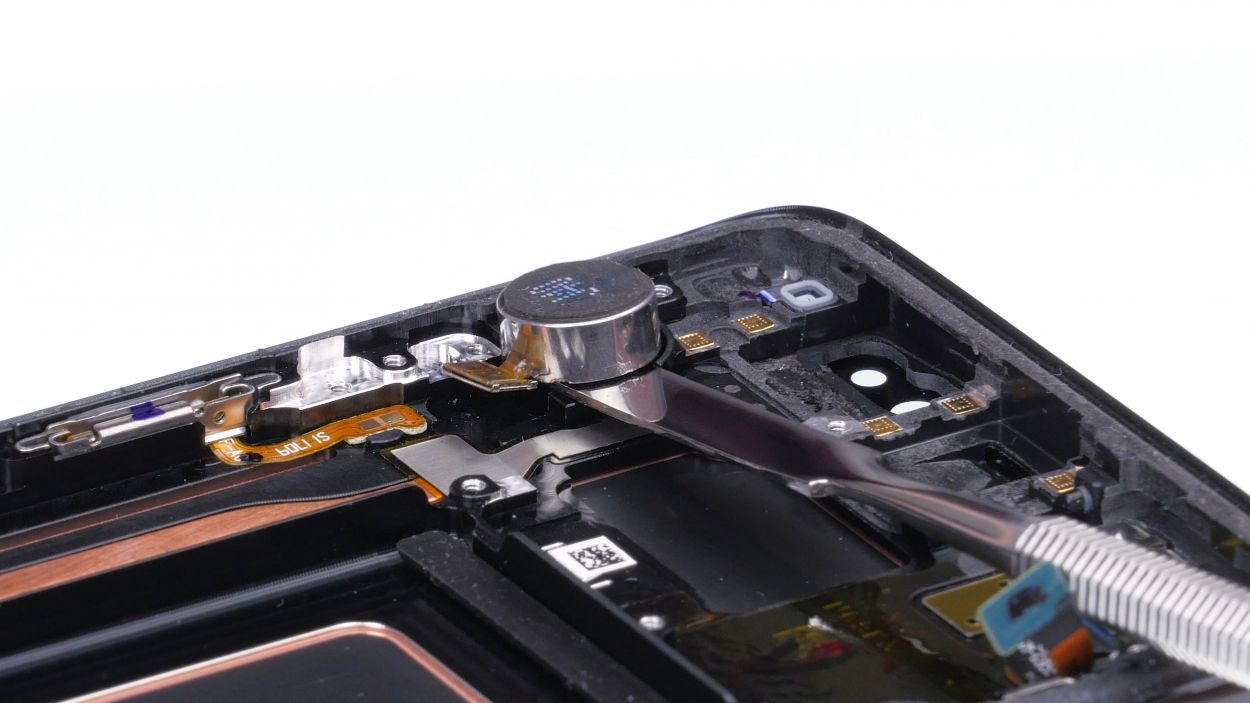
– The vibration motor is stuck on there pretty well. Gently wiggle a steel spatula between the motor and its cozy home in the enclosure to peel it away carefully.
– Once you’ve done that, you can go ahead and pop the motor out.
Step 12

– Put the vibration motor in the little round recess on the left side
of the enclosure. Use your fingers to press the motor firmly into
place.
Step 13

– First up, let’s connect that connector on the back of the motherboard. It’s like giving it a little hug!
– Now, gently slide the motherboard back into the chassis. Just make sure no cables or connectors decide to play hide and seek under there!
Step 14

– Next up, let’s reconnect those highlighted contacts to the board like a pro!
Step 15
– The speaker is nestled snugly at the bottom of the device.
– To get it in place, give it a gentle press with your fingers until it clicks into position.
Step 16
– It’s time to reconnect that battery to the circuit board! Just press the connector down until you hear a satisfying click—that’s your cue that everything is locked in place and ready to roll!
Step 17
– To get that middle cover snugly in place on your Galaxy S8, just set it down on the board like a pro.
– Next up, it’s time to pop the top cover back in with the antenna. Just make sure to hook it onto the upper side first.
– Now, give that cover a gentle press all around to snap it in. A little help from your fingers will do the trick!
Step 18
14 × 3,6 mm Phillips Schraube
– Tighten up all 14 screws like a pro! You’ve got this!
Step 19
To help that original glue stick around a bit longer, give your phone a little warmth with a hair dryer. Then, grab some books and gently weigh down your Galaxy S8 or clamp it together. This little trick can really enhance your results!
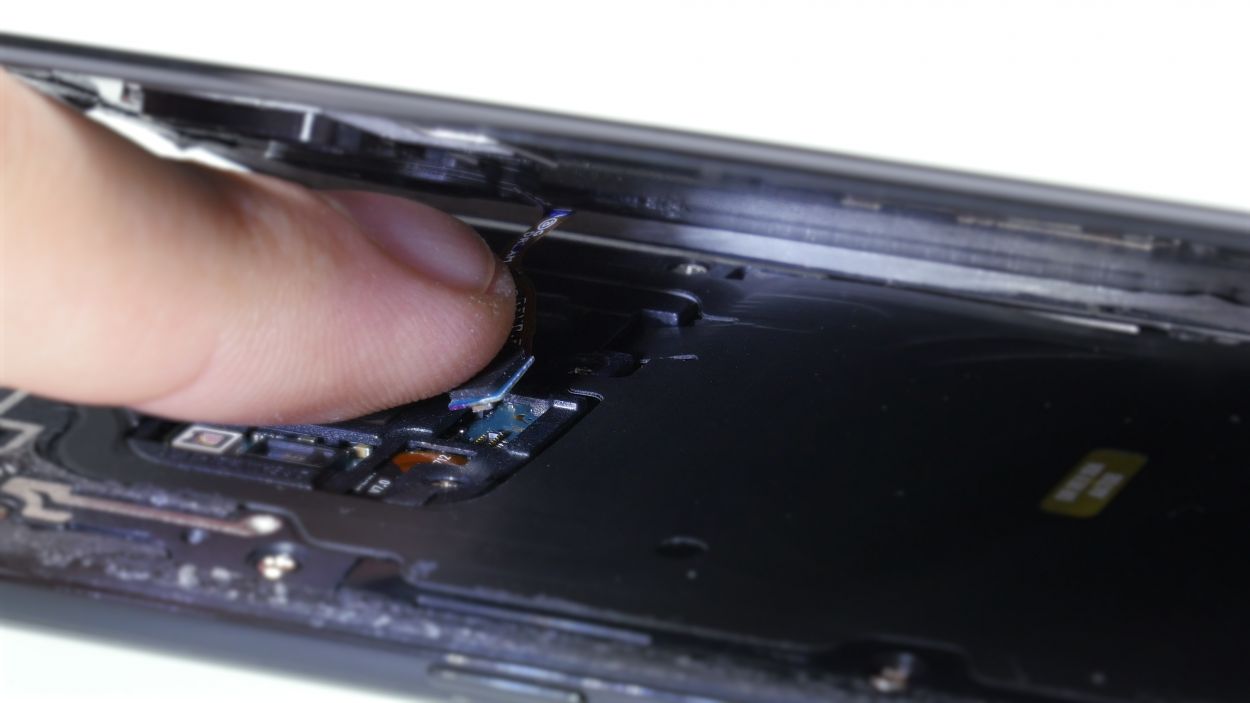
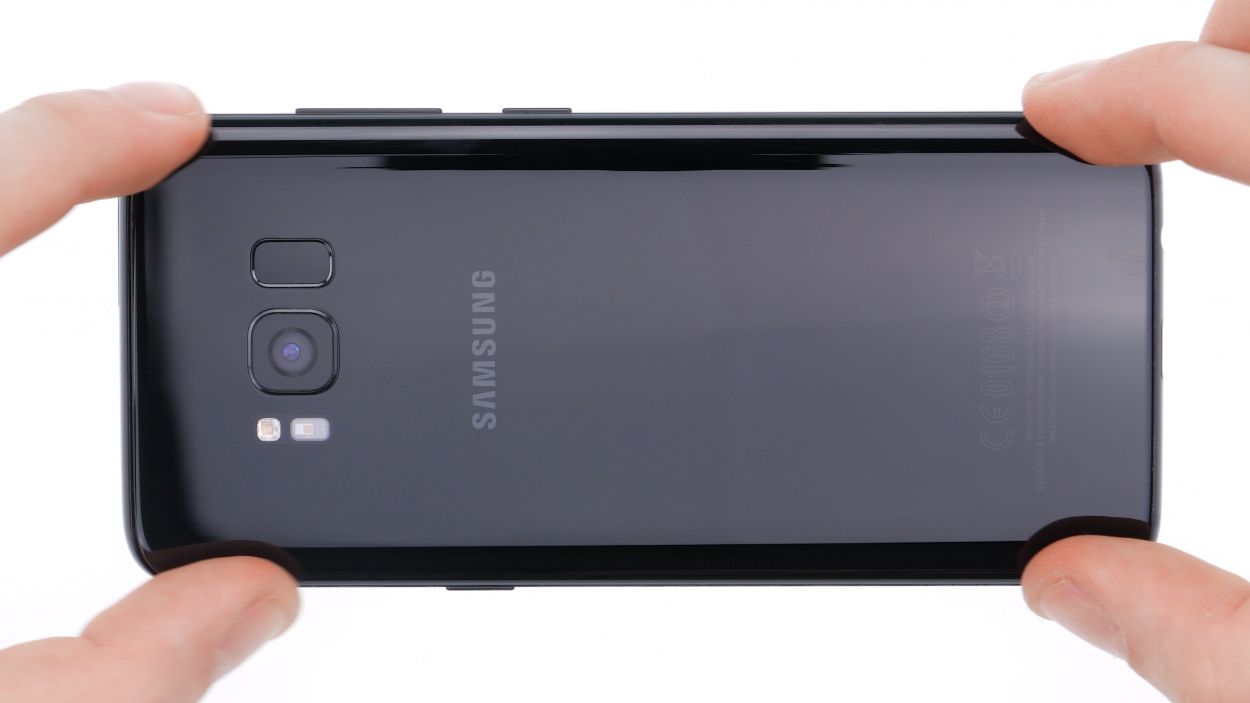
– Gently slide the back cover back into its original position.
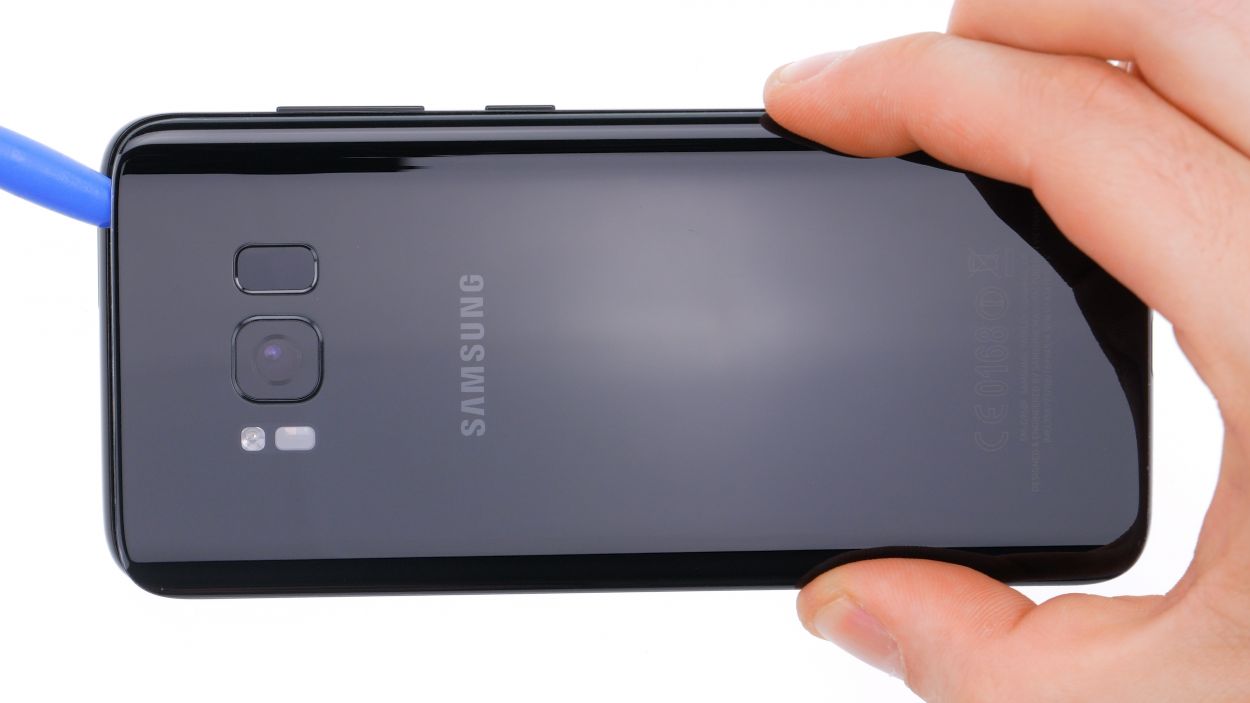
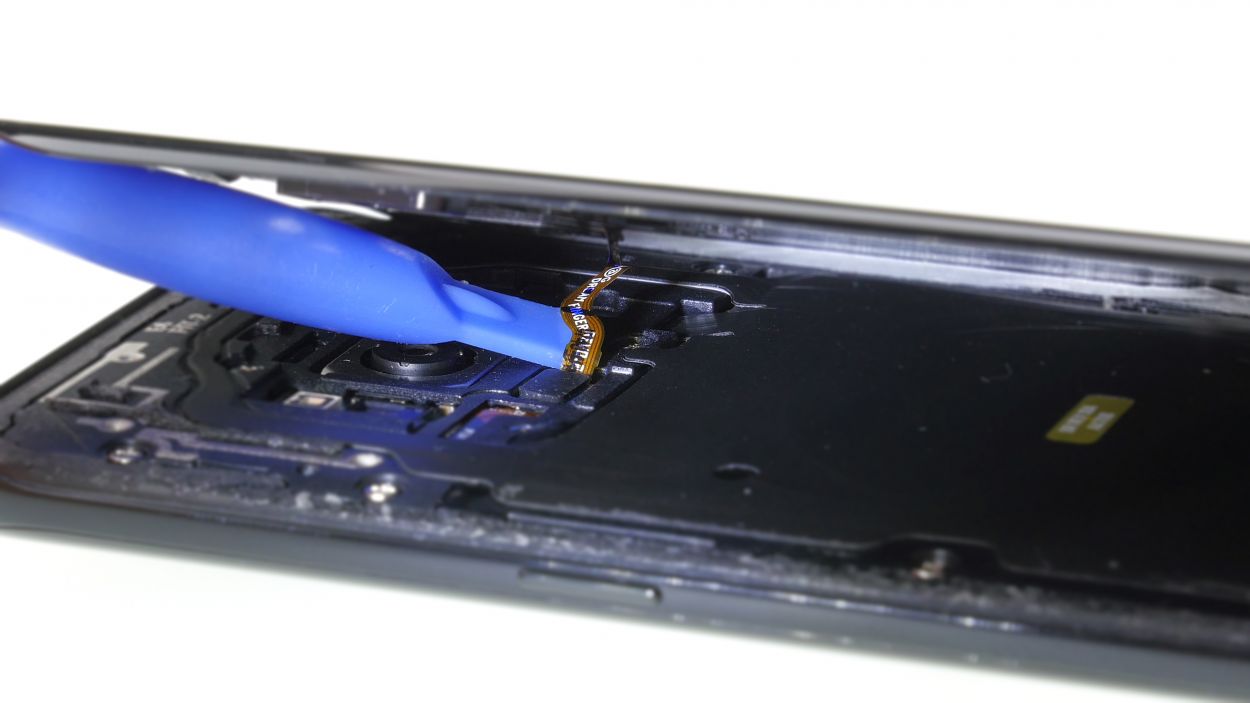
– Reconnect the fingerprint sensor – it’s time for it to shine again!
– Now, give that back cover a good press all over so that the adhesive can do its magic and re-attach securely.
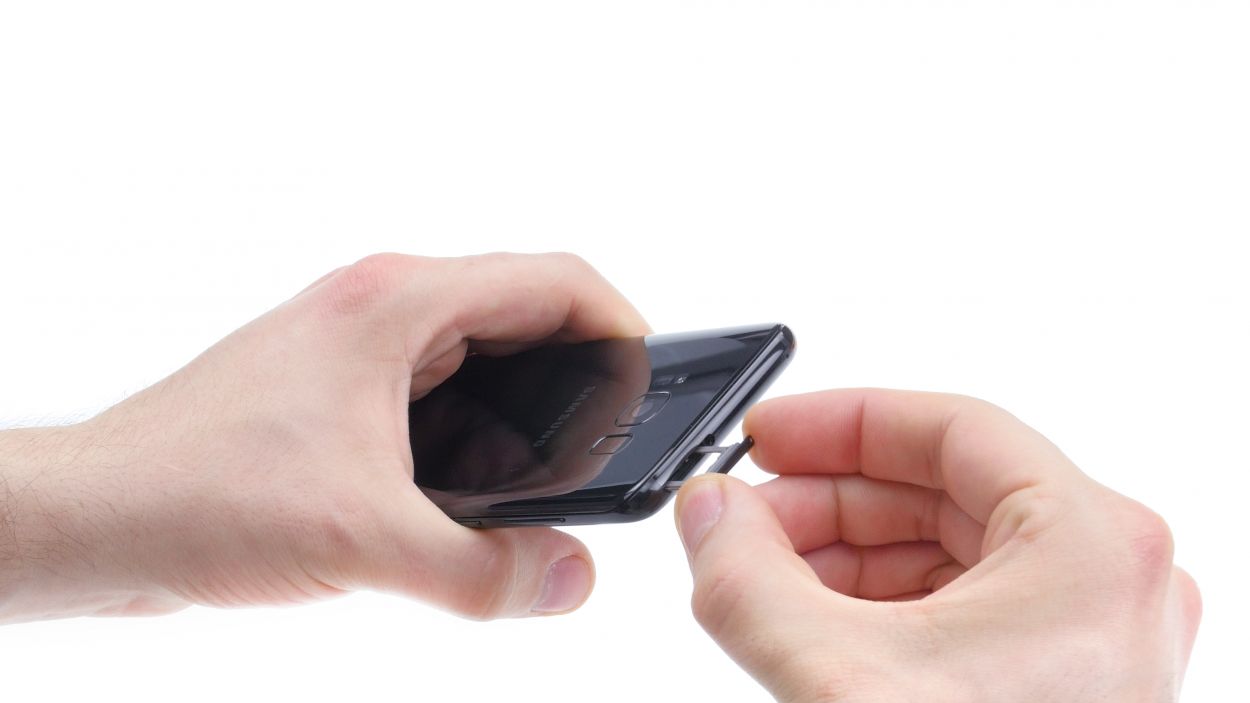
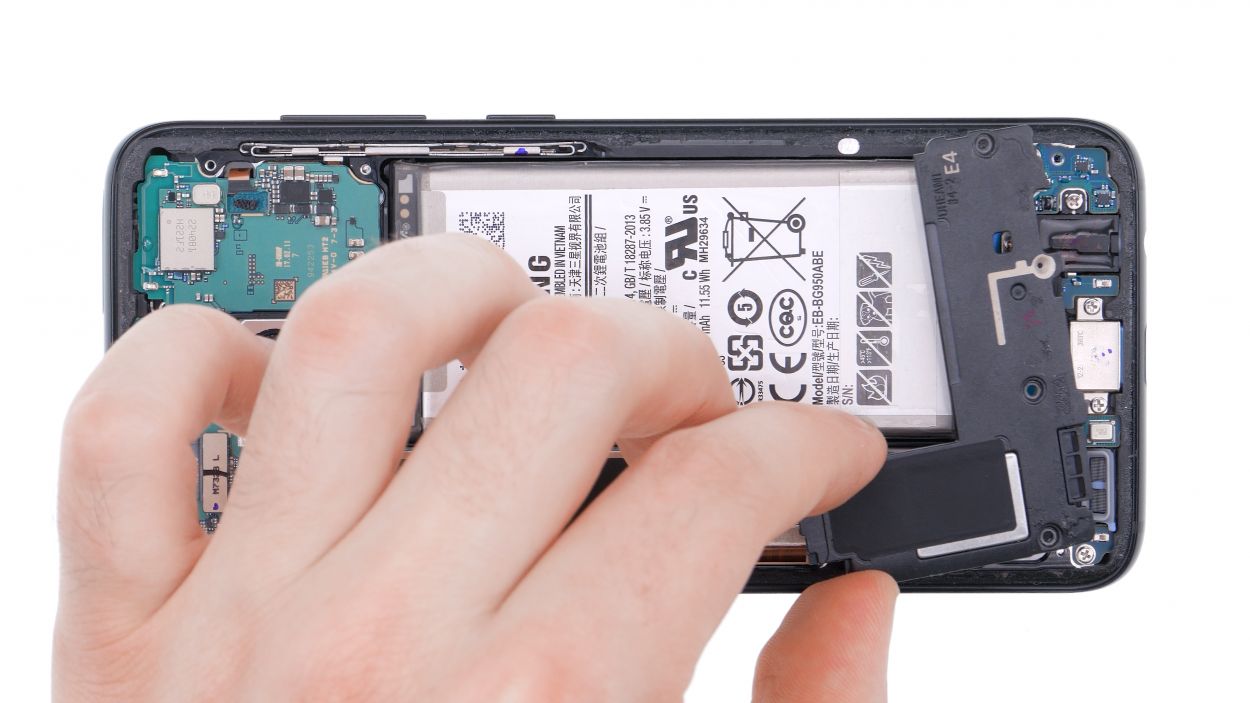
Step 20
– Alright, it’s time to pop that SIM card holder back into your Galaxy S8! Just make sure to slide it in with the alignment on point.