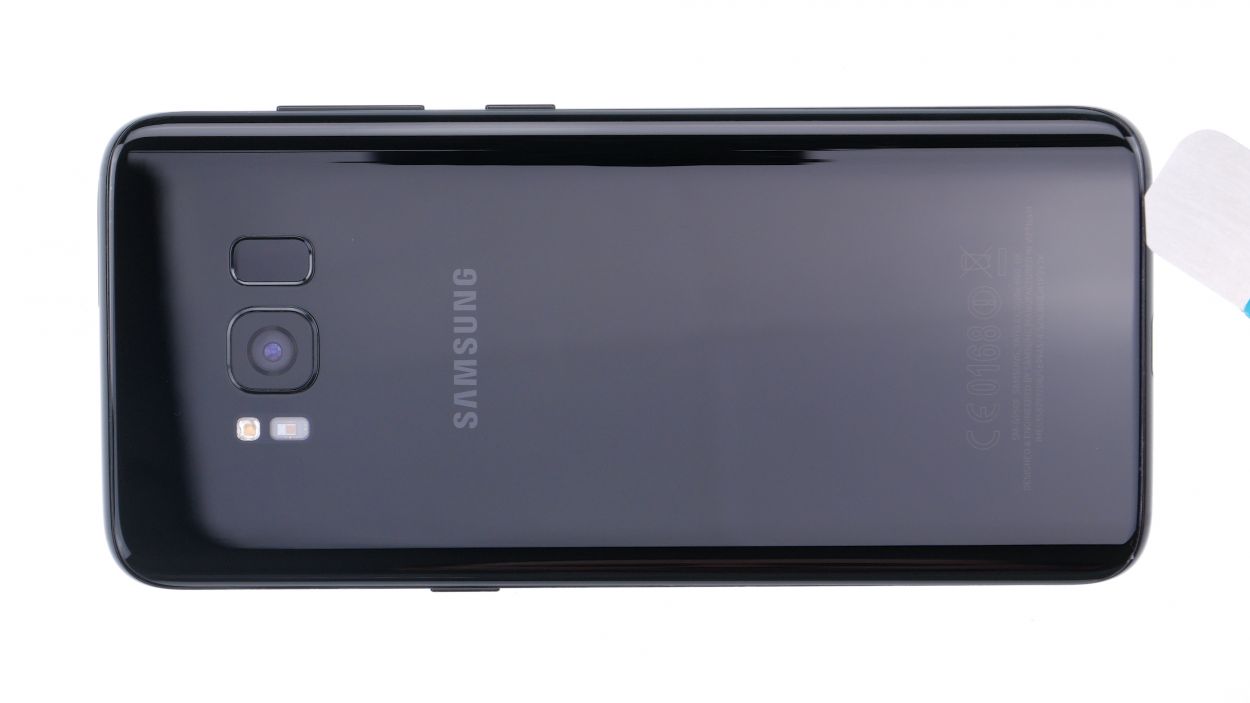
How to Replace Samsung Galaxy S8 Sensors: Step-by-Step Guide
Duration: 45 min.
Steps: 20 Steps
If your Samsung Galaxy S8’s display refuses to turn off during calls, or the LED indicator is MIA, it’s probably time to replace the sensor. In this guide, we’ll walk you through the process of getting your phone back to working like new. It’s a straightforward fix, but if you need help, you can always schedule a repair.
Step 1
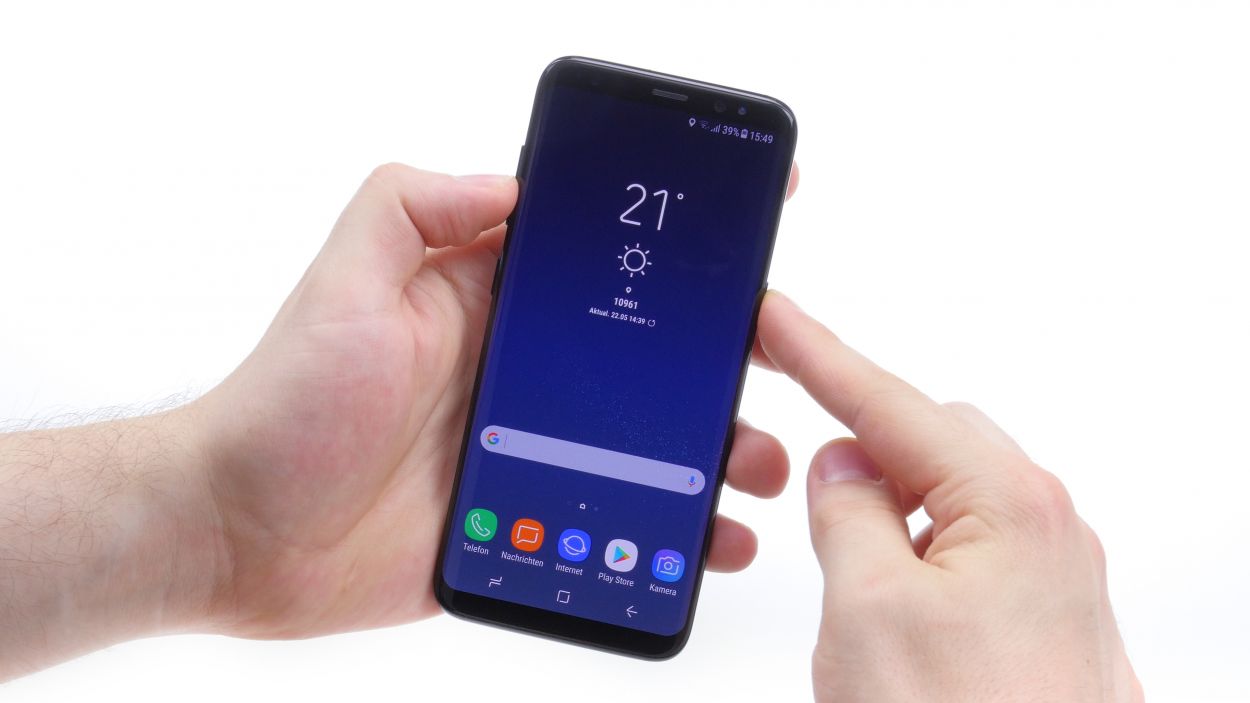
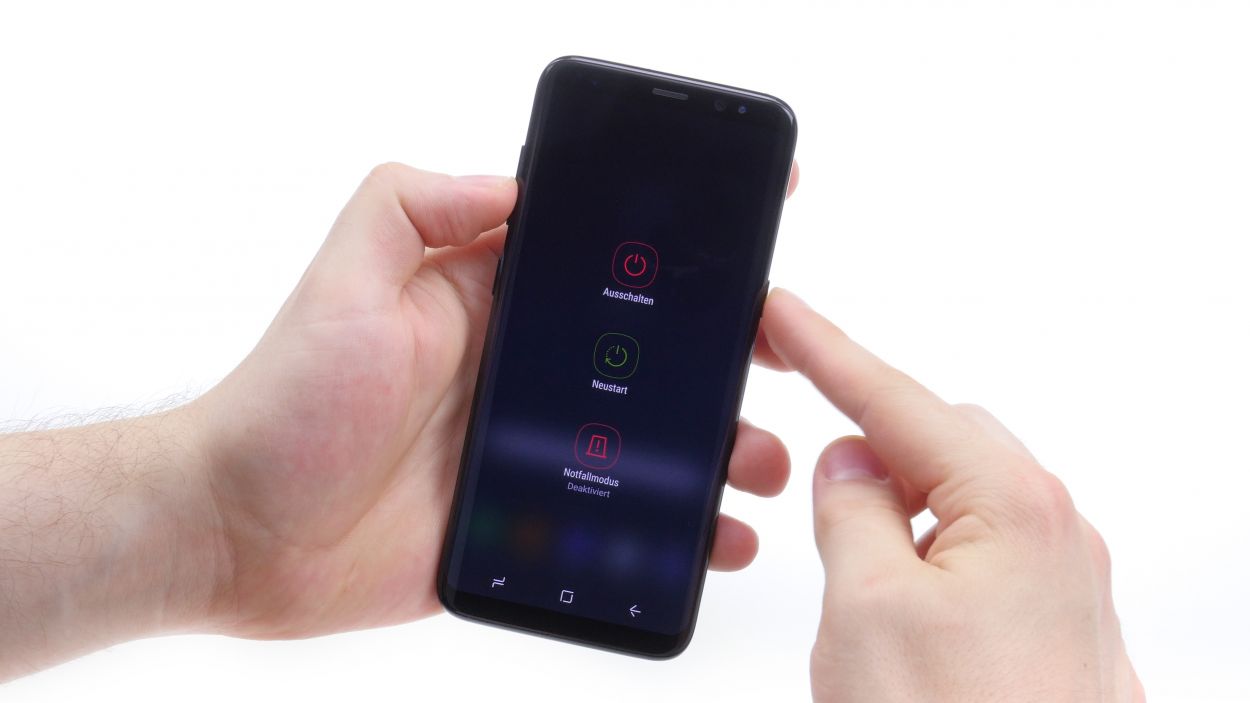
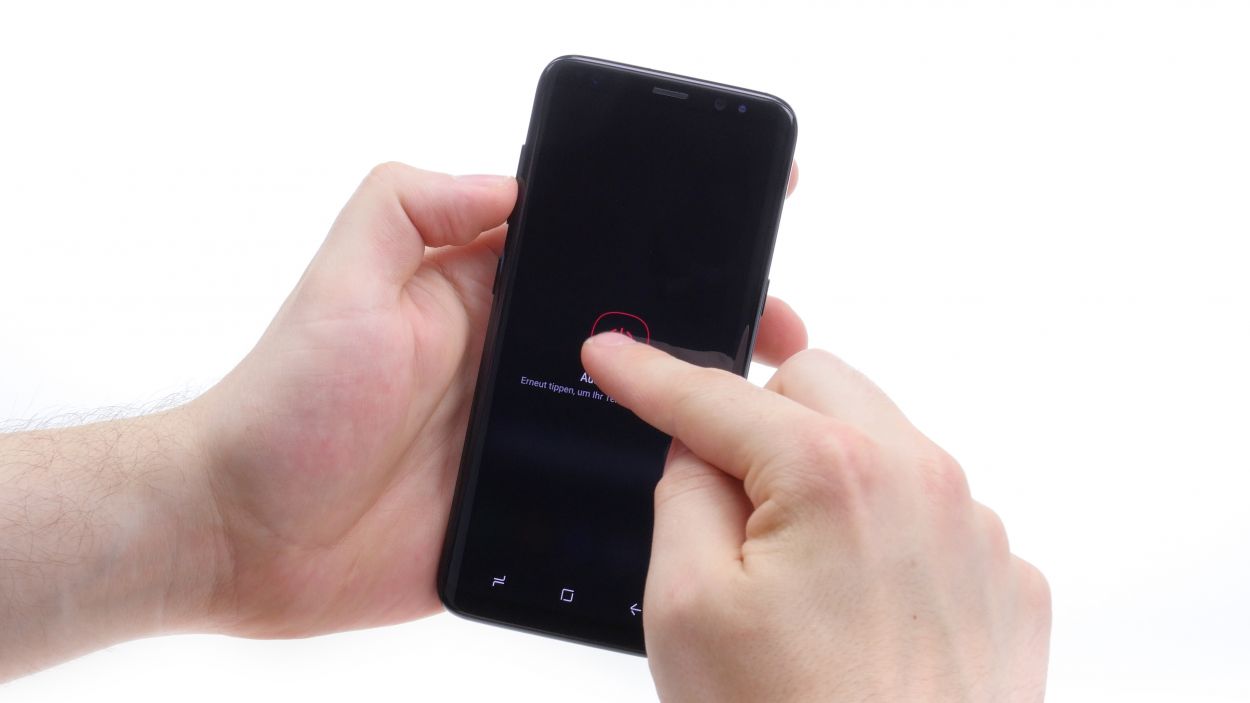
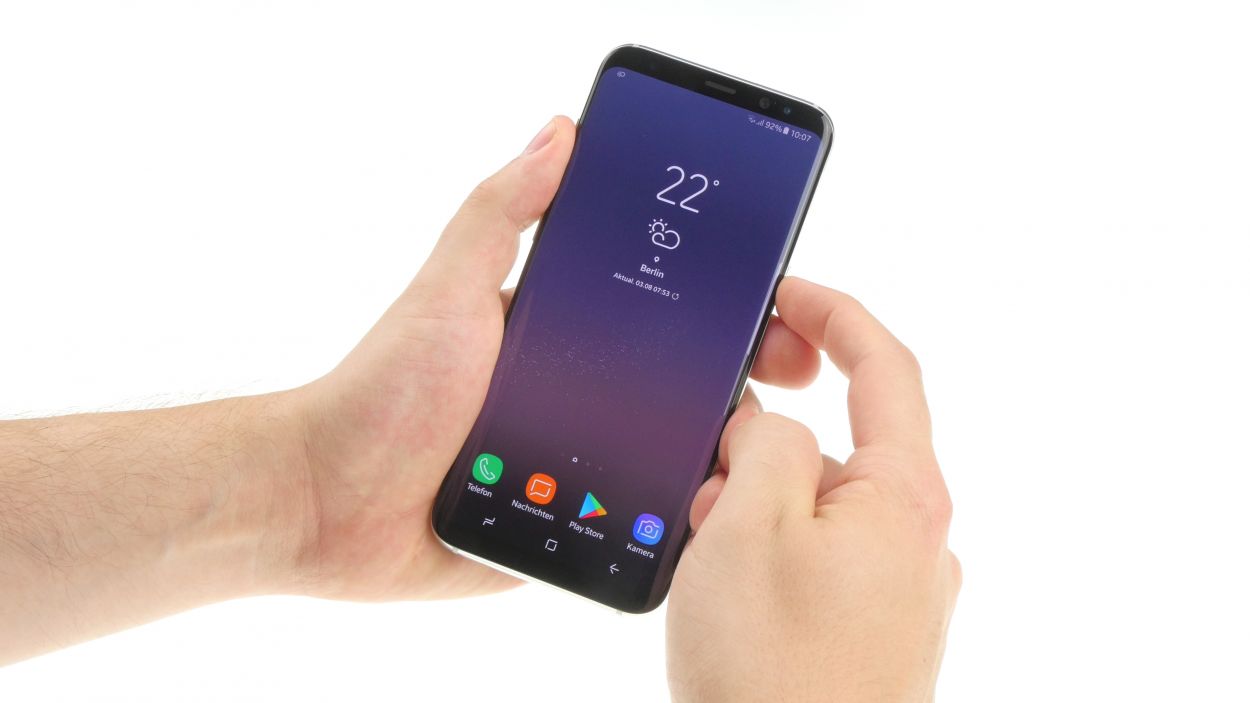
– First things first, let’s power down your Galaxy S8! Just press and hold that power button until you see the “Switch off” option pop up.
– Once you see that option, go ahead and confirm the shutdown. Now, hang tight and get ready to move on as soon as your screen goes black!
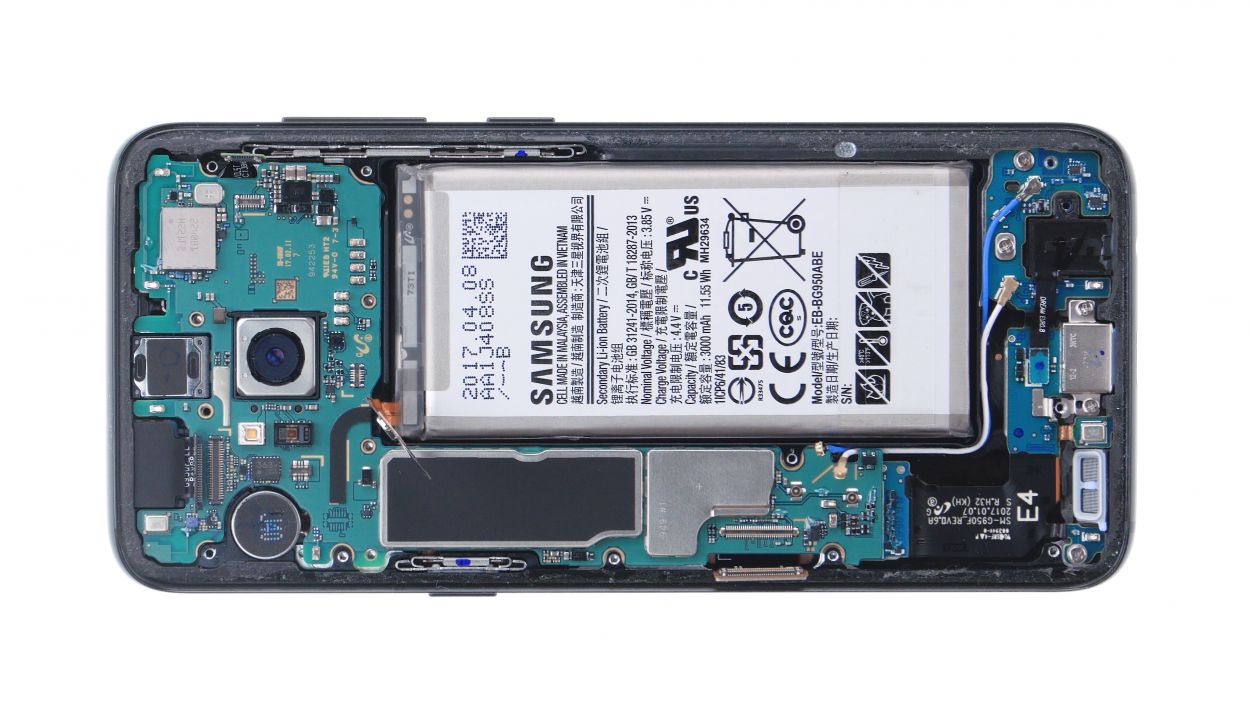
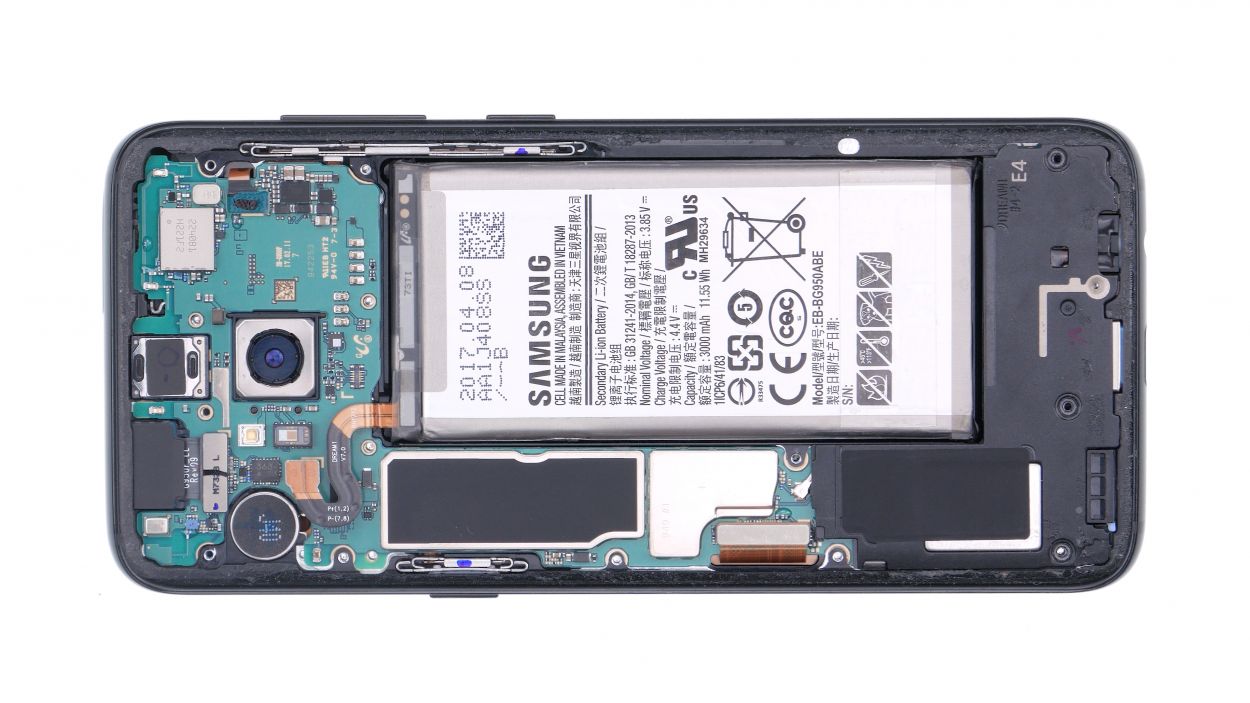
Step 2
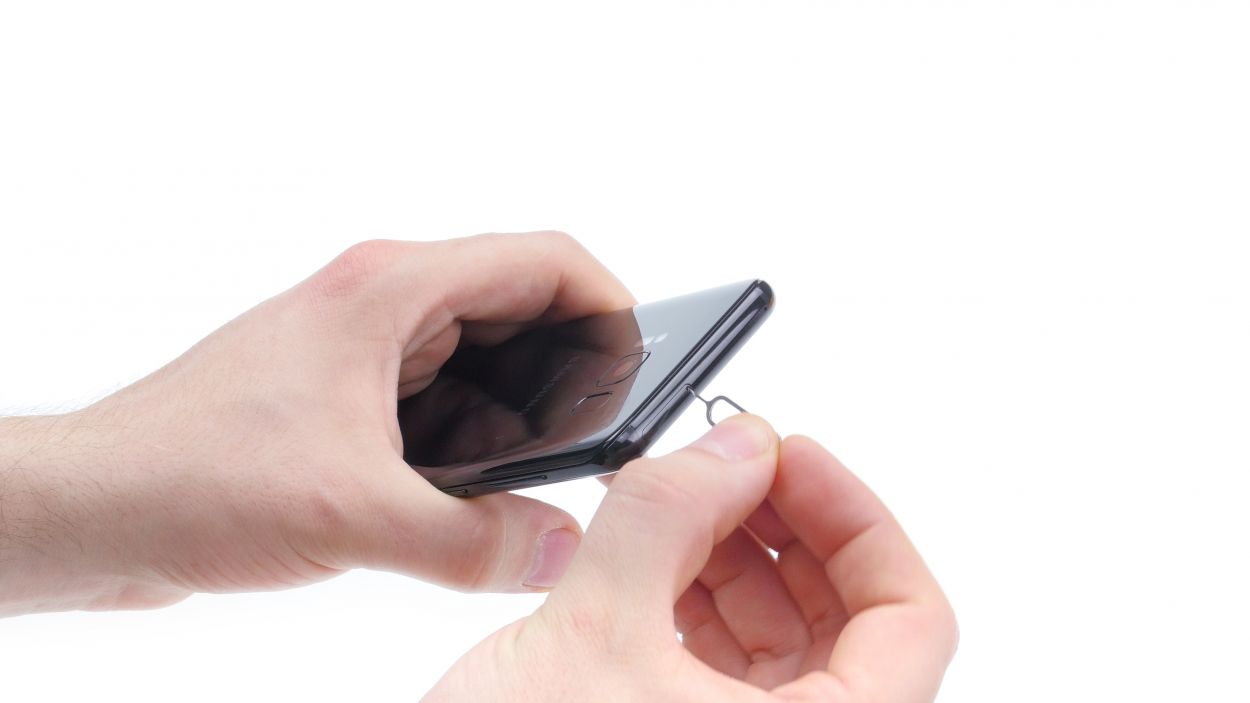
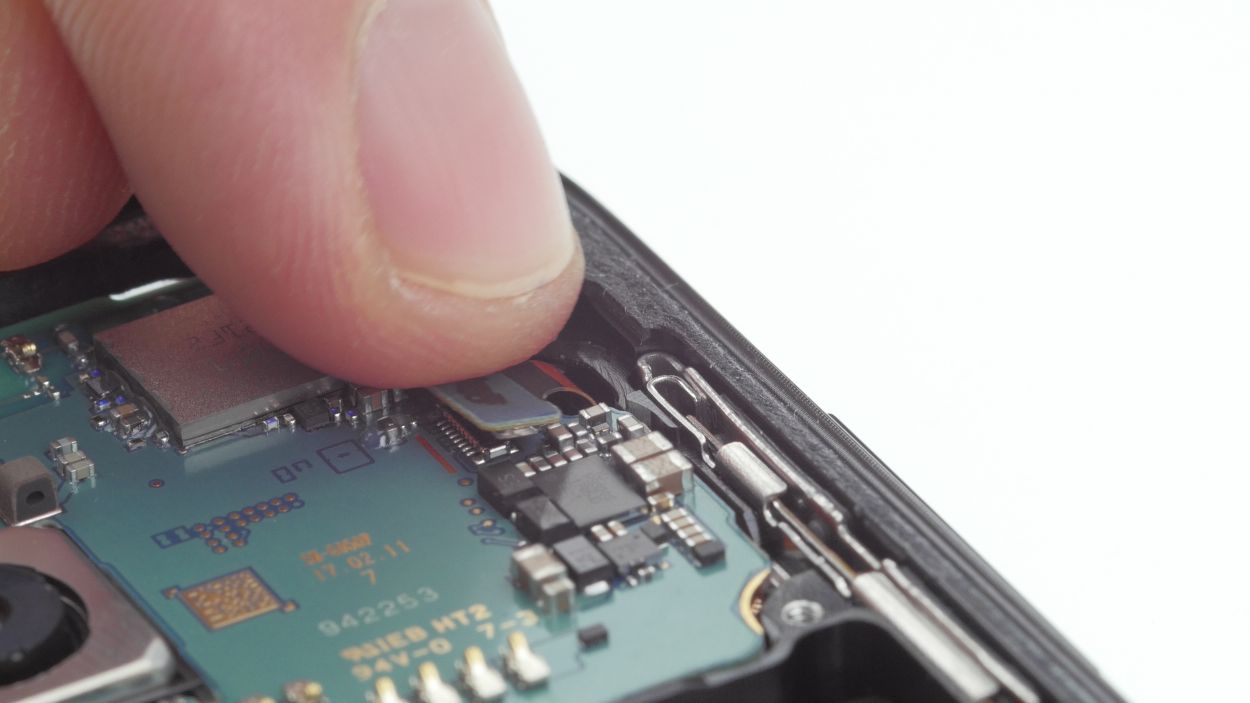
– Swap out that SIM card holder by using a short tool, and pop out the SIM tray,
Step 3
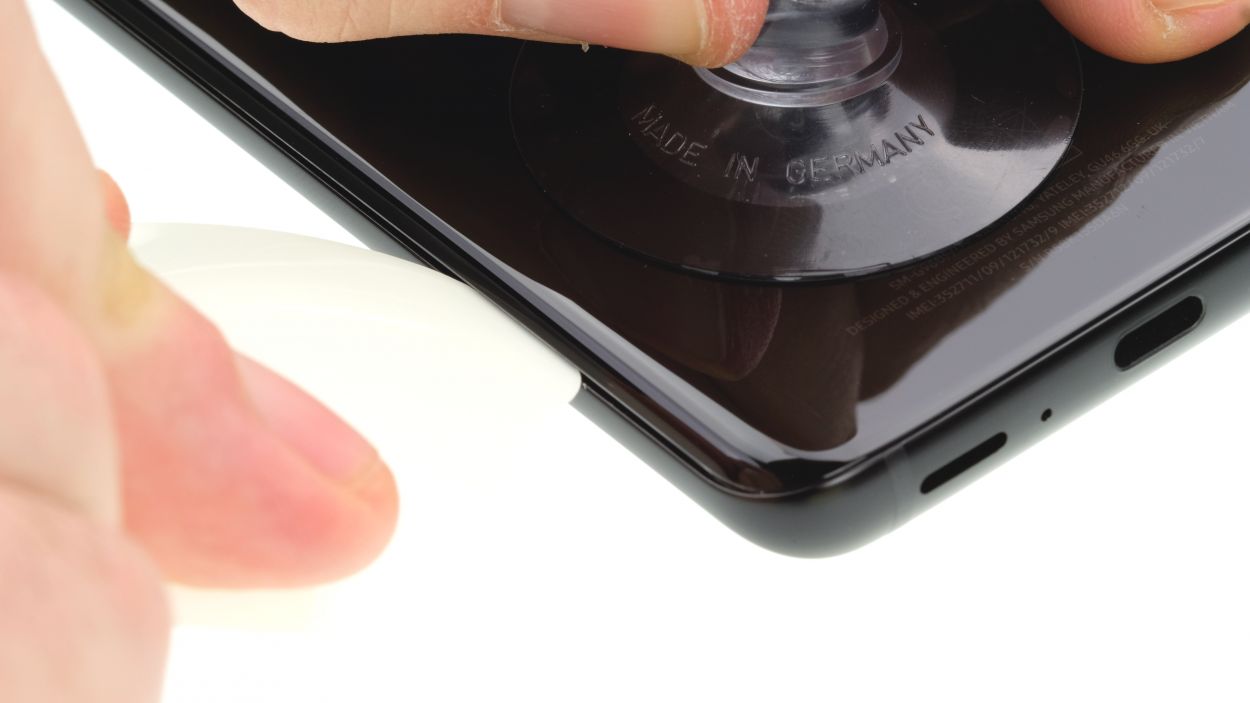

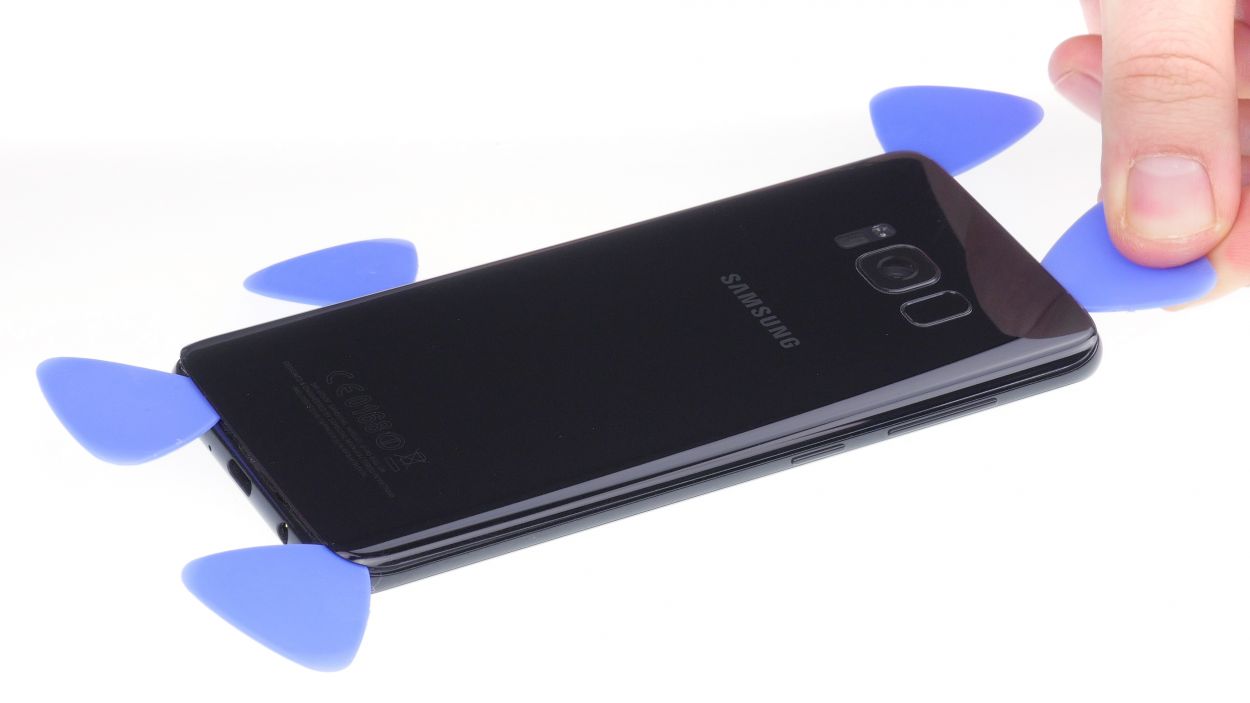
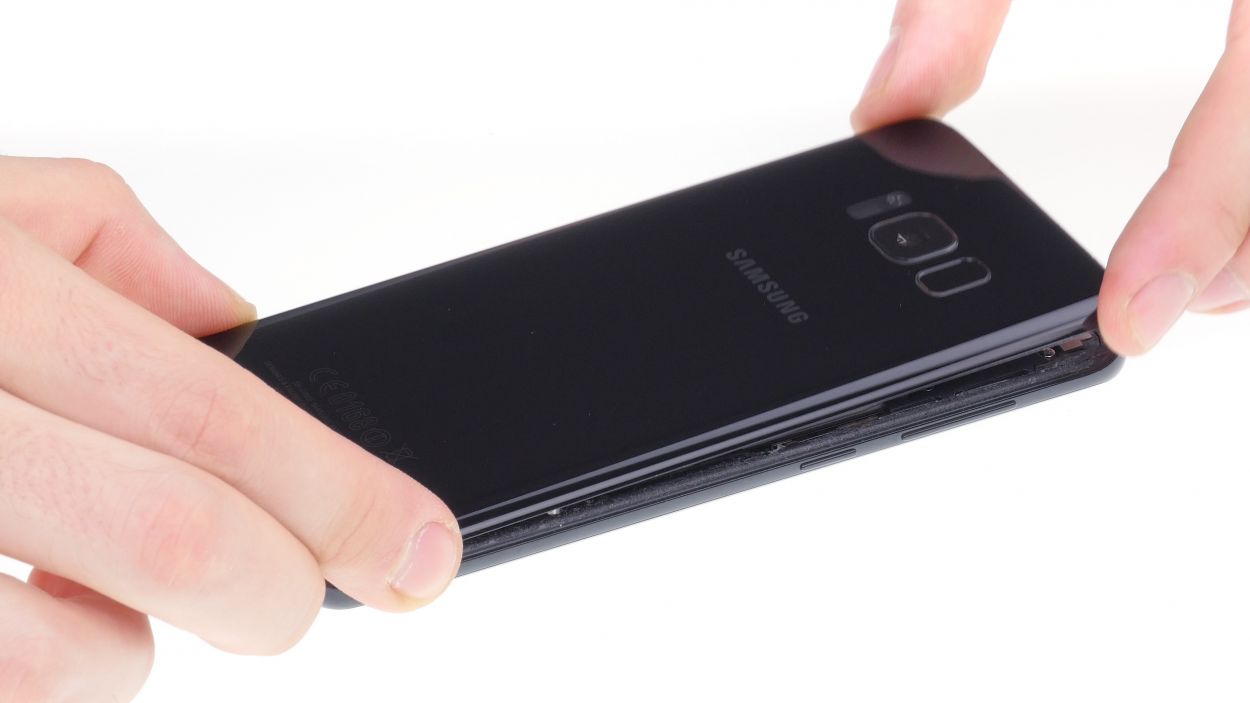
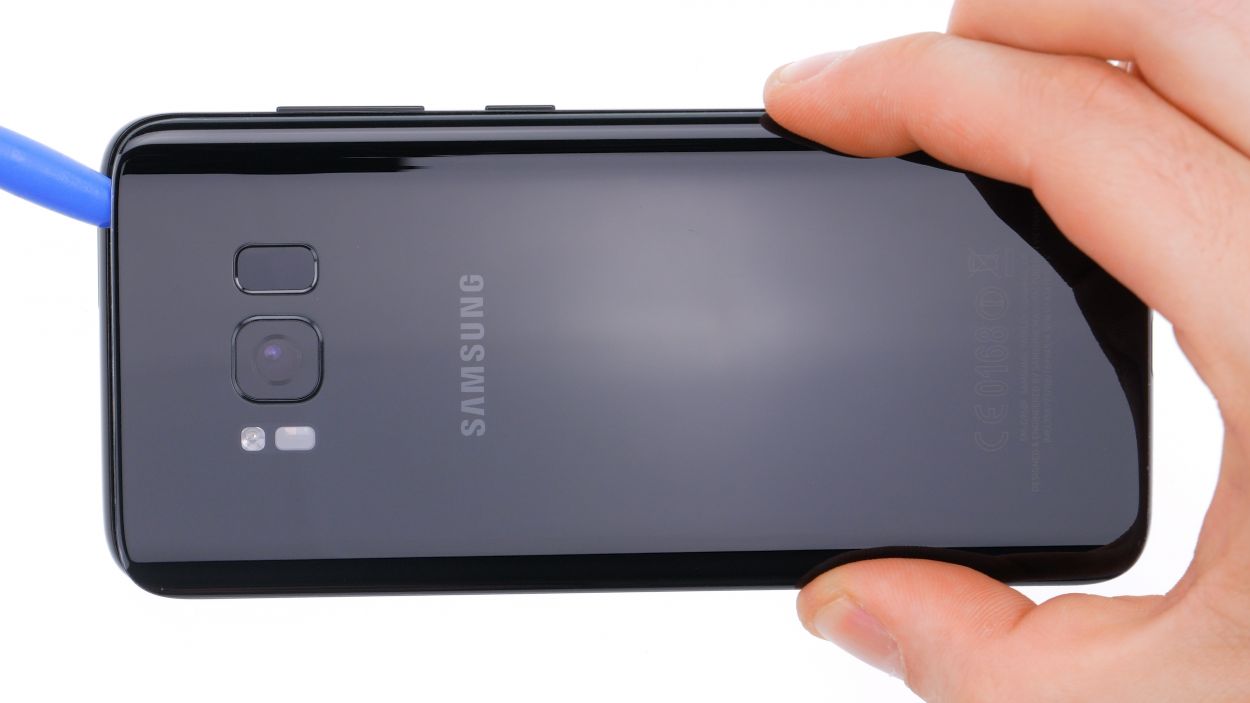
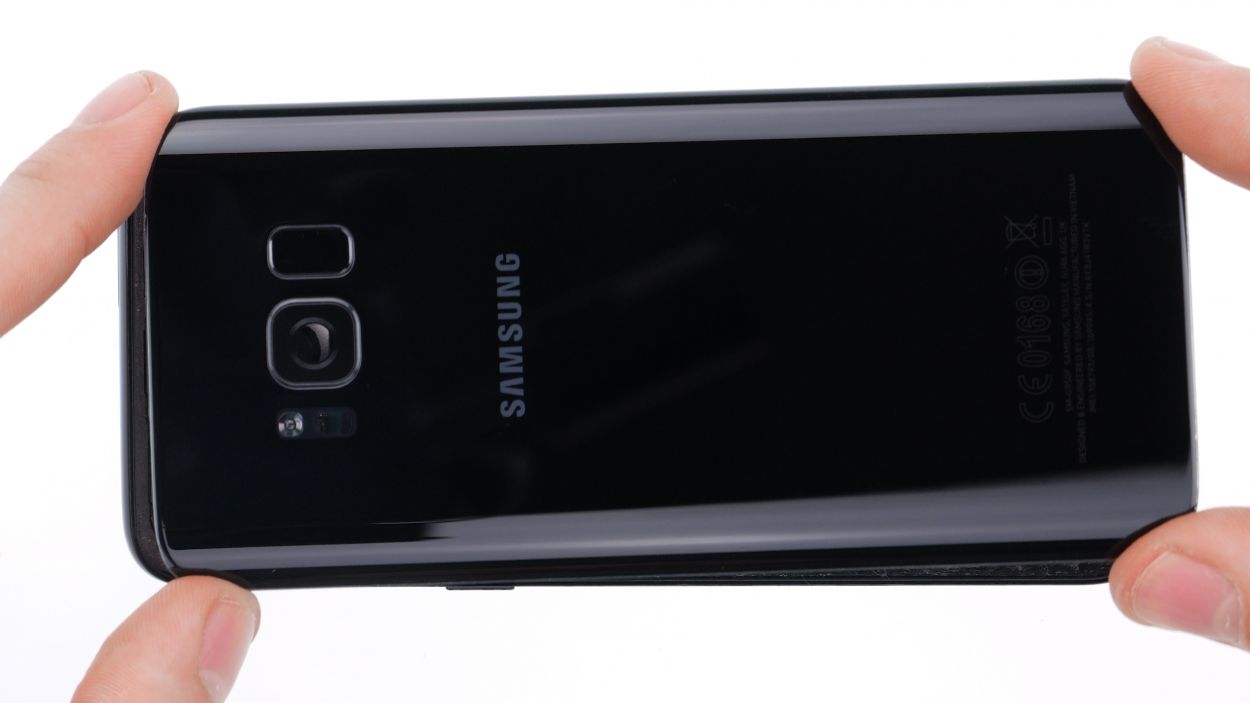
– Time to get that back cover off! Start by warming it up all around with a hair dryer to loosen that pesky glue. Keep the dryer close by; you’ll be using it a few times. Now, grab a suction cup and stick it on the bottom of the back cover.
– Next up, give that suction cup a gentle pull upwards while you slide in a flat tool like the iPlastix or iFlex between the back glass and the frame. Remember, the hair dryer is your best buddy here—use it to heat things up and make that glue a little more cooperative!
Hey there! Just a heads up: the back cover is made of glass and can be a bit fragile. So, when you’re taking it off, be super careful! If you find it tricky, feel free to use that hair dryer and flat tool as many times as you need. It might take a little longer than you expect—seriously, even pros can spend up to half an hour on this step! So, take your time and make sure everything stays in one piece. And remember, if you need help, you can always schedule a repair!
The iPlastix is crafted from plastic, giving your frame a nice layer of scratch protection. Just a heads up, this tool is a bit on the softer side, which might make it a tad tricky to get it in place. But don’t worry, you’ve got this! And if you need help, you can always schedule a repair.
Step 4
Step 6
– The NFC antenna cover is a bit stuck. Grab your trusty hot air tool or a hair dryer to warm up that area a little.
– Now, gently slide a flat tool under the antenna to pop it off. Just a heads up, the cover is attached to the housing, so be careful!
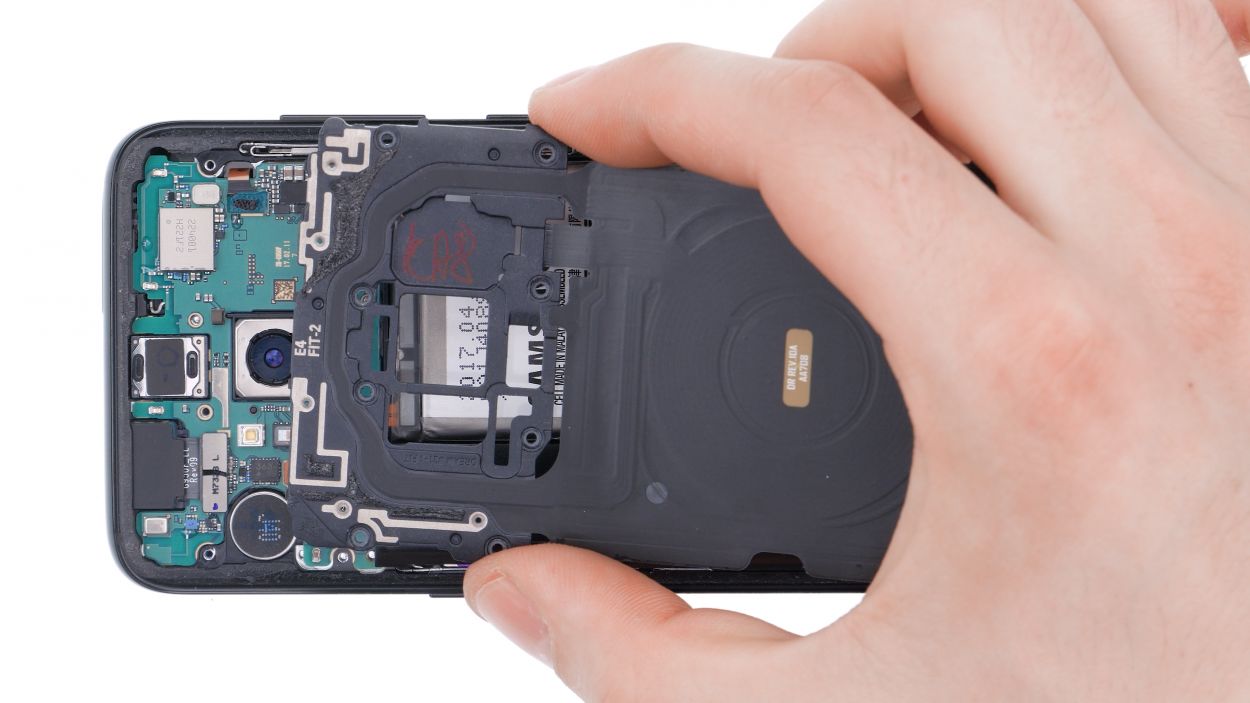
– Next, let’s remove the middle cover.
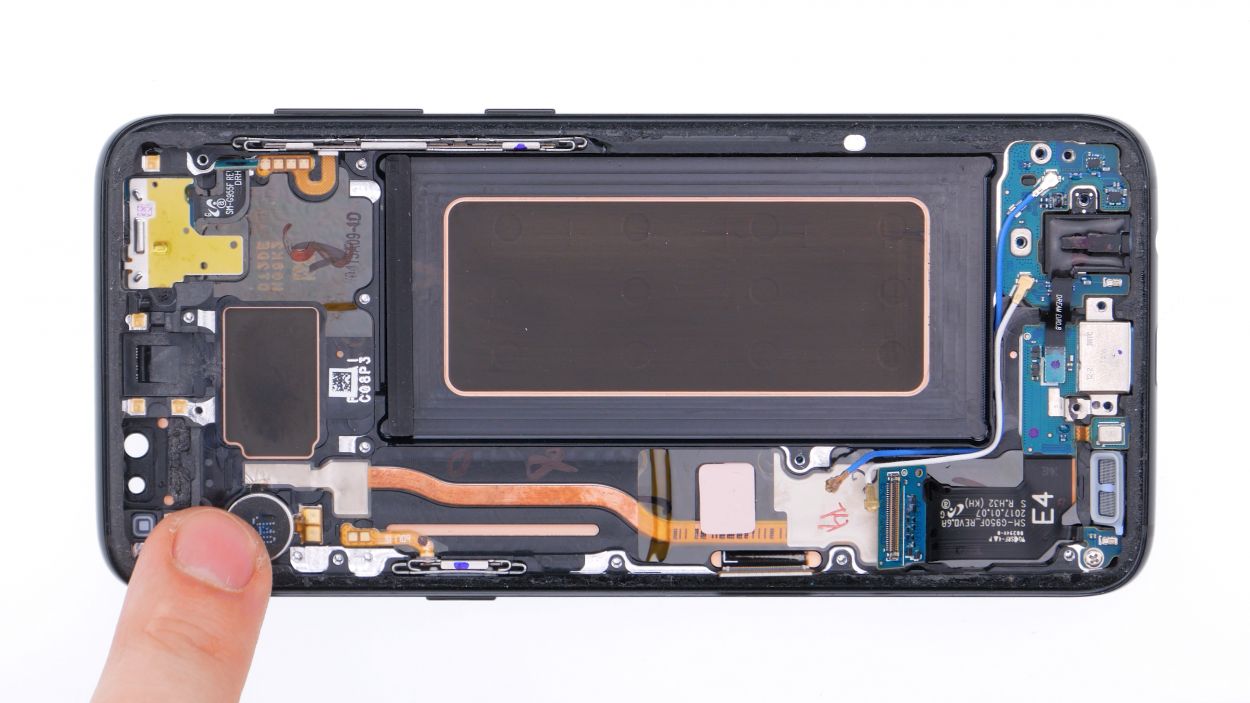
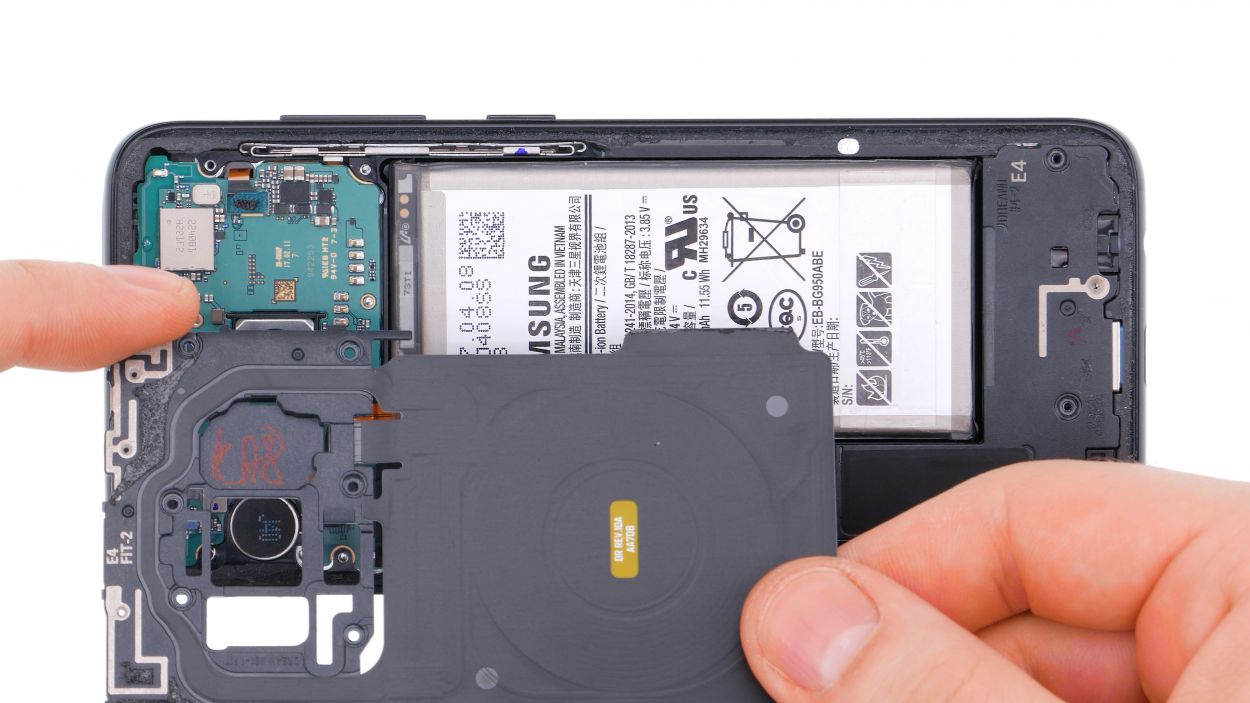
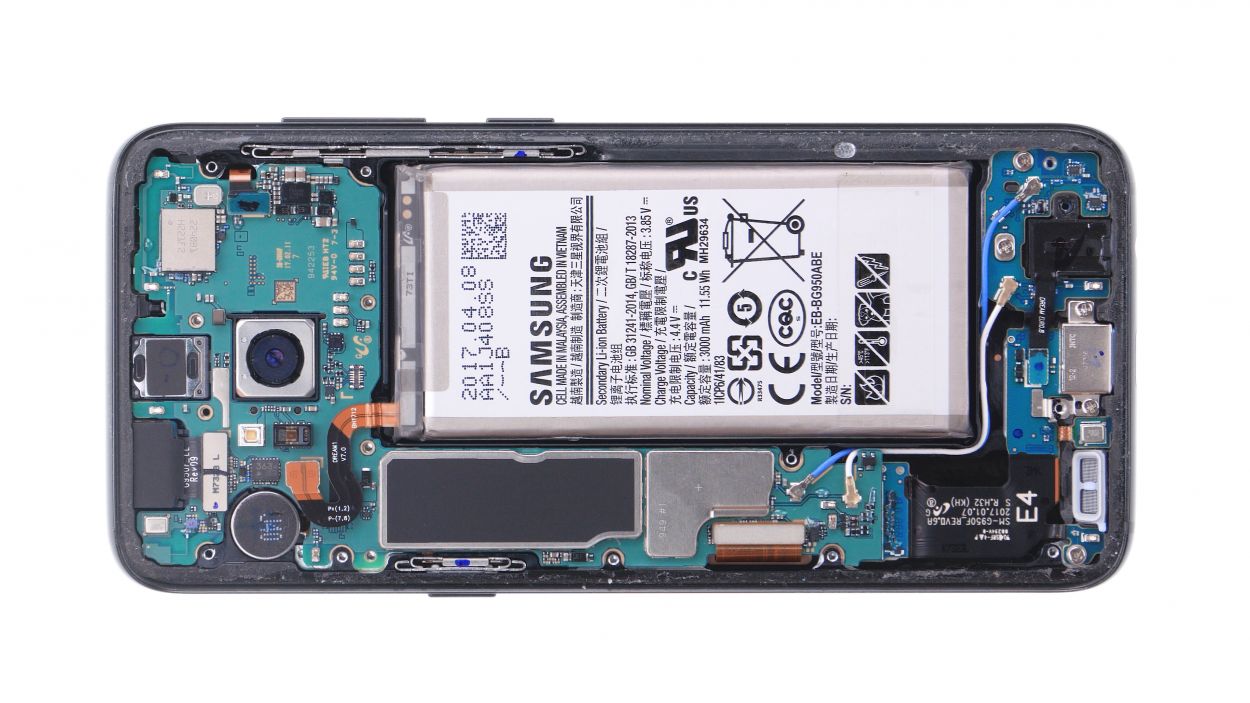
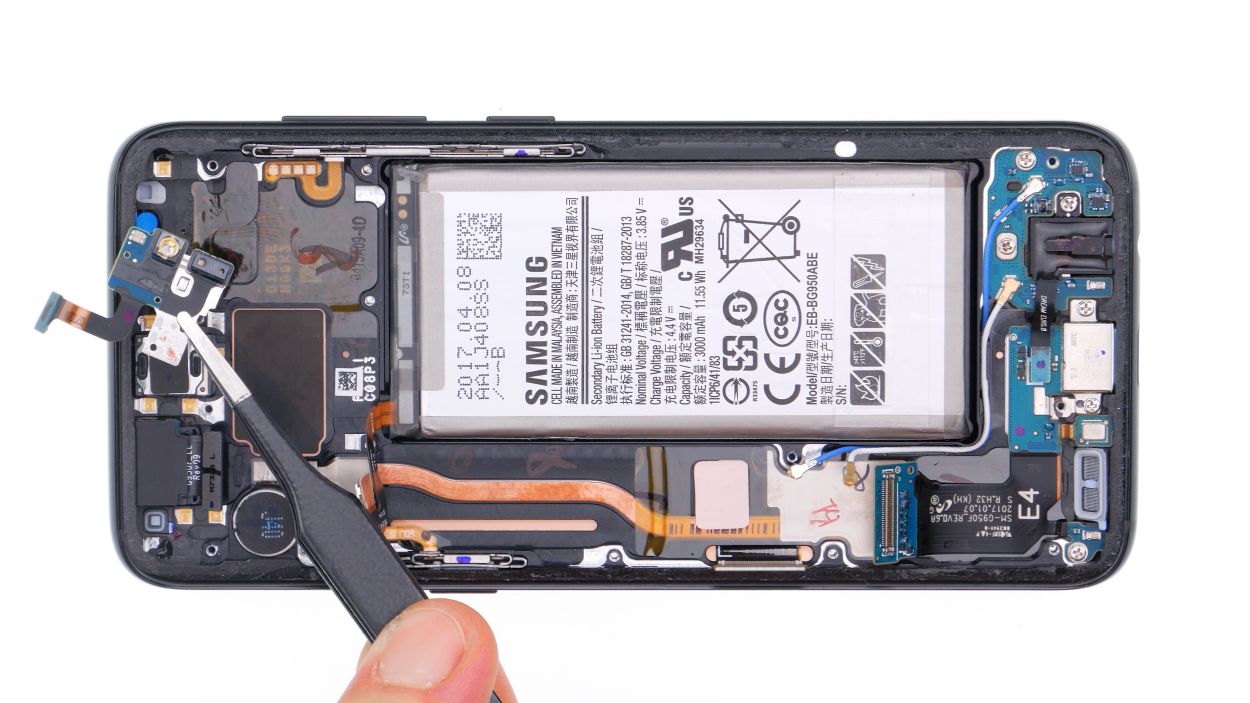
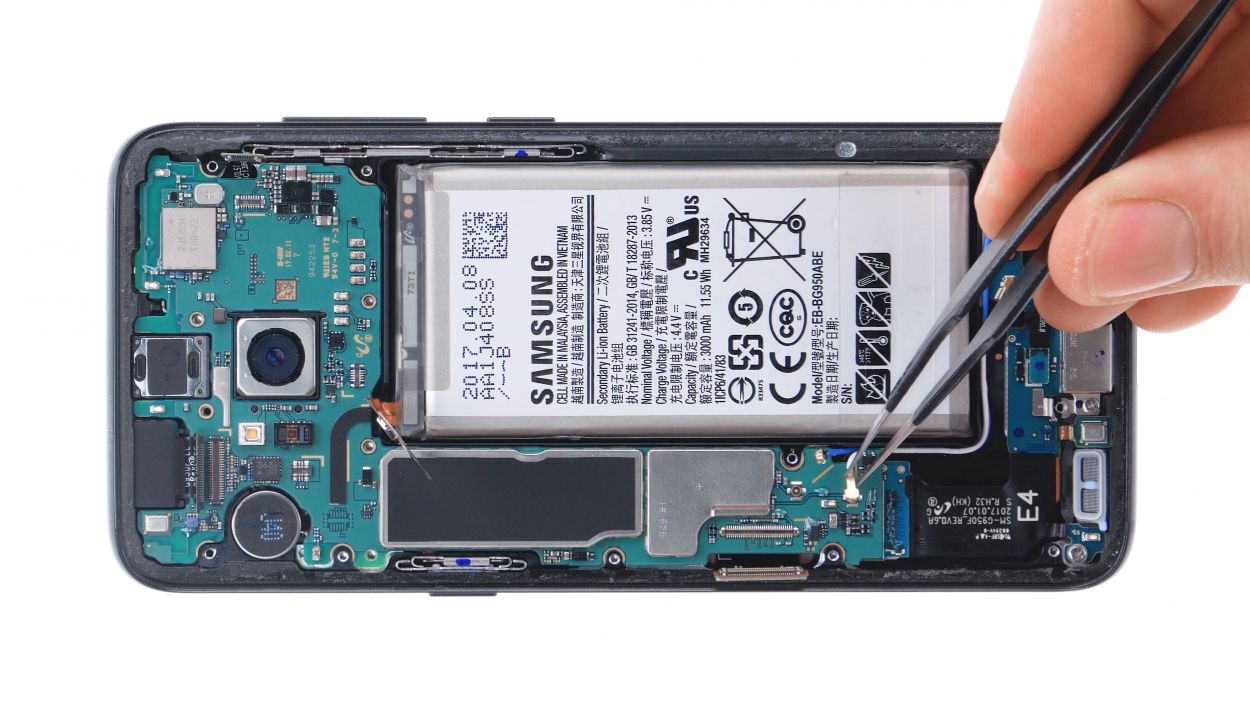
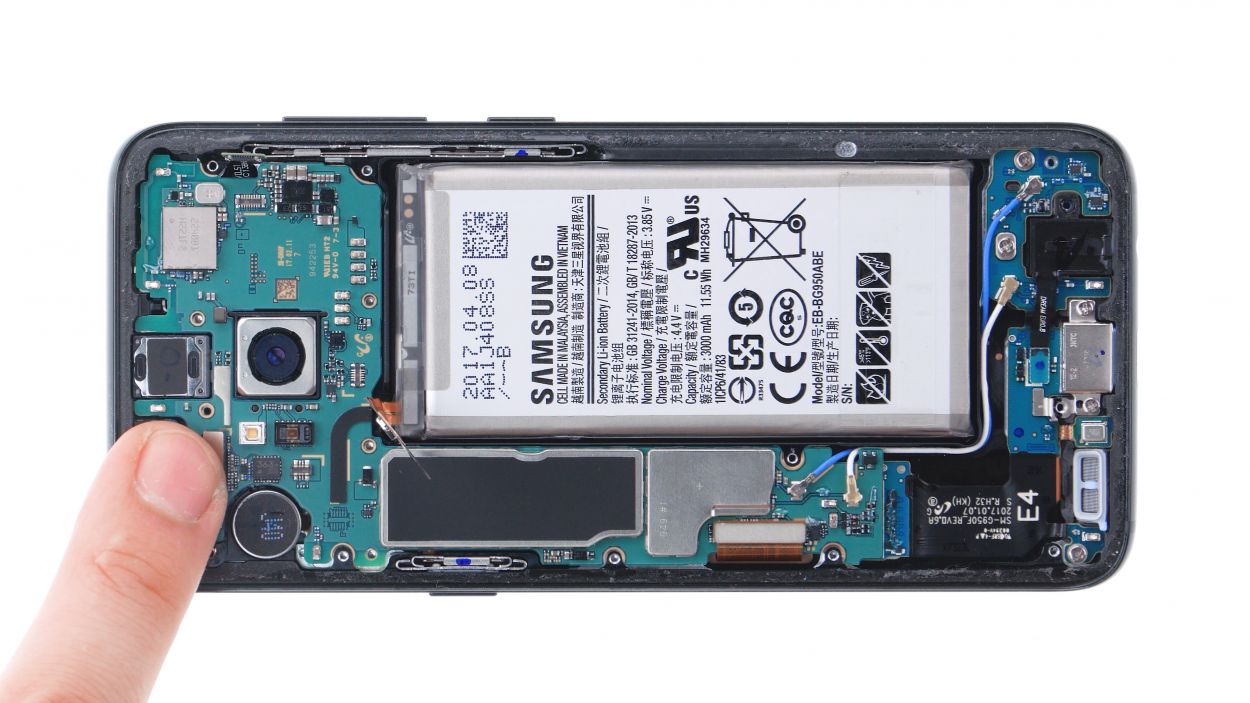
Step 7


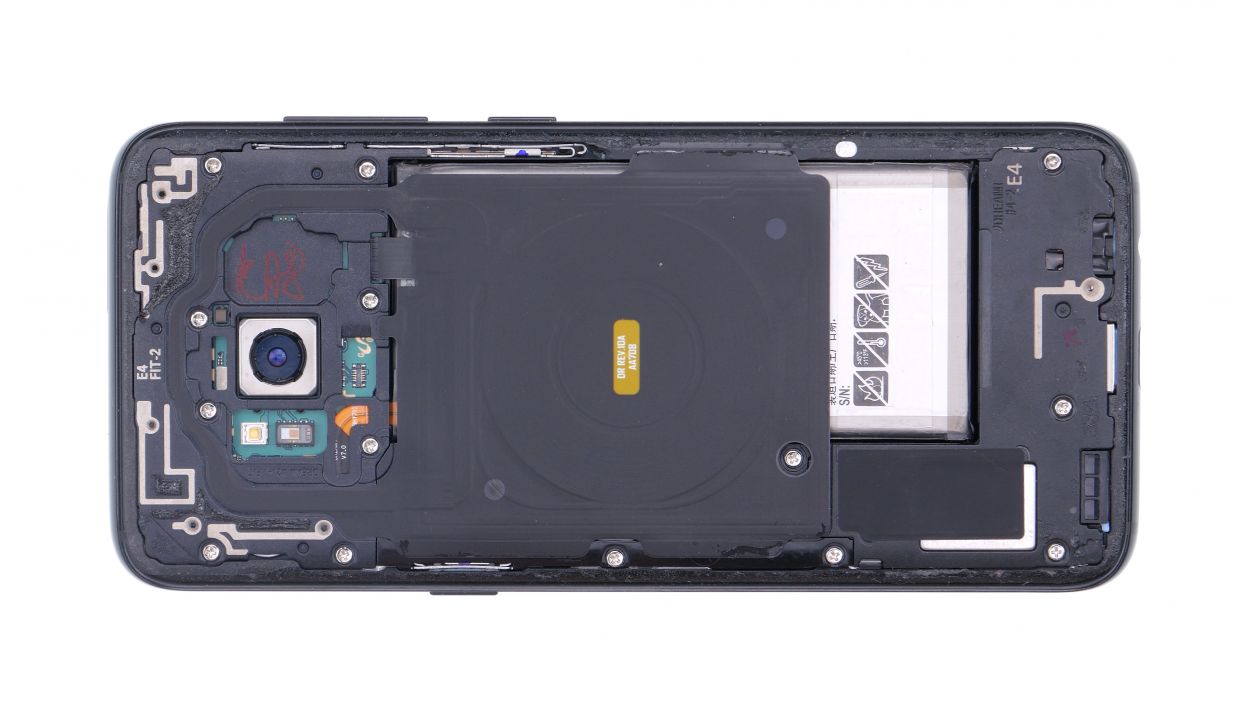
Battery Connector
– Carefully disconnect the connector of the battery by using a spudger. Be sure to use a spudger+Galaxy+S8&crid=1TJIMMAJSUJUZ&sprefix=repair+tools%2Caps%2C165&linkCode=ll2&tag=salvationrepa-20&linkId=c486487cf454ce8edd6f5beefab4110f&language=en_US&ref_=as_li_ss_tl’>plastic spudger to avoid a short circuit.
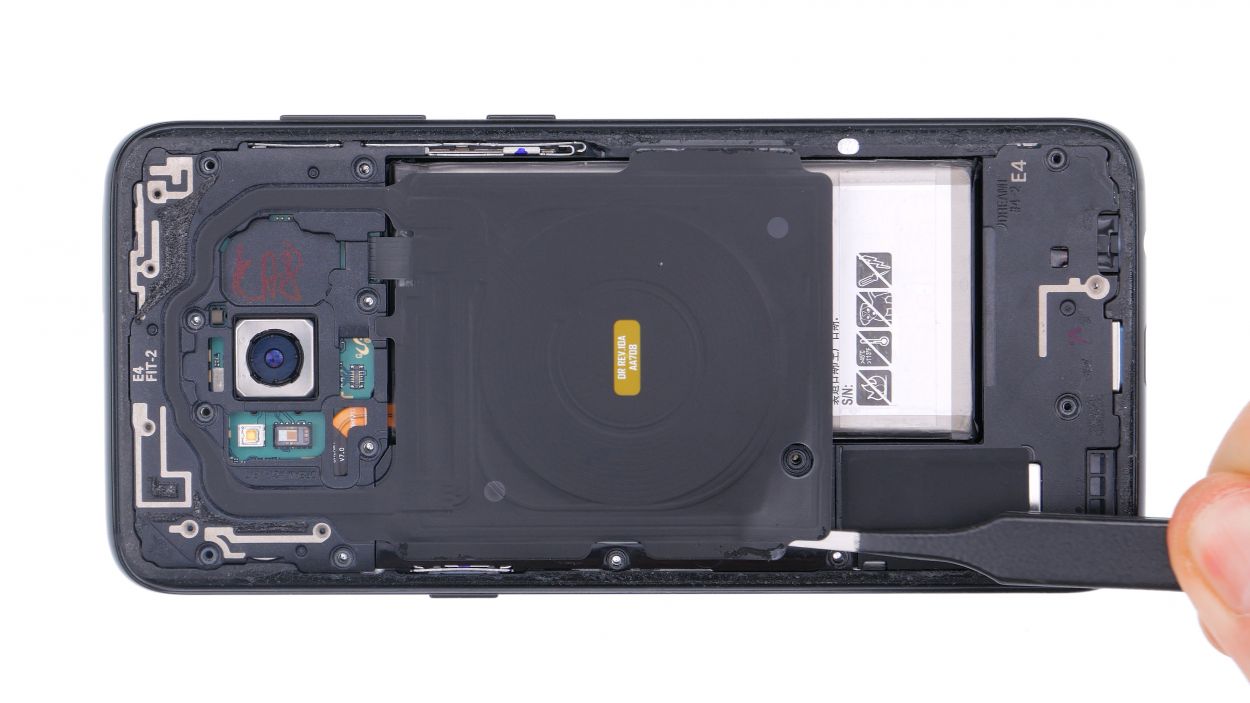
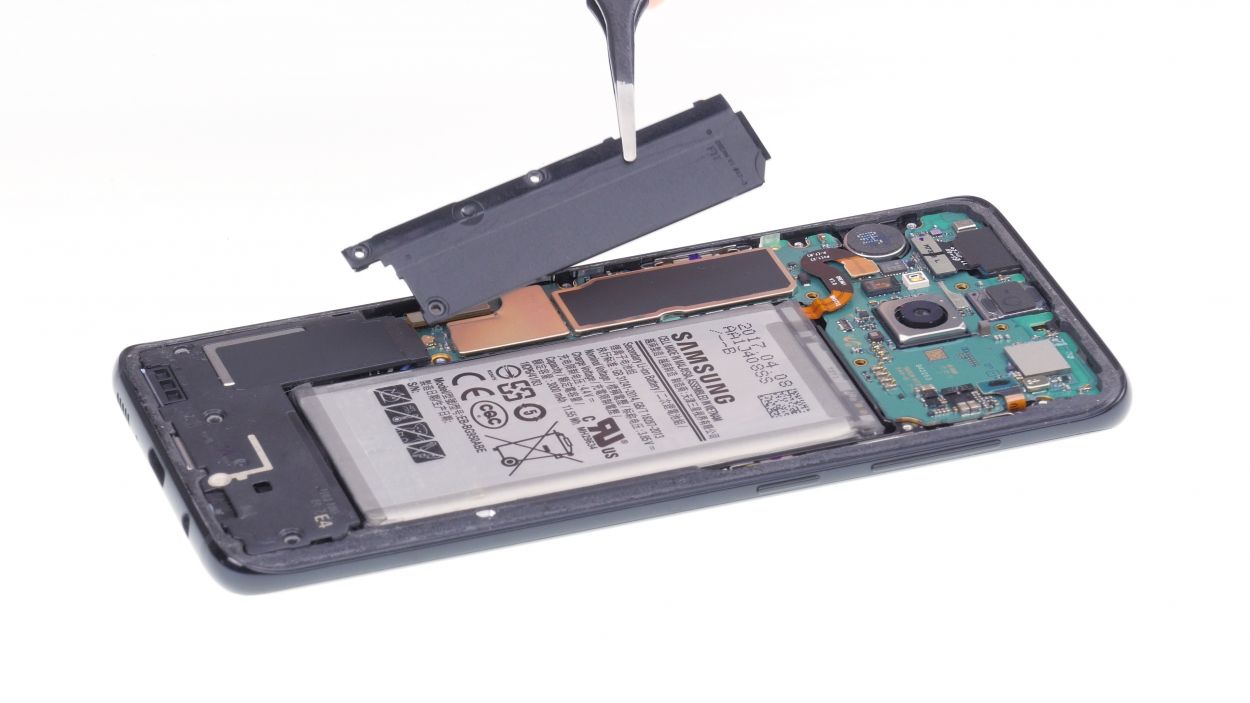
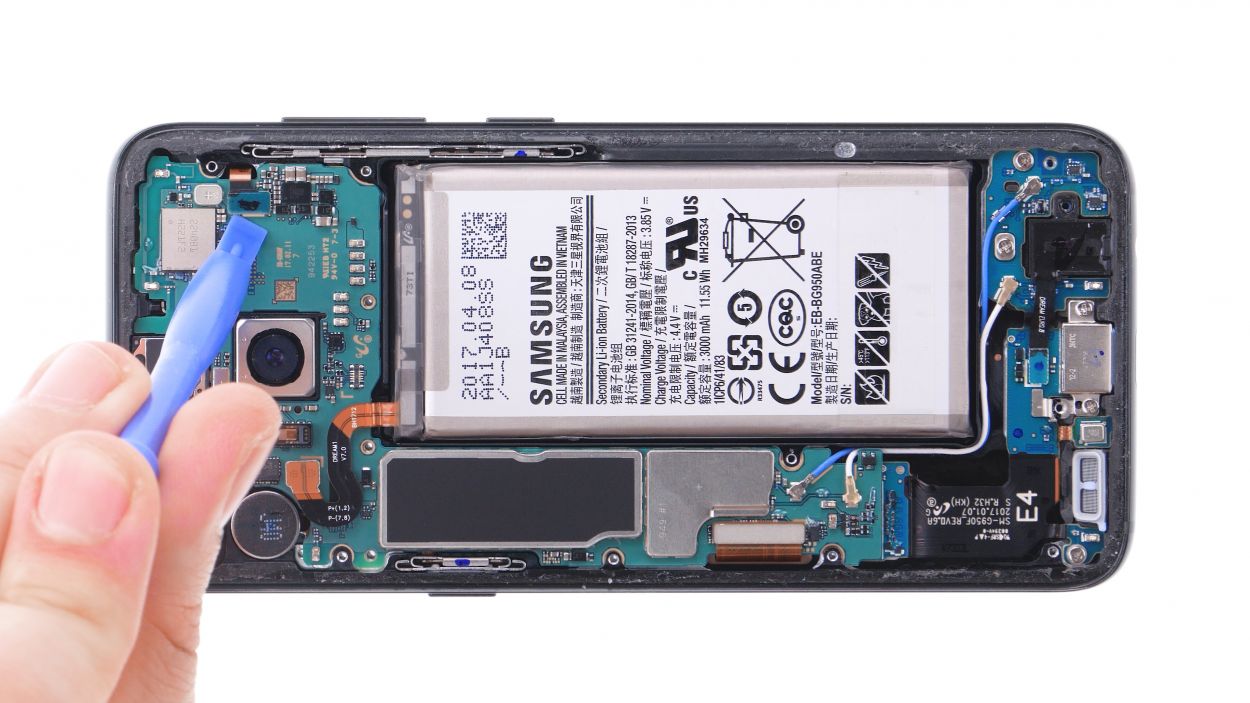
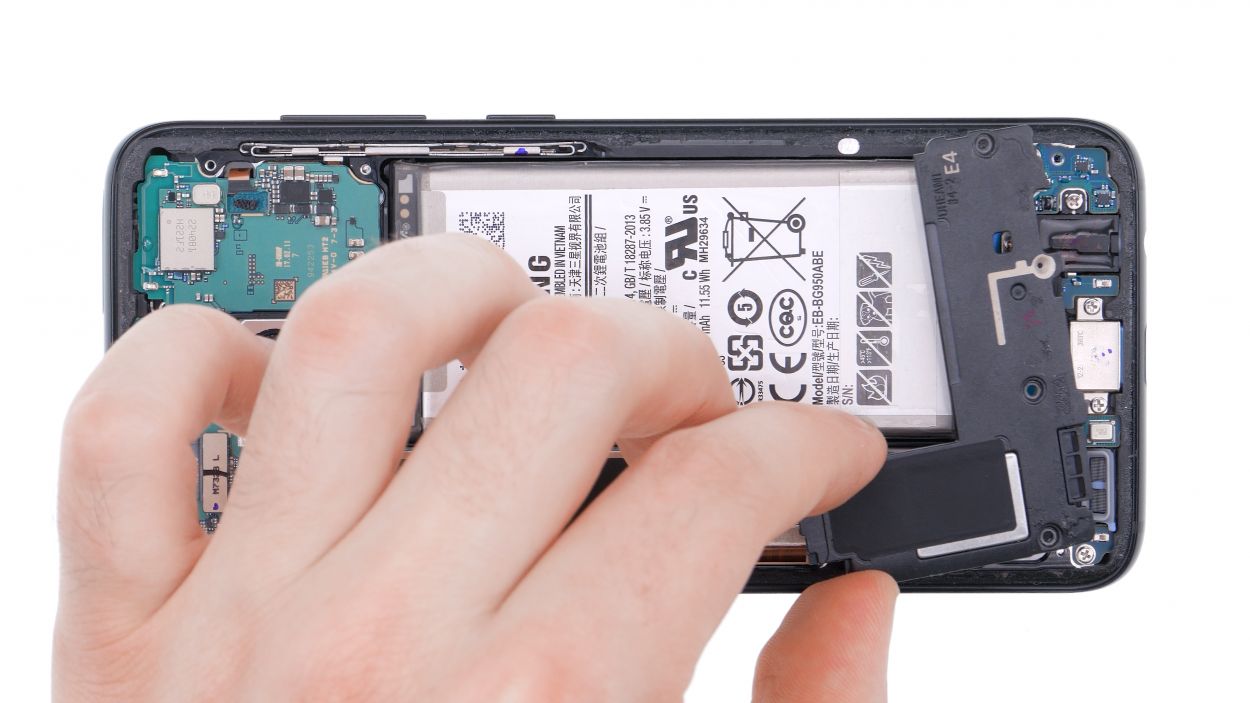
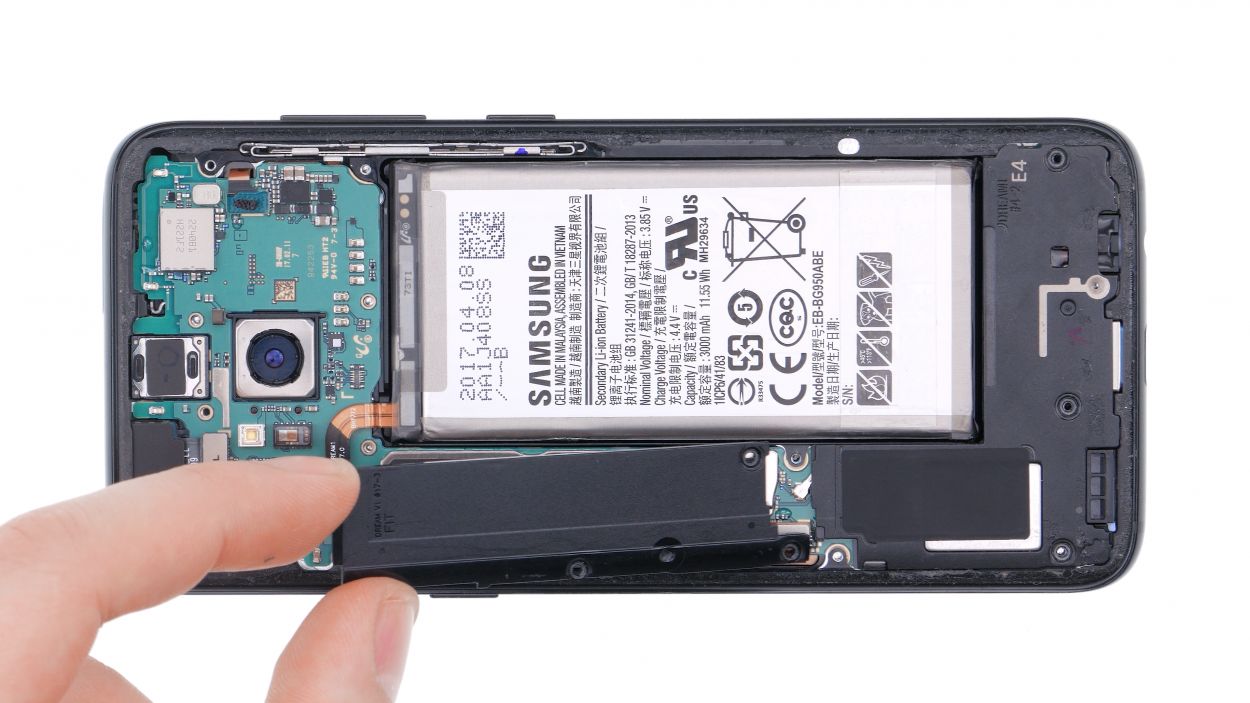
Step 8
– Grab some tweezers or a flat tool, and gently coax the speaker loose. It’s easier than it sounds!
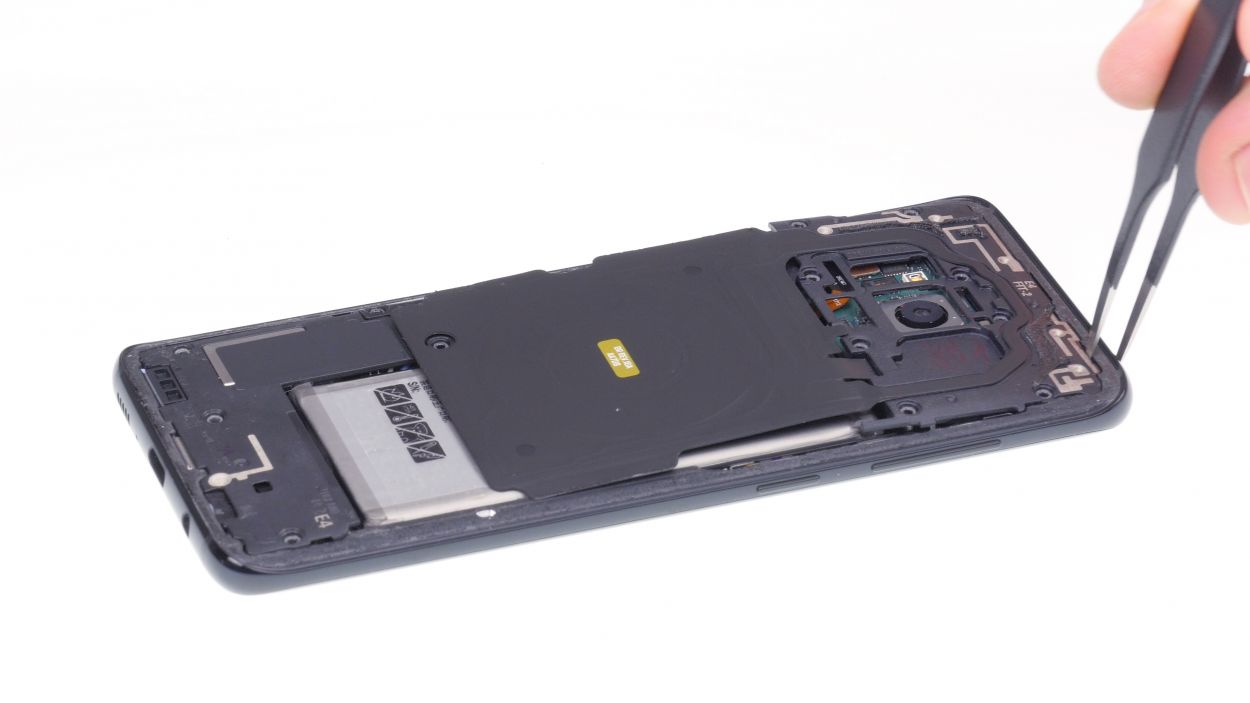
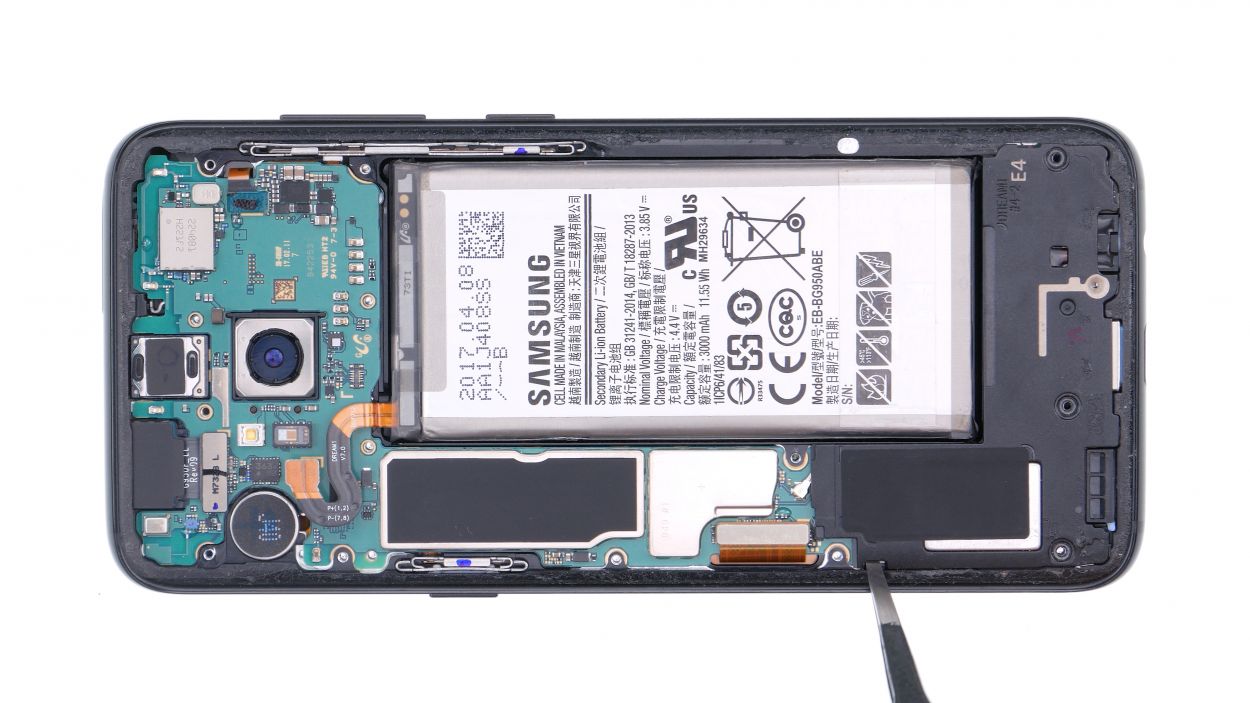
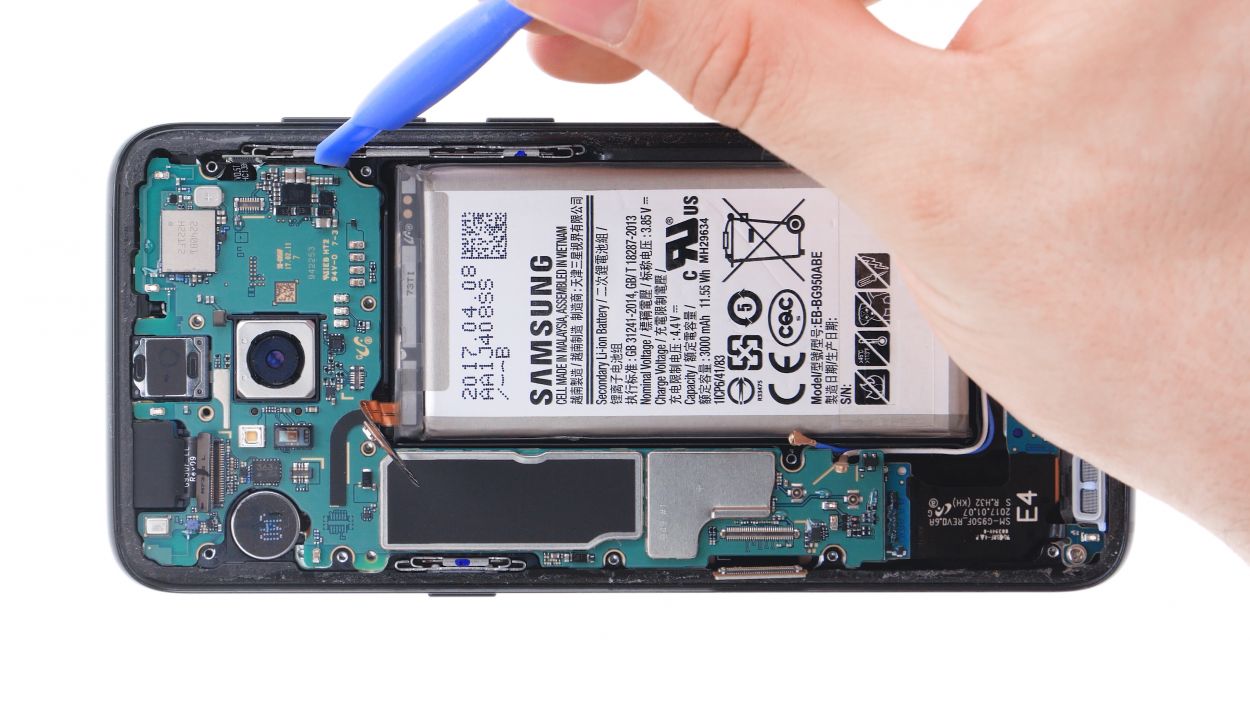
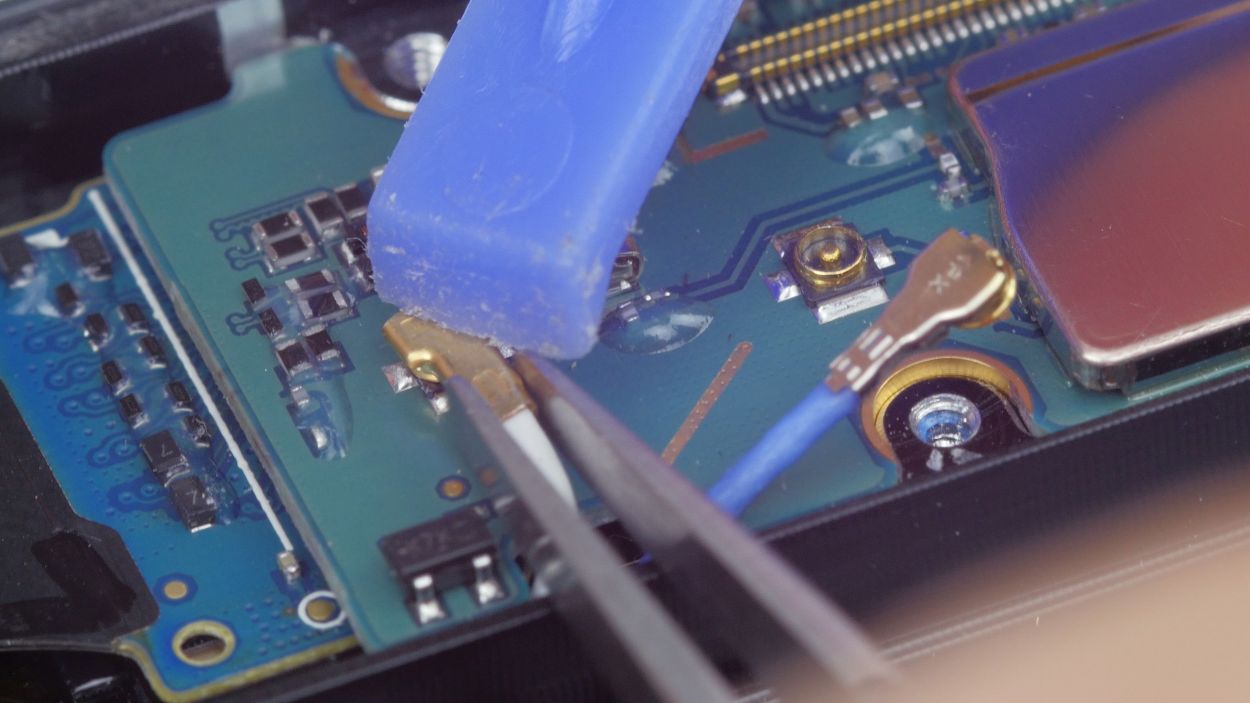
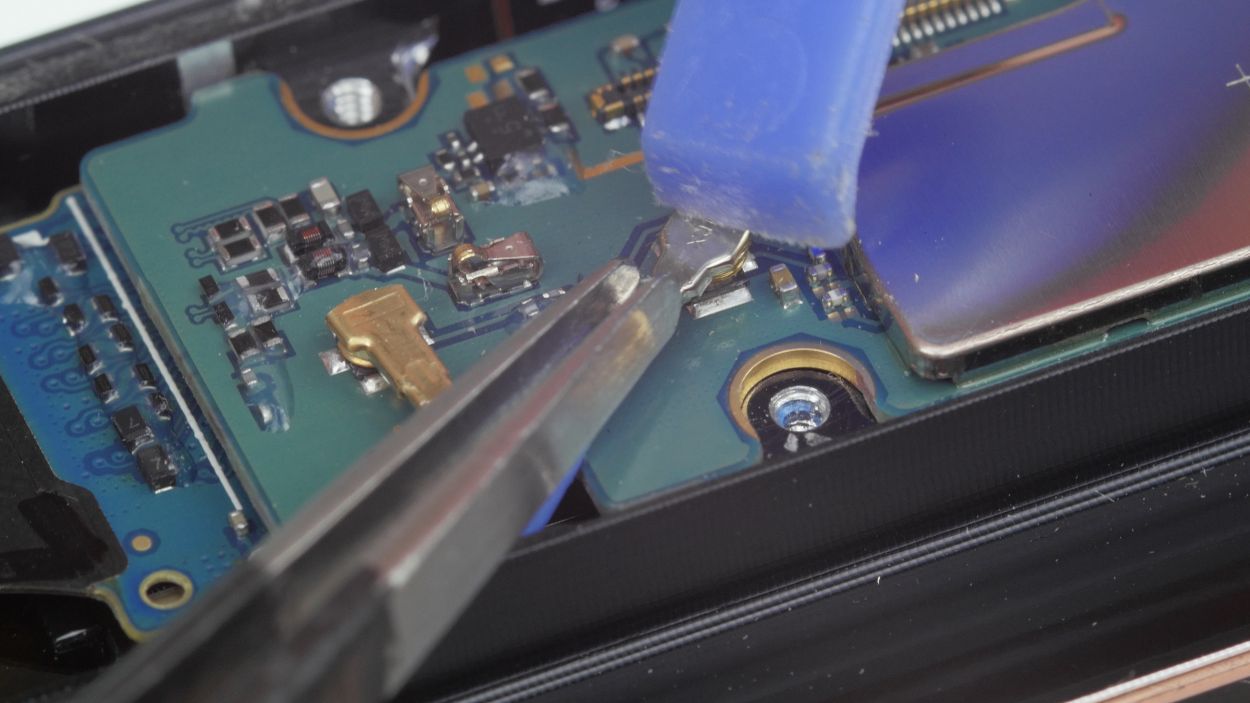
Step 9


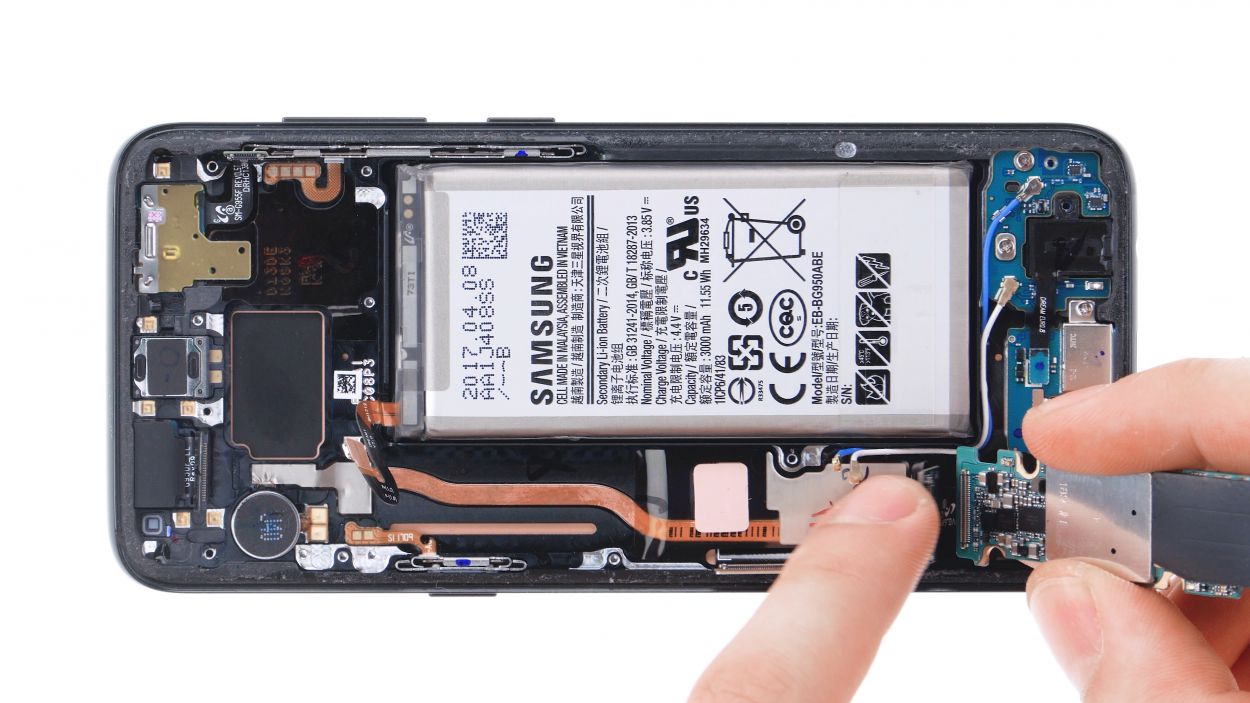
– Alright, champ! Gently pry those highlighted connectors off the motherboard using your spudger. Easy peasy, lemon squeezy!
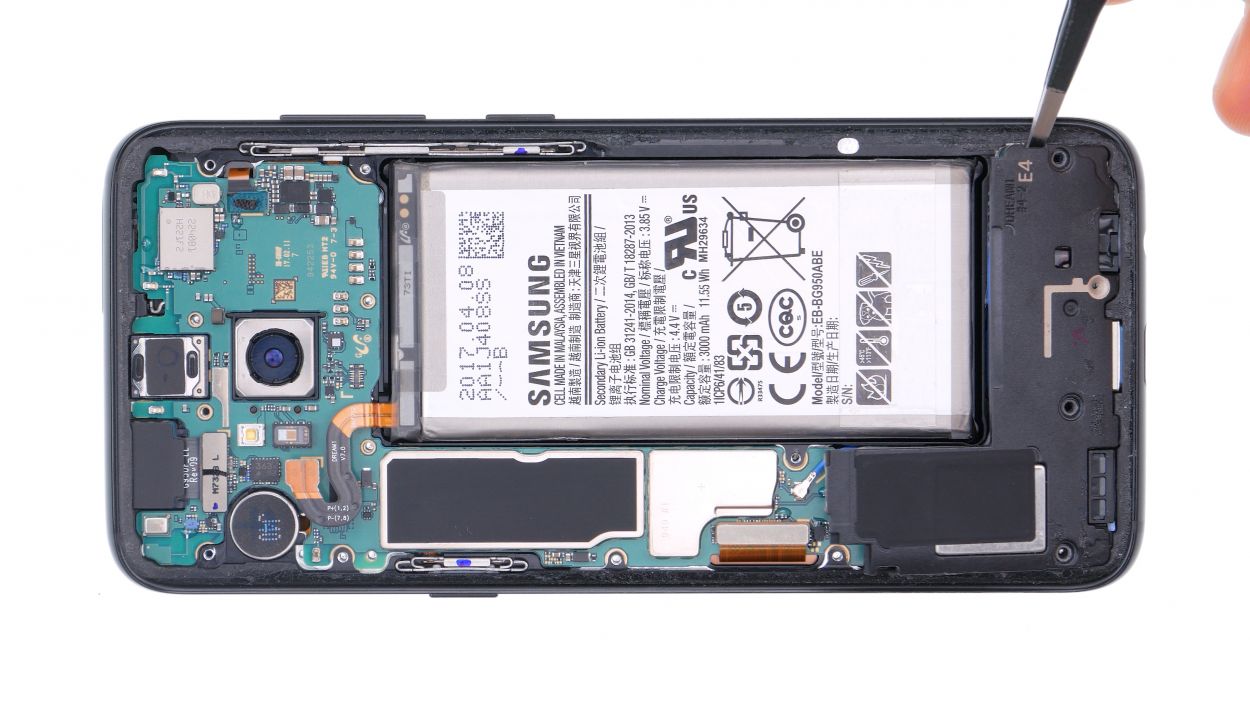
Step 10
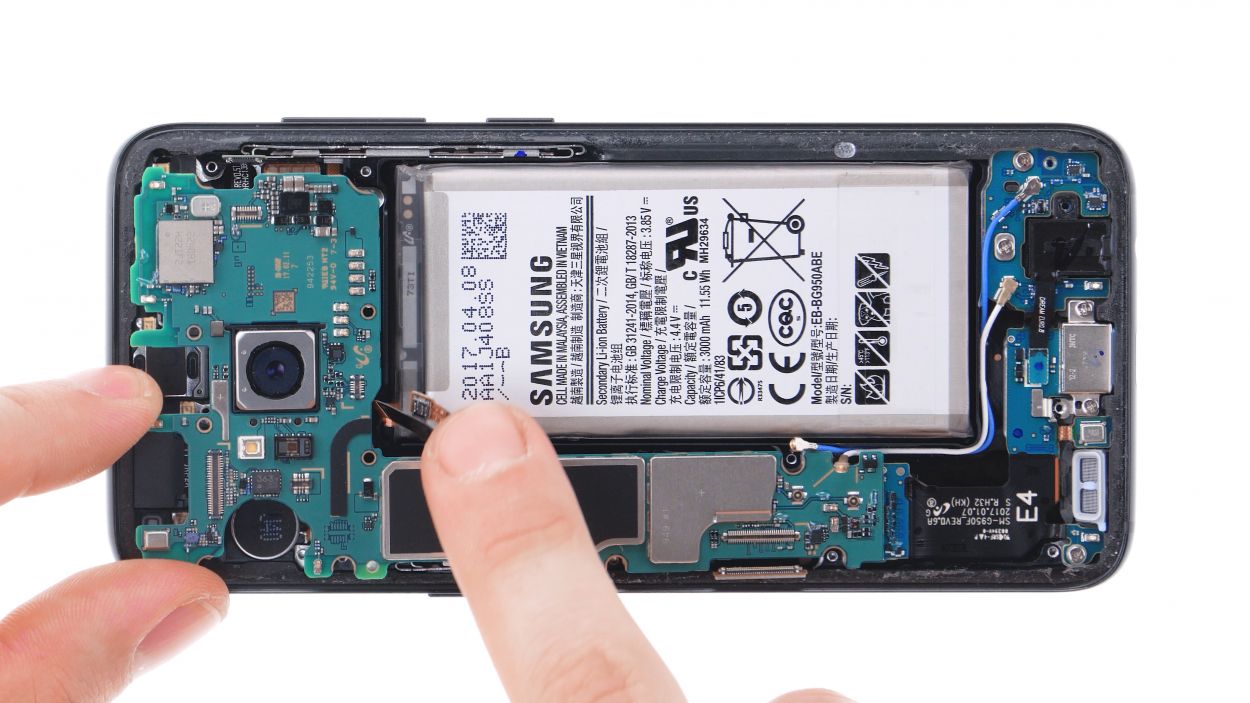
Hey there! Keep an eye on that little plastic pin in the SIM tray opening – it has a sneaky way of trying to escape. Let’s make sure it stays put!
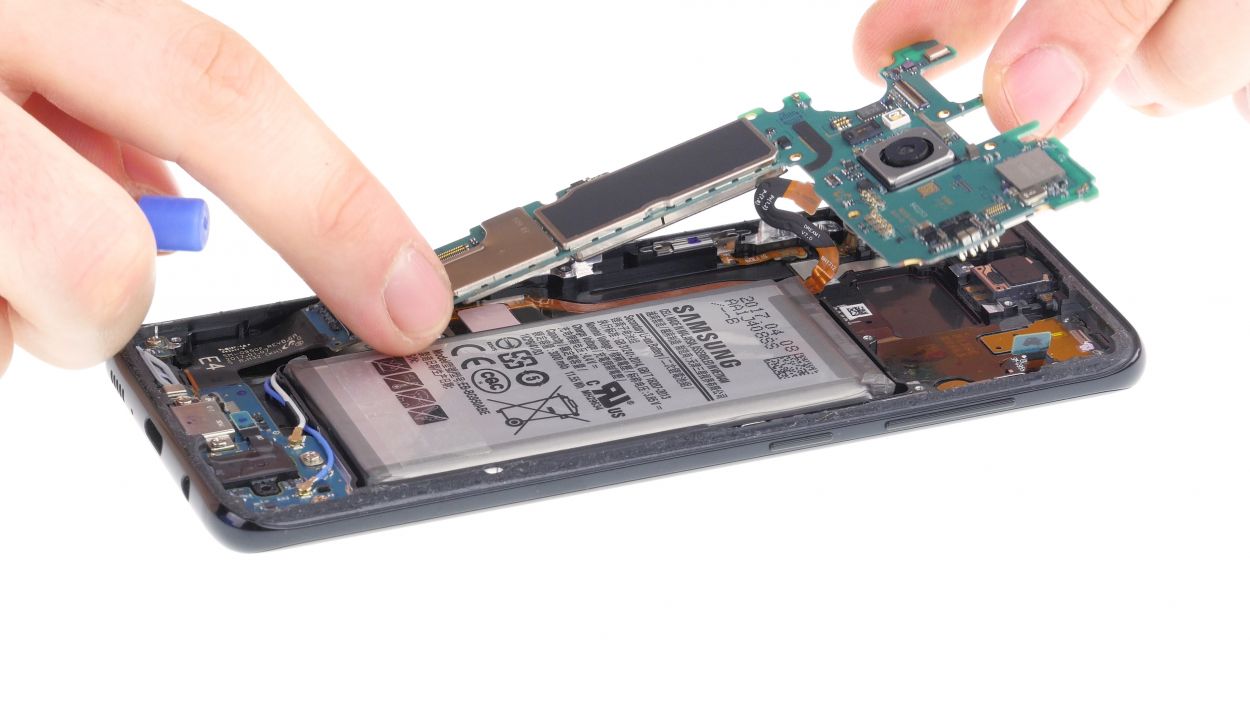
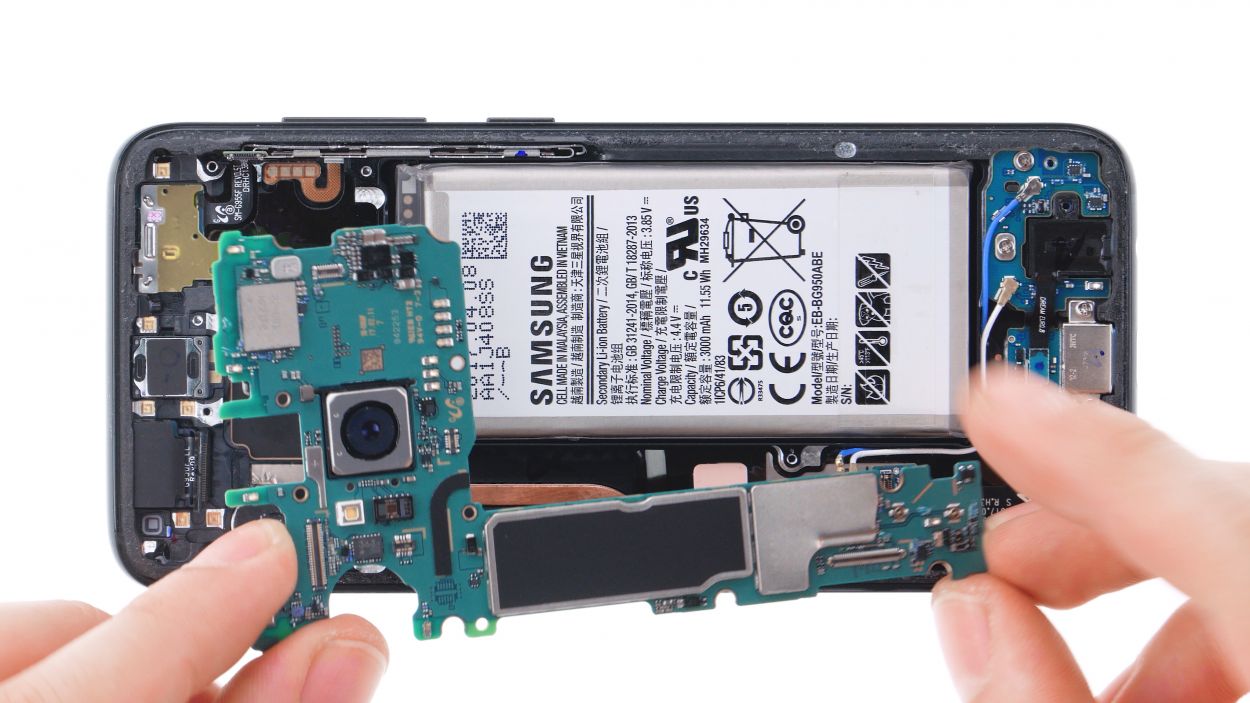
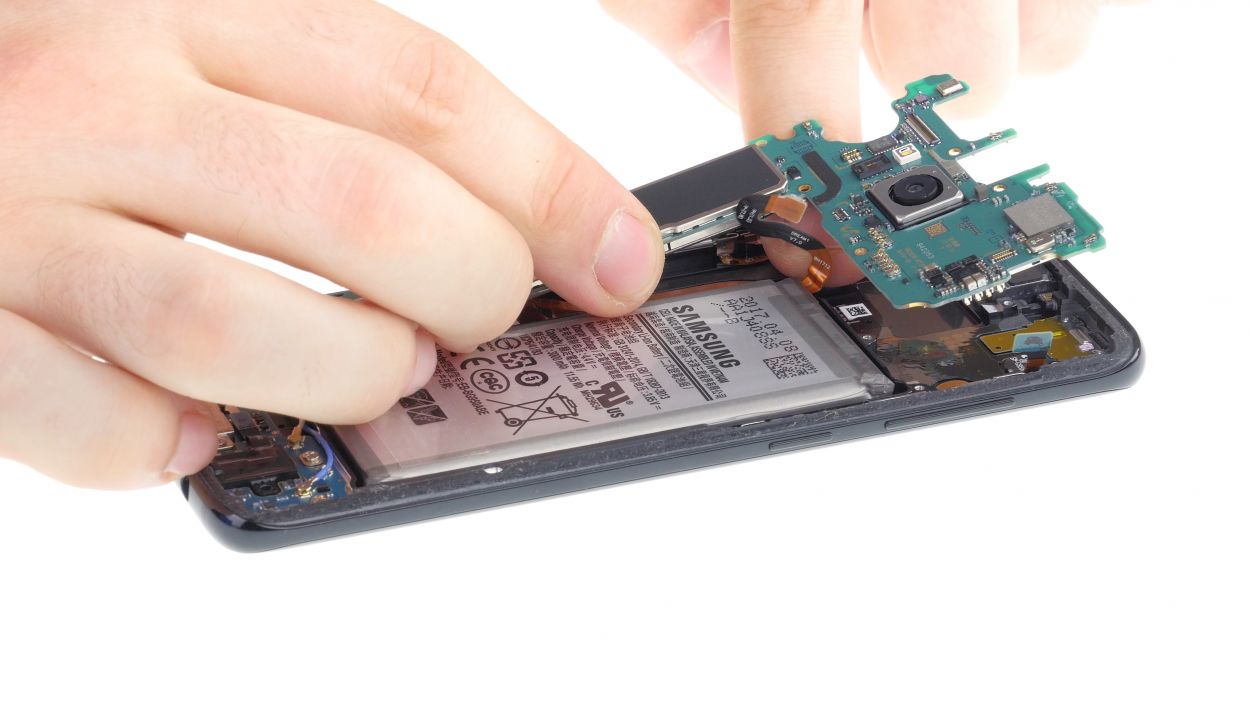
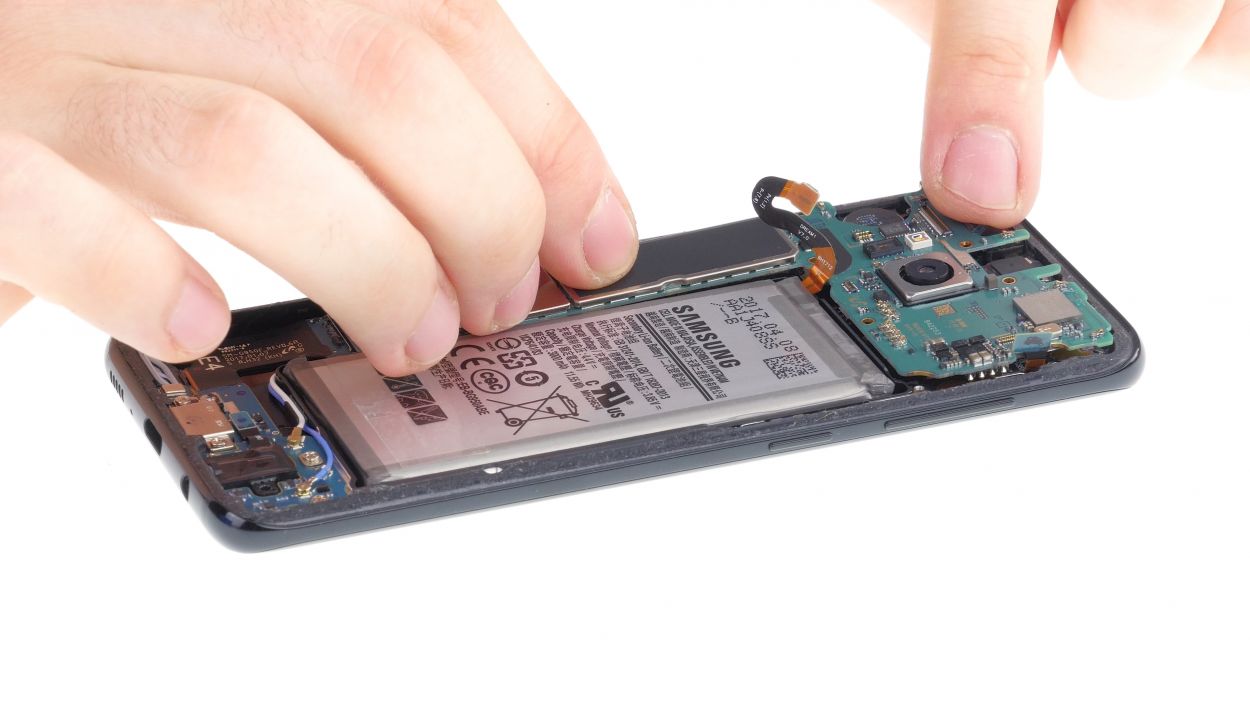
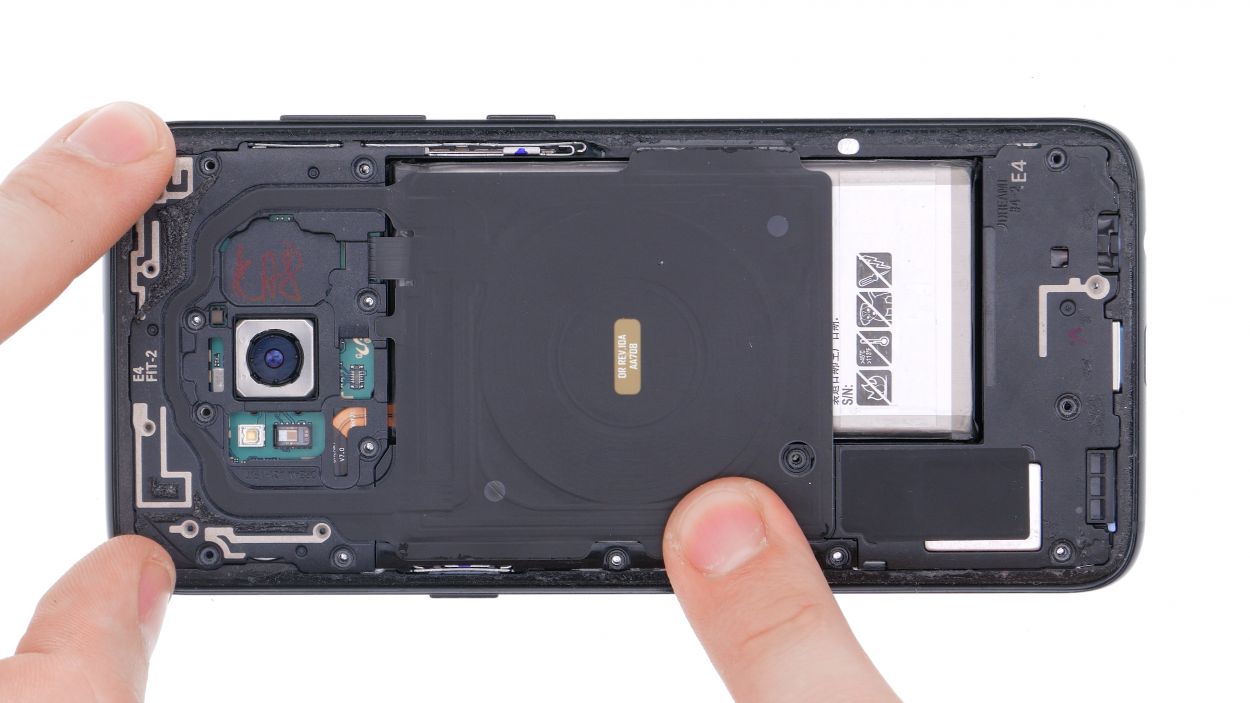
– Carefully lift the motherboard out of its spot. Be mindful not to snag it on any of the connectors you’ve already disconnected.
– There’s still the USB port hanging on at the back of the board. Once you’ve gently raised the board, grab your spudger and use it to disconnect this last connection.
– Once the board is free, set it aside somewhere safe. You’re almost there!
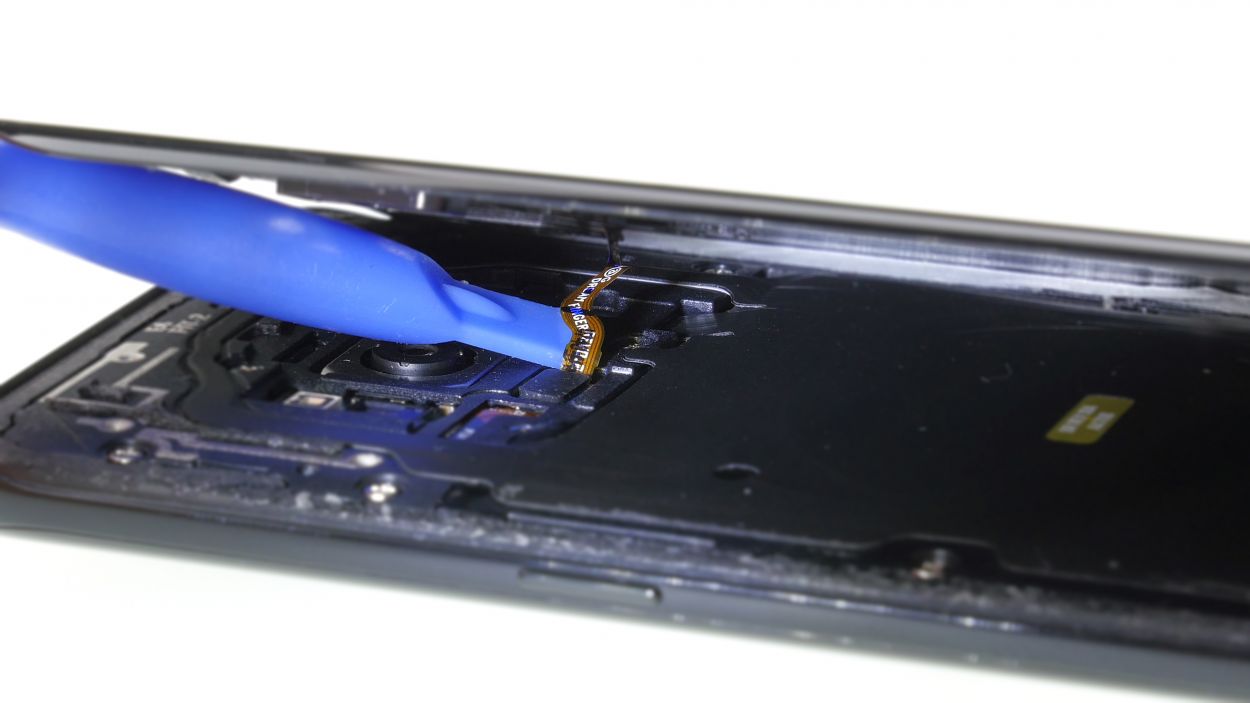
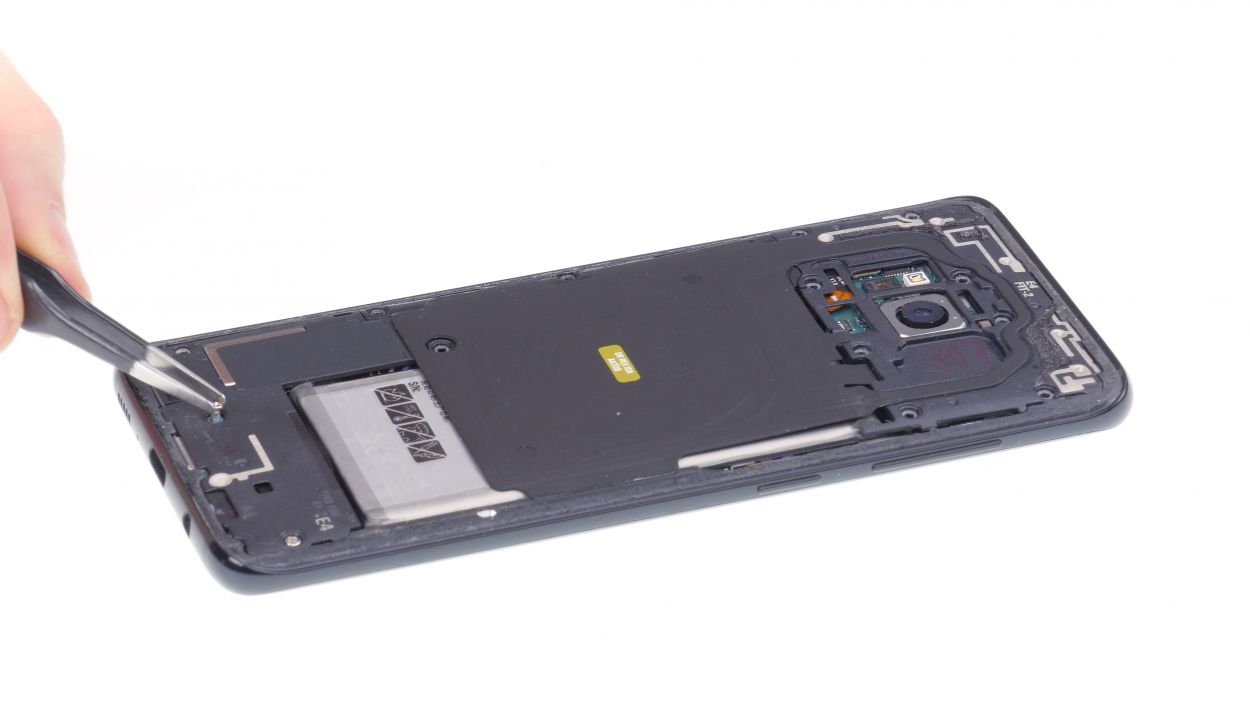
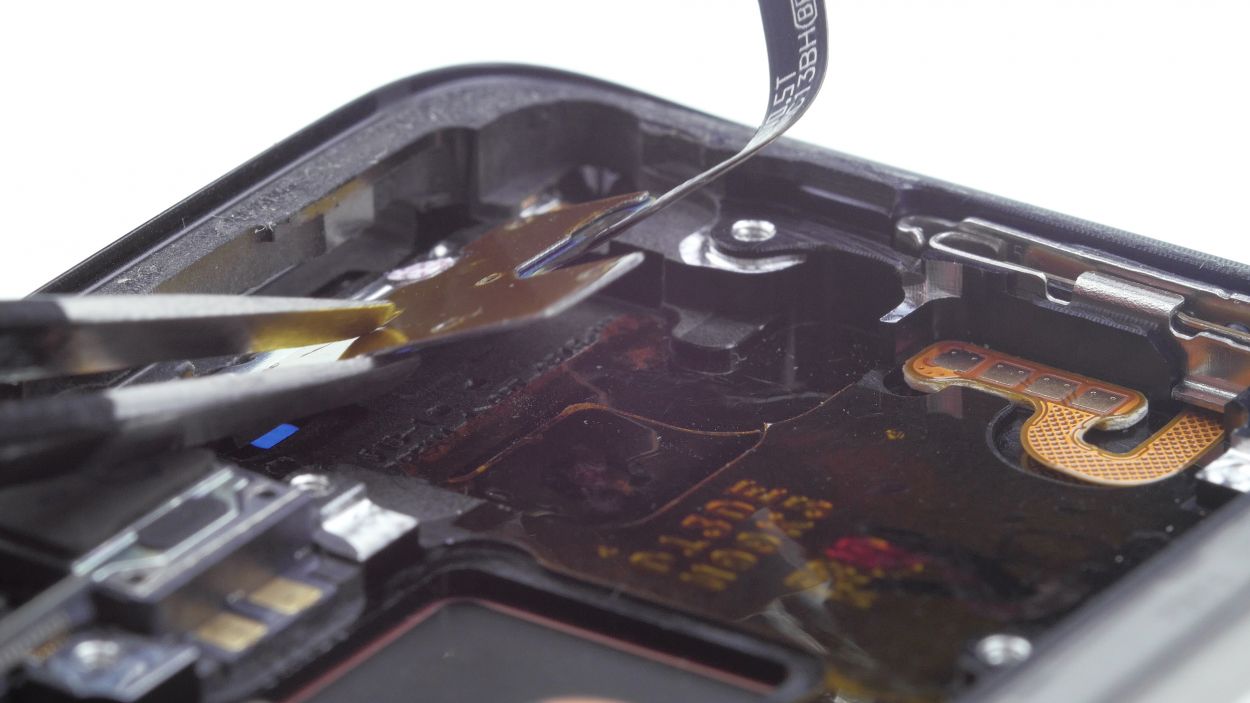
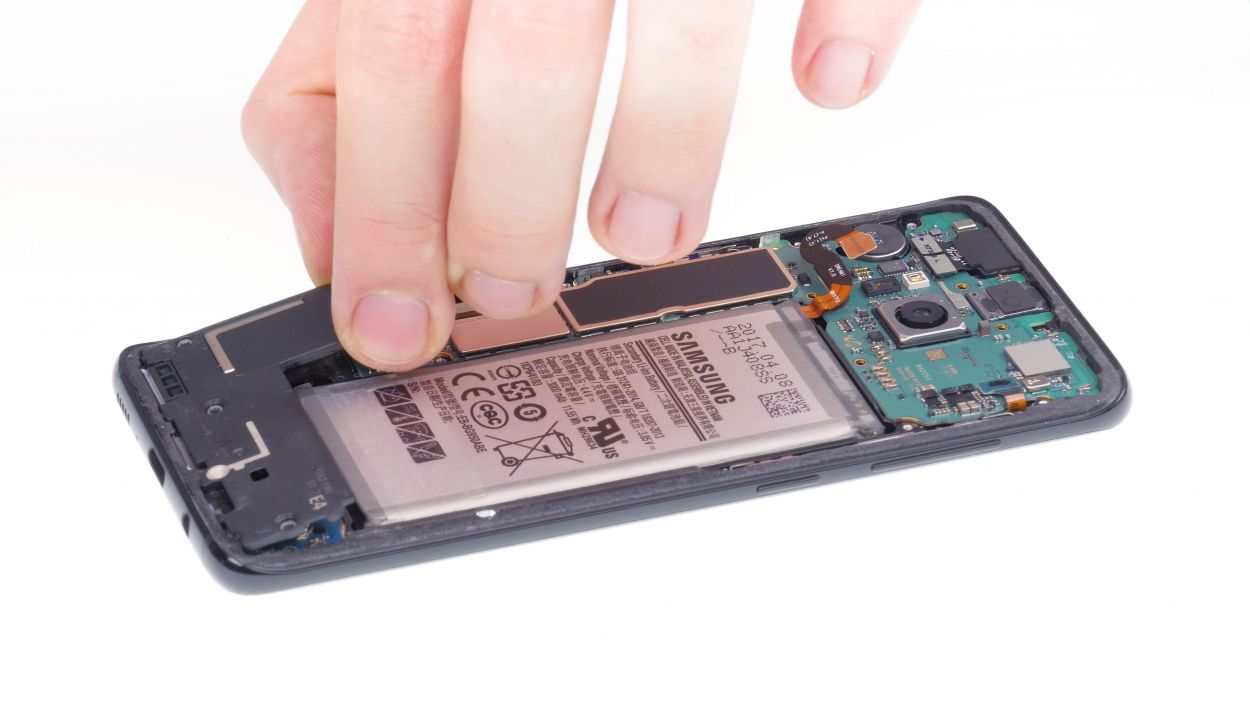
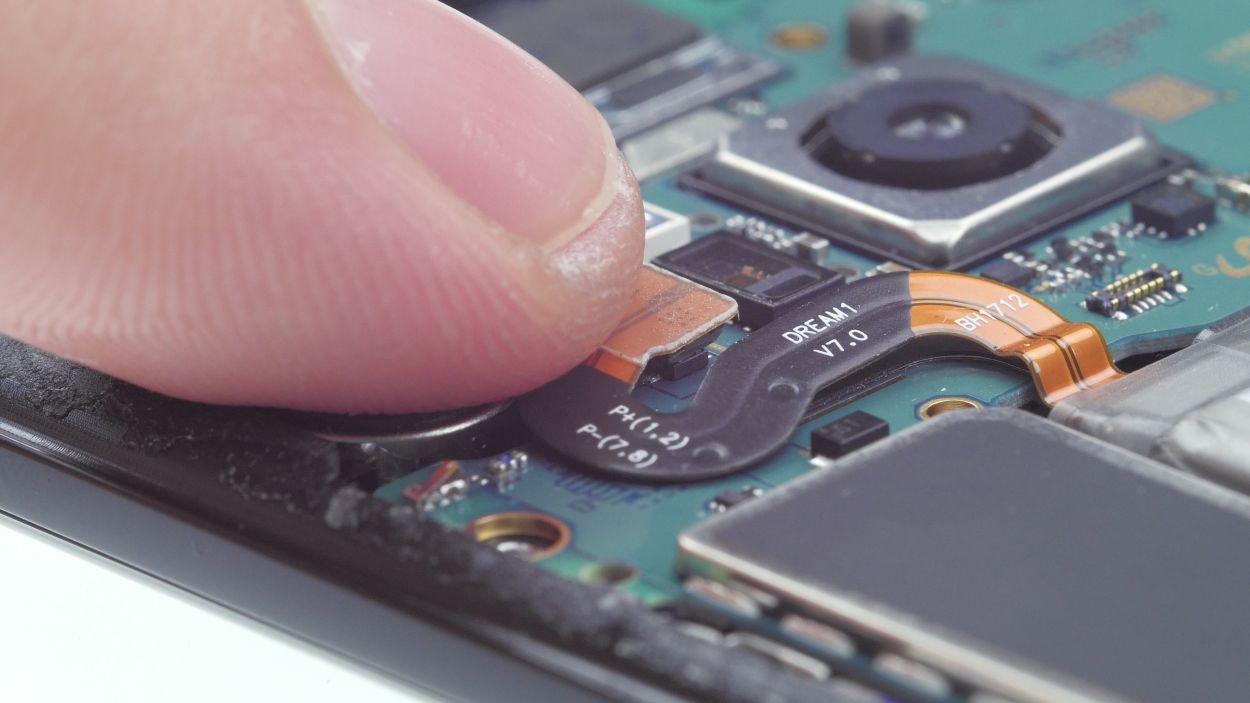
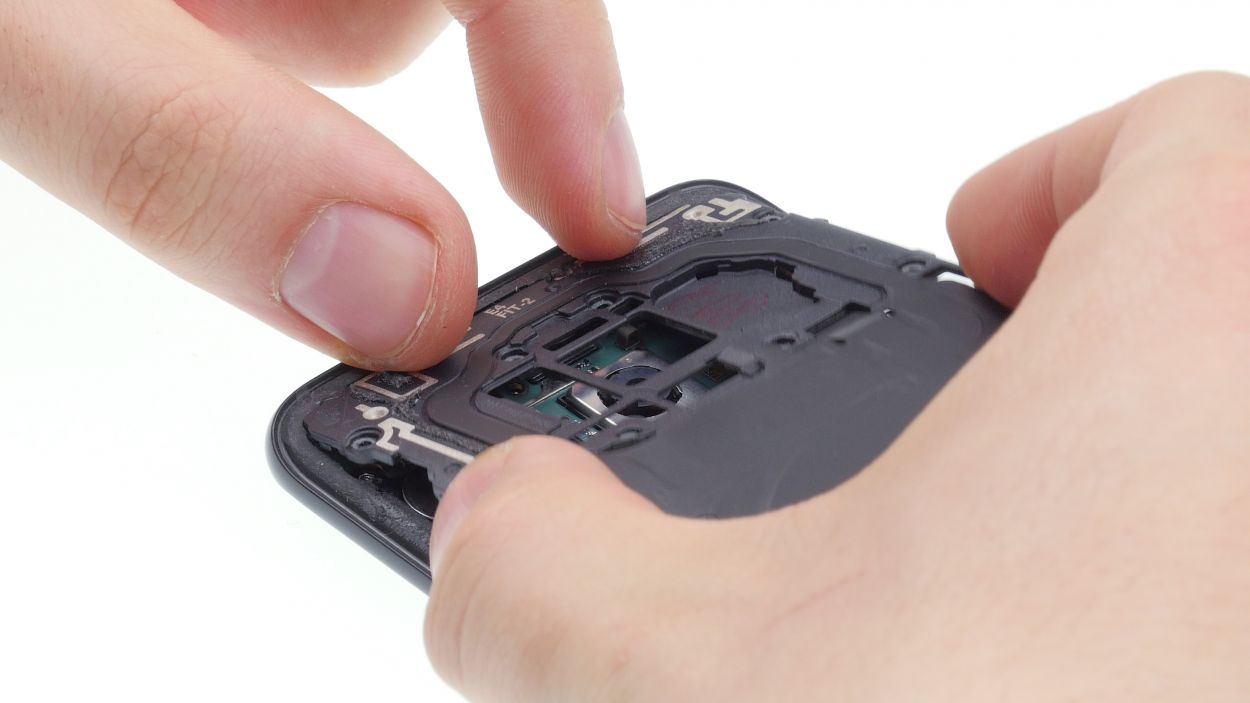
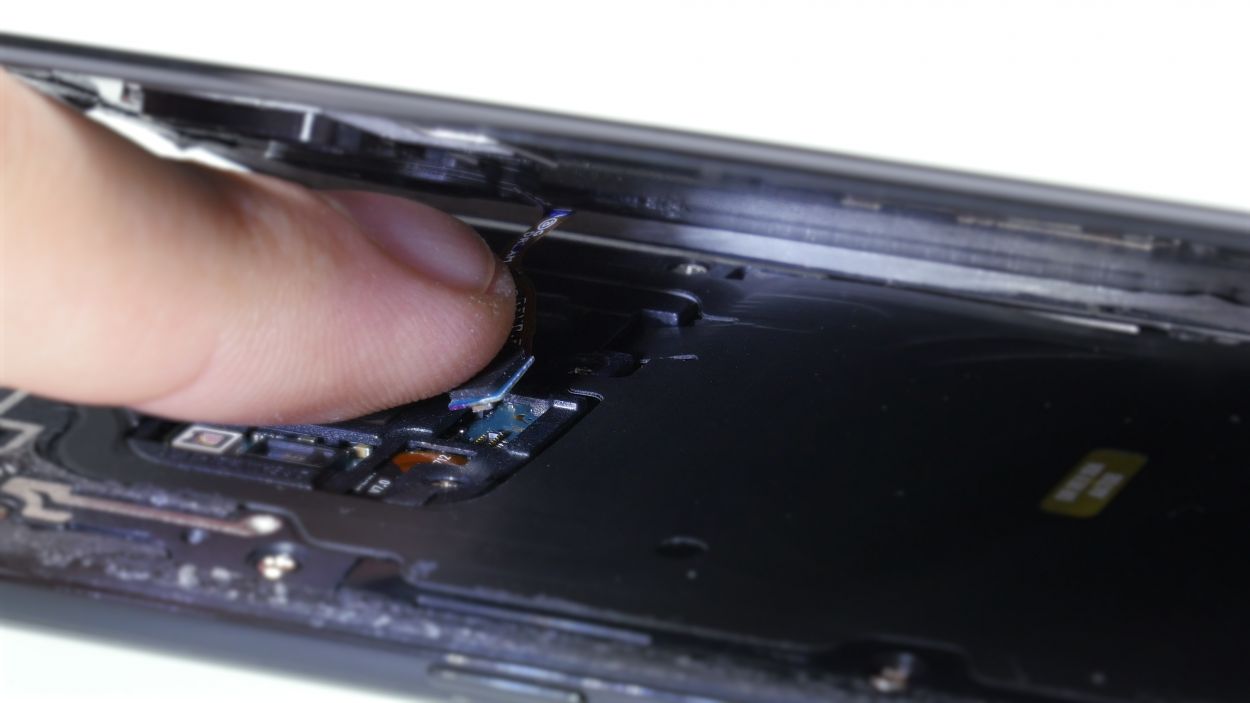
Step 11

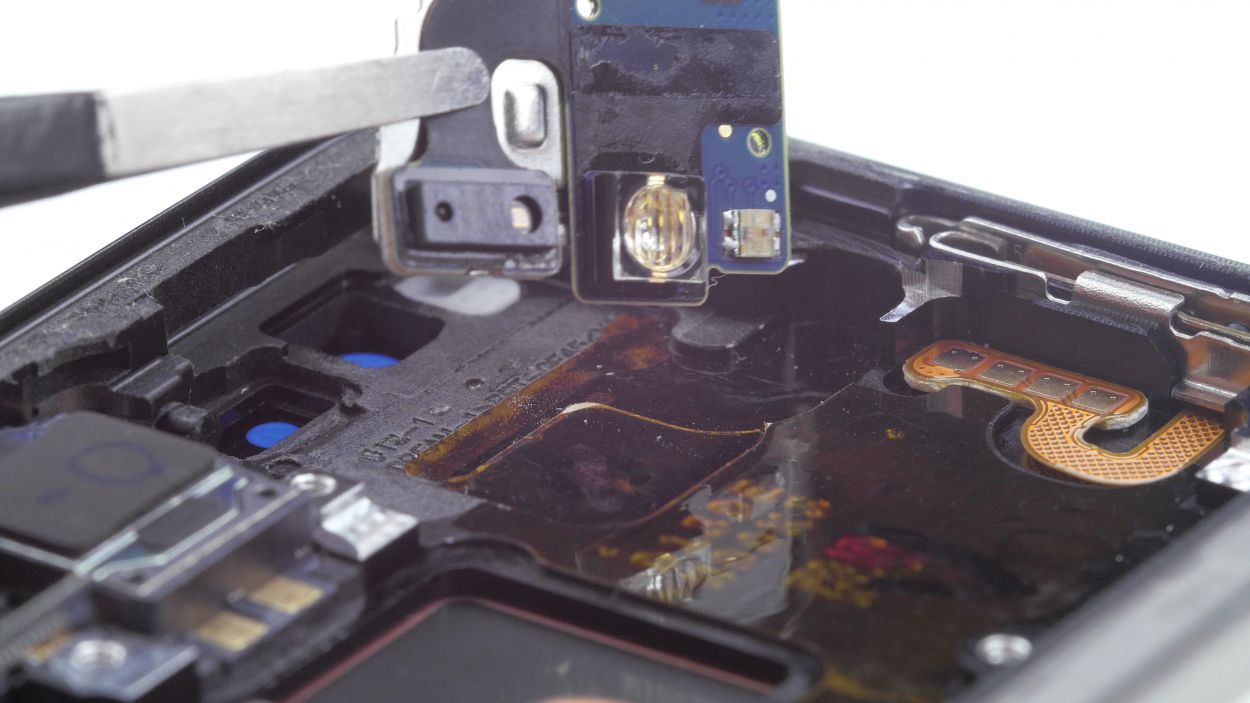
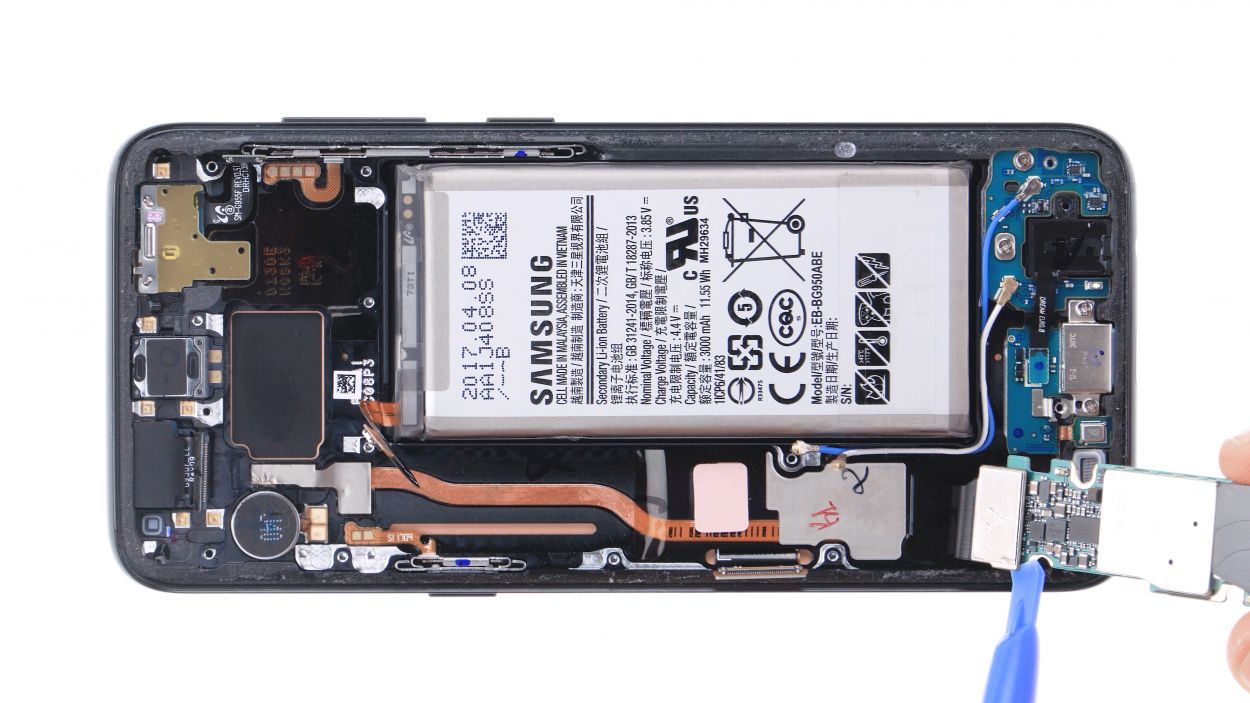
– That sensor cable’s glued to the screen? No sweat! Gently pry it up with a flat tool—easy peasy, lemon squeezy!
– Time to grab those tweezers and give that flex cable a little nudge. You got this!
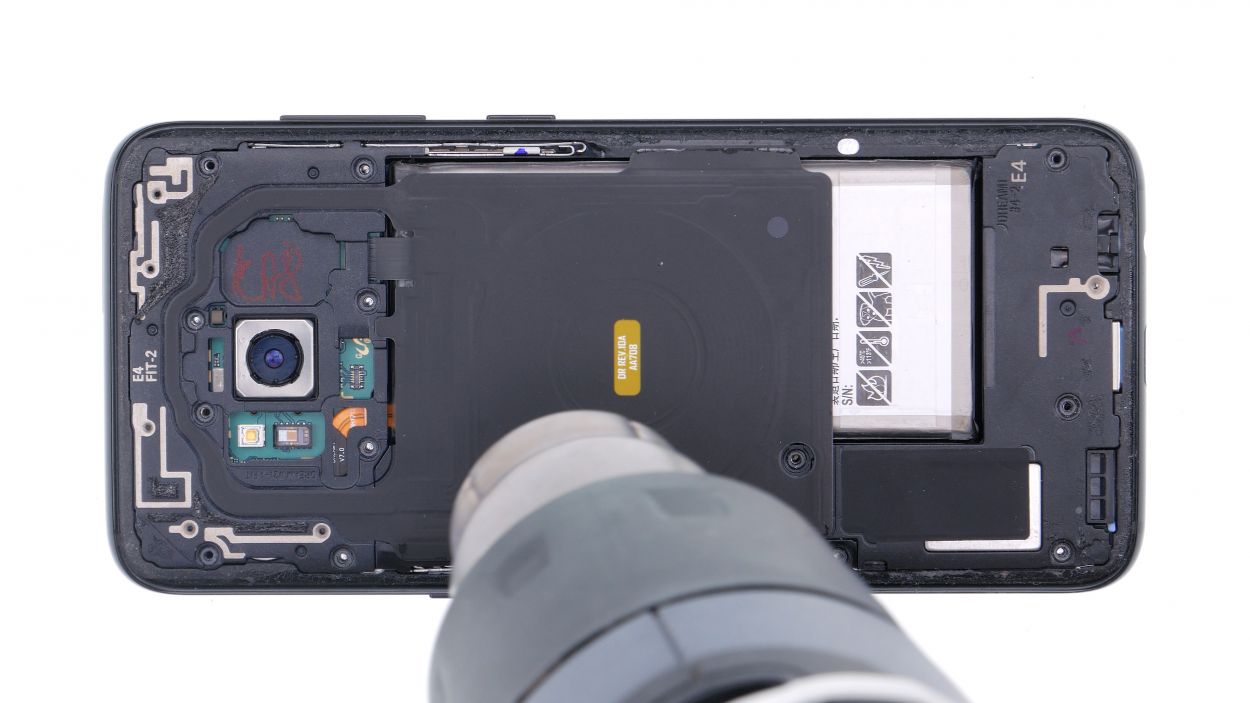
Step 12
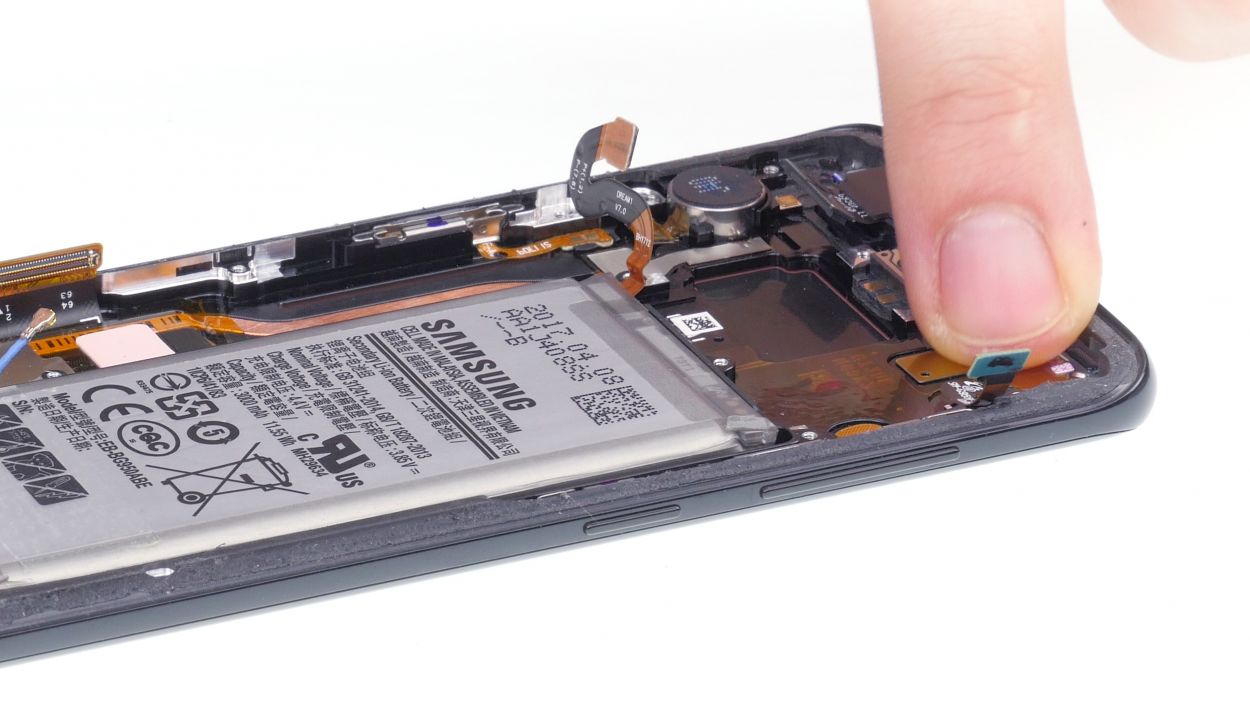
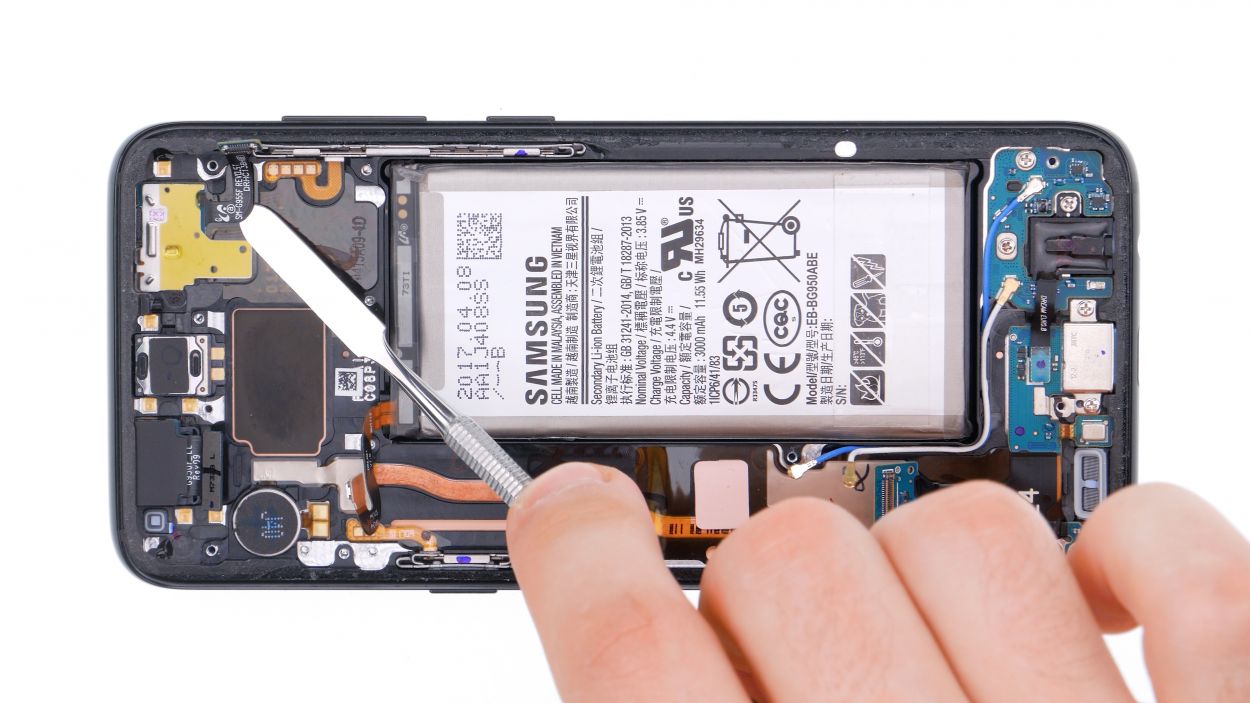
– Carefully tuck the sensor cable back into its cozy spot in the chassis.
– Give the sensor a gentle press with your finger to secure it in place.
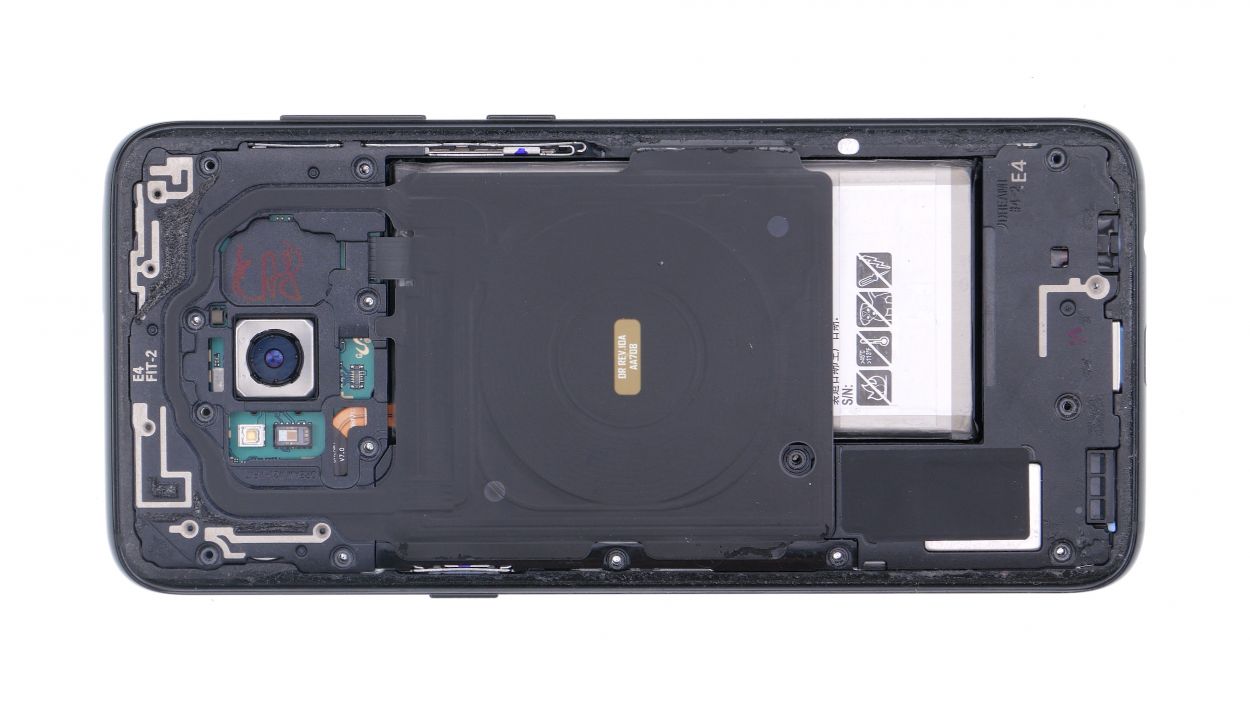
Step 13

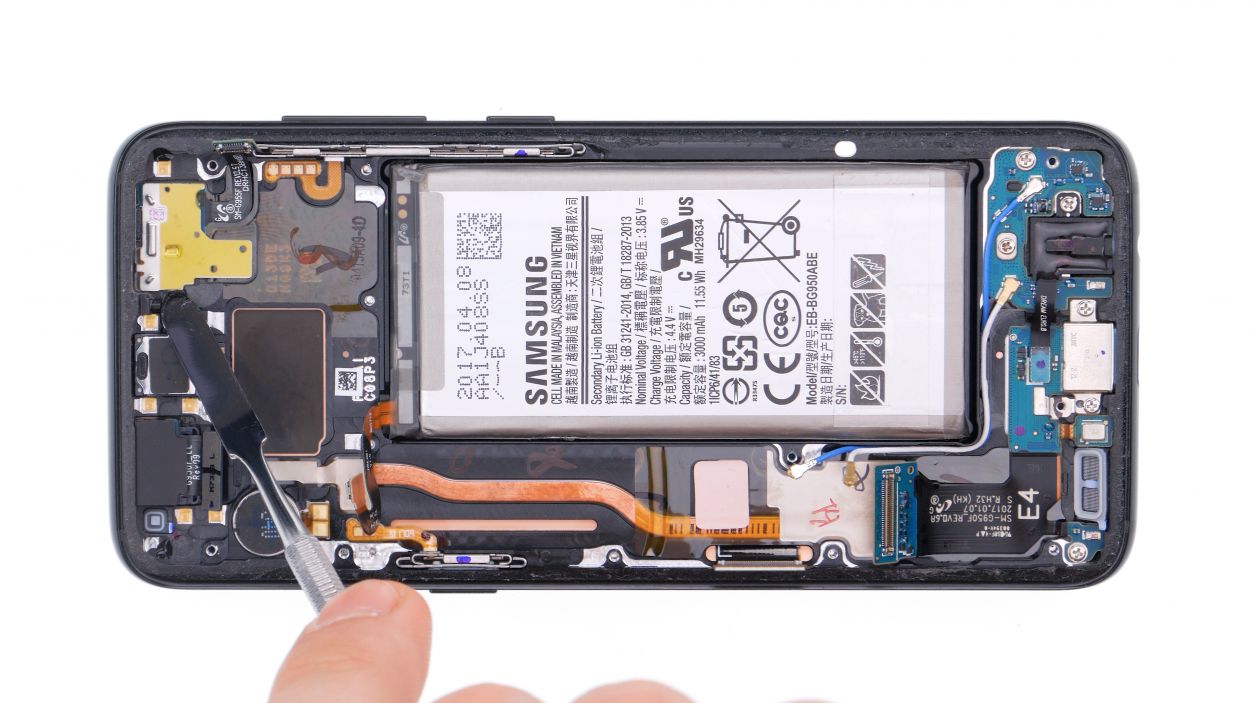
– First, let’s get that connector snugly attached to the back of the motherboard.
– Now, gently place the motherboard back into the chassis. Just a friendly reminder: keep an eye out for any cables or connectors that might want to sneak under the board!
Step 14

– Now, let’s reconnect those highlighted contacts to the board! You’ve got this!
Step 15
– The speaker hangs out at the bottom of the device.
– To get it snug in there, just give it a gentle press with your fingers.
Step 16
– Alright, it’s time to get that battery back in action! Just press the connector down until you hear a satisfying click. That sound means you’ve locked it in place, and it’s ready to go!
Step 17
– First up, let’s get that middle cover snugly seated in your Galaxy S8’s housing. Just place it right on the board, and you’re off to a great start!
– Next, grab the top cover with the antenna and gently slide it back into the body. Make sure to hook it on the upper side to keep everything in place.
– Now it’s time to secure that cover! Give it a gentle press all around with your fingers to ensure it snaps in nicely. You’re doing awesome!
Step 18
14 × 3,6 mm Phillips Schraube
– Tighten up all 14 screws like a pro!
Step 19
To help that original glue stick around a bit longer, give your phone a little warmth with a hair dryer. Once that’s done, try clamping down your Galaxy S8 or placing some books on it for extra support. This little trick can really enhance your results!
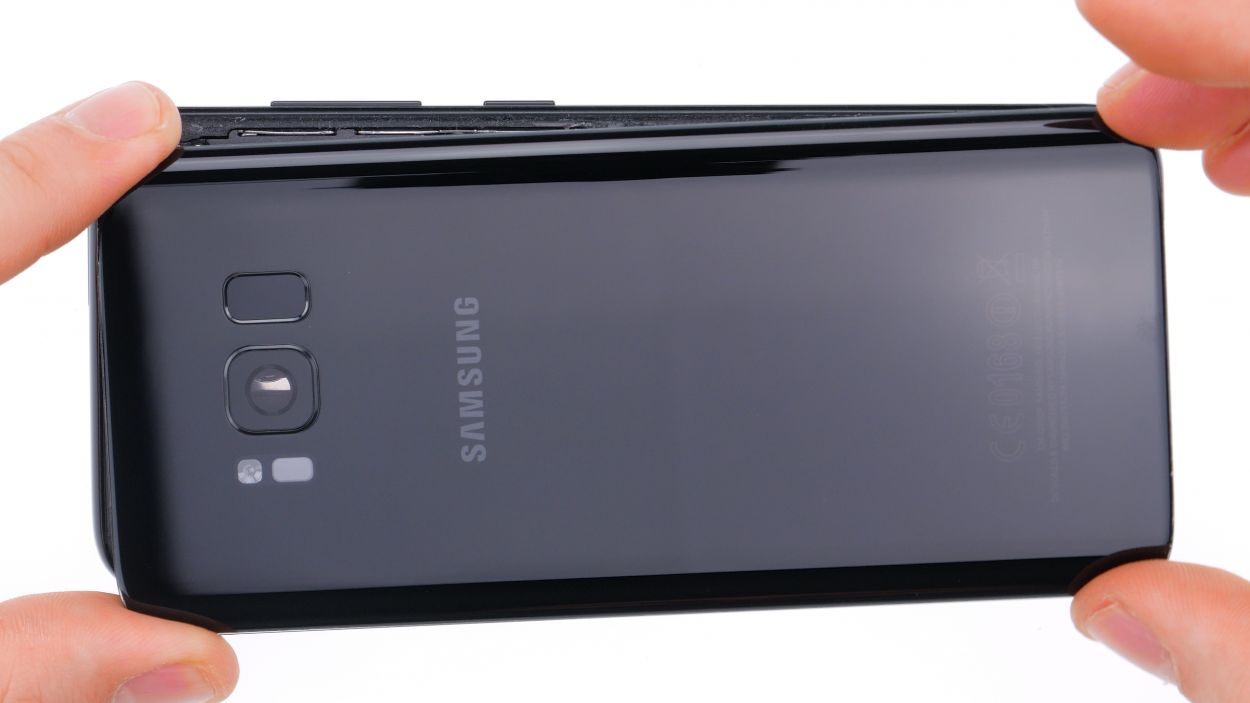
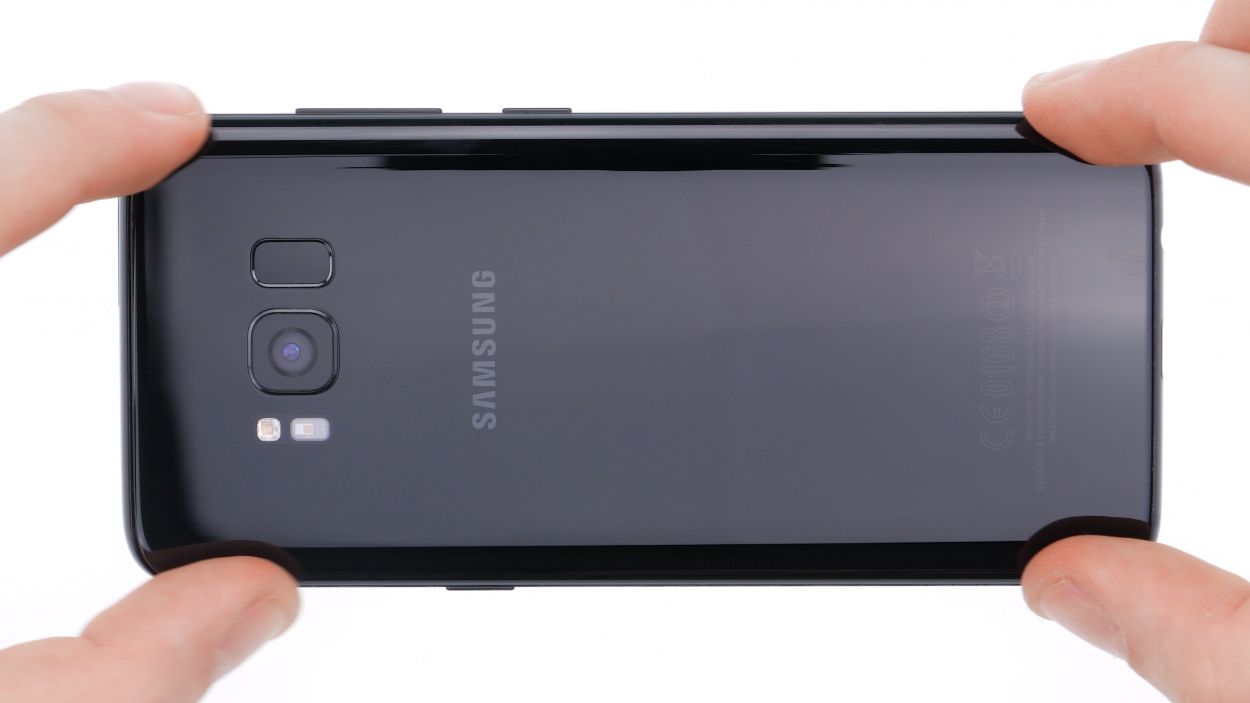
– Put the back cover right where it belongs.
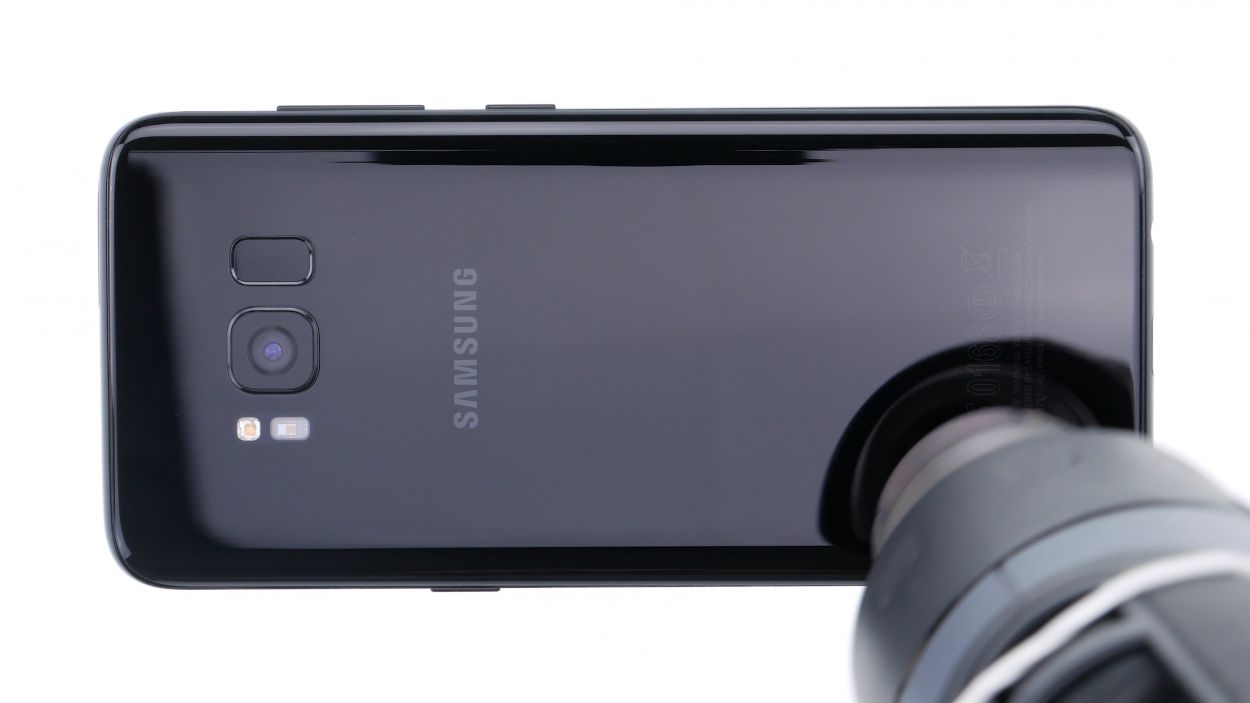
– Reconnect that fingerprint sensor like a pro.
– Now, give the back cover a gentle press all over so the adhesive can do its magic and stick back on.
Step 20
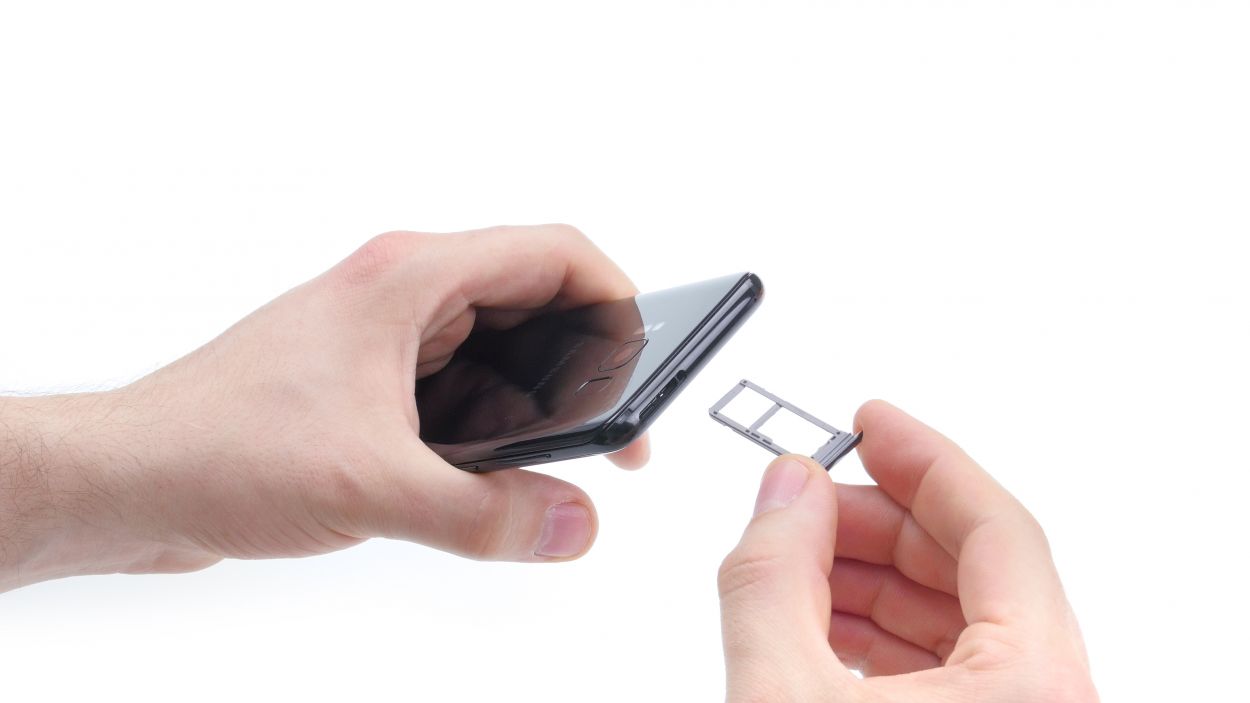
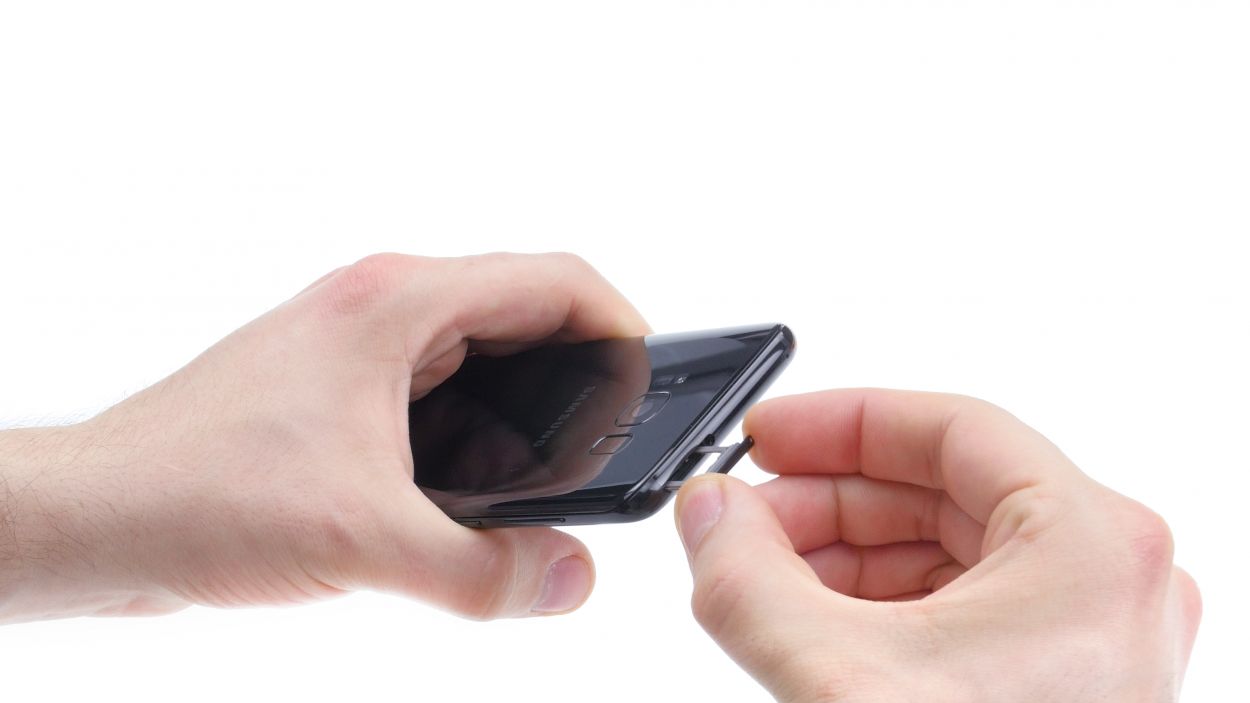
– It’s time to pop that SIM card holder back into your Galaxy S8! Just make sure to slide it in with the alignment on point. You’ve got this!