DIY Guide to Replace Earpiece on Galaxy S8
Duration: 60 min.
Steps: 20 Steps
Ready to tackle that pesky earpiece issue on your Galaxy S8? This guide is here to help you swap out that malfunctioning earpiece like a pro! If you find yourself straining to hear your conversation partner or if the call sounds like a whisper, it’s time to roll up those sleeves and get to work. And remember, if you need help, you can always schedule a repair.
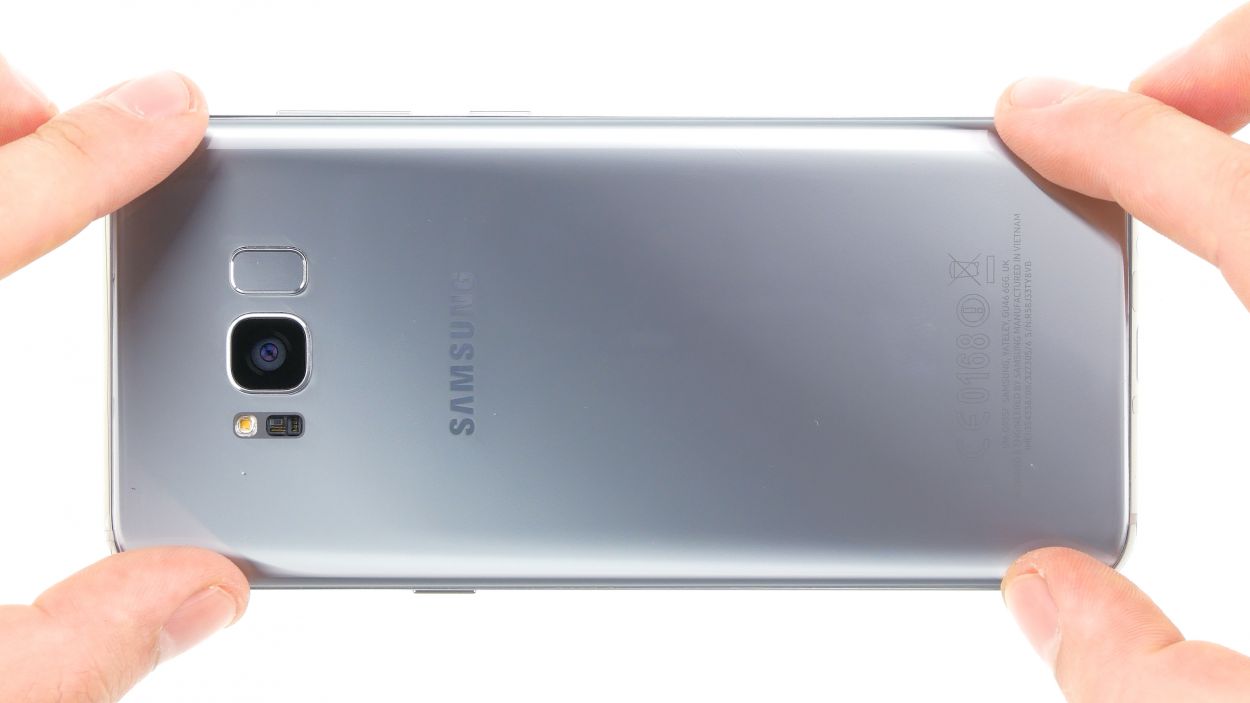
Step 1

– First things first, let’s give your device a little break! Press and hold that power button until you see the ‘Power off’ option pop up on the screen.
– Now, give it a gentle tap with your finger to confirm that you really want to shut down your Galaxy S8 Plus. Sit back and relax while you wait for the screen to go blank – it’s almost time for some repair magic!
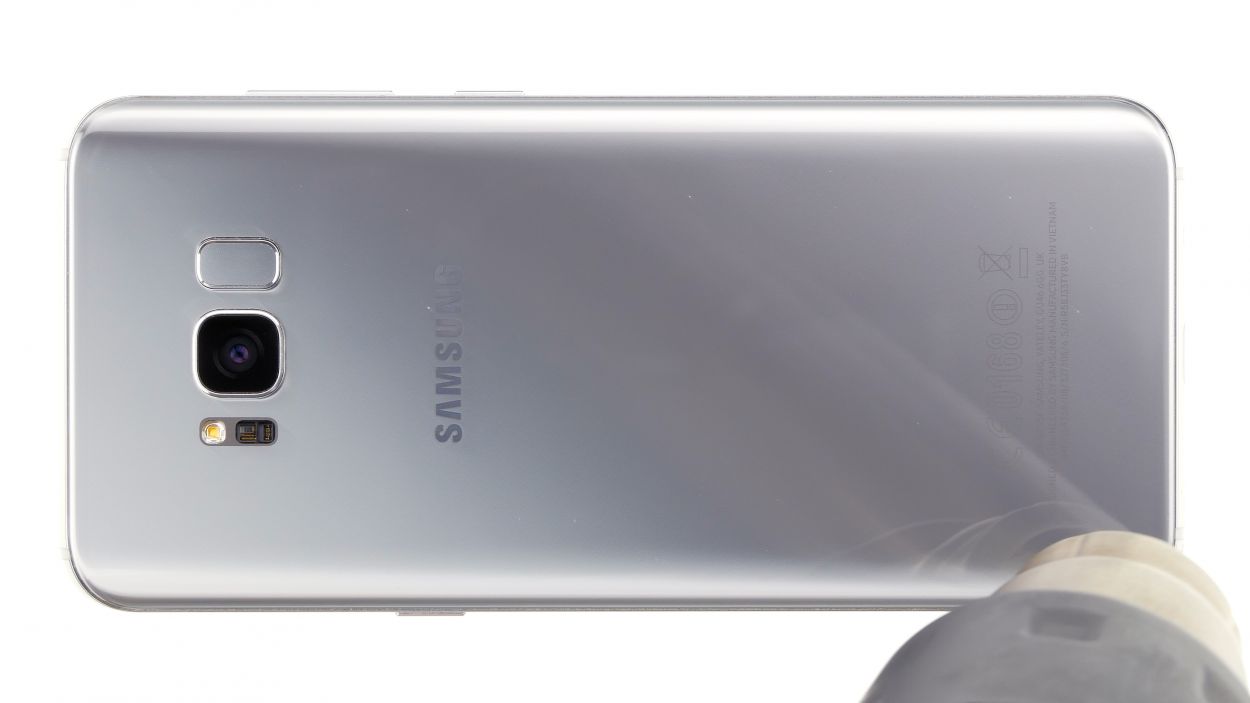
Step 2

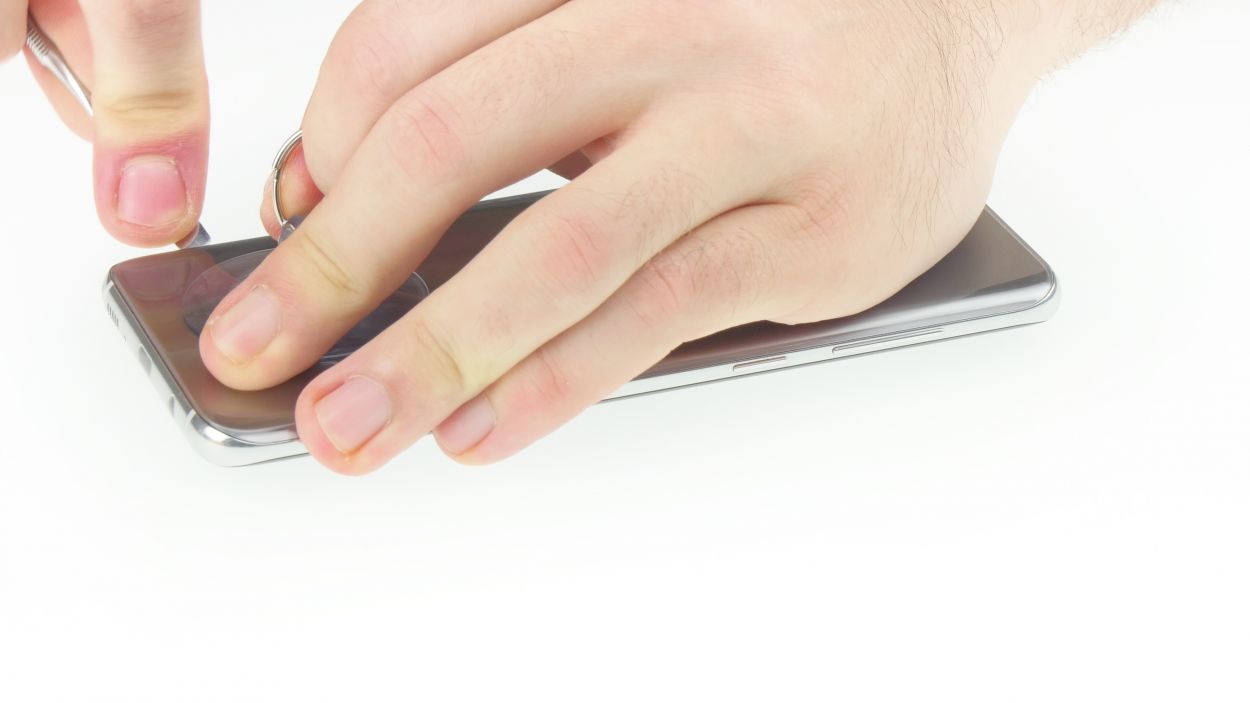
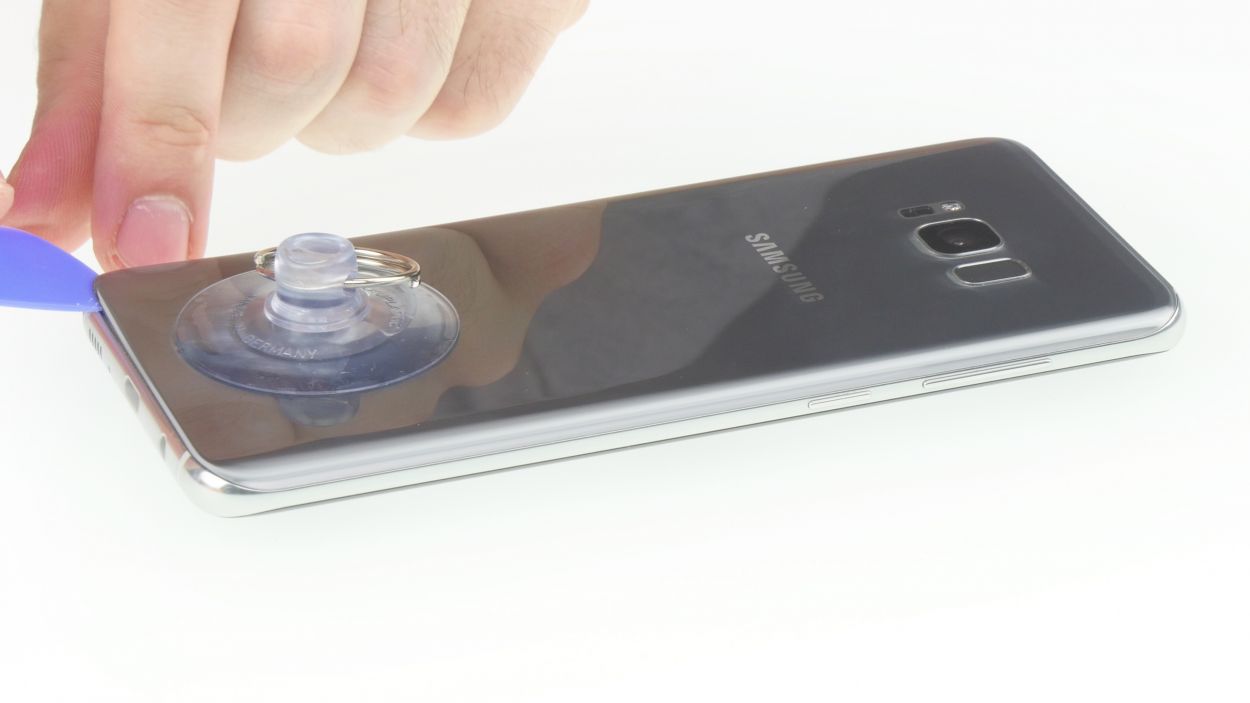

This step might take a little while, so don’t get discouraged! You might need to warm up that rear glass or the glue a few extra times before it finally decides to part ways.
If you’re having trouble finding a spot to insert the tool, why not give a suction cup a try? It might just lift the glass for you!
– Okay, that back cover is stuck on tighter than a drum! Let’s gently persuade it with some hot air. Heat the device evenly to loosen that glue.
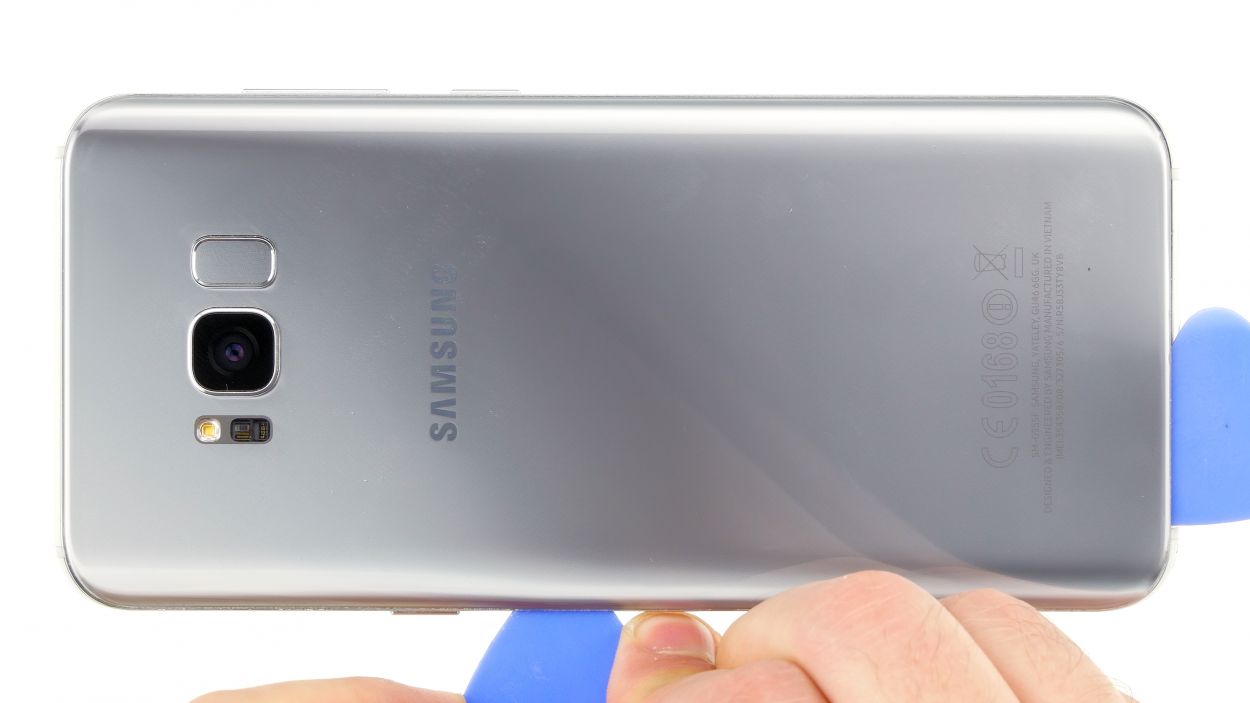
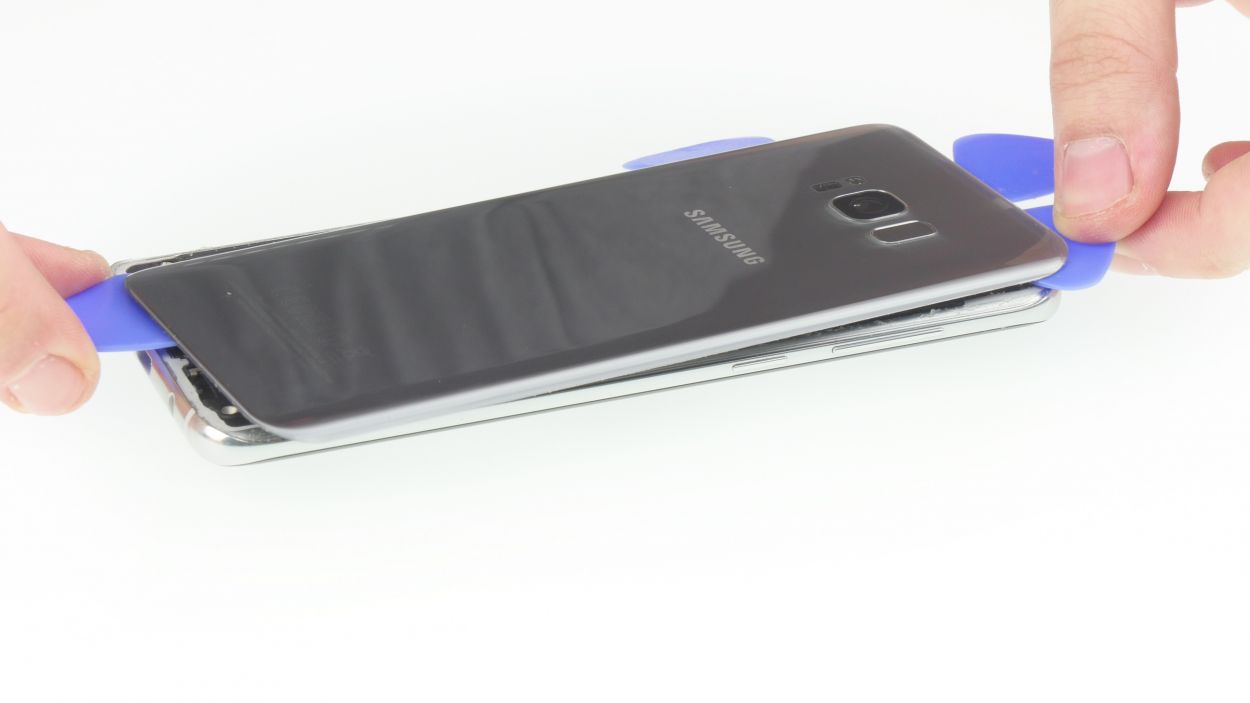
– Now for the fun part! Grab a flat tool (a guitar pick works great!) and carefully find a spot to sneak it under the rear glass. Once you’ve found a good entry point, slowly work your way around the device. It’s like a puzzle, but way cooler. If you’re feeling stuck, you can always schedule a repair
Step 3
– Once you’ve popped off the back cover, gently lift it up and disconnect that fingerprint sensor using your trusty spudger.
– Now, you can fully take off the back cover and set it aside like a pro!
Step 4

11 × 3,8 mm Phillips Schraube
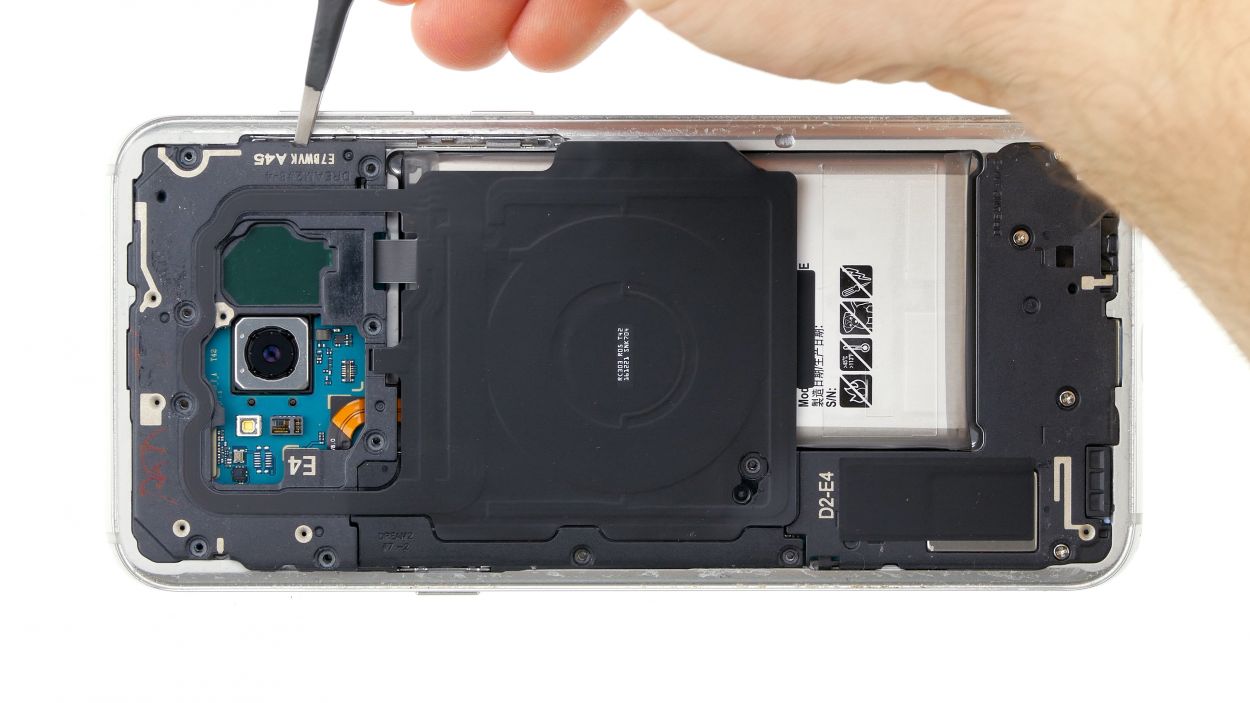
– First up, let’s tackle those screws holding the upper cover to the display. Time to get them out!
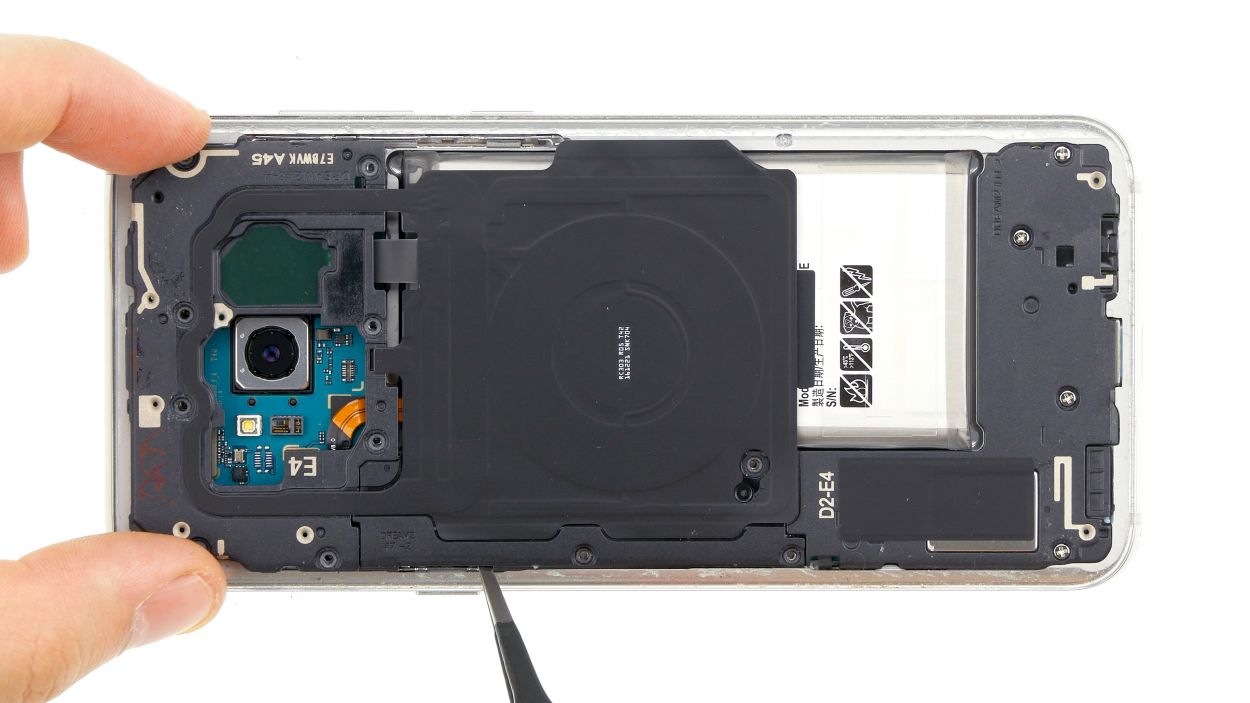
– The cover is snugly fitted onto the case. Grab a flat tool and gently slide it under the latches to free them.
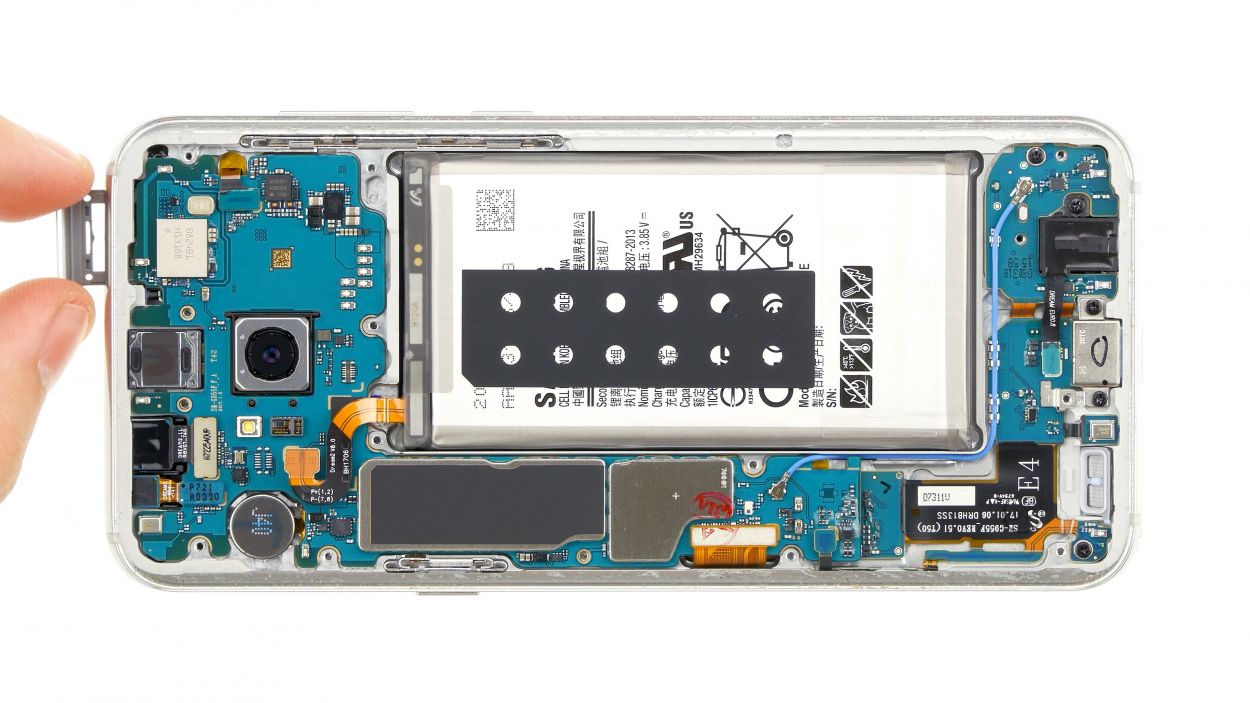
– Now, it’s antenna time! Carefully remove the antenna and keep it safe.
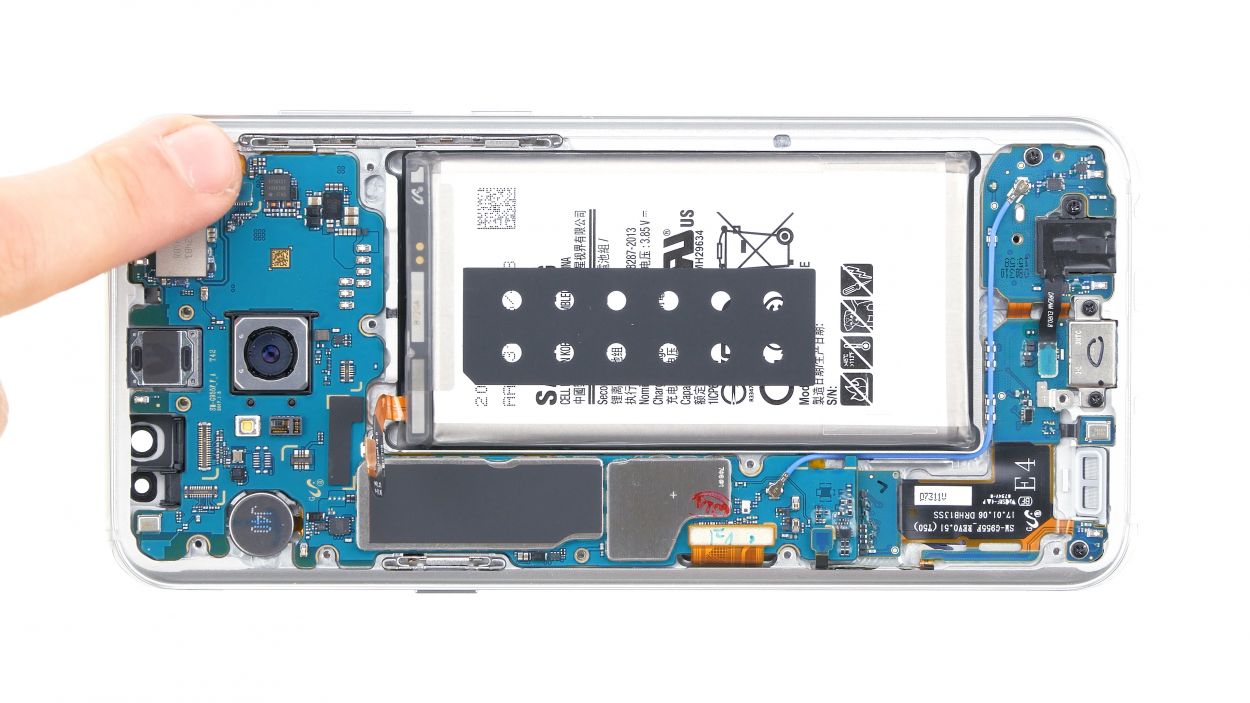
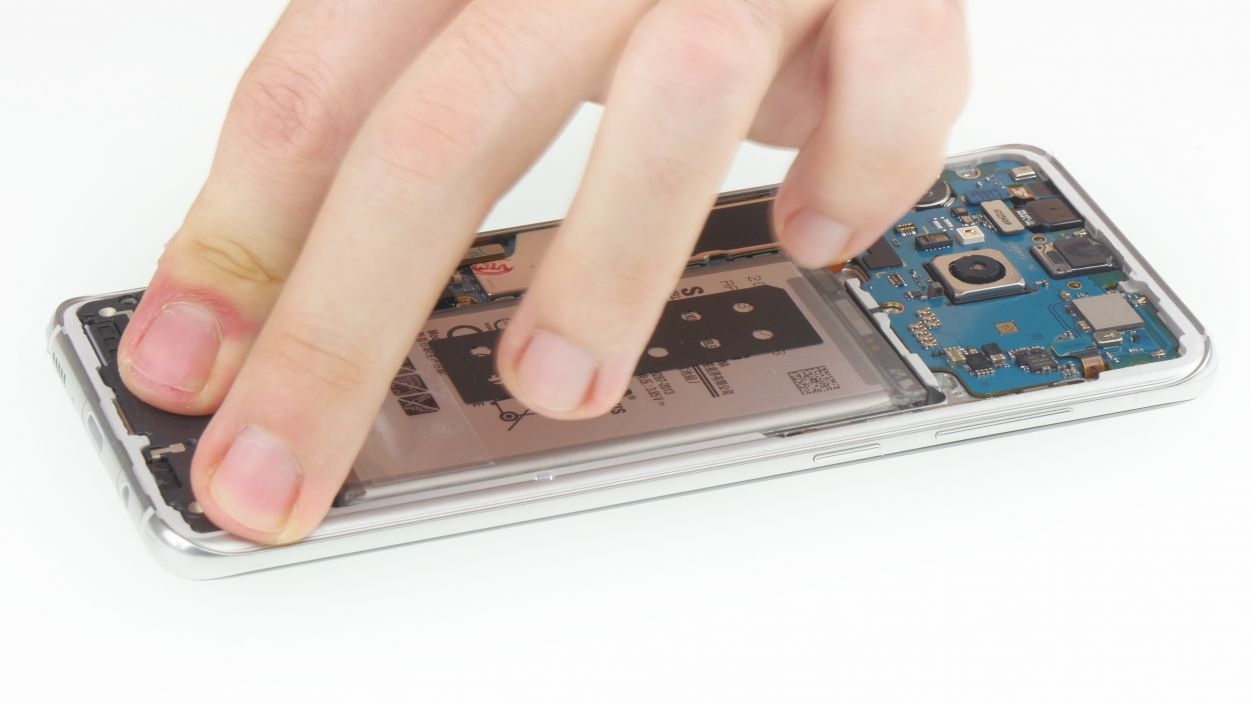
Step 5

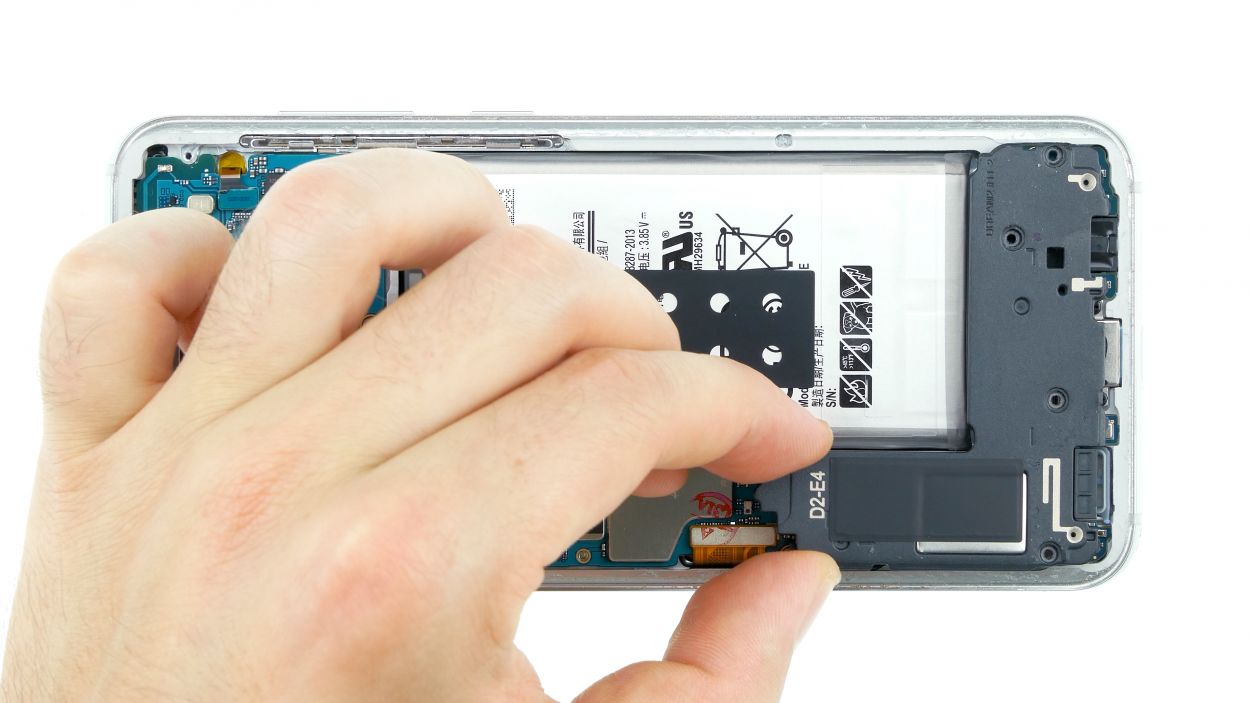
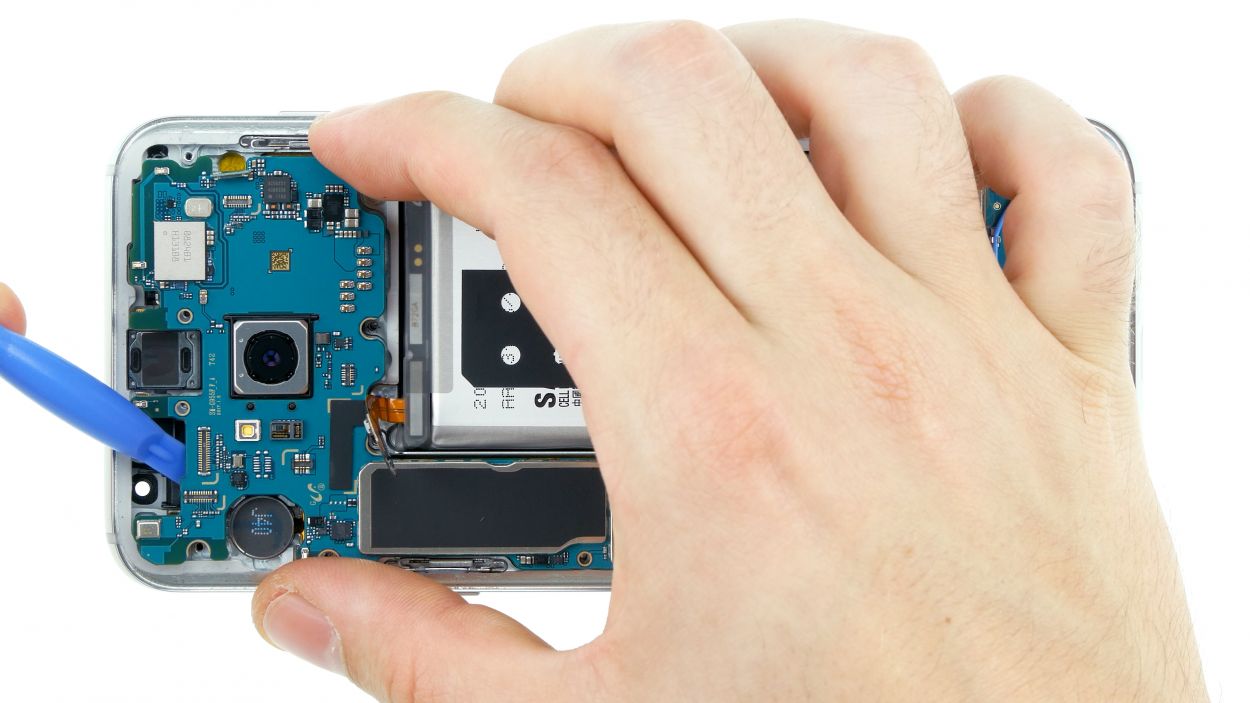
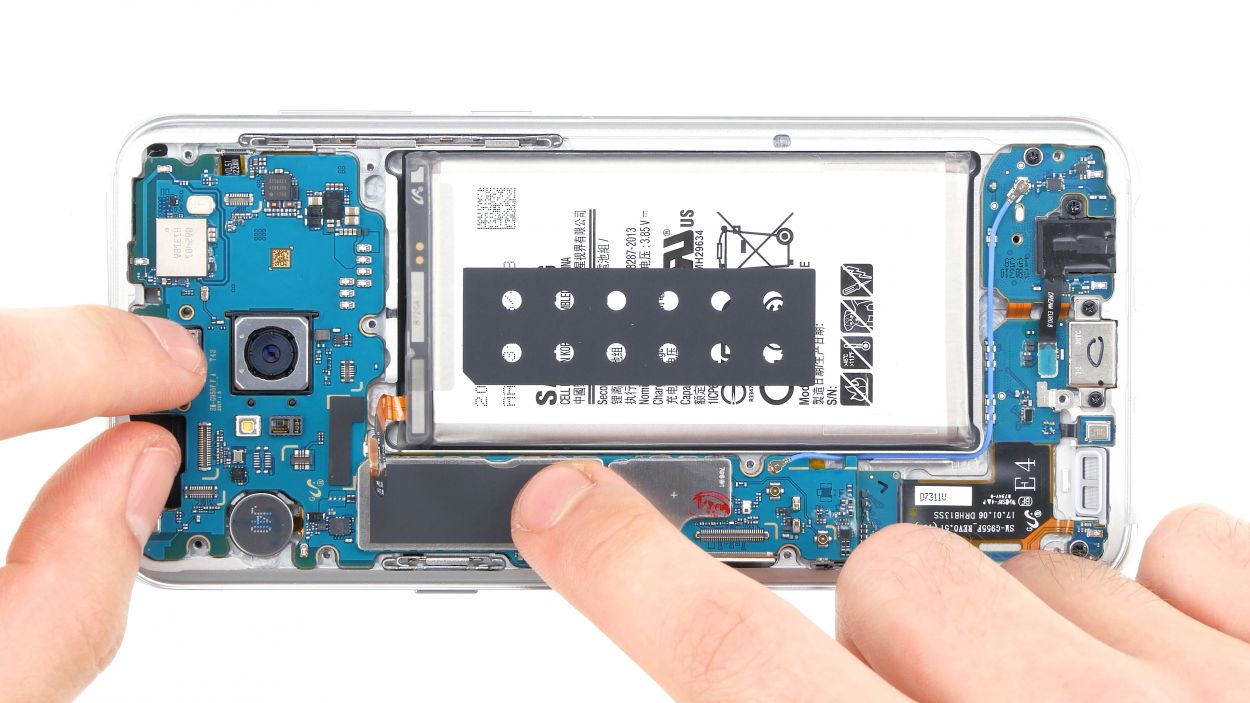
– Using the spudger, carefully disconnect the battery contact from the motherboard.

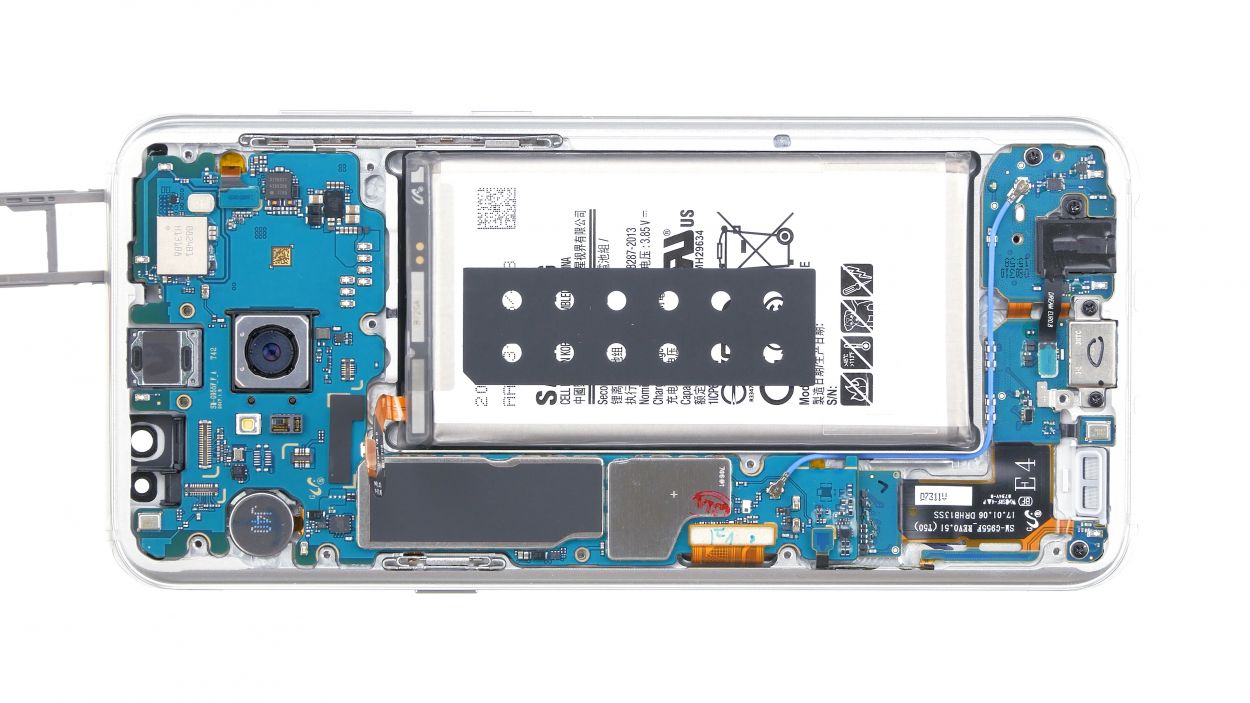
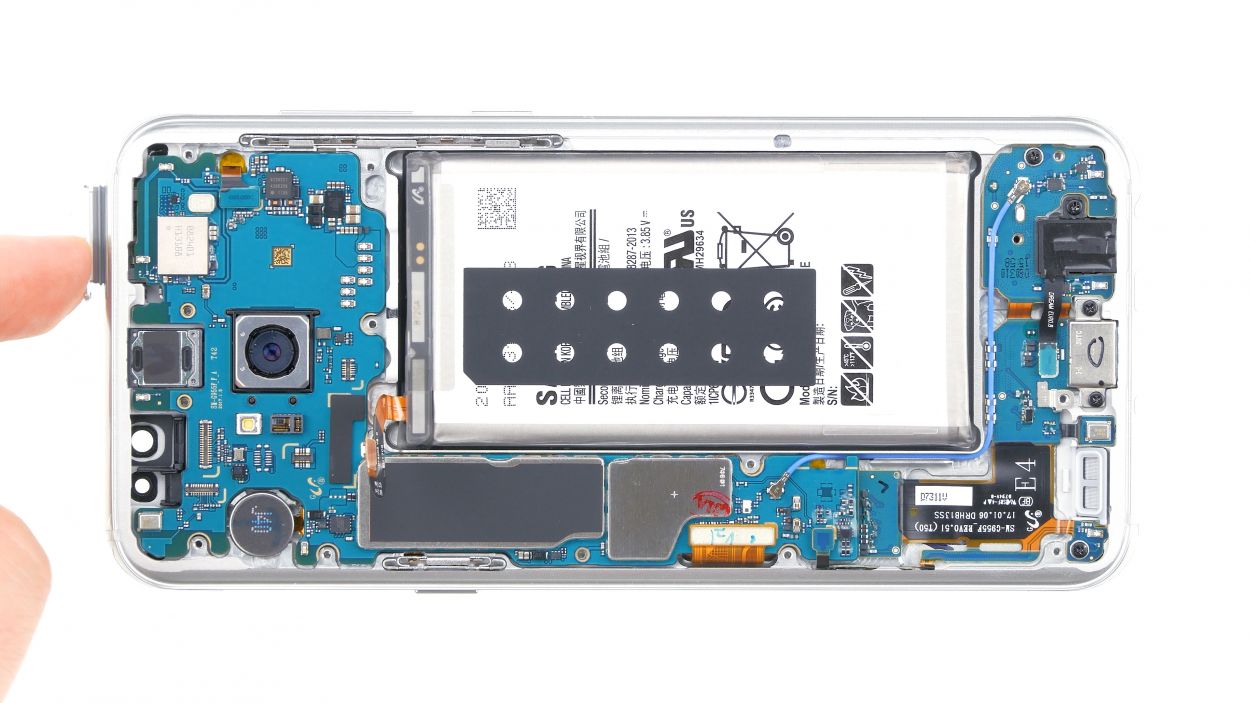
Step 7
– Grab your trusty SIM tool and gently pop out the SIM card tray from your device. Once it’s free, give it a little nudge with your fingers to pull it out completely.
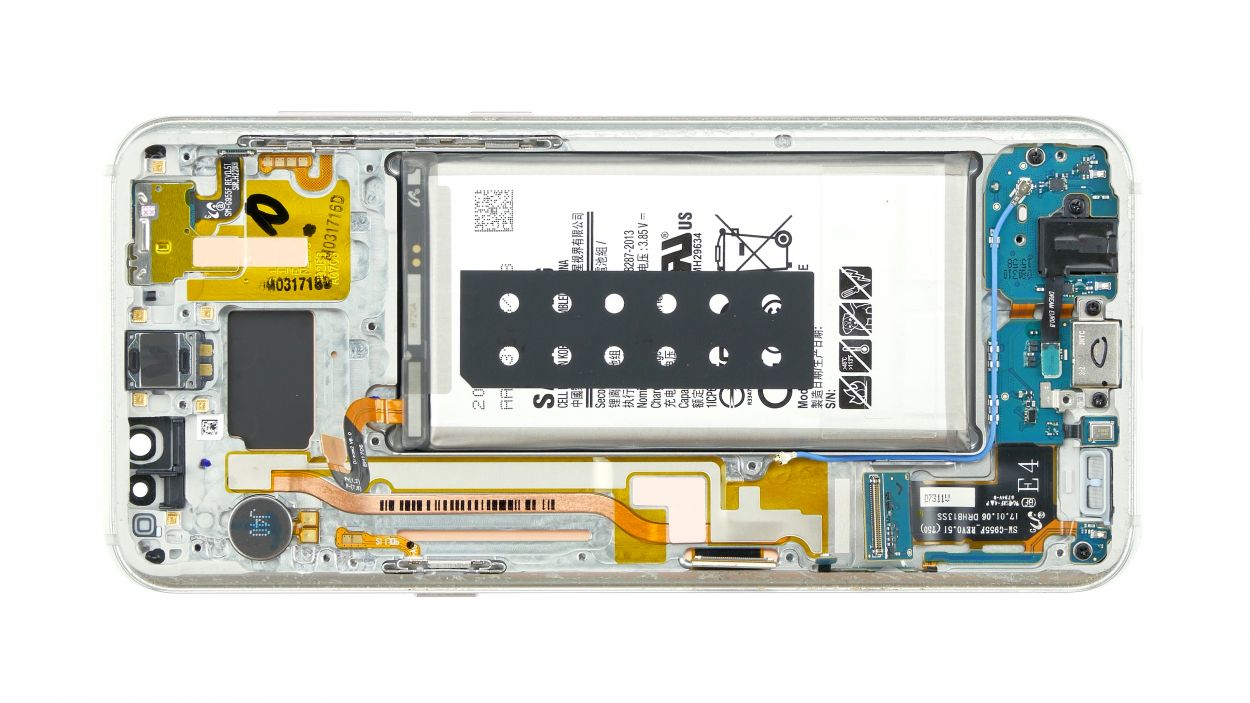
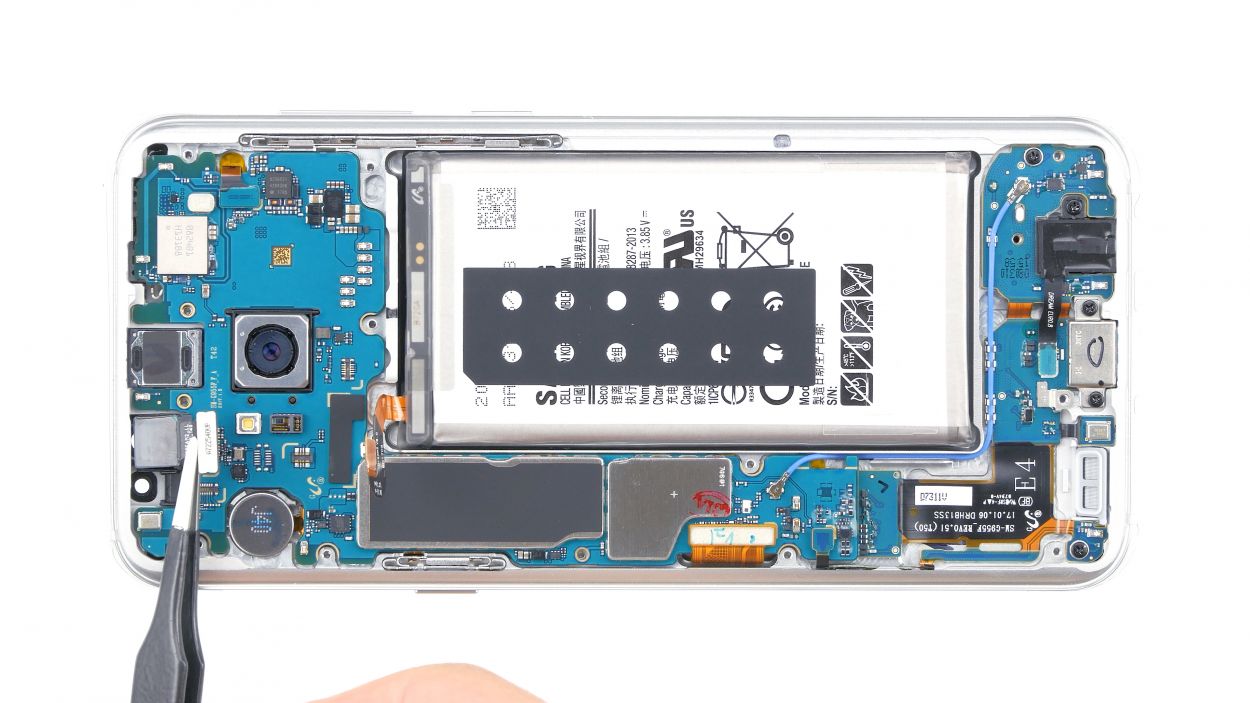
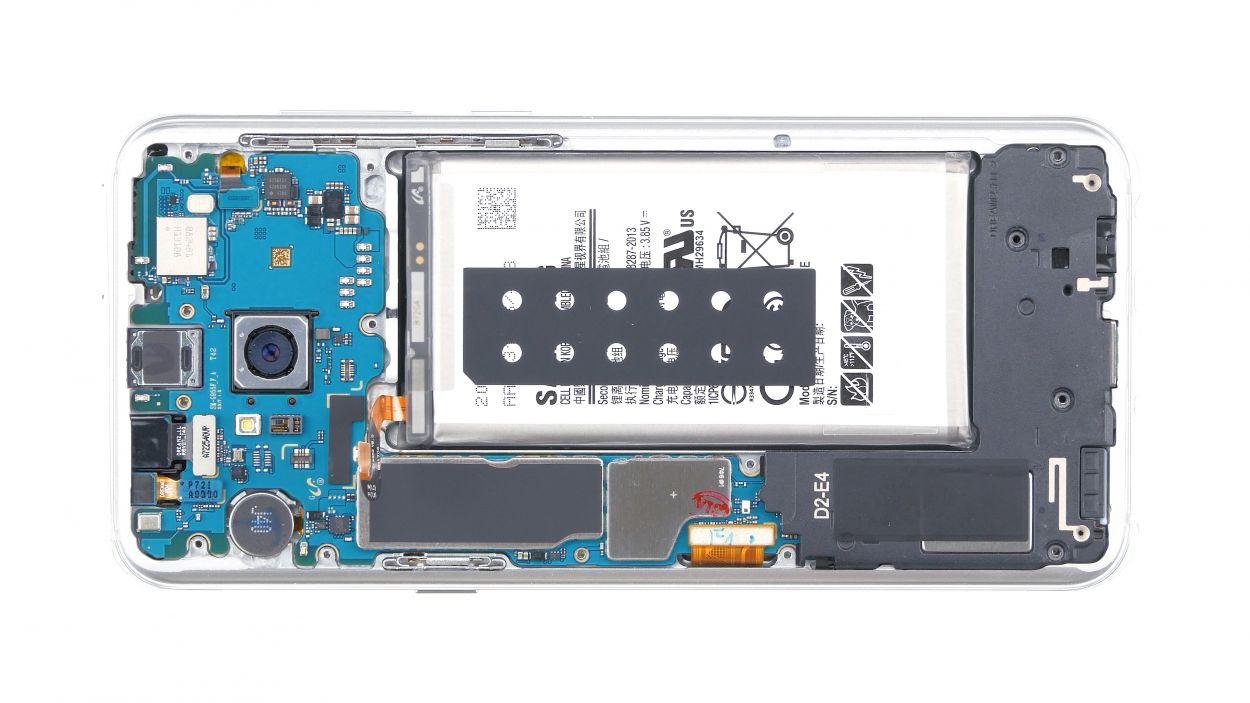
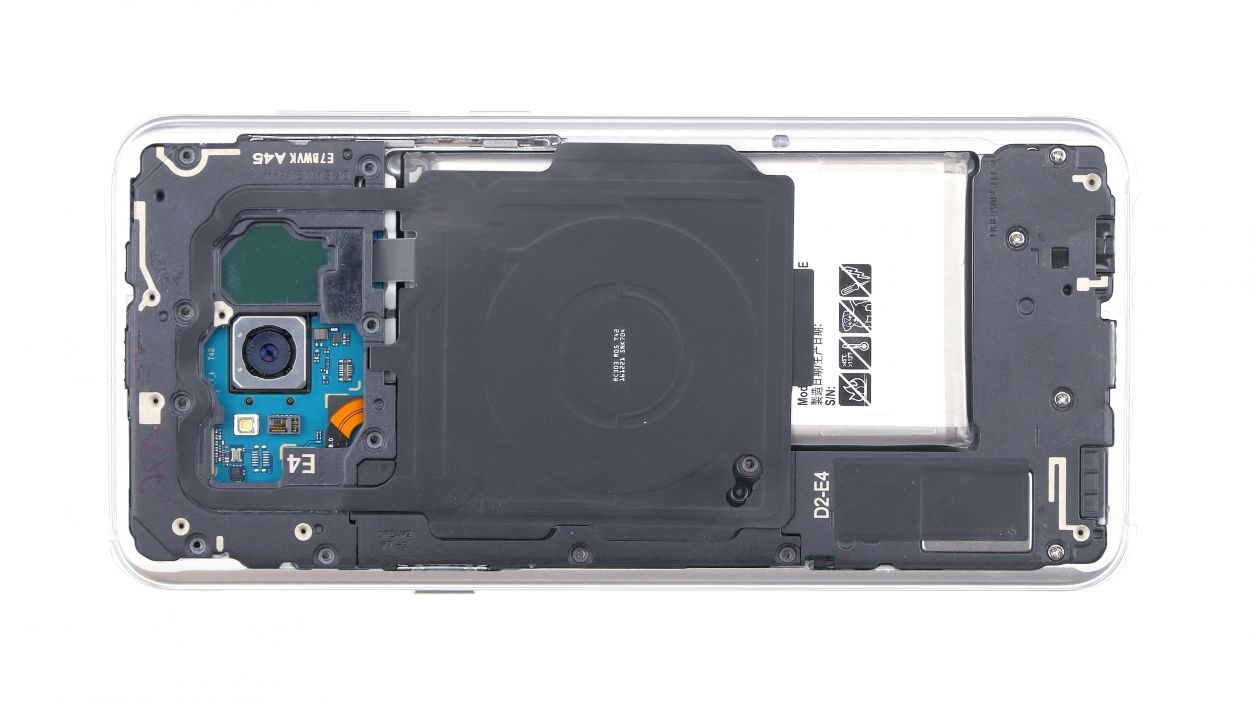
Step 8

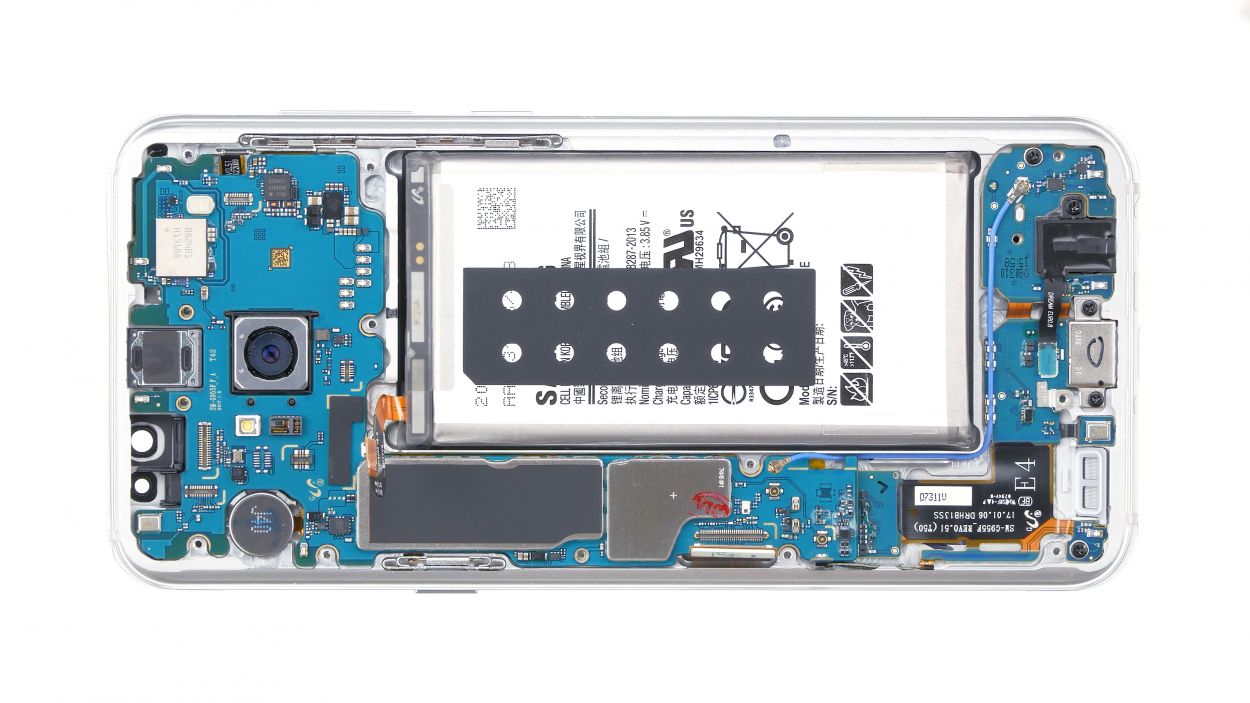
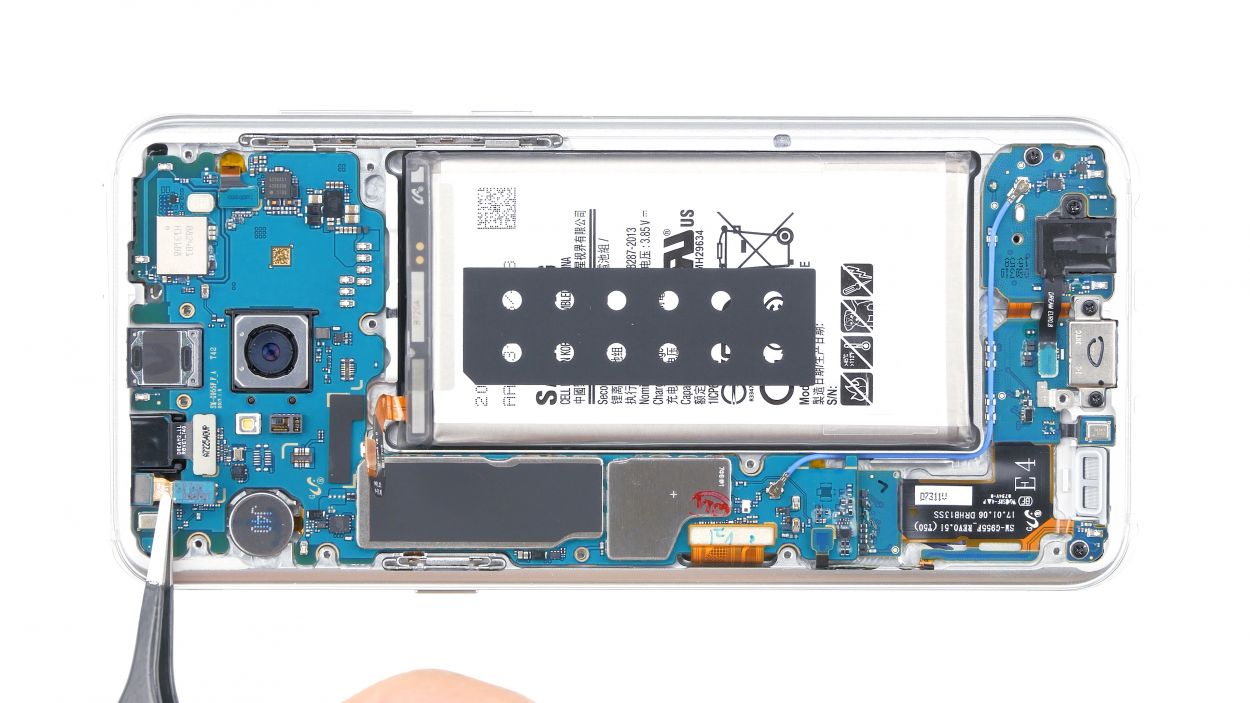
Volume & Standby Buttons
Frontcamera & Sensor
Display
Antenna
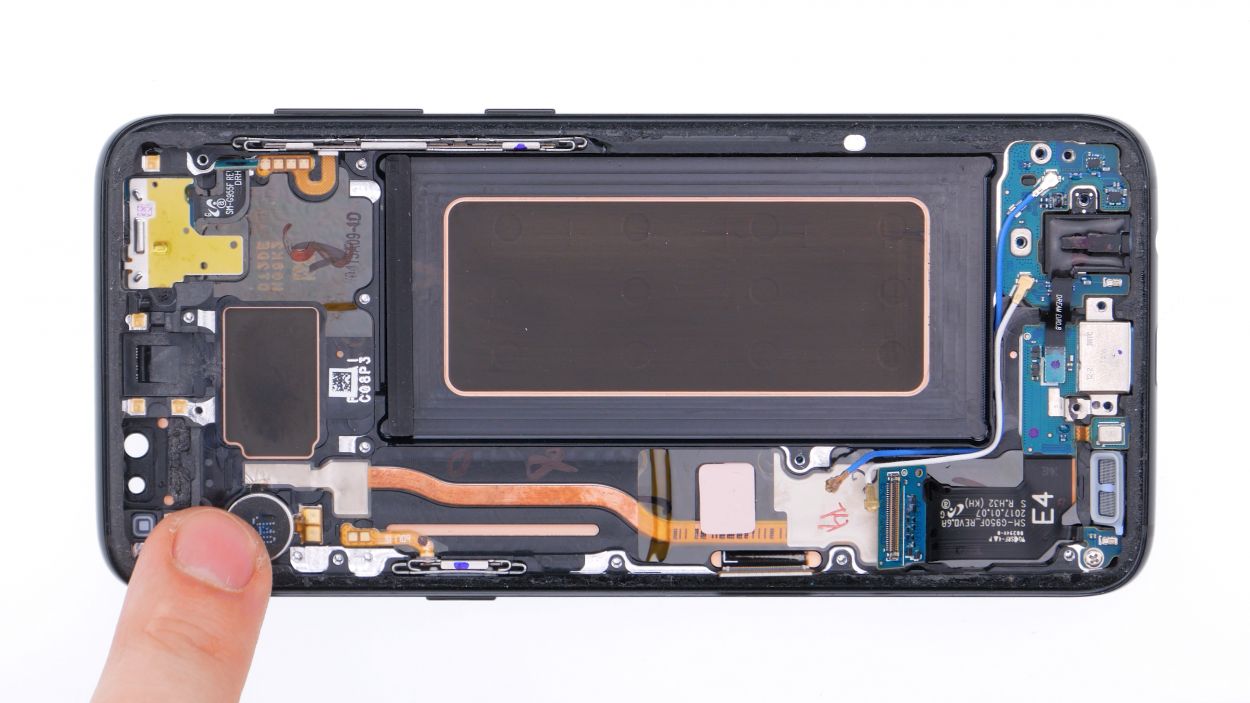
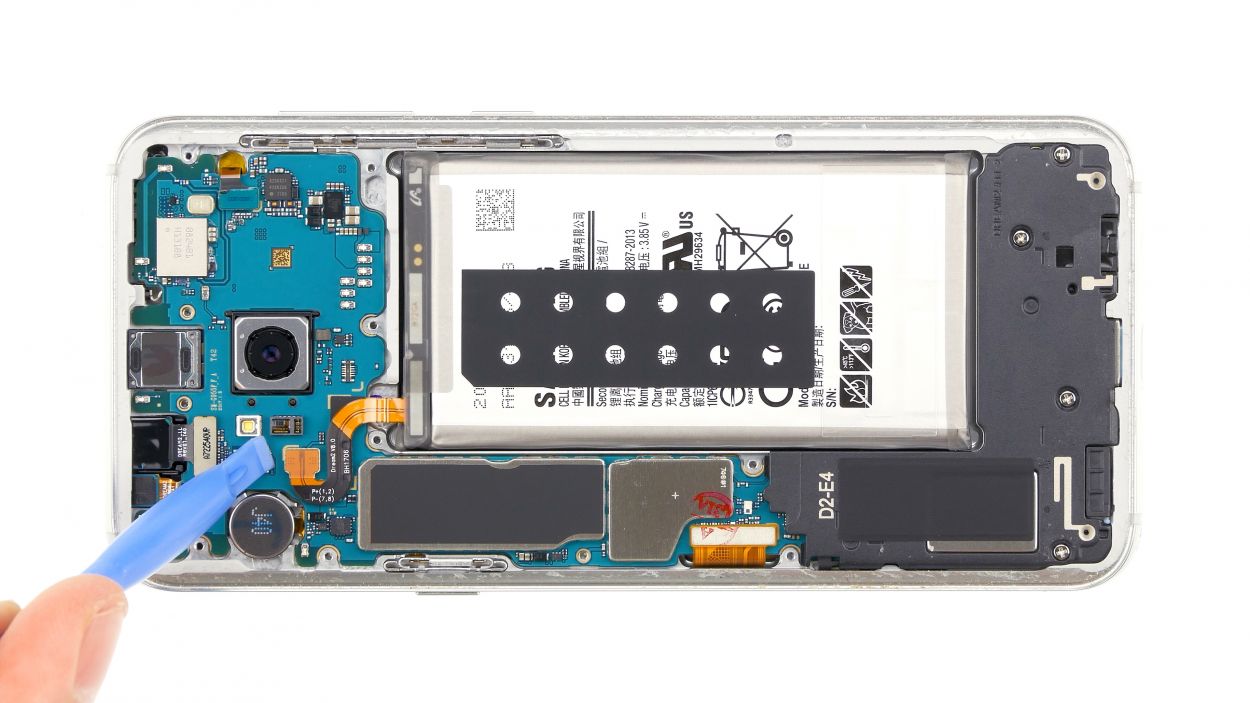
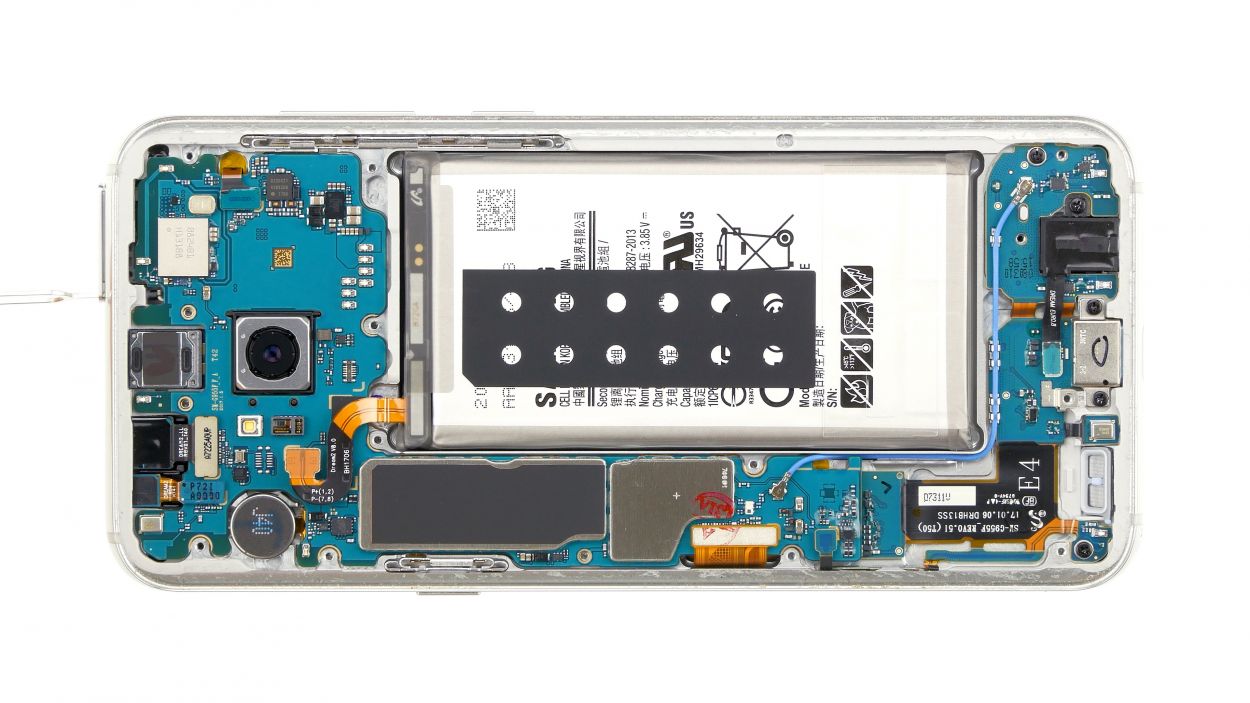
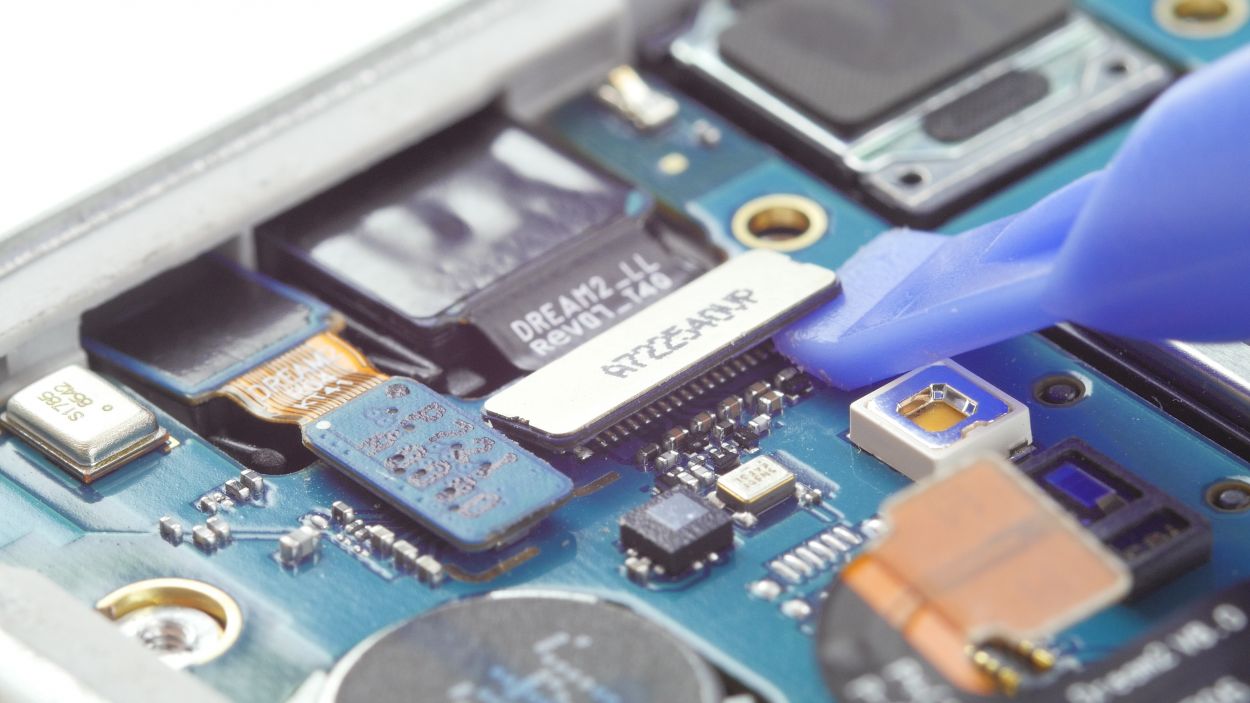
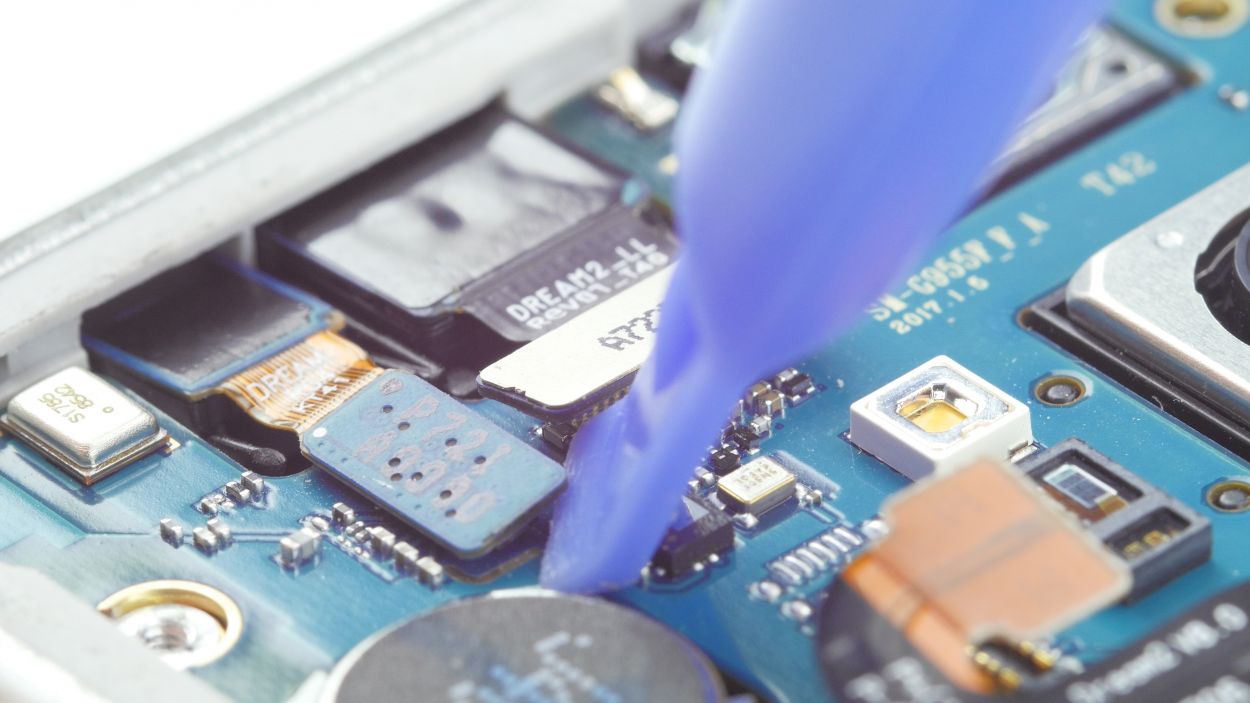
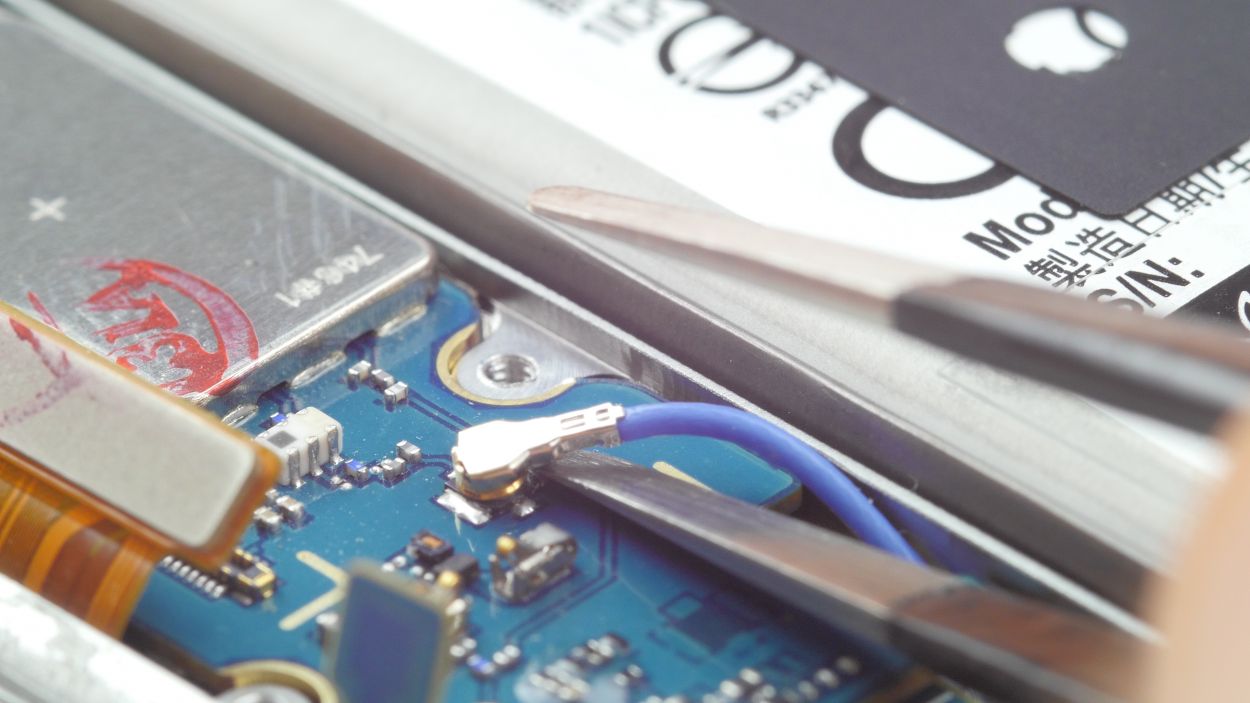
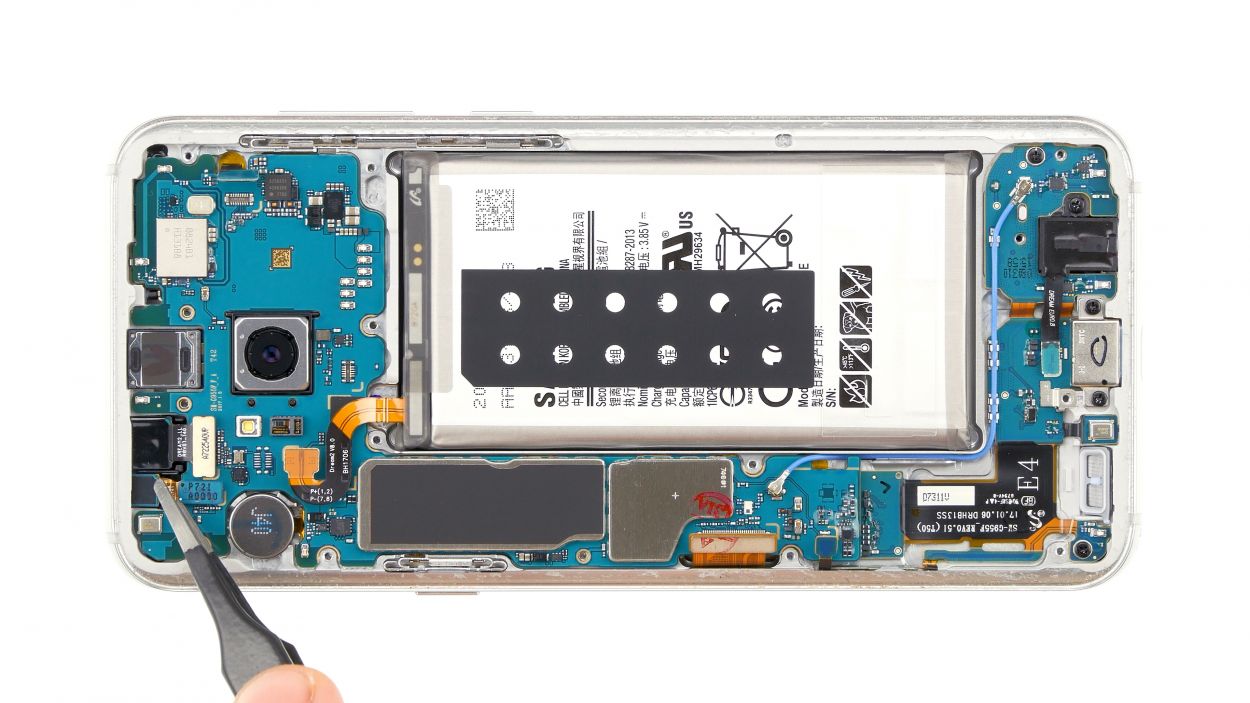
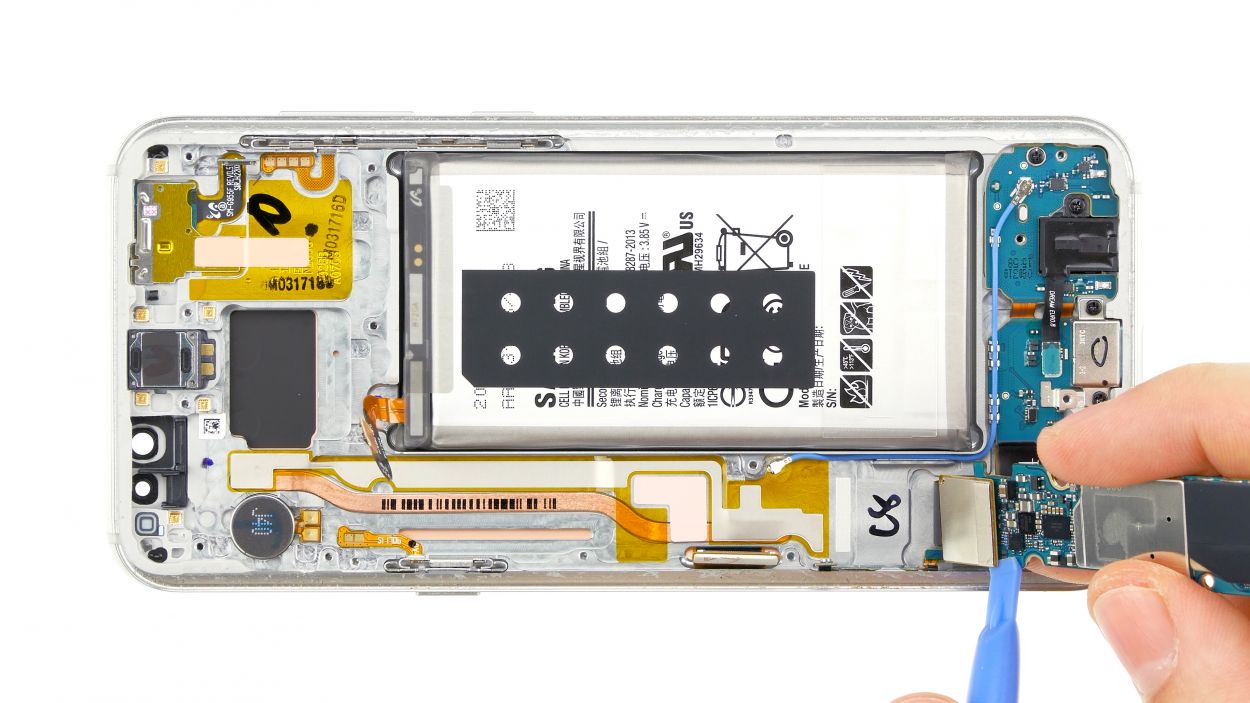
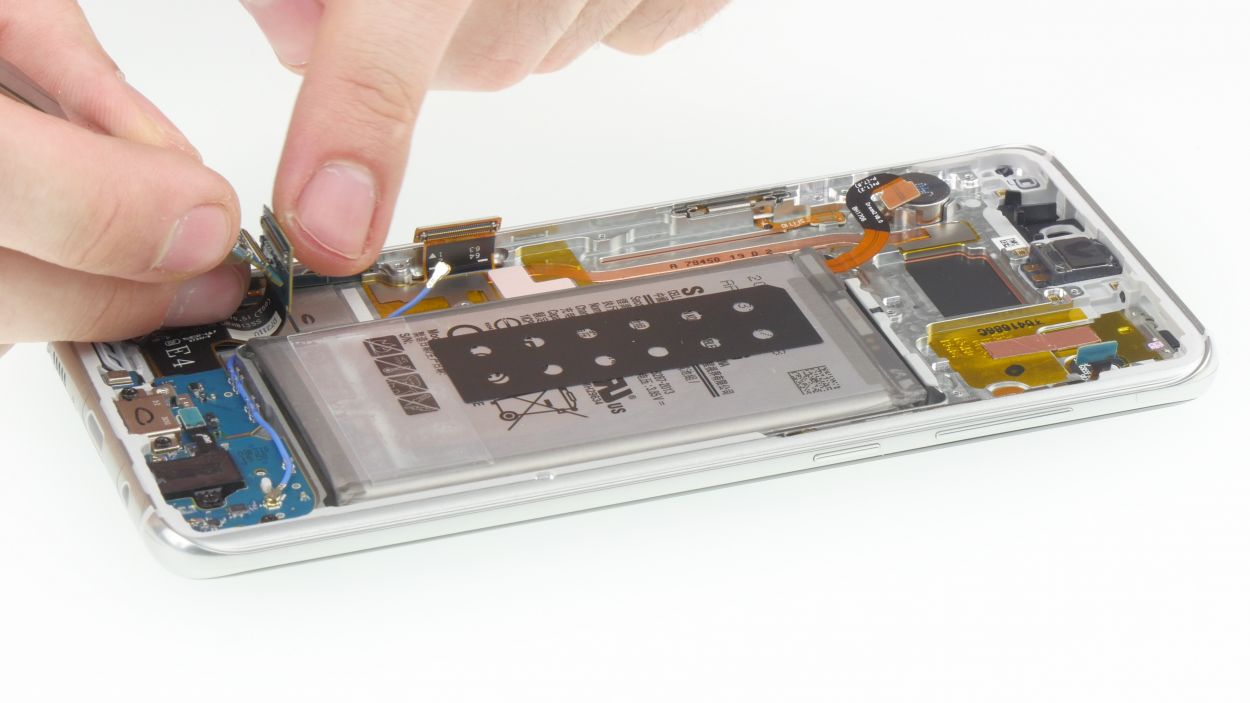
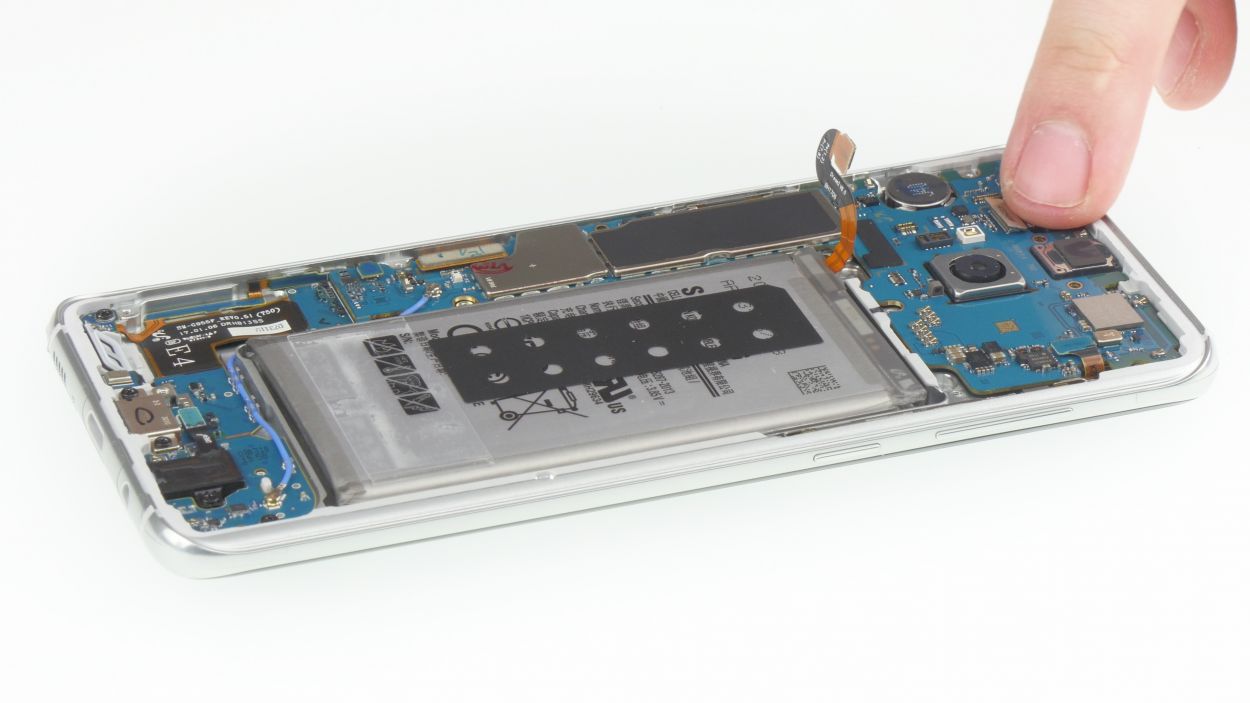
Remember, keep those motherboard’s contacts happy when separating the antenna cables.
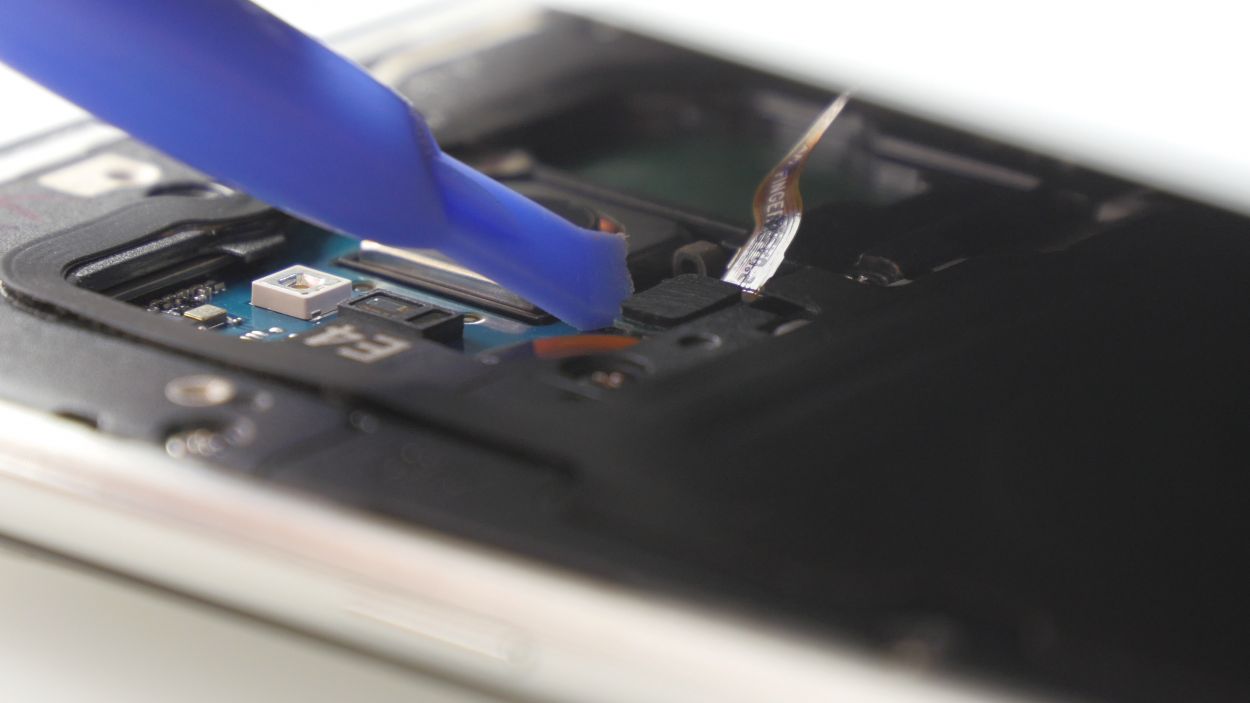
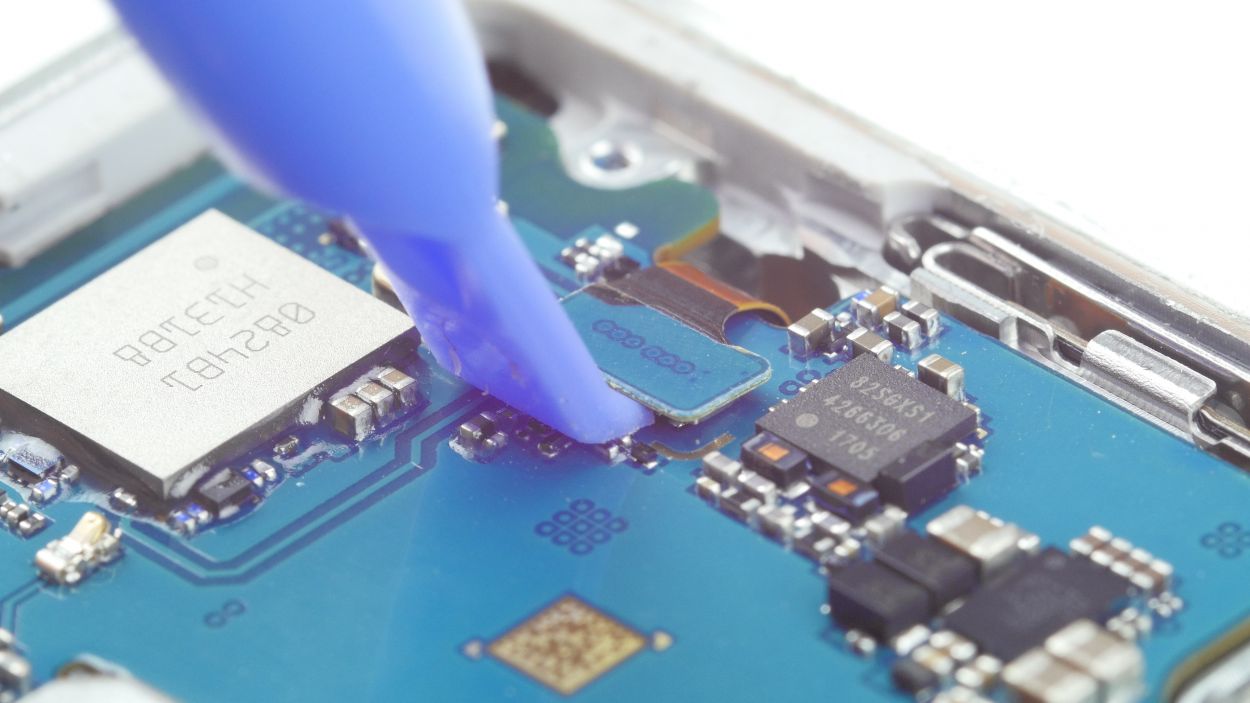
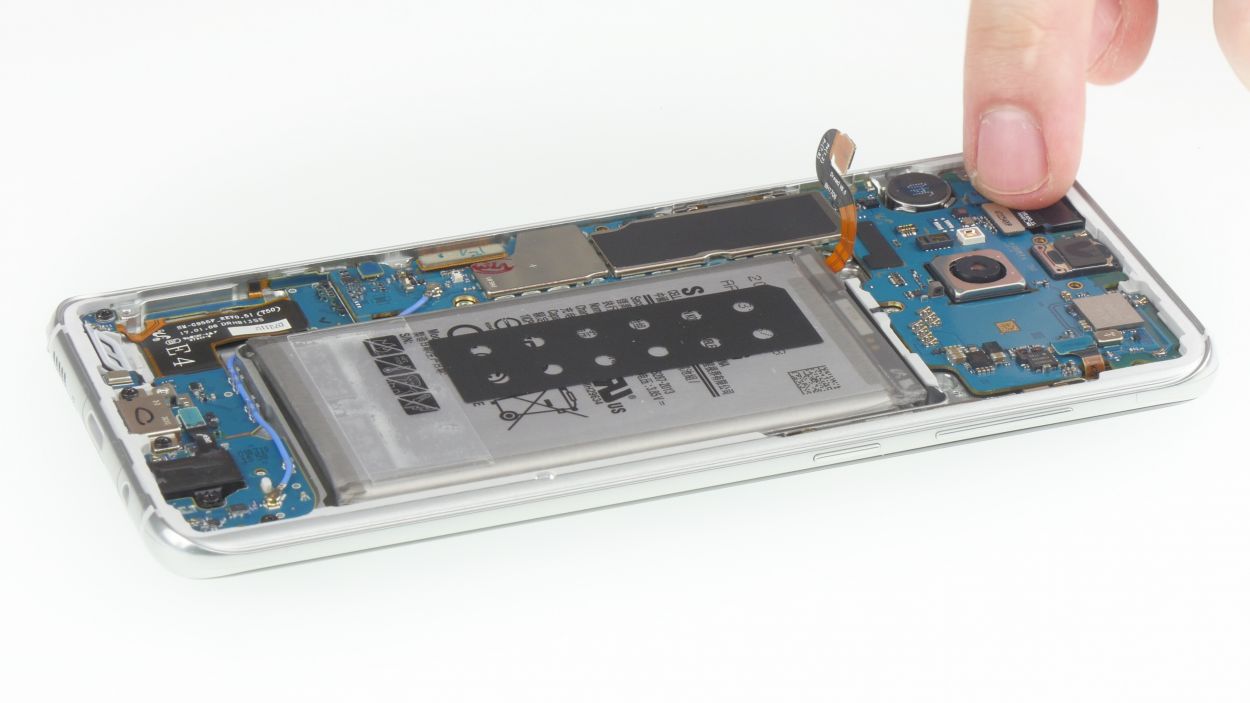
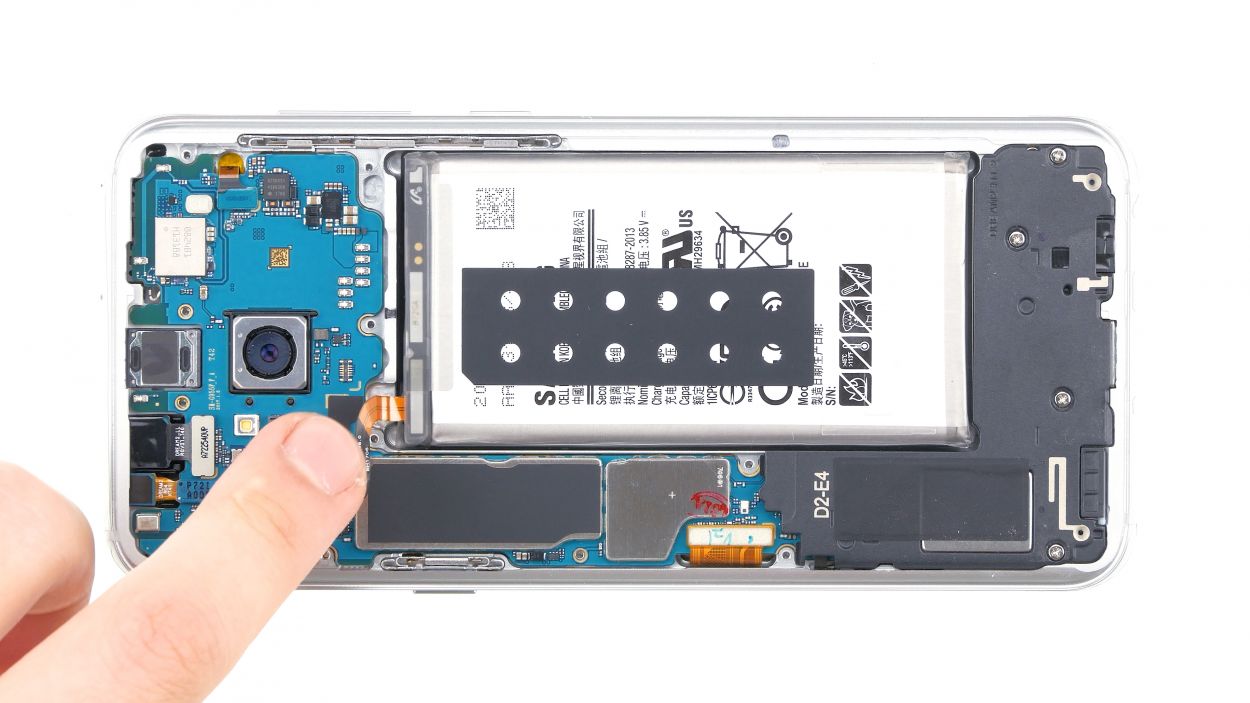
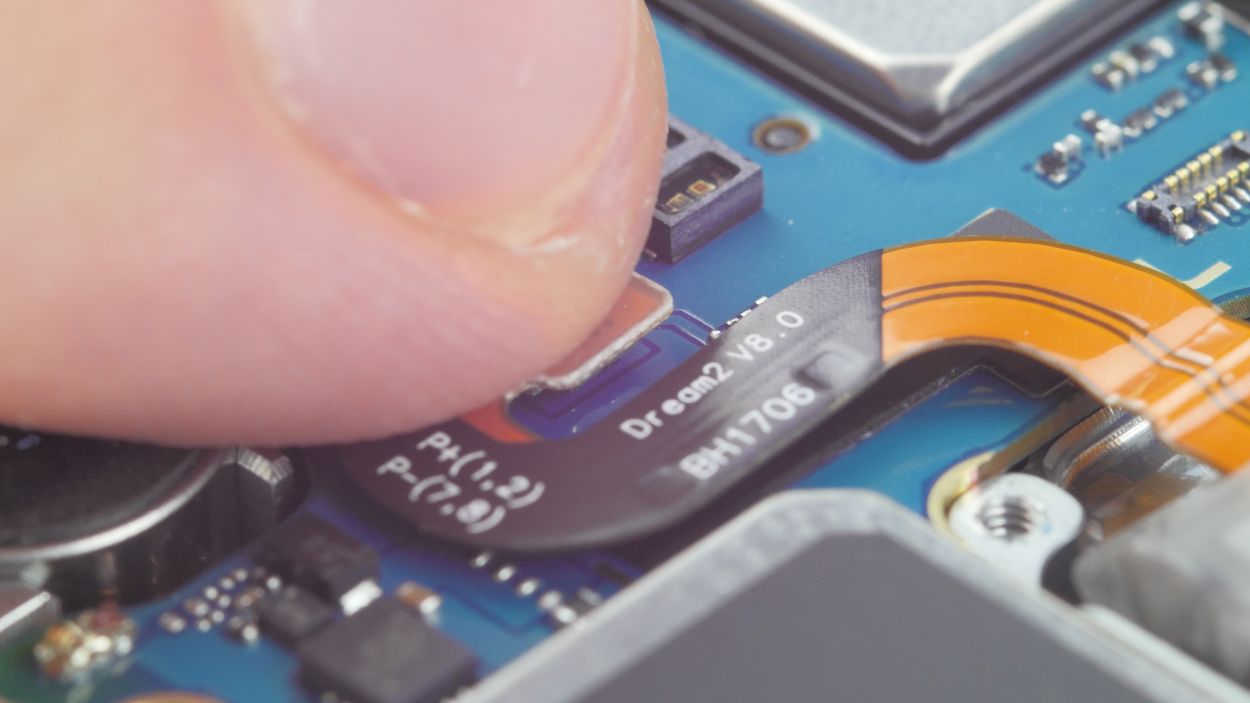
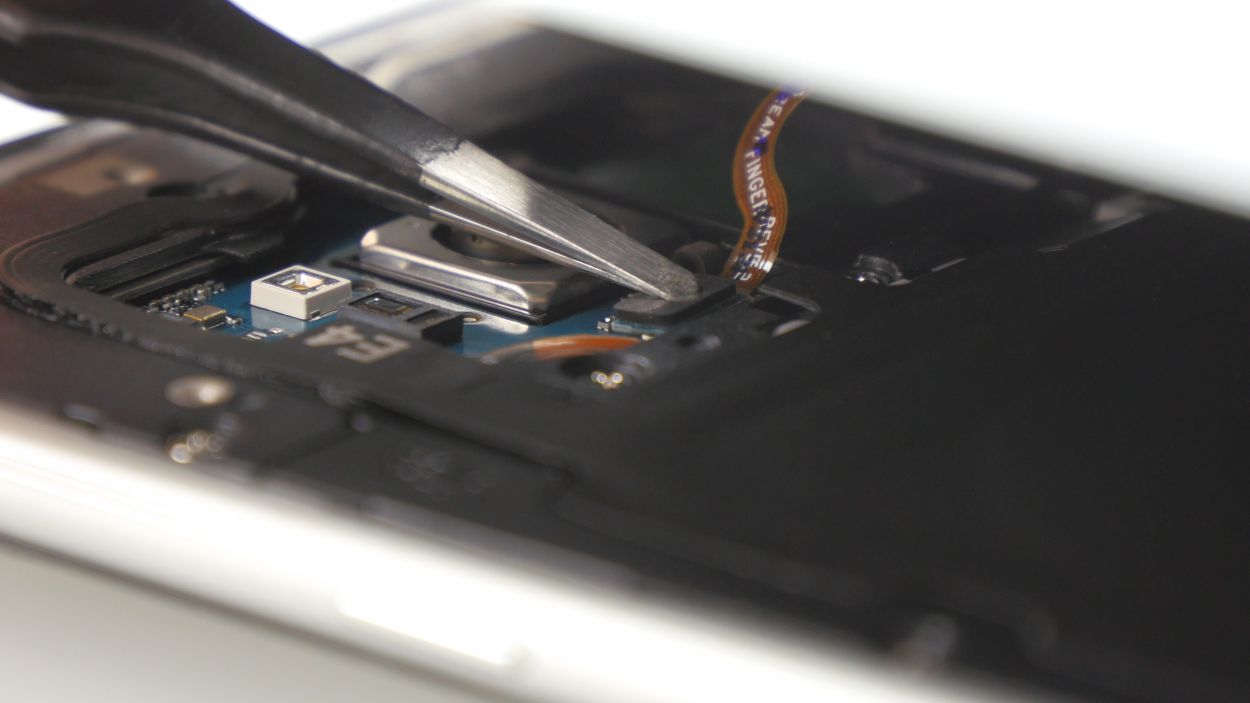
– Grab your trusty spudger and gently detach the highlighted connections from the logic board. You’ve got this!
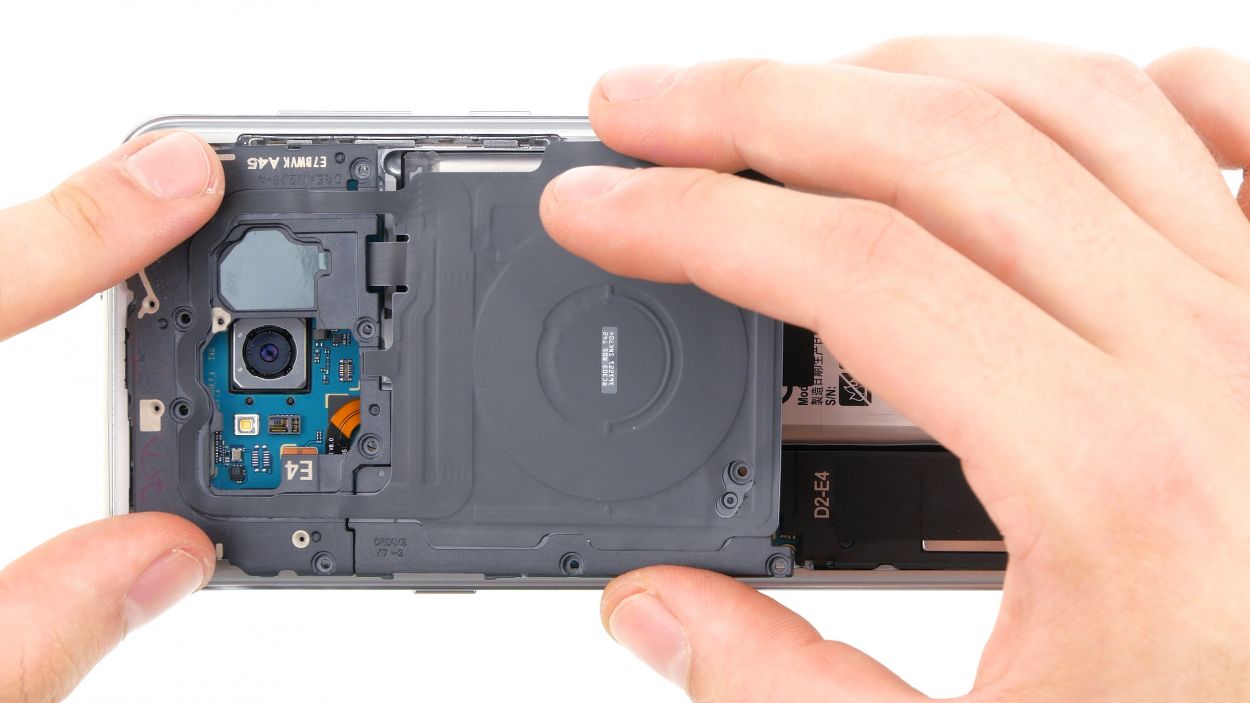
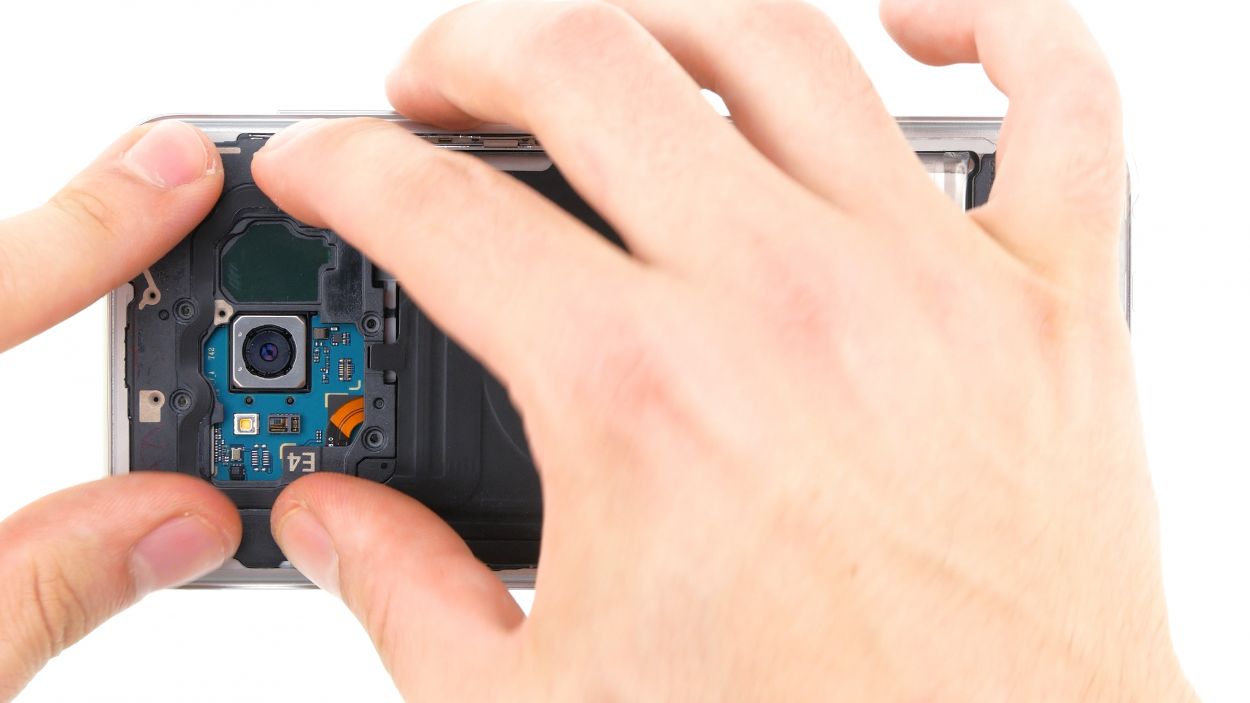
Step 9
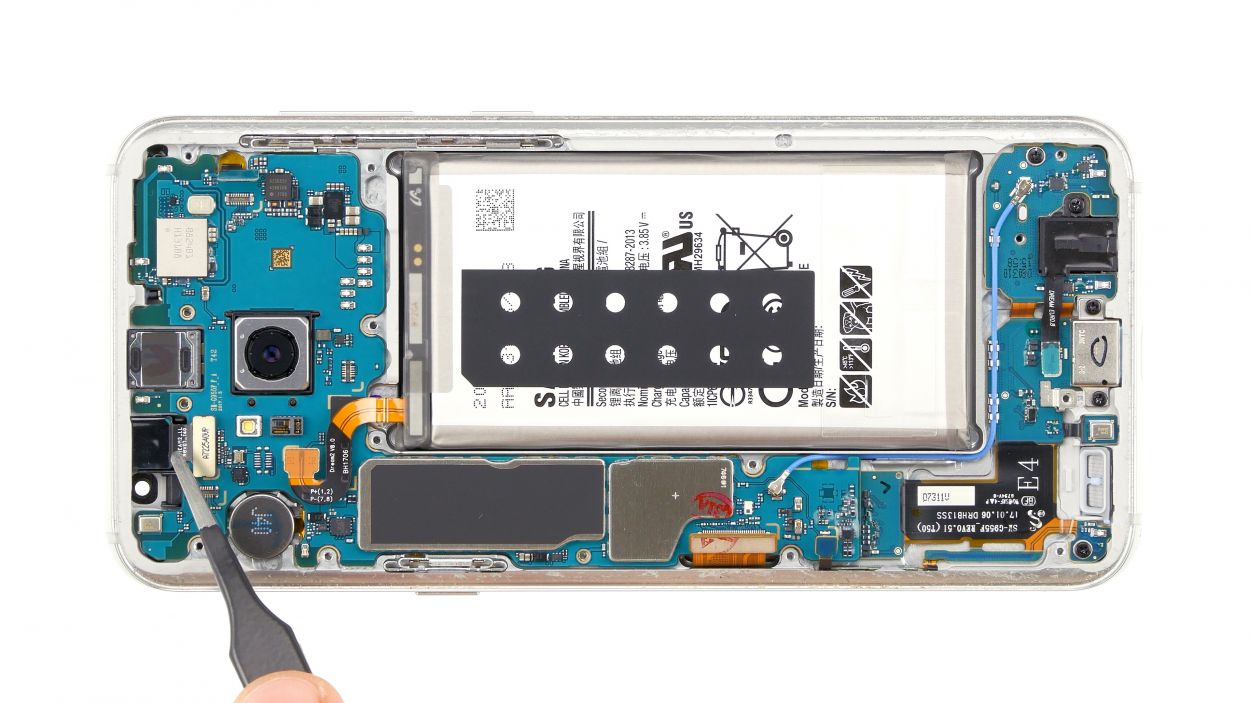
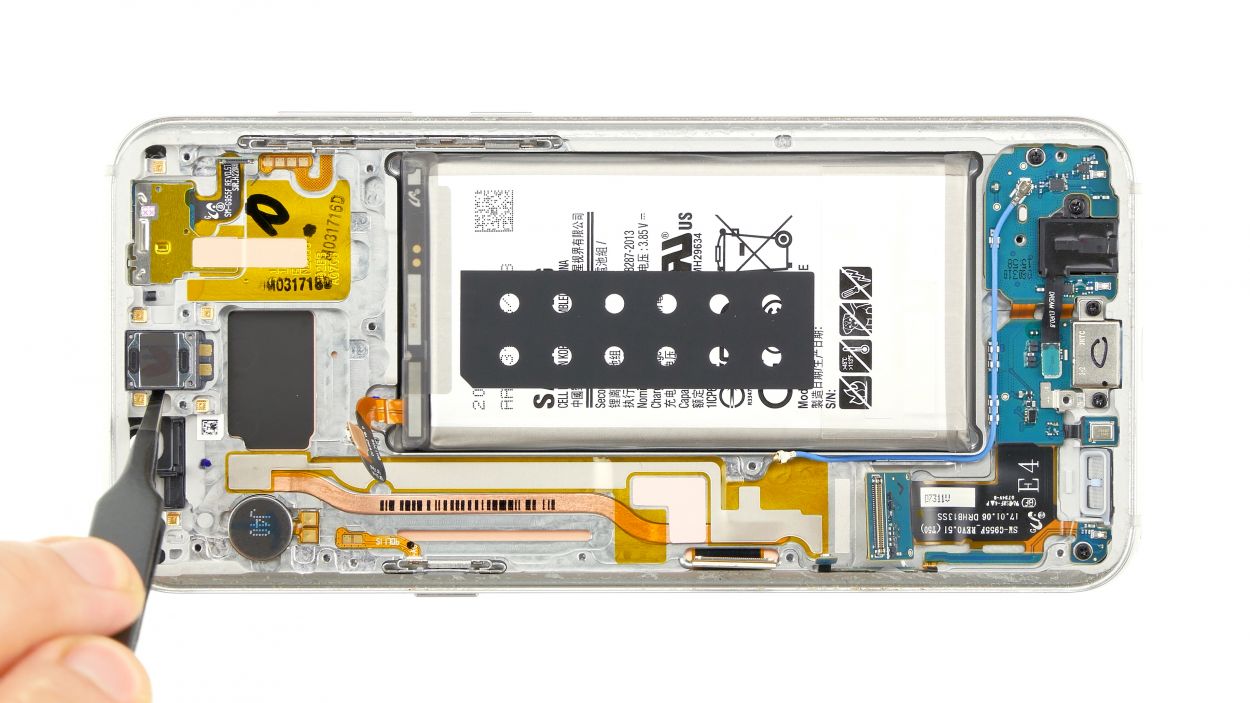
– Gently pop out the front camera and sensor from the chassis, then just lift them away. It’s easier than it sounds!
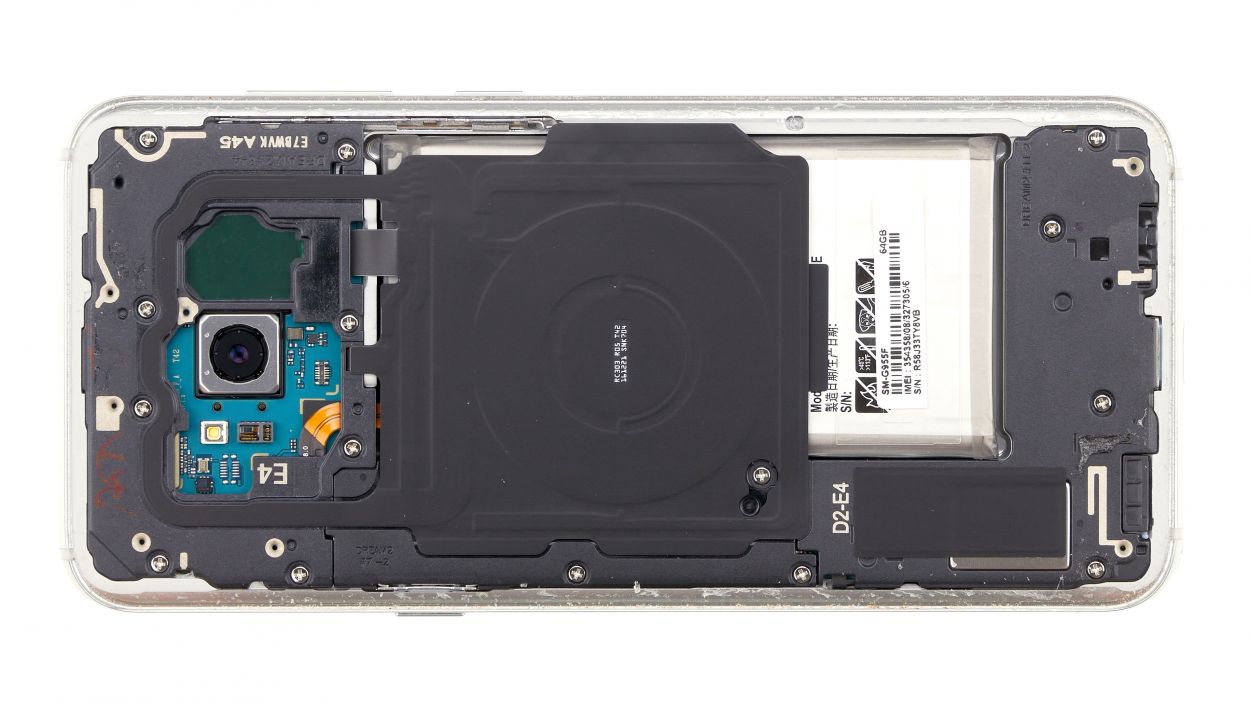
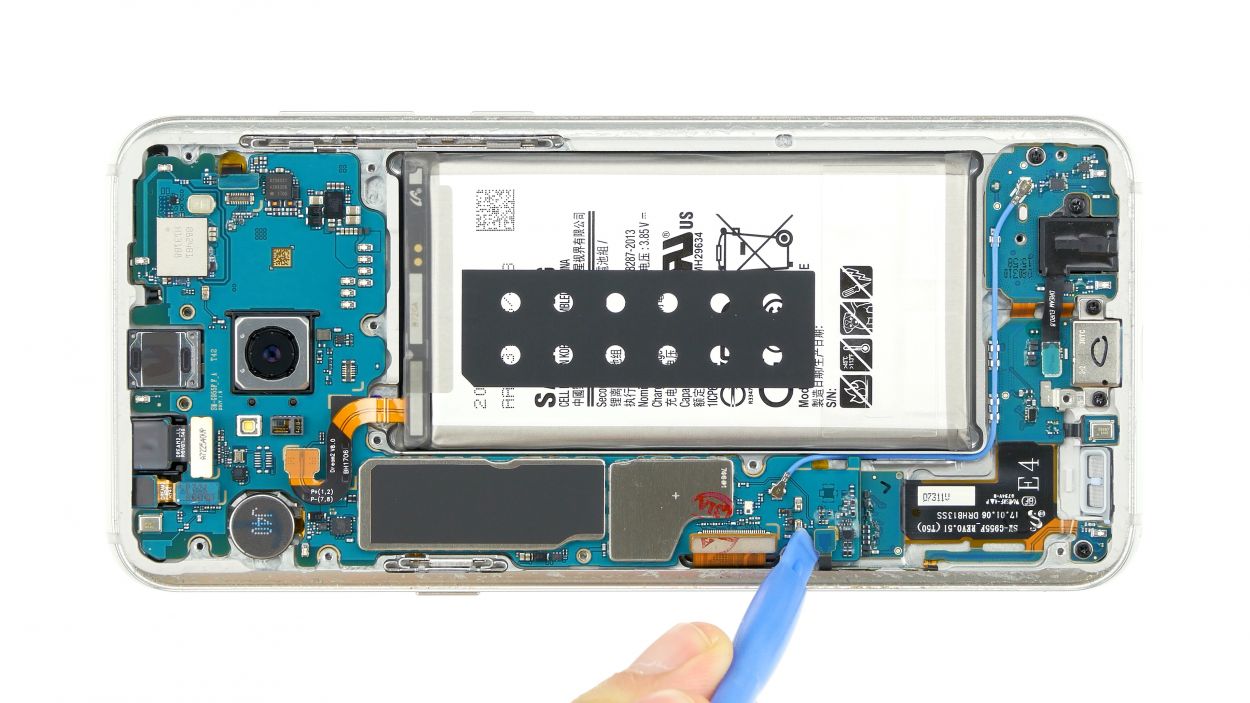
Step 10
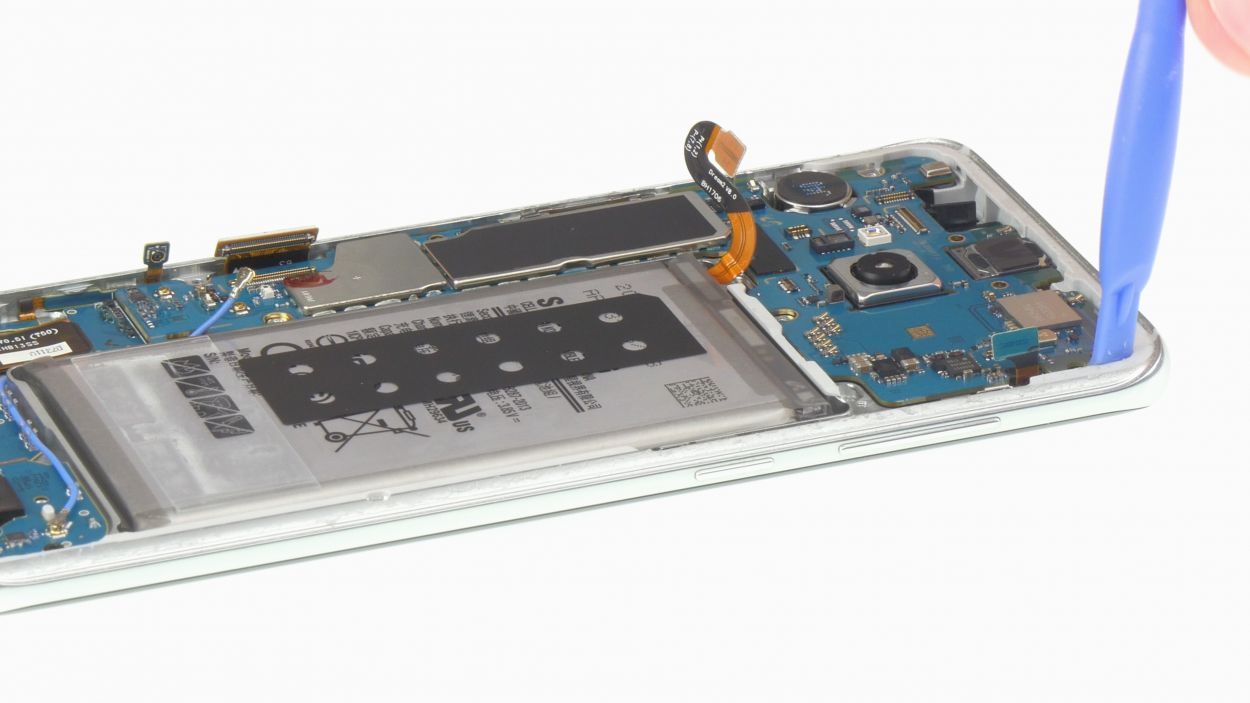


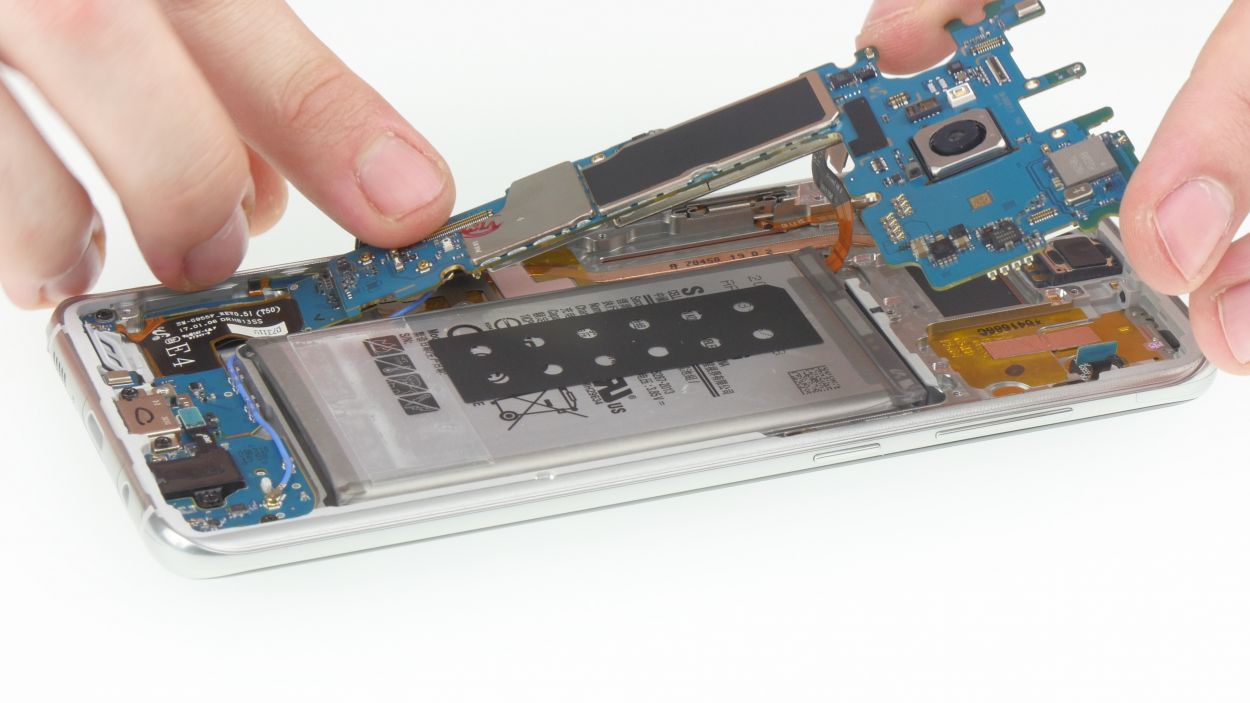
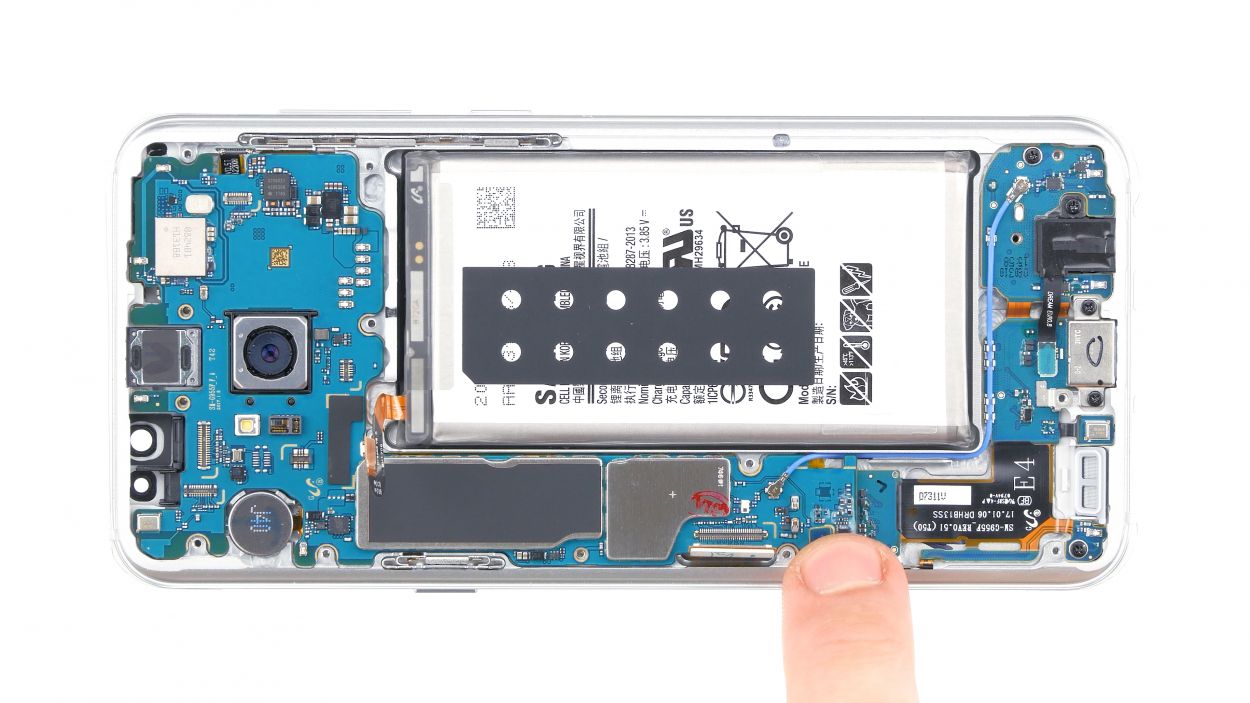
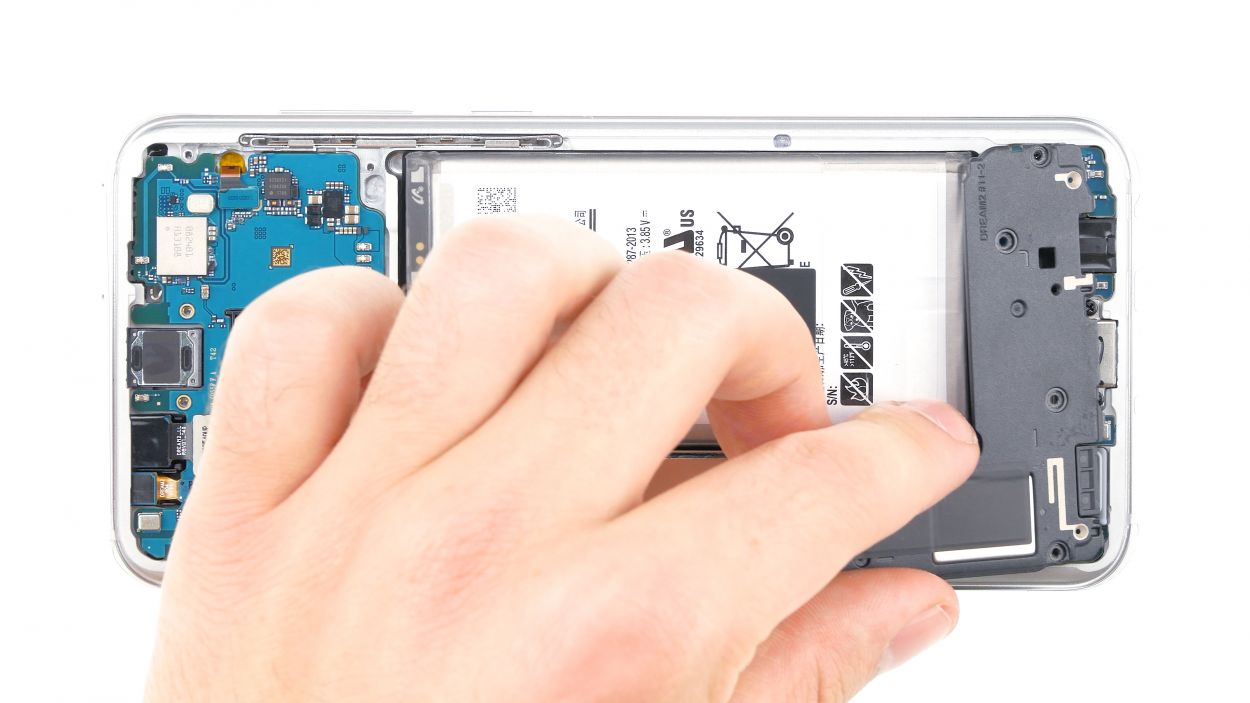
Hey there! Just a heads up, there’s a tiny plastic pin hanging out in the SIM tray opening. Keep an eye on it so it doesn’t take a tumble!
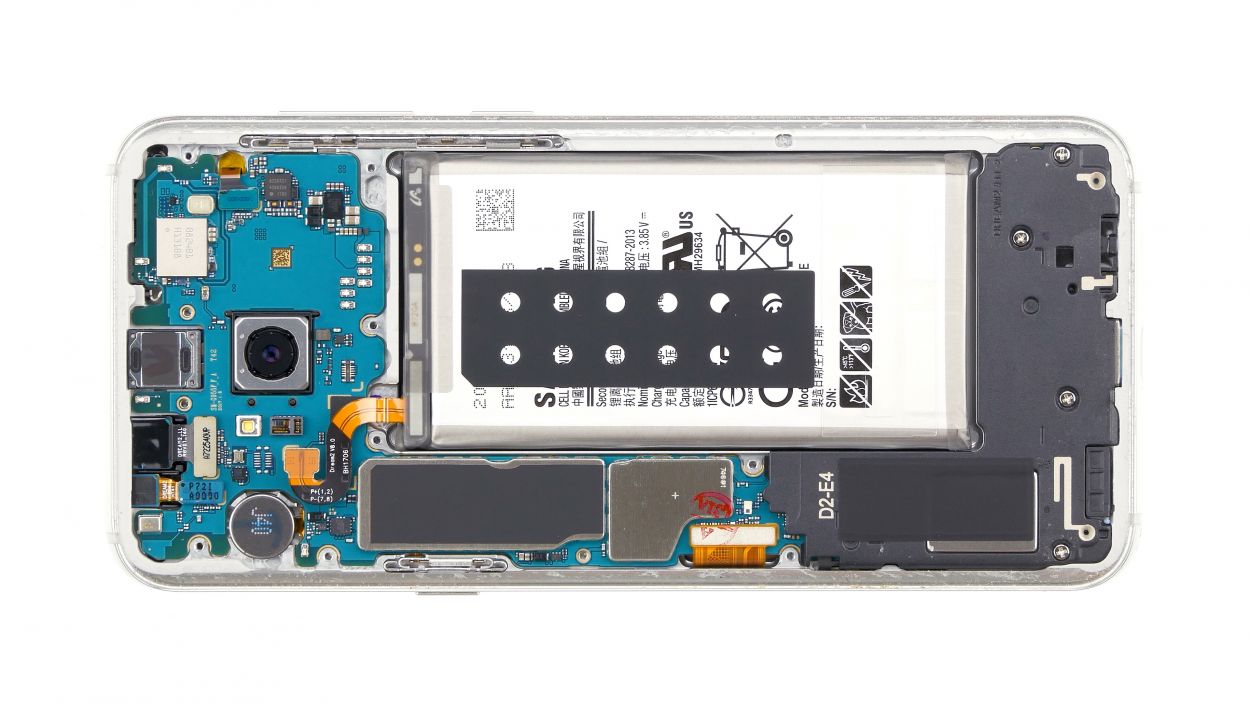
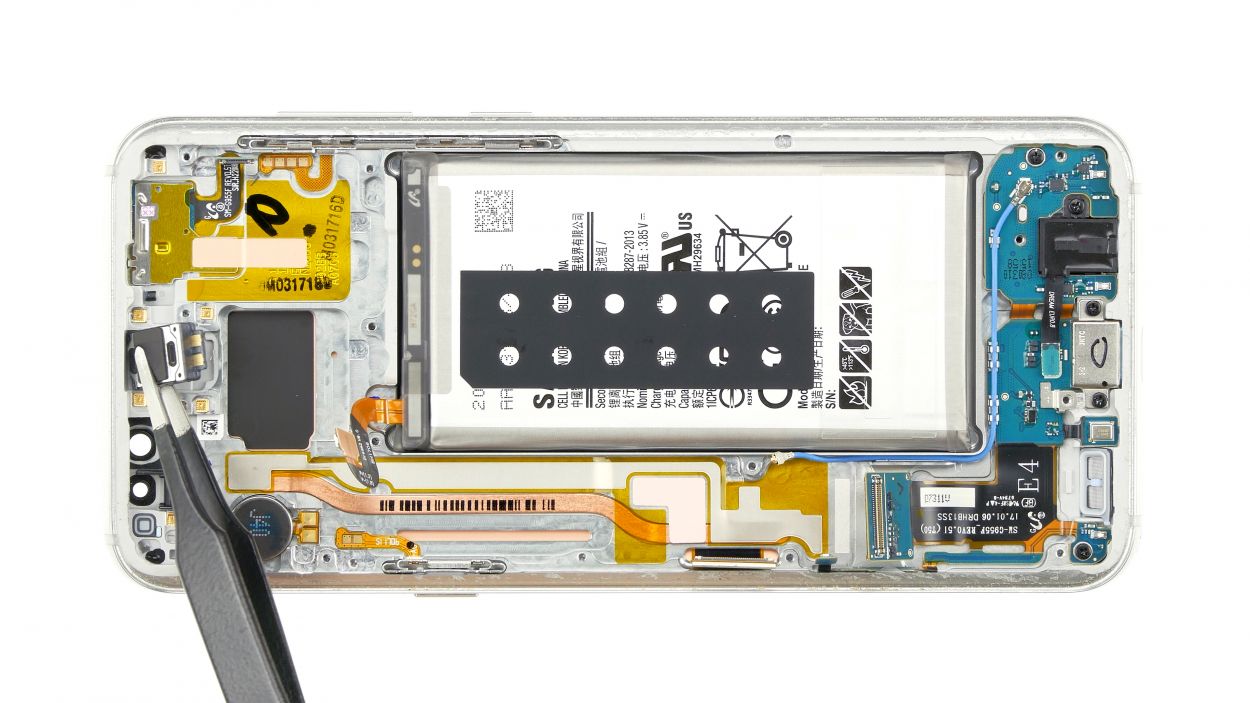
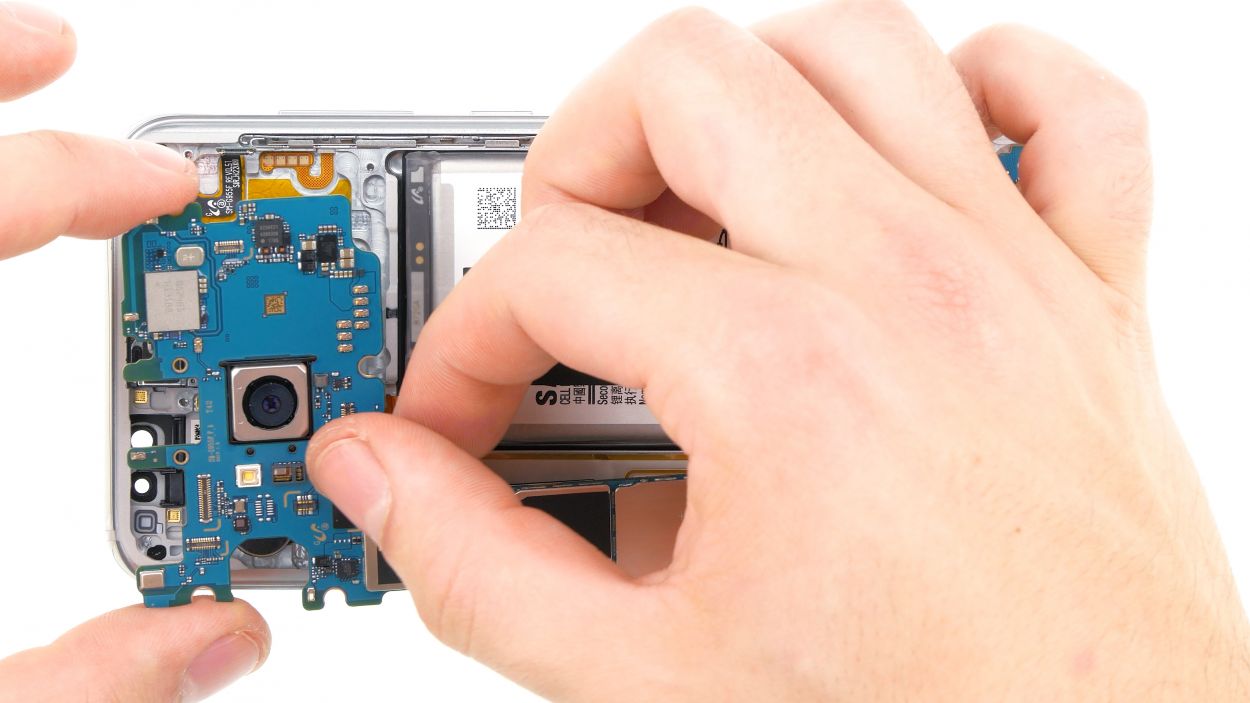
– Alright, it’s time to gently lift out that motherboard! Just be careful not to let it snag on any of the connectors you’ve already unhooked.
– Don’t forget, the USB port is still hanging out at the back of the board. Once you’ve got the board lifted, grab your trusty spudger and disconnect that contact.
– Now, find a cozy spot to set the board down safely. It’s going to need a little rest!
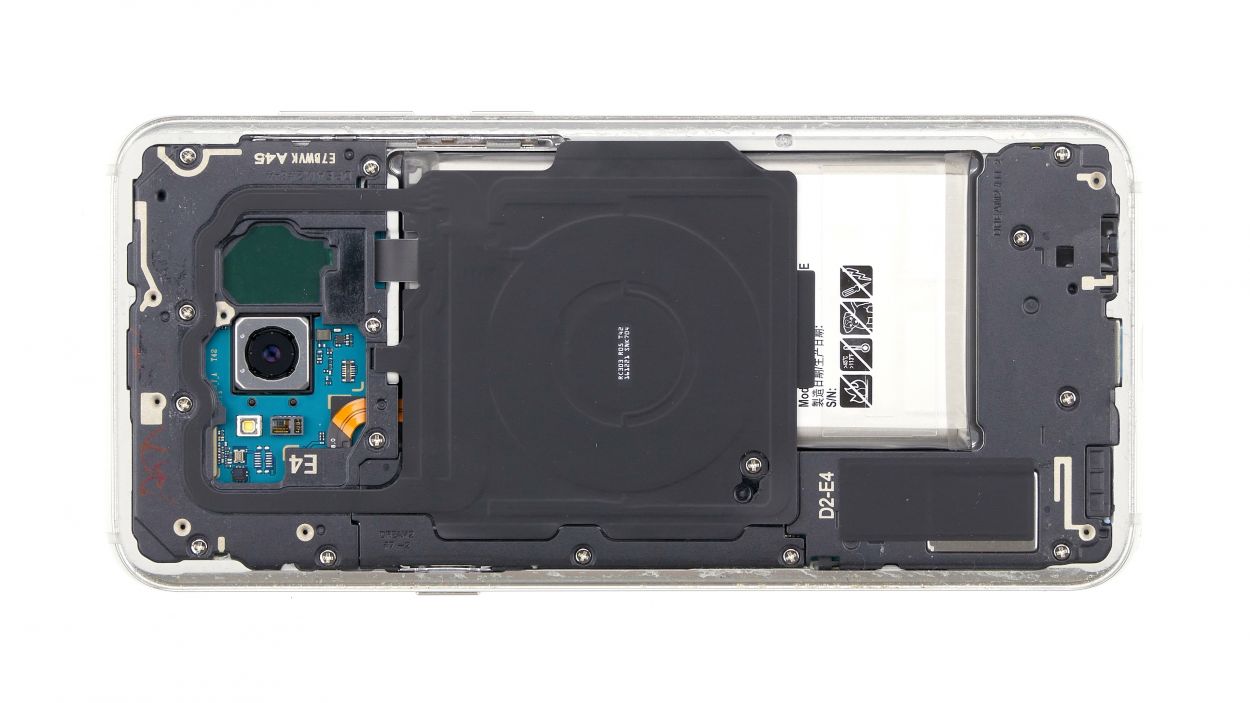
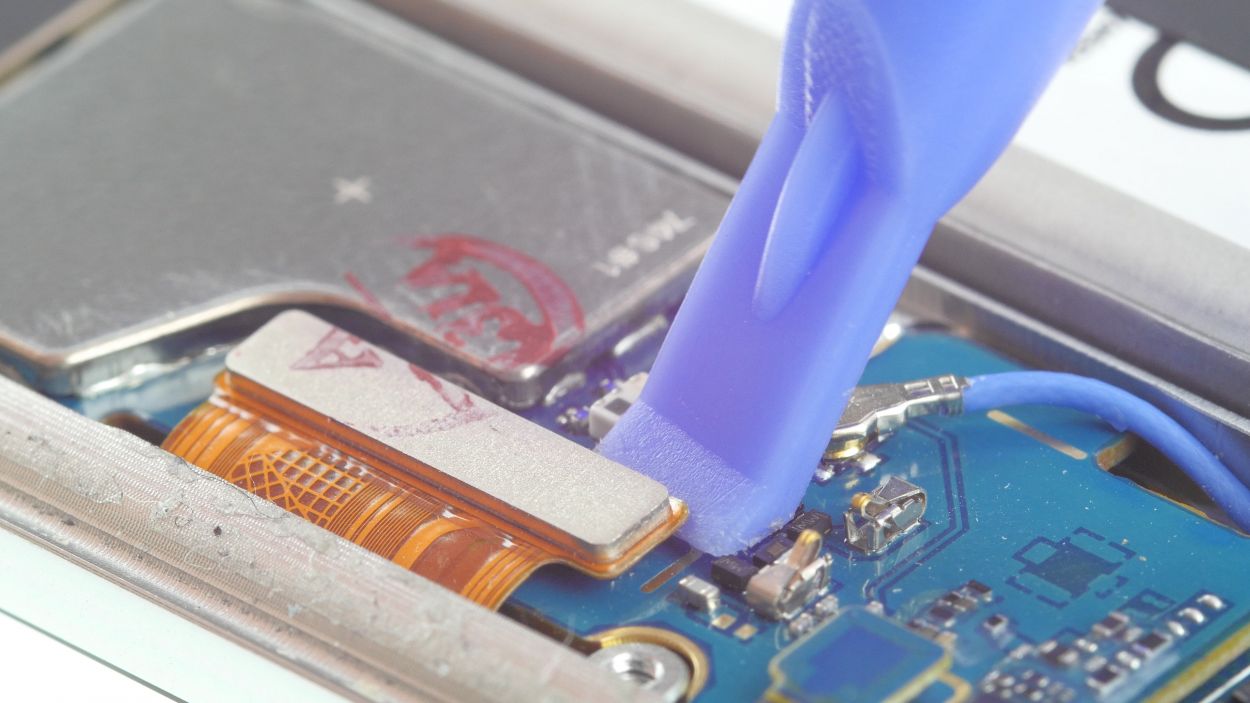
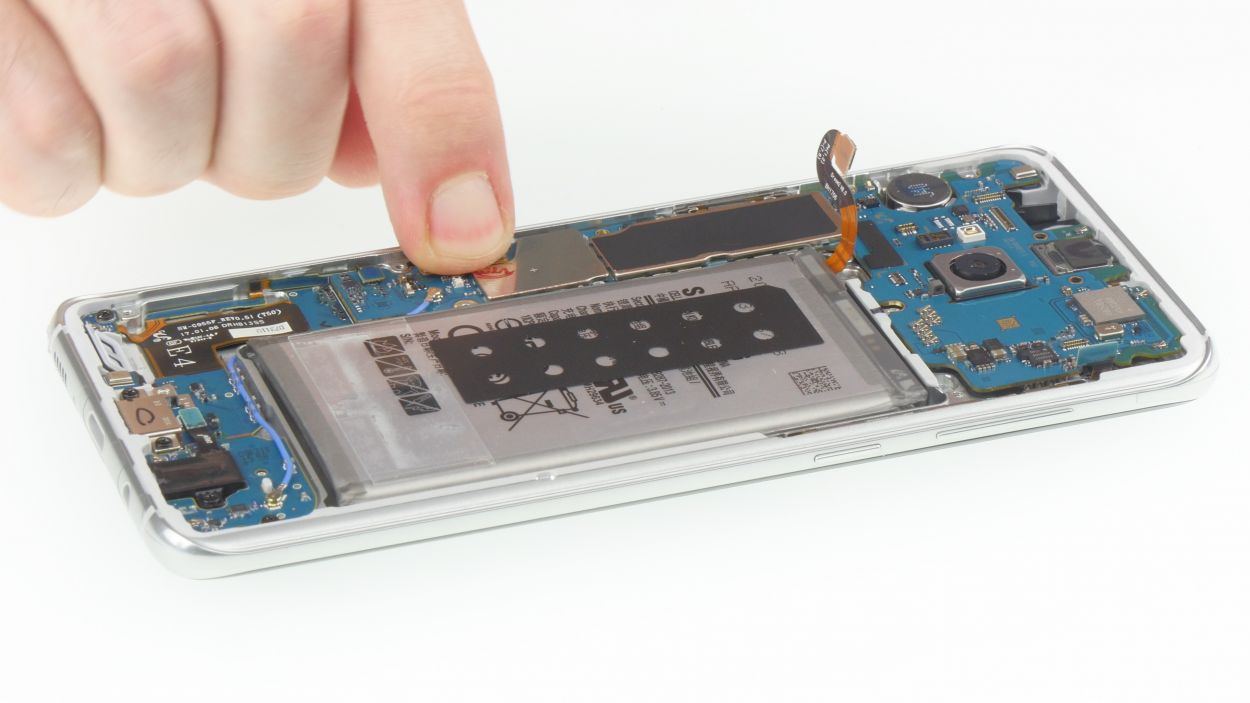
Step 11


– The earpiece is snugly glued to the enclosure. Gently pry it off using a flat tool, like a steel spatula, and take your time—you’ve got this!
Step 12

– Carefully slide the earpiece back into its cozy little home.
– Give it a gentle press to help the glue bond like best friends.
Step 13

– First, let’s plug in that USB connector on the back of the board. It’s like giving your device a little hug!
– Now, gently slide the board back into its cozy home in the enclosure. Just be sure to keep an eye out so no cables or connectors sneak under there!
Step 14

Volume & Standby Buttons
Display
Antenna
– Now, let’s reconnect those highlighted contacts to the board like a pro!
Step 15
– Slide that SIM card tray back into your device like a pro! Just make sure it’s aligned just right before you give it a gentle push.
Step 16
– Gently place the front camera and sensor into the opening at the top edge of the enclosure. Give it a little push until you hear that satisfying click, ensuring it’s snug and secure.
Step 17
4 × 3,8 mm Phillips Schraube
– First up, let’s place that speaker down at the lower end of the enclosure. You’ve got this!
– Now, give it a gentle press with your fingers until you hear that satisfying click. It’s snug as a bug now!
– Finally, grab those marked screws and reinsert them to keep everything nice and secure.
Step 18
– Link up that battery with the motherboard! Just press the connector onto the motherboard’s spot until you hear that satisfying click. You’re doing great!
Step 19
11 × 3,8 mm Phillips Schraube
– Gently place the cover with the antenna back into the enclosure, making sure to hook it onto the top first.
– Now, give the cover a little press with your fingers until you hear that satisfying click all around.
– Time to secure everything! Grab your Phillips screwdriver and fasten those screws snugly.
Step 20

Feeling crafty? Give your device a little warmth with some hot air, then grab a couple of books to weigh it down. This helps the glue bond like a champ!
– Gently place the back cover back in its cozy spot.
– Reconnect the fingerprint sensor like it’s old friends meeting again.
– Press down on that back cover all around so the glue bonds like a solid team.