DIY Guide to Replace Battery in Galaxy A40
Duration: 60 min.
Steps: 12 Steps
Is your Galaxy A40 running out of juice way too fast? No worries! Just follow this guide to swap out that worn-out battery. Unlike many other Samsung models, the Galaxy A40’s plastic back cover makes it a breeze to get in and out. Once you pop off the back, you’ll just need to take off the middle frame, and voilà, the battery is right there waiting to be replaced! If you hit a snag or have any questions along the way, feel free to reach out to us. Our team at Salvation Repair is here to help! We always appreciate your feedback too! Good luck with the repair, and enjoy your refreshed Galaxy A40!
Step 1


– First things first, let’s power down your Galaxy A40 before diving into the repair fun!
– Just hold that standby button for a bit longer and give the screen a little confirmation tap to turn it off.
Step 2
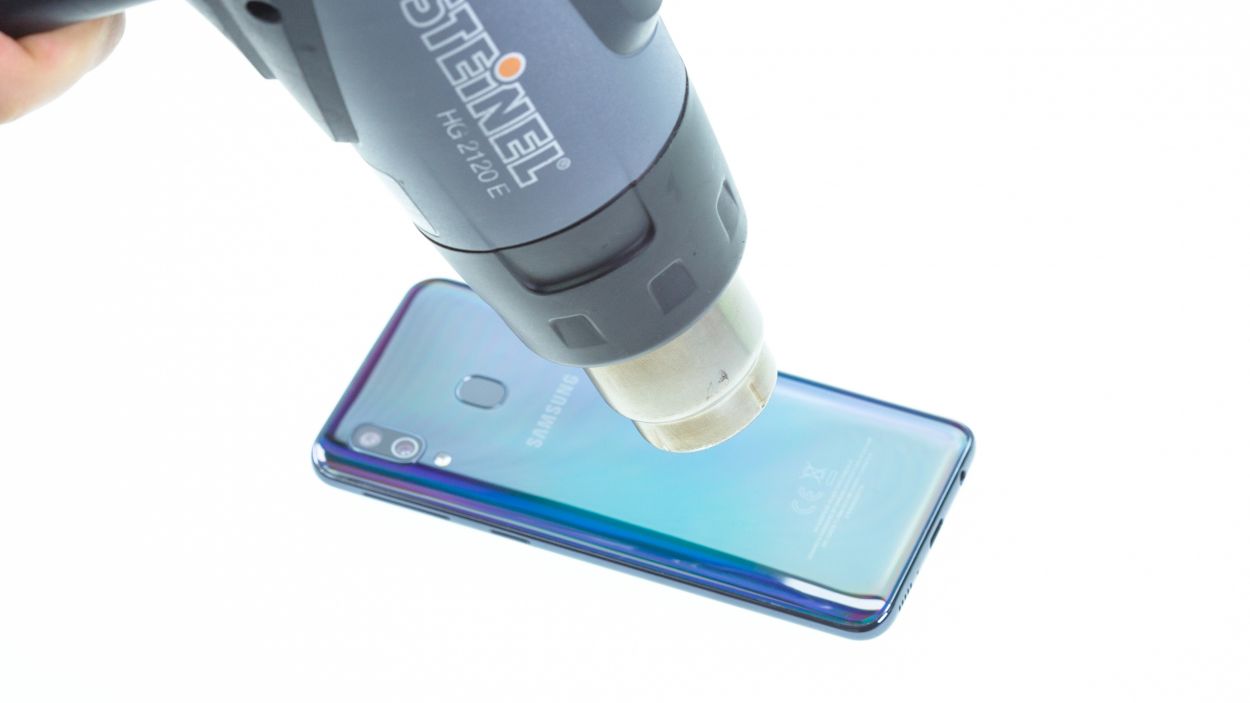


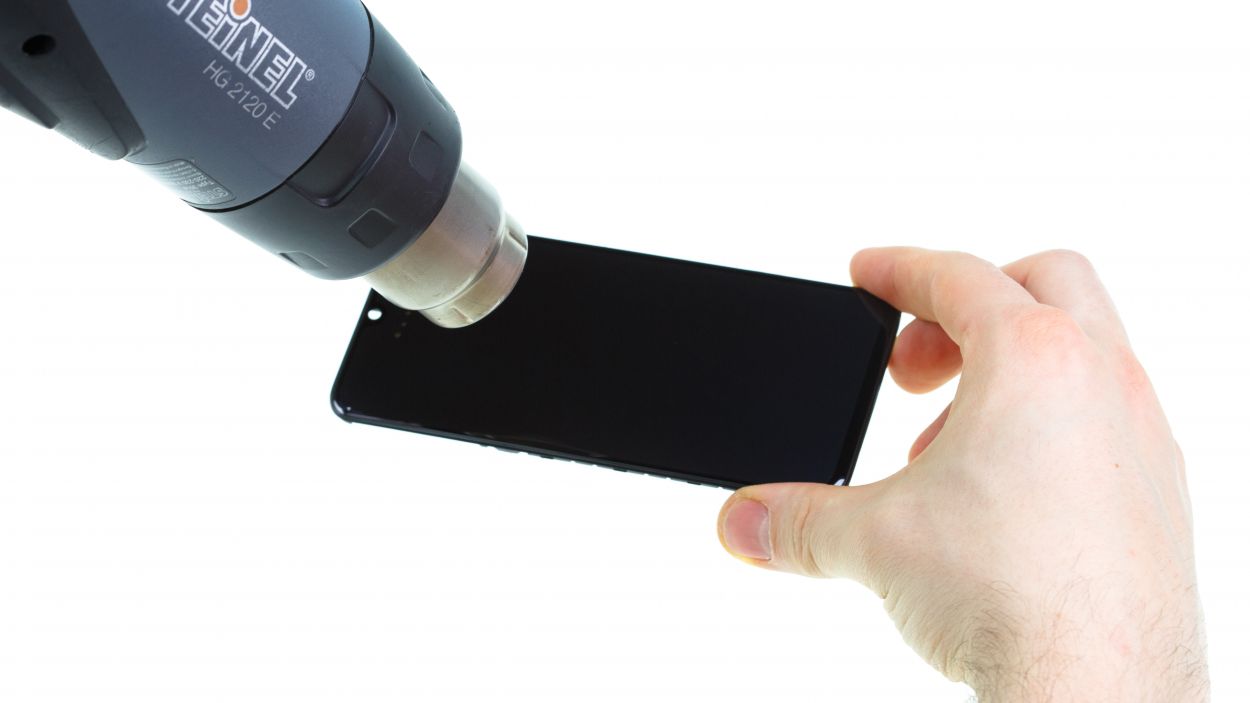
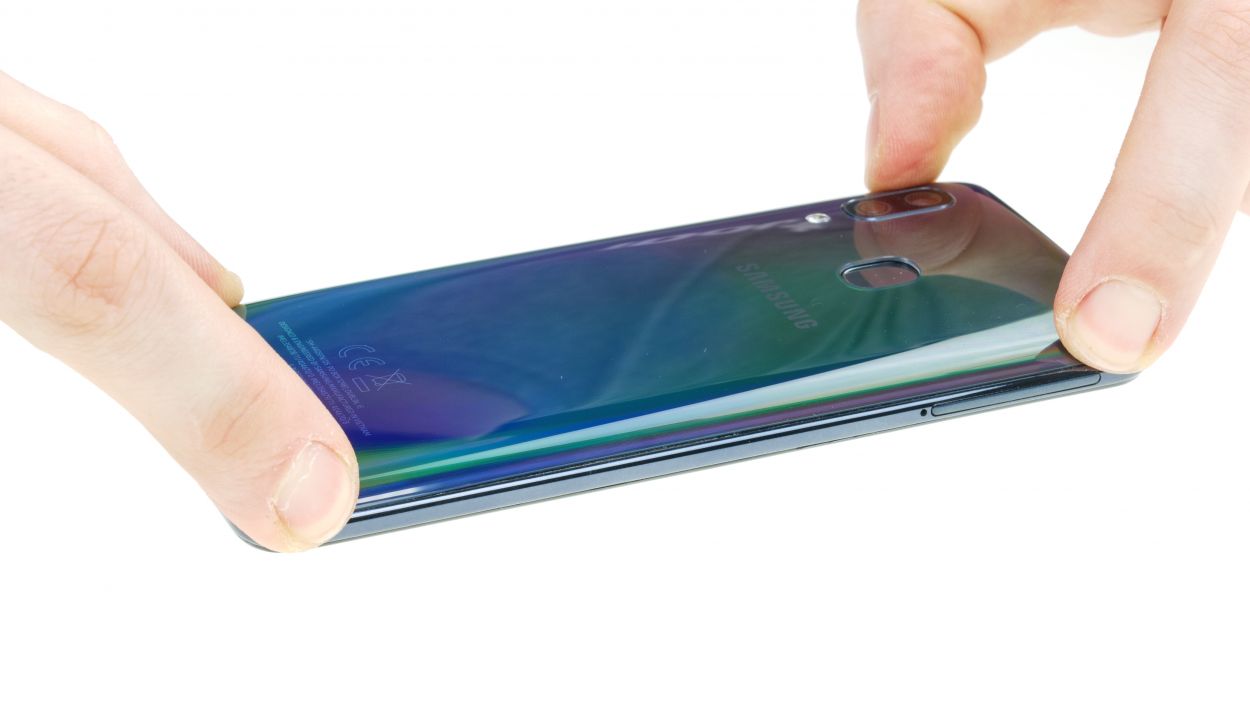
As a good rule of thumb, heat it up just enough so you can comfortably hold the device in your hands.
– Give the edge a warm hug with a heat gun or a trusty hairdryer, aiming for around 60°C. Make sure to focus on the spot where you’ll be starting to lift off the back cover!
Tools Used
- heat gun to heat parts that are glued on so they’re easier to remove.
In most cases, you can also use a hairdryer.” rel=”noopener”>Heat gun - screen and the frame. The practical iFlex is made of stainless steel and sits comfortably in the hand. This makes it the perfect assistant for every smartphone repair.” rel=”noopener”>iFlex Opening Tool
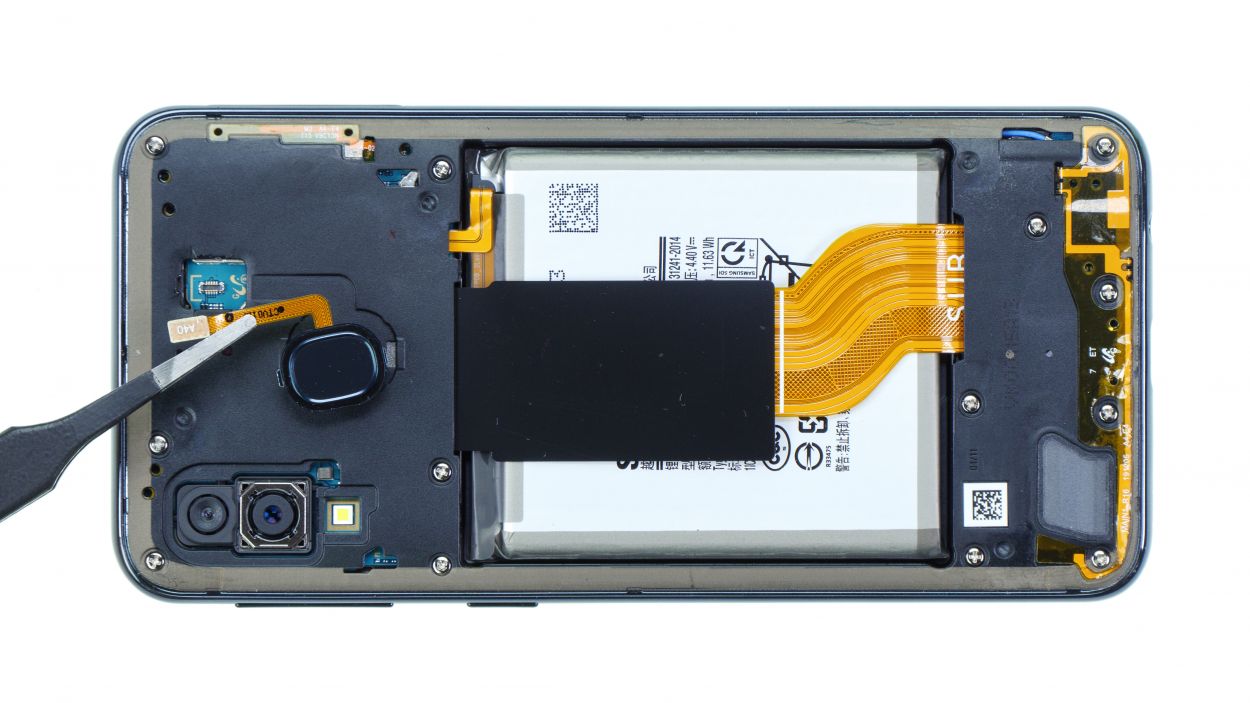
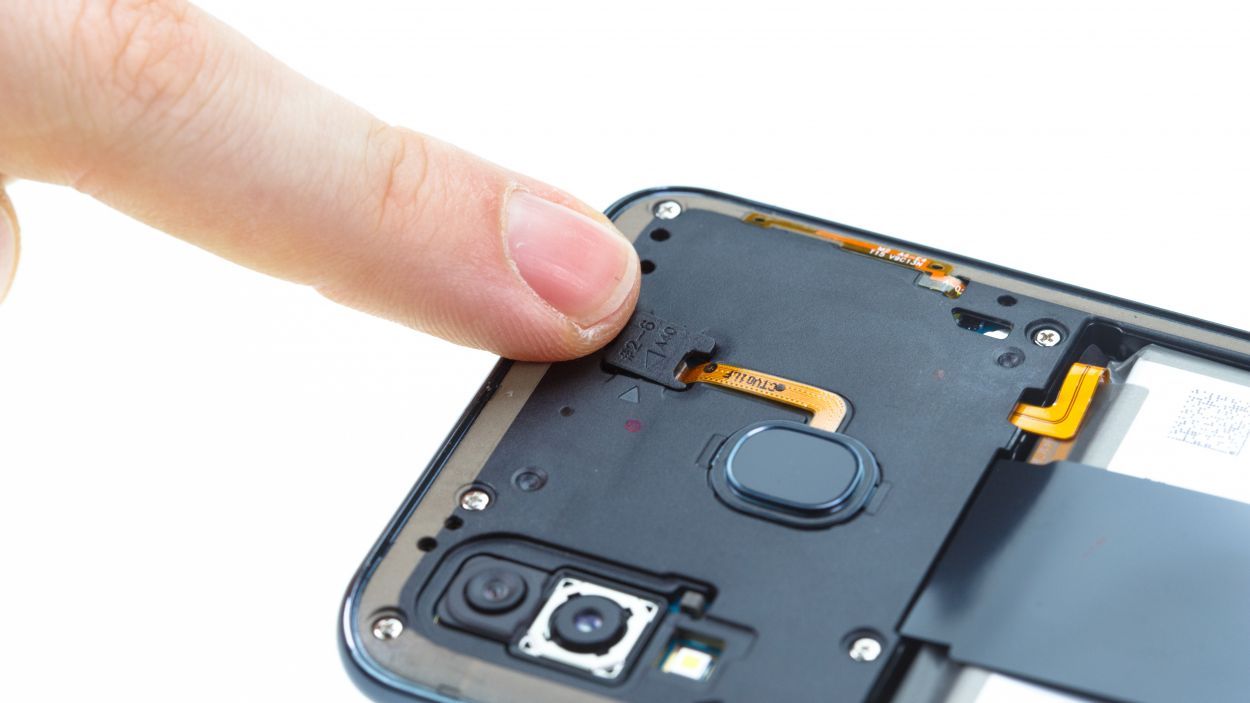
Step 3
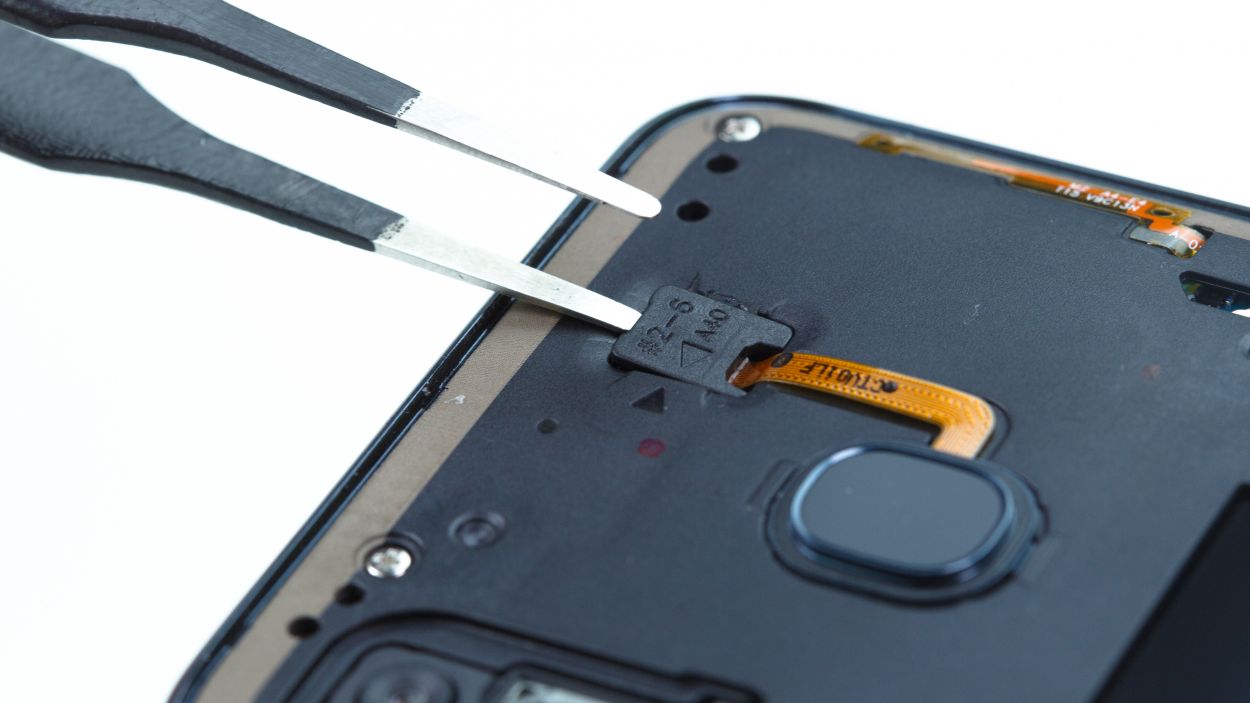
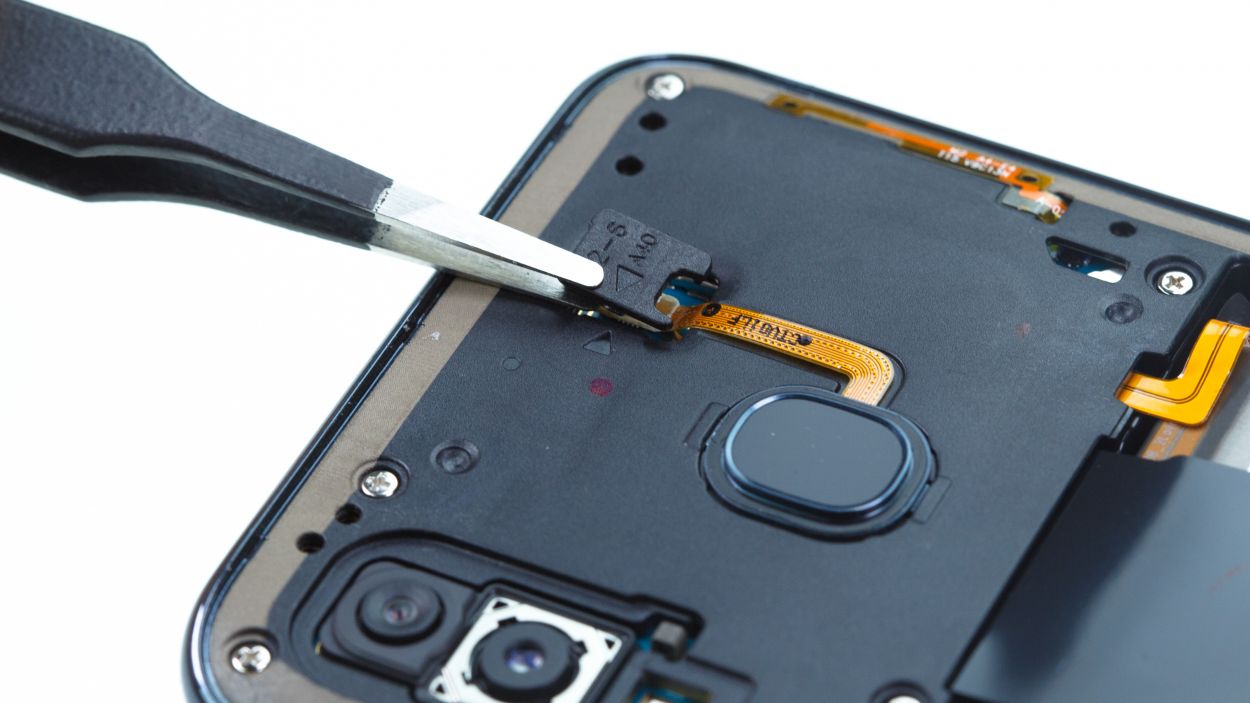

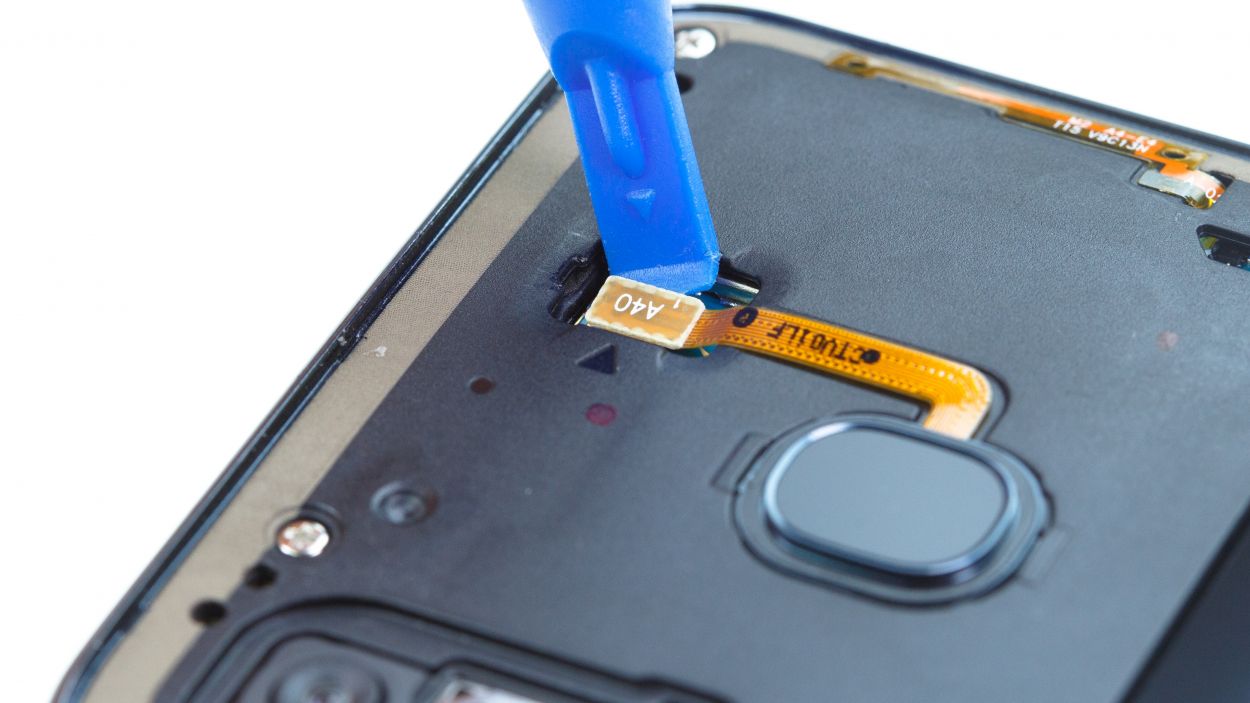

Fingerprint connector
– Gently ease off the plastic cover over the connector using your trusty tweezers.
– Next, with a spudger in hand, carefully pry apart the connector.
– Finally, it’s time to lift out the fingerprint sensor and give it a little farewell!
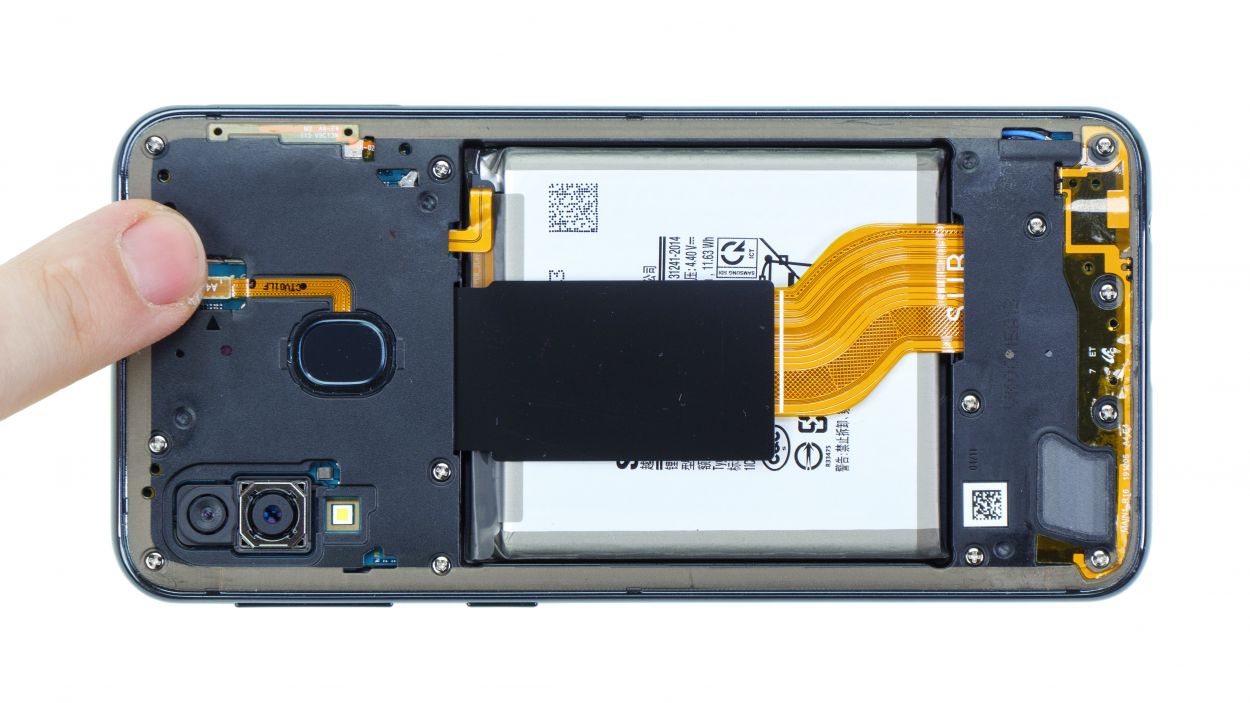
Step 4
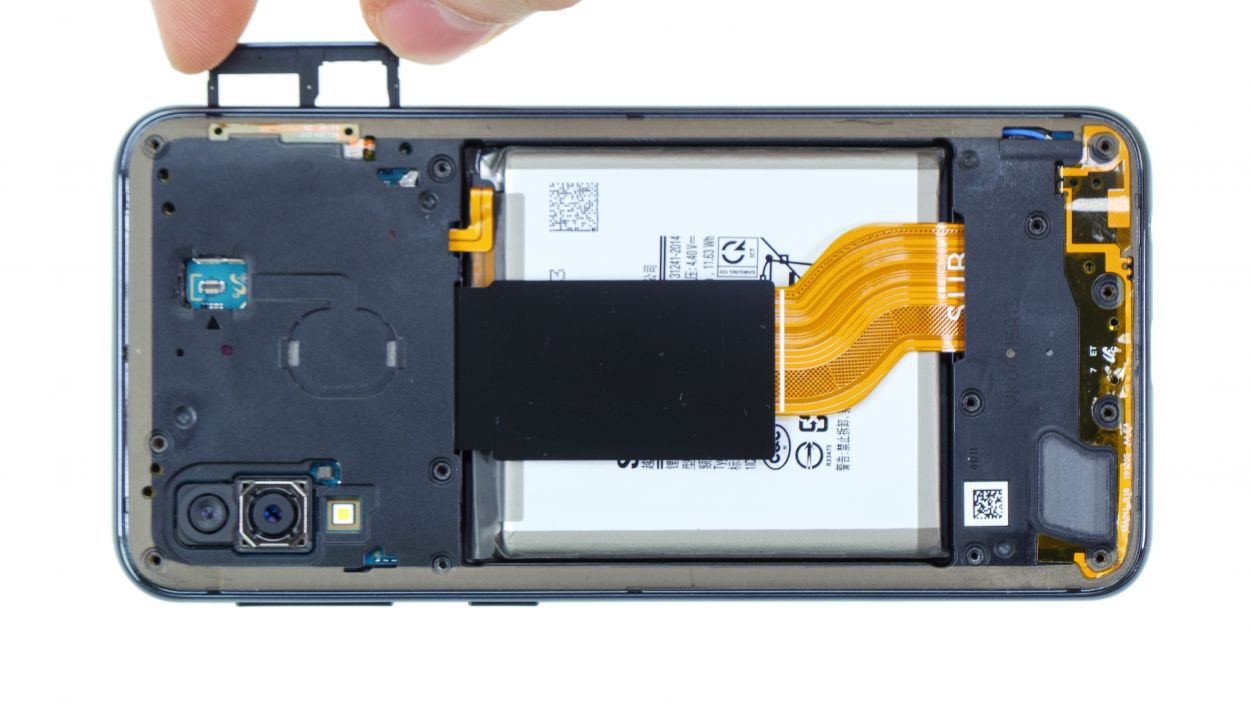


13 × 3,4 mm Phillips
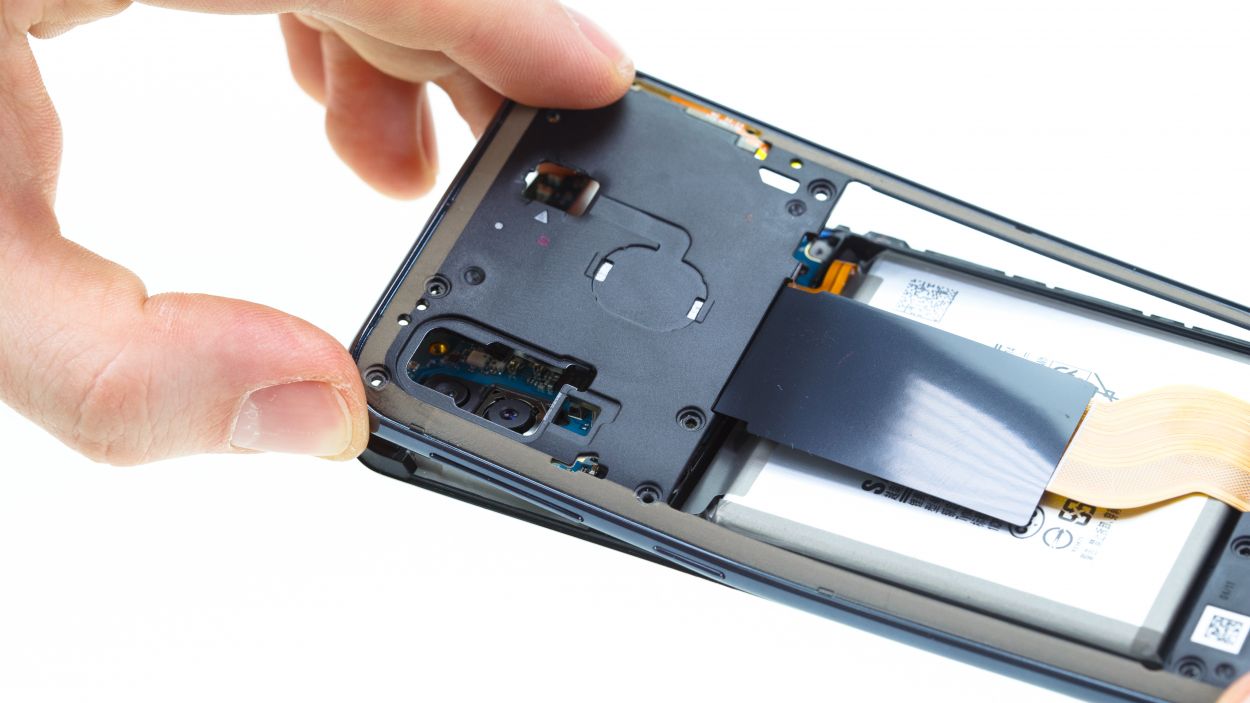
– The middle frame is held in place by a bunch of screws, plus there are clips that keep the display snug against the frame.
– Kick things off by loosening all those screws and popping out the SIM card holder.
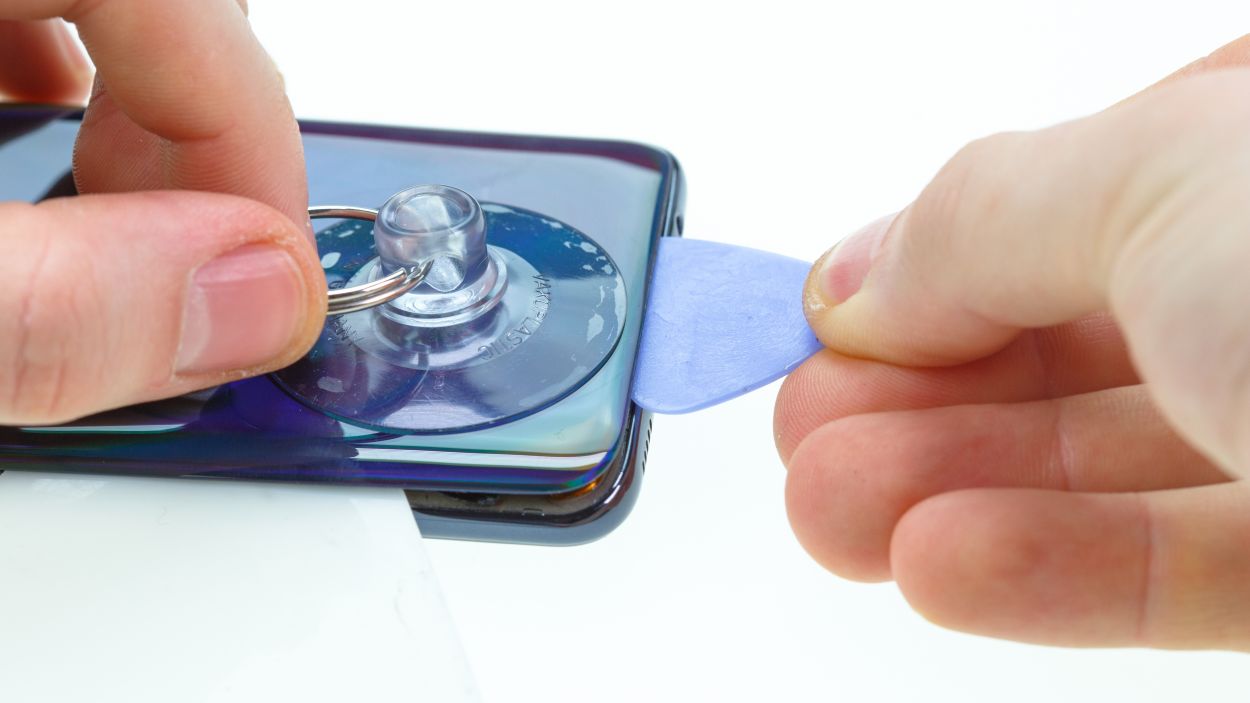
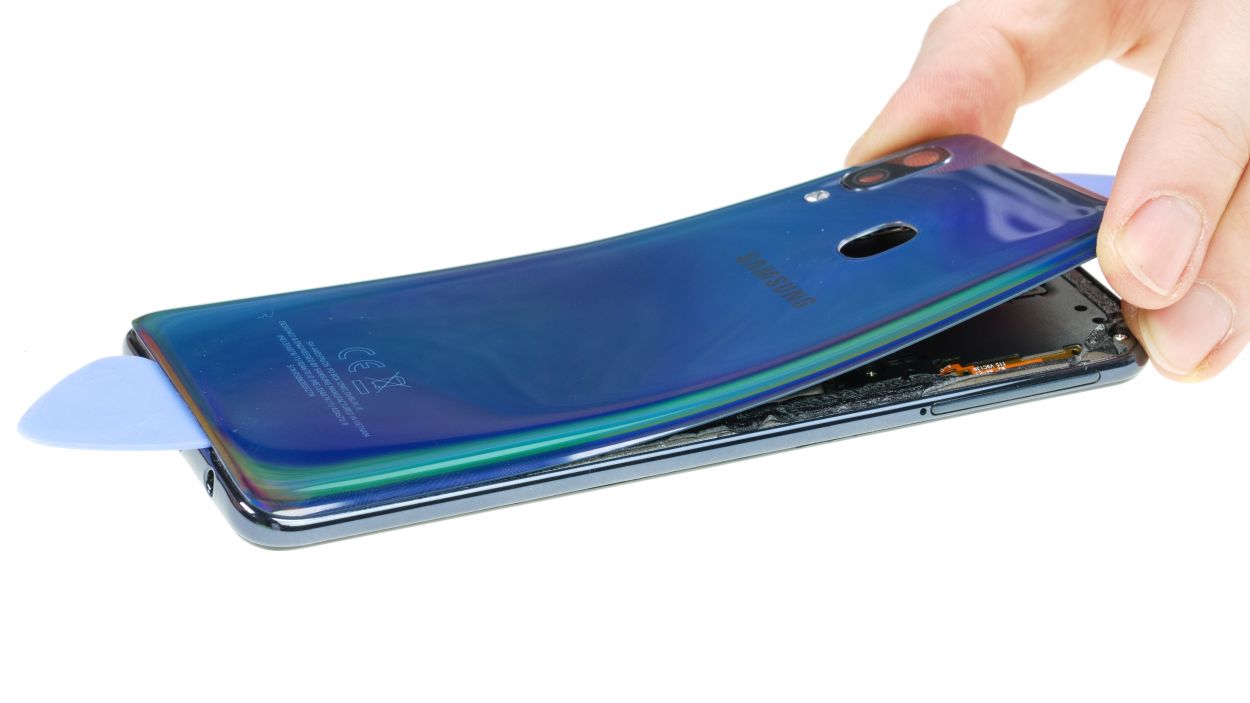
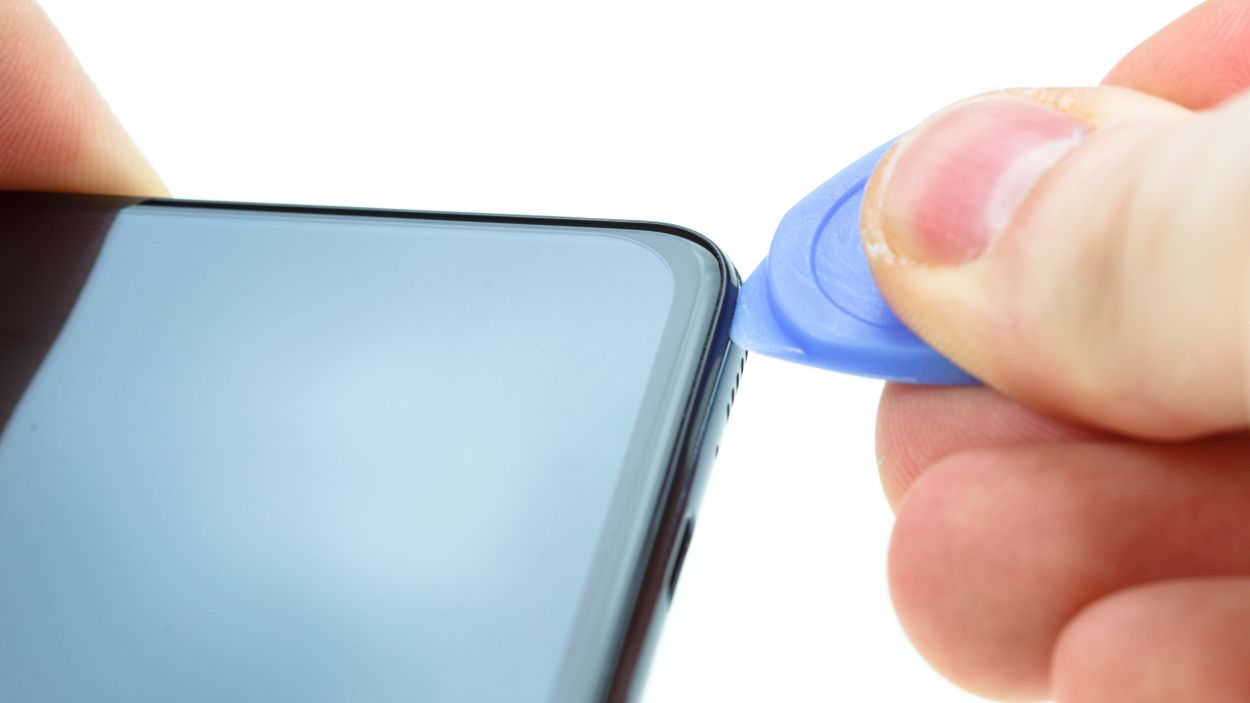
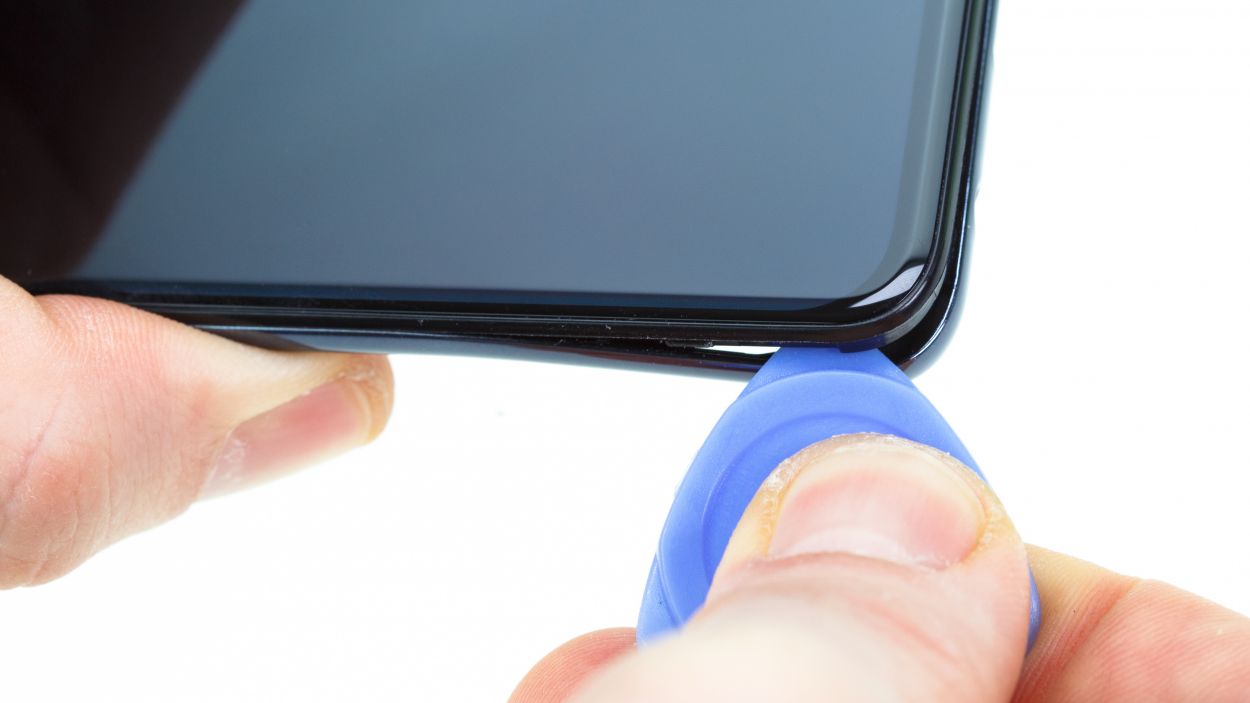
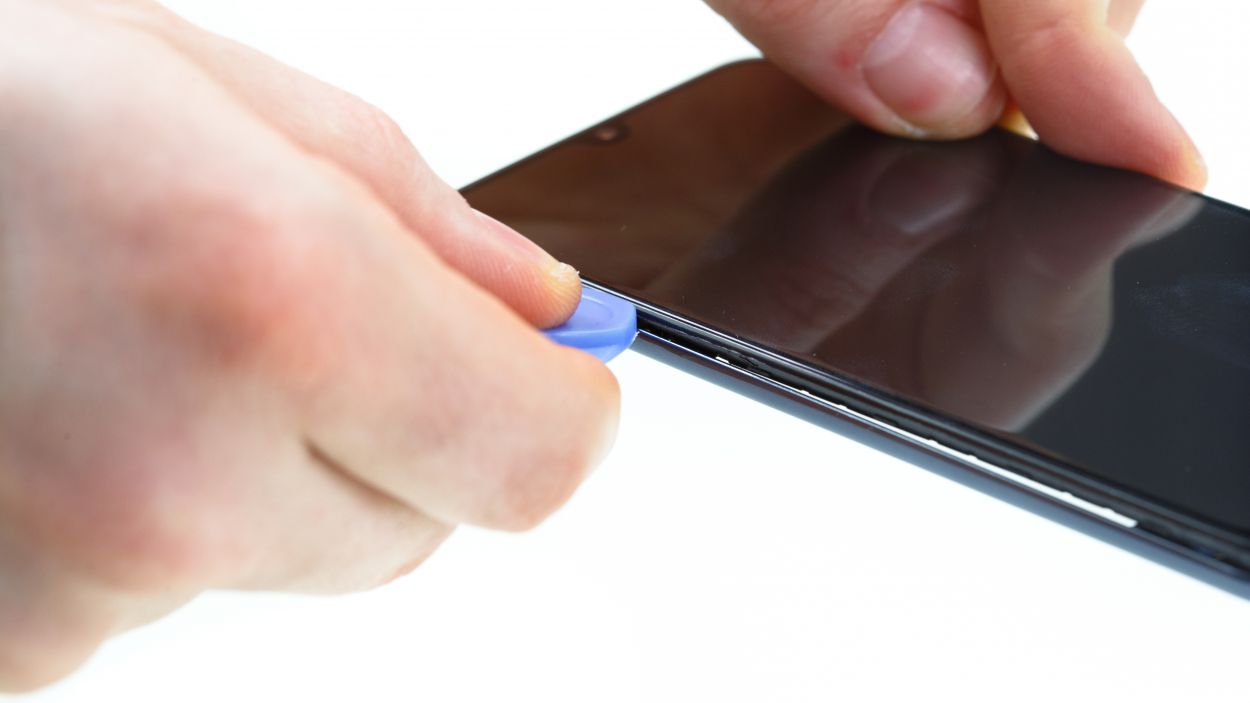
– Next, grab a plectrum and slide it between the frame and display, gently releasing each clip one by one.
– If the plectrum isn’t cutting it, feel free to use your fingernail to sneak into the gap.
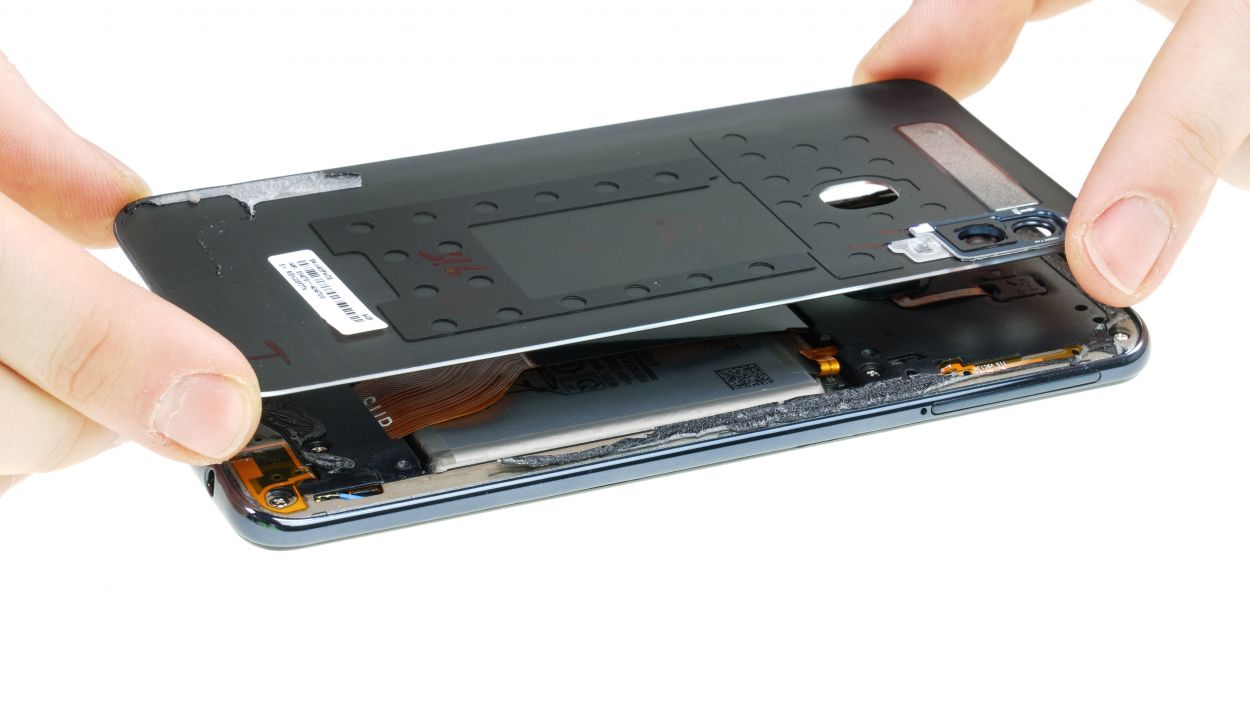
– Carefully loosen the display from the frame all the way around, then set the frame aside like it’s taking a break.
Tools Used
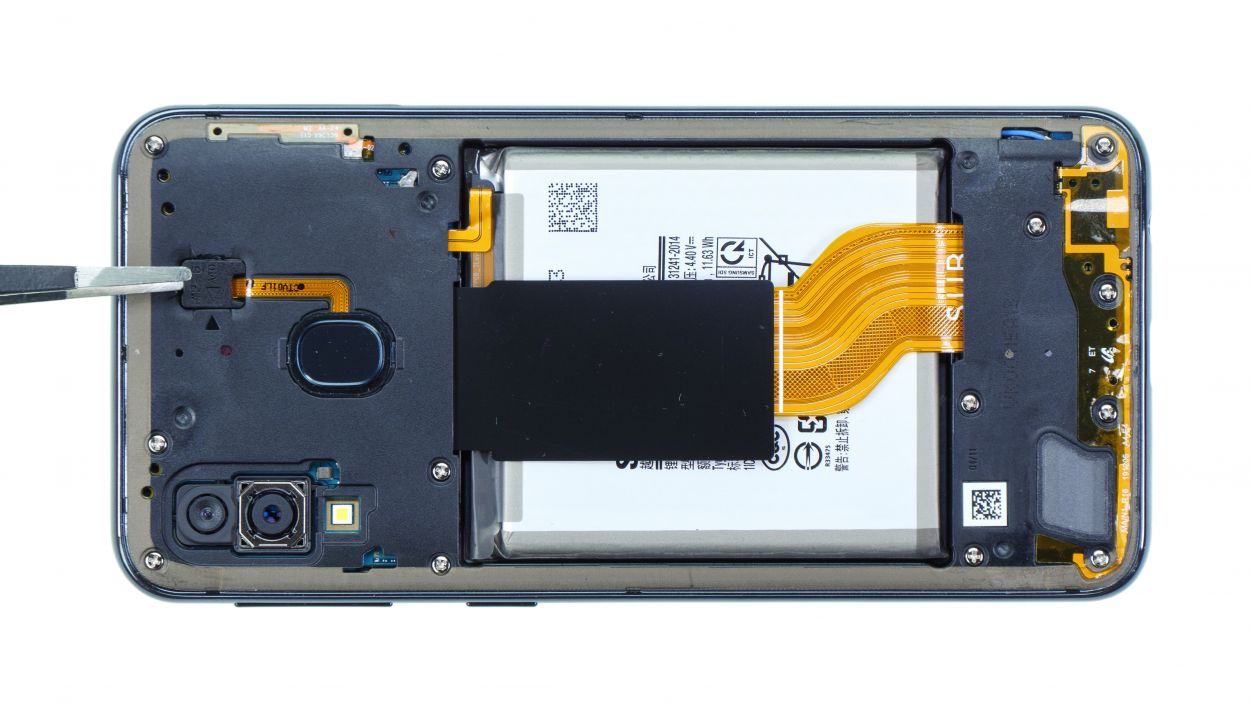
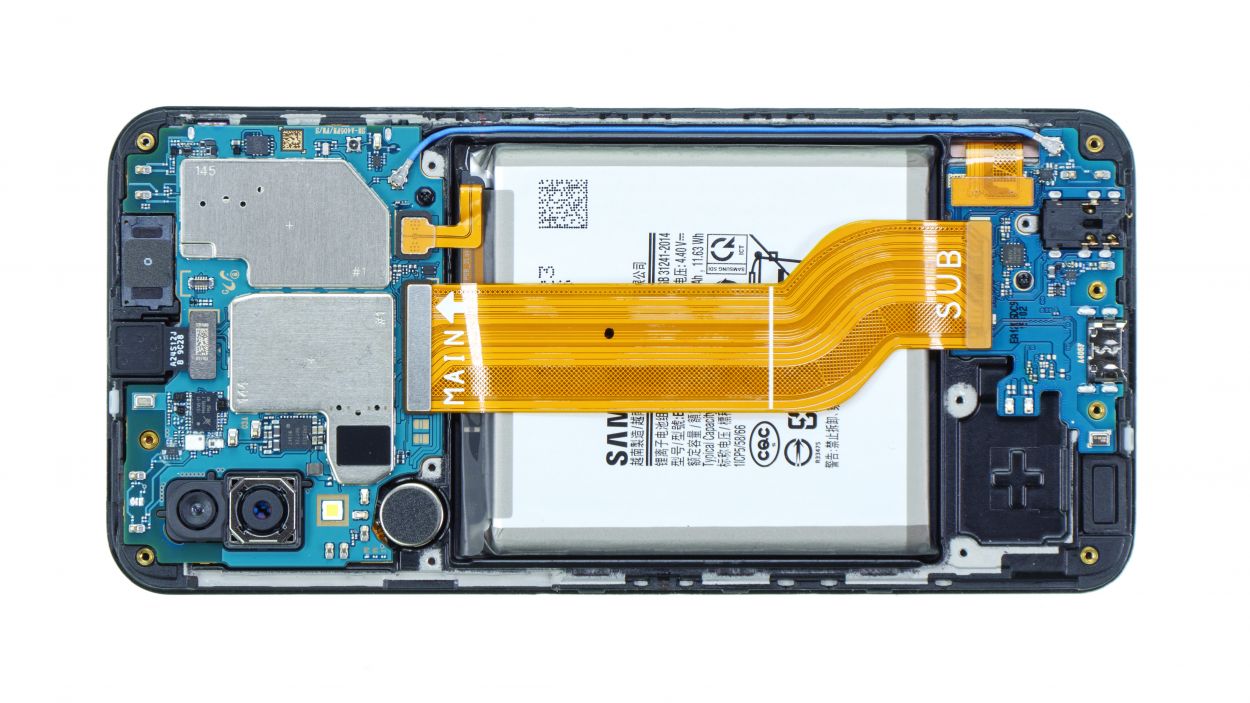
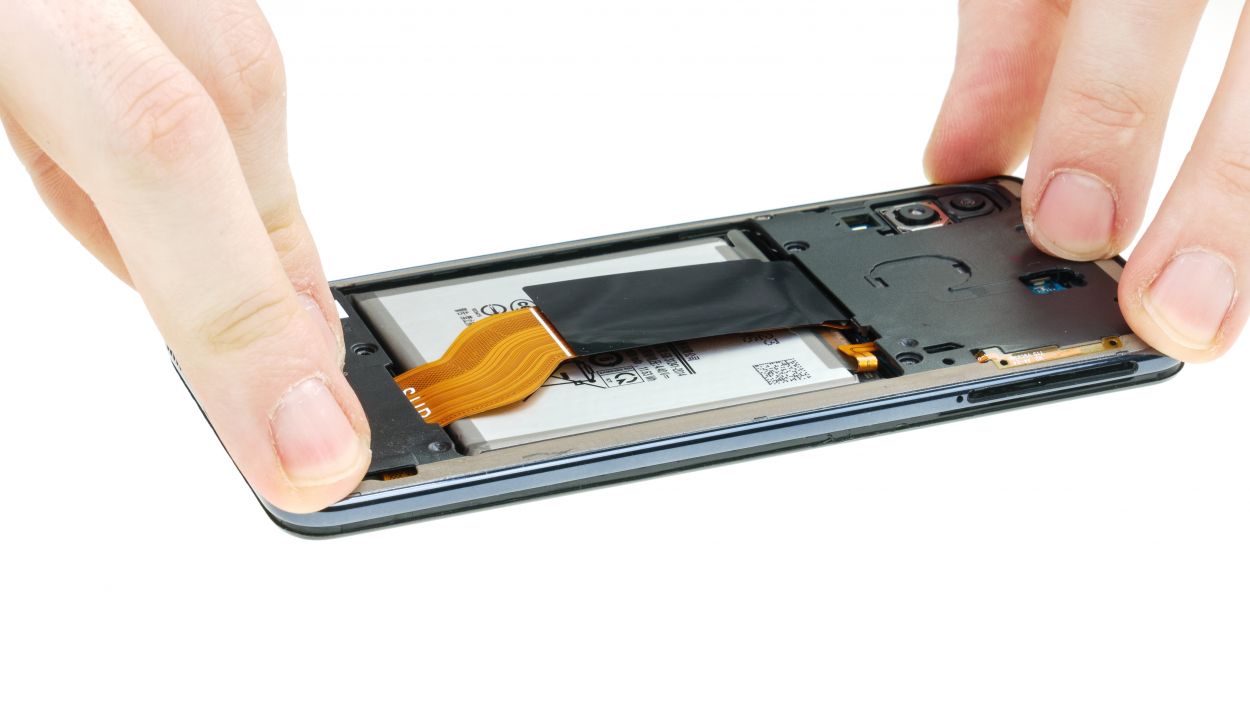
Step 5


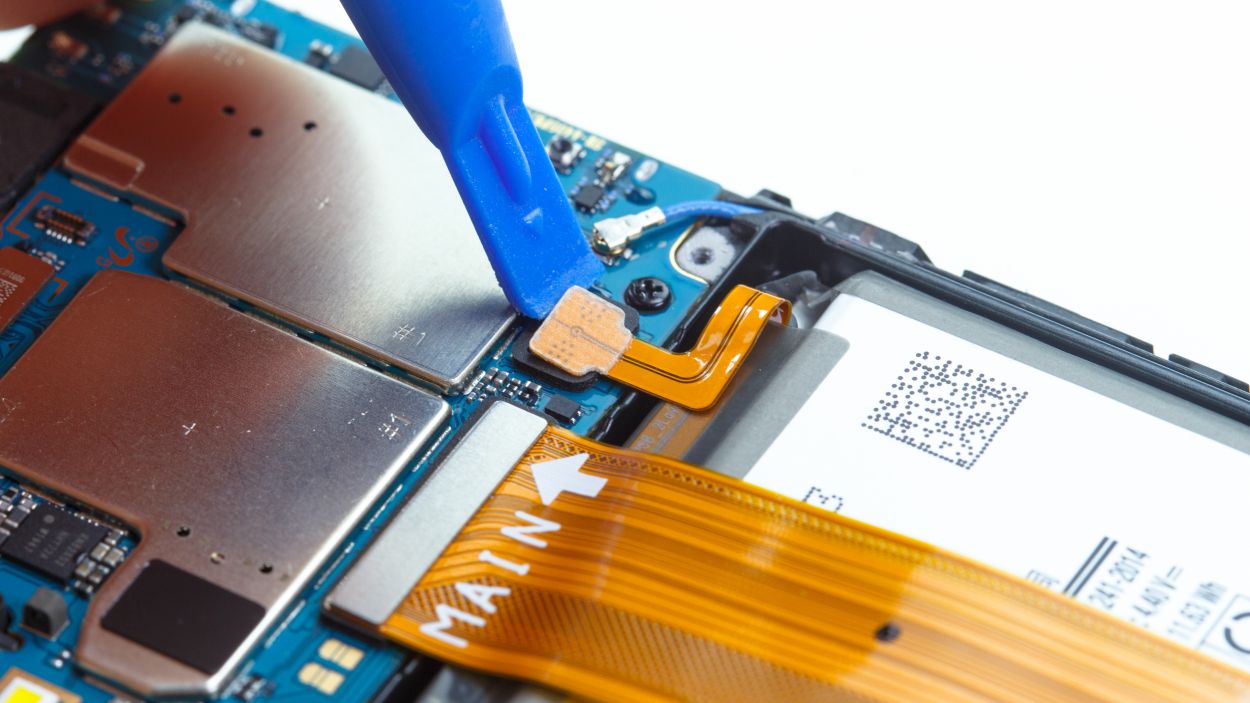


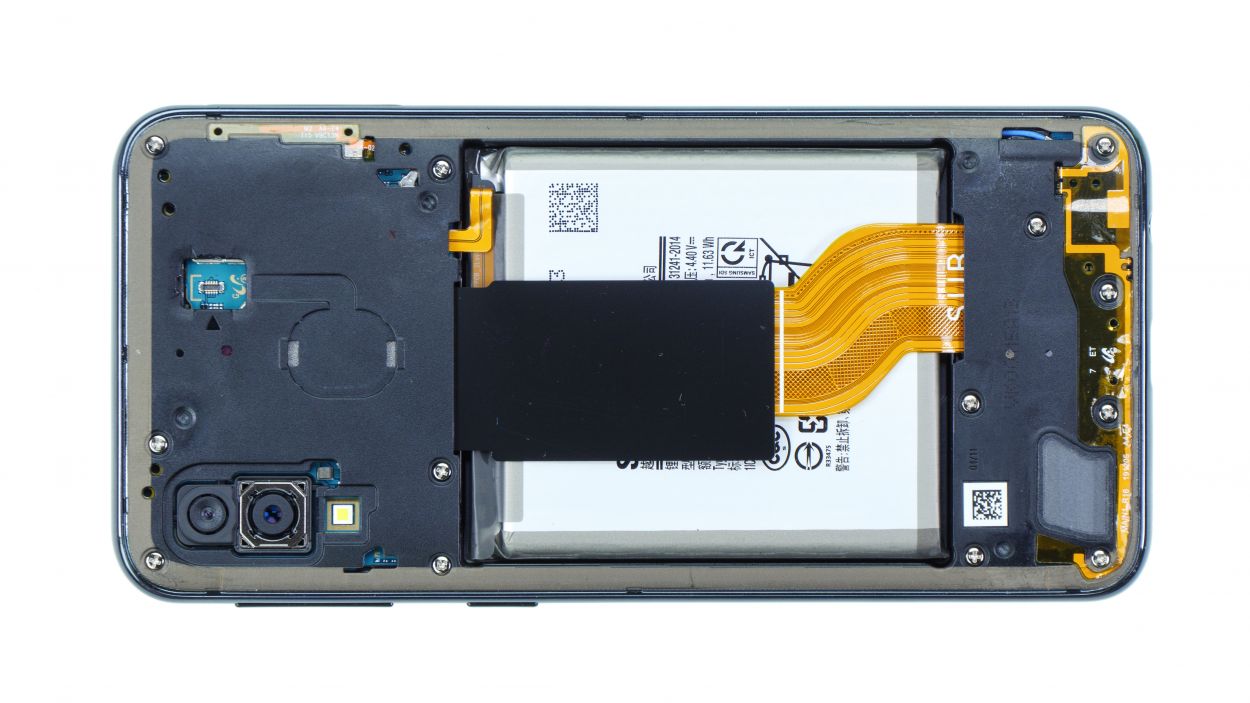
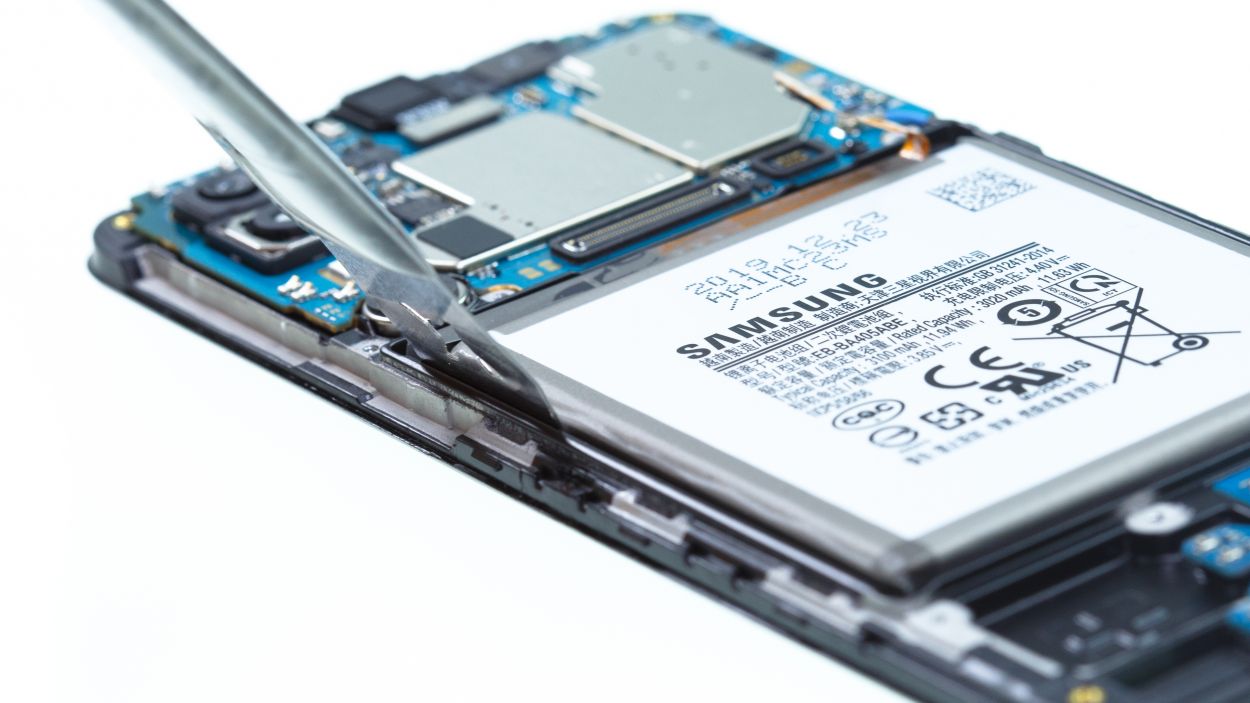
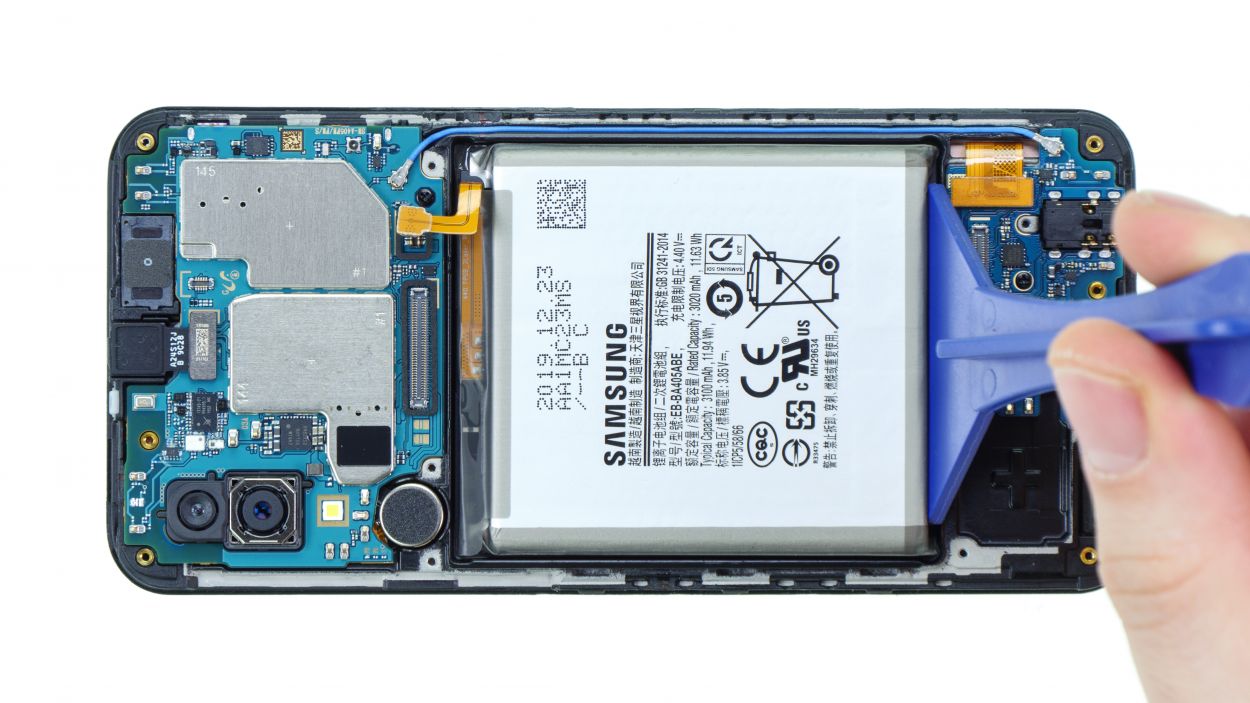
Battery Connector
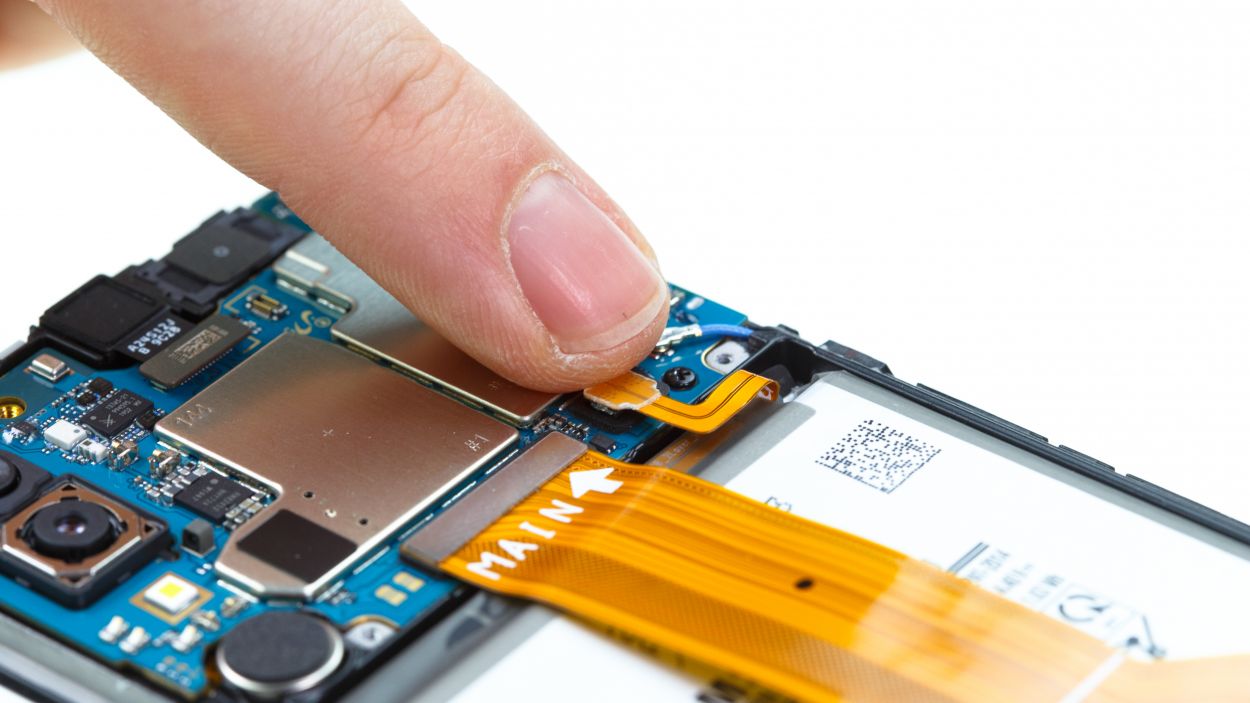
Flex Cable Connector
– First up, let’s unplug that battery contact from the main board—easy peasy!
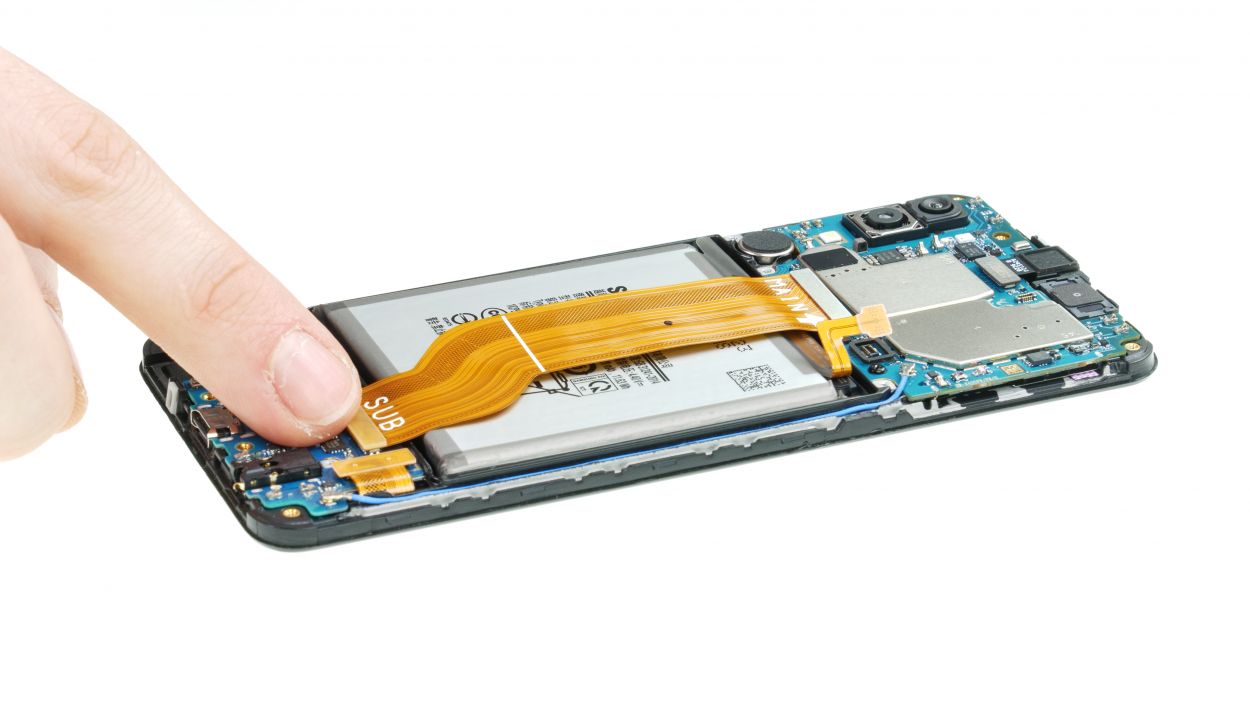
– Next, gently disconnect the connectors of the wide flex cable that’s lounging over the battery.
– Now, just set that flex cable aside like it’s taking a little break!


Step 7
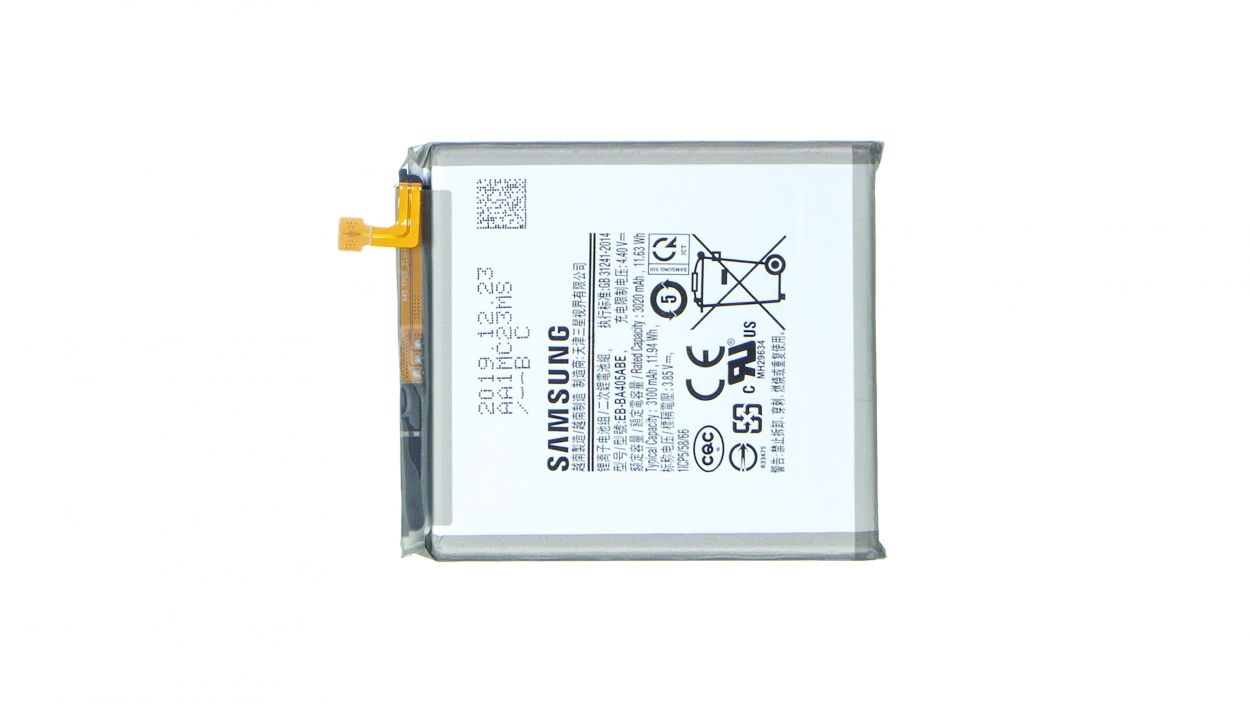
– If your replacement battery has an adhesive surface, remove the protective film over it before inserting it.If your battery does not have an adhesive surface, you can use thin double-sided adhesive tape to attach the battery. Make sure that the battery is not pushed upwards by too thick an adhesive.You can also use universal adhesive tape from the iDoc Store. Cut them to size first, then stick them to the back of the battery.
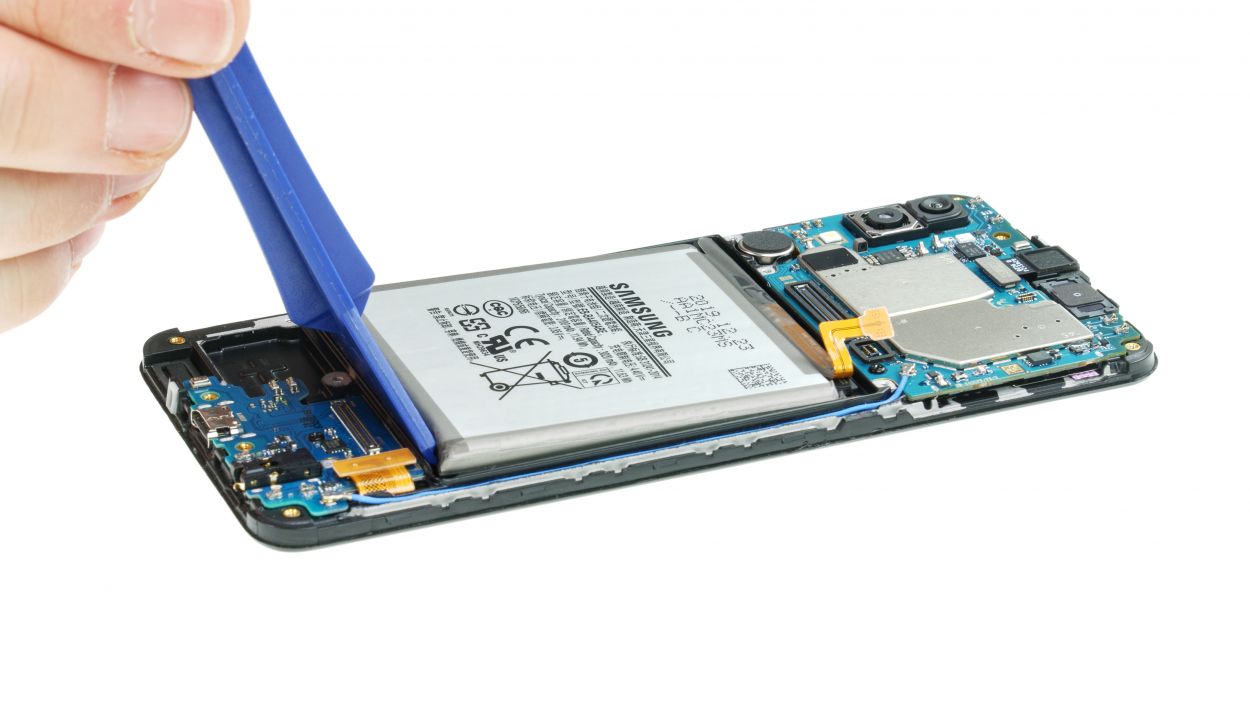
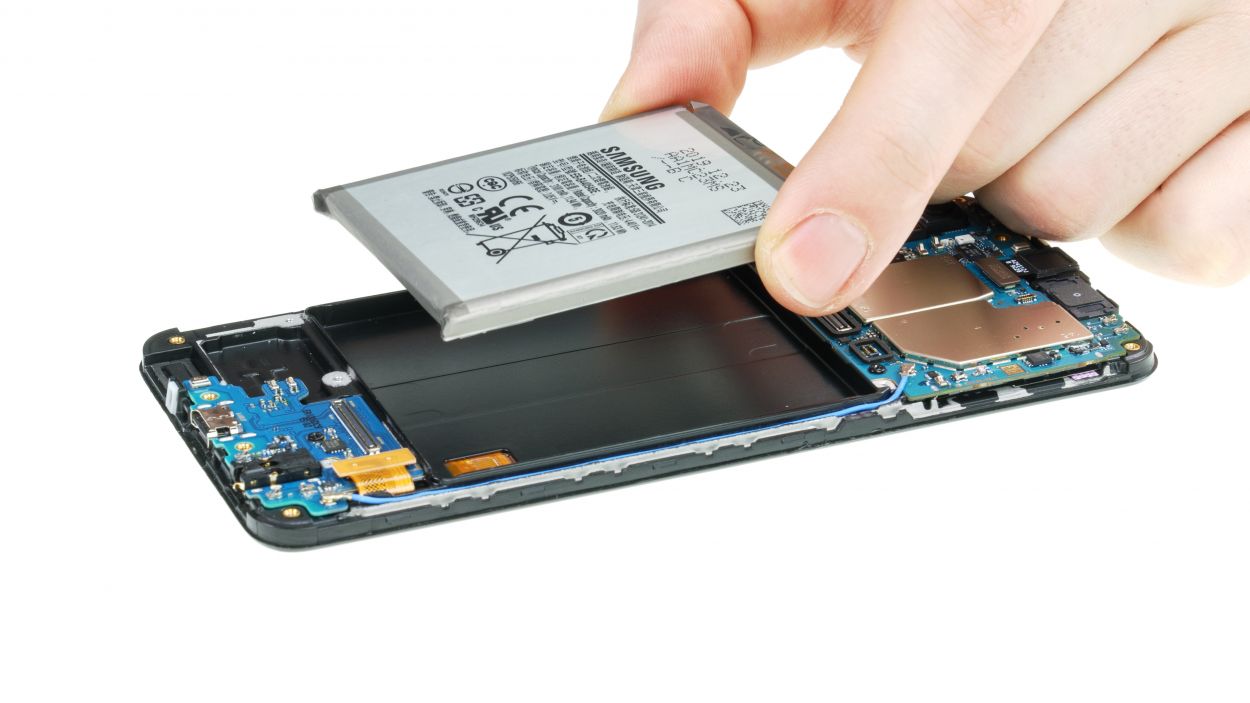
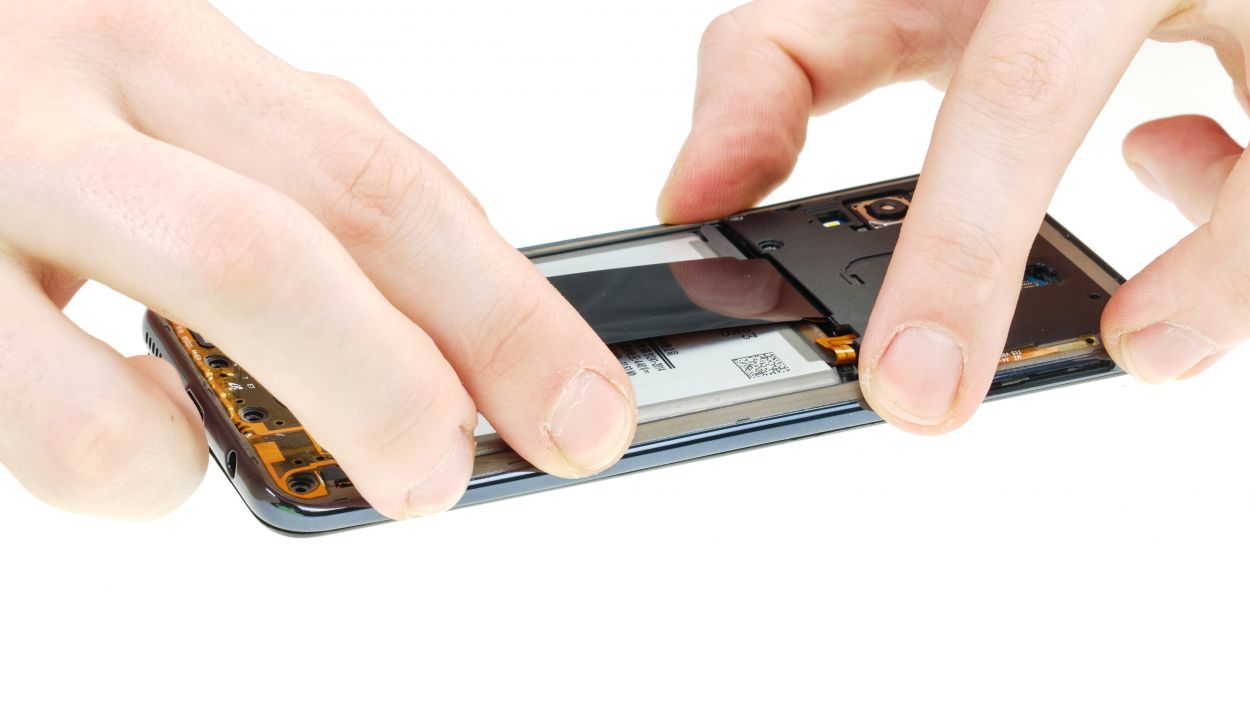
Step 8
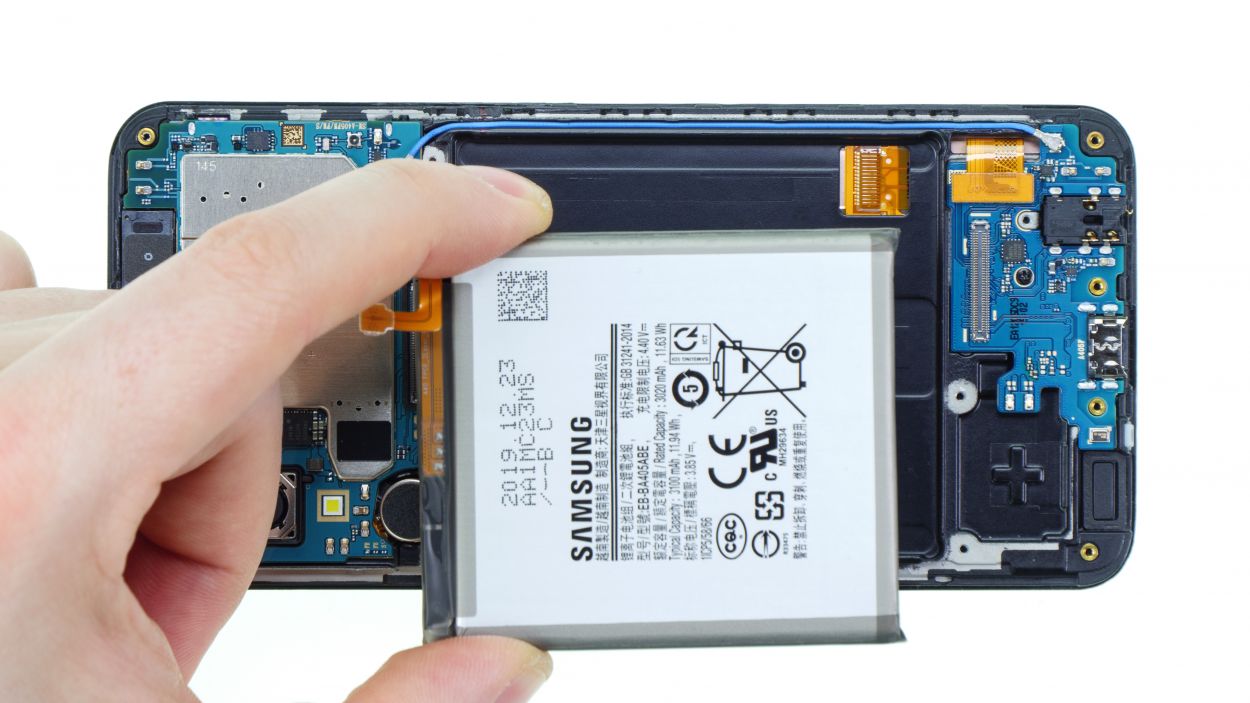
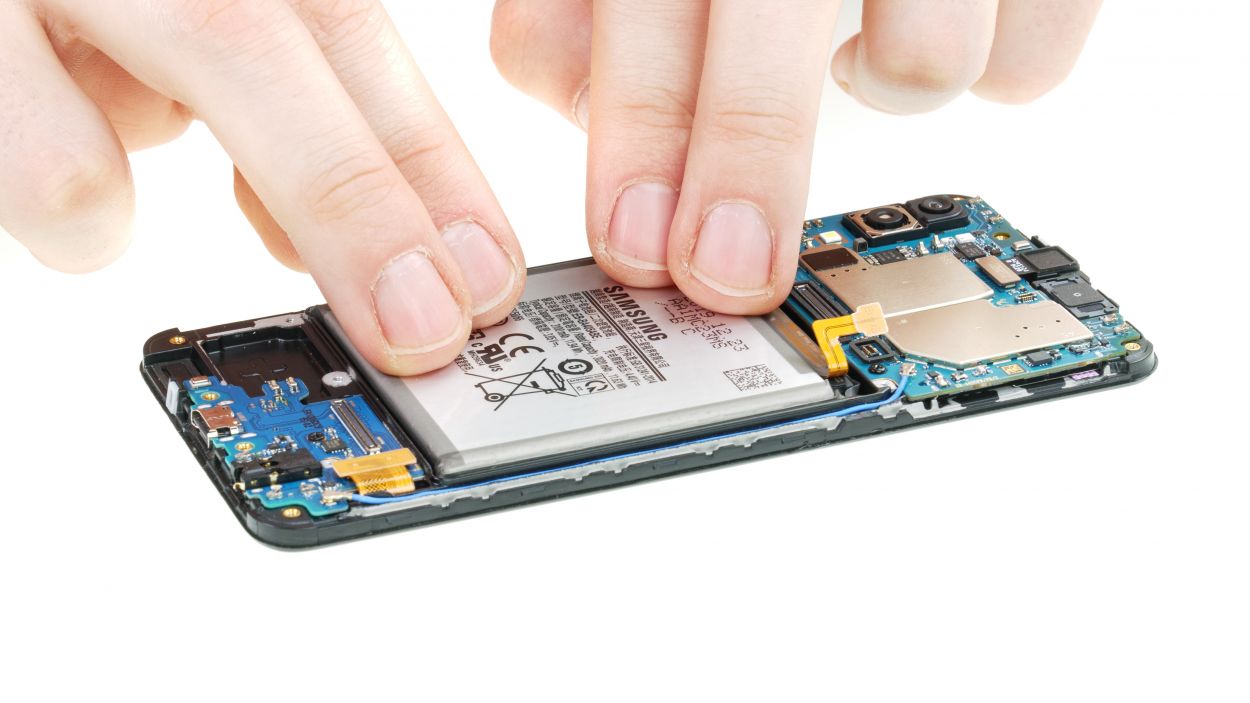

– Time to slide that battery back into its cozy home inside the device!
– Double-check that the adhesive underneath is smooth and wrinkle-free—no one likes a crumpled-up adhesive!
– Gently nestle the battery in place, ensuring there’s a little wiggle room on all sides.
– Give it a light press to help the adhesive stick like best friends!
Step 9
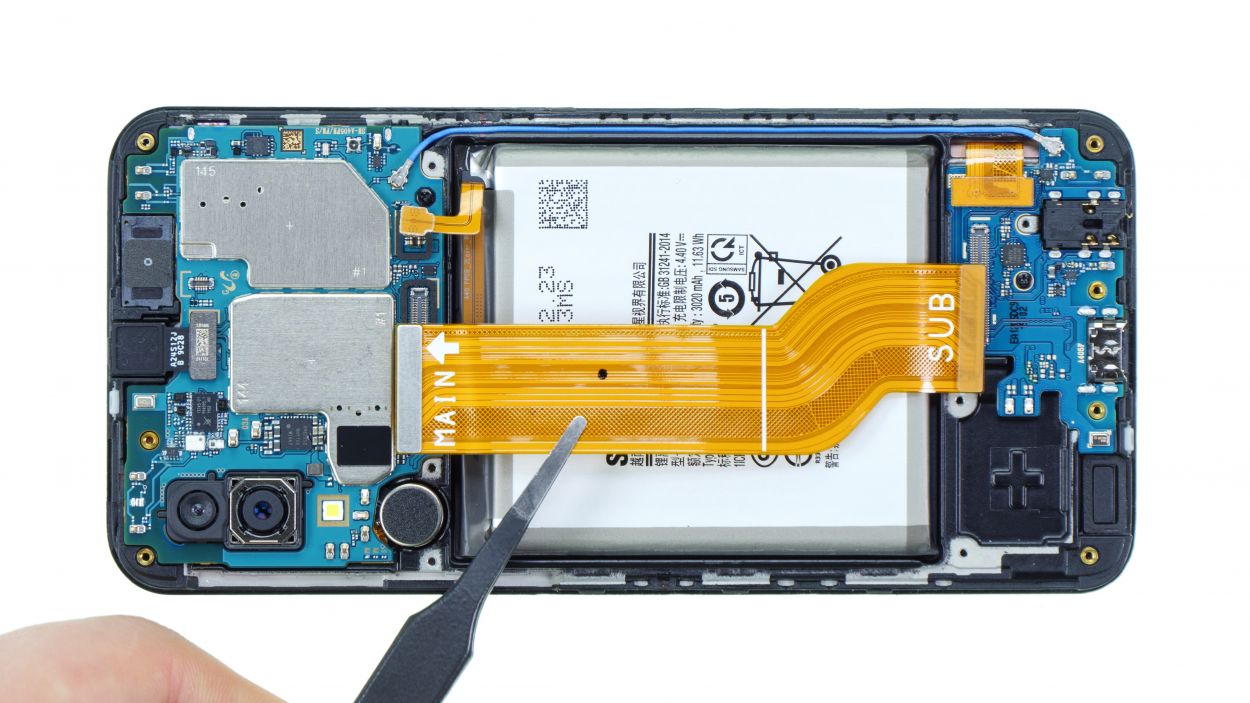
Flex Cable Connector
Battery Connector
– Time to slide that wide flex cable back into its cozy spot in the device!
– Next up, connect the two connectors of the flex cable—one to the mainboard and the other to the USB board. They’ll be best buddies in no time!
– Finally, don’t forget to reconnect the battery. You’re almost there!
Step 10


13 × 3,4 mm Phillips
– Now, let’s pop that center frame back onto the display like it’s meant to be there!
– Give it a good press all around to make sure every clip snaps back into place.
– Next up, tighten all those screws like a pro.
– And don’t forget to slide the SIM and SD card holder back into its cozy spot in the device.
Step 11

Fingerprint connector
– Carefully place the fingerprint sensor back where it belongs.
– Next, connect the connector and pop the plastic cover back on.
– Give the cover a gentle press until you hear that satisfying click into place.
Step 12


– To put that back cover back in its rightful place, you can either stick with the old glue or go for a shiny new adhesive frame!
– If you’re opting for the old glue, just make sure it’s spread evenly and isn’t wrinkling or sticking out anywhere—smooth sailing!
– Going for the new adhesive frame? First, you’ll need to say goodbye to the old glue on both the back cover and the frame.
– Grab some tweezers to gently remove the glue. You can also use a plastic tool to scrape it off or rub it away with a lint-free cloth and a splash of rubbing alcohol.
– Now, lay that new adhesive frame on the device frame and peel off all the protective films. Ensure that no glue is peeking out from the frame.
– Next, carefully place the back cover back on and give it a gentle press all around.
– For a strong bond, warm up the back cover frame with some hot air and place a few books on top of your smartphone to help the glue set nicely.


