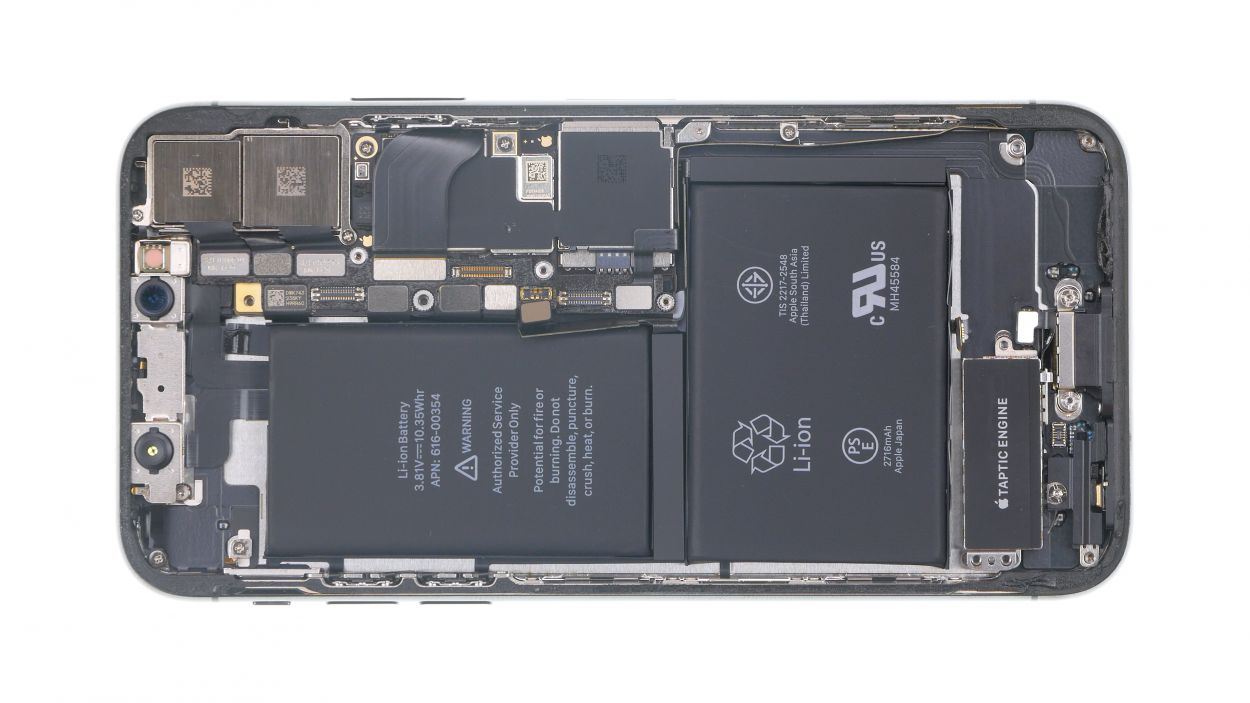
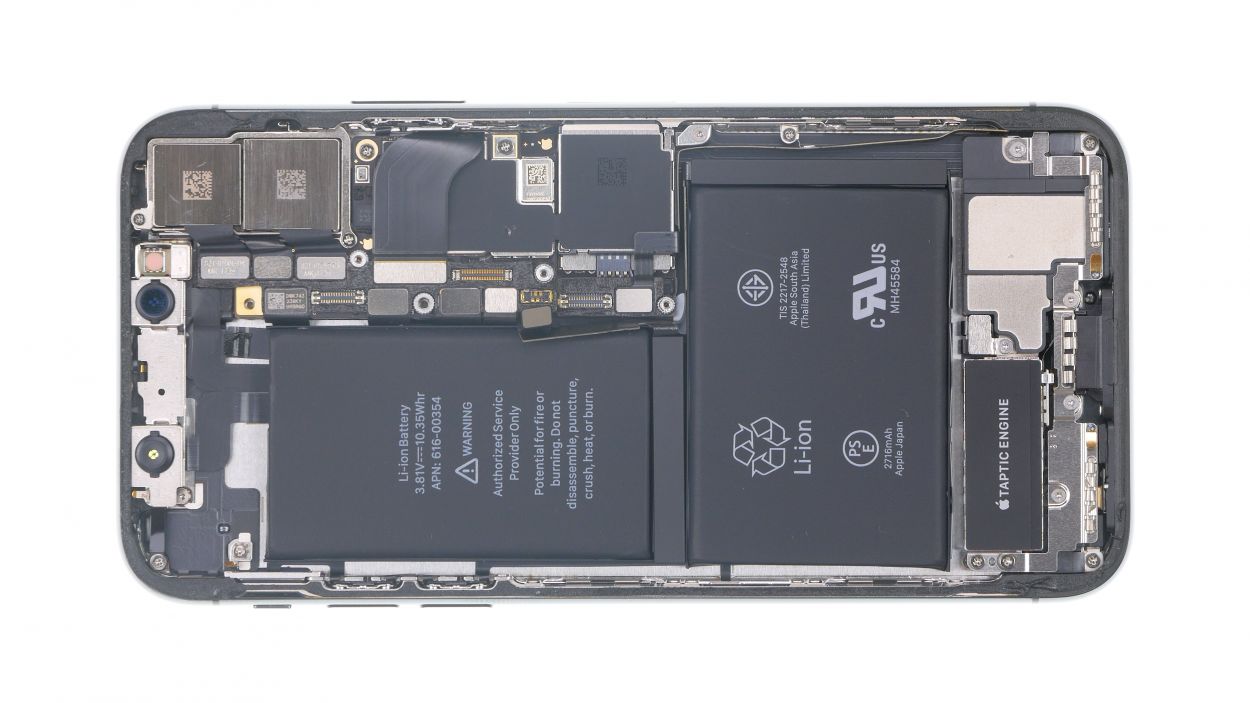
DIY Guide to Replace iPhone X Battery Step-by-Step
Duration: 45 min.
Steps: 21 Steps
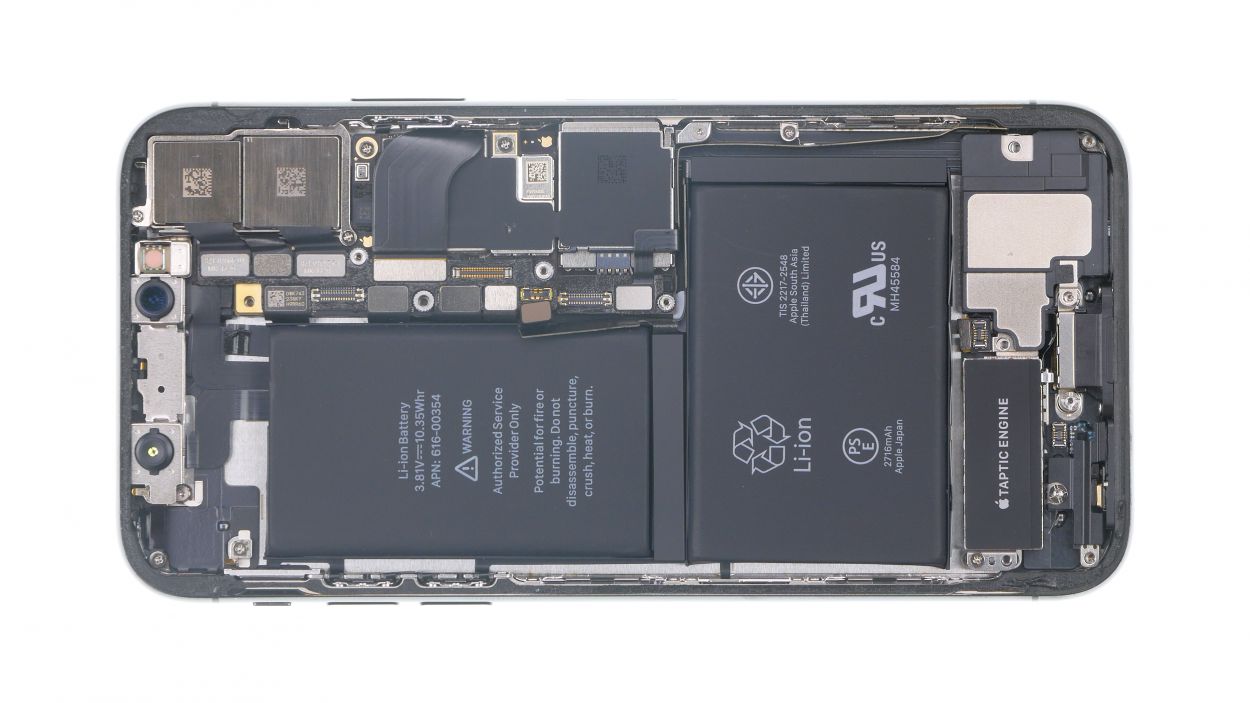
If your iPhone X is throwing tantrums and refusing to turn on or charge, it’s definitely time to swap out that faulty battery! Our straightforward repair guide will walk you through the process step by step. Good luck with your repair adventure! If you find our tips useful, we’d love to hear your positive feedback!
Step 1
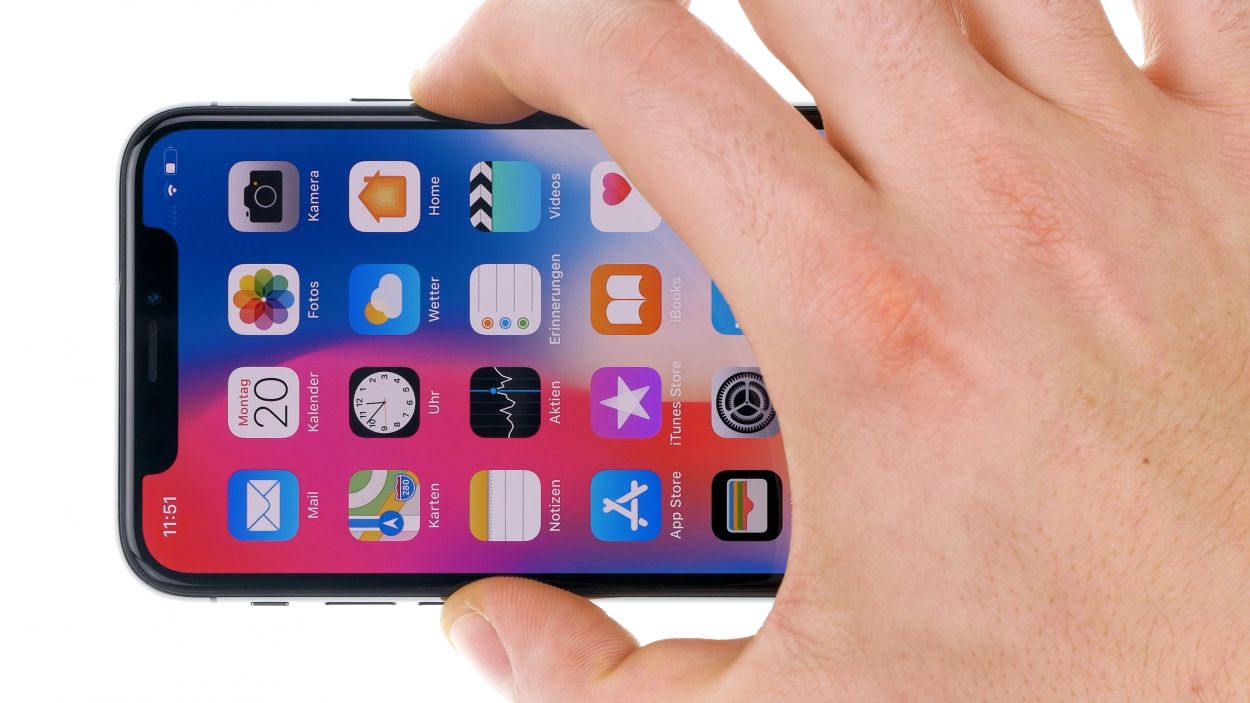
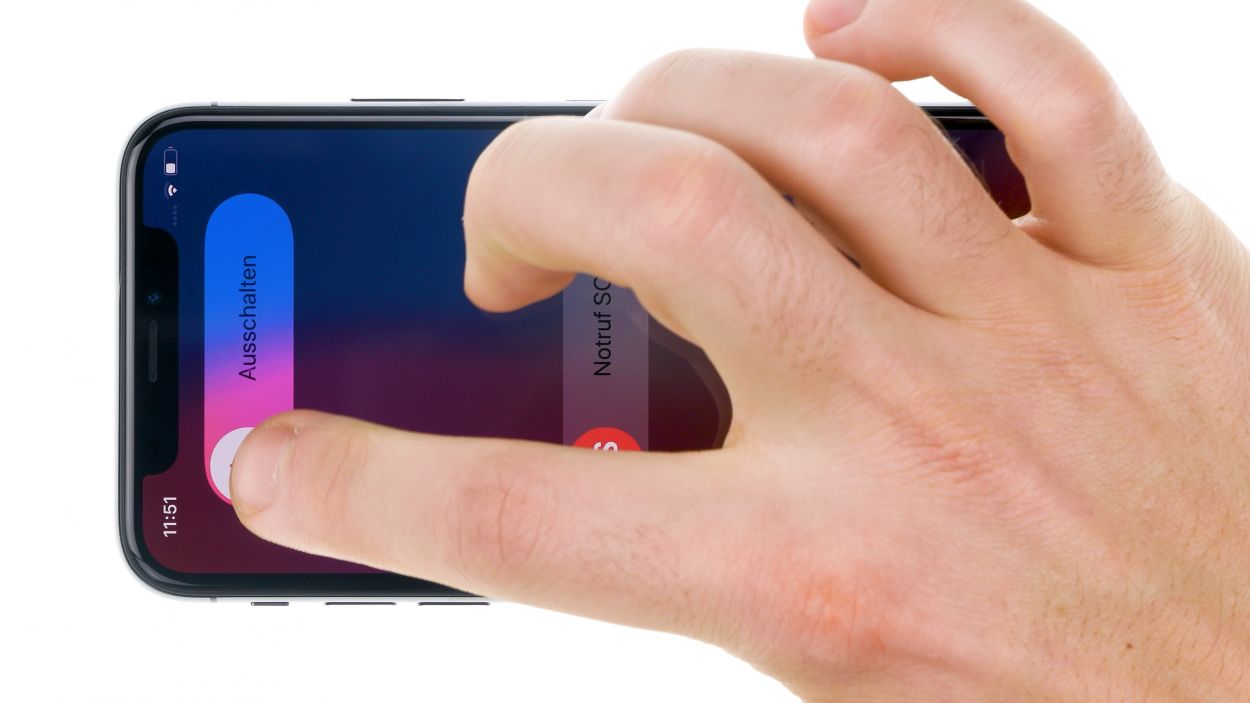
– Before you dive into repairs, make sure your iPhone X is turned off to keep it safe from any mishaps. To power it down, press and hold the standby button along with one of the volume buttons for about three seconds.
– Once you see the ‘Power Off’ slider on the screen, swipe it from left to right. Give it a moment, and your iPhone will be completely off in about 10 seconds. Easy peasy!
Step 2
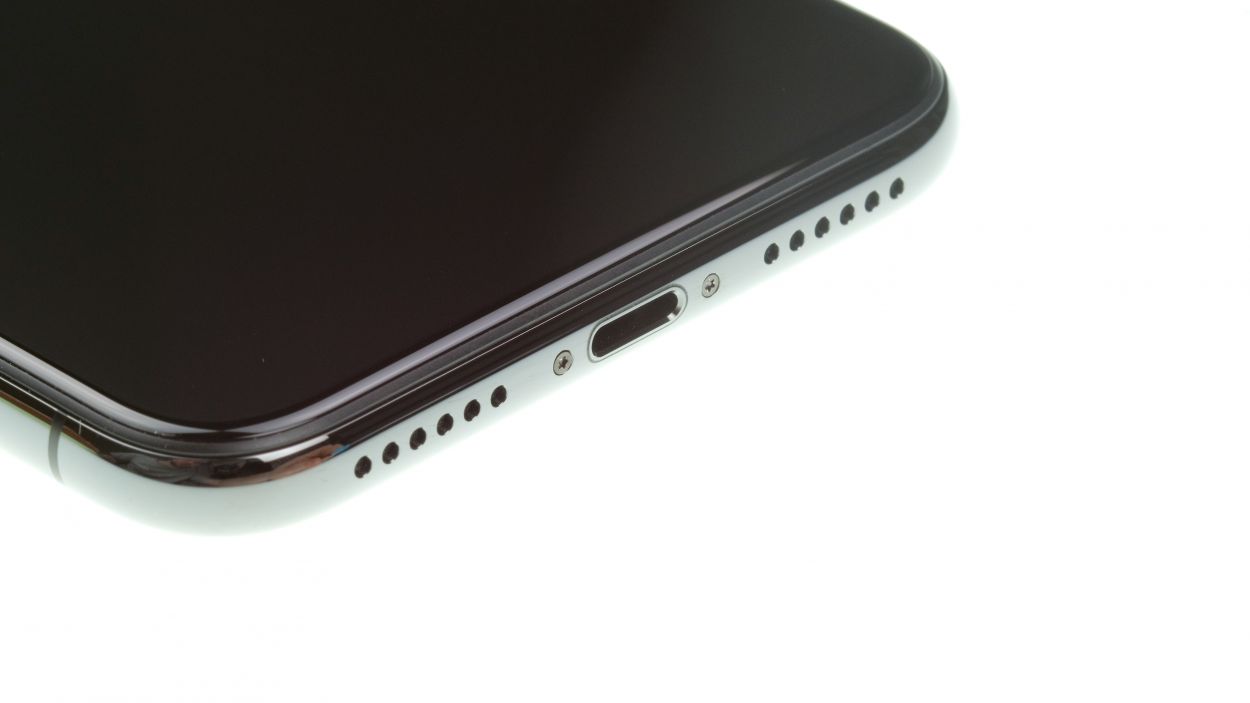

– Grab your trusty pentalobe screwdriver and remove the two screws that are hanging out to the right and left of the Lightning connector. Once you’ve got them out, toss them into a screw storage box so they don’t wander off and get lost!
2 × 6,8 mm Pentalobe
To keep track of all those tiny screws and components you’ve removed, we suggest using a screw storage box. An old sewing box can work wonders for this! We like to use a nifty magnetic pad during our repairs, where you can neatly arrange the parts just like they were in your phone. This way, you’ll know exactly where each screw belongs, making reassembly a breeze!
Tools Used
Step 3
The rule of thumb is to heat your device only enough to be comfortable to touch without being uncomfortably hot.
– Place your iPhone X on a soft and clean surface to avoid scratching the back of your iPhone X when lifting the display.
– Now use a hot air tool, such as a hot air dryer or a regular hairdryer, to run evenly over the glued edge of the display.
Tools Used
- heat gun to heat parts that are glued on so they’re easier to remove.
In most cases, you can also use a hairdryer.” rel=”noopener”>Heat gun
Step 4
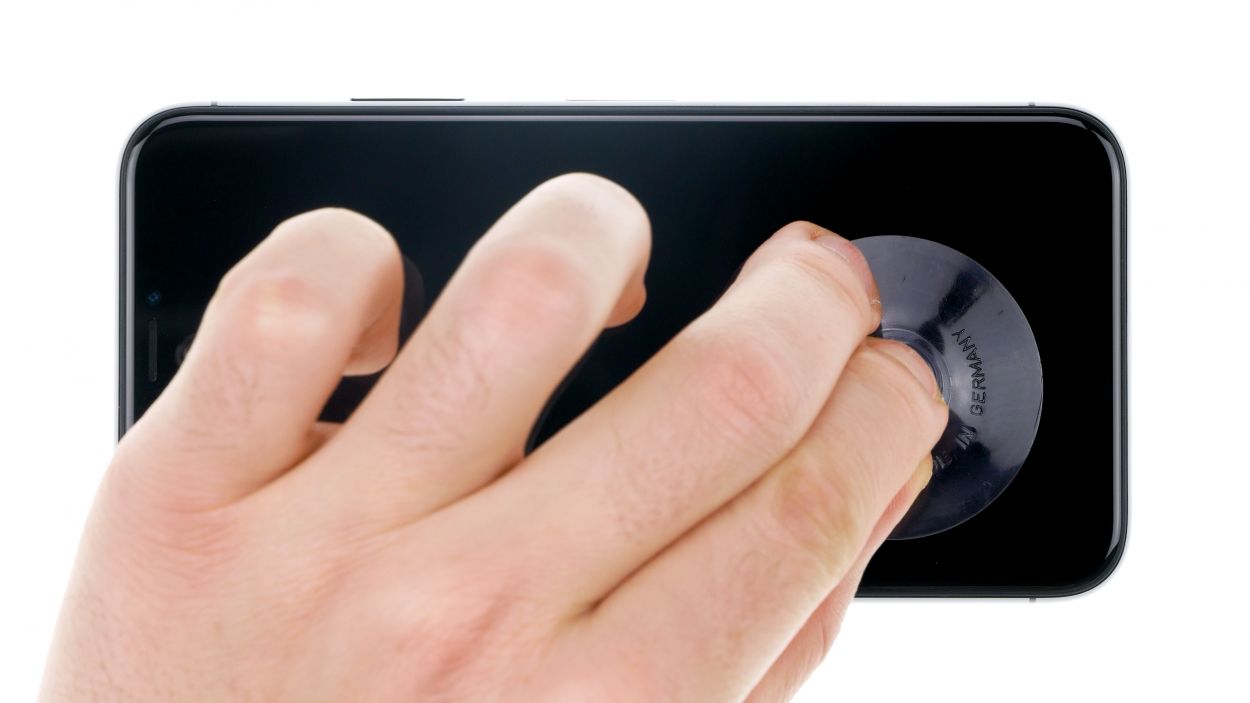
Once you pop open your iPhone X, the waterproof warranty takes a vacation! Plus, the IP67 dust and splash protection warranty waves goodbye too. So, handle with care!
– Stick the suction cup on the bottom edge of your device and pull it upwards to slip in a little gap between the stainless steel and the display frame. You’ve got this!
– Once you’ve made that tiny gap, grab a sturdy, flat tool and slide it in to widen the opening. At the same time, gently press the display upwards with the tool, using flat plastic picks for support. Keep going, you’re doing great!
Tools Used
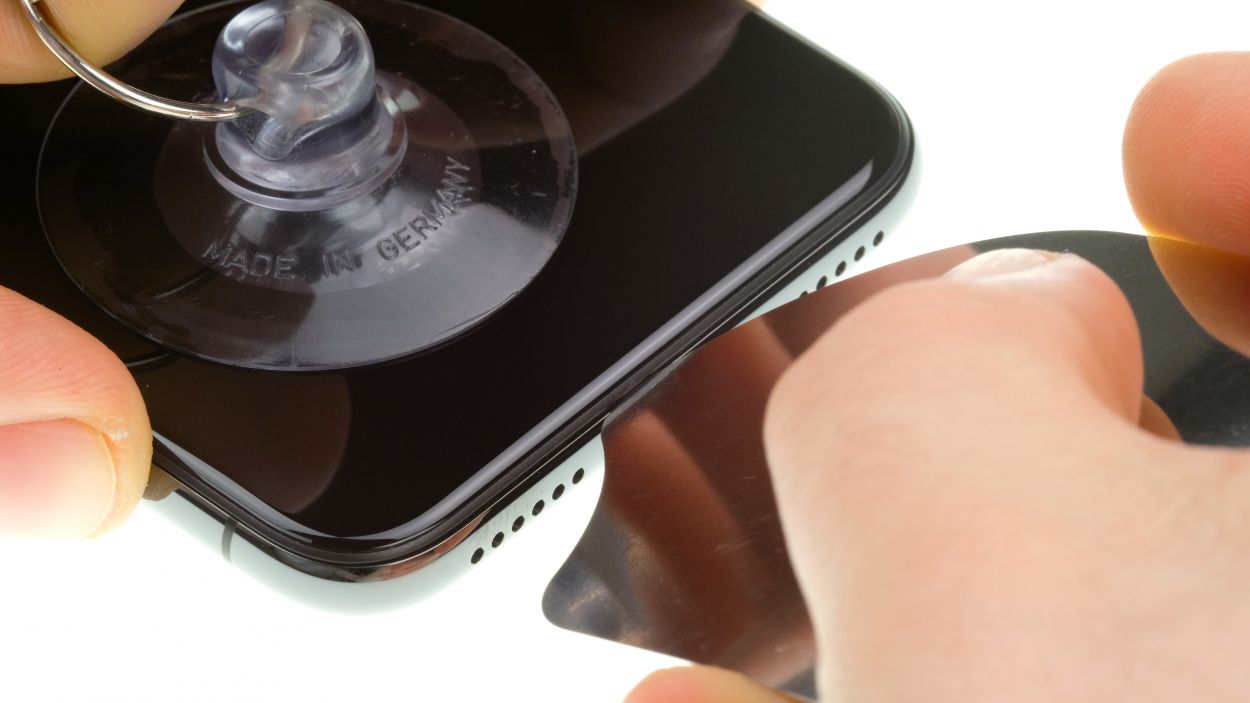
Step 5


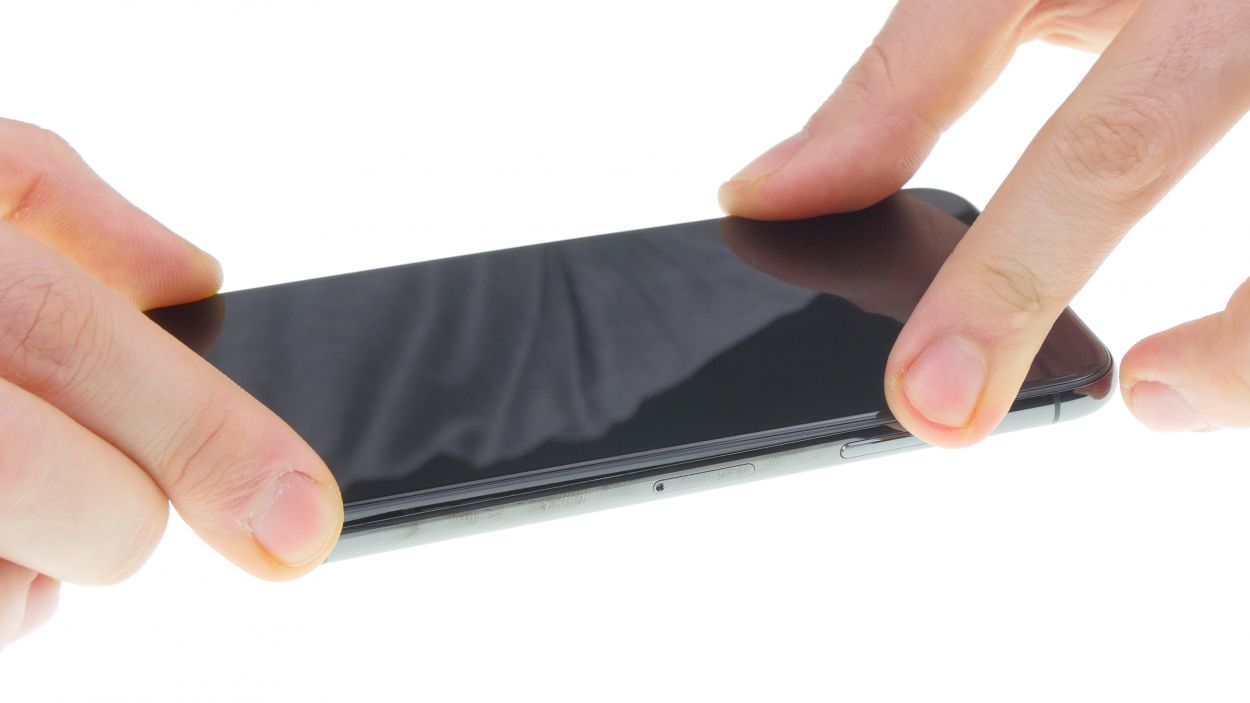
To avoid overstretching the sensitive flex cables connected to the display, you should not completely fold the display over while it is still connected.
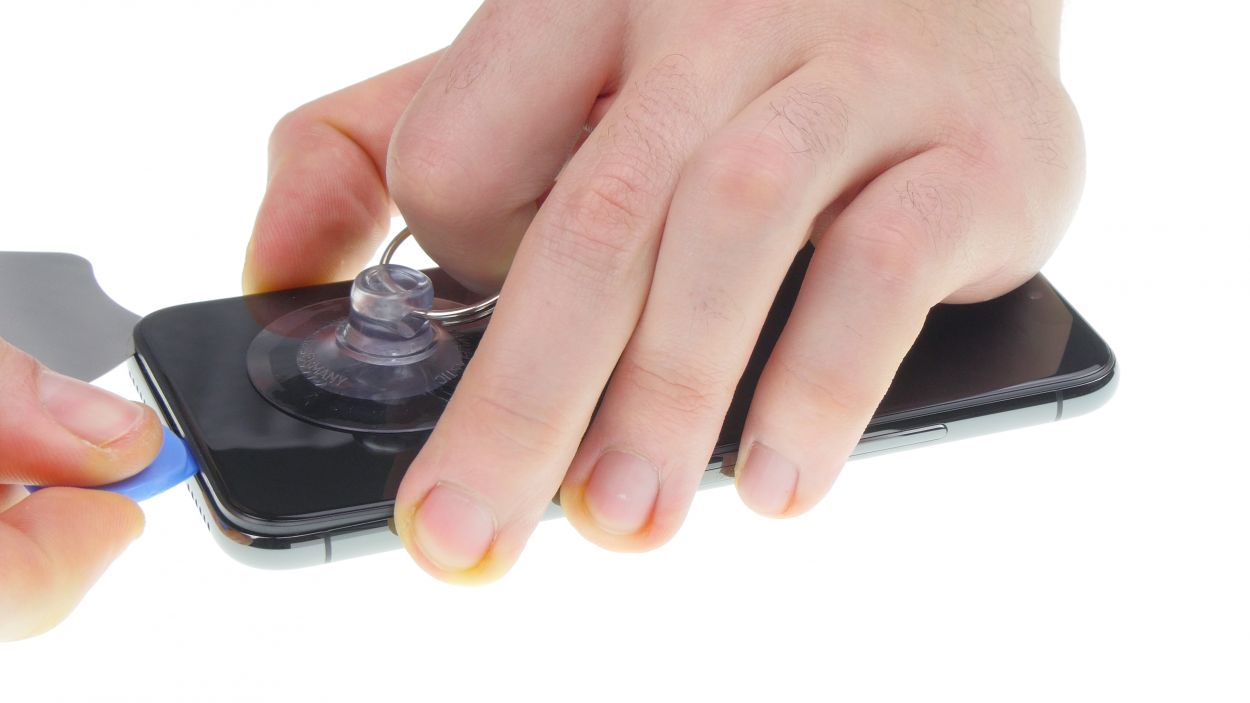
Step 6


1 × 3,0 mm Y-Type
3 × 1,0 mm Y-Type
1 × 3,6 mm Y-Type
Heads up! The screws in your iPhone X come in different lengths, so keep an eye on them to avoid any mix-ups!
– Grab your Y-type screwdriver and unscrew those Y-type screws to lift off the cover plate. You’re doing great!
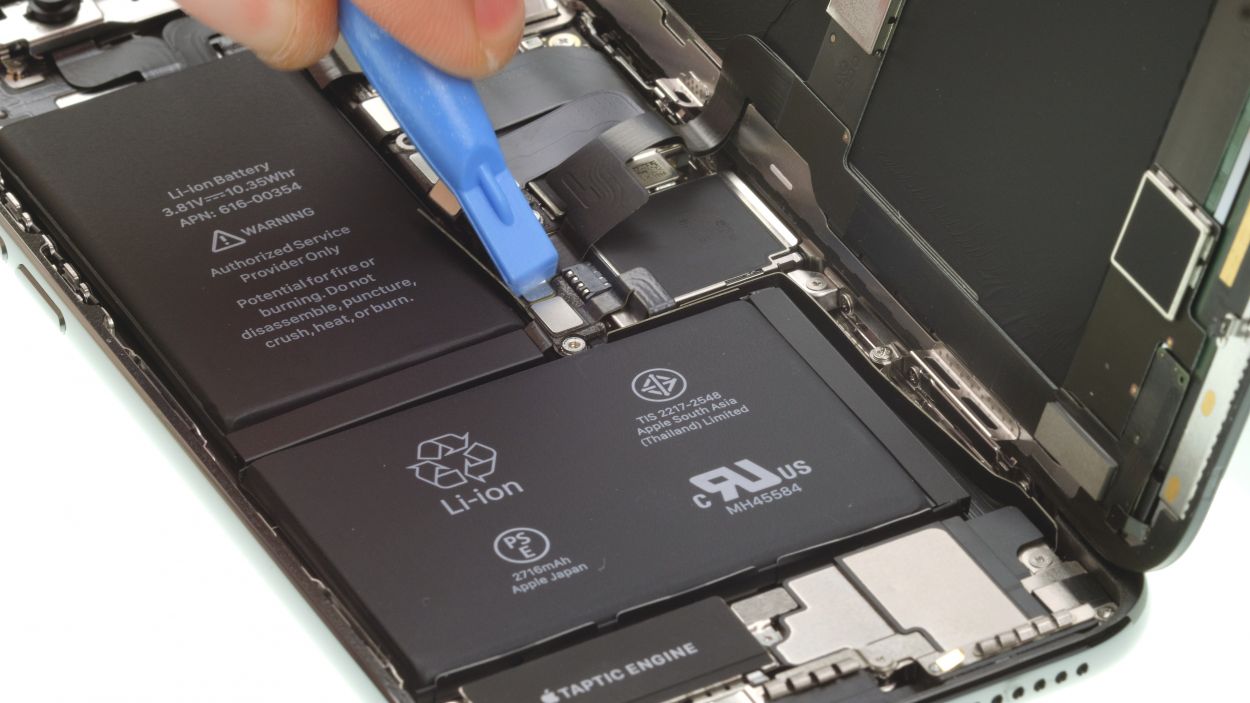
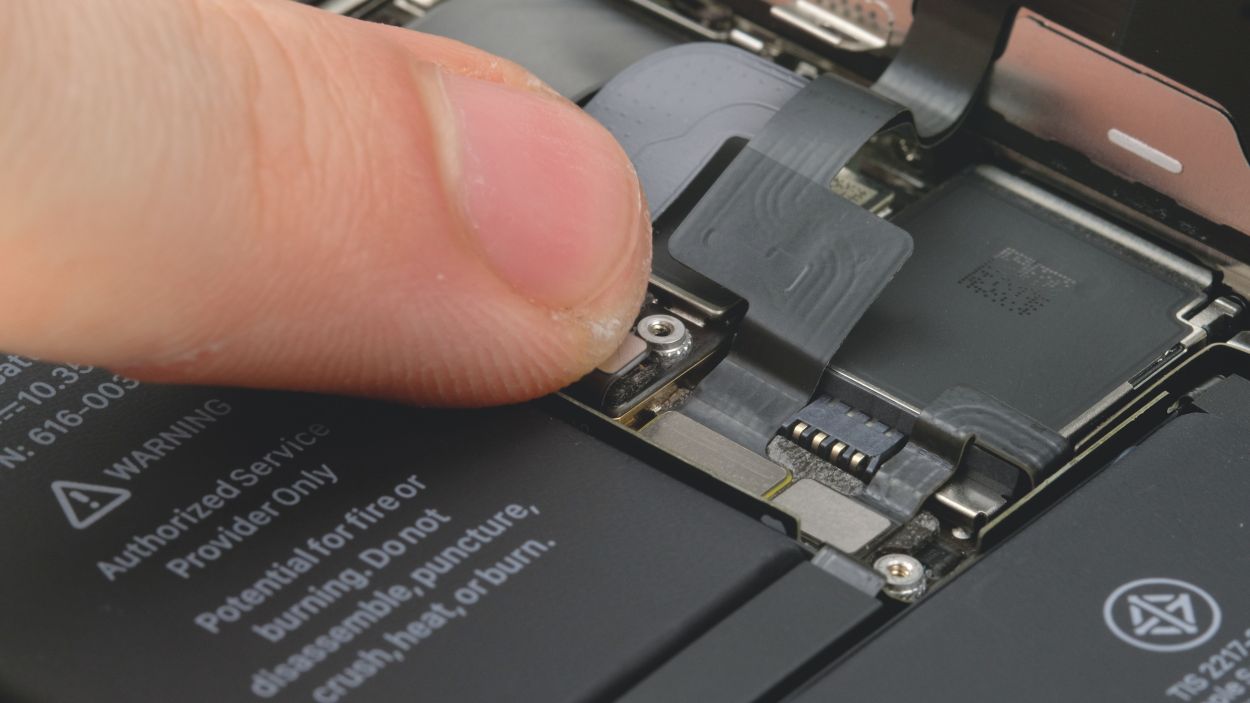
– Now, with a gentle touch, use a flat plastic tool to slide under the battery connector and disconnect it. A plastic spudger works wonders for this task!
Tools Used
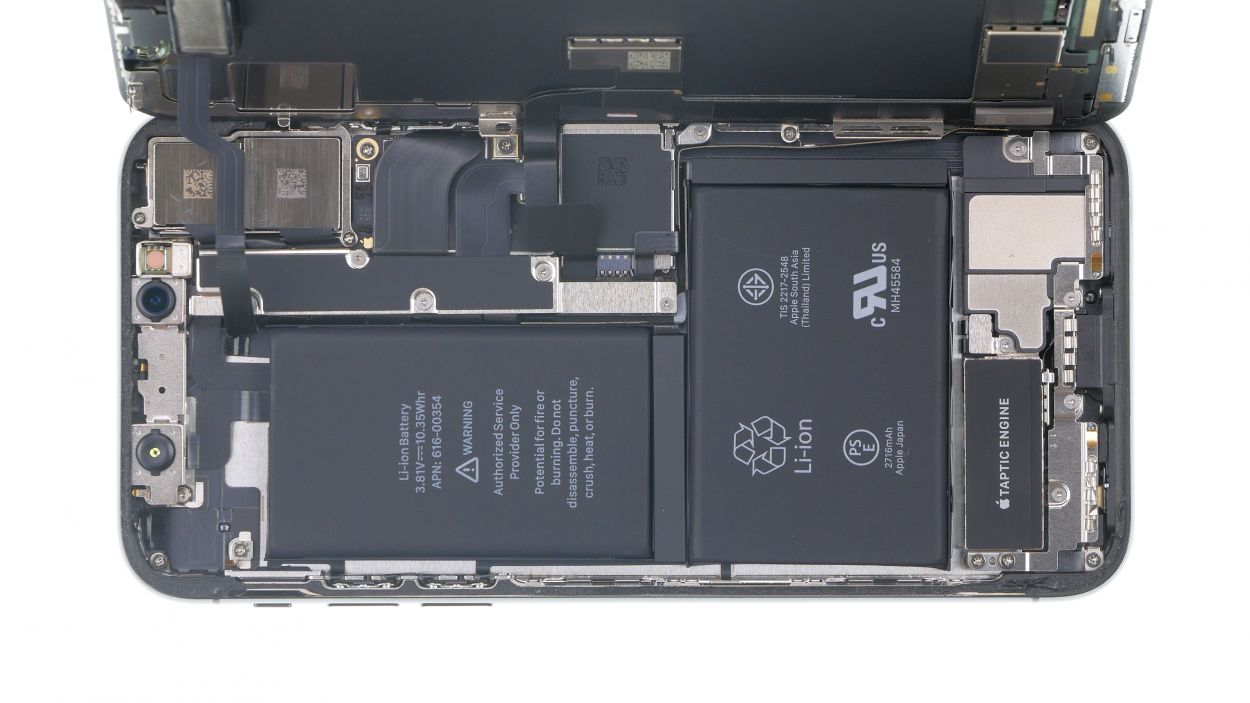
Step 7

Display Connector
Earpiece Connector
Hey there! When you’re disconnecting those connectors, make sure to channel your inner tool wizard and work from the side where all the important components aren’t hanging out. We want to keep everything safe and sound on the logicboard!
– Grab your trusty spudger and gently pop off those connectors from the Logicboard, one at a time. Just a heads up, the ear piece flex cable at the top of the display has a bit of glue holding it in place, so be careful with that one!
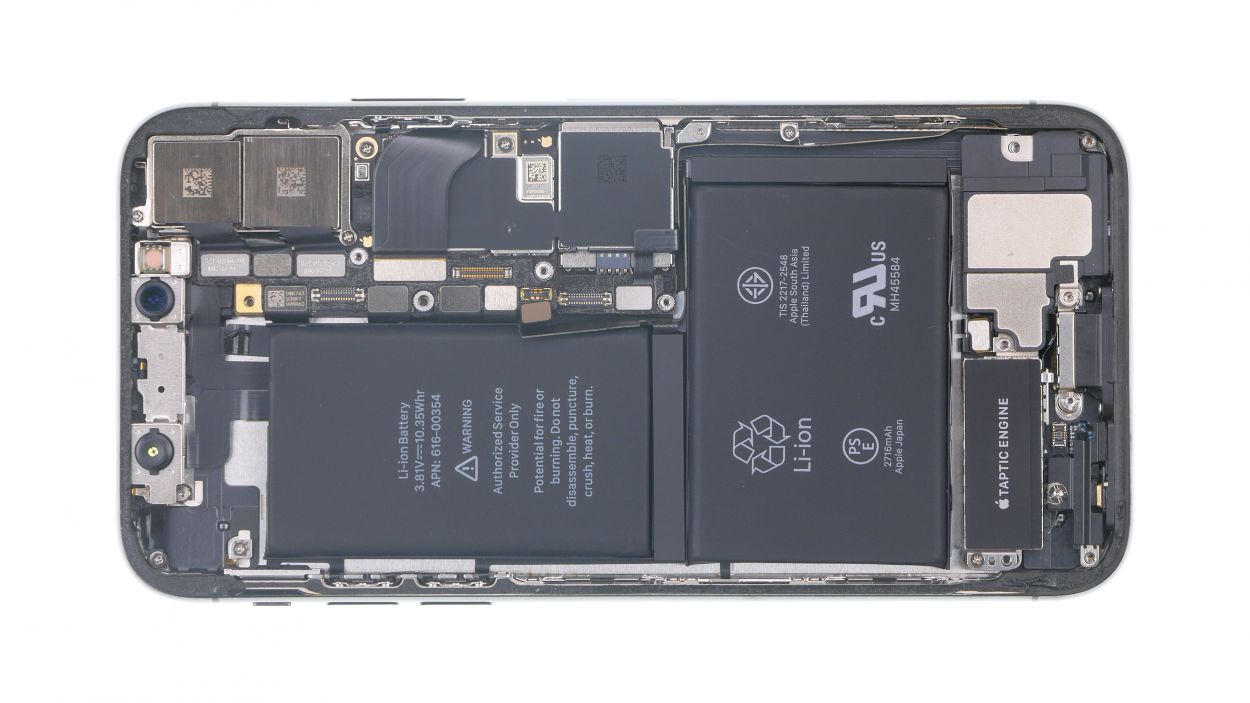
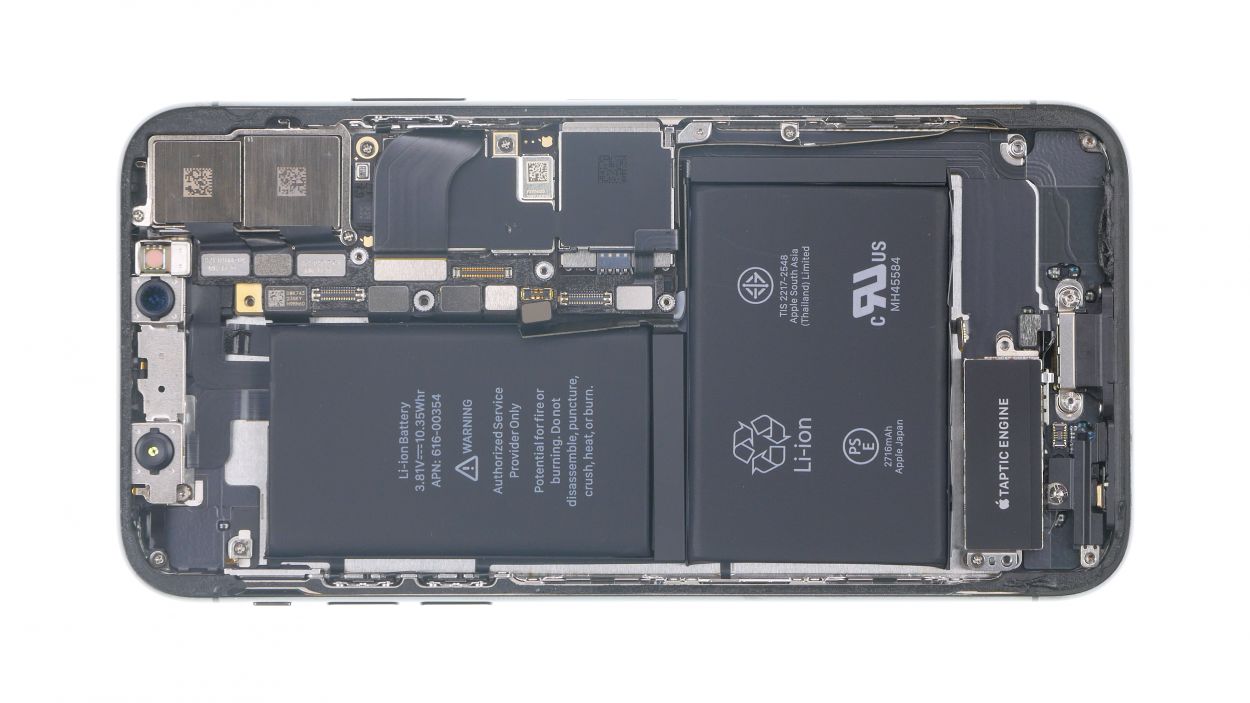
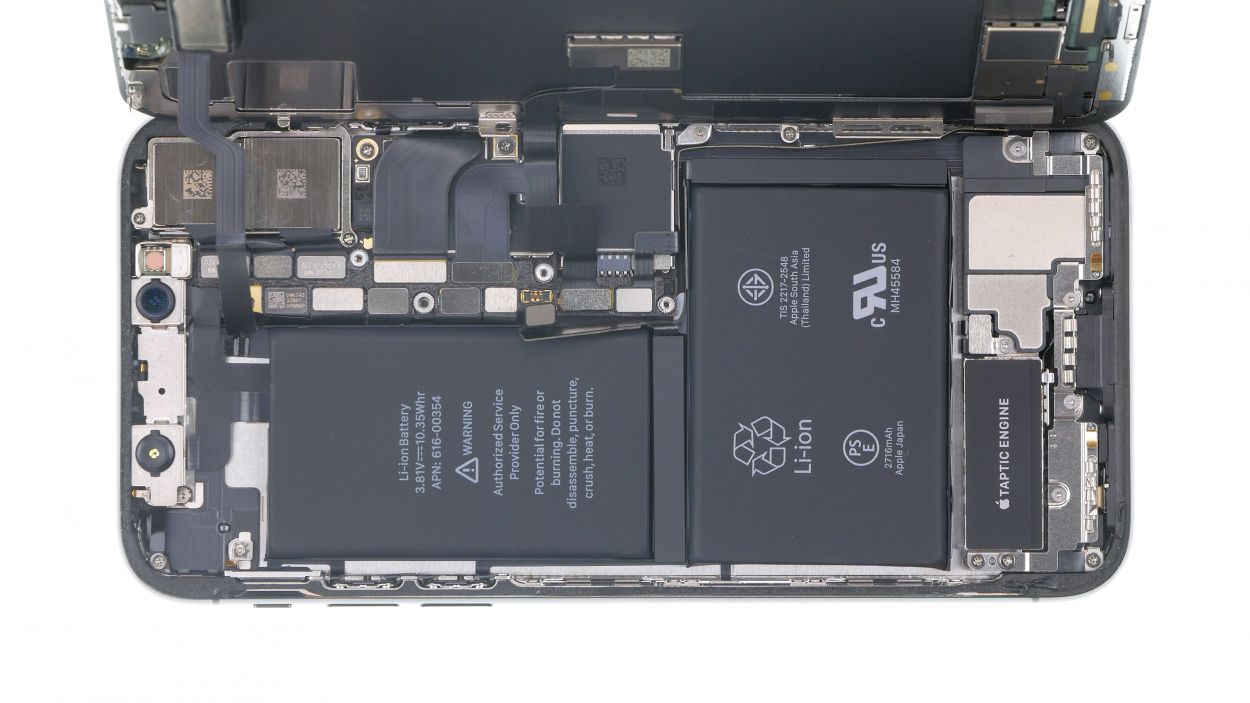
– Once you’ve disconnected all the connectors, you can totally lift the display off completely. You’re almost there!
Tools Used
Step 8

1 × 1,5 mm Y-Type
1 × 1,4 mm Phillips
2 × 1,8 mm Y-Type
1 × 1,0 mm Y-Type
1 × 1,5 mm Phillips
1 × 2,2 mm Phillips
– Start by loosening those Phillips and Y-Type screws holding the bracket plate of the speaker in place. You’ve got this!
– Next, gently flip that plate up and use a spudger to carefully separate the connector. Almost there!
– And now, it’s time to remove the bracket plate. Go ahead, you’re doing a fantastic job!
Step 9


1 × 2.1 mm Y-Type
– Loosen the Y-type screw of the bracket plate and then remove the cover plate.
– Disconnect the speaker connector and lift up the flex cable.
– Loosen the heavily bonded speaker a little by carefully lifting it up with the spudger.
– Once the speaker is loosened, you can remove it from your machine along with the flex cable.
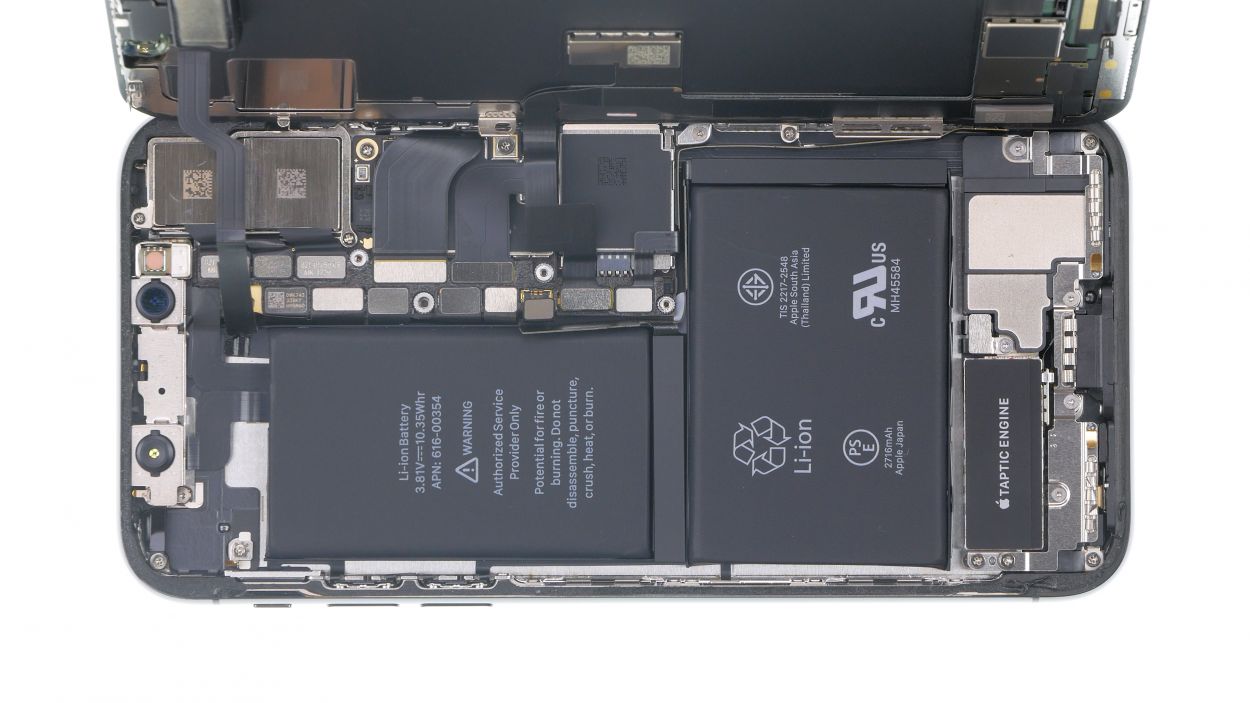
Step 10
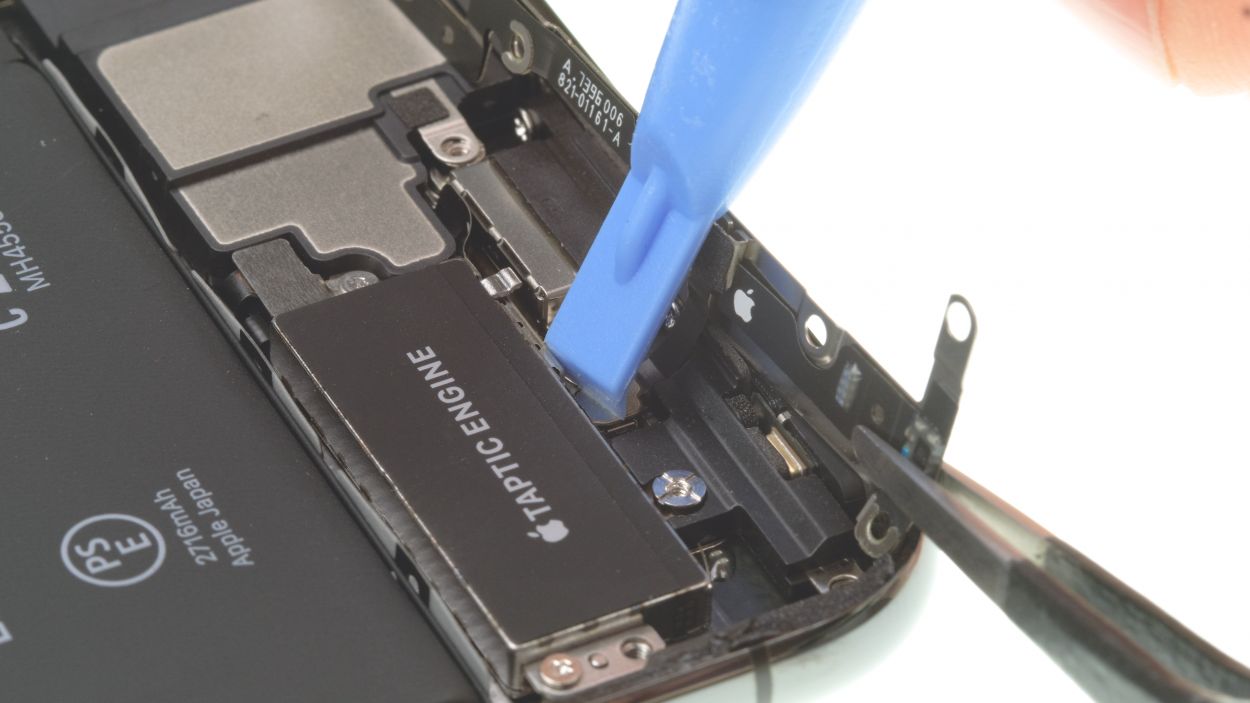
1 × 2,2 mm Phillips
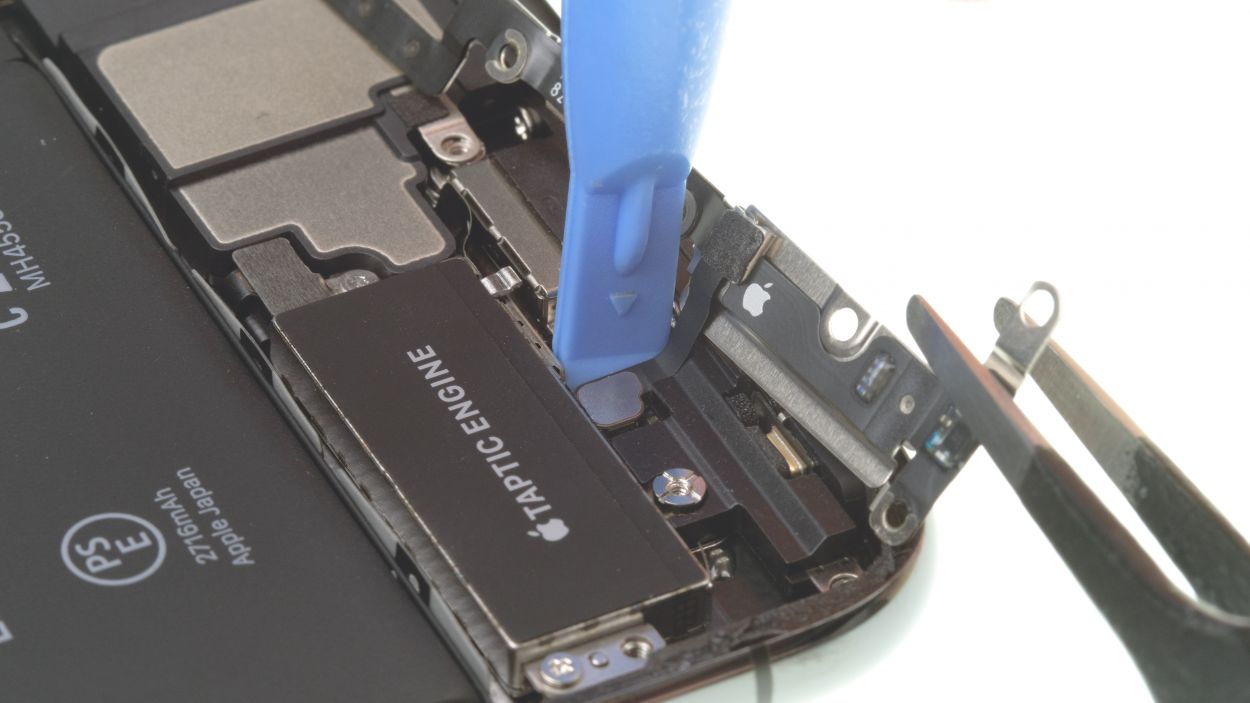
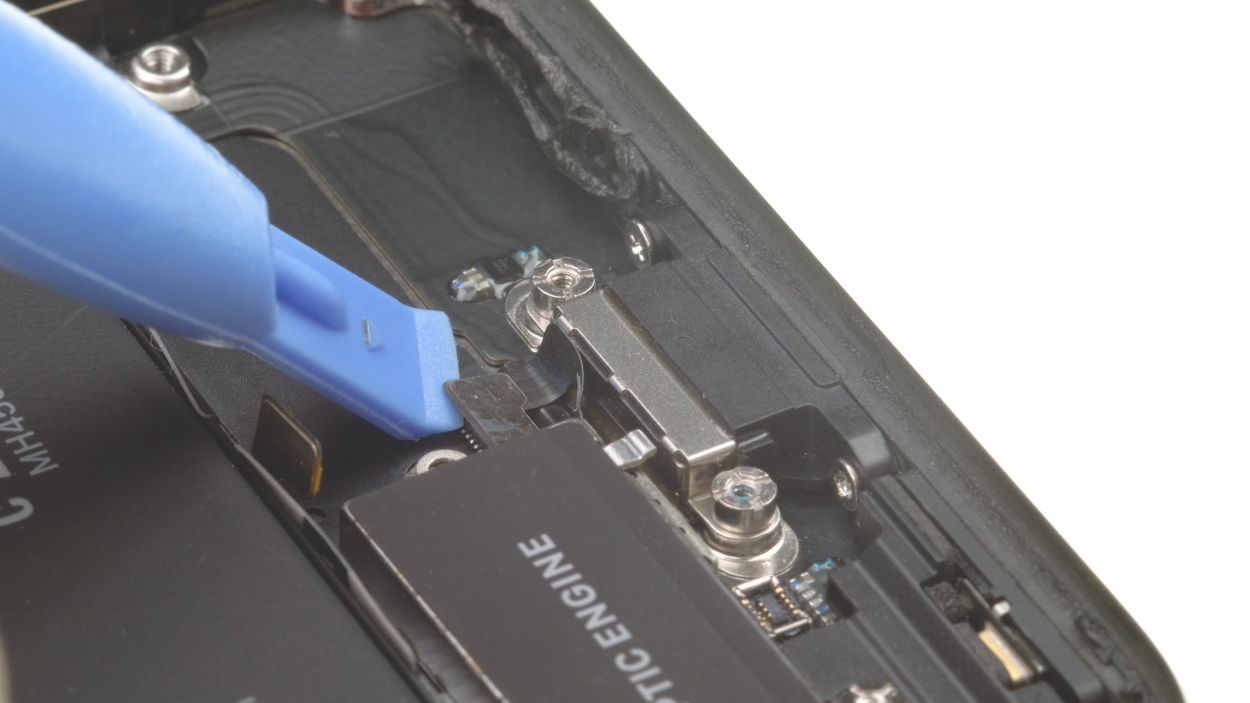
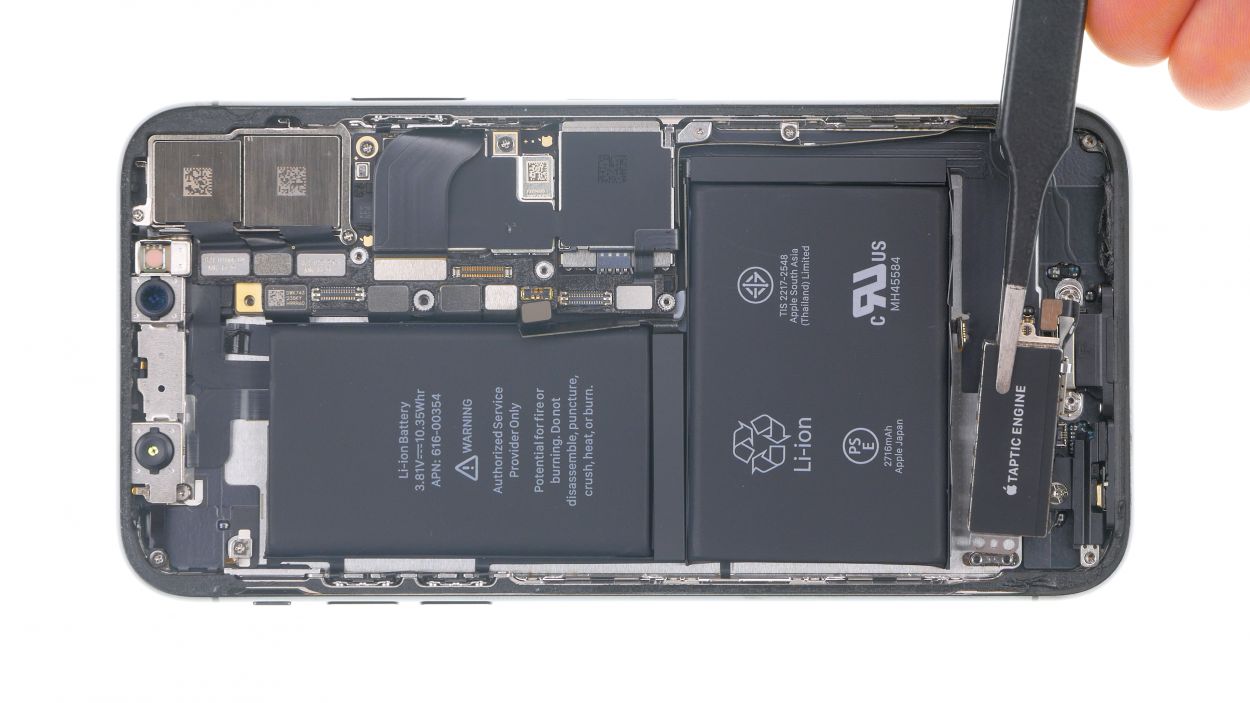
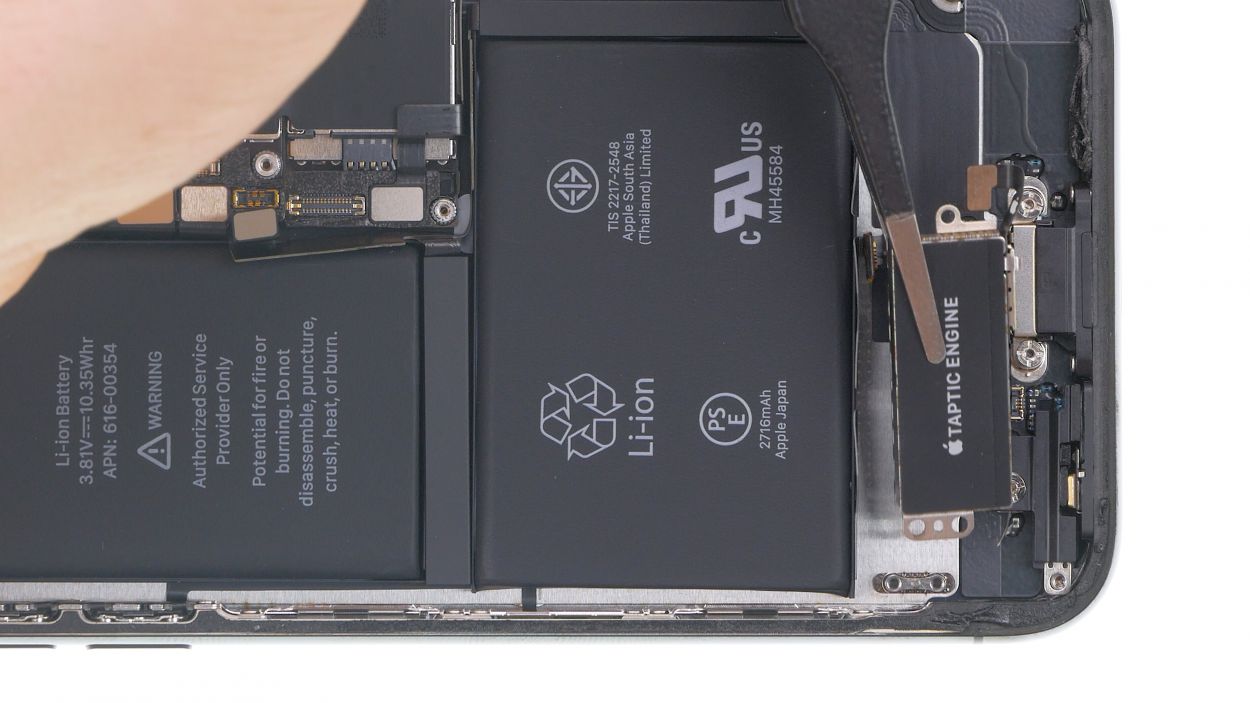
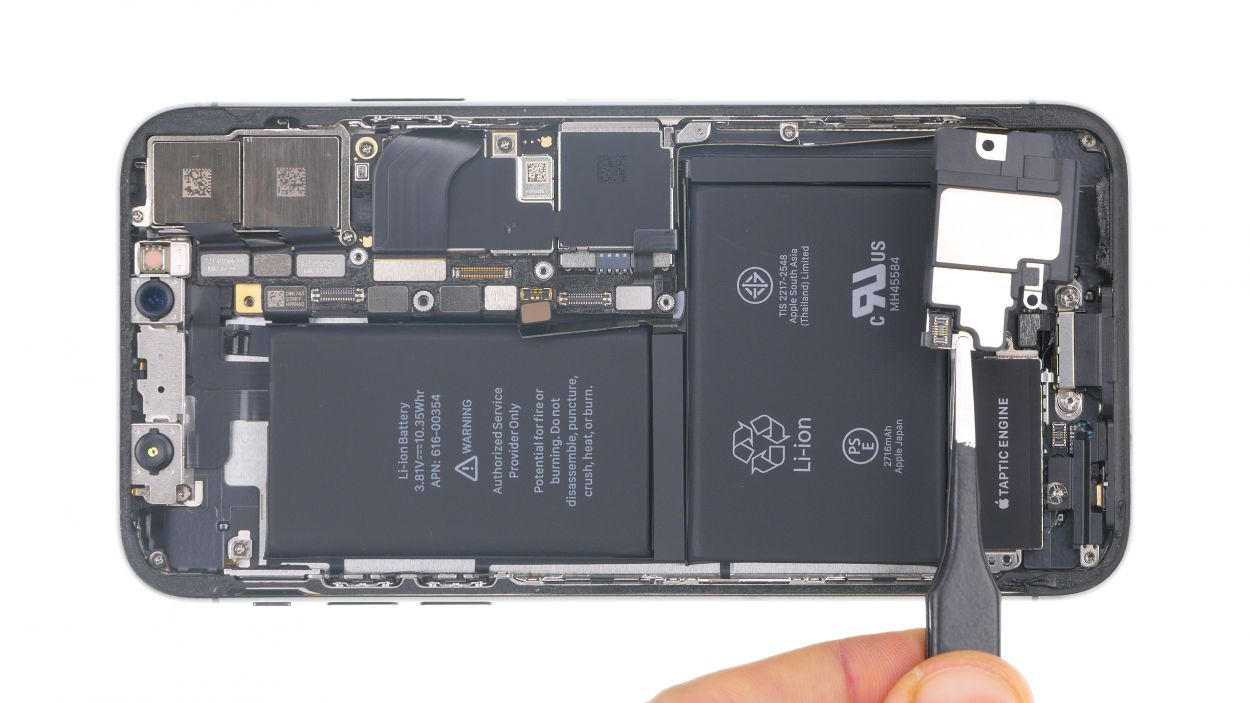
– First unscrew the Phillips screws that hold the Taptic Engine in place.
– Carefully separate the connector of the Taptic Engine with a spudger.
– Take the Taptic Engine carefully out of your iPhone with tweezers.
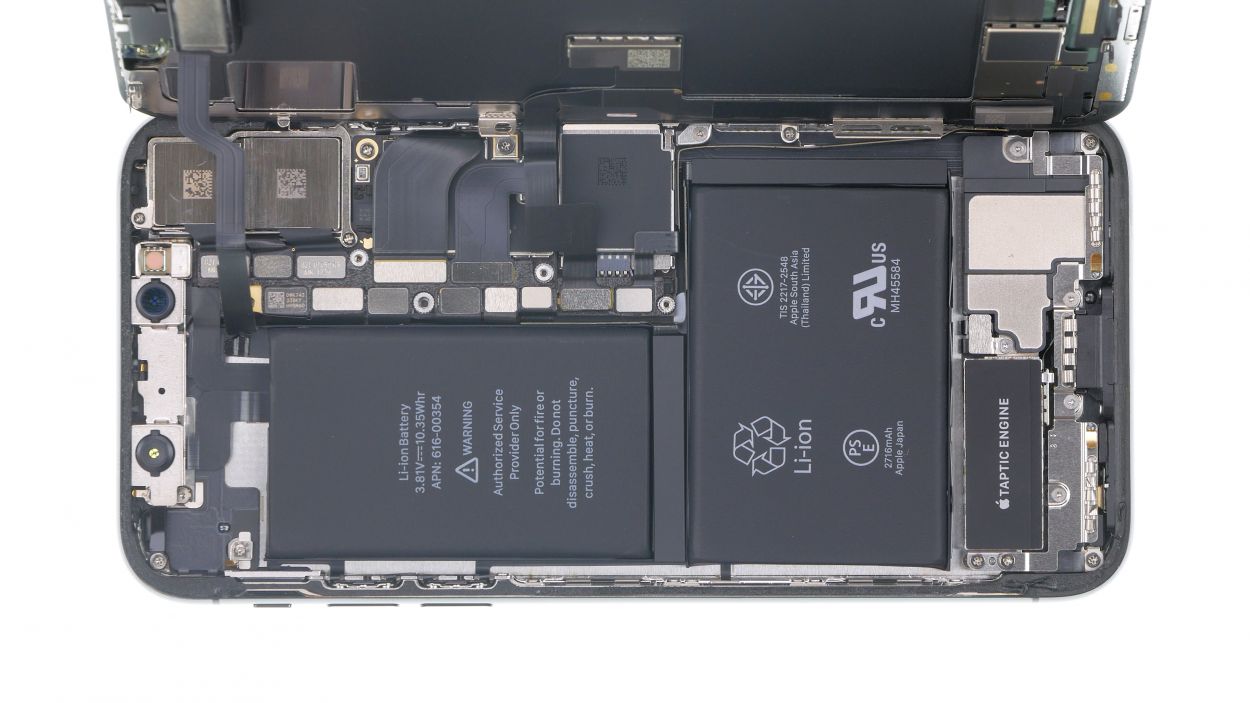
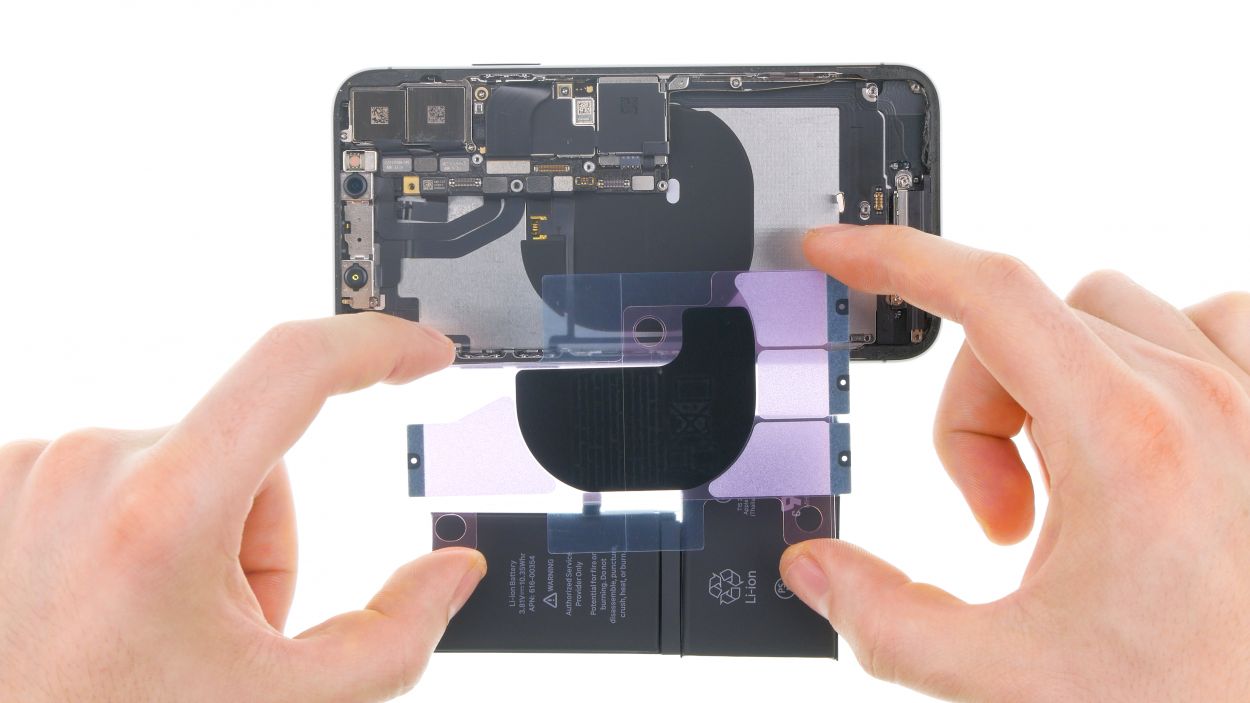
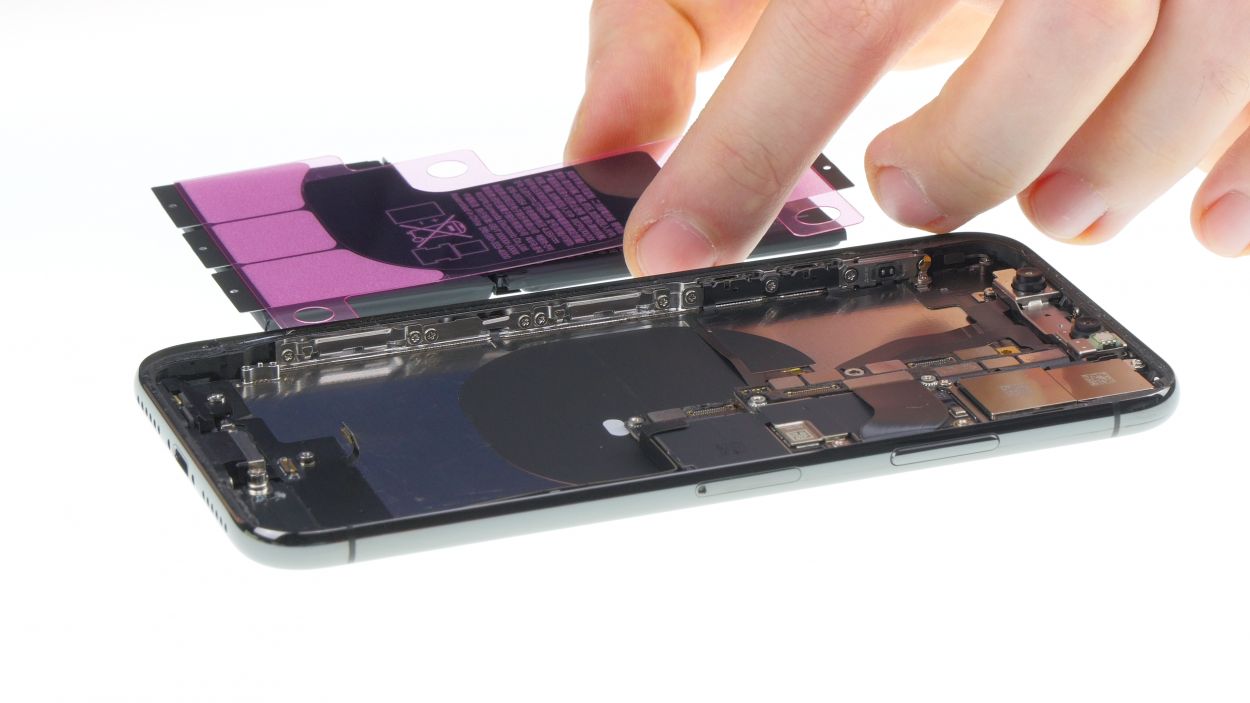
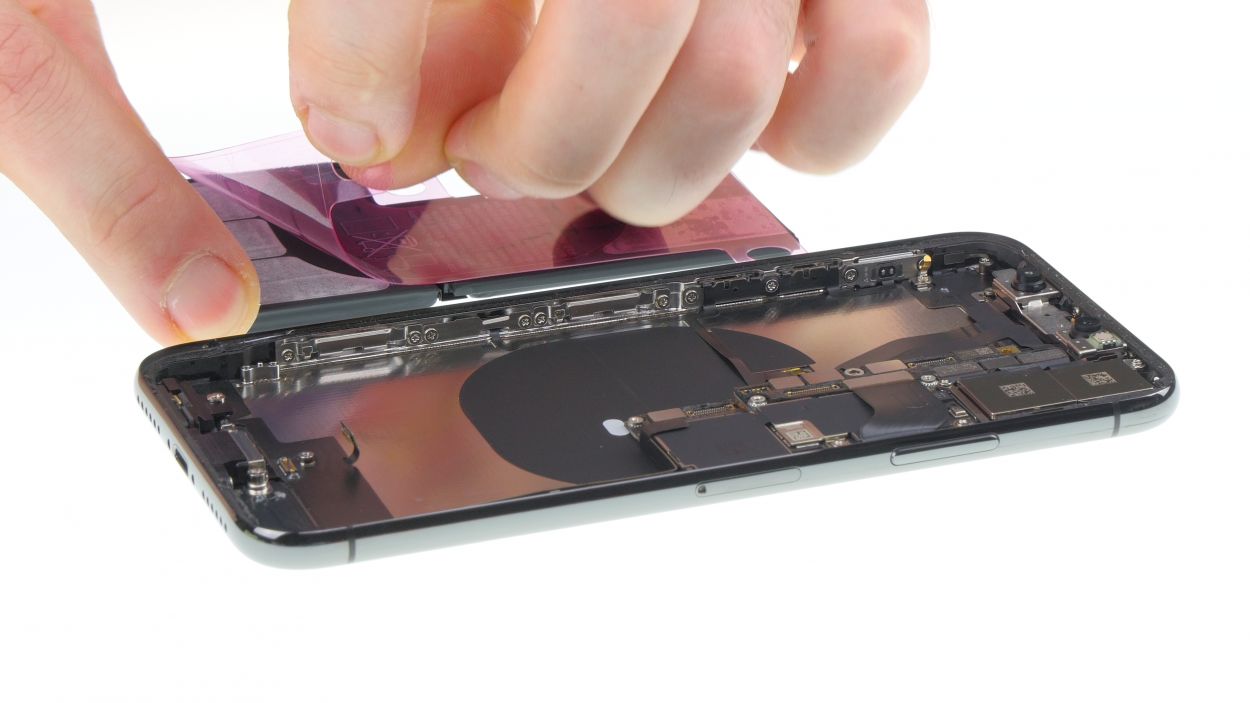
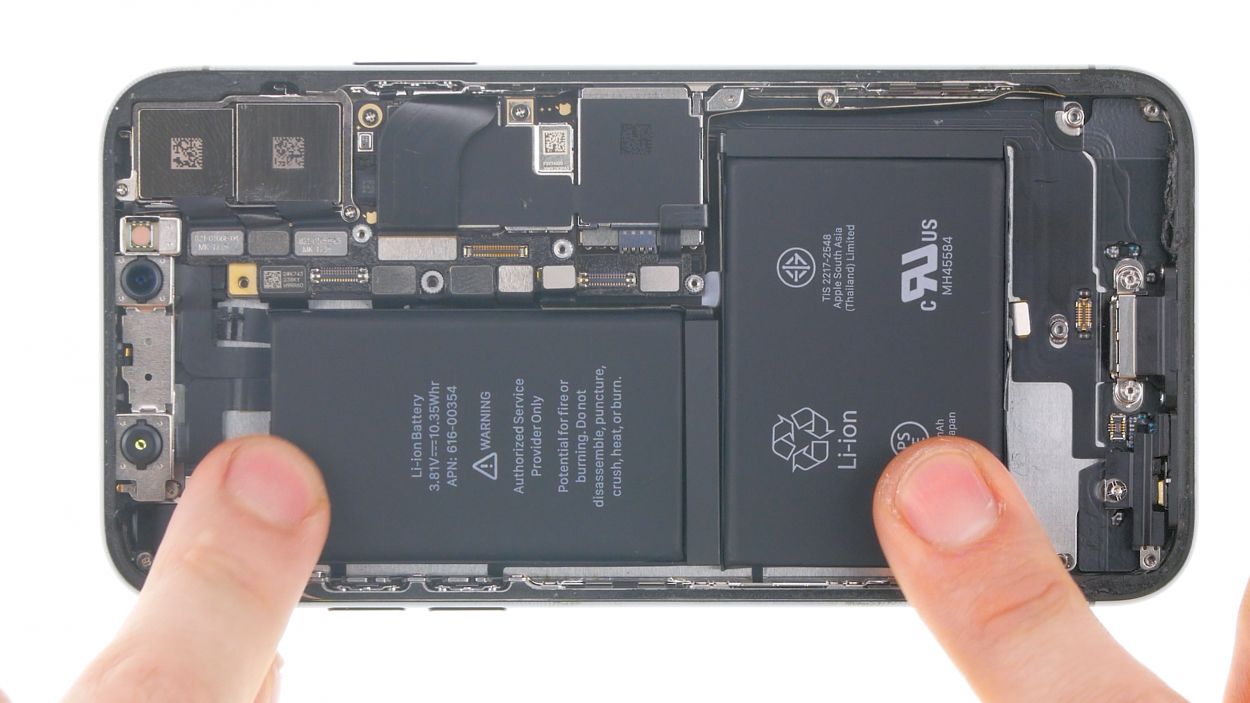
Step 11
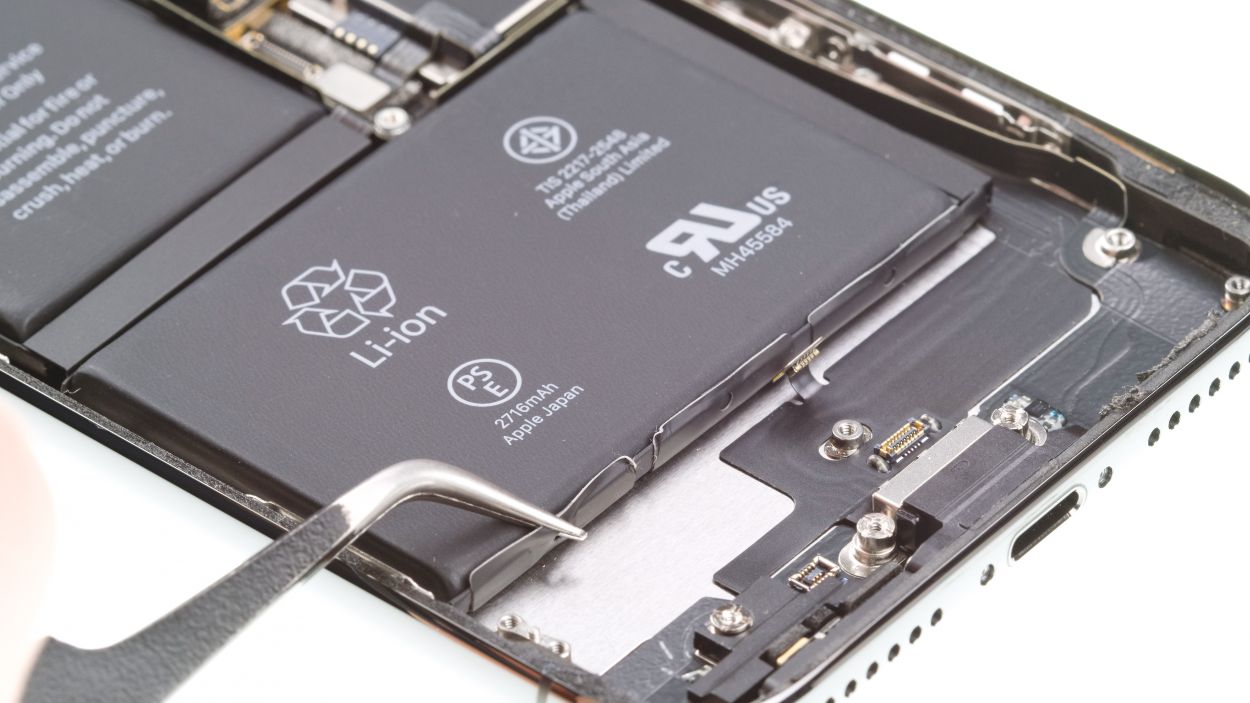
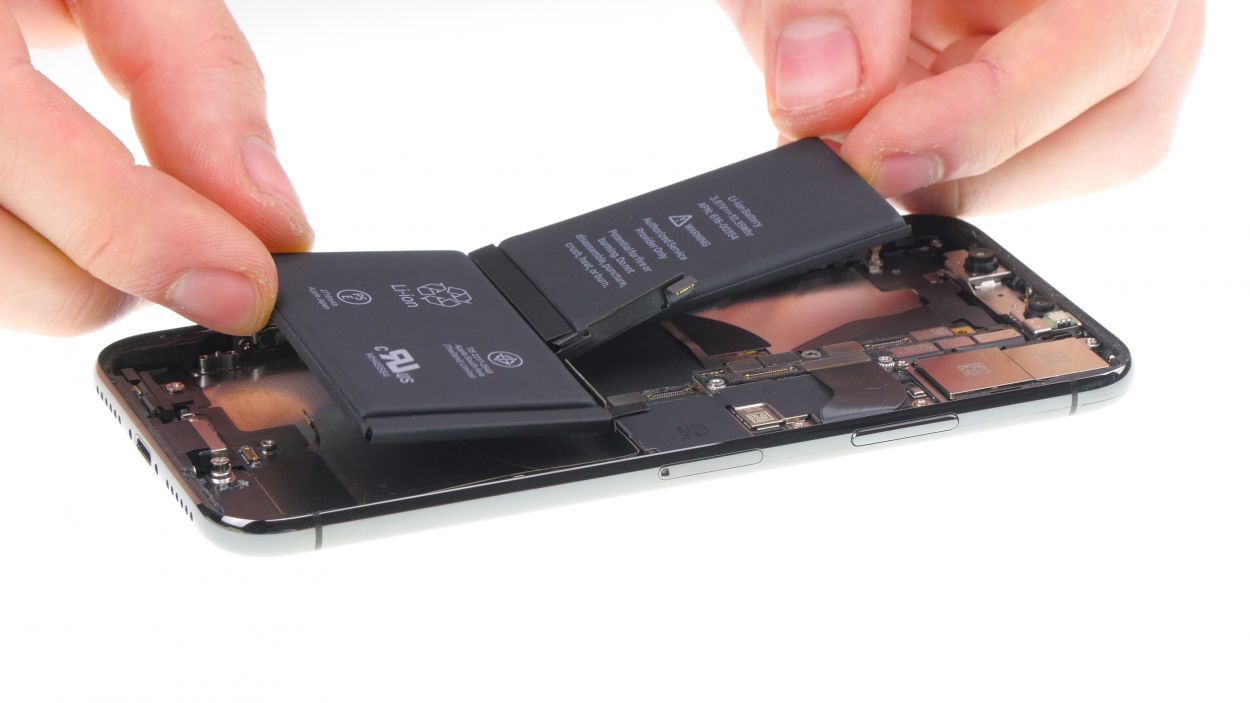
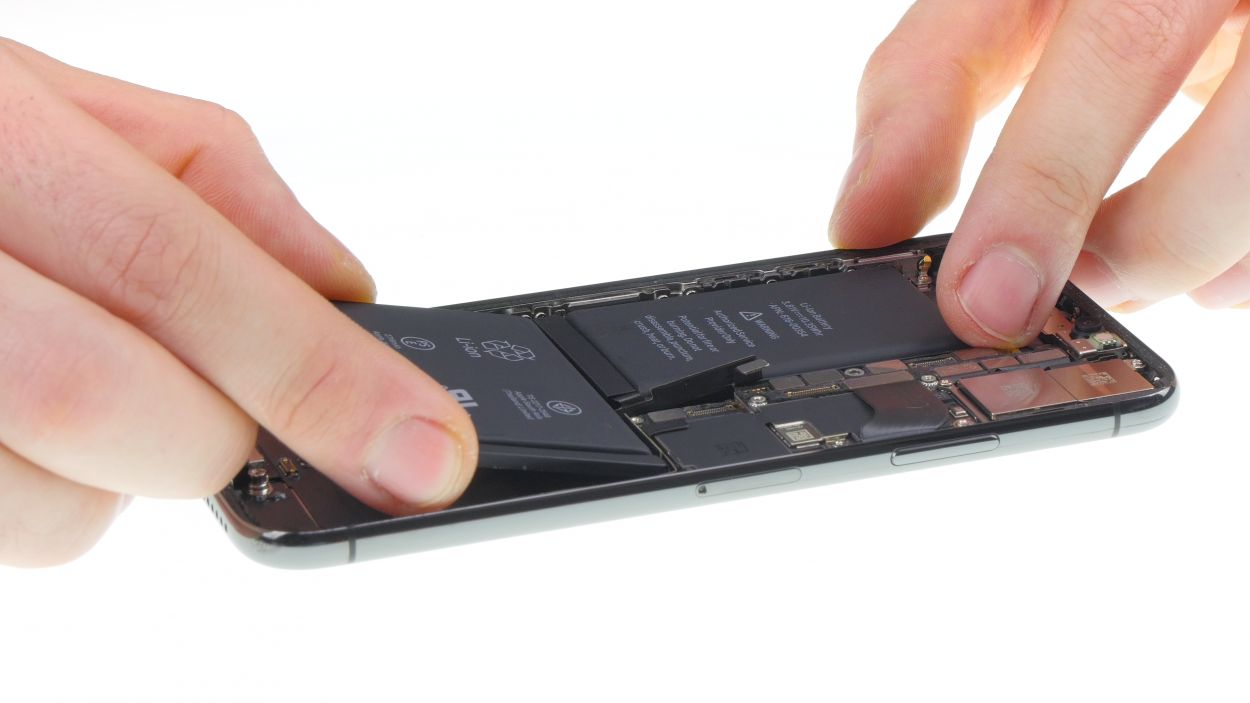
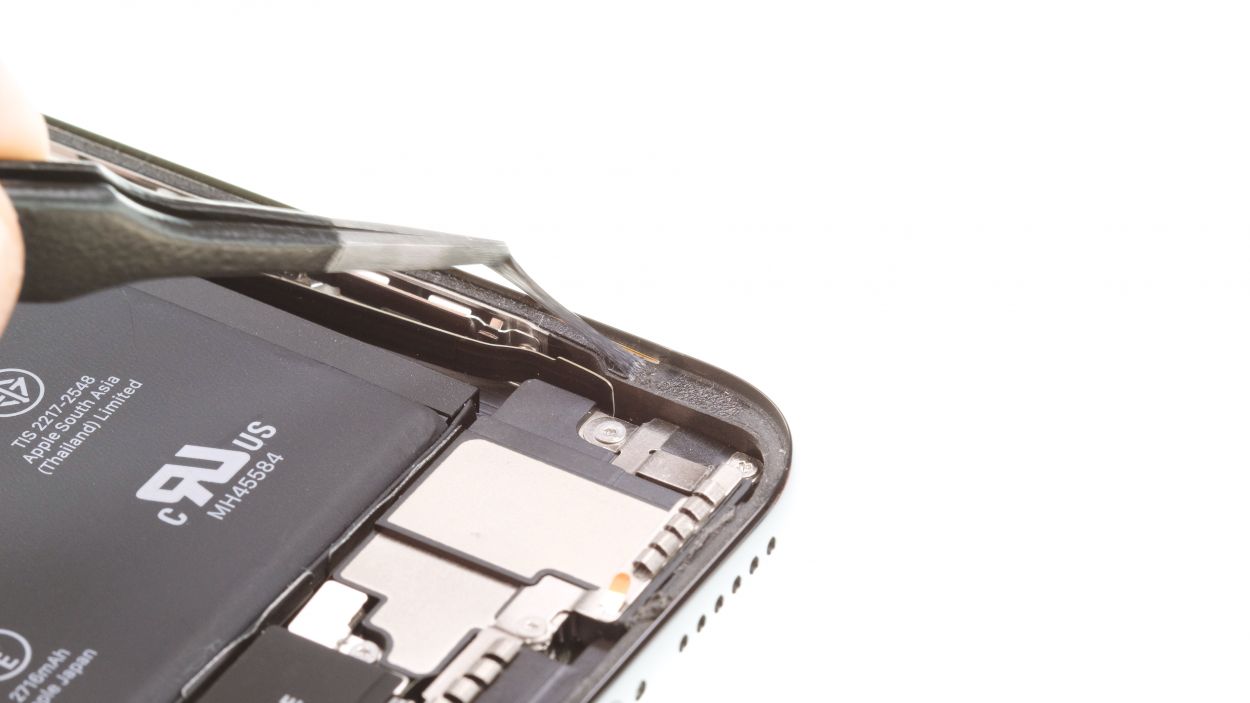
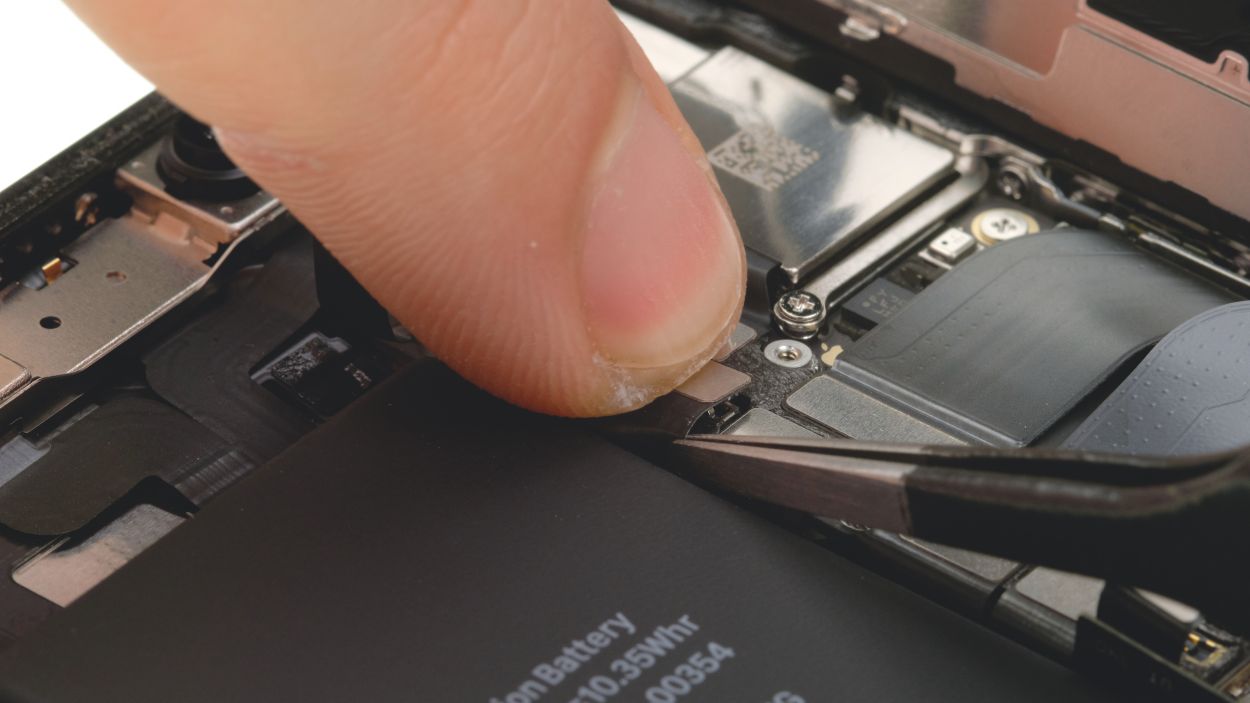
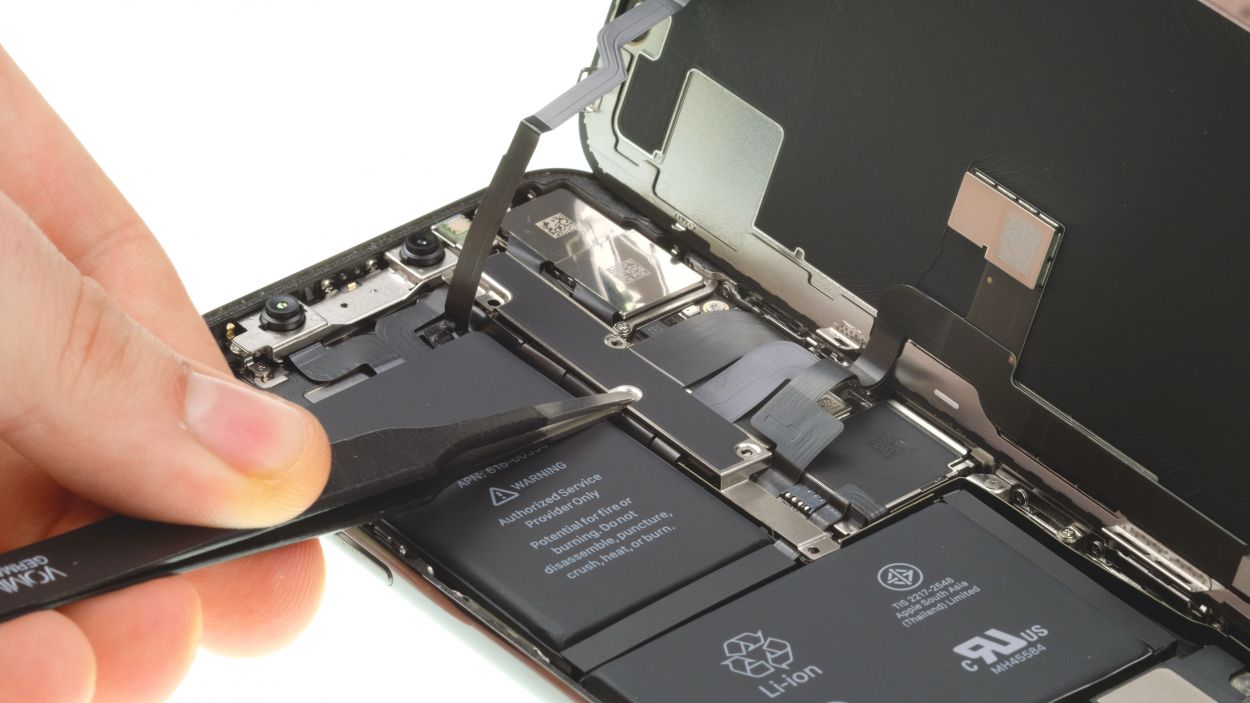
– Grab those handy tweezers or a spatula to gently lift off the black tabs and reveal the white adhesive strips hiding underneath. You’ve got this!
To keep your battery snug and secure in its little home, remember to hold it tight when you’re pulling out that last adhesive strip. It’s all about teamwork, you and your device!
Uh-oh, if one of those adhesive strips decides to play hard to get, no worries! Just grab a wide, sturdy tool and gently encourage the battery to come out without bending it. We recommend a trusty battery spudger for this little job!
Tools Used
Step 12
– Peel off the big blue protective film and stick those adhesive strips right on the bottom of your shiny new battery. You’ve got this!
Get those adhesive strips ready! Just make sure to place them in the device with the protective films still on, and point them in the right direction. You’ve got this!
When you’re putting on those adhesive strips, make sure to leave a little wiggle room on both sides so you can easily fold over the tabs later. It’s all about keeping things neat and tidy!
Tools Used
Step 13
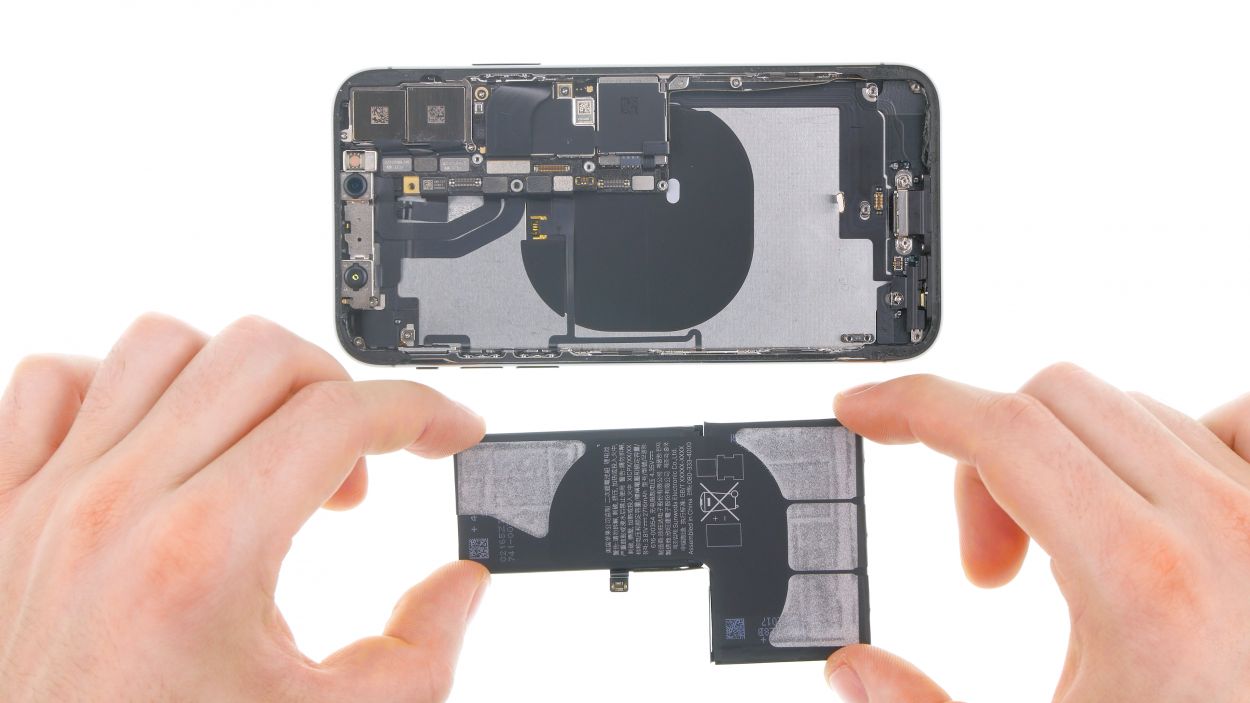
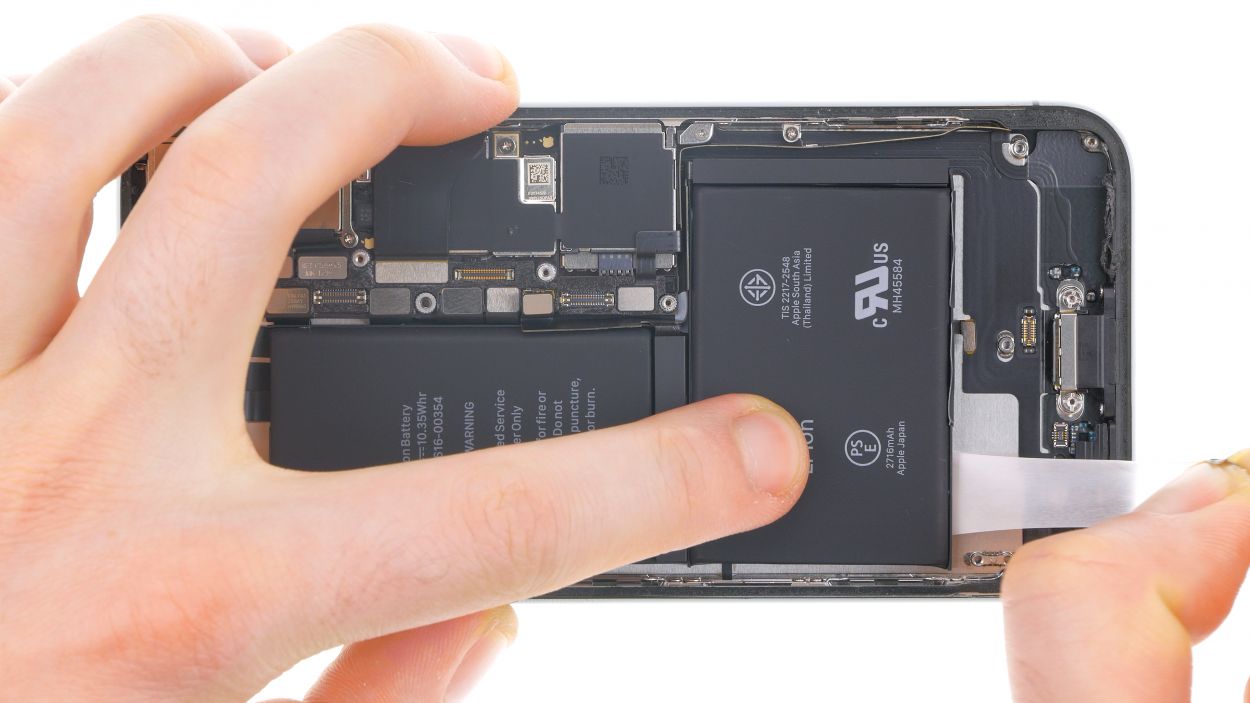
Alright, champ! Get that battery nestled in just right. Use the connector as your guide; it’s gotta be a perfect match with the logic board’s contact. You got this!
– Pop that battery back into its cozy spot in the rear case and give it a gentle press to make sure it sticks like a champ!
Step 14
1 × 2,2 mm Phillips
– Slide the Taptic Engine back into its cozy spot in the rear case, making sure those screw holes are lined up just right.
– Next, connect the Taptic Engine’s connector like a pro.
– Finally, secure the Taptic Engine in place with those Phillips screws. You’re almost done!
Step 15

1 × 2,2 mm Y-Type
– Pop the speaker back into its original spot and give it a little press to make sure it’s snug.
– Now, let’s hook up the speaker’s connector.
– Time to place the bracket plate over that connector and fasten it down using the Y-type screw like a champ.
Step 16


1 × 1.5 mm Y-Type
1 × 1.4 mm Phillips
2 × 1.8 mm Y-Type
1 × 1.0 mm Y-Type
1 × 1.5 mm Phillips
1 × 2.2 mm Phillips
– Position the bracket plate upright at the bottom edge of the display so you can easily attach the connector.
– Next, fold the bracket plate over and make sure the screw holes line up perfectly with the threads.
– Tighten everything down with those Phillips and Y-type screws. You’re doing awesome!
Step 17


– To make sure that the new adhesive frame sticks like it should, start by giving those stainless steel and display frames a good clean-up. Say goodbye to any leftover adhesive residue!
– Next, align that adhesive frame just right, and then peel off the protective film from the bottom. You’re on the right track!
After you’ve secured that shiny new adhesive strip, your iPhone is ready to fend off dust and splashes like a champ! Just a friendly reminder though, it’s not foolproof—it won’t survive a deep dive!
Tools Used
Step 18


Display Connector
Earpiece Connector
Give that lower connector a little nudge with your spudger to make sure it’s snug as a bug in a rug!
– To prevent the sensitive flex cables from being overstretched when connecting the display, place the display on the side of the frame of your iPhone X and lean it against a stable object.
– Connect the three display connectors by gently pressing them until you feel them click into place.
Tools Used
Step 19

1 × 3,0 mm Y-Type
3 × 1,0 mm Y-Type
1 × 3,6 mm Y-Type
– Reconnect that battery connector like a pro!
– Now, let’s place the bracket plate back on and secure it with those Y-Type screws. You’re doing awesome!
Tools Used
Step 20

Before you commit to gluing the display down, give your iPhone a little test drive to make sure everything’s working smoothly. It’s like a final check before the big performance!
Step 21
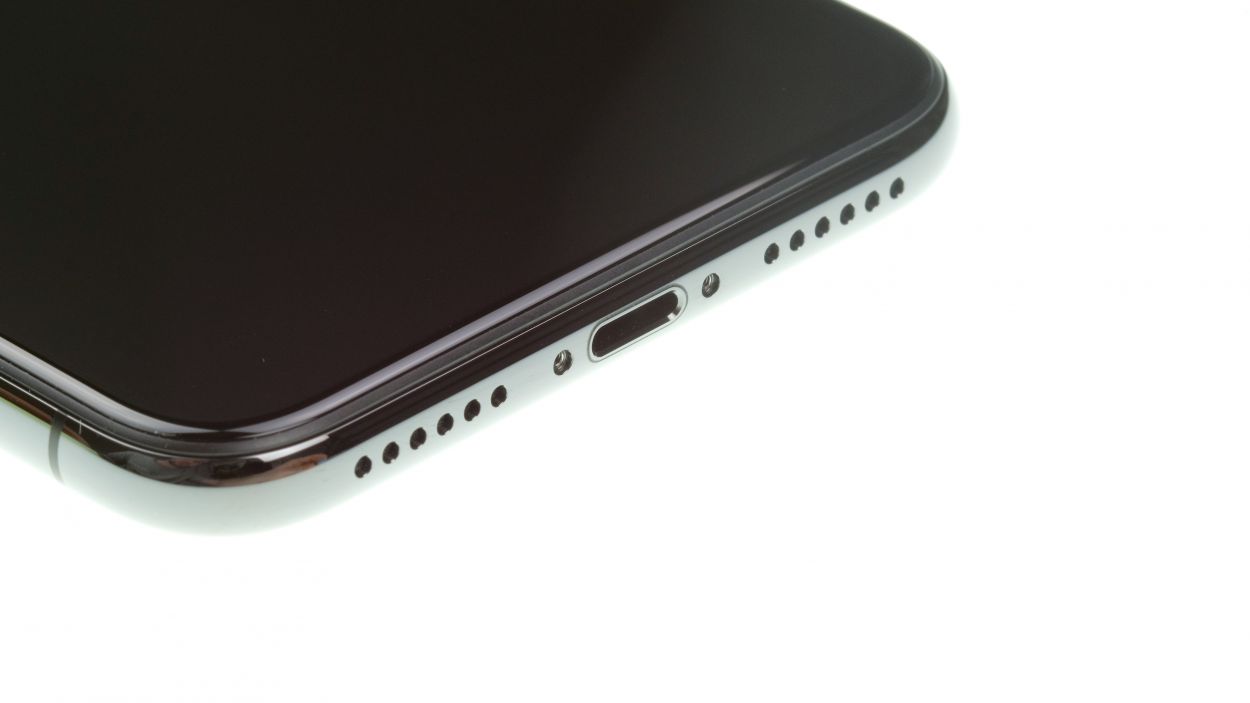
2 × 6.8 mm Pentalobe
– Screw the two pentalobe screws to the left and right of the Lightning connector tight.