iPhone 5 Battery Replacement Guide: DIY Step-by-Step Tutorial
Duration: 15 min.
Steps: 9 Steps
Step 1

– Grab your trusty pentalobe screwdriver to get that iPhone 5 open!
– Carefully remove the two pentalobe screws at the bottom of the enclosure, right next to the Lightning connector. Make sure to keep those screws safe in the same compartment of your organizer tray. You’ve got 2 x 3.6 mm pentalobe screws to deal with!
Step 2

– Set your iPhone 5 down on a soft, clean surface—let’s keep that back scratch-free!
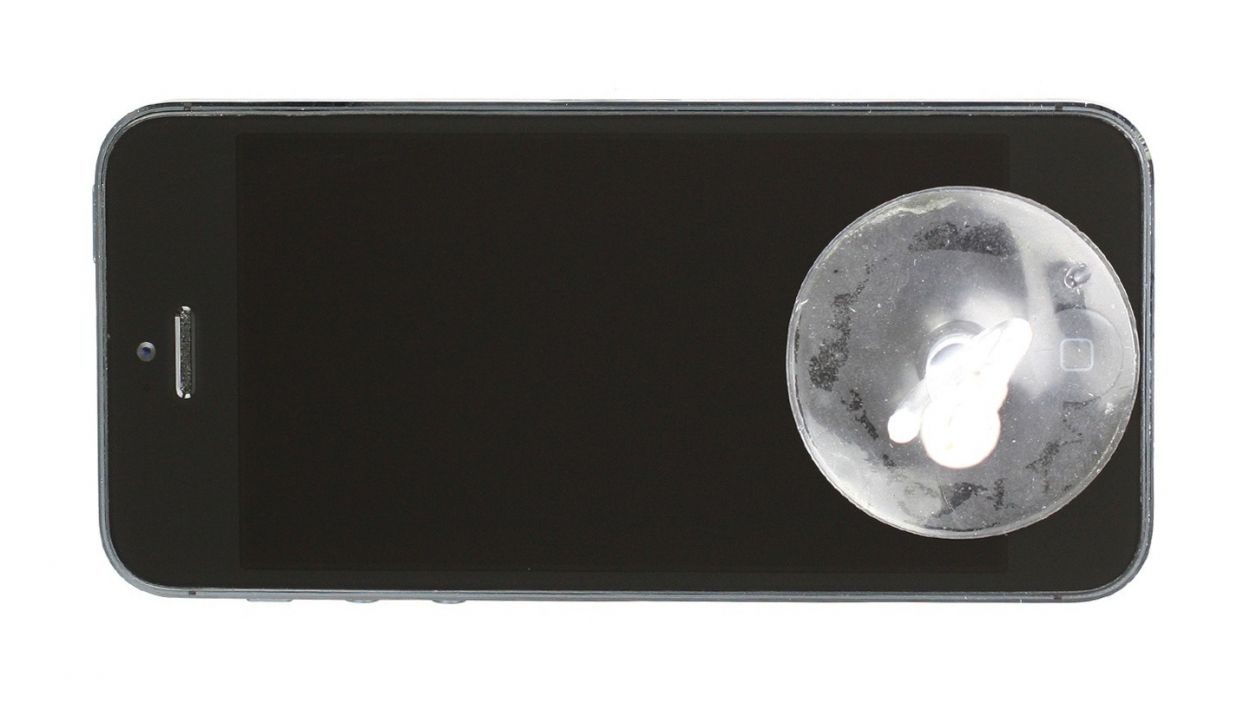
– For lifting that front panel, you’ll need both a suction cup and a hard plastic pick. If your screen is cracked all over, cover it with packing tape for a smooth extraction.
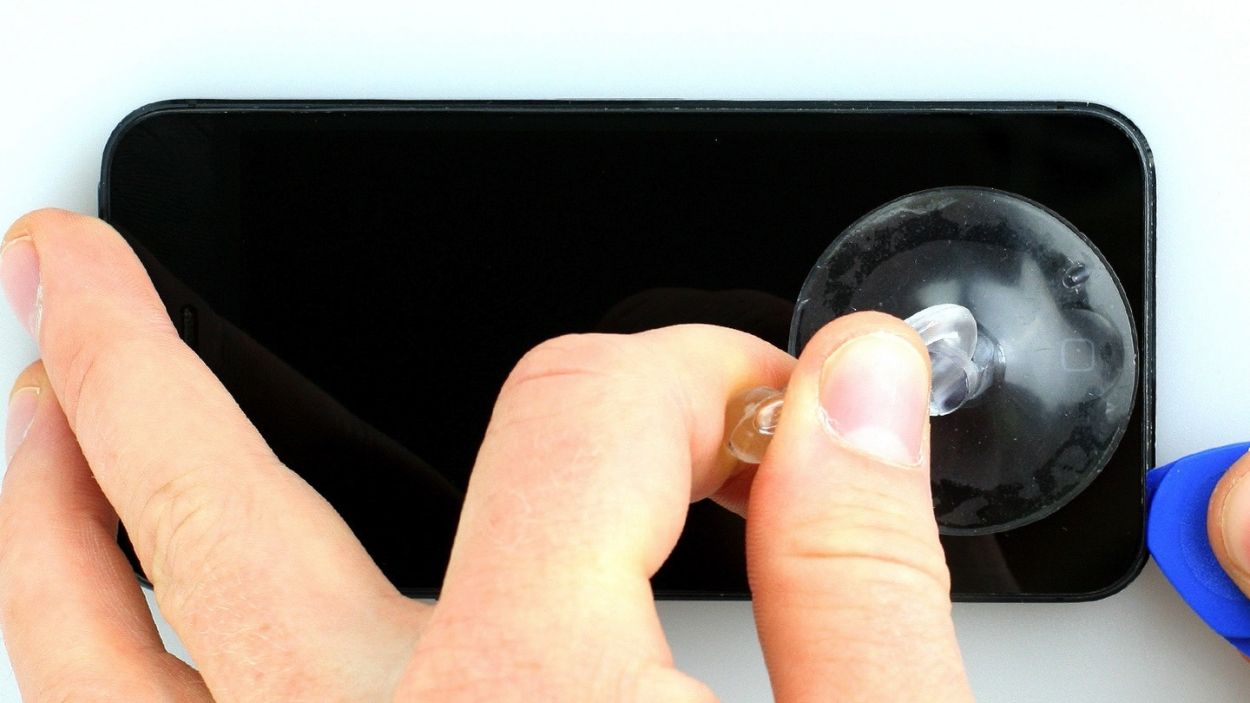
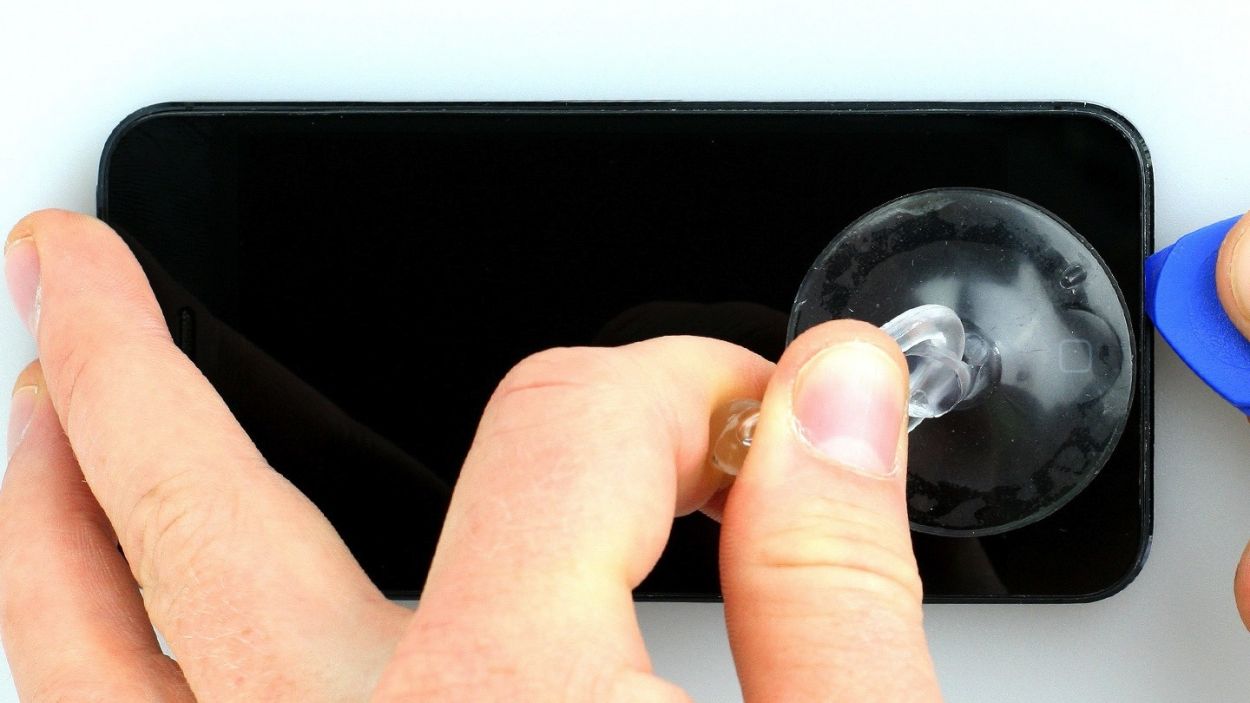
– Apply the suction cup right over the Home button (if you can) or just beside it (check out figure 1). While gently pulling up with the suction cup, slide the hard plastic pick between the aluminum frame and the display frame, and push against the aluminum frame. Keep using that pick to raise the screen (refer to figures 2 and 3). Be patient; this might take a few tries!
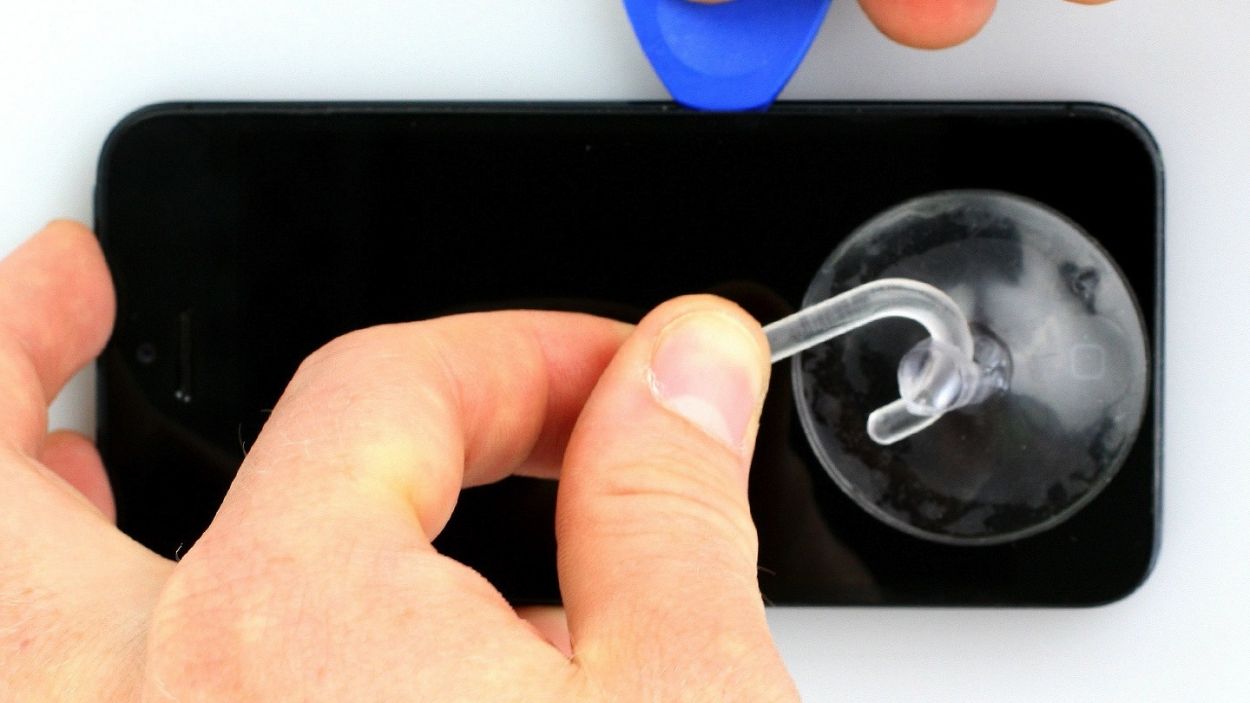
– Once you can lift the screen just a tad (see figure 4), carefully work your way around the edges until it’s loosened on both sides (figure 5 will help!).
– When the display is entirely free, you can lift it up from the Home button area. Just a heads-up—the display cables are still connected to the logic board (stay tuned for the next step!).
Step 3
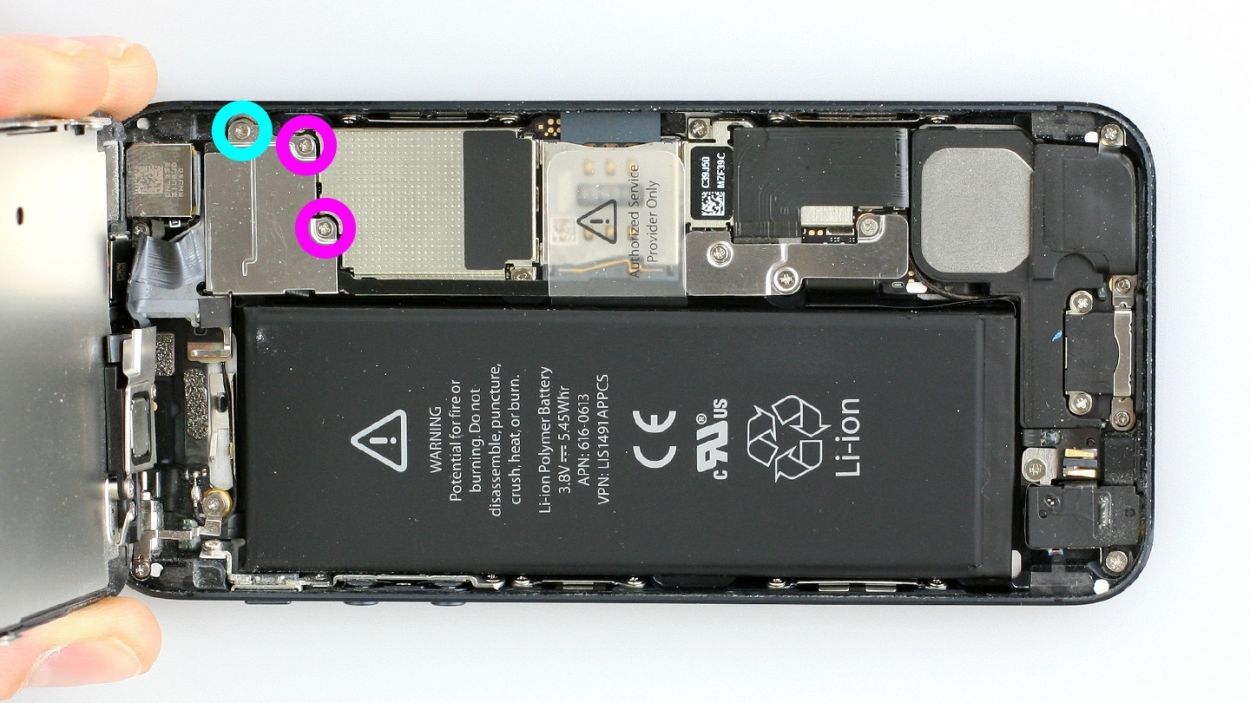

– First, let’s tackle those three Phillips screws holding down the silver cover (check out figure 1 for a visual!). Make sure to stash those screws in the same compartment of your organizer tray—2 x 1.2 mm Phillips screws and 1 x 1.7 mm Phillips screw (not magnetic) are waiting for you!
– Now, it’s time to disconnect the three connectors (see figure 2). Just a friendly reminder to be super careful here!
– Take your spudger and gently slide the pointed tip just below the contact, then lift it up. Watch out for those resistors soldered onto the logic board—don’t want to break them! In later models, they come with a protective black plastic film. You’ve got the LCD, touchscreen, and front camera/sensor/earpiece to handle!
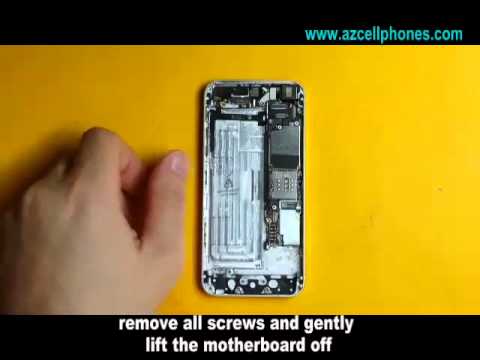
Step 4
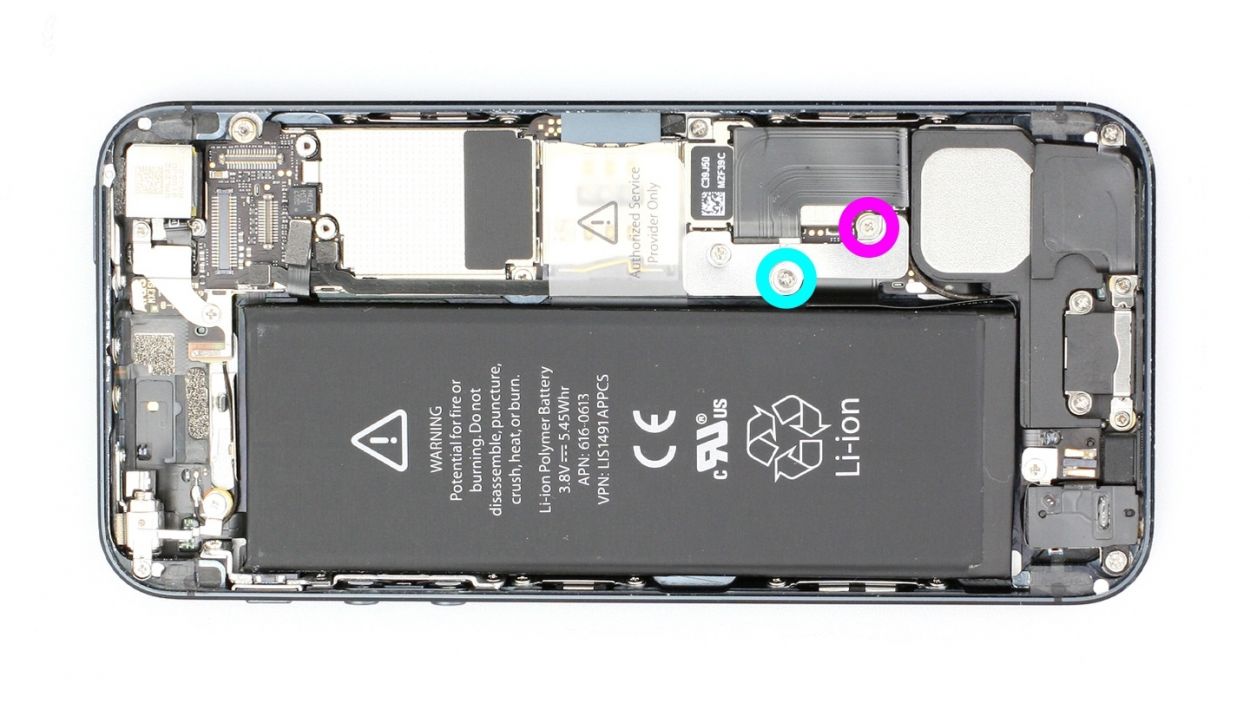
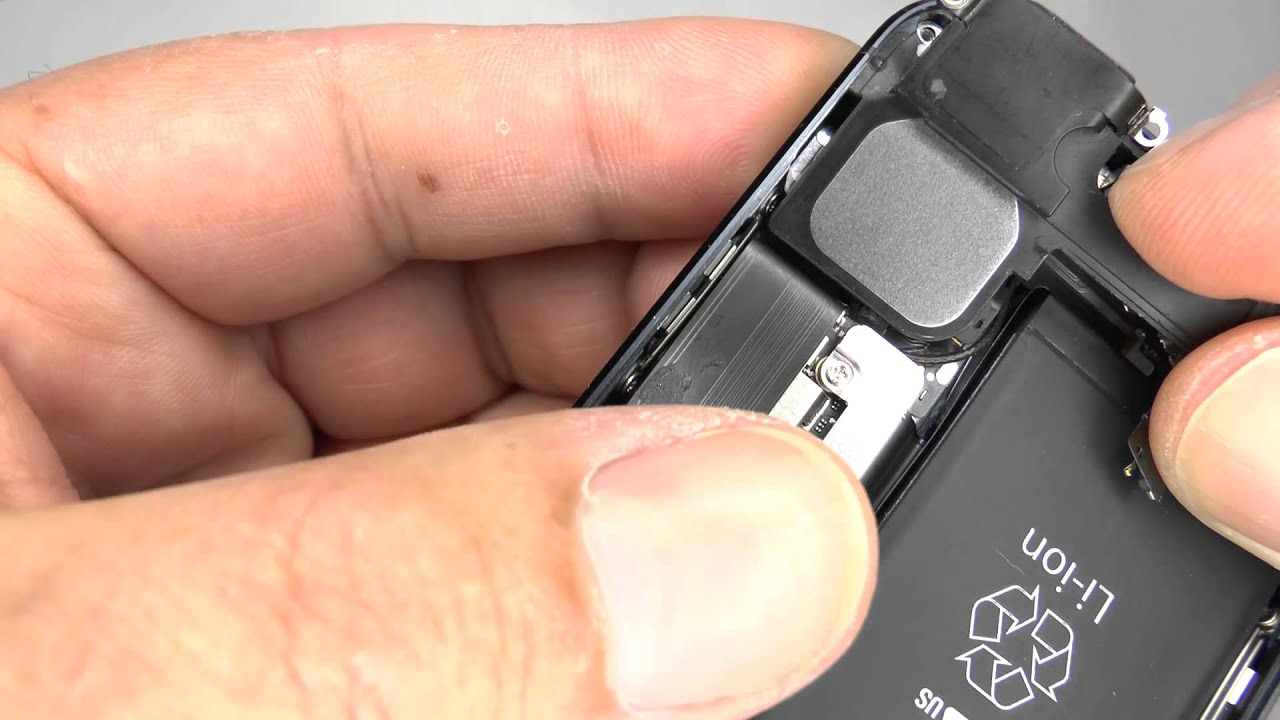
– Use a Phillips screwdriver to remove the Phillips screws on the battery connector (see figure 1). Then lift the cover using the spudger (see figure 2). Put all the parts in the same compartment of the organizer tray.1 x 1.8 mm Phillips screw (funnel head)1 x 1.7 mm Phillips screw
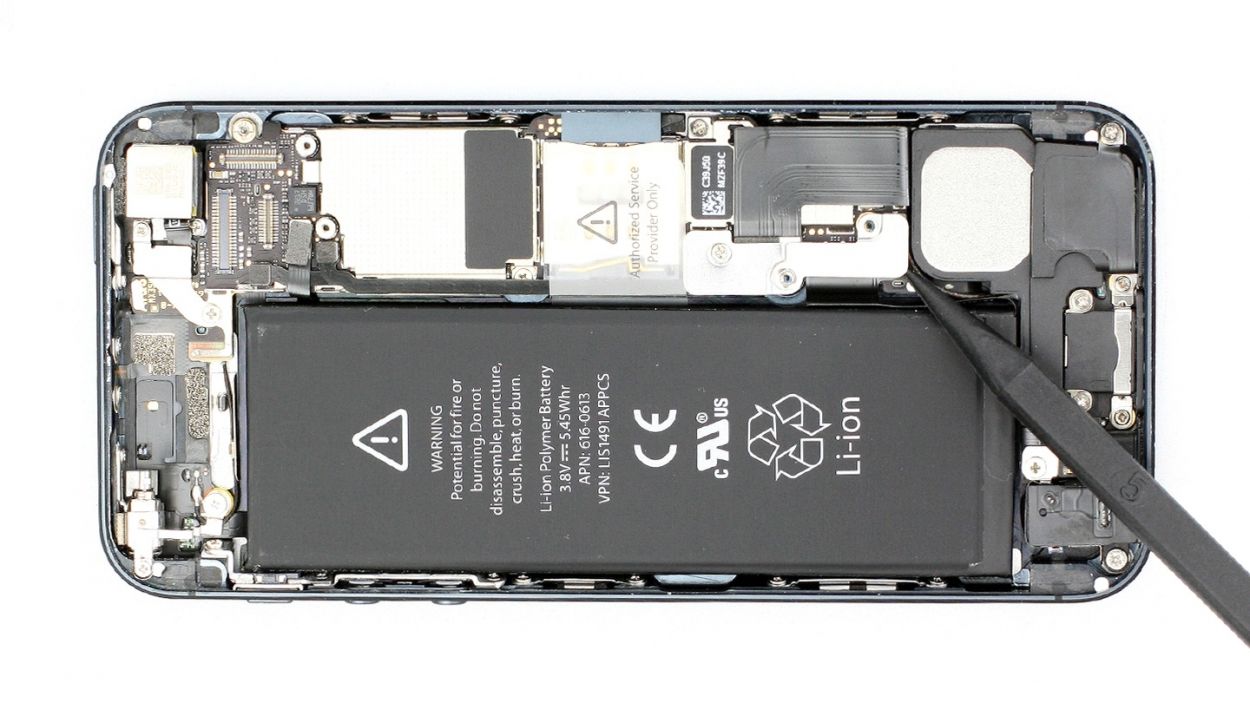
– Now carefully lift off the battery connector by inserting the pointed tip of the ESD spudger slightly below the connector (see figure 3). If you don’t have a spudger, you can also try using your fingernail.
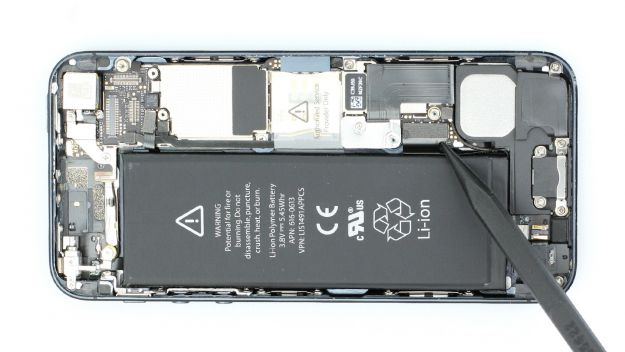
Step 5

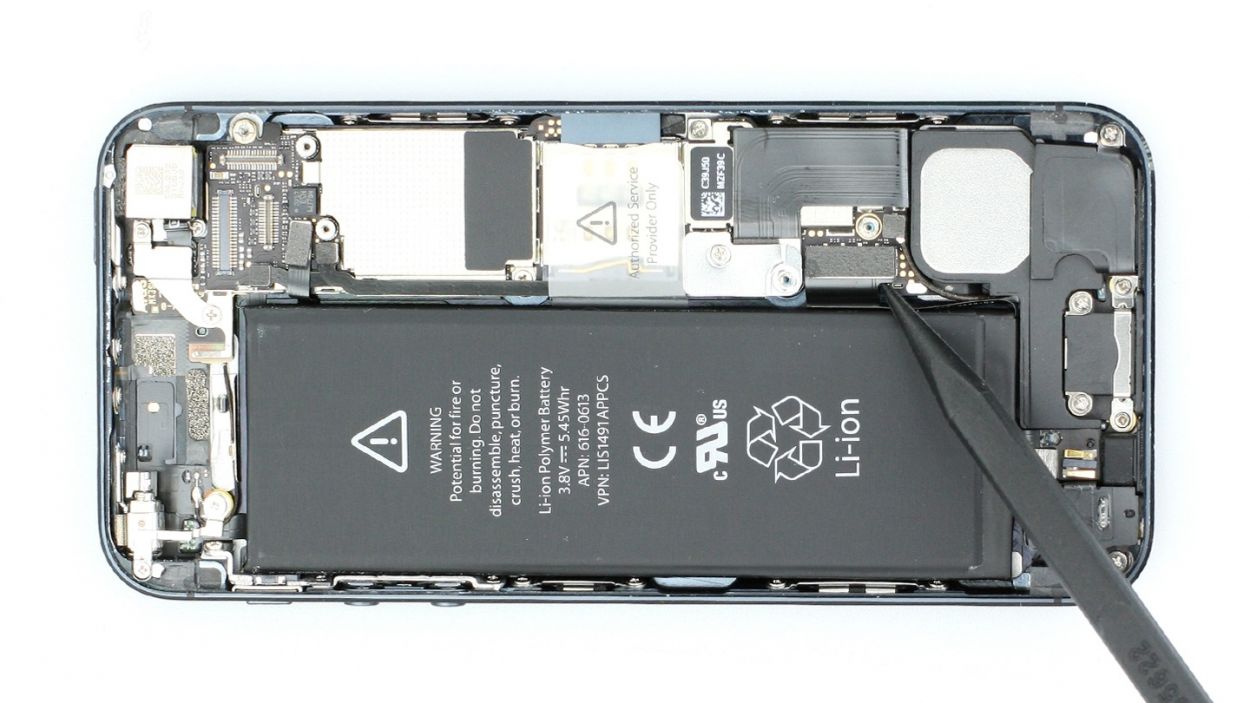
The logic board is quite delicate, so handle it with care! You can also try lifting the battery from the other side if needed.
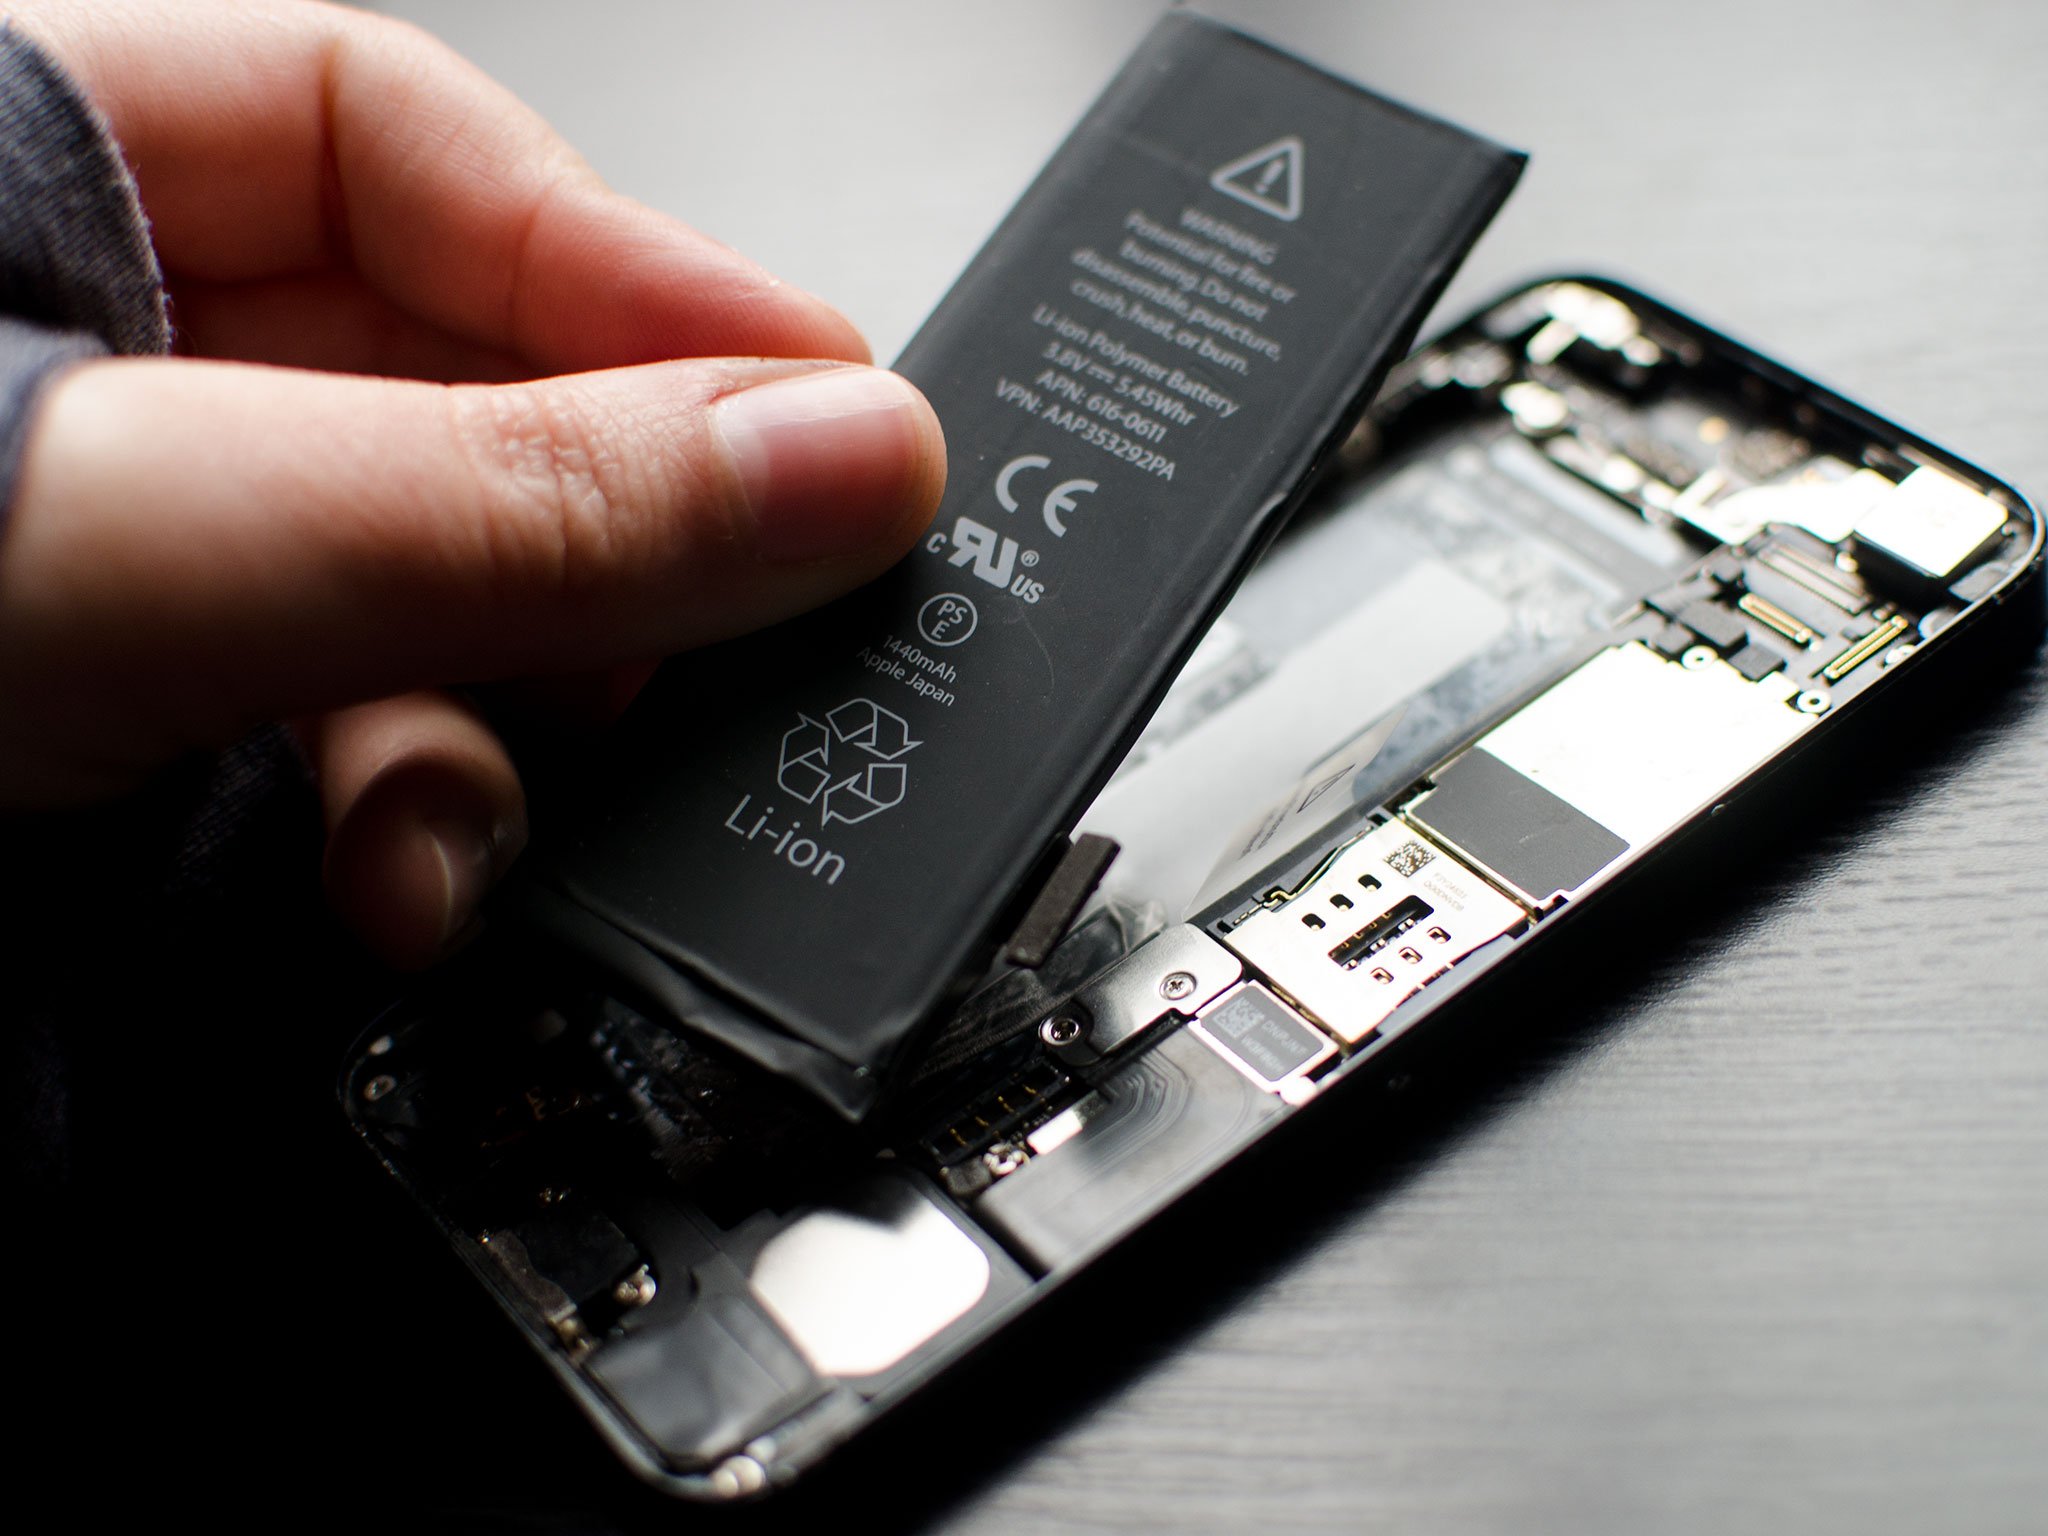
– It’s time to say goodbye to that old battery! Sometimes it’s a little too cozy and stuck on for comfort. Gently slide the flat end of your spudger into the gap between the battery and the logic board. With a careful lift, coax that battery out. Remember, the logic board is quite delicate, so handle it like a ninja! If it’s being stubborn, you can also give that battery a little nudge from the other side. If it’s really playing hard to get, try using your trusty spudger at different leverage points on the left and right to pry it loose. And if all else fails, a bit of warmth from a heat gun should soften the glue just enough for a smooth exit.
Step 6

– Let’s bring that battery back home to the iPhone and cozy it up close to the logic board.
– Give the battery connector a little click back into place.
– Time to dress up the iPhone with its cover and give it a good screwing. 1 x 1.8 mm Phillips screw (funnel head) and 1 x 1.7 mm Phillips screw
Step 7
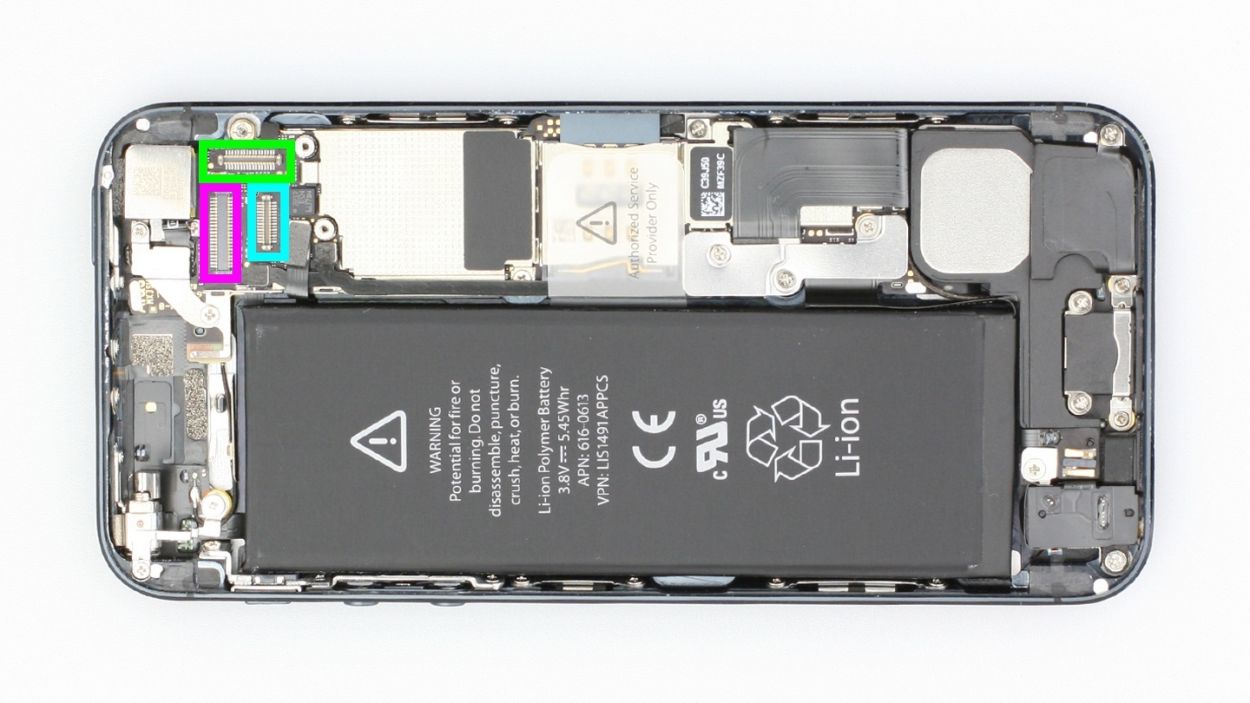

– Now reconnect the connectors (see figure 1). The LCD connector sometimes comes undone when you connect the touchscreen connector.LCDTouchscreenFront camera/sensor/earpiece
– Reattach the battery connector and fix the coverplate again.
– Start your iPhone as soon as the connectors are securely attached. Check the function of the LCD, touchscreen, proximity sensor, front camera and earpiece.
– Now attach the cover and screw it in place (see figure 2).2 x 1.2 mm Phillips screws1 x 1.7 mm Phillips screw (not magnetic)
– Then carefully fold down the screen. Make sure that the edge of the screen where the cables are clicks into place properly. Now carefully press the screen on toward the Home button until it’s properly installed in the frame. (See figure 3).
Step 8
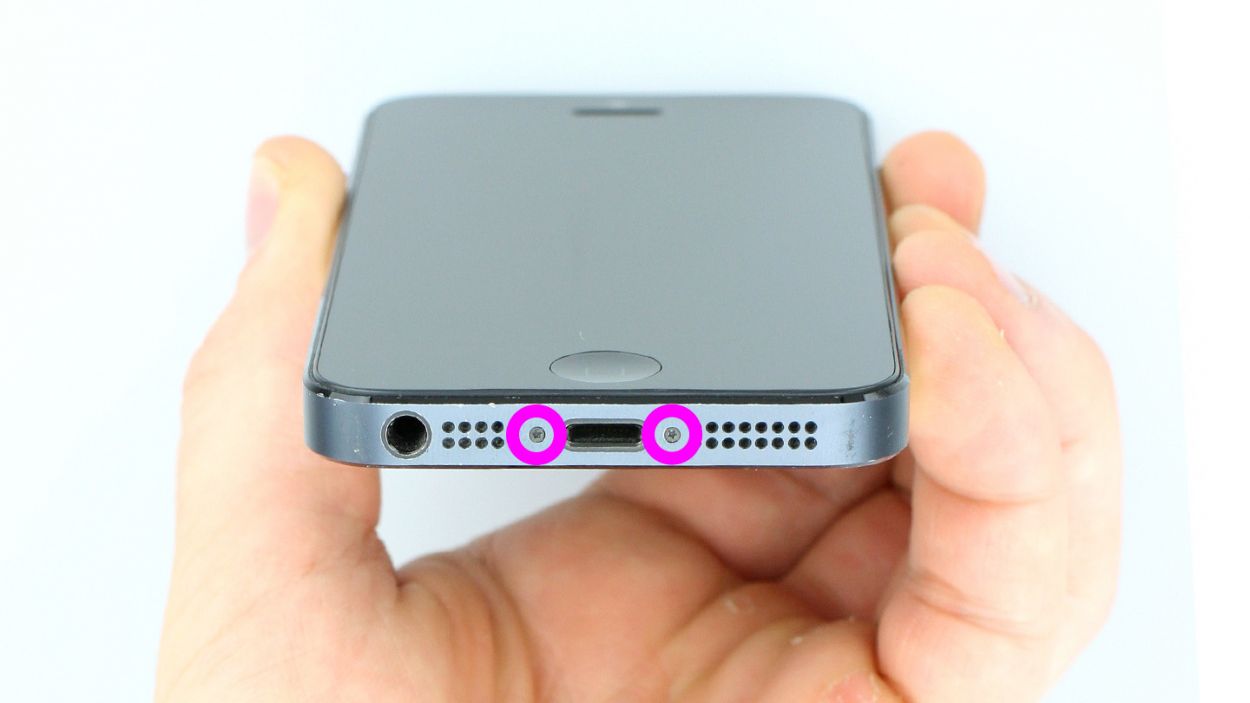
– Time to get those pentalobe screws back in place! Grab your screwdriver and secure the two pentalobe screws at the bottom of the enclosure. You’ve got 2 x 3.6 mm pentalobe screws to fasten, so let’s make sure they’re snug!
Step 9

When you pop out the battery, your iPhone might forget the time and revert to 1:00 a.m. on 1/1/1970. If that happens, you might run into some hiccups connecting to the cellular network, so be sure to set the time right!
– Let’s get your iPhone back on track! First, sync it with iTunes or hop onto a WLAN network and hang tight until the time is set.
– Next up, pop out the SIM tray, give that SIM card a little love, and then slide it back in.
– Now, flip on airplane mode for a moment and then switch it off again. Easy peasy!