iPhone Xs Lightning Connector Replacement Guide: Step-by-Step DIY
Duration: 90 min.
Steps: 29 Steps
Is your iPhone Xs playing hard to get with charging, or does your computer seem to have forgotten your iPhone exists? No worries! Swapping out the lightning connector can get things back on track. This guide will walk you through the process step by step. Each step comes with a handy video that shows you exactly what to do—just hit the play button in the top right corner of the first image at each step. Before diving into the repair, it’s a good idea to check if it’s a software hiccup by resetting your iPhone to factory settings. And don’t forget to back up your data! When you’re working on the front camera and FaceID unit, be extra careful—those parts are tricky and can’t be replaced without losing FaceID functionality. Let’s get started!
Step 1

– First things first, let’s power down your iPhone completely to keep it safe during the repair. Just press and hold the Standby button along with one of the volume buttons for about three seconds until you see that “Power off” slider pop up.
– Now, give that slider a gentle swipe from left to right. Your iPhone will take a moment to shut down completely, which should take around ten seconds. You’re doing great!
Step 2
2 × 6,8 mm Pentalobe
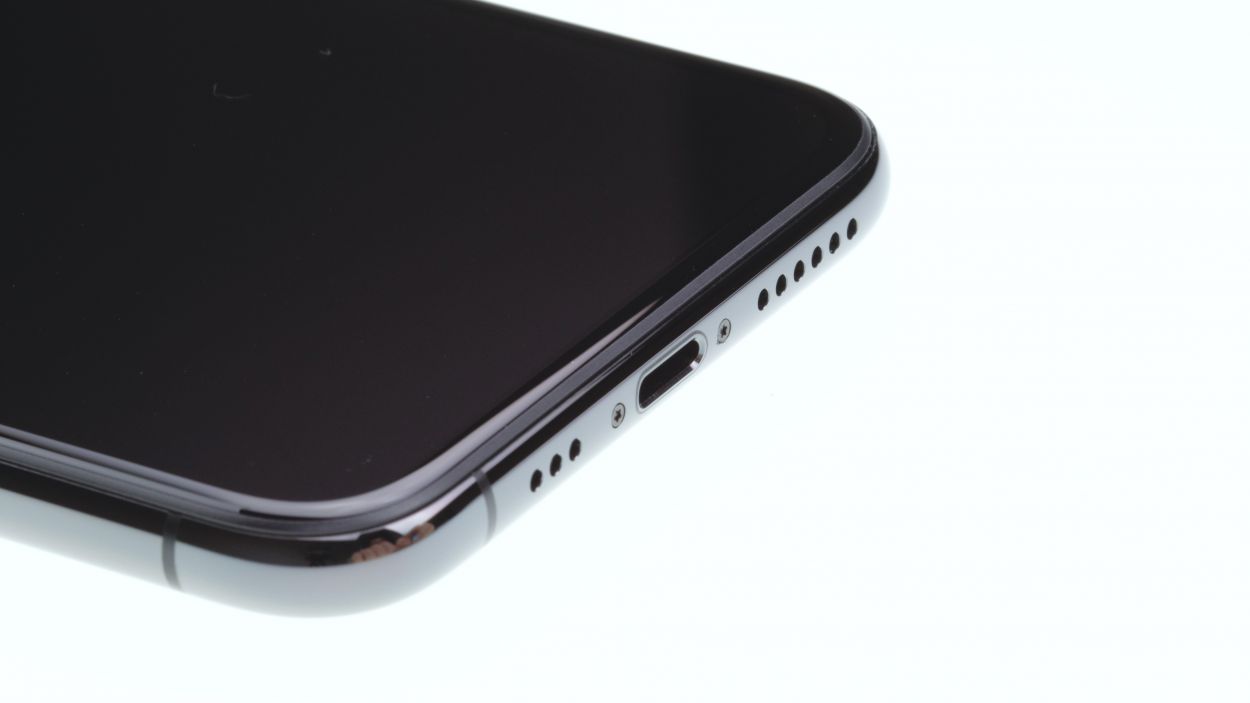
Once you pop the lid on your iPhone Xs, it waves goodbye to its dust and splash protection (IP 68 rating). So, handle with care!
– First, let’s tackle those two pentalobe screws at the bottom edge of the back cover. They’re hanging out right next to the Lightning connector, one on each side. Make sure to toss them into the same box on your magnetic pad so they don’t wander off!
– Now, gently place your iPhone Xs on a soft, clean surface. We want to keep that back looking sharp and scratch-free!
Step 3

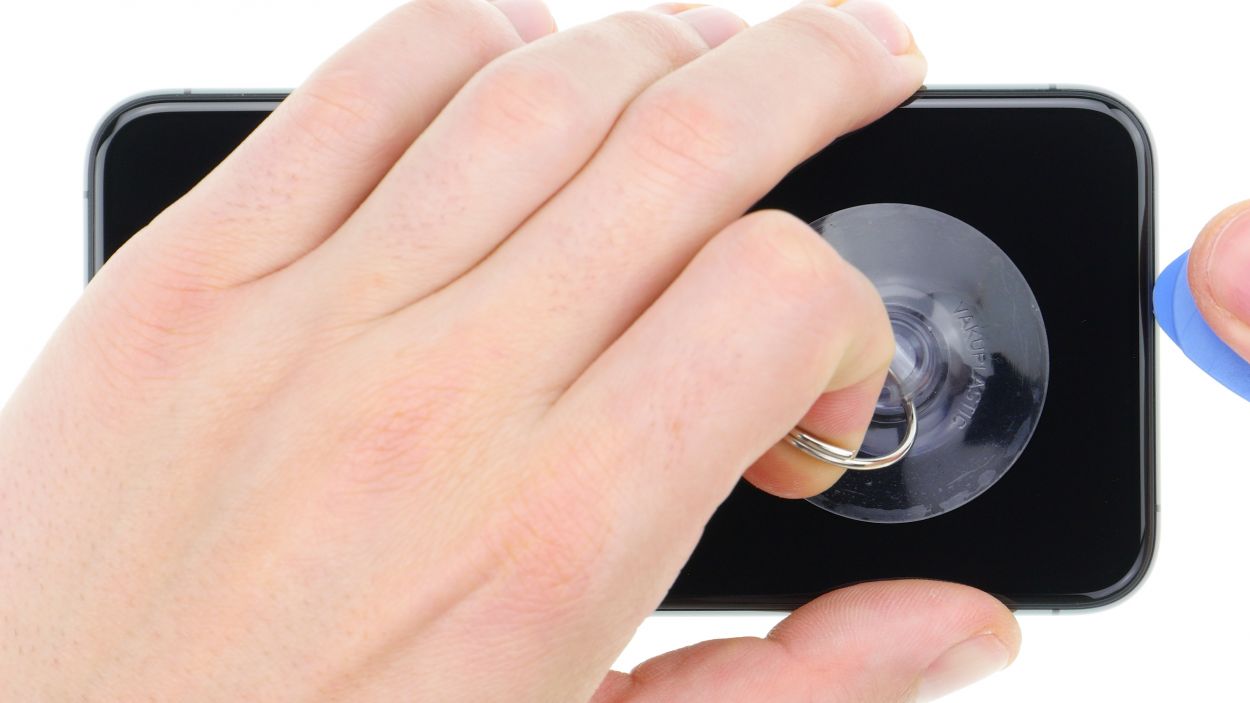
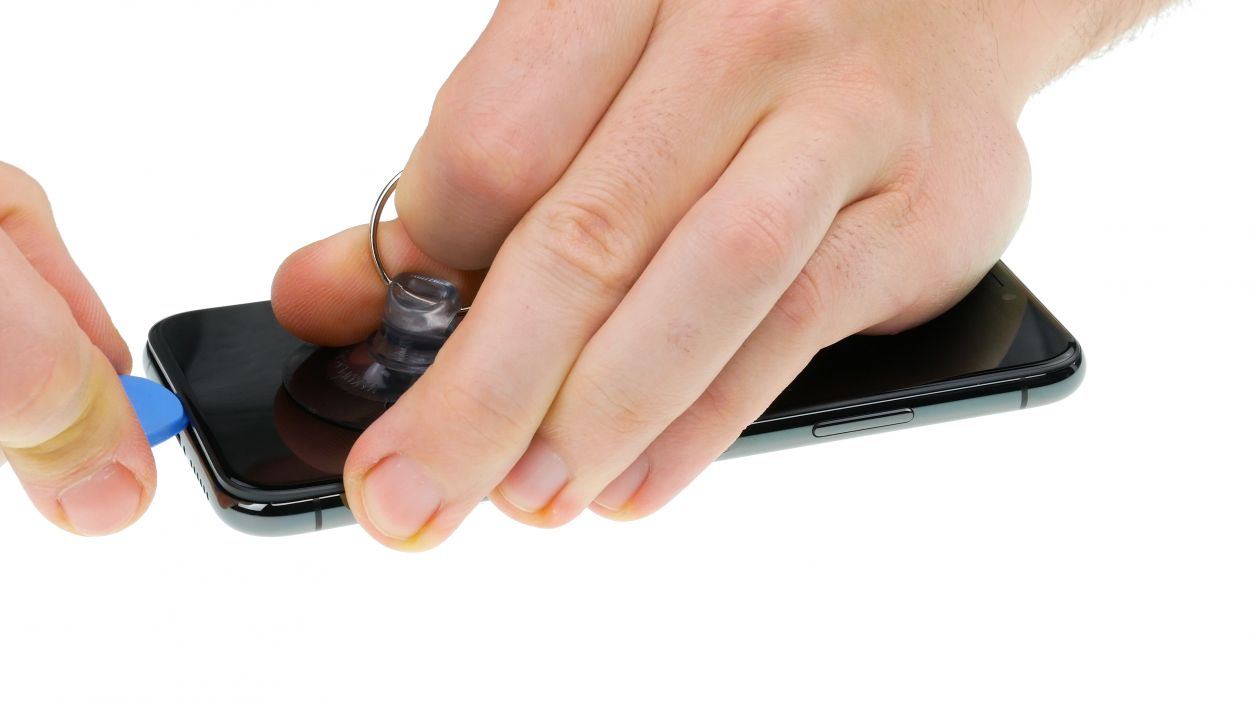
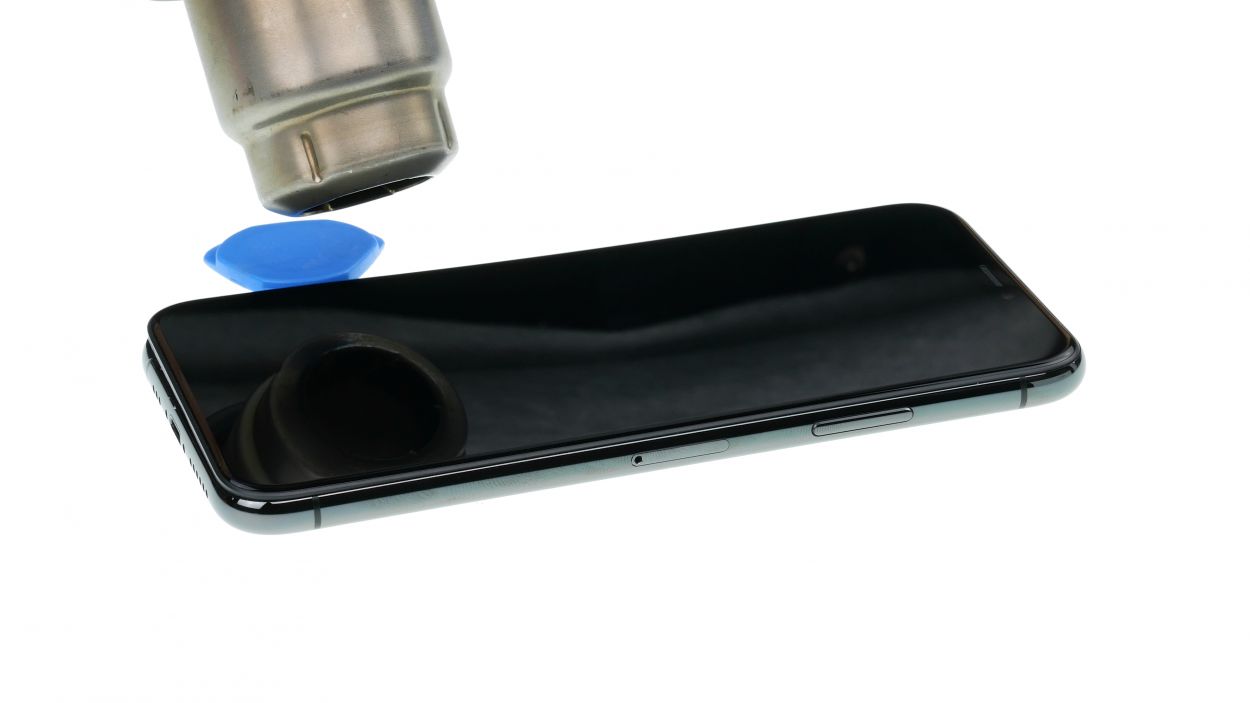

– To lift the front panel, you need a suction cup, a hard plastic pick and a heat gun. If the screen is severely cracked, cover all of it with packing tape before you continue.
– The screen is glued to the frame. Use a heat gun to heat the outer edges of the display to about 60°C (140°F).
– Place the suction cup over the Home button (if possible) or next to it. While lifting the screen with the suction cup, insert the hard plastic pick between the steel frame and the display frame and press down the steel frame.
Hey there! Just a friendly reminder: keep your tool to a maximum of 5 mm into the gap. We want to avoid any accidental damage to those tiny parts inside your iPhone. You’ve got this!
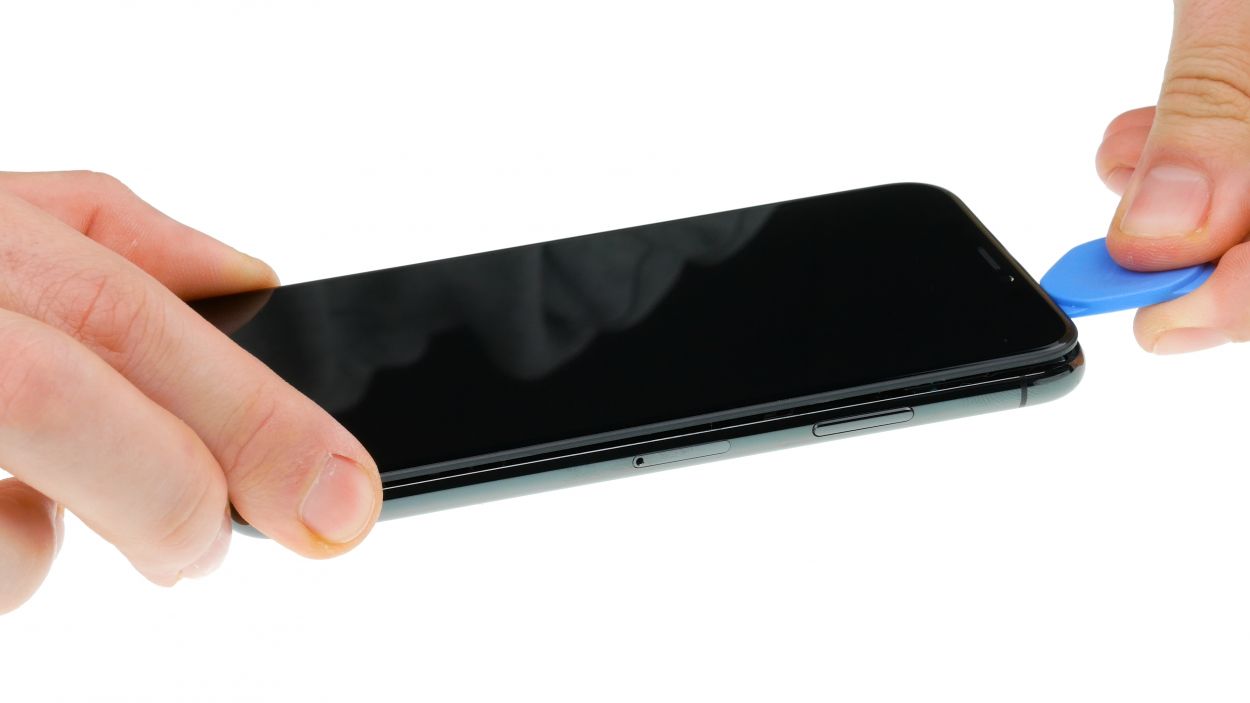
If you’re having trouble sliding a plectrum into that sneaky gap, no worries! Grab an iFlex to help you out. Just remember to switch to a hard plastic plectrum as soon as you can to keep your frame looking sharp and scratch-free!
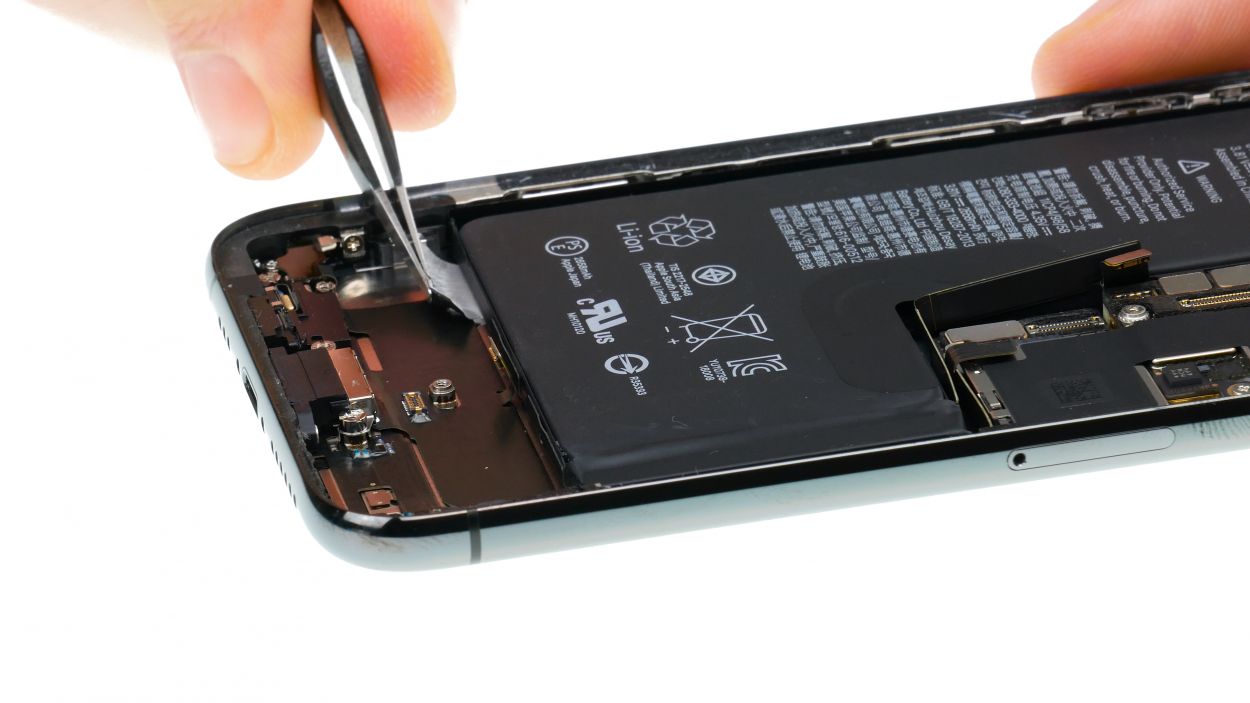
Step 4


– Use a Y-Type and Phillips screwdriver (Y000/PH00) to remove the screws. Then take off the bracket plate. Put all the parts in the same box of your magnetic pad.
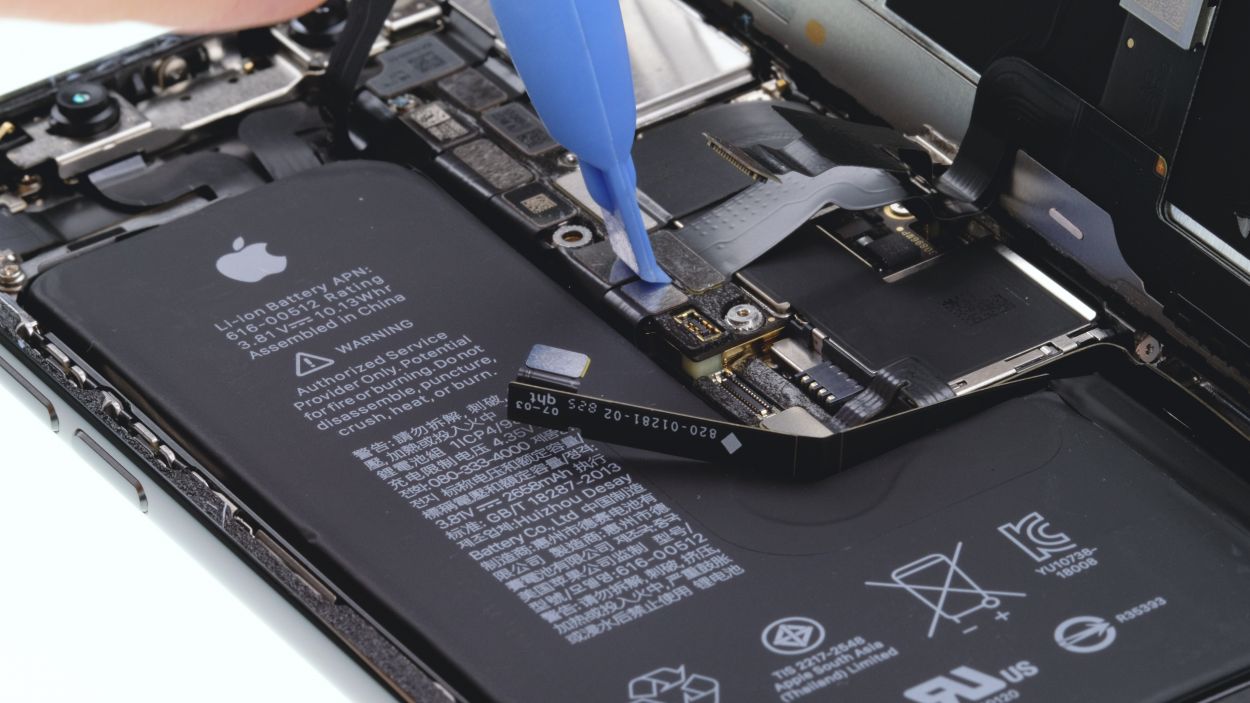
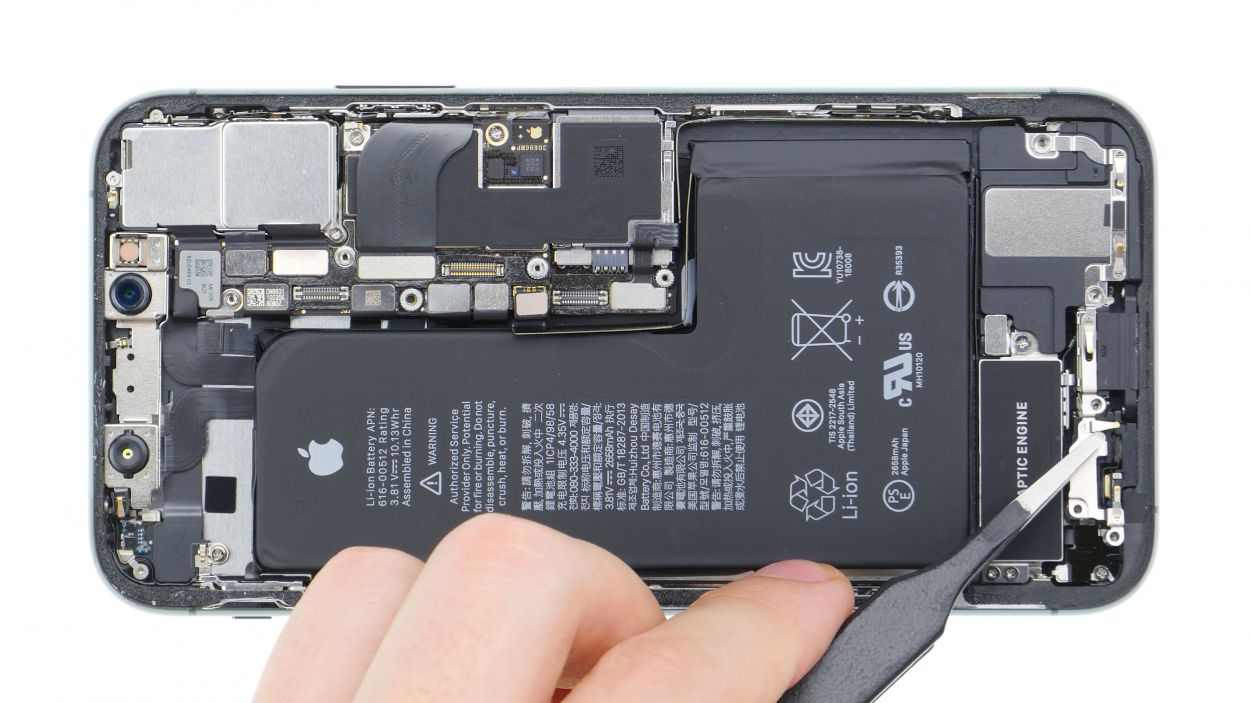
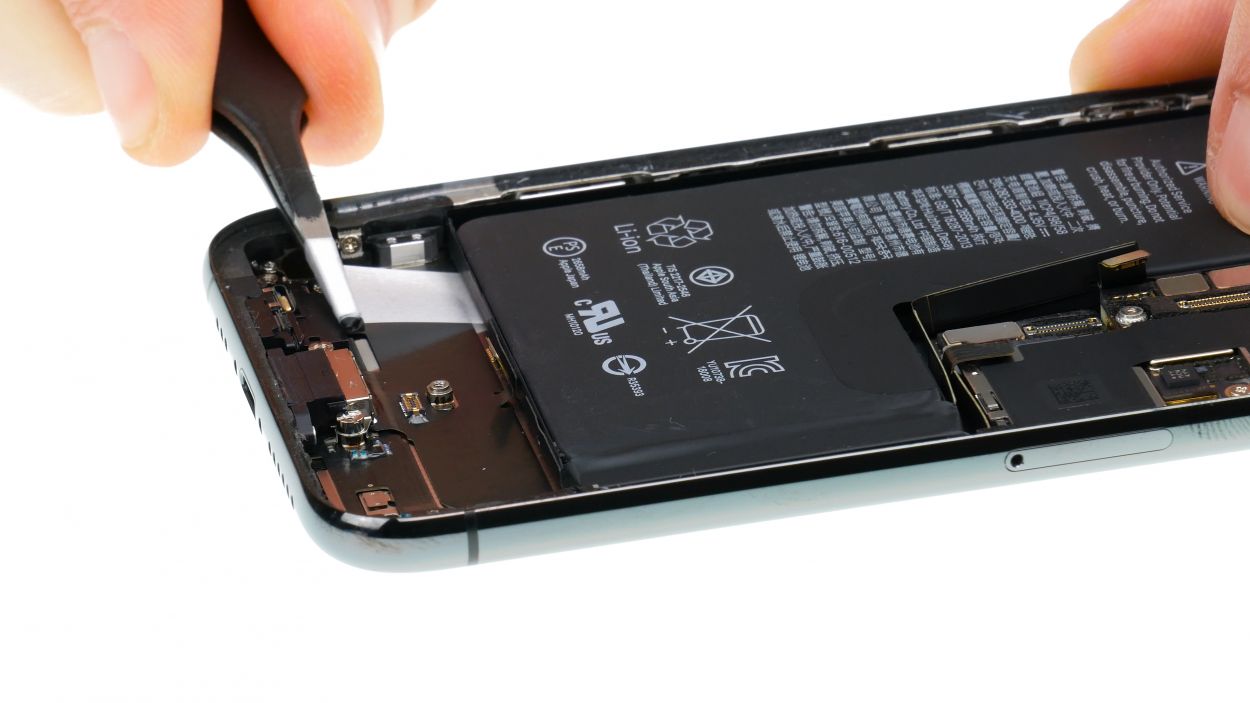
– Now very carefully pry off the battery contact by inserting a spudger under the connector.
1 × 1,2 mm Y-Type
3 × 1,0 mm Y-Type
1 × 3,7 mm Phillips
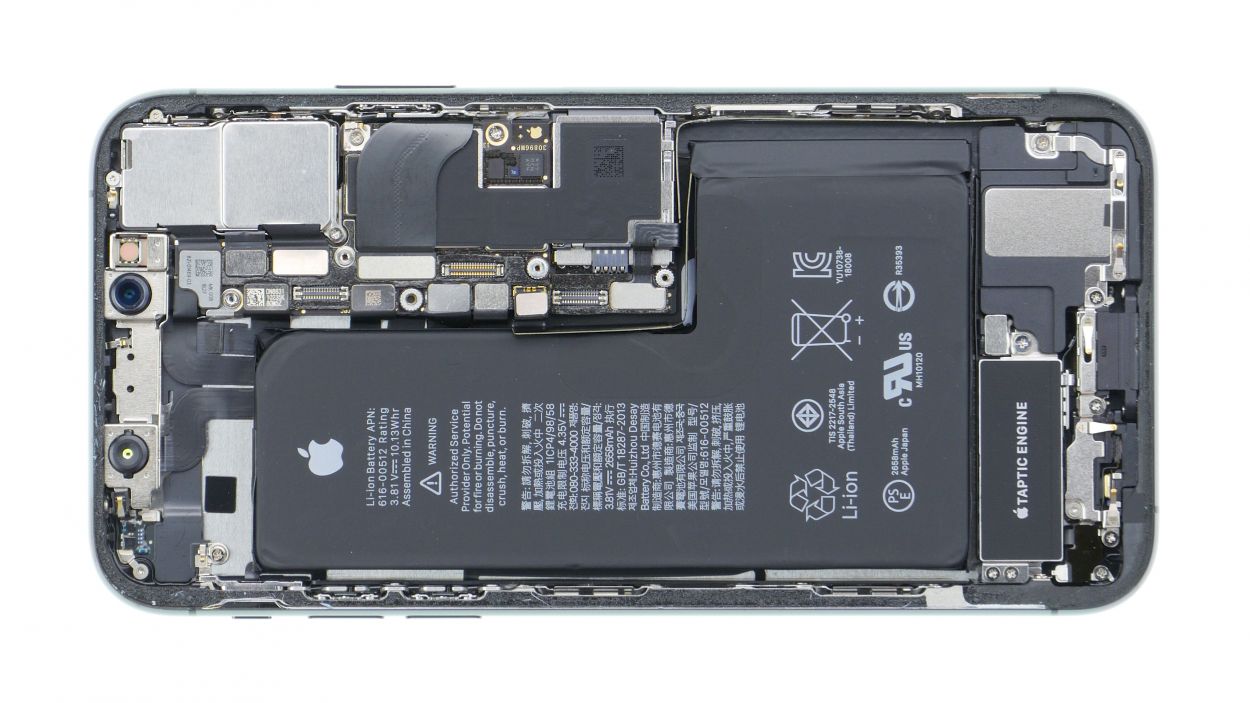
Battery Connector
Before you get your hands dirty, make sure to disconnect the battery contact! This little step helps you dodge any short circuits and keeps your device from accidentally waking up while you’re in repair mode. Safety first, right?
Apple introduced Y-Type screws with the iPhone 7. They are often wrongly called Tri-Point or Tri-Wing. Use a matching Y-Type screwdriver for these screws so you don’t strip the screw heads.
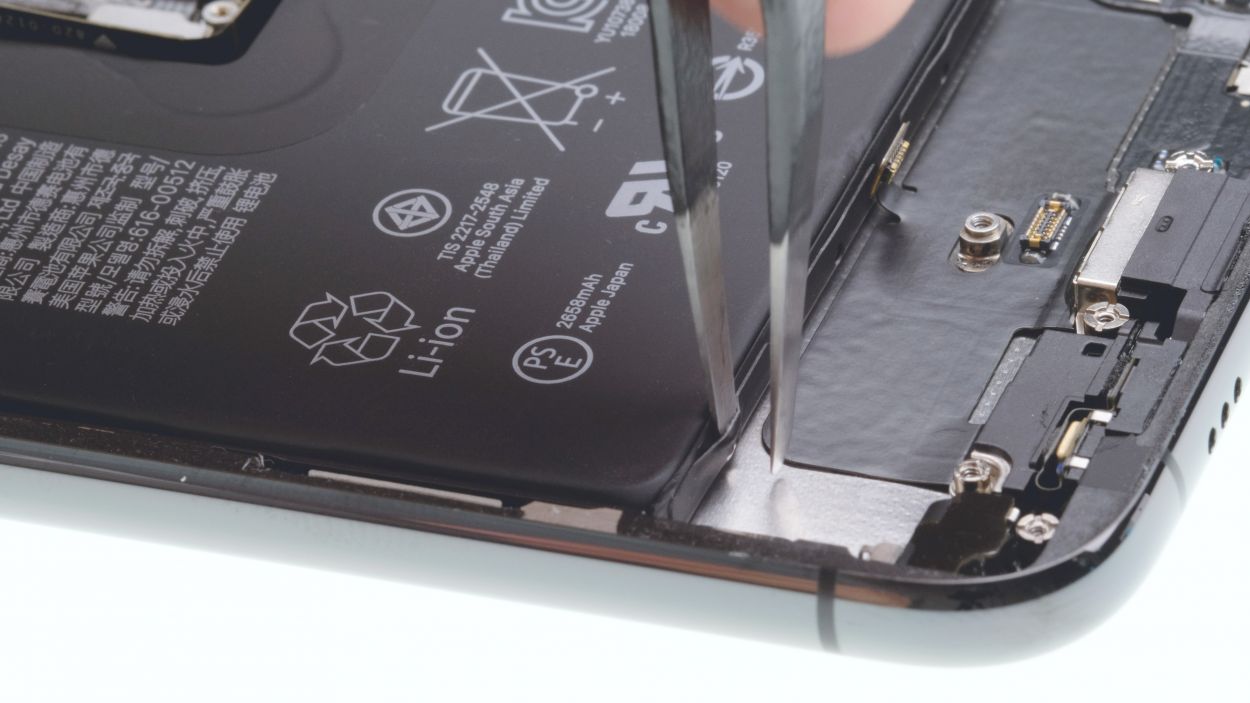
Step 5
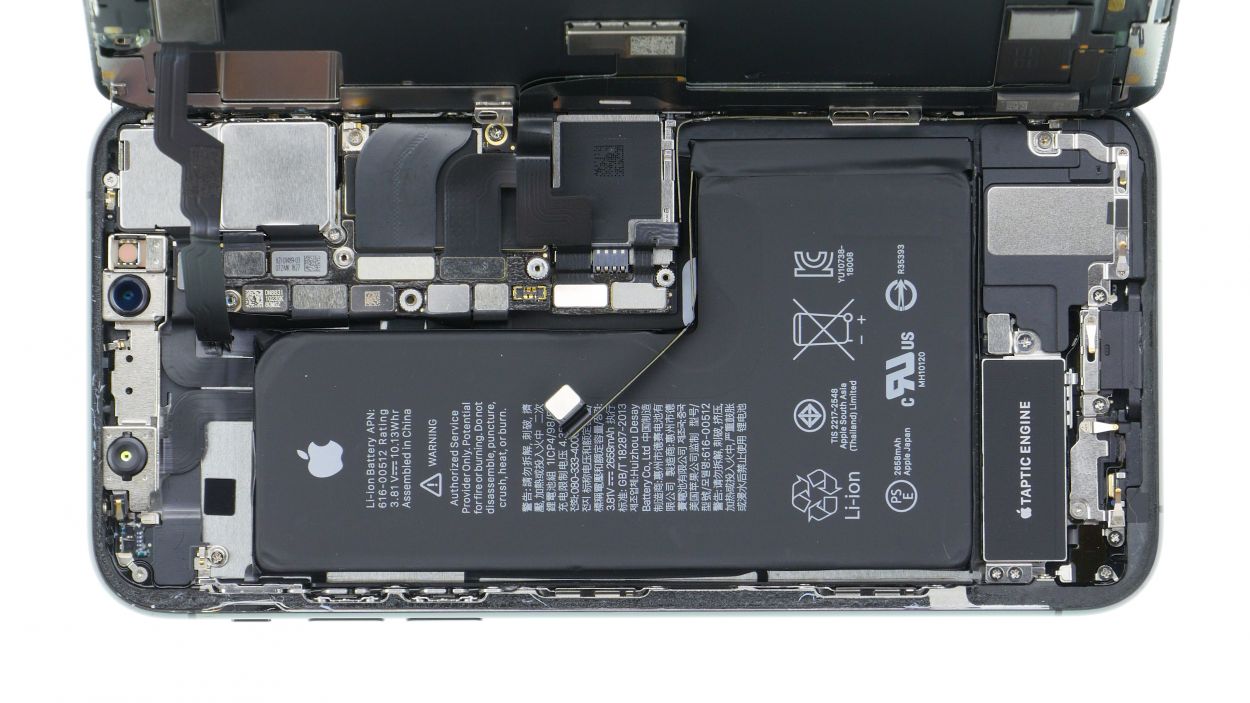

Display Connector
Earpiece connector
Be very careful when prying off the connectors using the spudger to prevent damaging anything.
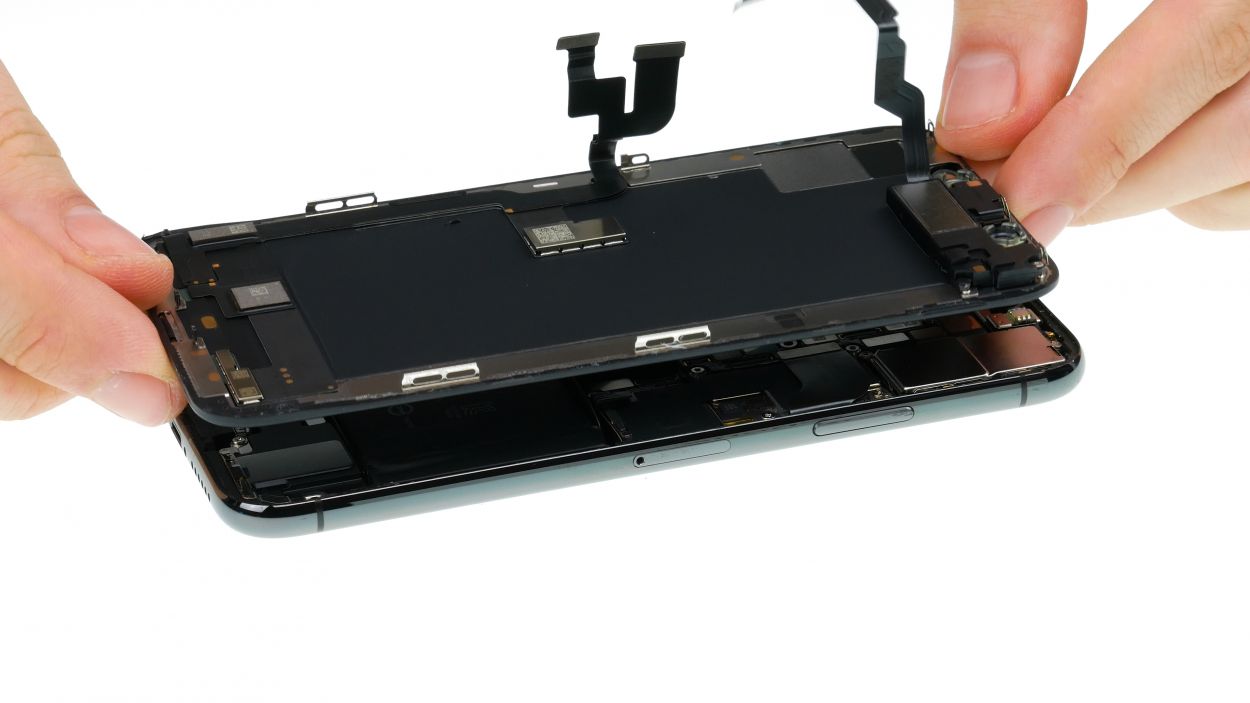
– The display unit is connected by three flexible cables.
– Use a spudger to separate the connectors for the display and the earpiece one by one.
– The flex cable of the earpiece is still slightly glued to the cable underneath. Loosen it by carefully pulling it off. Use hot air to help yourself if the adhesive doesn’t come off.
Step 6
1 × 1,7 mm Phillips
1 × 1,6 mm Phillips
2 × 1,2 mm Phillips
1 × 1,0 mm Y-Type
– Remove the Phillips and Y-Type screws from the two brackets. The screws have different lengths. Place them on your magnet mat so that you can reassign them later.
– Then remove the two metal brackets. Both can be easily glued on.
Step 7


1 × 1,7 mm Phillips
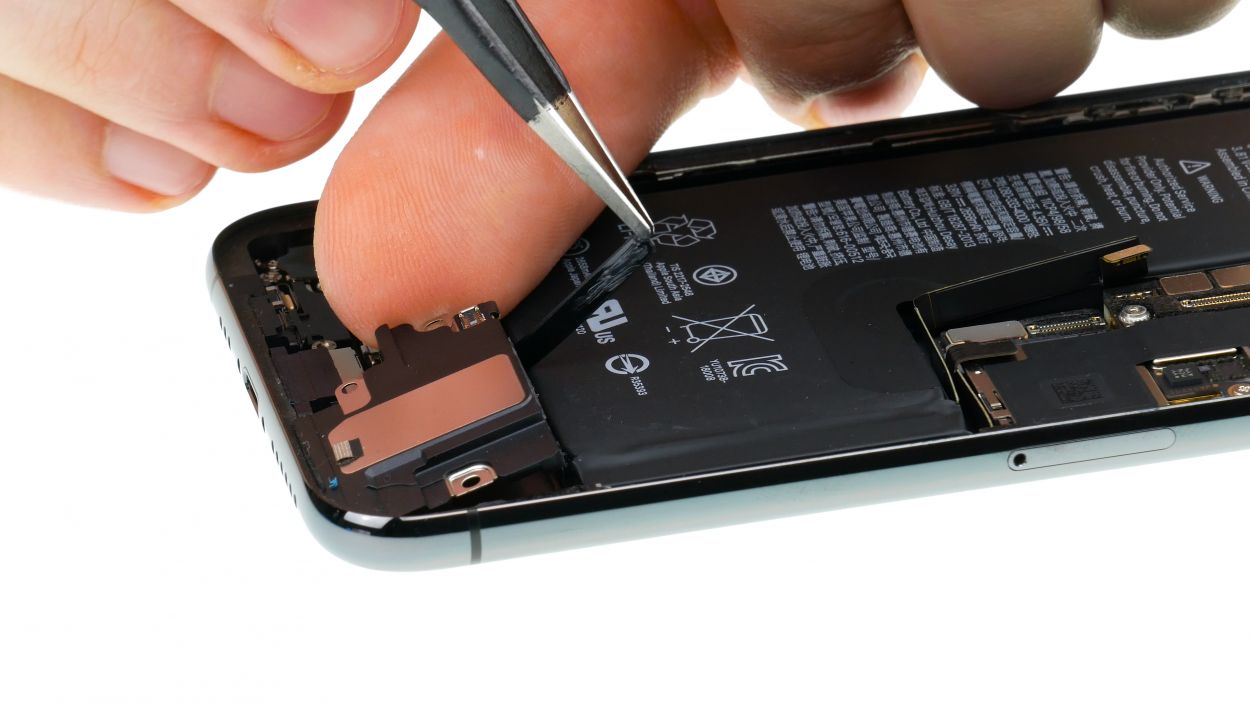
Speaker connector
– Start by loosening the lone screw on the cover plate that guards the connector for the flex cable heading to the speaker.
– Next, gently lift off the cover plate.
– Now, disconnect the flex cable’s connector and carefully lift it away.
– You’re almost there! Lift the speaker slightly and detach the rubber strip at the top edge.
– Finally, pull the speaker out completely.
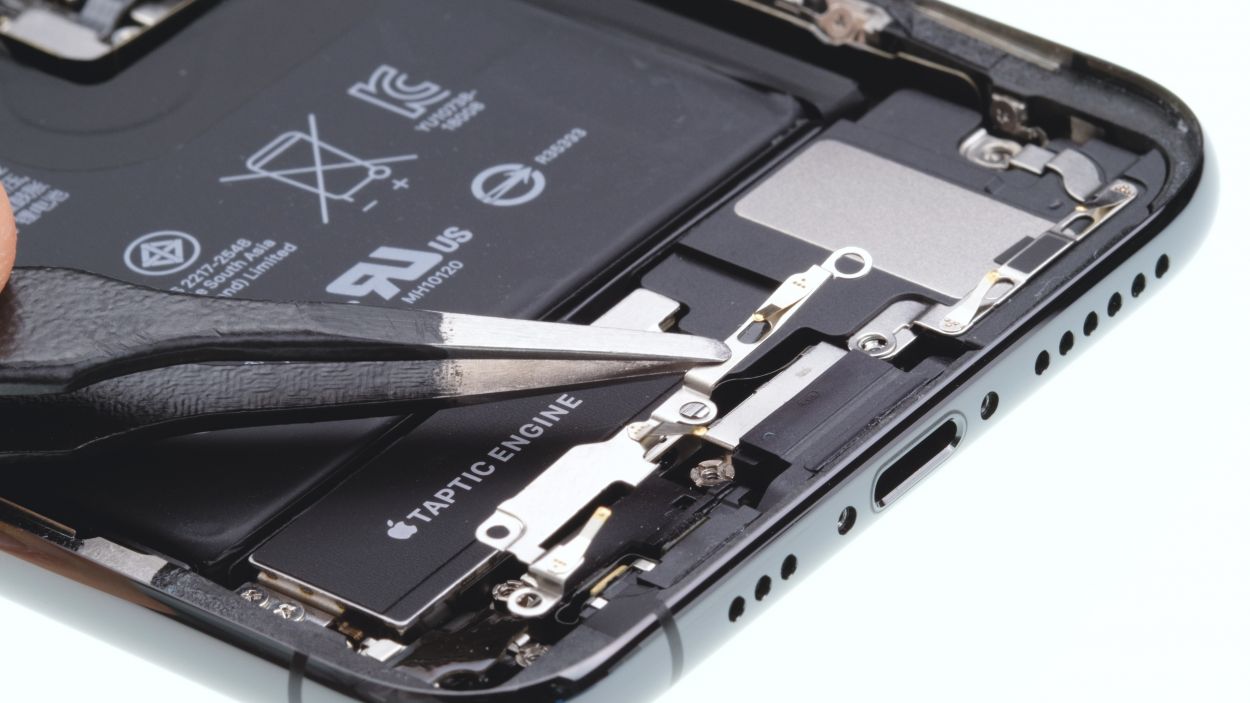
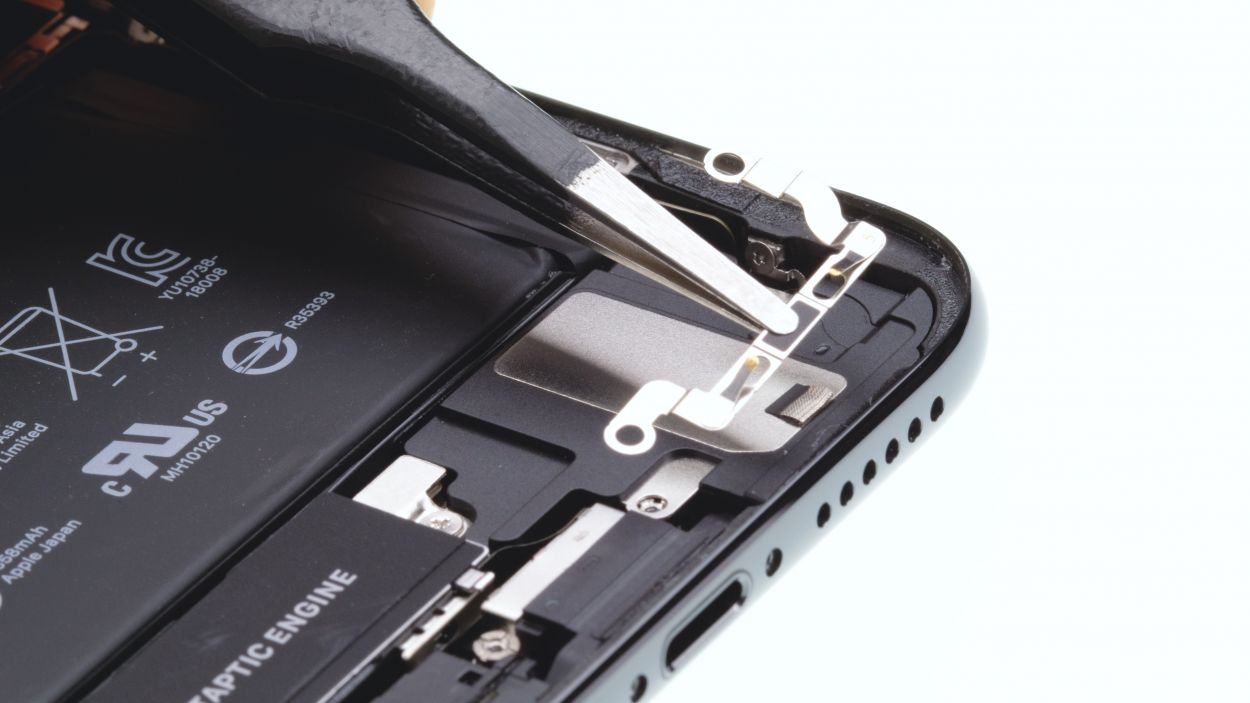
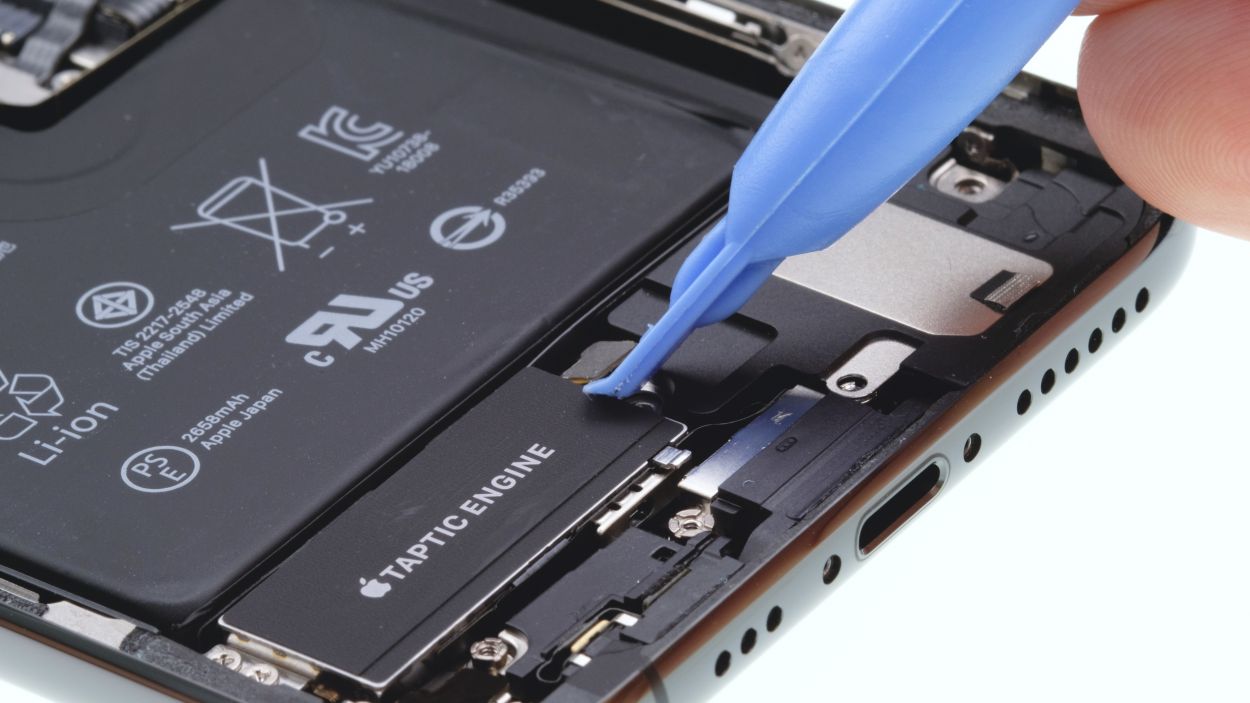
Step 8


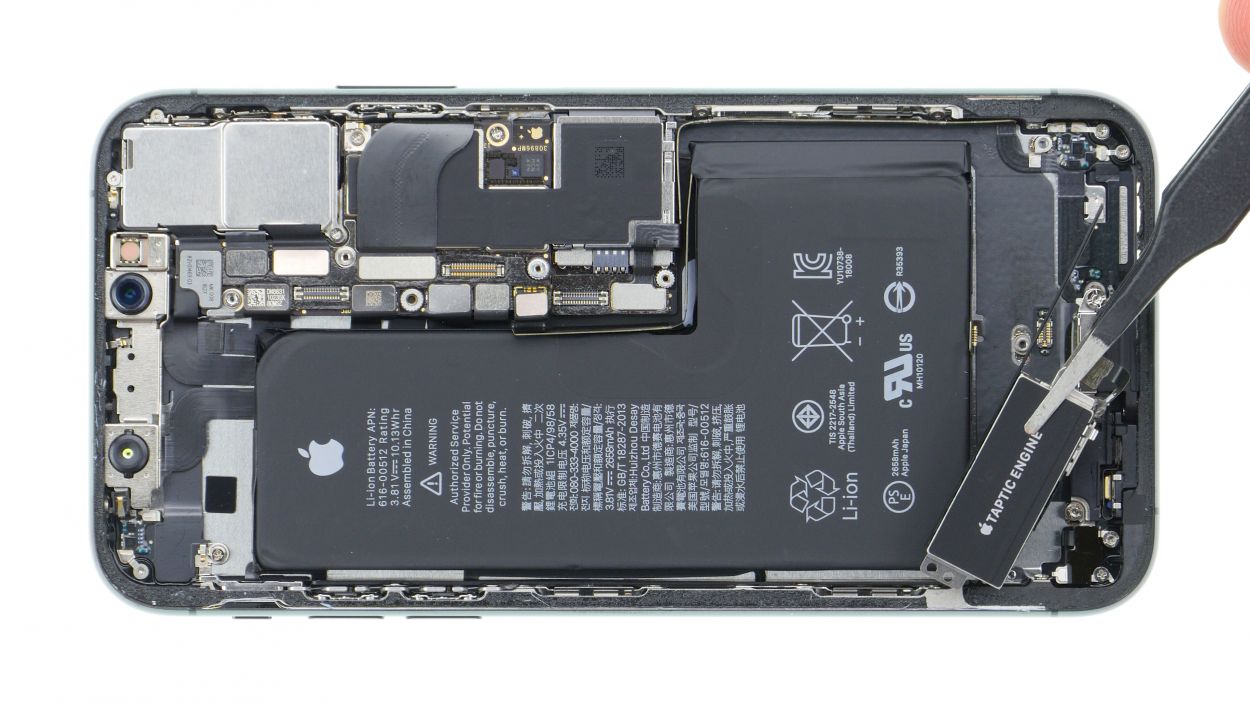
2 × 1,8 mm Phillips
Taptic Engine Connector
– Remove the Phillips screws fastening the Taptic Engine.
– Use a spudger to disconnect the Taptic Engine’s connector.
– Now remove the Taptic Engine.
Step 9
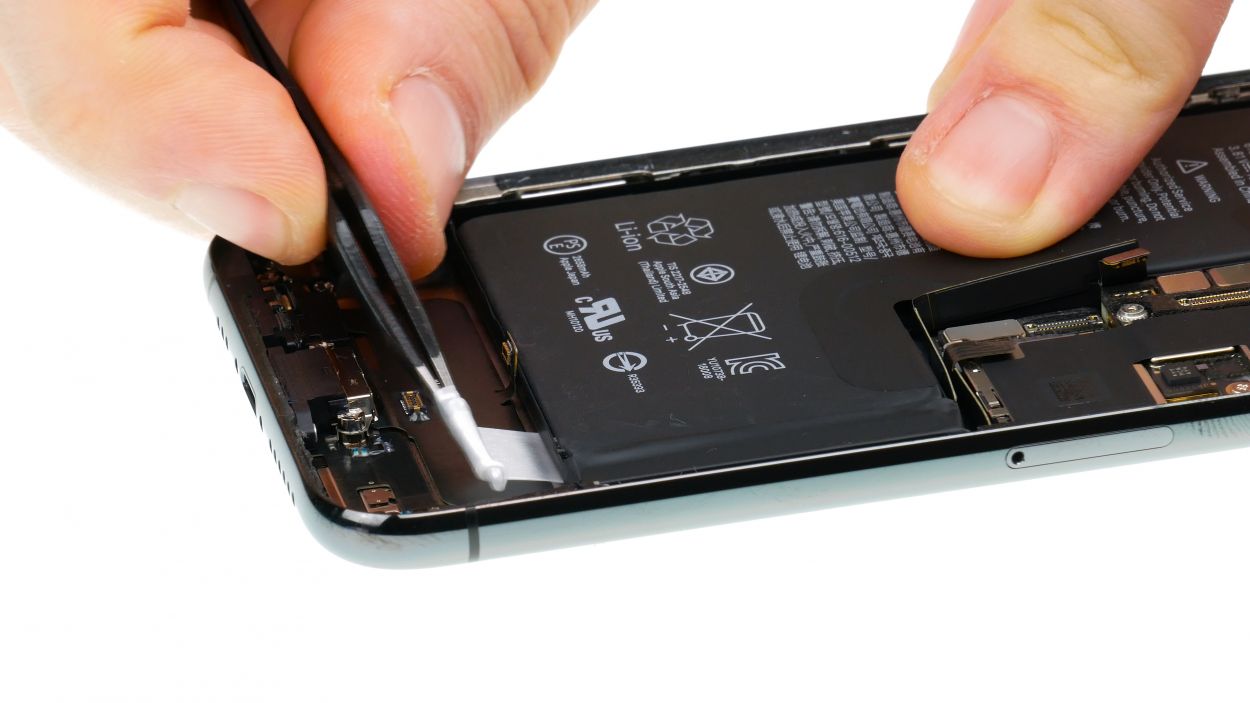
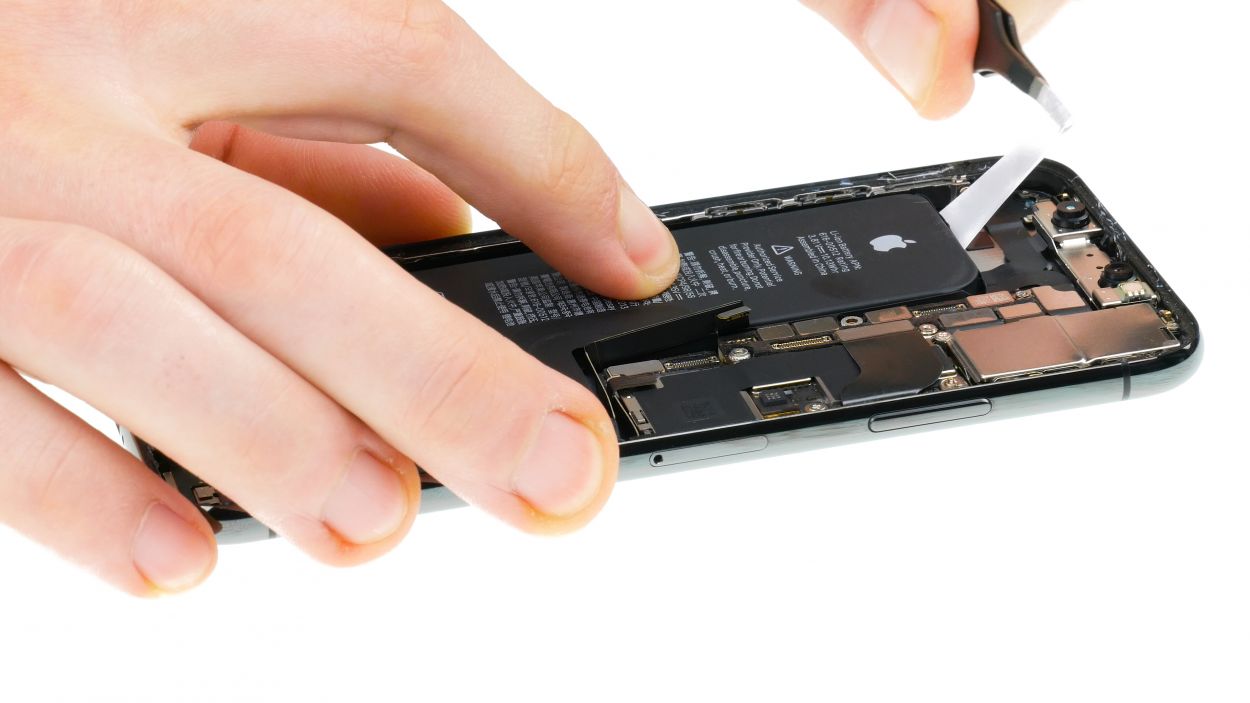
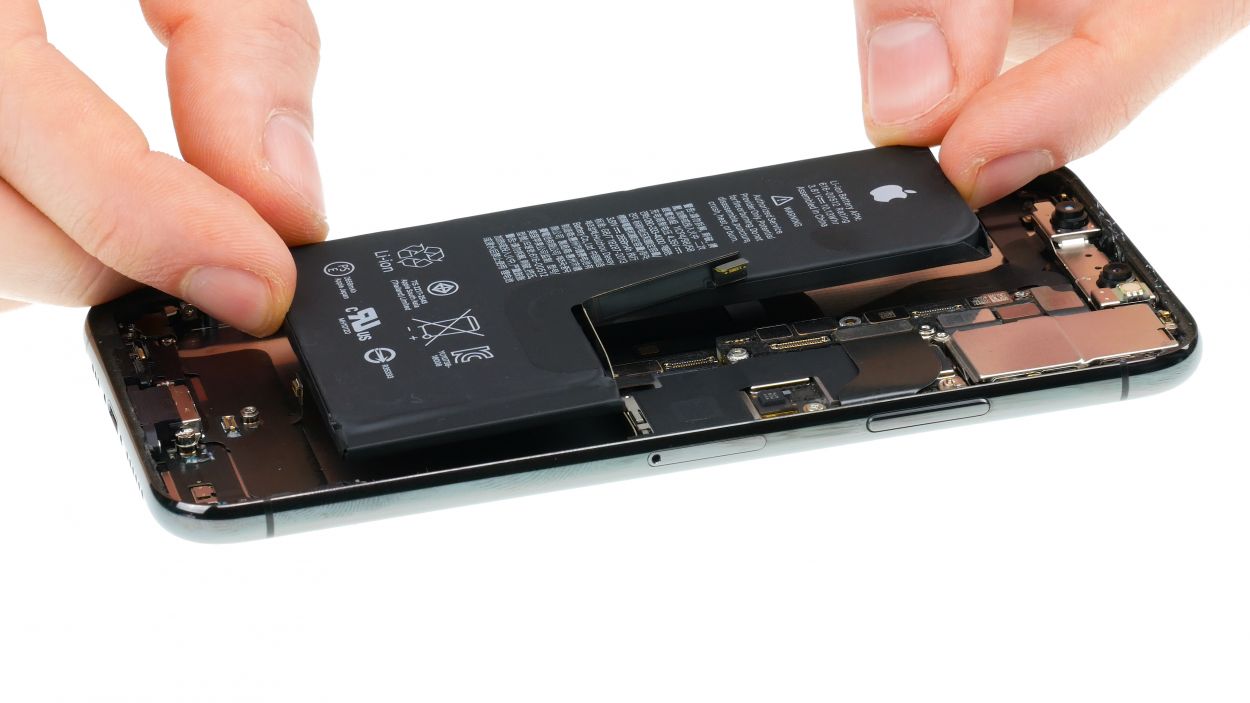
Be super careful not to mess with those flex cables at the top and bottom edges of the battery. We want everything to stay in one piece, right?