Asus Tablet Motherboard Replacement Guide
Duration: 45 minutes
Steps: 9 Steps
If you’re looking to swap out the motherboard on your Asus VivoTab Smart tablet, you’ve come to the right place. Follow this guide to get it done step by step and bring your tablet back to life. Need a hand? Don’t hesitate to schedule a repair if things get tricky!
Step 1
Make sure to power down your device before diving into the disassembly adventure!
– Gently flip your device over so it’s resting face down on a smooth, flat surface. Let’s give it a comfy spot!
– Grab your trusty plastic opening tool and carefully slide it around the edge of the back panel to pop it off. You’re doing great!
Step 2
– Gently disconnect the ribbon connecting to the camera by pulling it outward with tweezers—like a pro at unplugging digital spaghetti!
– Carefully lift off the silver plate resting over the camera lens. It’s just chilling there, waiting to be removed!
Step 3
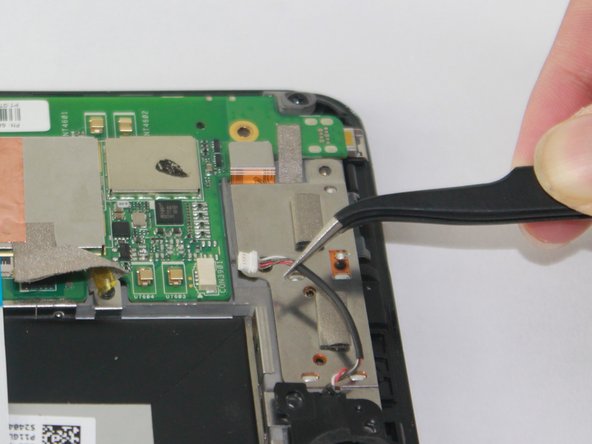
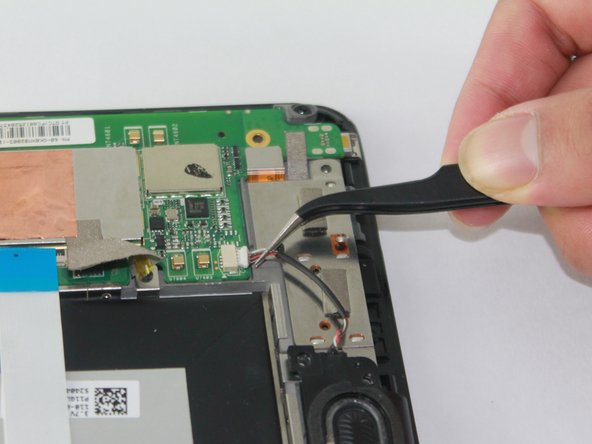
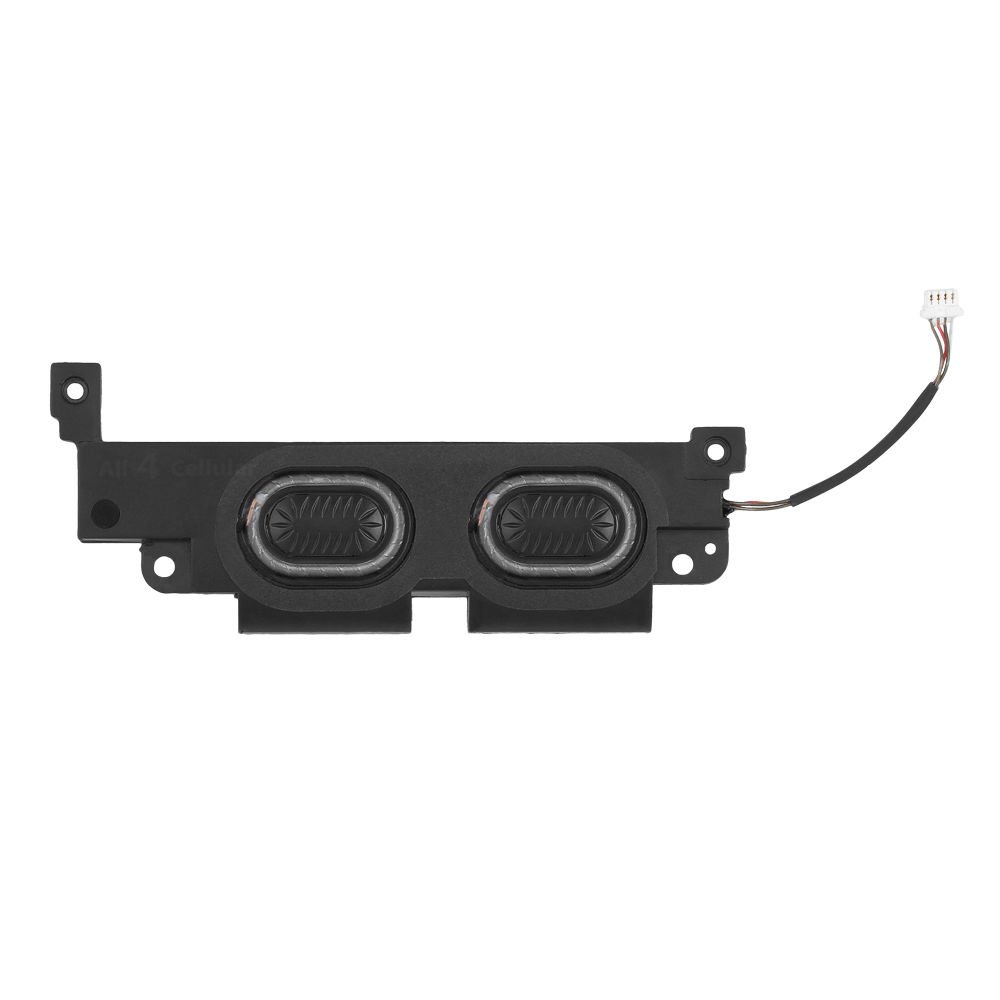
– Grab those tweezers and gently snag the speaker cable close to the white plug. Give it a little tug to disconnect it. You’ve got this!
Step 4
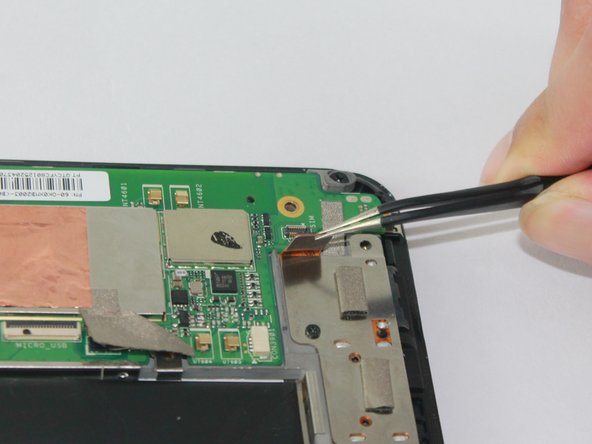
– Carefully tug on the ribbon with your tweezers to disconnect it. You’ve got this!
Step 5
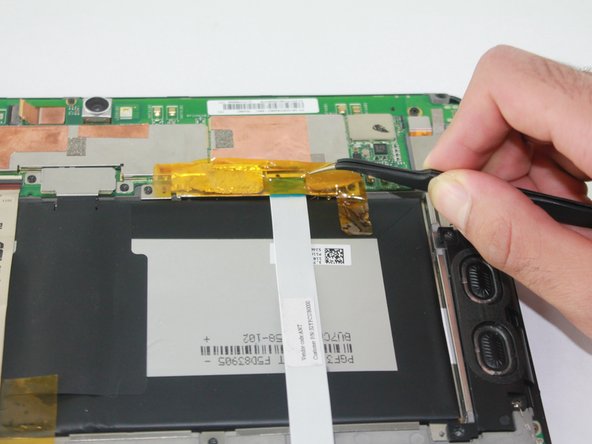
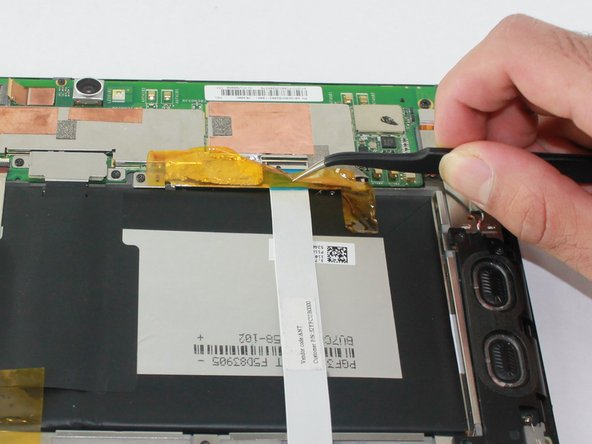
– Gently peel off the tape that’s hugging the ribbons.
Step 6
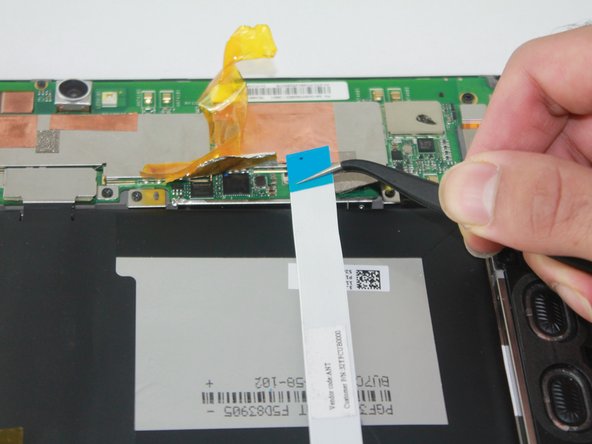
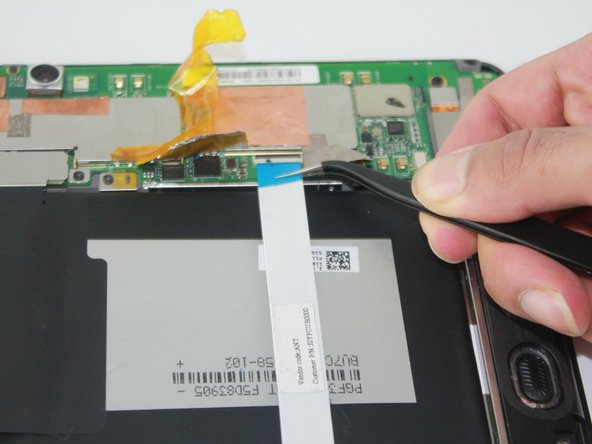
– Let’s get started! Carefully unplug the 3 ribbons by gently pulling them outward with a trusty pair of tweezers.
Step 7
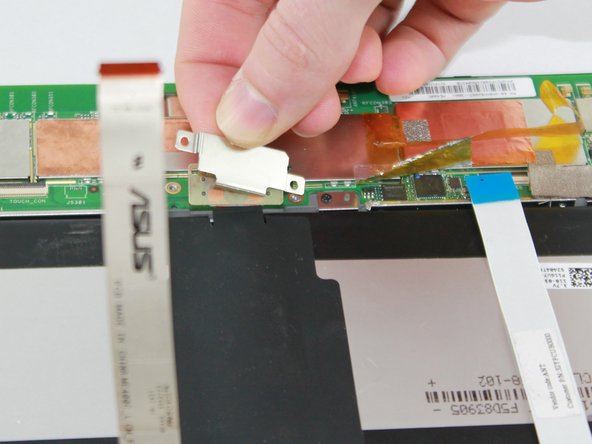
– Let’s get started! Remove the two 2.7 mm Phillips #00 screws that are holding down the pressure plate. Easy does it!
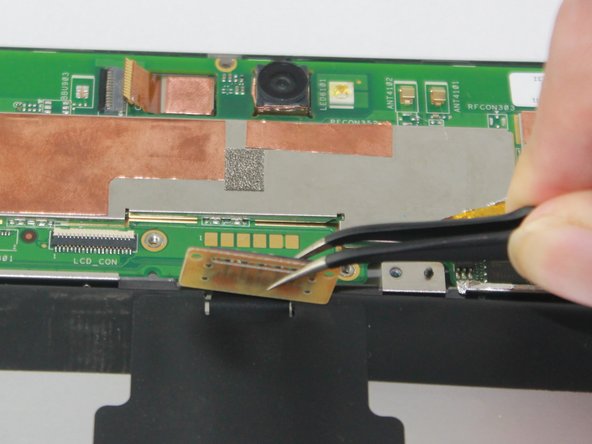
– Next, use some tweezers to gently lift back the battery connector, which is conveniently located right under the pressure plate. You got this!
Step 8
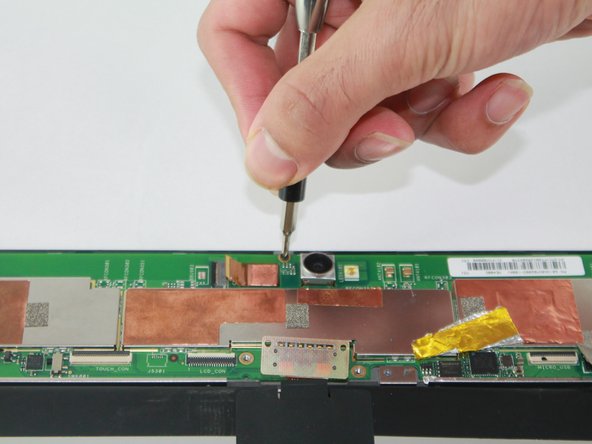
– Time to unscrew! First, take out those seven 3.7 mm Phillips #00 screws. You’ve got this!
– Now, let’s tackle that one pesky 2.7 mm Phillips #00 screw. Almost there!
Step 9
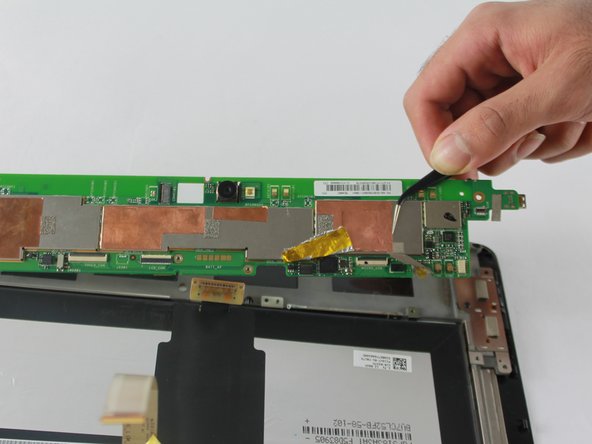
– Put your device back together by working through these steps in reverse—easy as that!
– Cancel: Didn’t finish? No worries, you can stop anytime.
– If you need help, you can always schedule a repair.
Success!


