Asus Tablet: VivoTab Smart Camera Replacement Guide
Duration: 45 minutes
Steps: 11 Steps
Your tablet is equipped with a duo of cameras, but we’re zeroing in on the back camera for this guide. Let’s get it switched out and back to snapping those pics in no time!
Step 1
Make sure to power down your device before diving into the disassembly adventure!
– Flip your device over and set it down on a nice, flat surface. It’s like giving it a little nap!
– Grab your trusty plastic opening tool and gently slide it around the edge of the back panel to pop it off. Think of it as giving your device a little hug to help it breathe!
Step 2
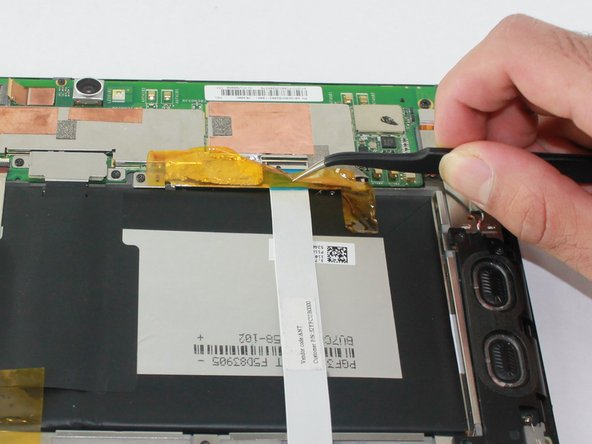
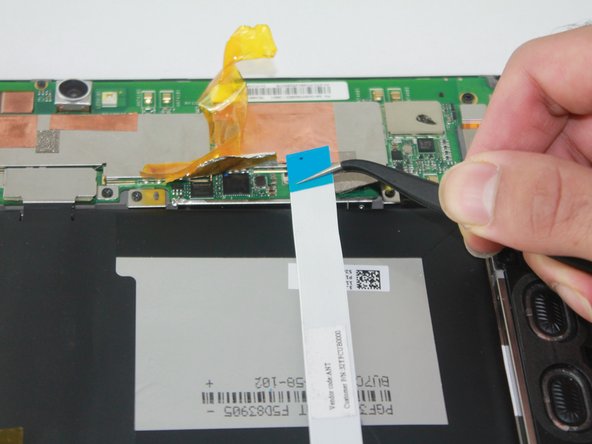
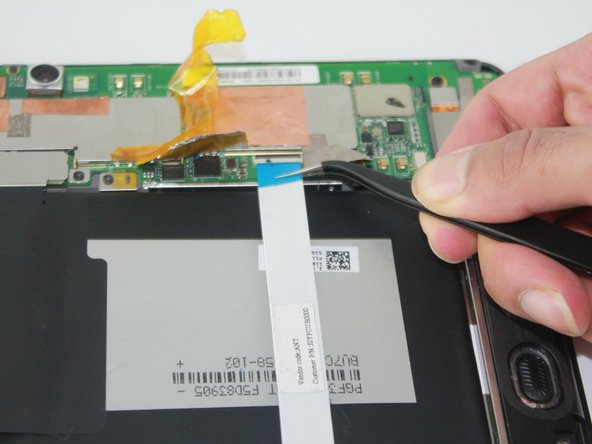
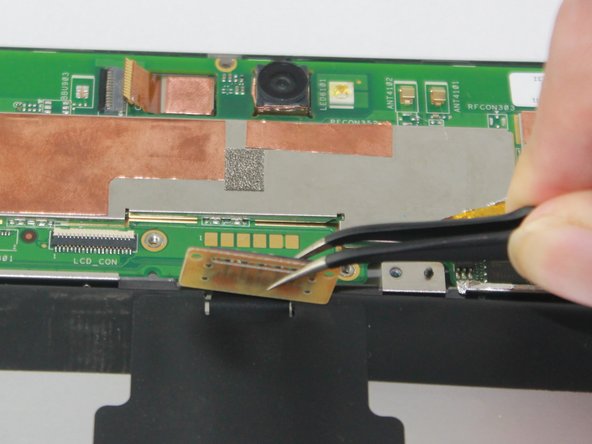
– Gently pull the ribbon connected to the camera using tweezers—just a little tug should do the trick!
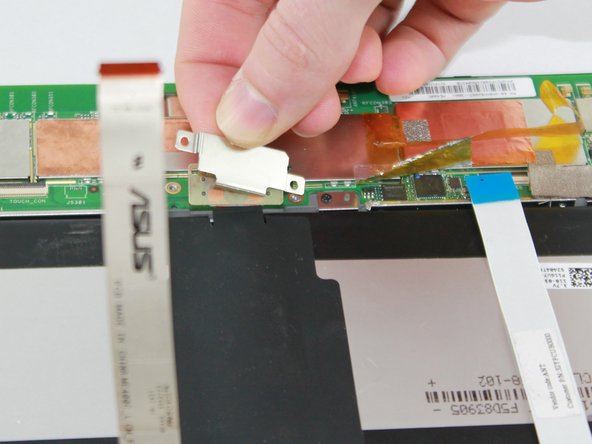
– Carefully take off the shiny silver plate that’s resting on top of the camera lens.
Step 3
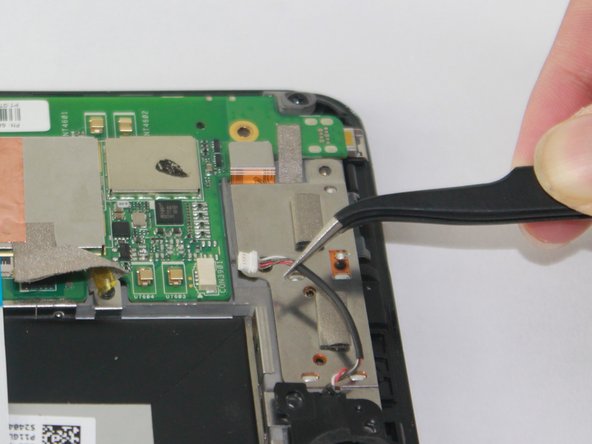
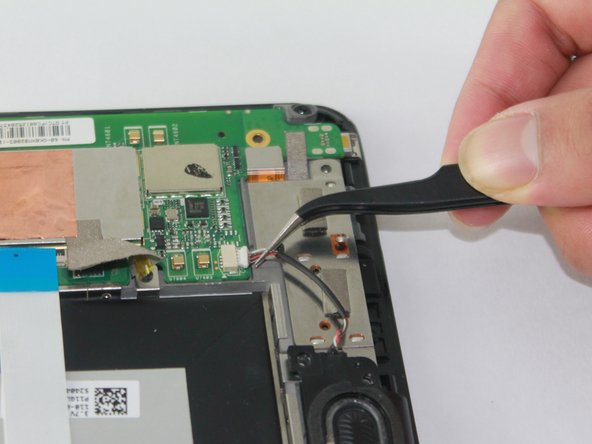
– Grab those tweezers and gently snag the speaker cable close to the white plug. Give it a little tug to disconnect it. You’ve got this!
Step 4
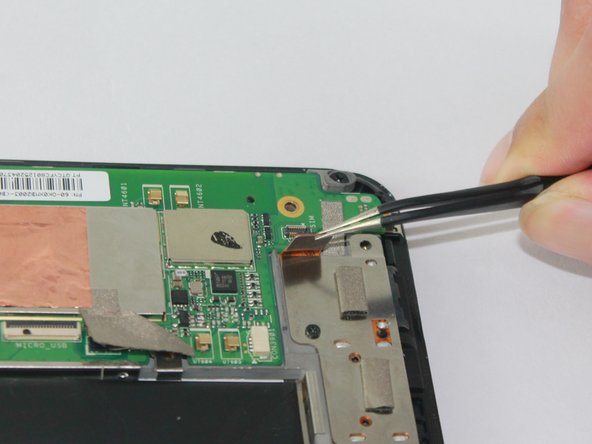
– Carefully tug on the ribbon with your tweezers to disconnect it. You’ve got this!
Step 5
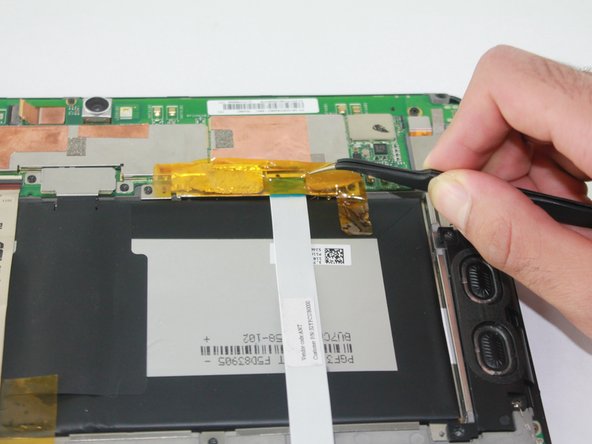
– Gently peel back the tape covering the ribbons. Take your time, and don’t rush – they’re sticking around, but we’re going to free them with care!
Step 6
– Gently tug on those 3 ribbons with your trusty tweezers, pulling them outward like you’re giving them a little high-five!
Step 7
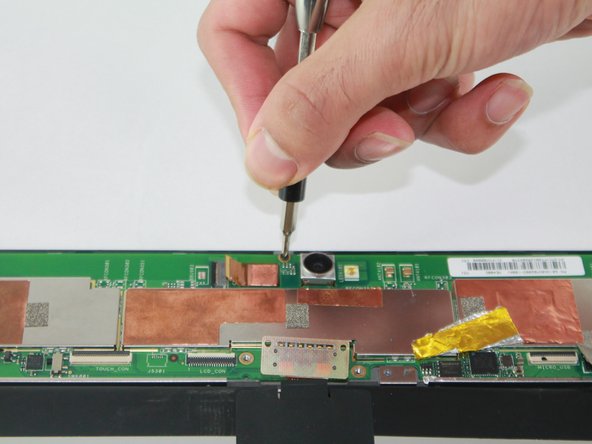
– Unscrew those two 2.7 mm Phillips #00 bad boys holding down the pressure plate.
– Gently lift back the battery connector using tweezers. It’s chilling right under the pressure plate.
Step 8
– Let’s kick things off by unscrewing seven 3.7 mm Phillips #00 screws. You’ve got this!
– Now, grab your trusty screwdriver and remove that one 2.7 mm Phillips #00 screw. Almost there!
Step 9
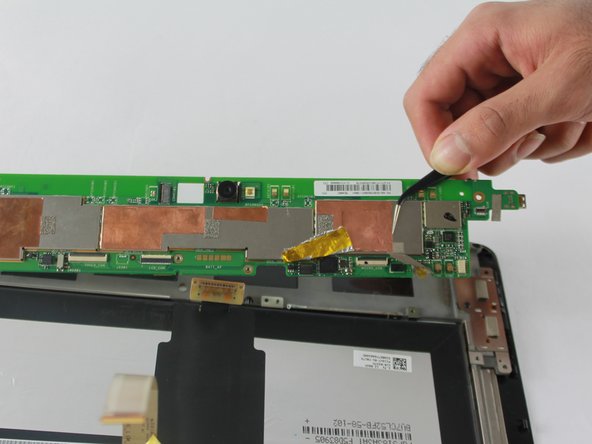
– Gently slide the tweezers beneath the motherboard and give it a little lift to pop it out. You’ve got this!
Step 10
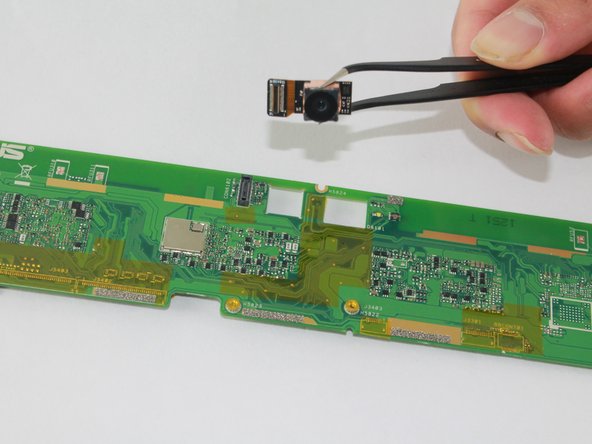
– Turn the motherboard upside down and gently place it flat on a clean surface.
Step 11
– Carefully use tweezers to lift the camera off the motherboard, making sure not to damage anything. It should come out smoothly, but take your time.
Success!


