Asus VivoTab Smart Digitizer Replacement Guide
Duration: 45 minutes
Steps: 6 Steps
Ready to fix up that device of yours? In this guide, we’ll walk you through the process of replacing the Digitizer Touch Screen. Just make sure you’re extra careful to keep the screen free from any smudges or scratches while working. Let’s get started!
Step 1
Make sure to turn off your device before diving into the disassembly adventure!
– Flip the device over so it’s chilling face-down on a flat surface.
– Grab your trusty plastic opening tool and work it around the edge of the back panel to pop it off—easy does it!
Step 2
Handle those ribbons with care! They’re a bit delicate, so be gentle while you’re removing them.
– Let’s kick things off by taking out those thirteen 3.7 mm Phillips #00 screws. Grab your trusty screwdriver and get to work!
– Next up, gently unplug the middle ribbon with the red tip. You can lift it up using your fingers or a pair of tweezers. Easy peasy!
Tools Used
Step 3
The ribbons are delicate little things! So, handle them with care and avoid any tearing or damage while you’re taking them out of the device.
– Gently pull out the camera ribbon using a pair of tweezers. It’s like giving it a little hug goodbye!
– Carefully unplug the double ribbon from the device by pulling it out with your tweezers. Treat it like a delicate dance!
Tools Used
Step 4
Don’t forget to peel back that tape sitting on top of the right ribbon (it’s a sneaky one, not shown here) and gently guide it through the frame, just like the one in the middle. Skipping this step might lead to a ribbon tear, which could spell trouble for your charging board.
Those ribbons are delicate little things! So, handle them with care while you’re taking off the device’s base. We want everything to stay in one piece!
– Gently lift the internal base of your device from the screen, while threading the ribbons through their slots.
Step 5
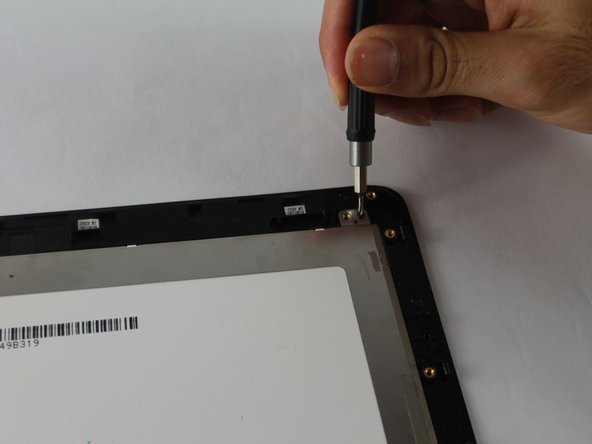
– Pop out those four 2.7 mm Phillips #00 screws like a pro!
Step 6
Be gentle when handling the LCD screen with your hands. It might just leave behind some pesky fingerprints and smudges.
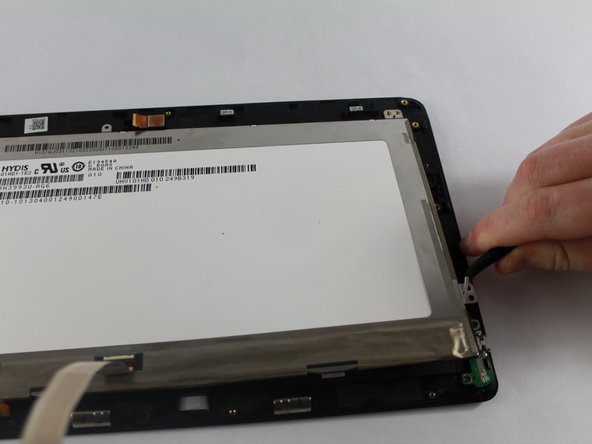
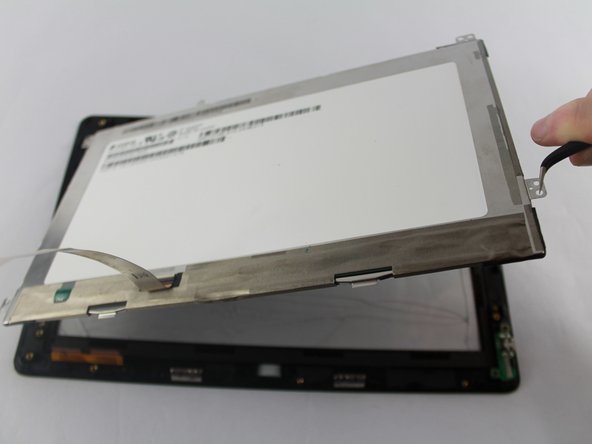
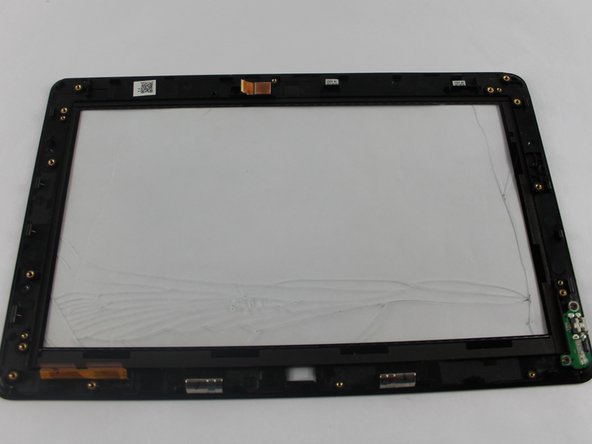
– Gently grab those tweezers and give the LCD screen a little lift from the digitizer touch screen. You’ve got this!
Tools Used
Success!


