Asus ZenBook Flip UX360C Speaker Replacement
Duration: 45 minutes
Steps: 11 Steps
Speakers acting up? If you’re getting crackling noises or nothing at all, this guide will walk you through swapping them out. Once you’ve tackled the battery steps, you’re in the home stretch. Just lift the battery a bit on the bottom to get at the speakers. They’re stuck down with adhesive, but your opening tool will make short work of it.
Step 1


– Flip that laptop over like a pro!
– Grab your trusty metal spudger and gently pop off those rubber feet from the four corners of your laptop.
Tools Used


Step 2

– Slip on an ESD wrist strap around your wrist and clip the grounding clamp to a metal part that’s connected to the ground. This helps prevent static shocks from zapping your device’s sensitive parts. If you need a hand, you can always schedule a repair.
Step 3

– Time to play ‘spot the screws’! Grab a Phillips #1 screwdriver and remove all eleven 5 mm screws holding the back cover in place.
Step 4

– Grab a plastic opening tool and gently work it around the edges to lift off the keyboard panel.
Step 5

– Grab a plastic opening tool and gently pop the ZIF keyboard ribbon cable out of its spot on the motherboard. Easy does it!
Step 6

– Gently pop off the battery connection using nylon-tipped tweezers—easy does it!
Step 7

– Take out all ten Phillips #1 screws that are holding the battery in place. These screws are the key to freeing the battery, so get them out one by one, and you’ll be one step closer to the fix!
Step 8
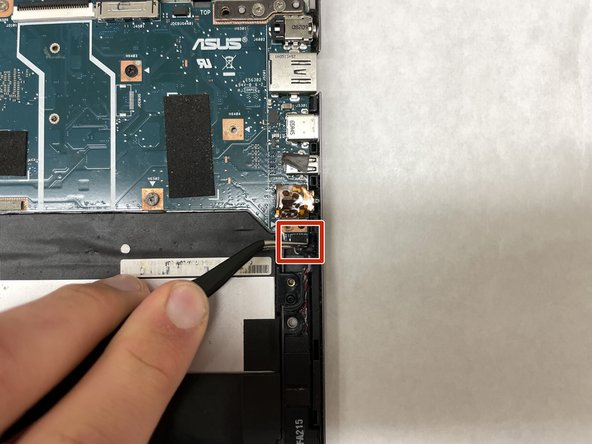
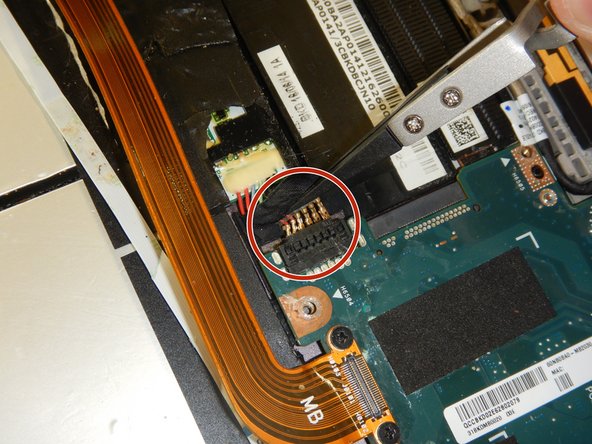
– Grab your tweezers and gently lift the connector that links the speakers to the motherboard. Take your time and be steady—this part requires a little finesse.
Tools Used

Step 9

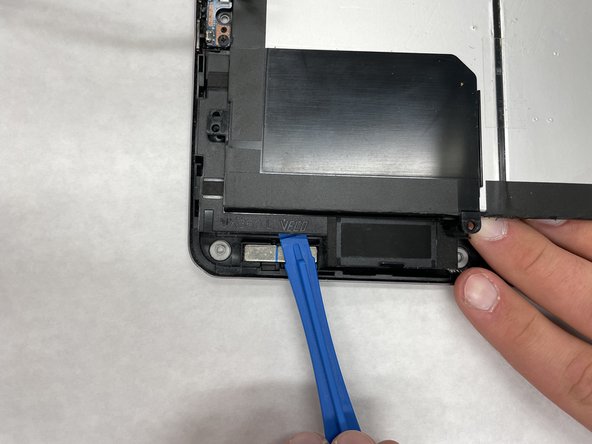

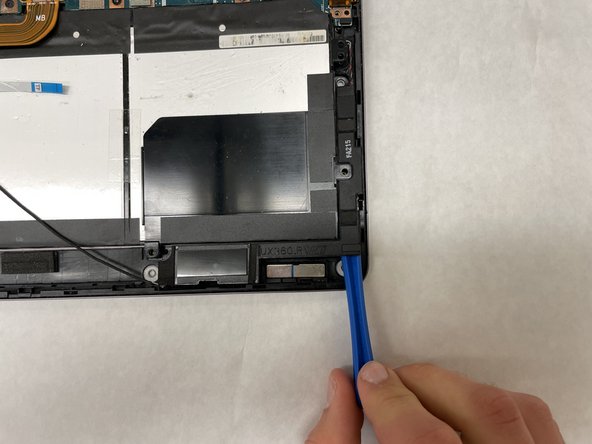
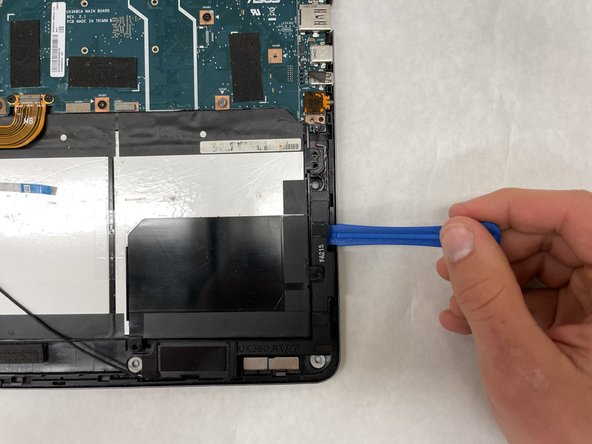
The speaker is gently pressed down with a mild adhesive. Carefully work your way around the border to fully loosen and remove the speaker. If you need help, you can always schedule a repair.
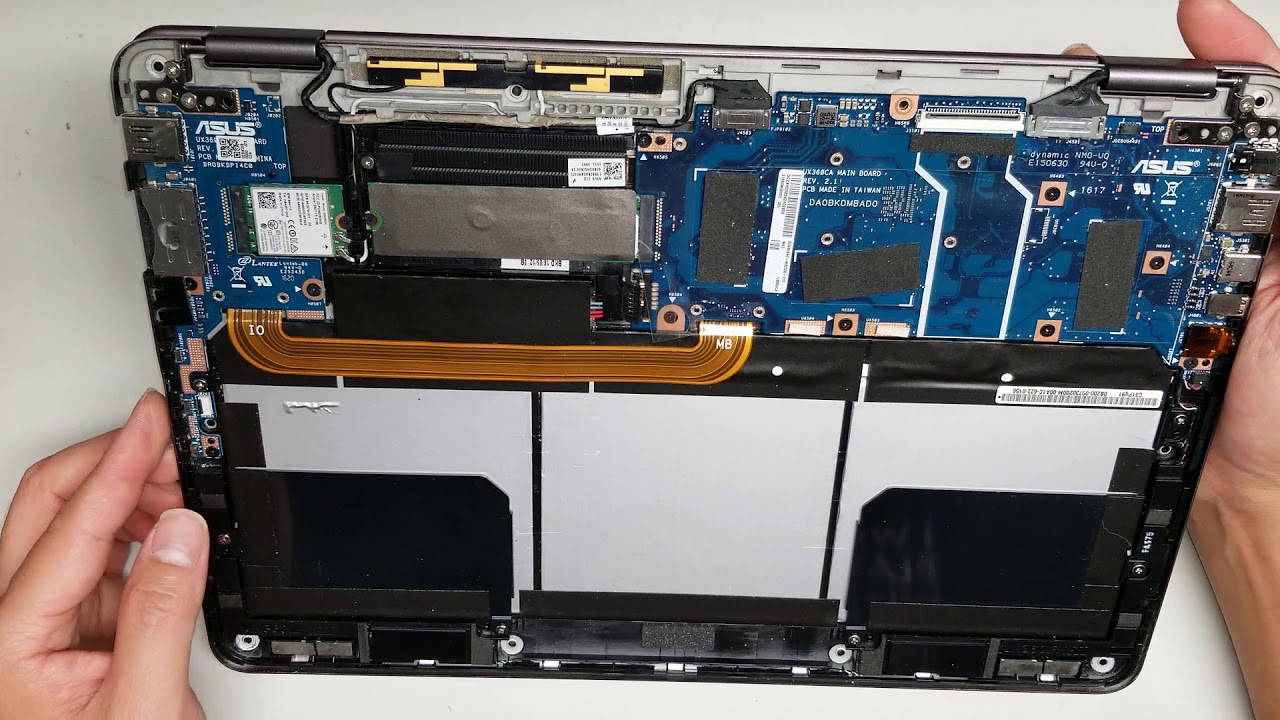
– Gently lift the bottom edge of the battery with your fingers or a plastic opening tool—no need to fully remove it to get to the speakers.
– Carefully pry the speaker away from the chassis using a nylon spudger or an opening tool—go slow and steady.
Tools Used
Step 10

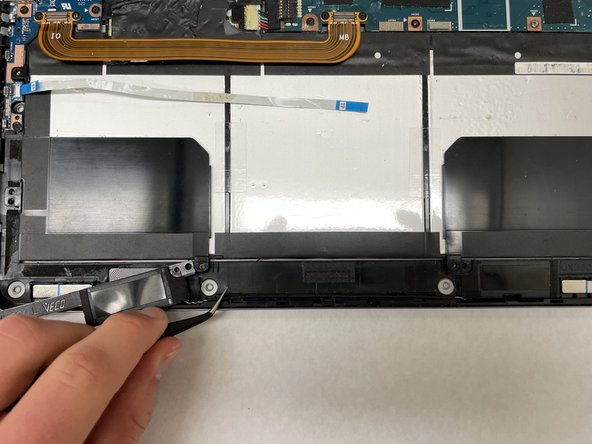
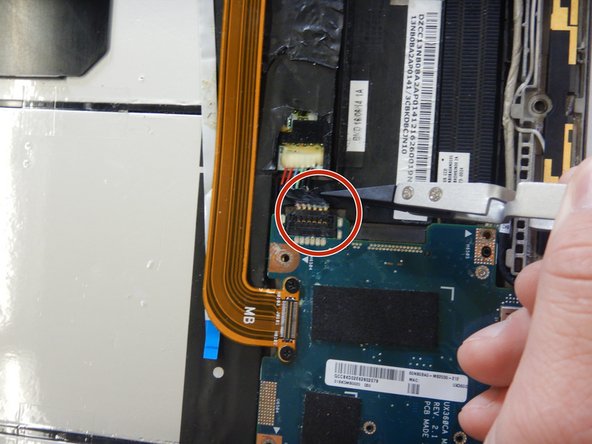
– Gently grab your tweezers and unplug the cable that links up the left and right speakers. Easy does it—just a smooth little wiggle!
Tools Used
Step 11
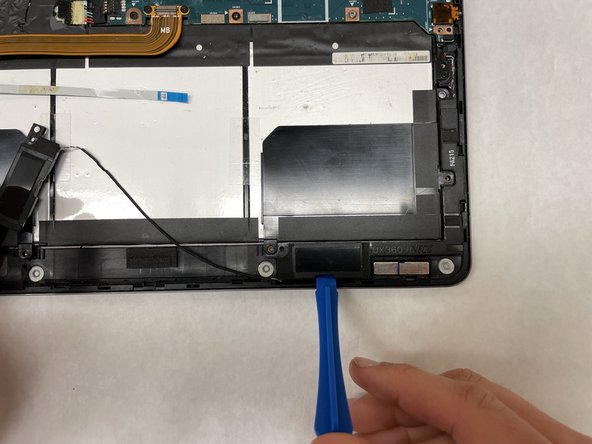
The speaker is lightly stuck in place with some adhesive. Gently work your way around the edges to loosen and lift it out.
– Time to put everything back together! Just work your way through the steps in reverse, and you’ll have your device looking sharp in no time. If things get tricky or you hit a snag, you can always schedule a repair for a little extra help.
–
Tools Used
Success!