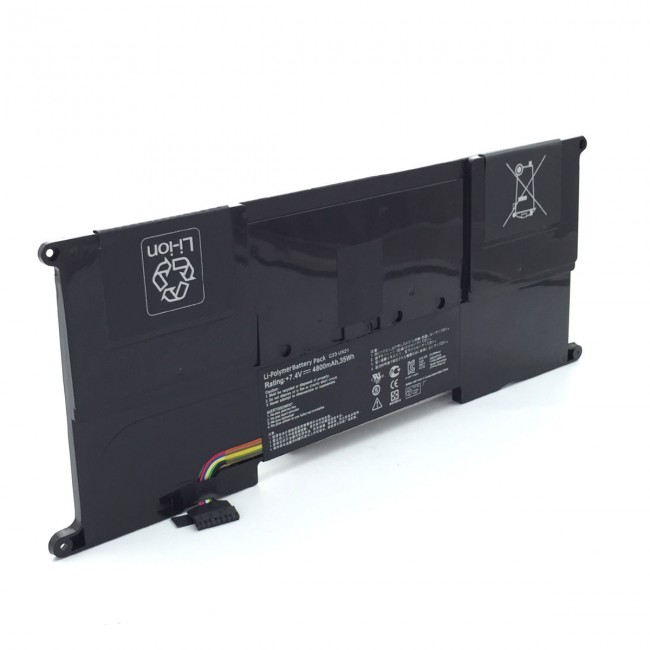
Asus Zenbook UX21e Battery Replacement
Duration: 45 minutes
Steps: 4 Steps
The Asus Zenbook UX21e comes with a battery that’s a breeze to swap. To get started, you’ll need to pop off the back cover and take out the five screws keeping the battery snug in place. Then it’s just a matter of unplugging the battery from the motherboard—easy, right?—and lifting it out like a pro.
Step 1
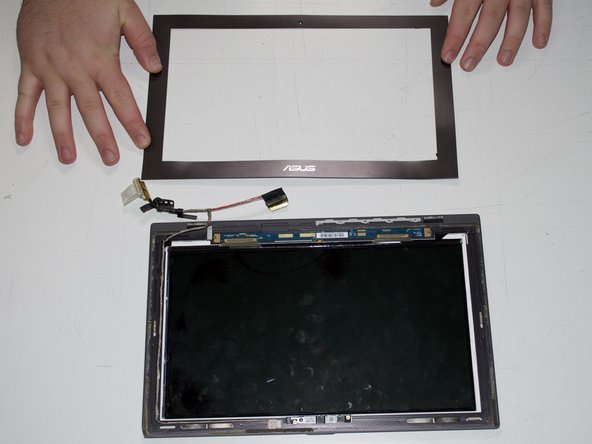
– Grab your trusty T4 Torx screwdriver and tackle the ten screws holding the bottom cover in place. Once that’s done, slide the bottom cover straight back and off—it’s like unwrapping a surprise, only with fewer ribbons!
– Heads-up: we’ve got two screw sizes in the mix. Eight are 3mm, and two are longer at 5mm. Keep track of those 5mm screws—they’re VIPs and belong in the two center holes along the back edge.
Tools Used
Step 2
– Let’s get started! Using an opening tool and a little bit of finesse, gently lift the connector up from the tape wrapped around the connector wires and carefully pry it away from the motherboard. Take your time and be gentle, we’ve got this!
Tools Used
Step 3
Place one at each corner and one right in the middle – easy peasy!
– Pop out the battery by loosening those five 3mm screws with your trusty Phillips #1 screwdriver. Piece of cake, right?
Tools Used
Step 4
– Gently lift the battery straight up and slide it out of the device—it’s easy as pie!
Success!


