Asus Zenbook UX21e LCD Screen Replacement
Duration: 45 minutes
Steps: 12 Steps
Alright, let’s tackle that LCD screen! Start by giving your battery a little love with the battery replacement guide. Next, gently disconnect the LCD connector from the motherboard – like a smooth dance move! Now, unscrew those hinges and carefully pull the screen away from the device. Time to get that screen open! Remove the vent, bezel, and rubber o-ring, which might feel like peeling off layers of a fun surprise. Finally, disconnect three cables and unscrew the screen to wrap up this mission. And remember, if you need help, you can always schedule a repair!
Step 1


– Grab your trusty T4 Torx screwdriver and remove the ten screws securing the bottom cover. Once that’s done, slide the cover straight back to pop it off.
– Heads up—there are two screw sizes here: eight of them are 3mm, and the other two are 5mm. Those 5mm screws? They always belong in the two center holes along the back edge. Keep track of ’em!
Tools Used

Step 2


– Let’s get started! Using an opening tool and a little bit of finesse, gently lift the connector up from the tape wrapped around the connector wires and carefully pry it away from the motherboard. Take your time and be gentle, we’ve got this!
Tools Used

Step 3

There’s one chilling at each corner and another hanging out in the center.
– Pop out the battery by loosening those five 3mm screws with your trusty Phillips #1 screwdriver. Piece of cake, right?
Tools Used

Step 4


– Time to set that battery free! Lift it straight up and gently remove it from the device.
Step 5


– Gently peel off the tape wrapped around the LCD connector by tugging it towards the computer’s screen hinges. Take your time—slow and steady wins the race!
– Carefully slide the LCD connector straight out of its socket to disconnect it. No need to rush—precision is your best friend here!
Step 6


If those hinges are being stubborn, use the keyboard as your secret weapon—just slide them out with a little leverage.
– Let’s get started! To begin, use a trusty Phillis #1 screwdriver to remove the four 3 mm screws at the screen hinges. This will allow you to carefully pull the screen off the device. Take your time and make sure all screws are removed before proceeding.
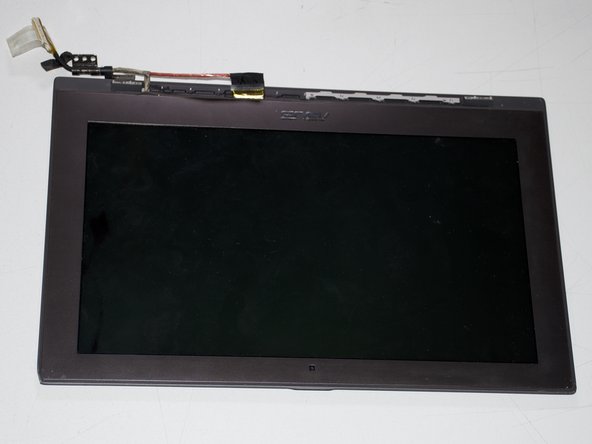
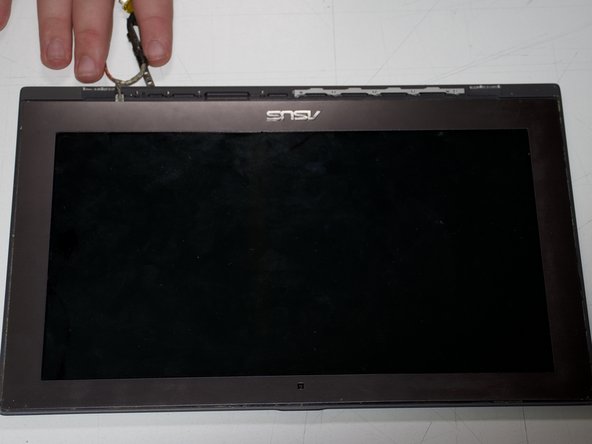
Step 7


Handle the vent with care while prying it off! Too much bending could lead to a snap. Remember to work on both ends for best results.
– Let’s get started by carefully removing the plastic vent from the screen. Use an opening tool to gently pry the vent away from the screen edge. Take your time and be patient, you got this!
Tools Used
Step 8

There are four screws tucked away under some cables. You’ll need to move them out of the way before you can get to the screws. Take your time, and don’t rush it!
– Alright, grab your Phillips #1 screwdriver and unscrew the nine 3 mm screws running along the base of the screen. Remember, you’re in control here!
– Next up, tackle the four 5 mm screws tucked into the two internal hinges using the same Phillips #1 screwdriver. You’ve got this, hinge master!
Tools Used
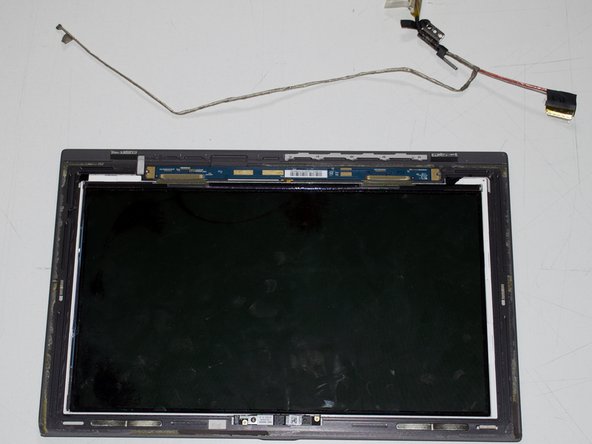
Step 9


Grab a metal spudger and get ready to pop off that bezel and the rubber o-ring like a pro!
– Peel off the rubber o-ring—the skinny little strip hugging the bezel edge. It pops right off with a gentle tug.
– Warm up the bezel with something hot, like a trusty hair dryer. It’ll loosen things up and make your job easier!
Tools Used

Step 10

– Gently unplug the LCD connector from the screen housing—it’s like breaking up, but without the drama!
Step 11

– Grab your trusty Phillips #1 screwdriver and remove the two 2 mm screws holding the screen control board. You got this!
Tools Used
Step 12


– Gently tug on the cable that connects the screen housing to the control board to detach it. You’ve got this!
Success!