Asus Zenbook UX21e Solid-State Drive Replacement
Duration: 45 minutes
Steps: 5 Steps
Swapping out the hard drive on the Asus Zenbook UX21e is a breeze! Start by tackling those battery replacement steps. Next, grab a screwdriver and unscrew the one screw holding the SSD in place – don’t forget to peel off the tape that’s covering it. Once that’s done, you can gently lift out the SSD. And remember, if you run into any tricky spots, feel free to schedule a repair!
Step 1


– Grab your trusty T4 Torx screwdriver and get ready! Unscrew the ten screws holding the bottom cover in place. After that, confidently slide the bottom cover straight back parallel to the computer—smooth like butter.
– Heads-up! There are two screw lengths here: eight of them are 3mm, while the two 5mm screws always belong in the two center holes along the back edge. Keep track of ’em to avoid any mix-ups!
Tools Used

Step 2


– Grab your opening tool and use your other hand to carefully lift the connector away from the tape wrapped snugly around those wires. Gently pop the connector off the motherboard like you’re opening a stubborn jar lid—easy does it!
Tools Used

Step 3

One little buddy in the middle and one at each corner. You’re doing great!
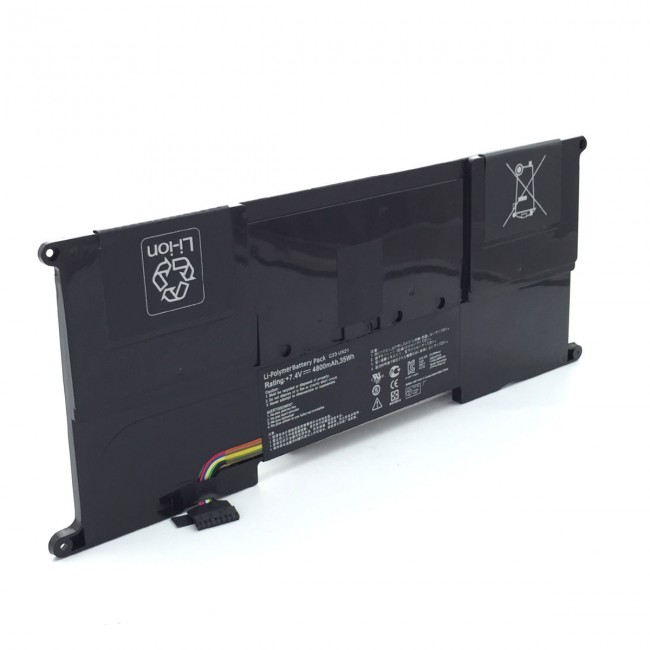
– Pop out the battery by tackling the five 3mm screws with your trusty Phillips #1 screwdriver—easy peasy!
Tools Used

Step 4


– Gently lift the battery straight up and pop it out of the device with ease.
Step 5


– Grab your trusty Phillips #1 screwdriver and tackle that lone 3mm screw sitting at the far edge of the Hard Drive. Unscrew it like a pro!
– Now, gently slide the Hard Drive out, keeping it parallel to the motherboard. Easy peasy!
Tools Used
Success!