DIY Guide for Replacing Galaxy A7 (2018) Battery
Duration: 45 min.
Steps: 14 Steps
In this repair guide, we’re here to help you swap out your Galaxy A7’s not-so-great battery all by yourself! If your smartphone’s been crashing during those intense gaming sessions, refusing to charge, or just not turning on, this guide is for you. Plus, if your battery life is feeling a bit too short, you’ll want to give this a shot. Just a heads up, getting into the Galaxy A7 2018 is a bit trickier since we have to open it up through the glass back. But don’t worry, we’ll walk you through it step by step!
Step 1

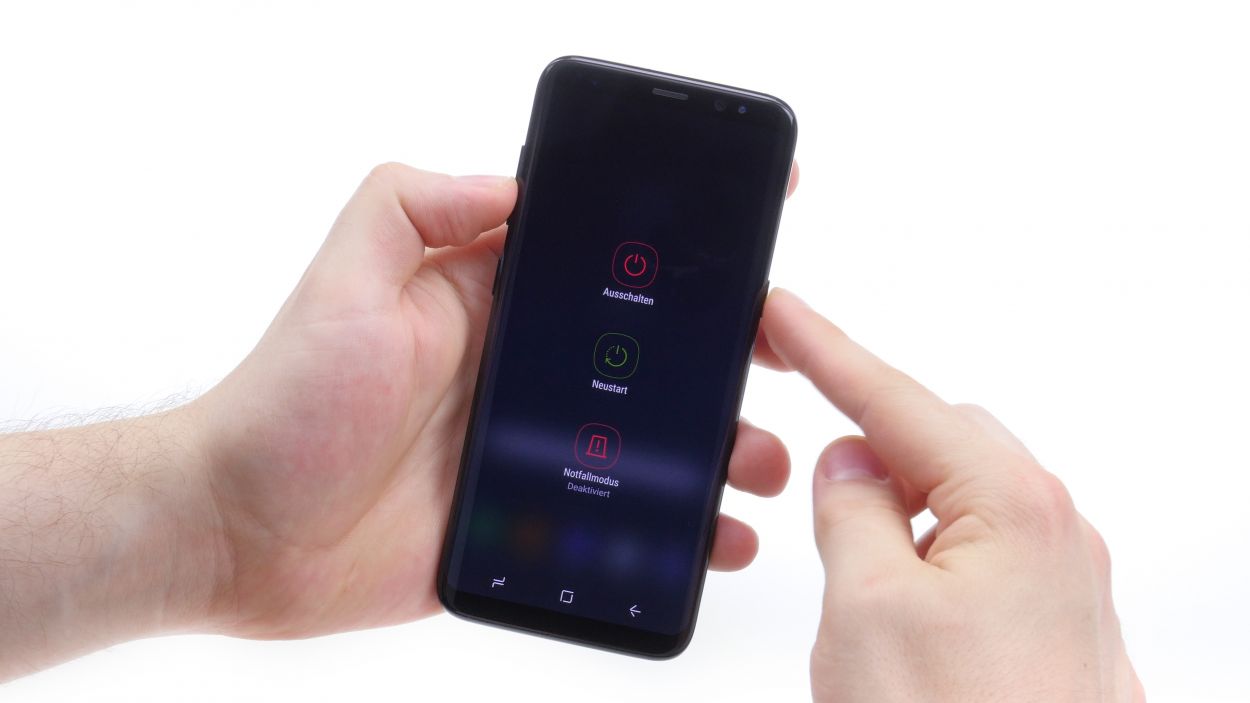
Here we’re showcasing a Galaxy S8, but don’t fret! Turning it off is just as easy on the Galaxy A7.
– Give your device a little break by pressing and holding the power button until you see the magical ‘Power off’ option pop up.
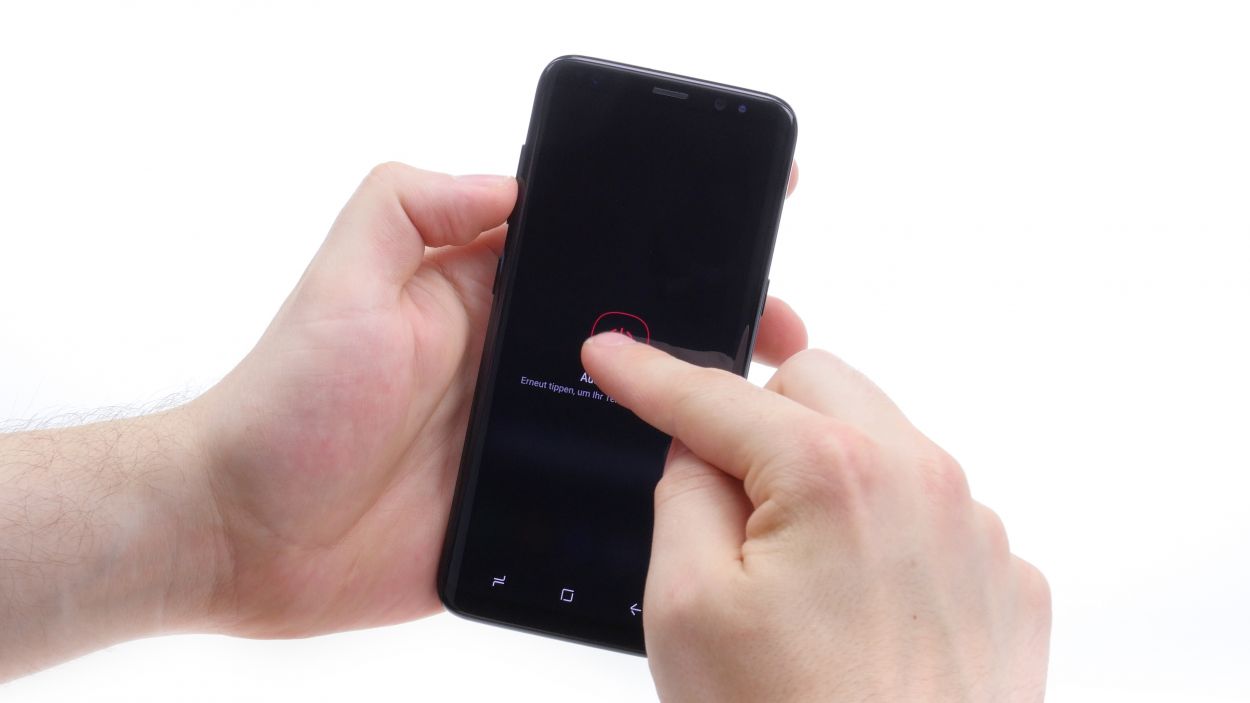
– Tap the screen with your finger to confirm that you’re ready to power down your Galaxy A7, and hang tight until the screen goes dark.
Step 2

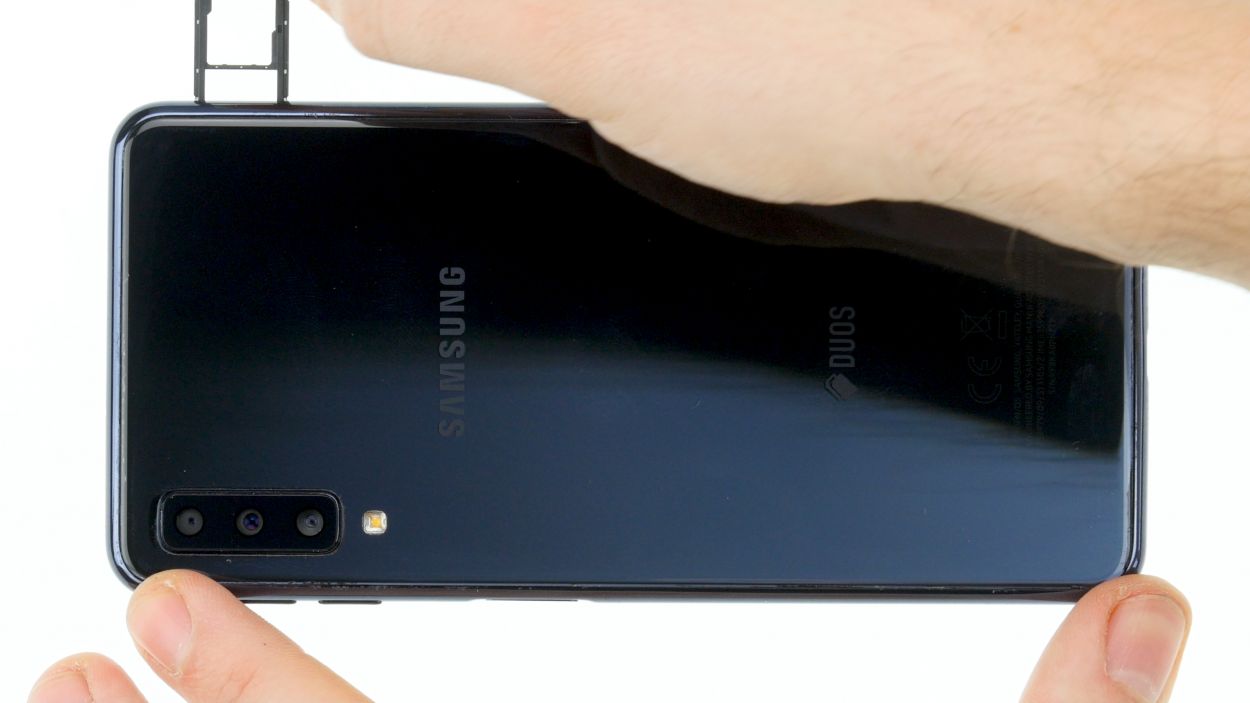
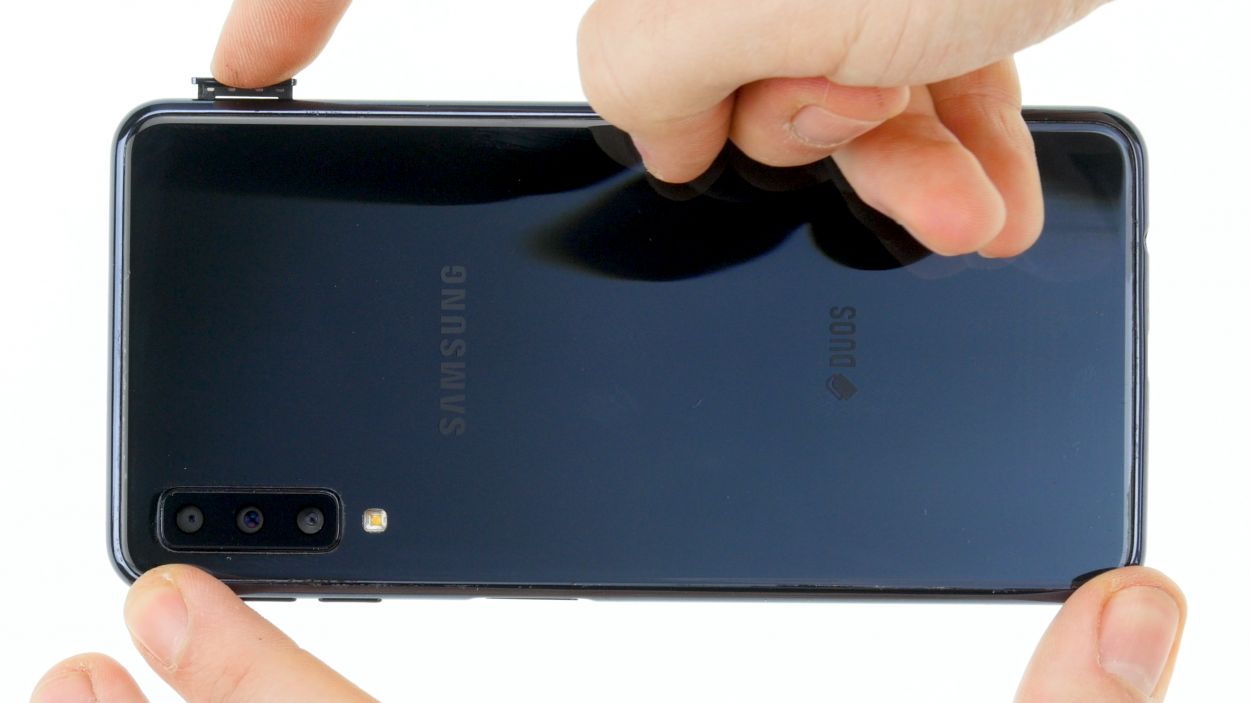
– Grab your trusty SIM tool and give that SIM tray a gentle push to pop it out. Once it’s out, just use your fingers to pull the tray free. Easy peasy!
Step 3
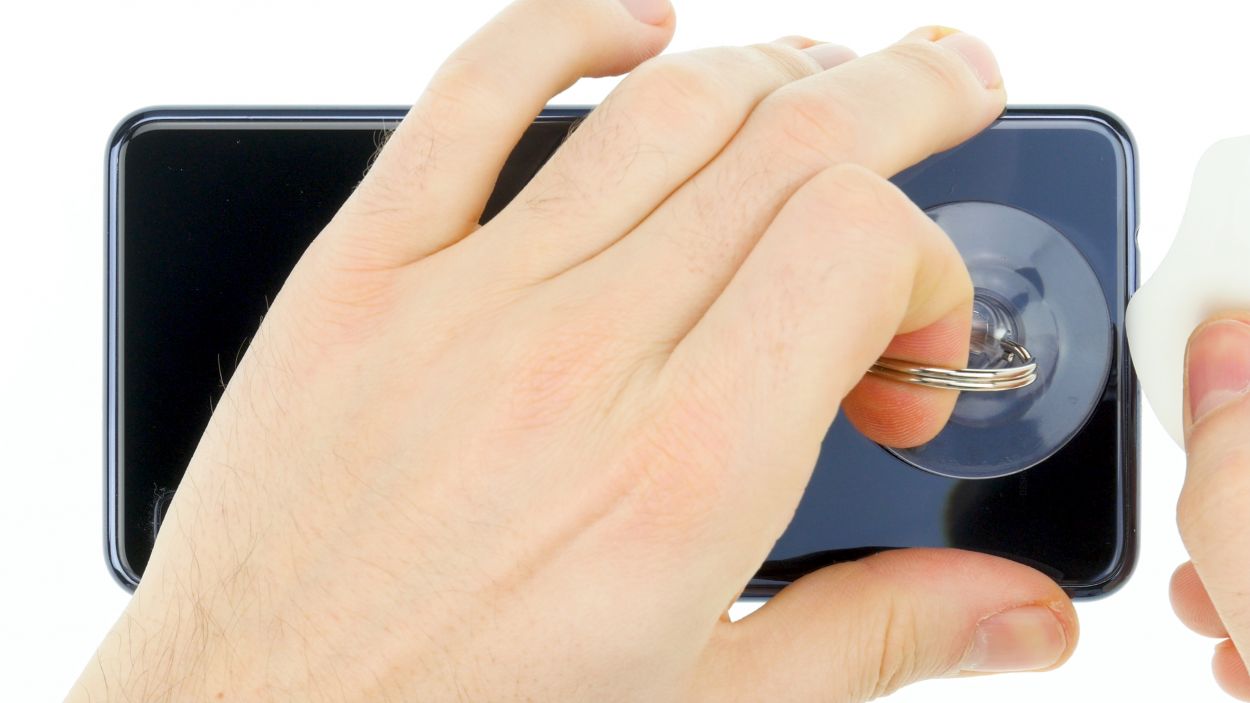
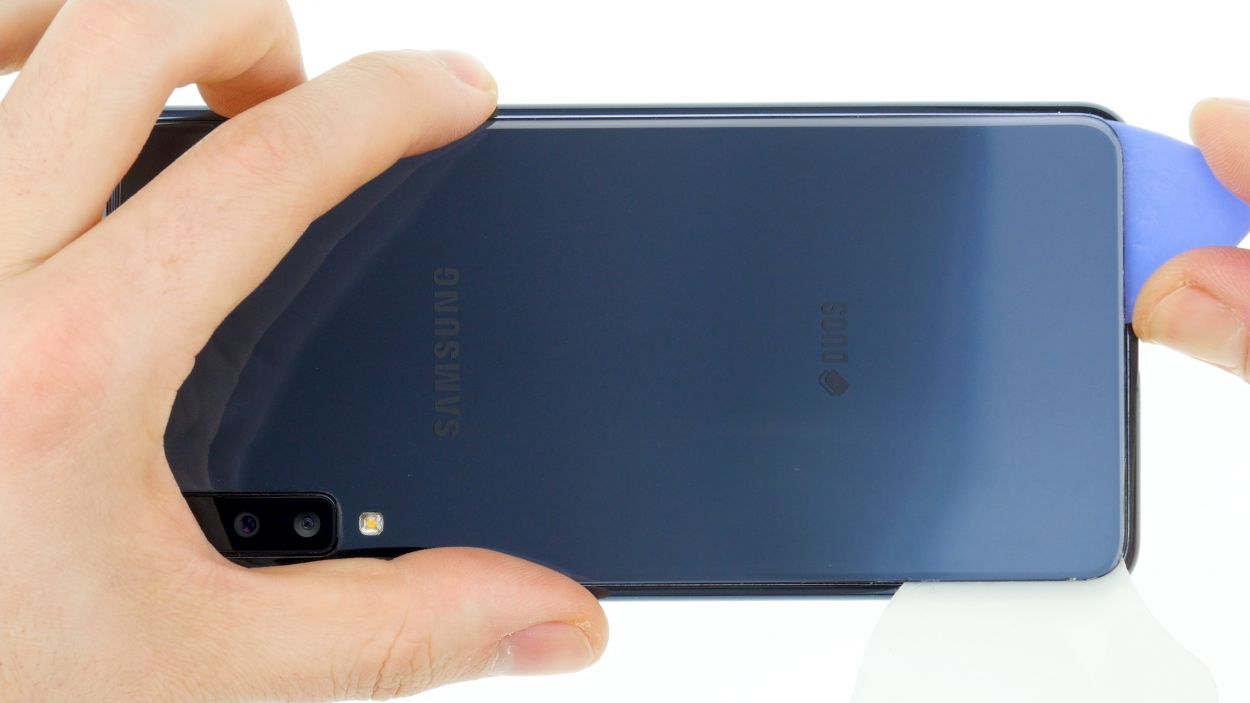

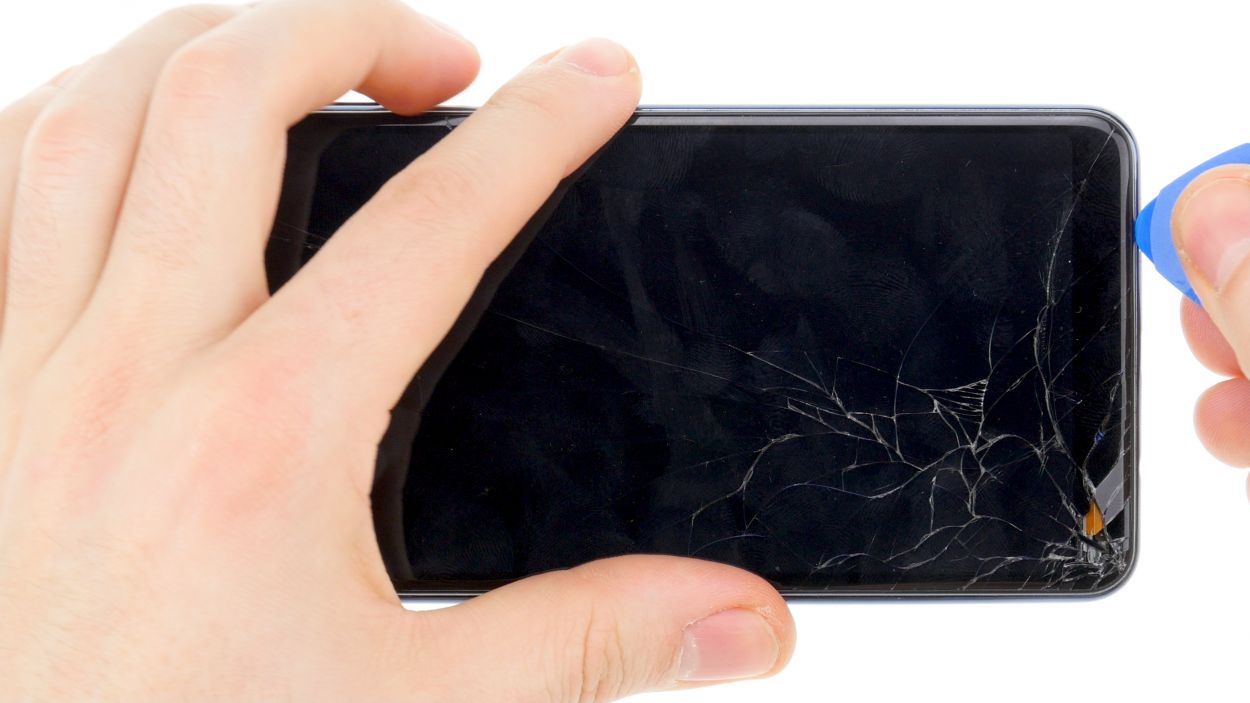
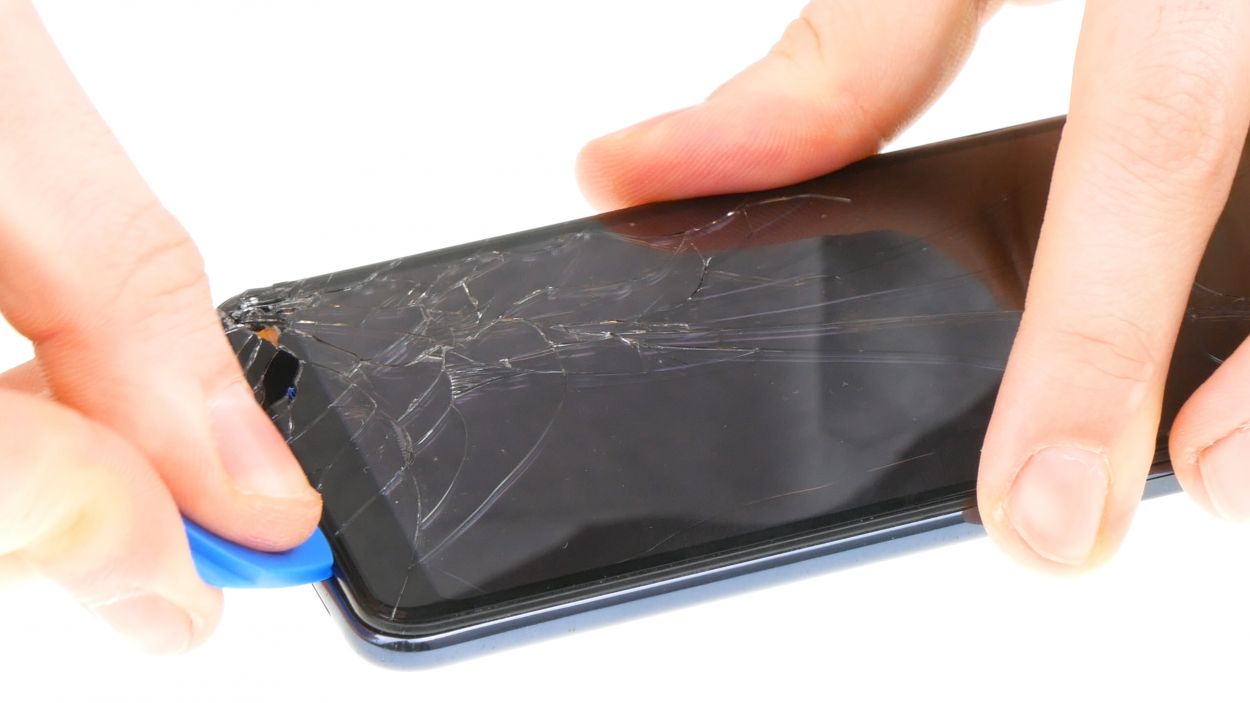
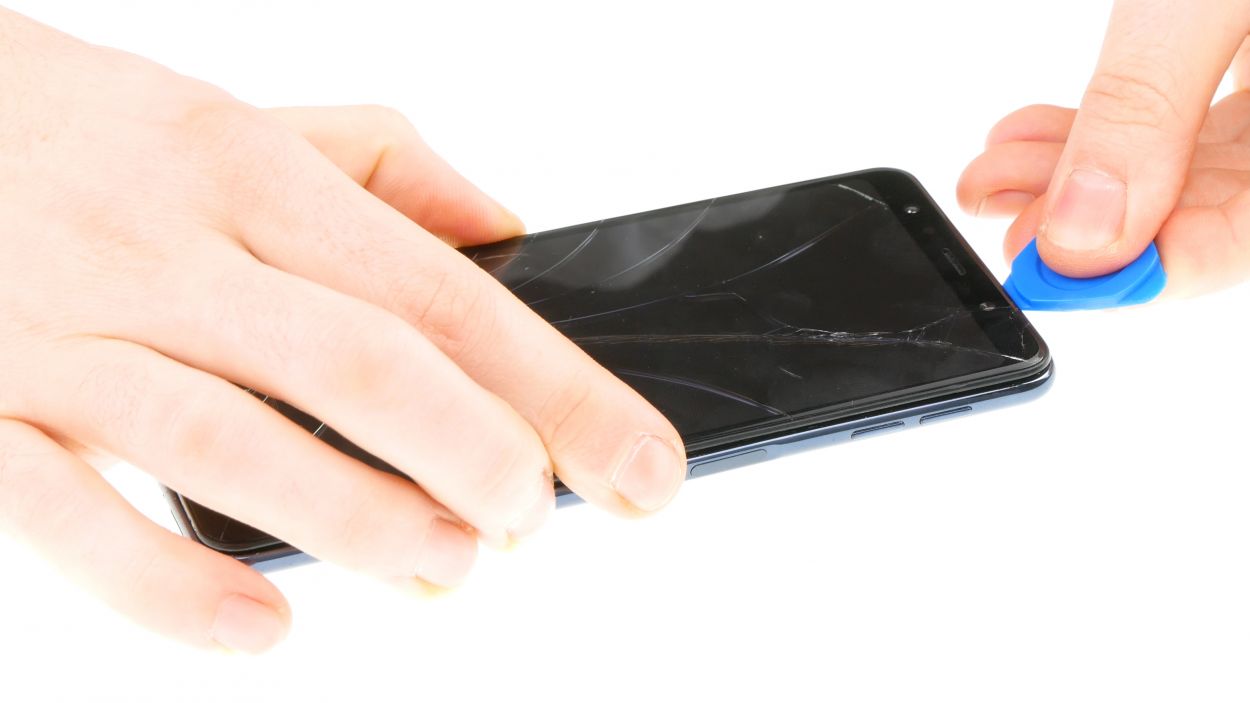
– The back cover is really stuck to the chassis, so let’s give it a little love! Warm up your device evenly with some hot air to loosen that glue. Aim for a cozy temperature of 60 – 80°C—just enough that you can still touch it comfortably.
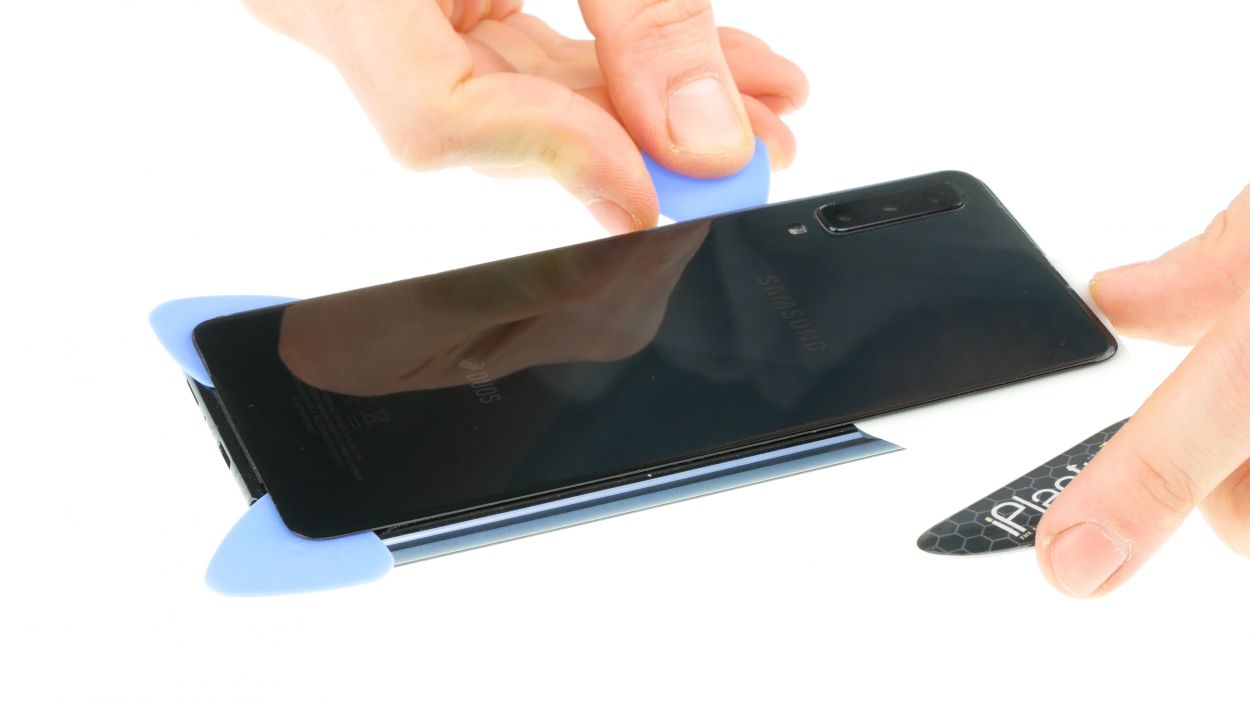
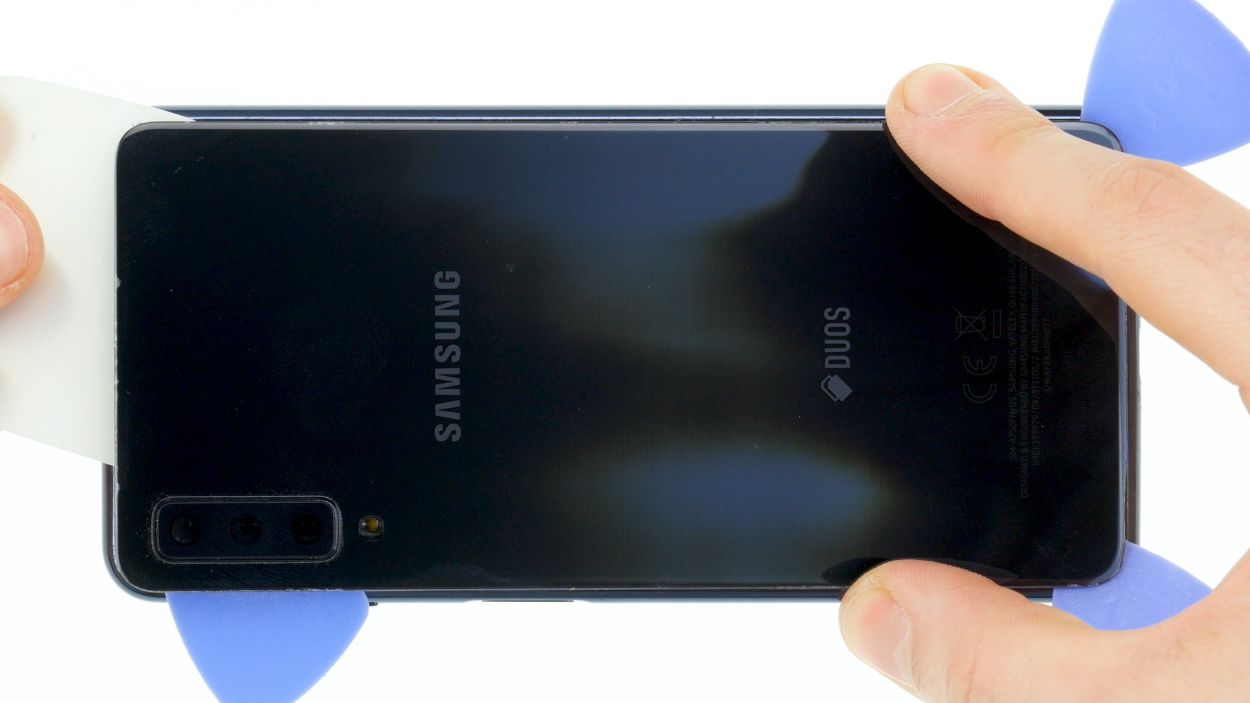
– To get that back cover off with ease, grab a flat and flexible tool like the iPlastix or iFlex. You’ll want a few picks handy too to gently pry the cover free all around.
– Start by heating the area where you’ll begin, then slide a flat tool between the back cover and the frame to get things moving.
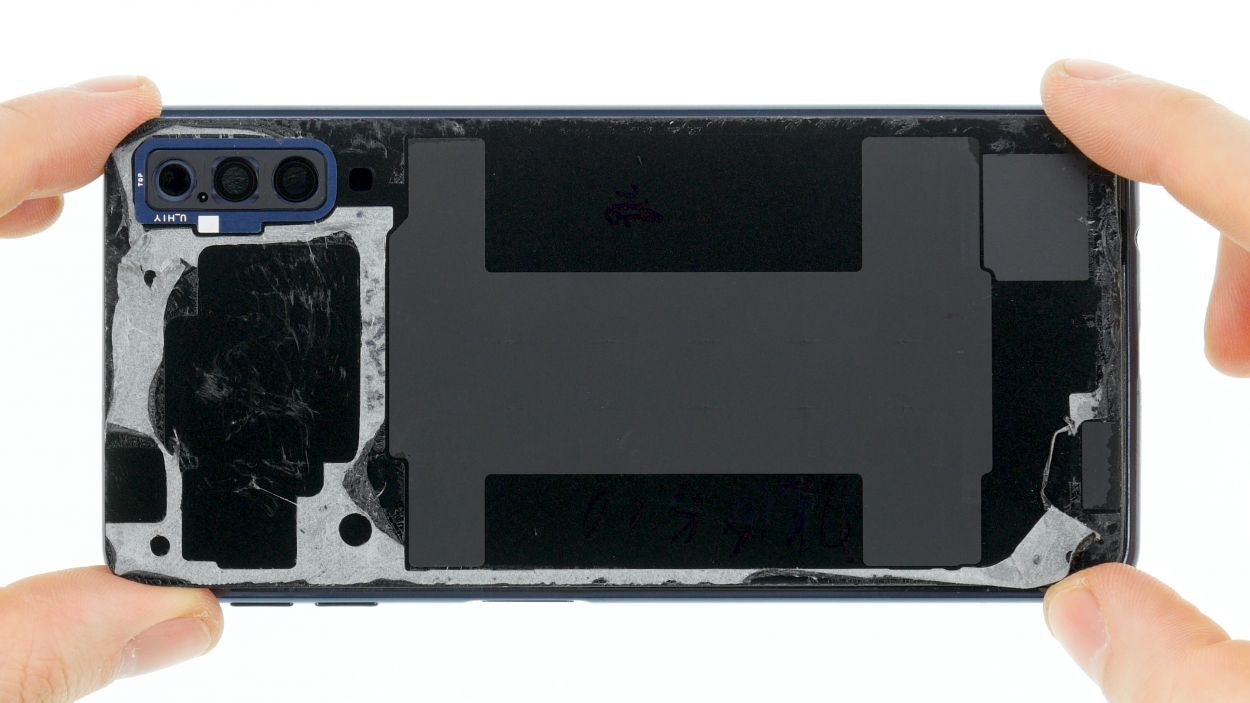
Hey there, friend! Just a little reminder to be super cautious while you’re at it—the back cover is a bit of a fragile flower and can break easily. If you’re having a tough time, don’t hesitate to apply the heat a few more times and give it another go. It might take around half an hour to get that back cover off, so take your time and work with care to keep everything intact!
The iPlastix is crafted from plastic, so it’s gentle on your device—no scratches here! Just a heads up, it’s a bit on the soft side, making it a little tricky to get in there.
Step 4

15 × 4,0 mm Phillips
Just a little heads up—those screws might be hiding under some sticky adhesive residue, so keep an eye out!
– First, let’s tackle those Phillips screws that are hanging out all over your device! Loosen all the screws of the same length—it’s like a little treasure hunt, but with tools!
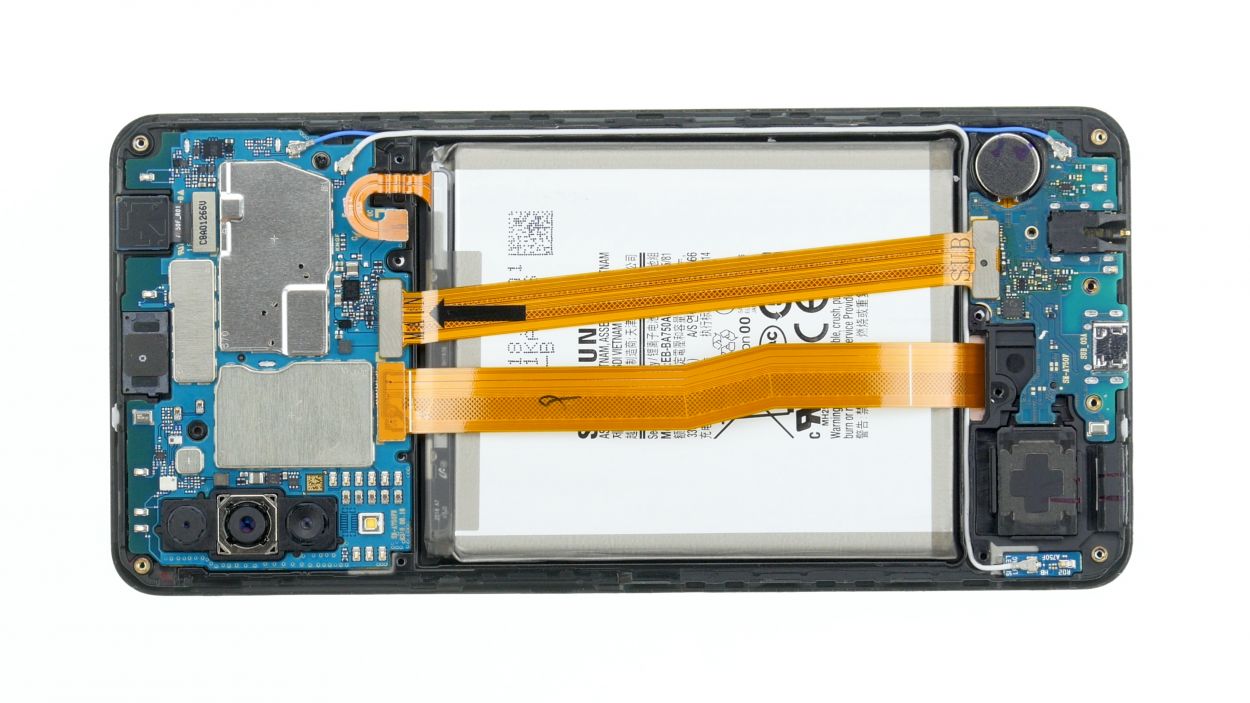
Step 5
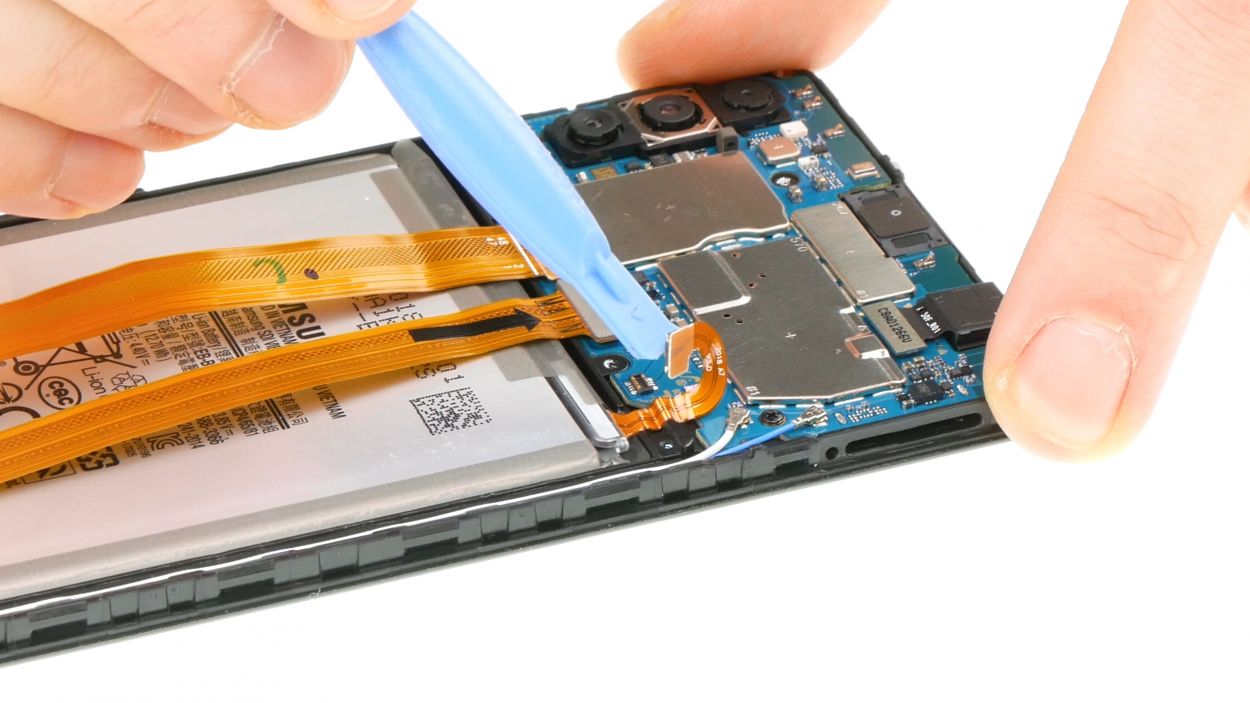
Battery connector
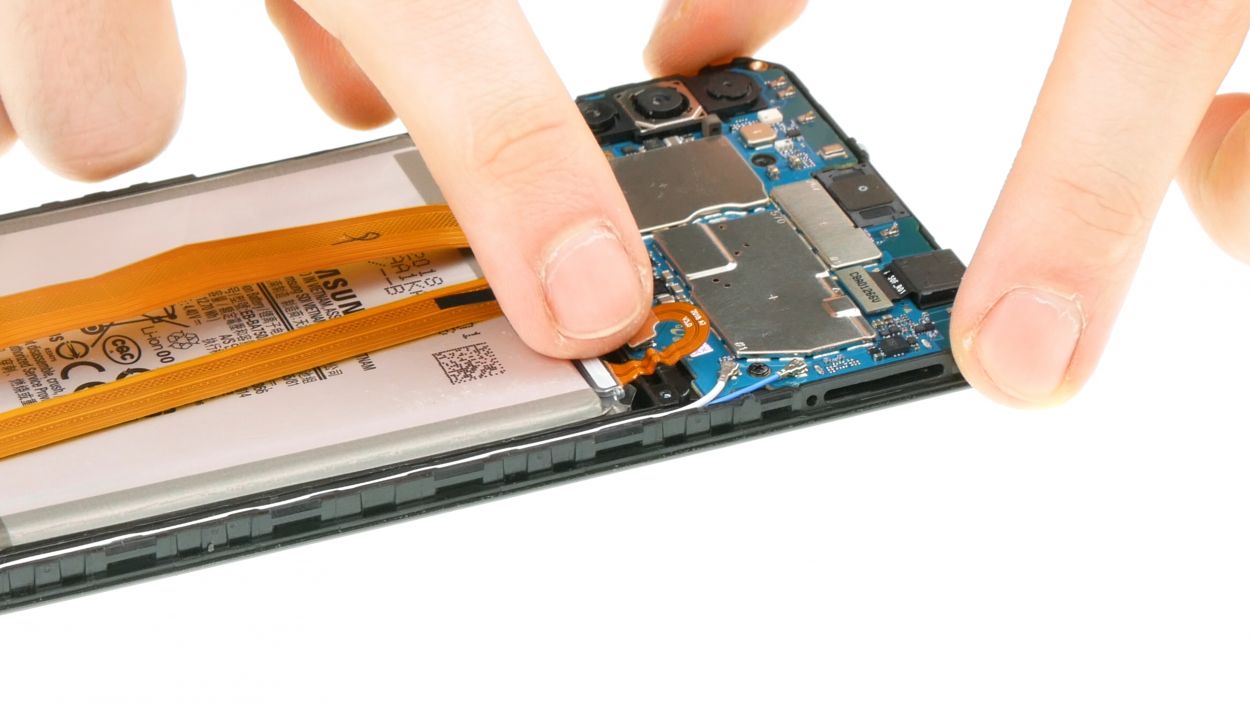
When you’re prying things apart, always start from a side that’s free of those tiny components on the motherboard. This way, you’ll keep those delicate capacitors and ICs safe and sound!
– With your trusty spudger in hand, gently wiggle that battery contact free from the motherboard. You’ve got this!
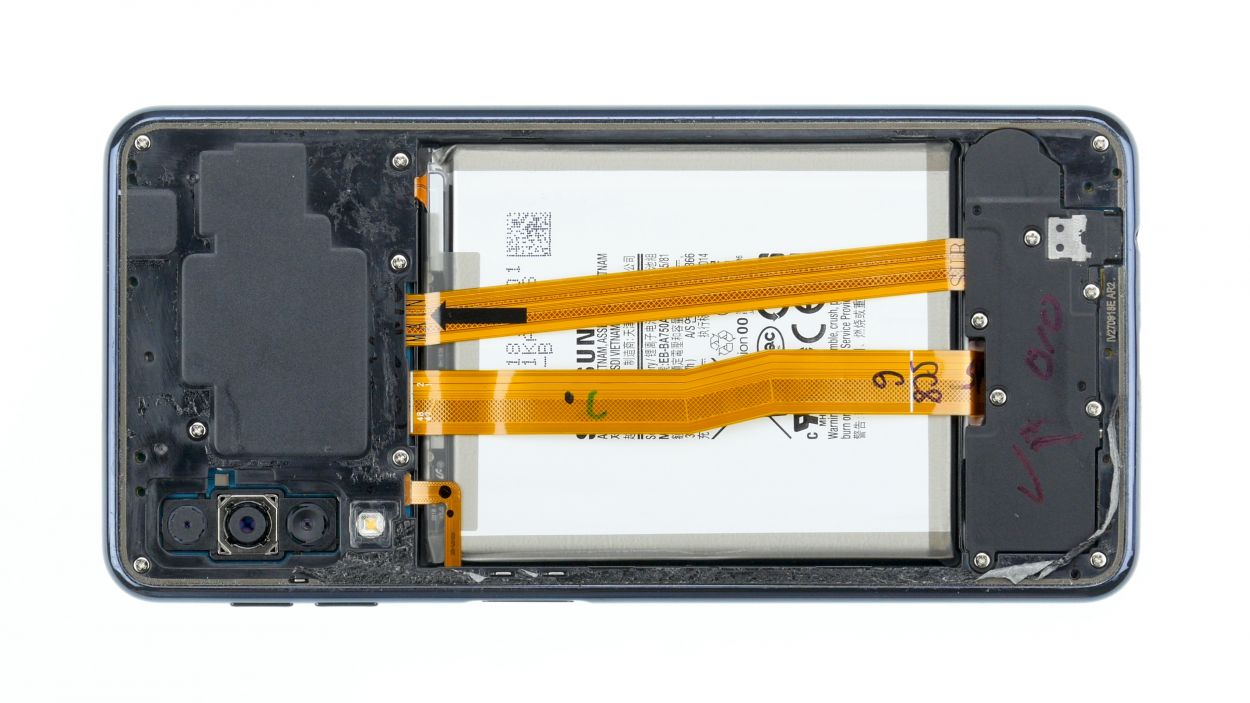
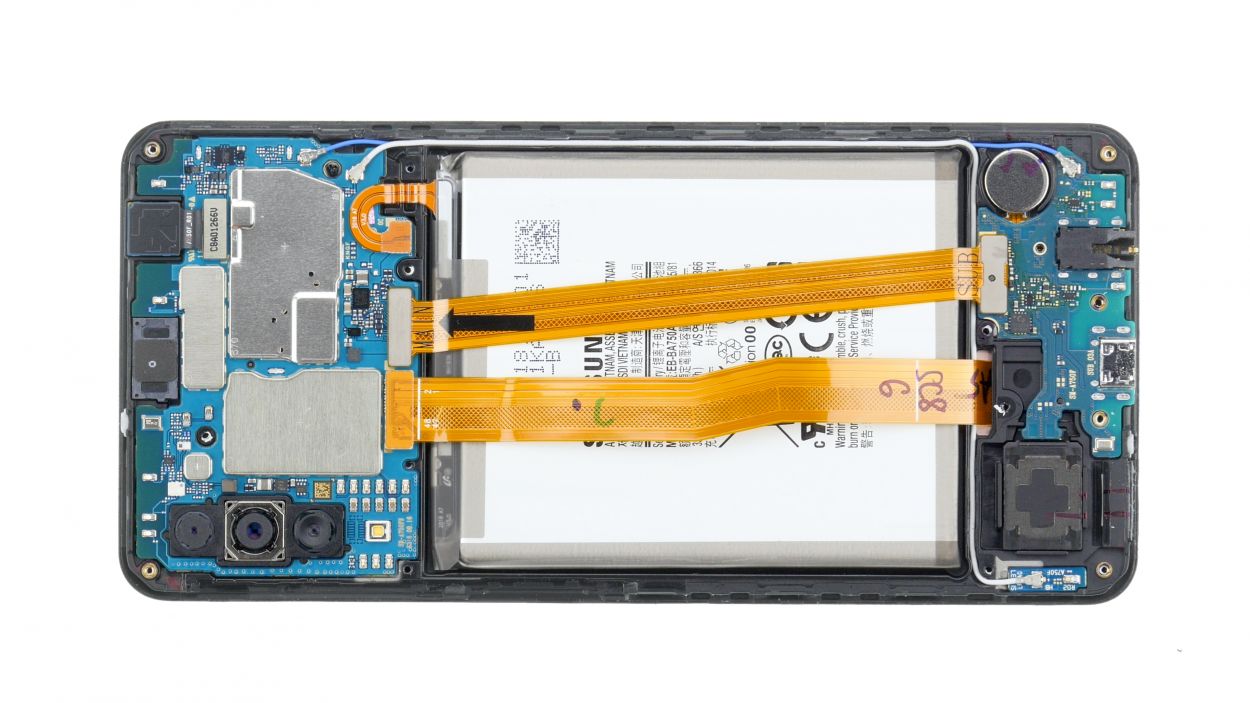
Step 6

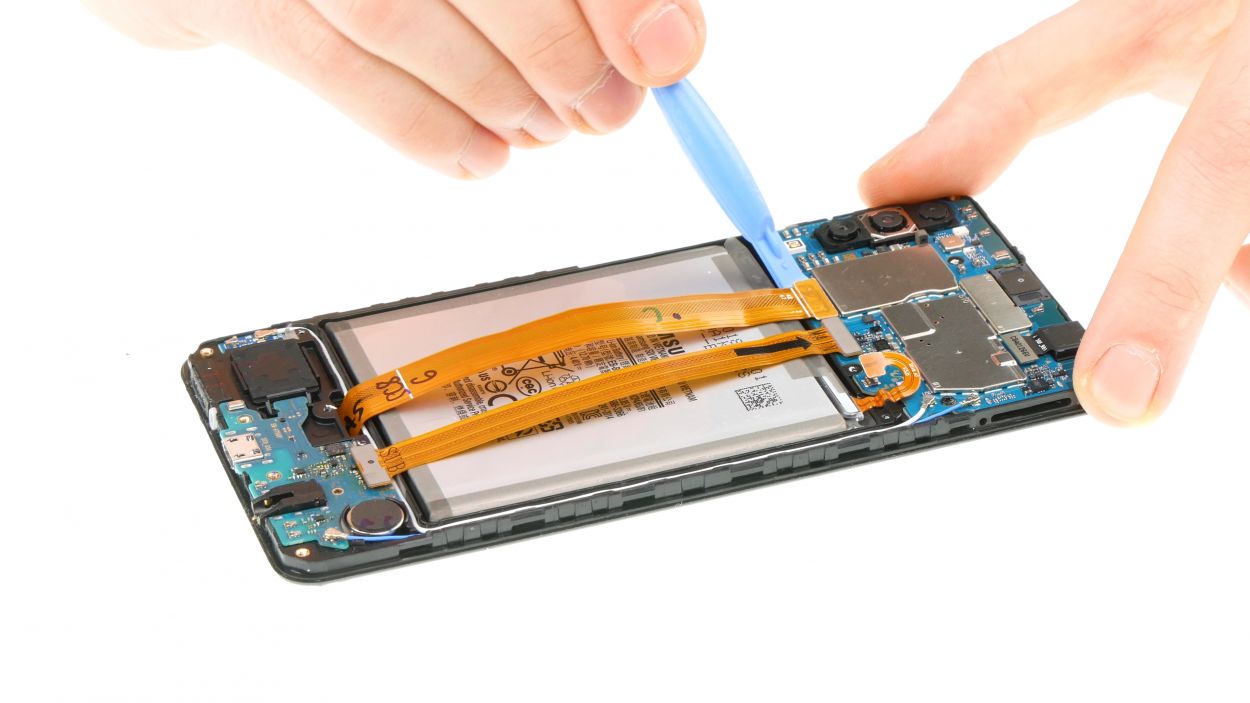
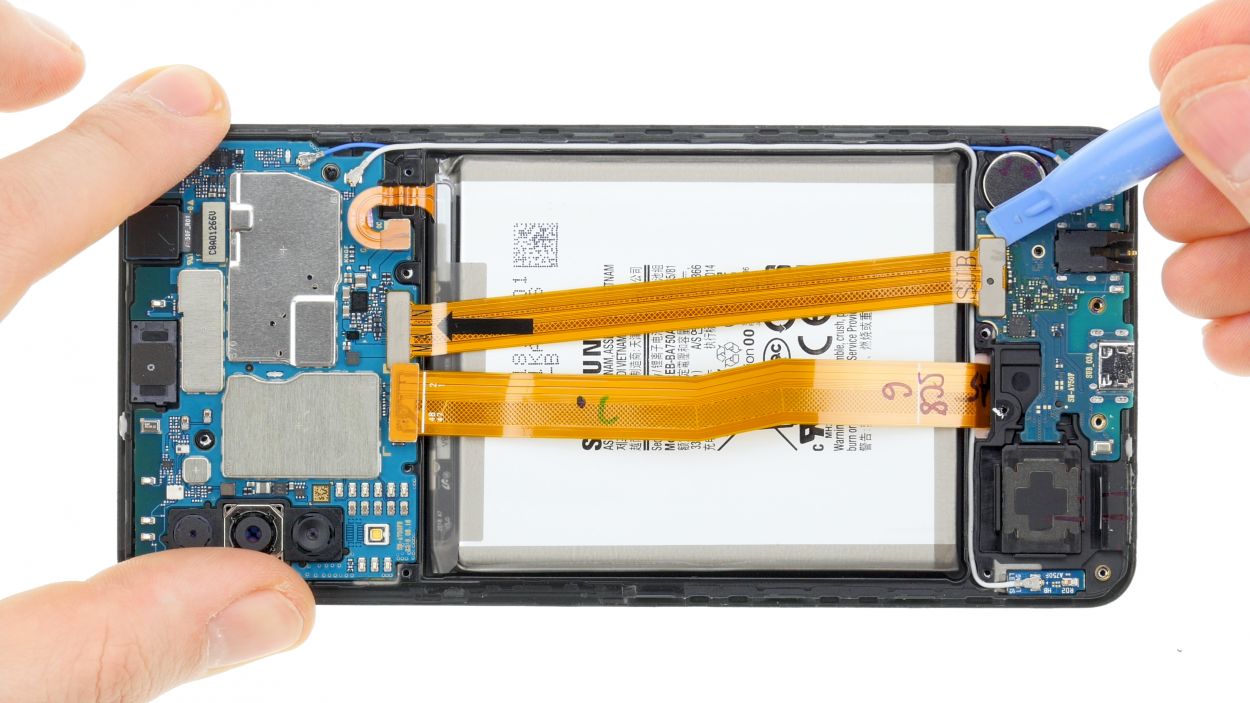
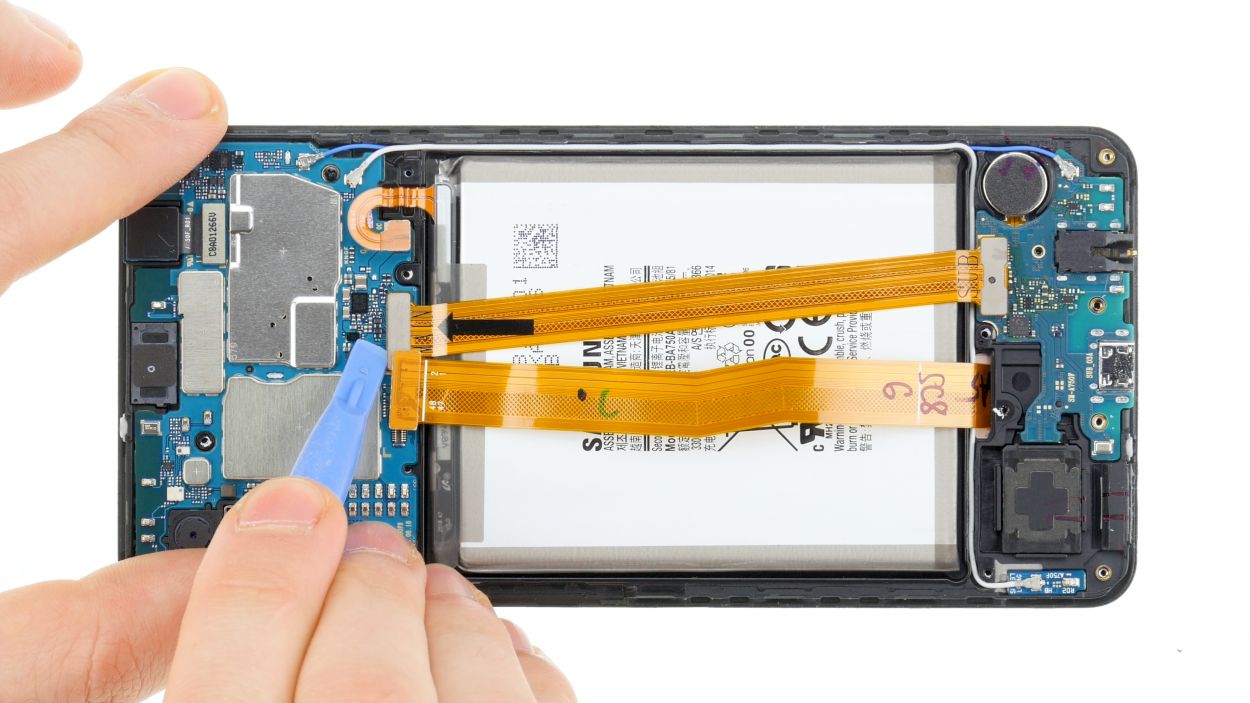
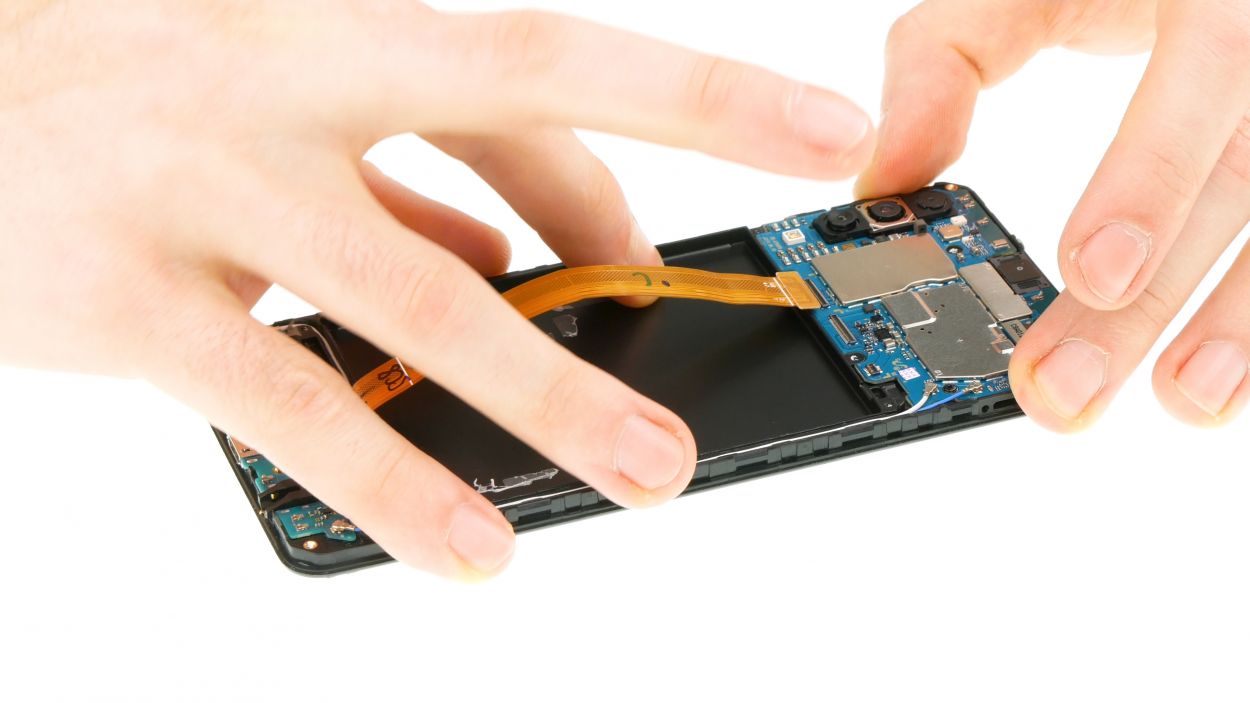
Display connector
Lower board connector
– Gently loosen all those connectors with your spudger buddy—take your time, you got this!
– Next up, carefully remove the top flex cable from the duo.
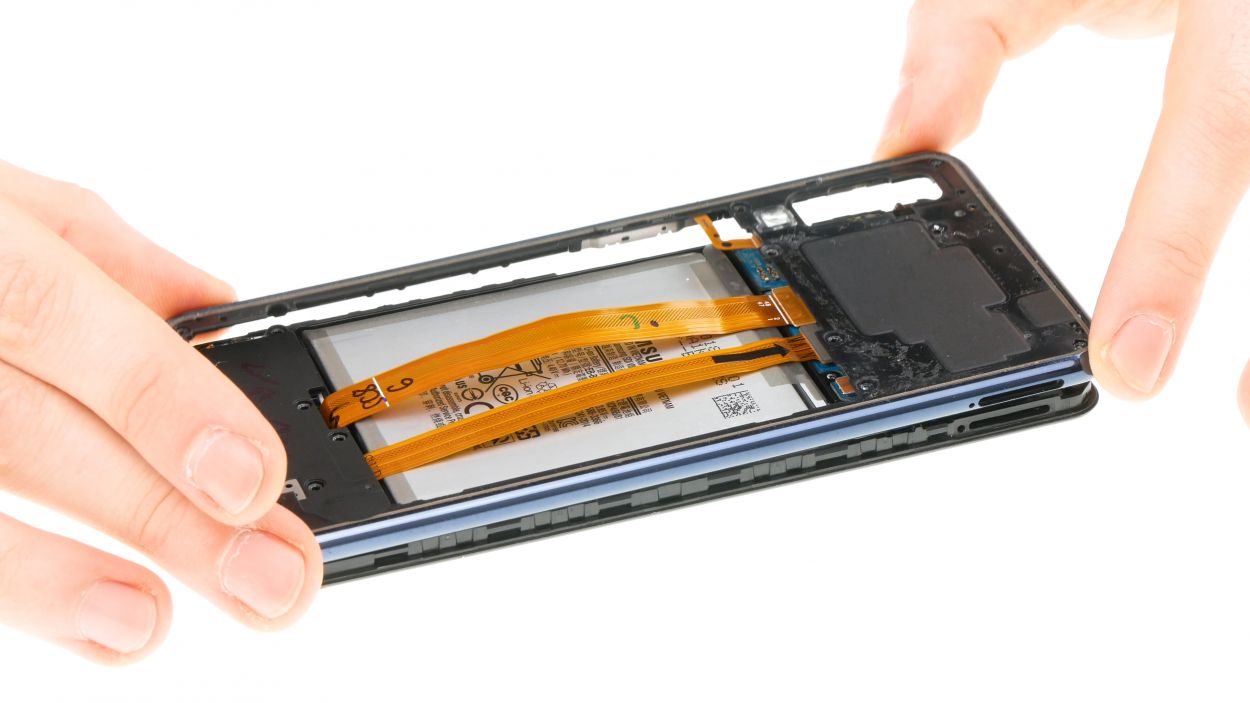
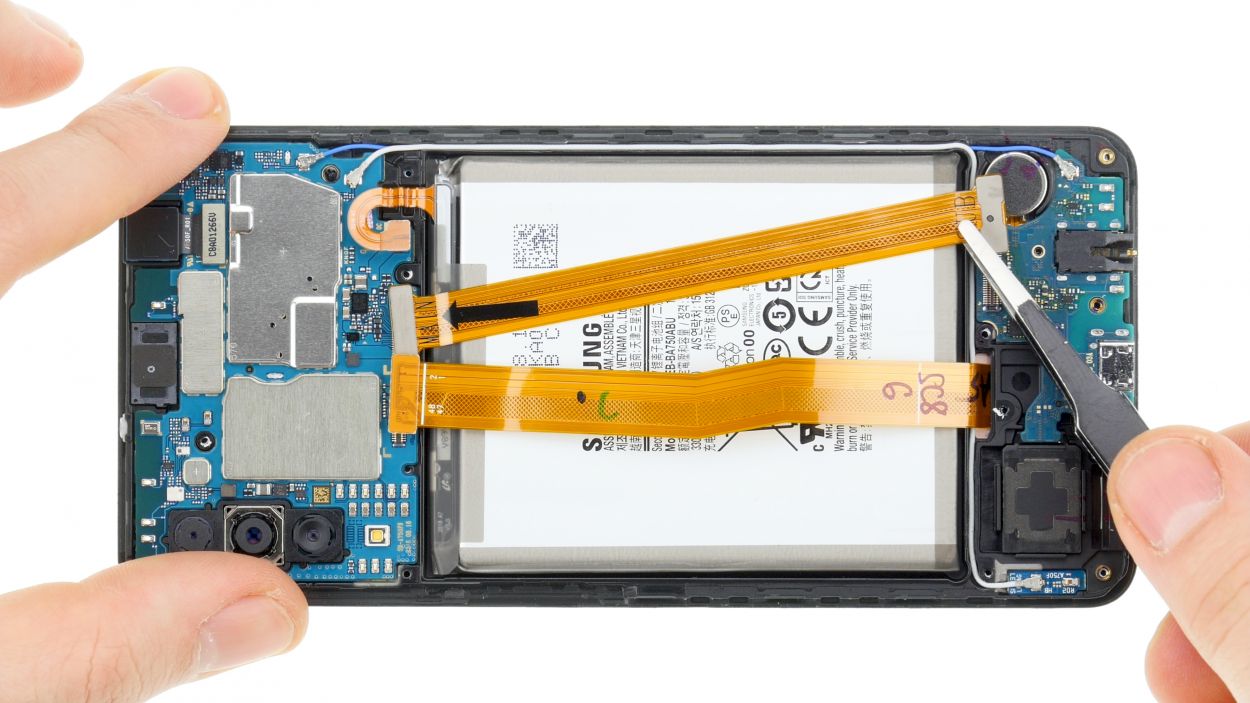
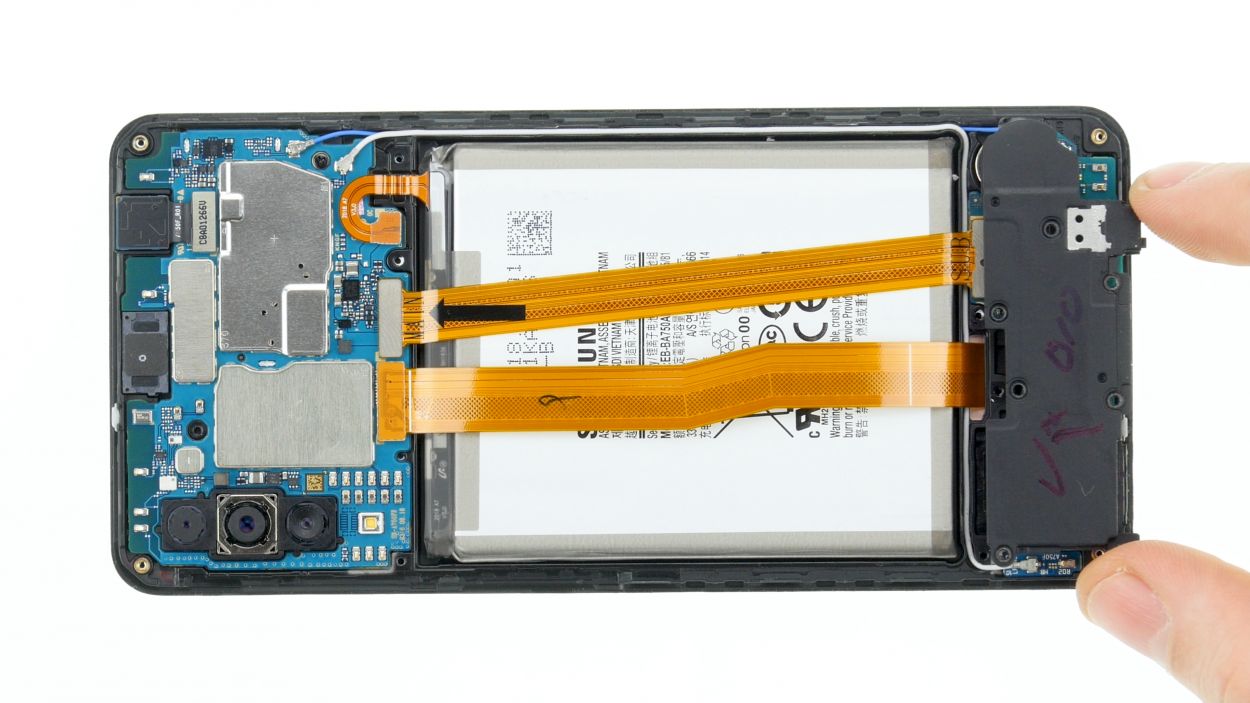
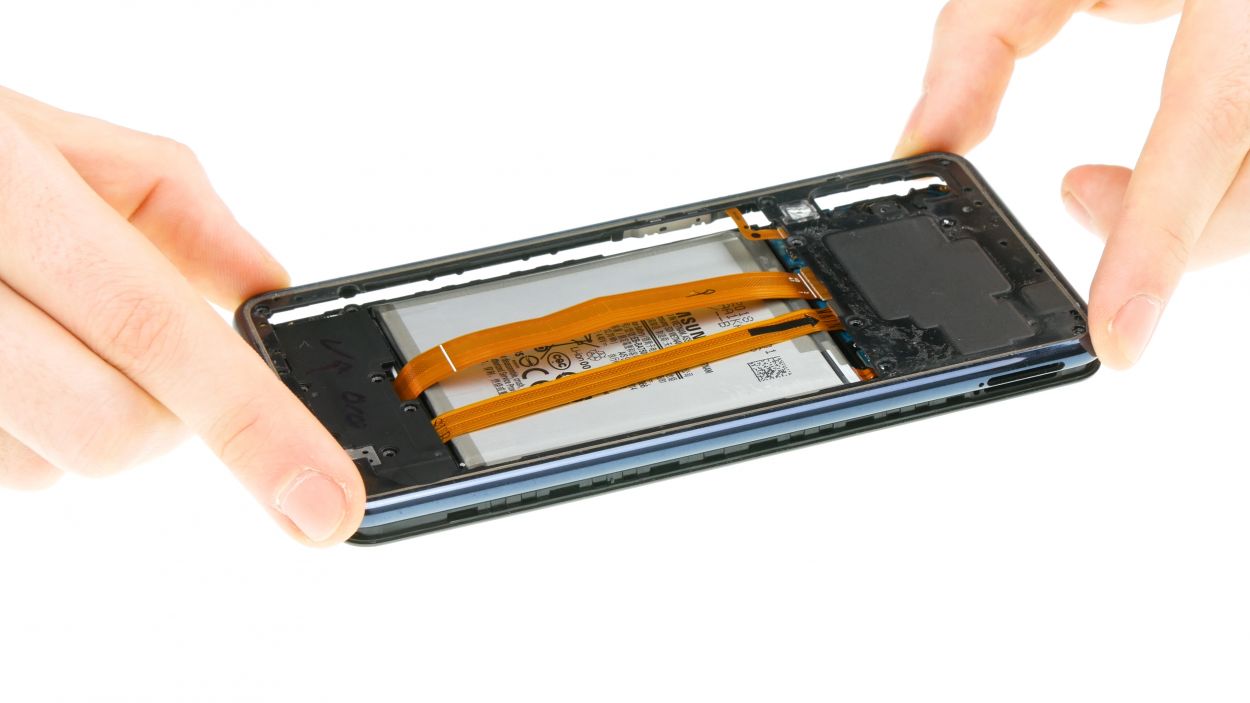
Step 7
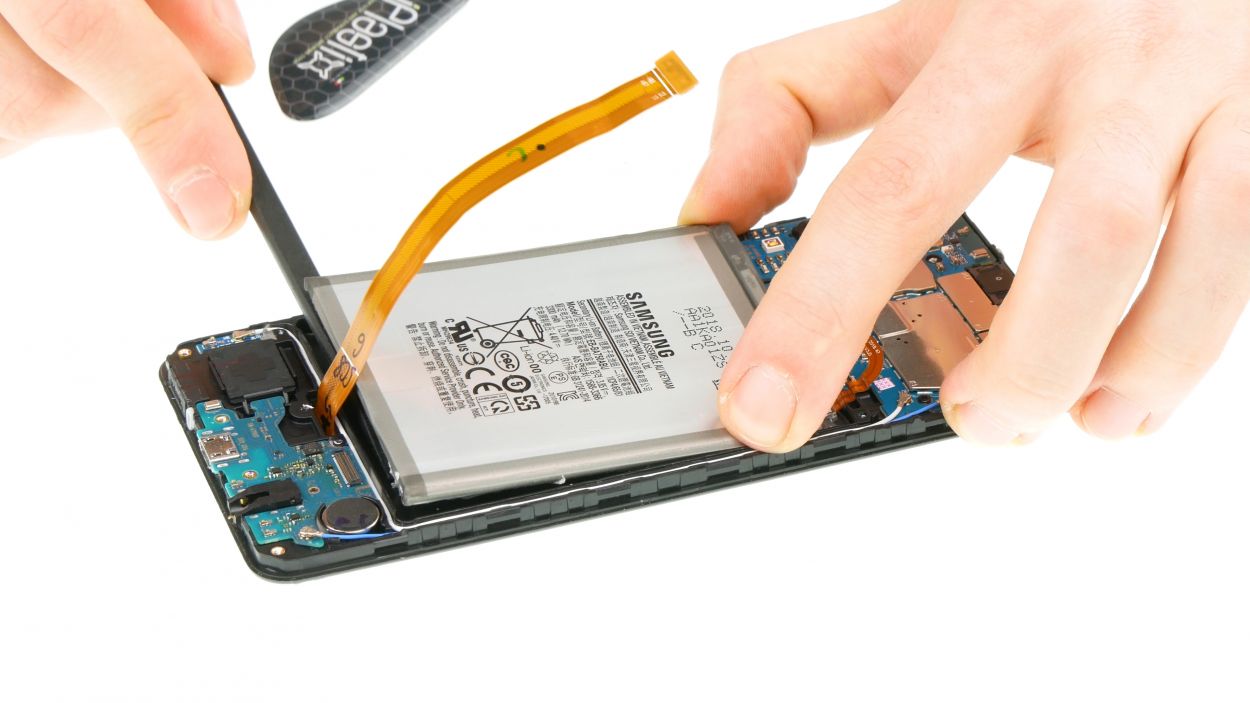
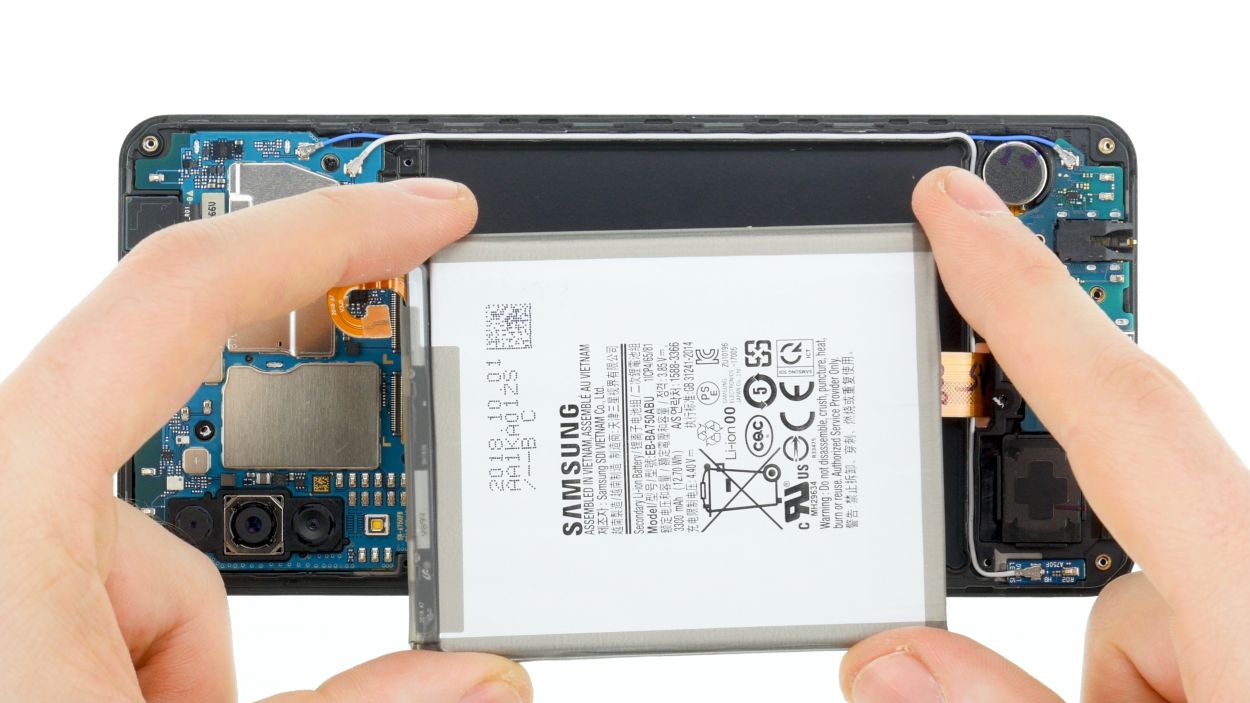
Hey there! Just a friendly reminder to tread lightly during this step. Grab a flat, blunt tool like the iPlastix to make sure you don’t accidentally harm the battery. You got this!
Check out the video (just hit that play button in the upper right corner of the first image) to see how to release the battery like a pro!
– Warm up the display side with some hot air to get things cozy.
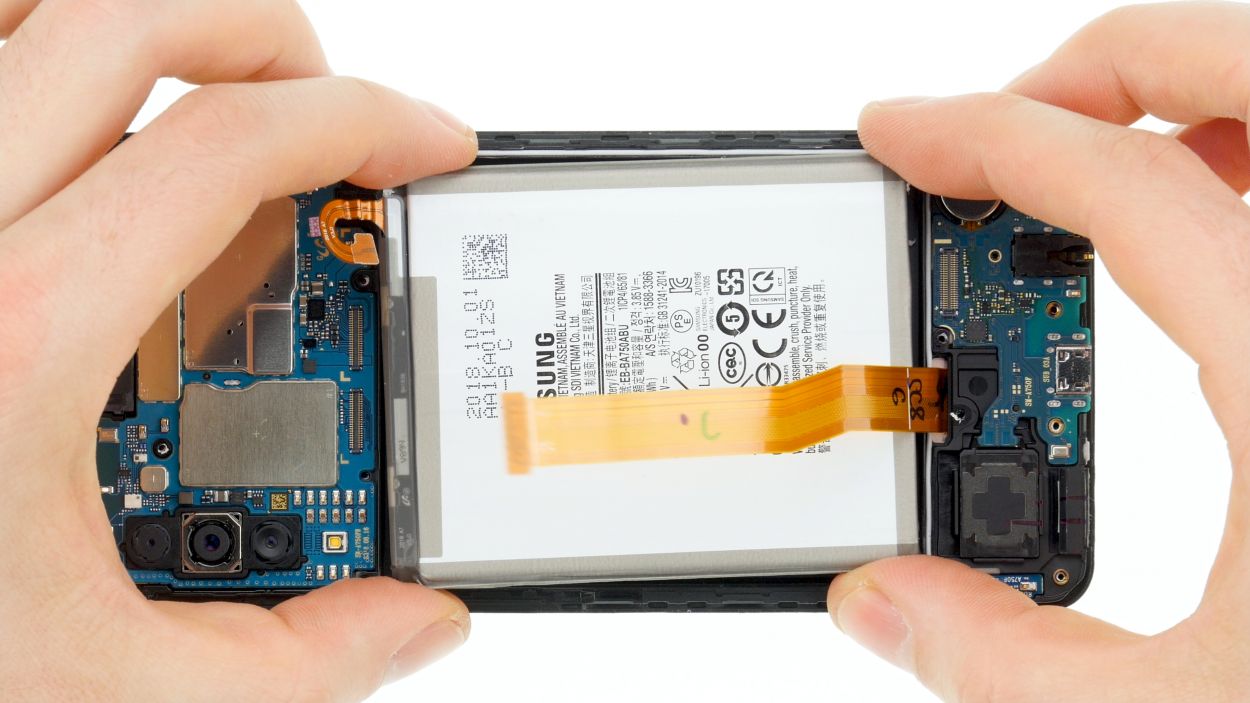
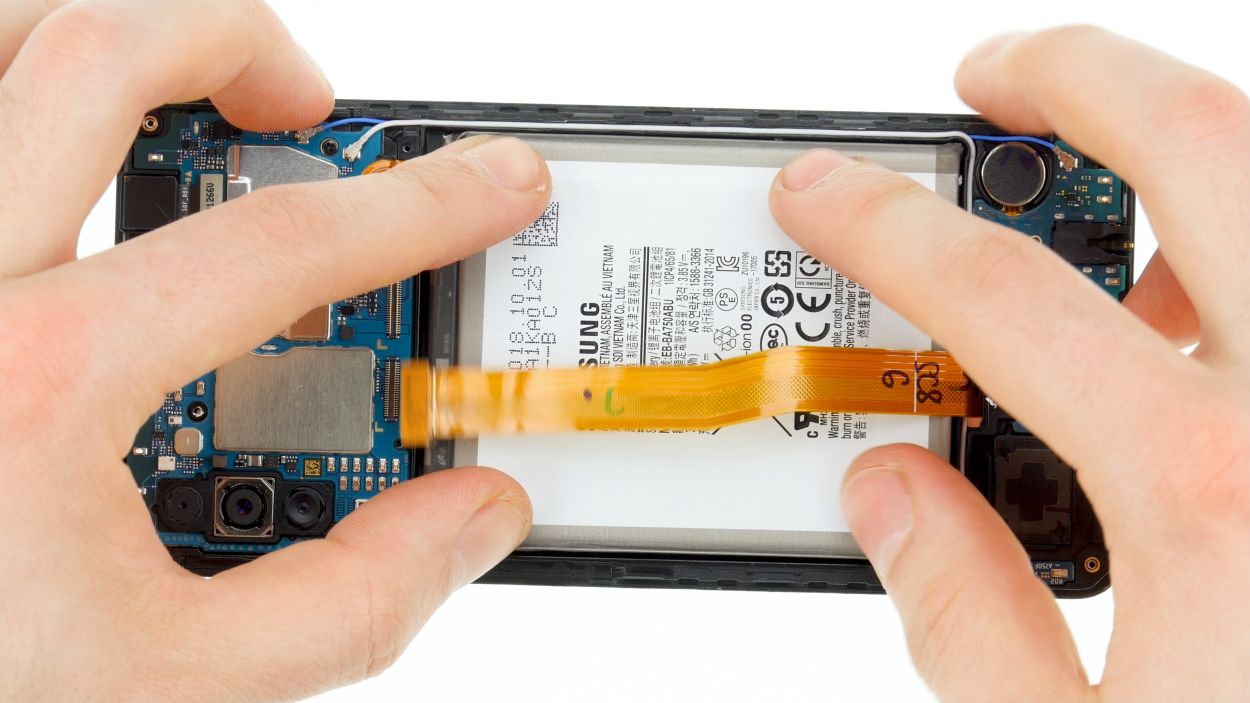
– Grab a flat tool like the iFlex and run it all around the battery like you’re giving it a nice little massage.
– If the iPlastix isn’t quite cutting it, feel free to pull out a wide battery spudger for some extra oomph.
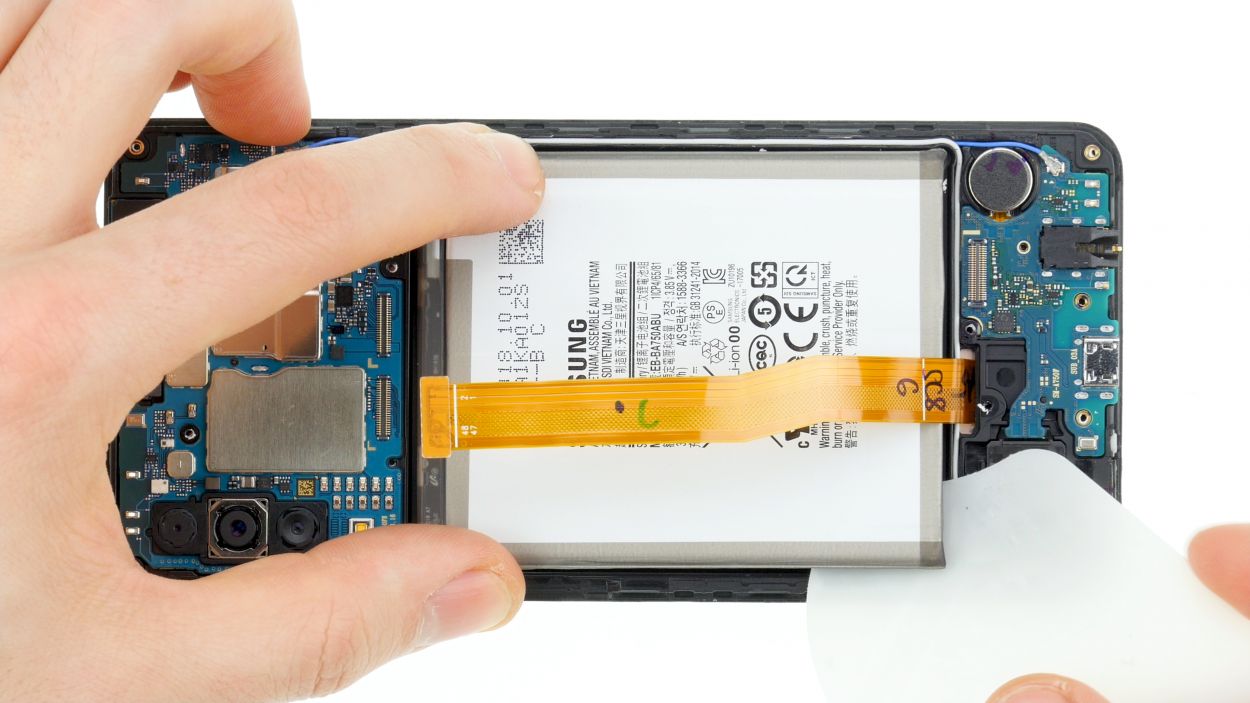
– Gently slide a flat tool under the battery to loosen that stubborn adhesive a bit more.
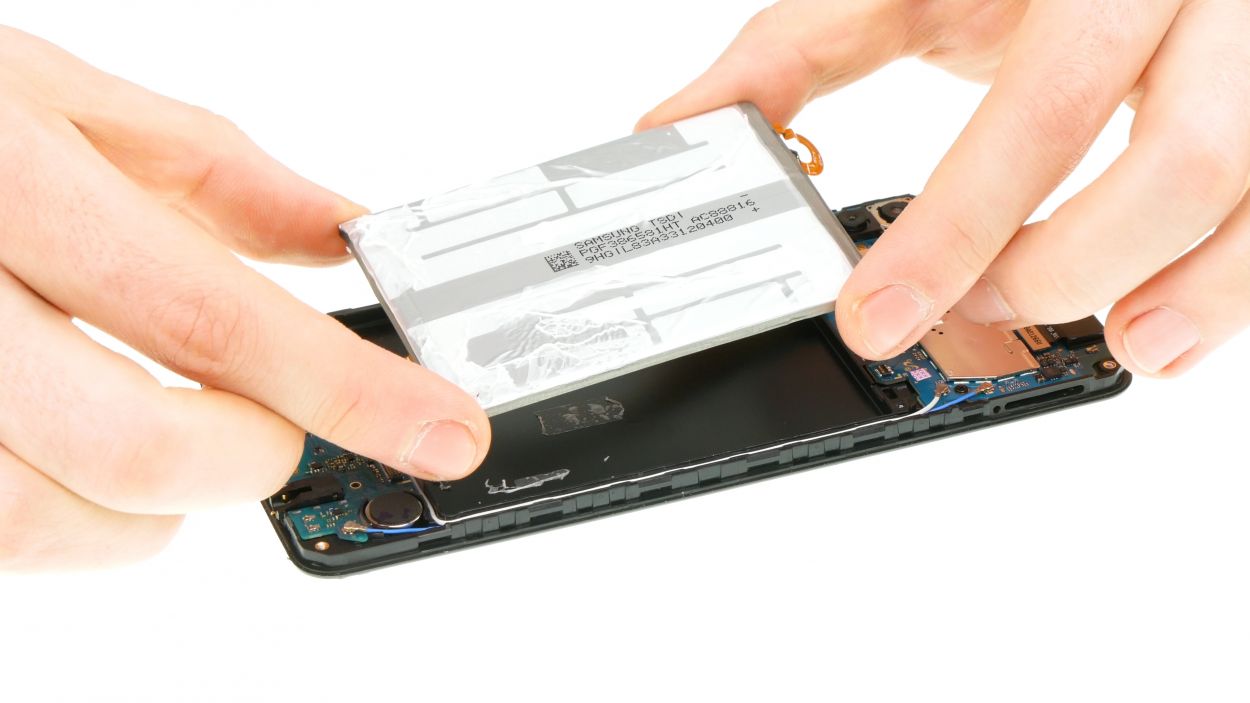
– Carefully lift the battery out and say goodbye to the old power source!
Step 10
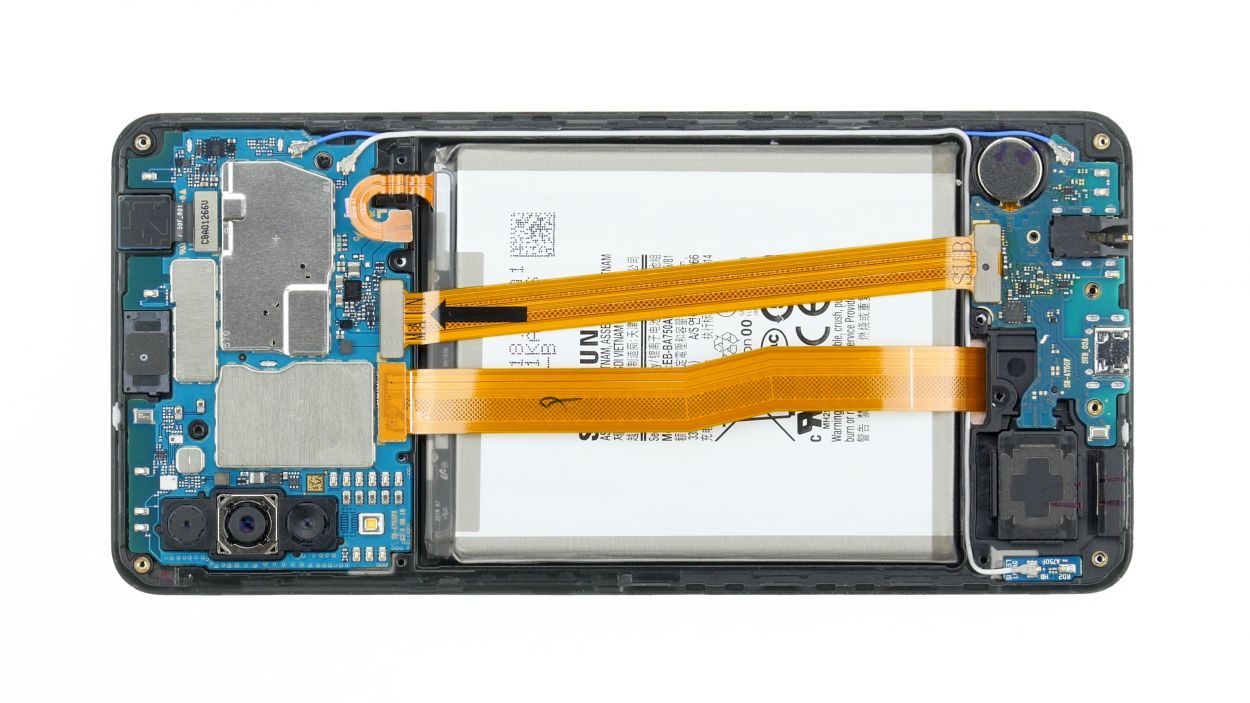
Display connector
Lower board connector
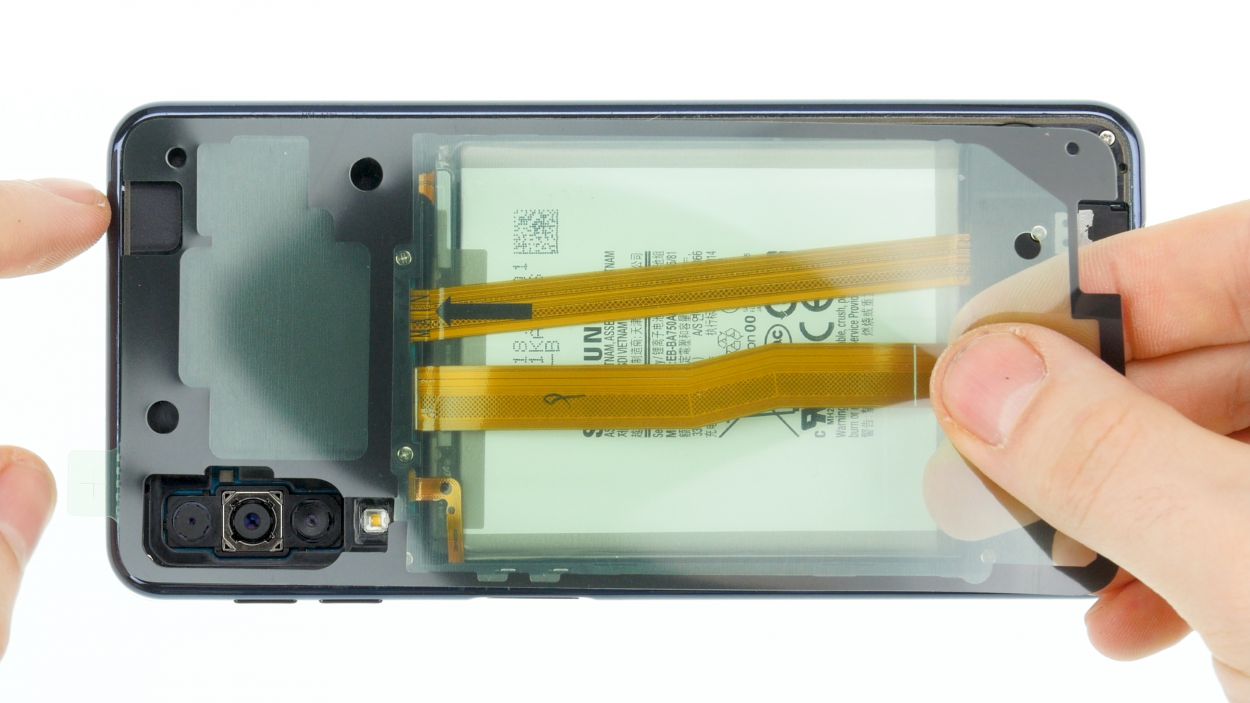
– Let’s get those connections sorted! First, attach the upper flex cable and make sure both connectors are snugly in place.
– Now, it’s time to reconnect the display connector. You’re doing great!
Step 11
Battery connector
– Connect the battery to the motherboard. Gently press the contact into the socket on the motherboard until you hear that satisfying click!
Step 12

15 × 4,0 mm Phillips
– Slide that plastic cover into the lower part of your device, making sure to align it with those handy screw holes for a perfect fit.
– Next, place the middle frame right on top and give it a gentle but firm tighten all around until it feels just right.
– Feeling adventurous? Take the device in both hands and give the display and frame a little squeeze together for that snug fit.
– If everything looks good and the frame is sitting pretty, go ahead and reattach all those Phillips screws of the same length to seal the deal.
Step 13

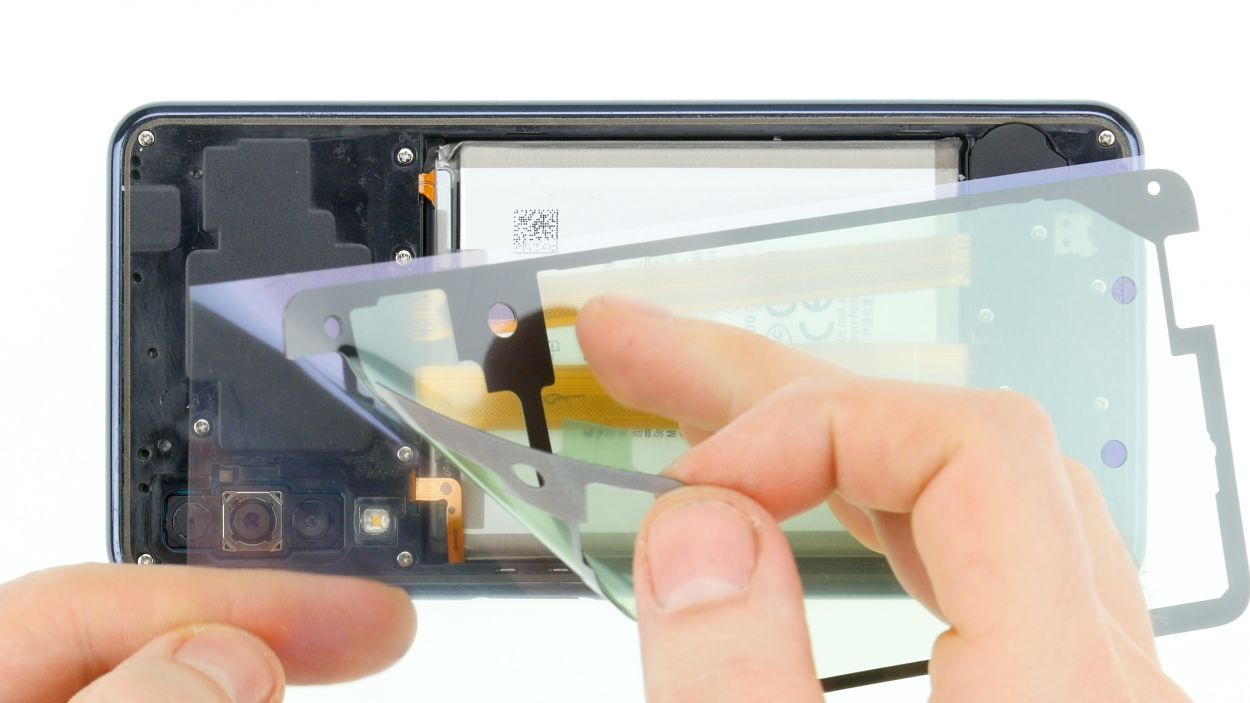

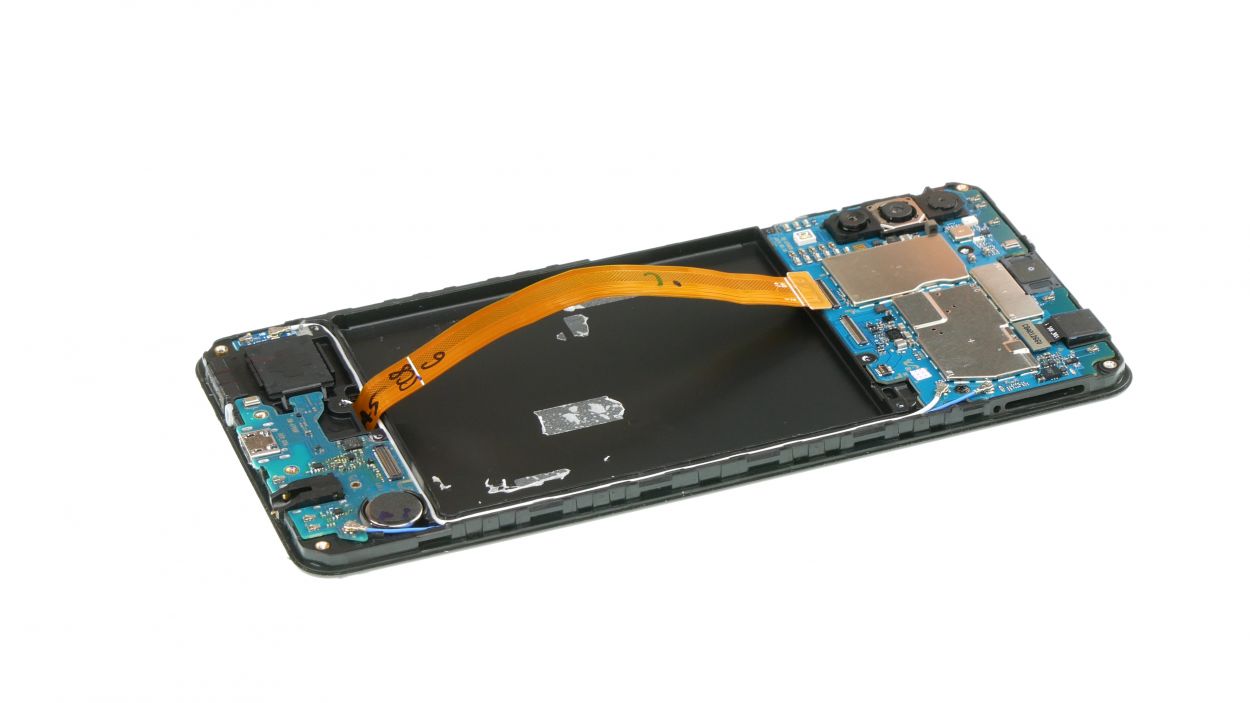
– Start by giving that middle frame and back cover a little TLC—remove any leftover glue like a pro!
– Next, grab your new adhesive frame and align it with the camera openings to get it just right.
– Peel off the clear protective film and gently place the adhesive frame on top, letting it slide into the device like it belongs there.
– Make sure it’s sitting pretty and not sticking out beyond the frame.
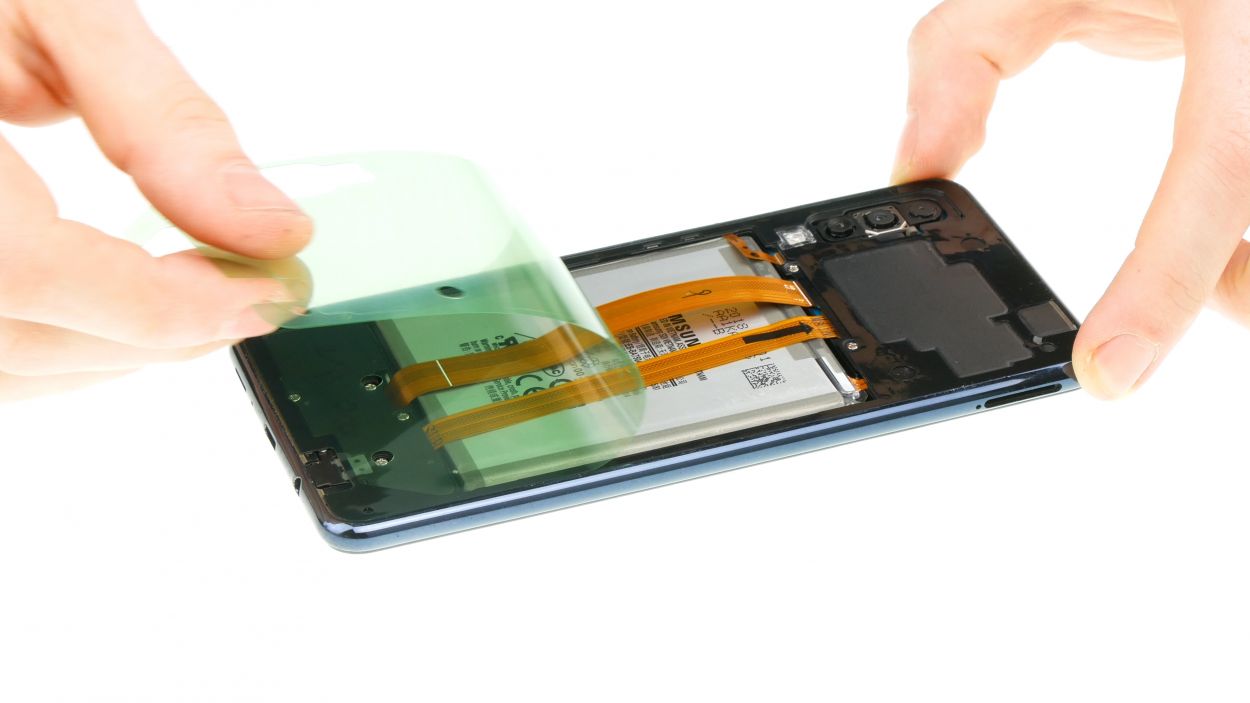
– Give the adhesive a solid press against the frame. A spudger can help with this task!
– Now, take off the second plastic film and check that the black glue is nice and flush all around.
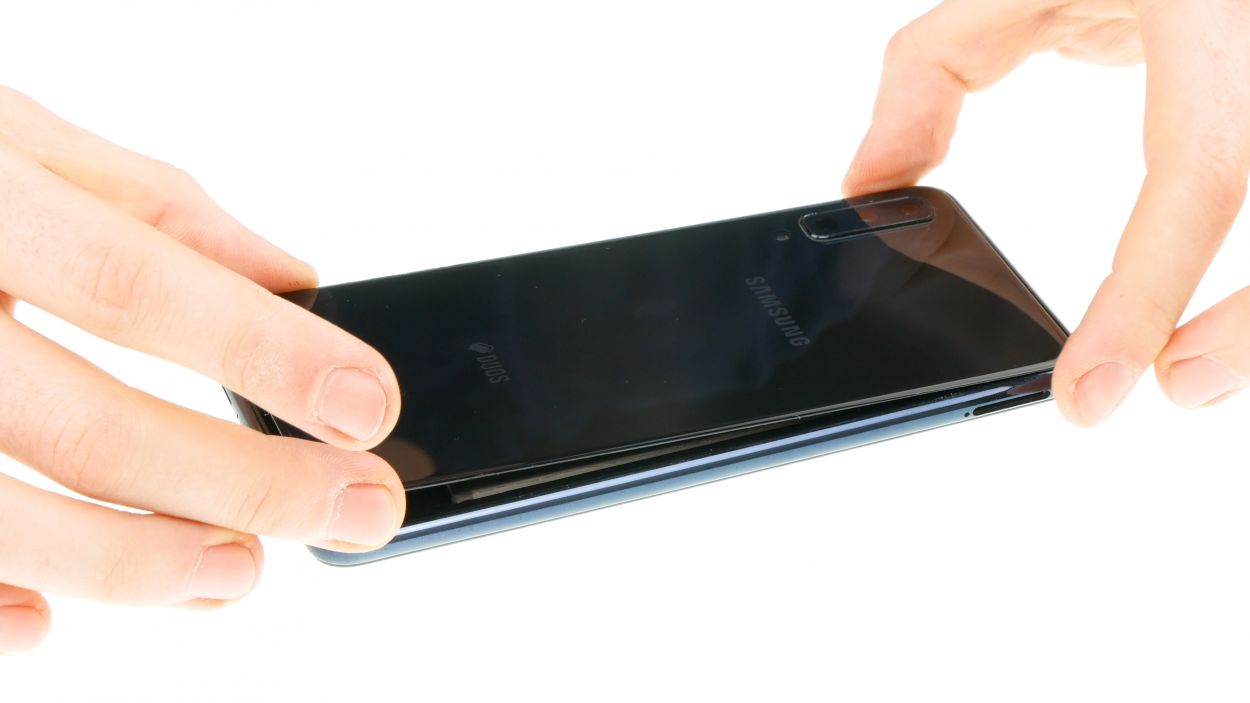
– Time to return the back cover to its rightful place.
– Press down on the back cover across the entire surface to ensure a strong bond with the adhesive.
– If you want to amp up that glue magic, feel free to warm up the device with some hot air, then clamp it down or place a few books on top for extra weight.
Step 14
– Pop that SIM and microSD card holder back into its cozy little home in your device. It’s like tucking in your phone for a good night’s sleep!