DIY Guide: Replace SIM Card Reader on iPhone Xr
Duration: 30 min.
Steps: 13 Steps
Hey there! Ready to tackle that pesky SIM card reader on your iPhone Xr? We’ve got your back! First things first, make sure to back up all your important data—better safe than sorry! And before you dive in, give a little zap to any static by touching something like a radiator. Let’s get this repair party started!
Step 1


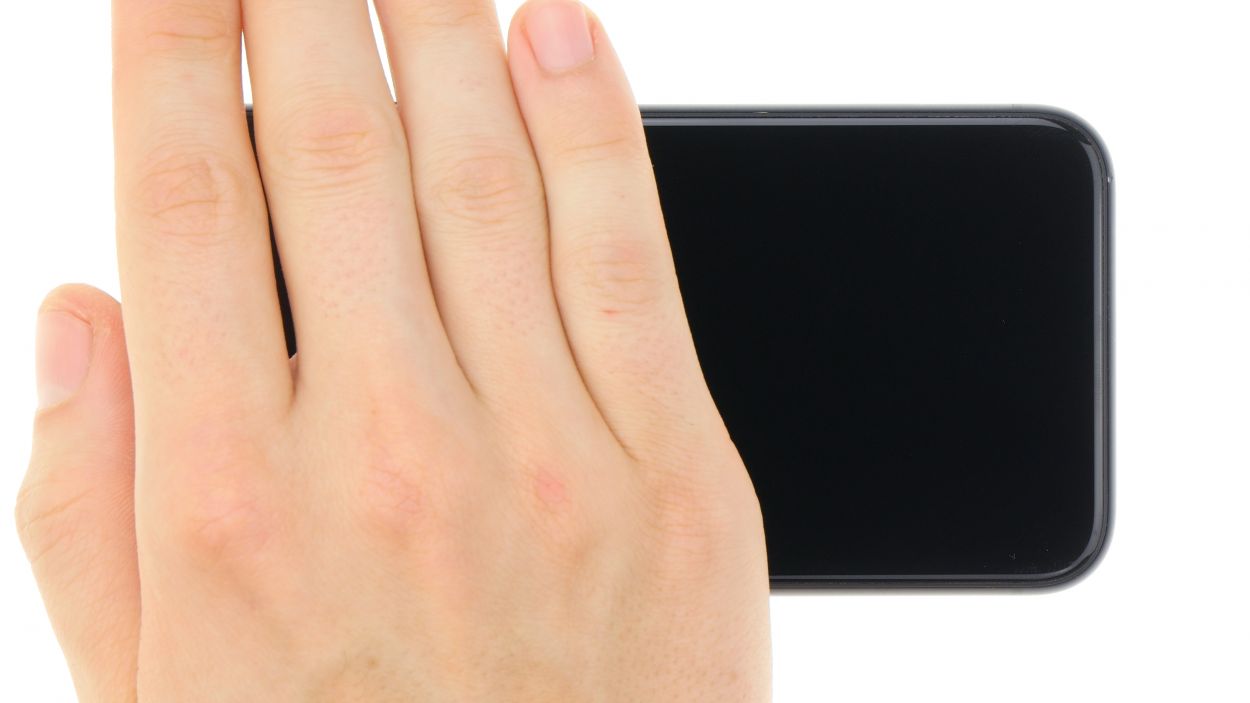
– First, let’s give your iPhone a little break! Power it down completely to keep it safe during the repair. Just press and hold the Standby button along with one of the volume buttons for three seconds until that ‘Power off’ slider pops up.
– Now, slide that slider from left to right. Your iPhone will take about ten seconds to fully shut down. Easy peasy!
Step 2

2 × 6,8 mm Pentalobe
Once you open up your iPhone Xr, it waves goodbye to its dust and water protection guarantee (IP 67 rating). So, let’s keep it safe and sound during this repair adventure!
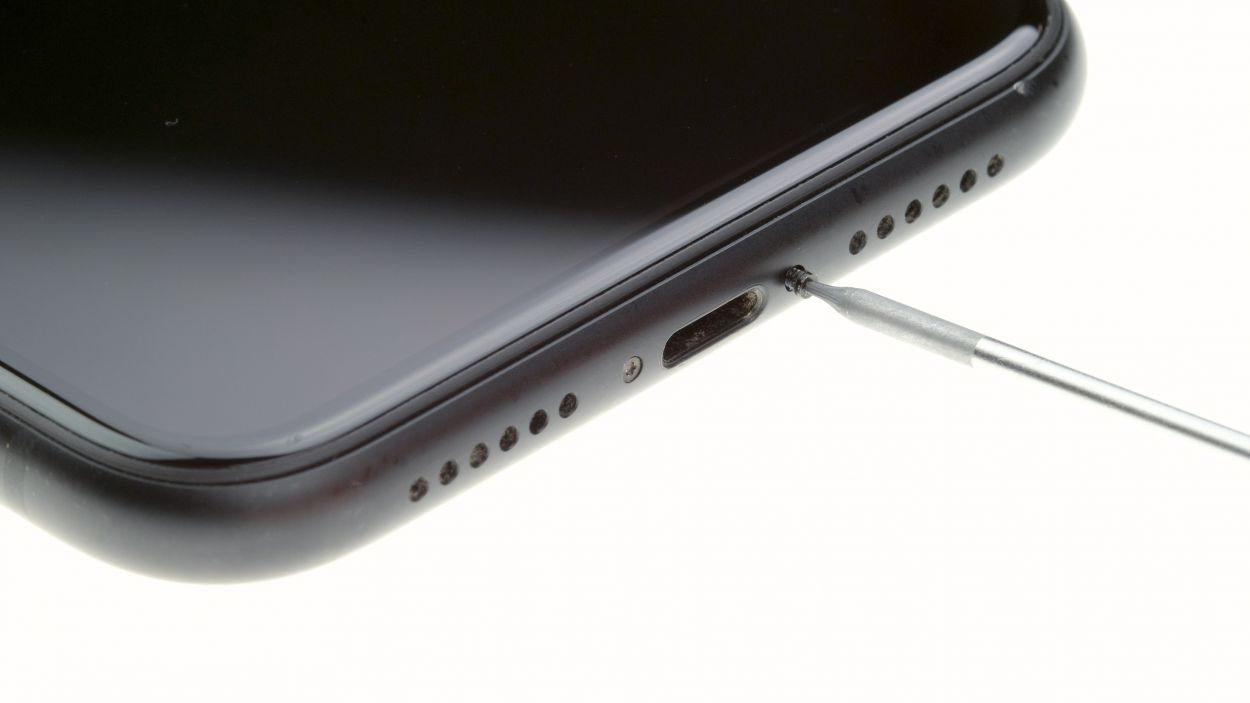
– Let’s tackle those two pentalobe screws at the bottom edge of the back cover! They’re hanging out right next to the Lightning connector, one on the left and one on the right. Don’t forget to place them in the same section of your magnetic pad so they don’t go wandering off!
Step 3


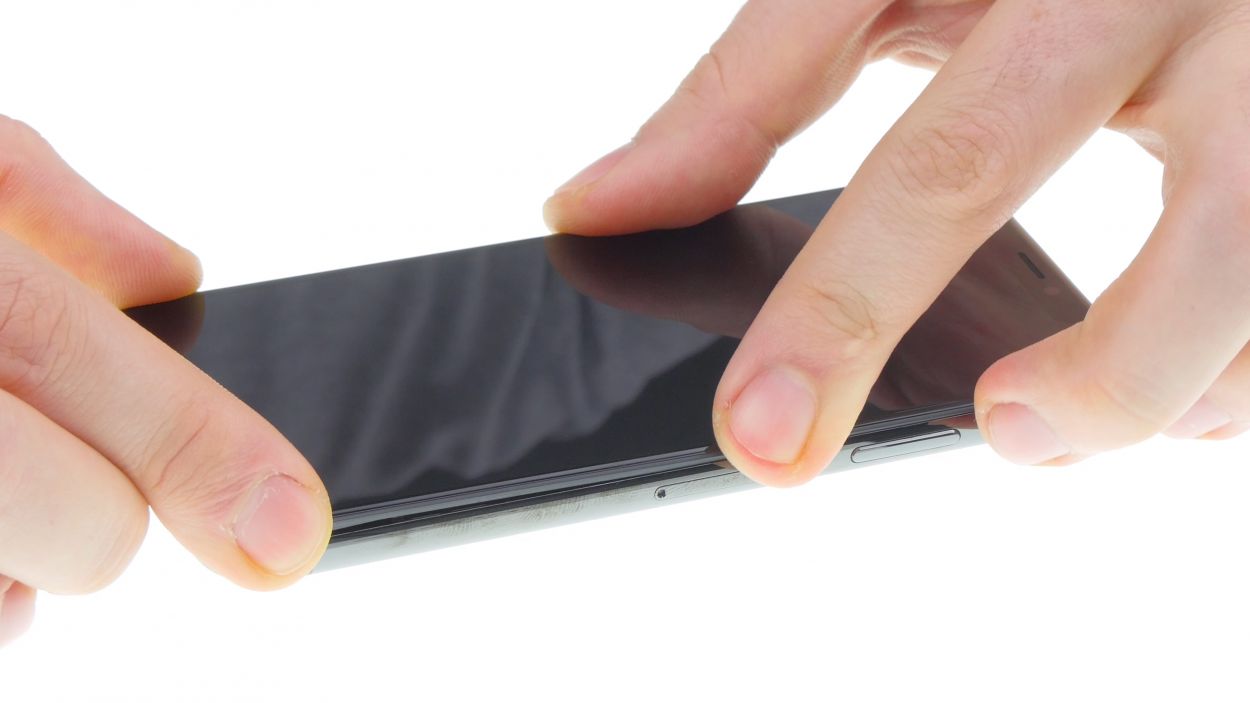
Hey, just a friendly reminder: keep your tool’s insertion to a maximum of 5 mm into the gap! We want to avoid any accidental damage to those tiny parts hiding inside your iPhone.
If you’re rocking an iFlex, it’s time to switch to a plastic pick as soon as you can to keep that frame looking sharp and scratch-free!
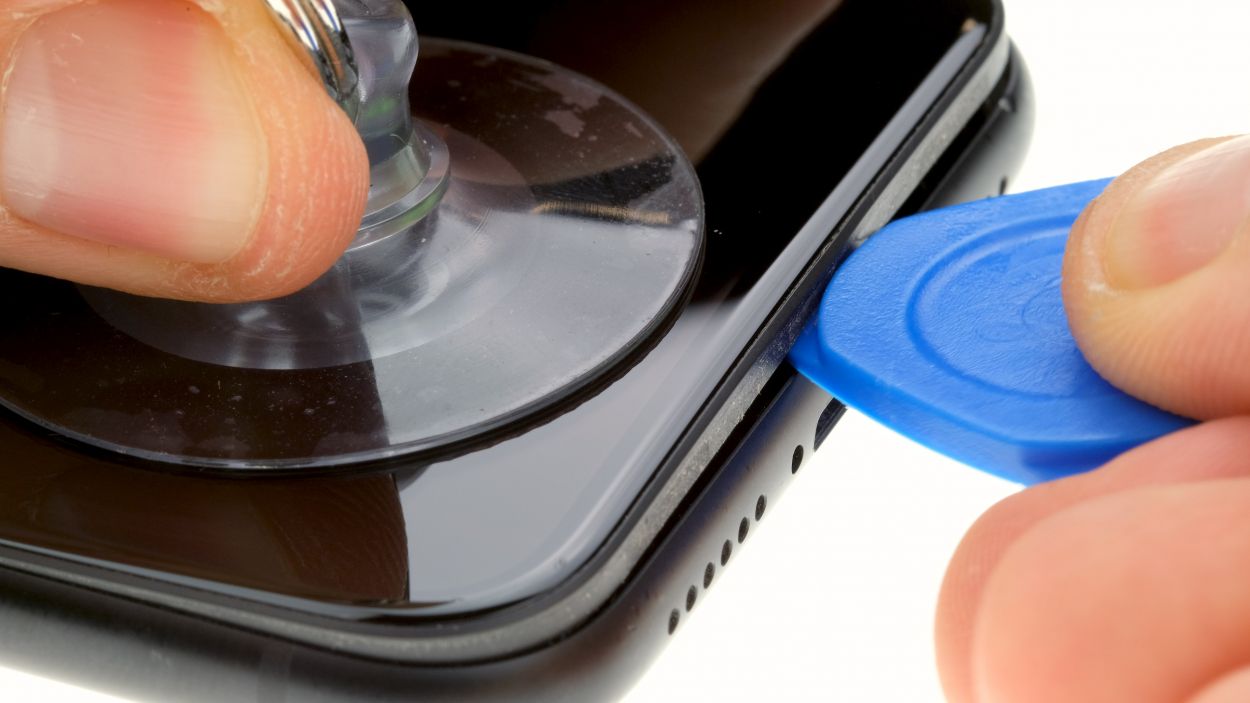
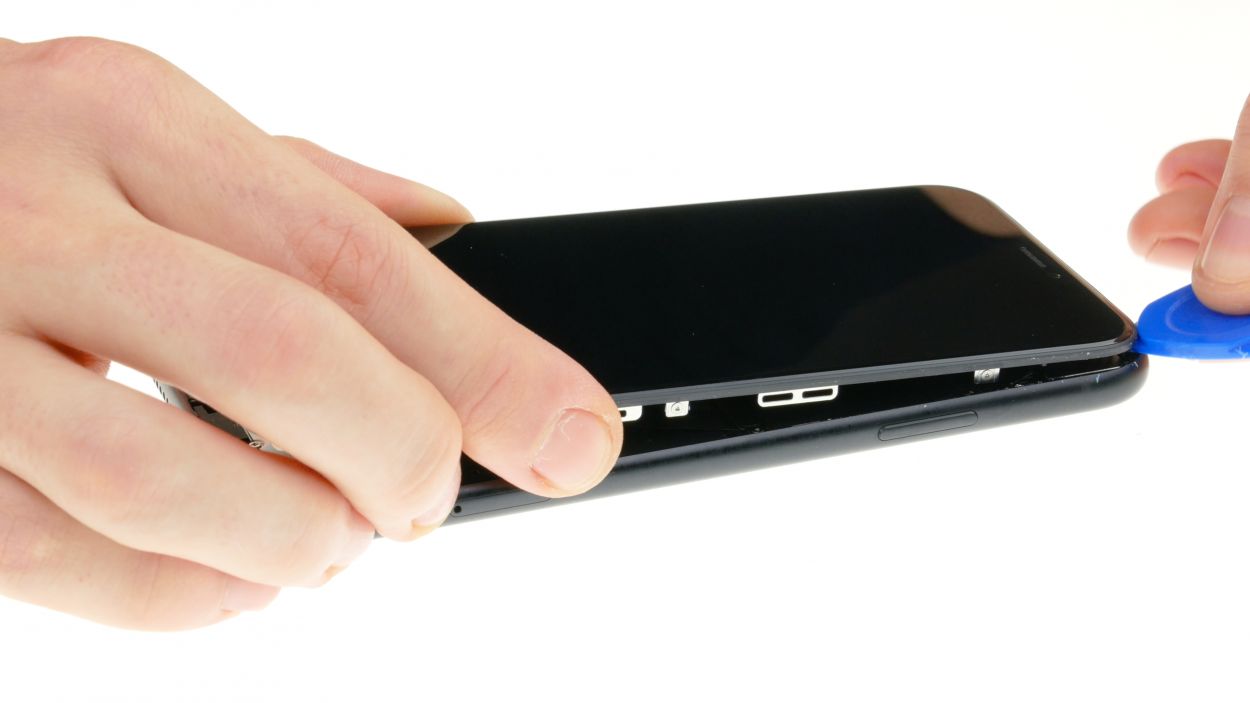
– First things first, let’s give your iPhone Xr a comfy spot on a soft, clean surface—no scratches allowed on that beautiful back!
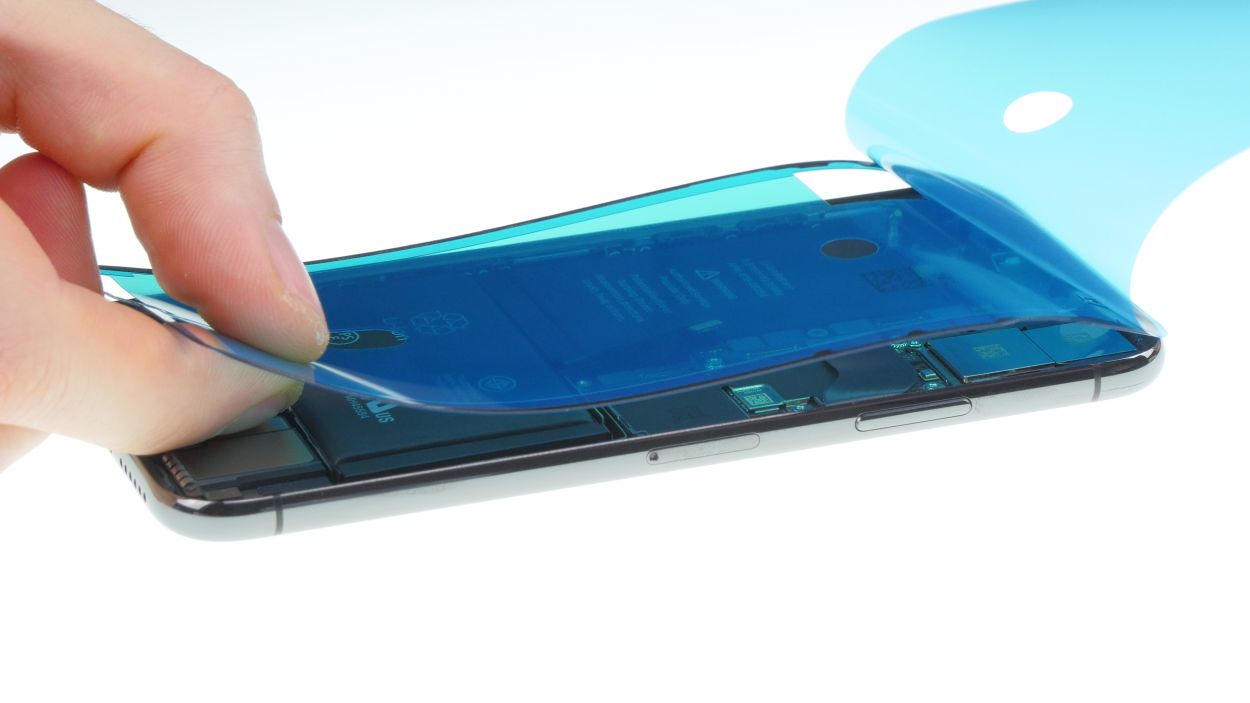
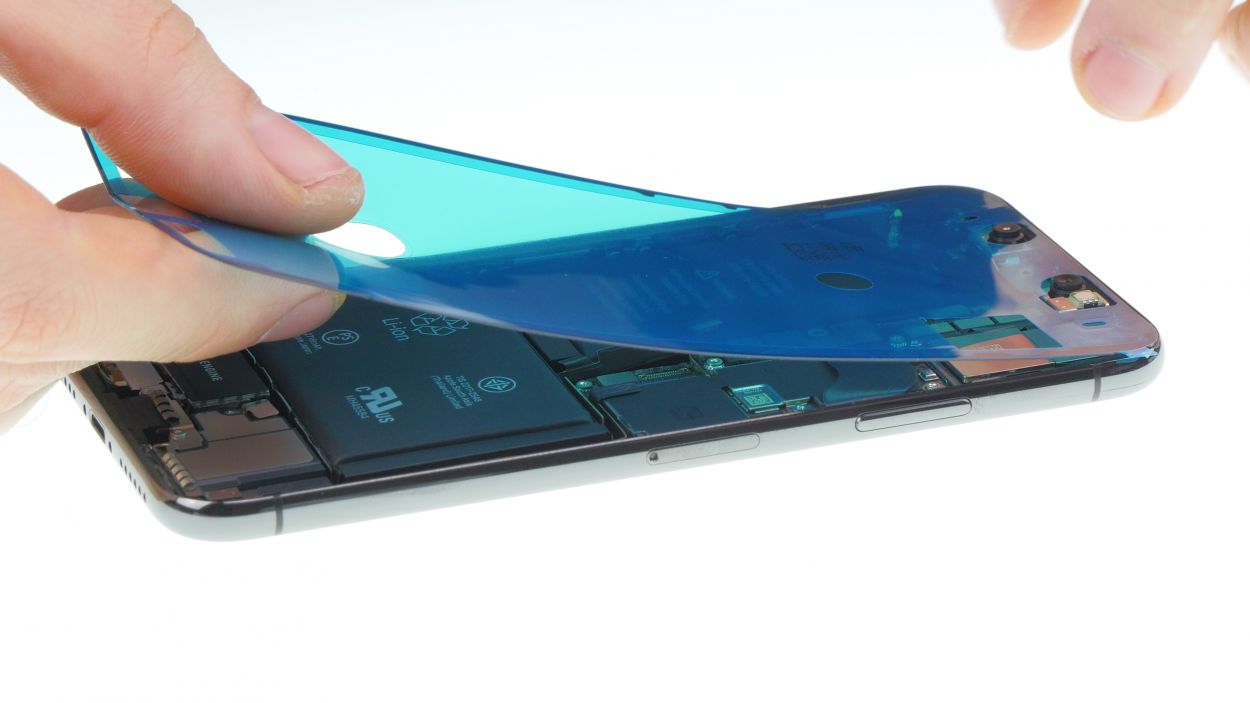
– To lift the front panel like a pro, grab a suction cup, a sturdy plastic pick, and a heat gun. If your screen is looking a bit like a jigsaw puzzle, cover it up with some packing tape before you get started.
– The screen is glued down tight. Use that heat gun to warm up the outer edges of the display to about 60°C (140°F) so we can loosen things up a bit.
– Now, place the suction cup at the bottom of the display. As you lift the screen with the suction cup, slide the hard plastic pick between the frame and the display, gently pressing down on the frame. You’ve got this!
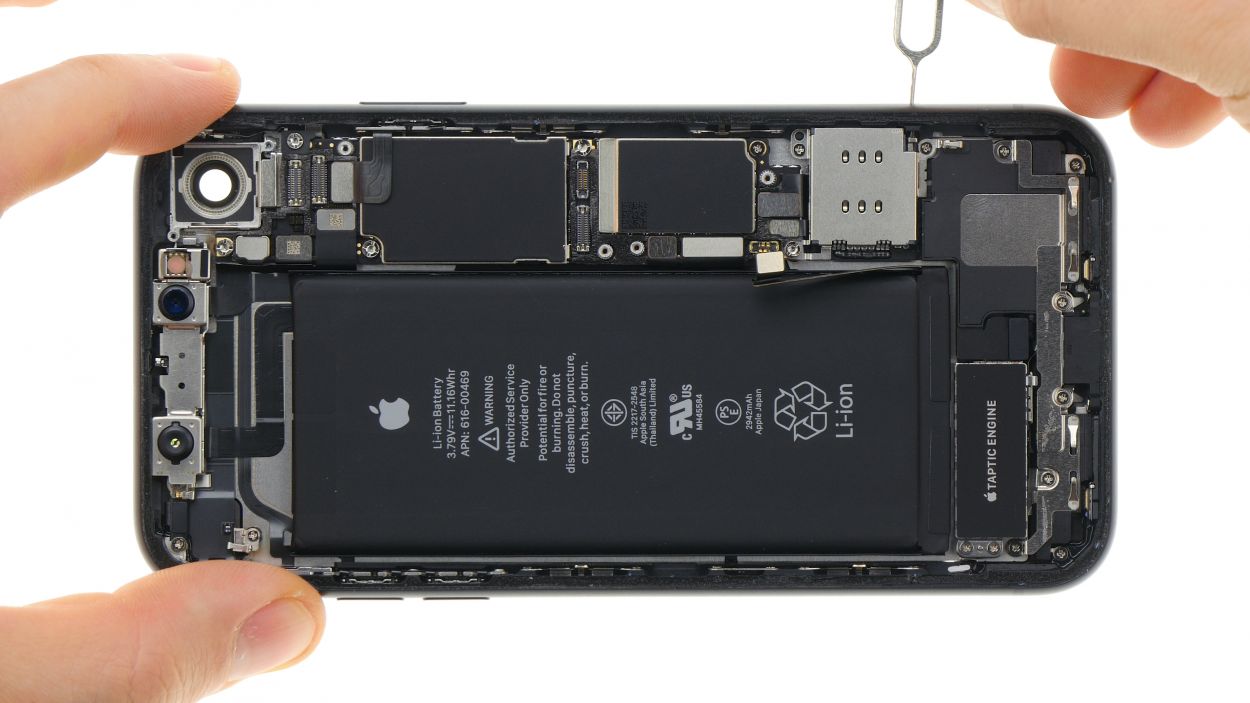
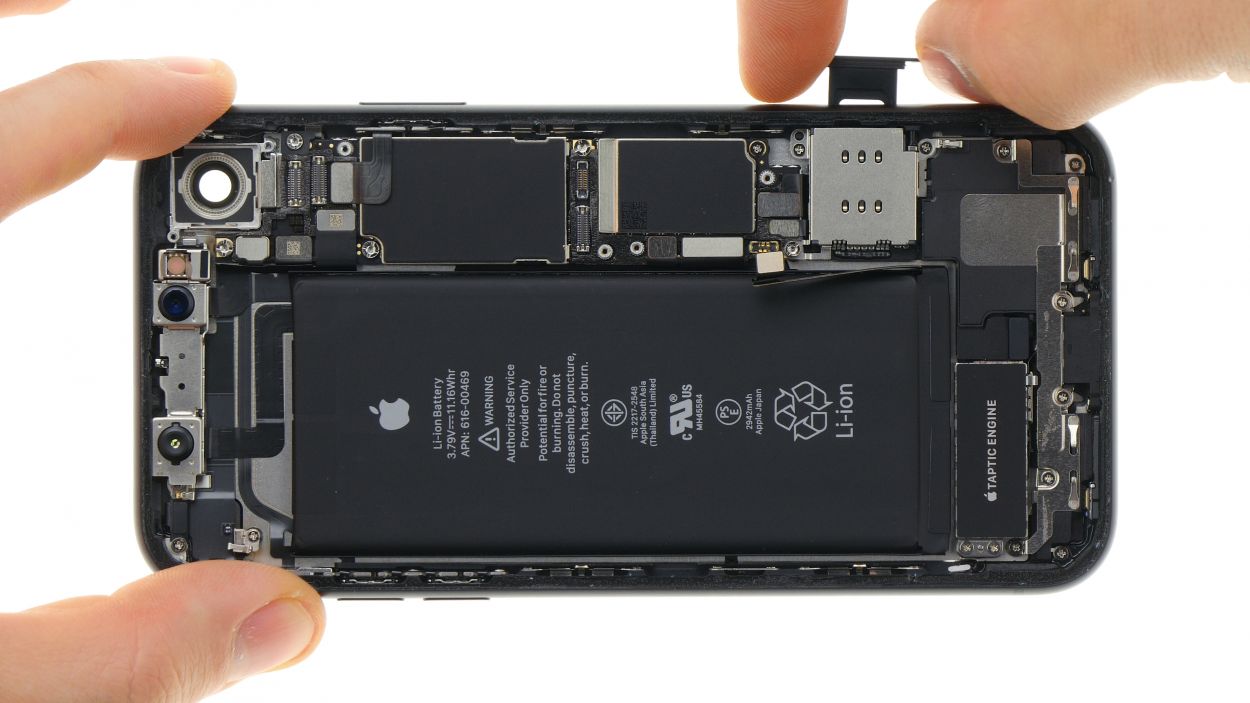
Step 4


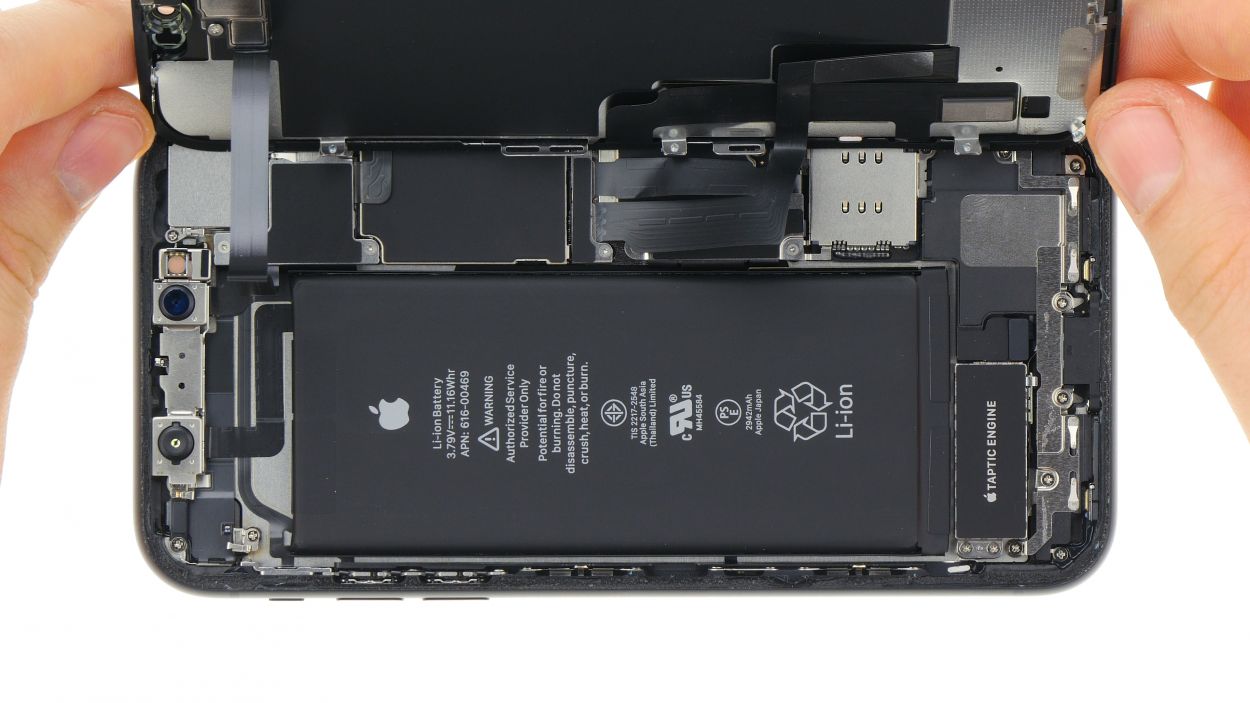
– Grab your trusty Y-Type screwdriver (Y000) and let’s get those Y-Type screws out of the way! Once they’re gone, lift off that bracket plate. And hey, don’t forget to keep all the little bits on your magnetic pad—let’s keep them from playing hide and seek!
– Now, with a gentle touch, use a spudger to carefully pry off the battery contact. Just slide it under the connector and lift it away like a pro!
3 × 1,2 mm Y-Type
Battery connector
Before you get your hands dirty, make sure to disconnect the battery contact! This little step helps prevent any short circuits and keeps your device from accidentally powering up while you’re in repair mode. Safety first, rockstar!
So, here’s a fun fact: Apple rolled out Y-Type screws with the iPhone 7! Sometimes folks mix them up and call them Tri-Point or Tri-Wing. To keep those screw heads looking sharp and unstripped, make sure you grab the right Y-Type screwdriver for the job!
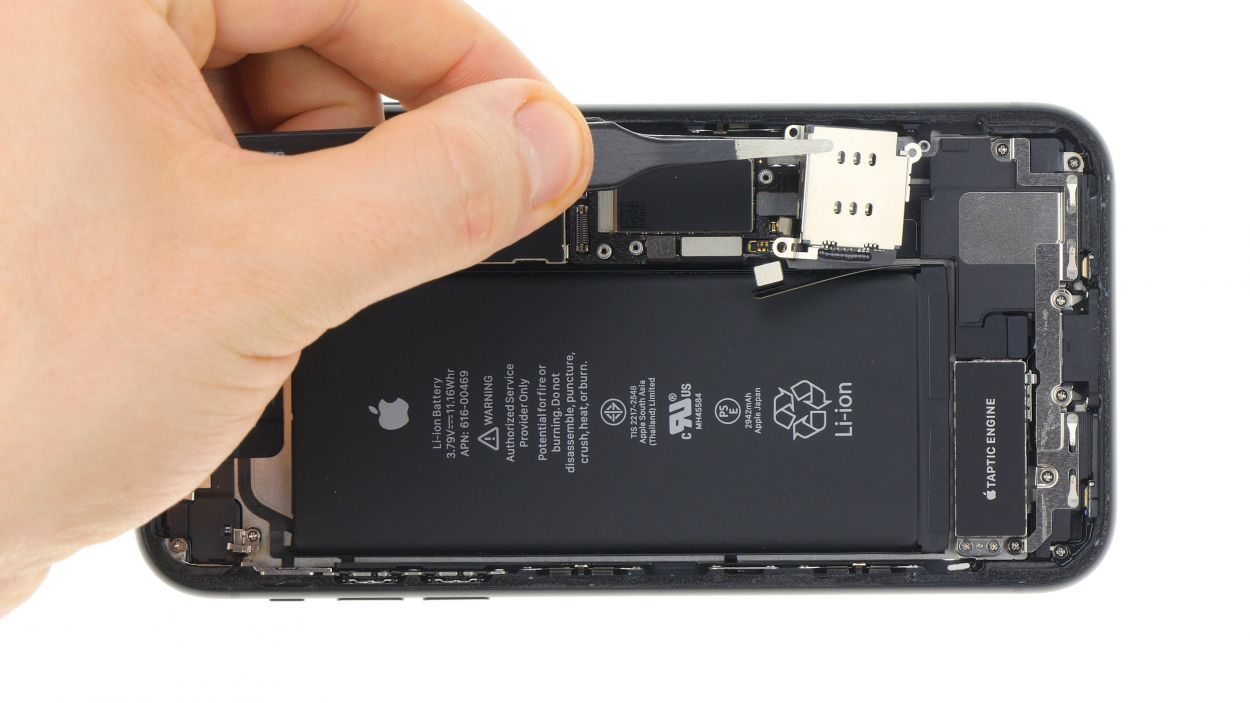
Step 5


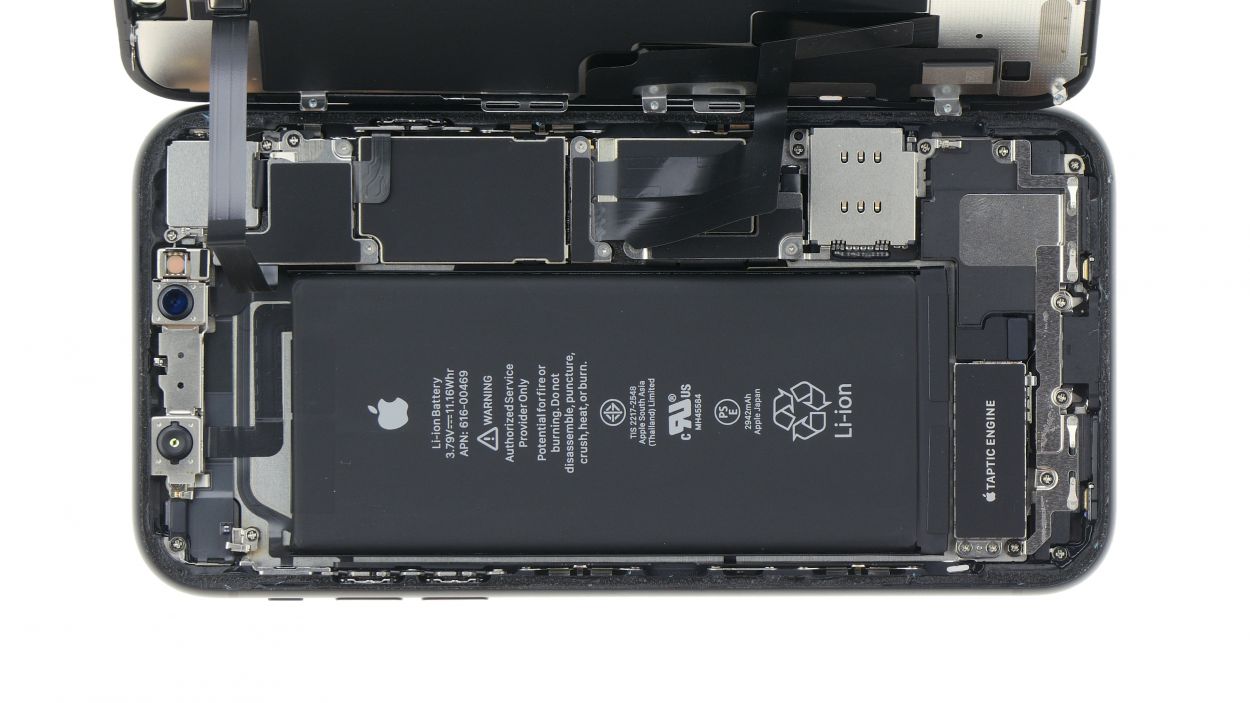
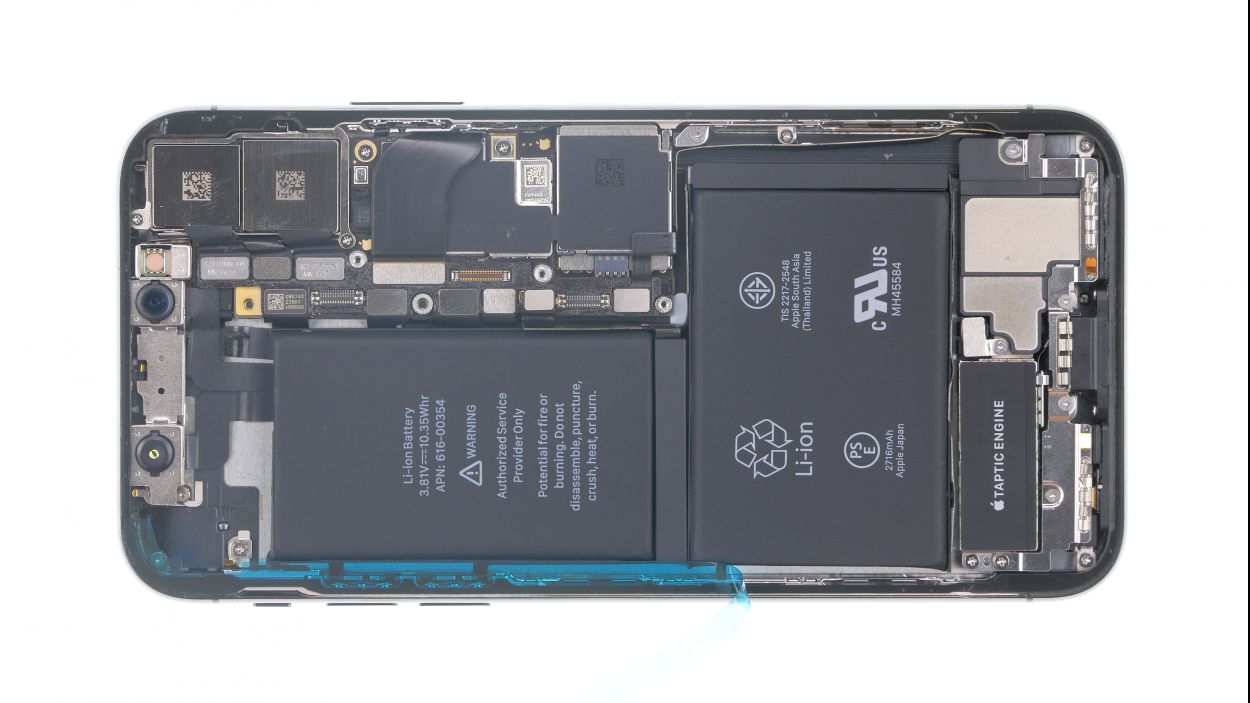
– The display unit is linked to three connectors, all tucked away beneath two cover plates.
– Grab your trusty spudger and gently work your way through those connectors for the display and earpiece, one at a time. You’ve got this!
2 × 1,2 mm Y-Type
Display connector
3 × 1,2 mm Y-Type
1 × 1,5 mm Phillips
1 × 1,3 mm Phillips
Earpiece connector
When you’re using that spudger to gently pry off the connectors, be super cautious! We want to keep everything intact, so hold the display steady to prevent any slips while you disconnect those connectors.
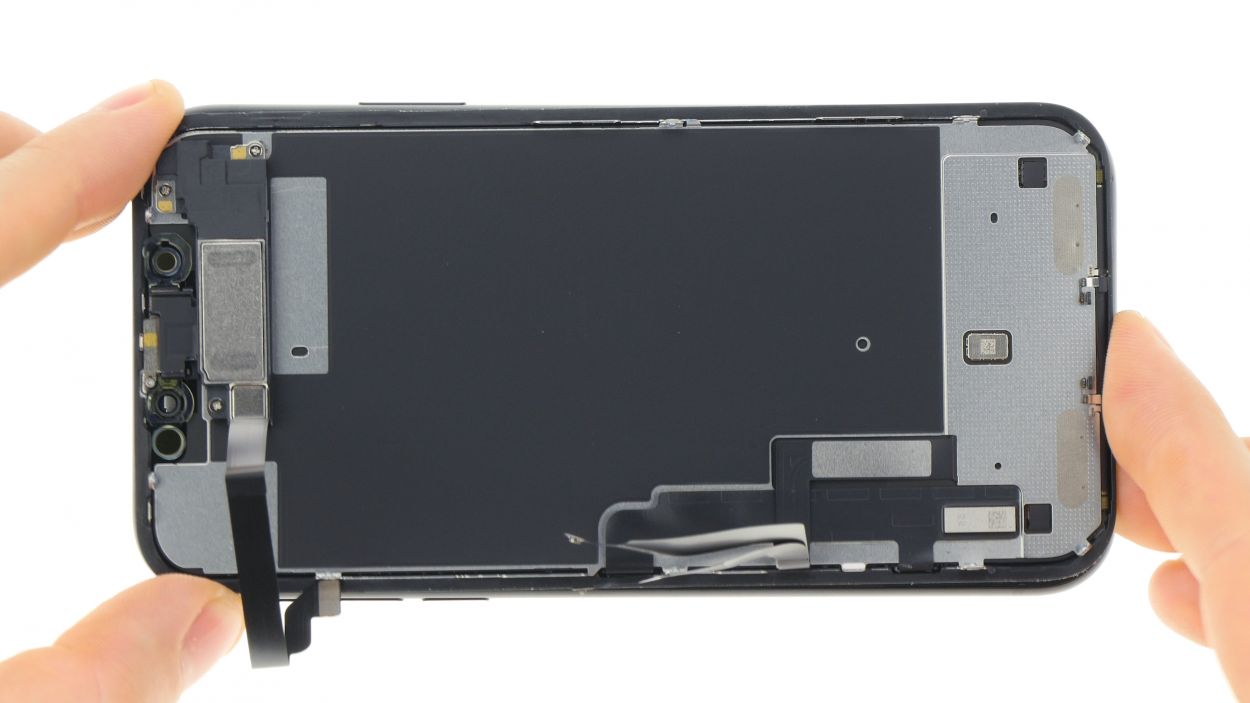
After you’ve unplugged those two lower connectors, feel free to lay the display flat beside your device since the earpiece cable has got plenty of length to spare!
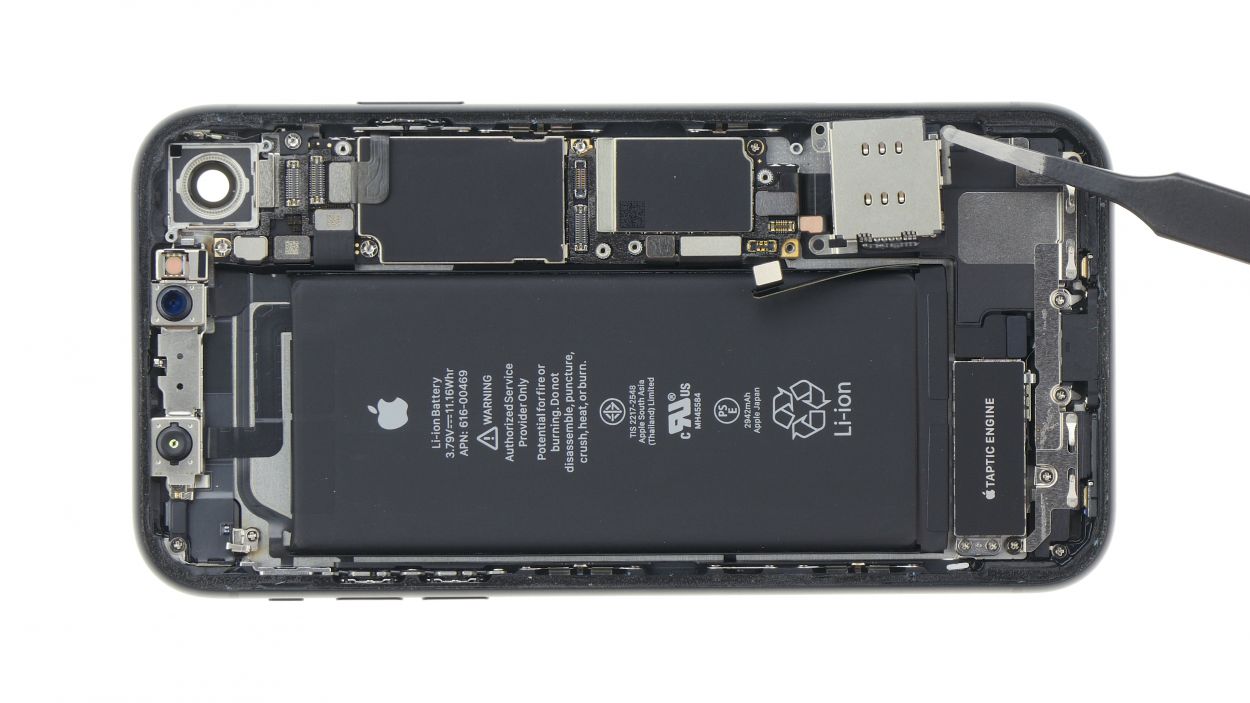
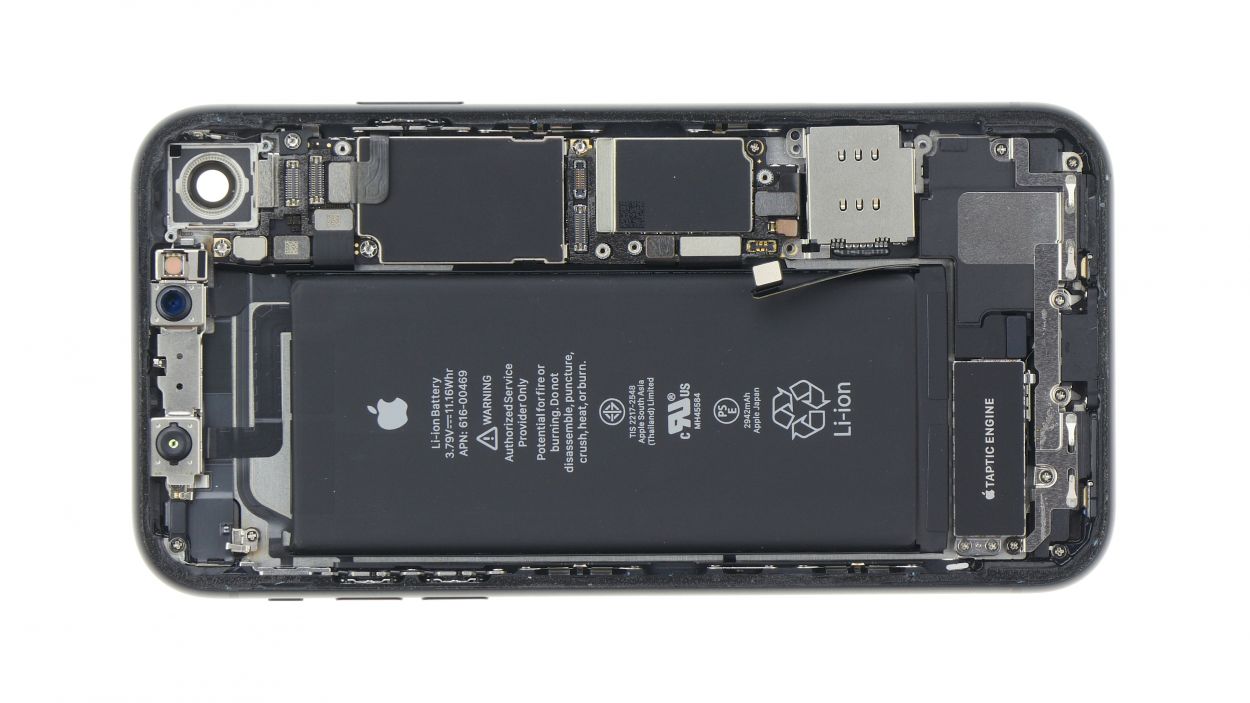
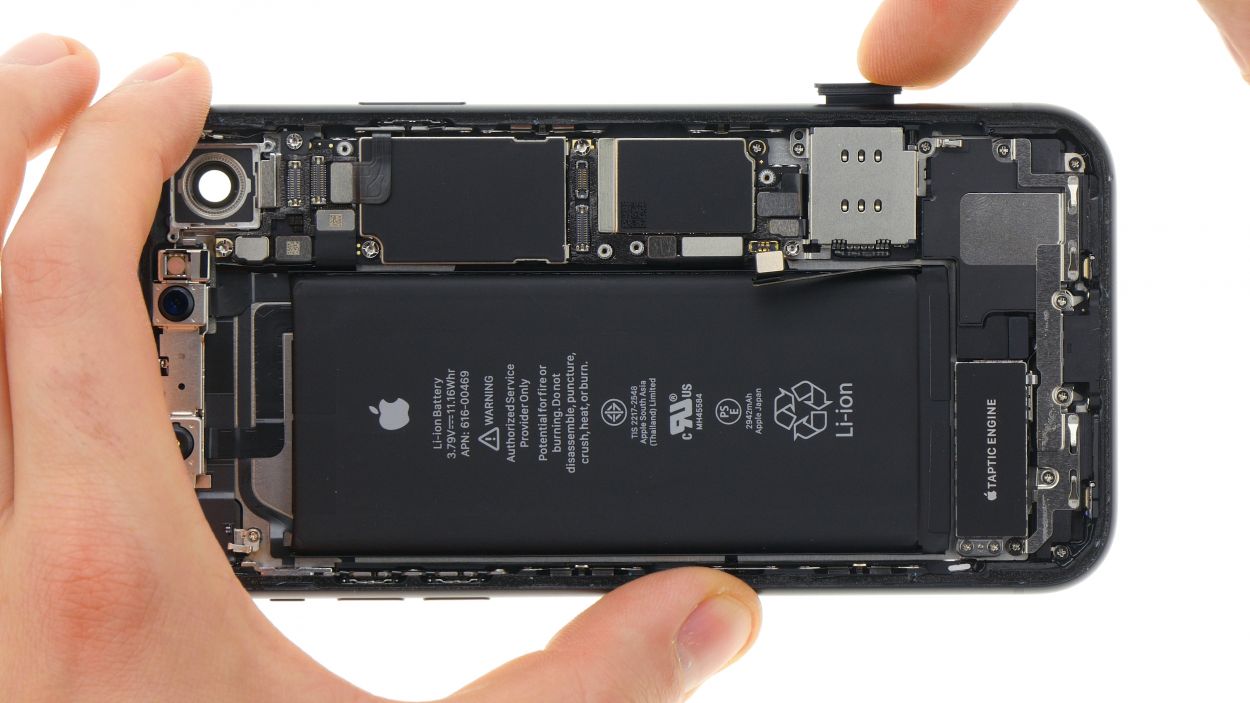
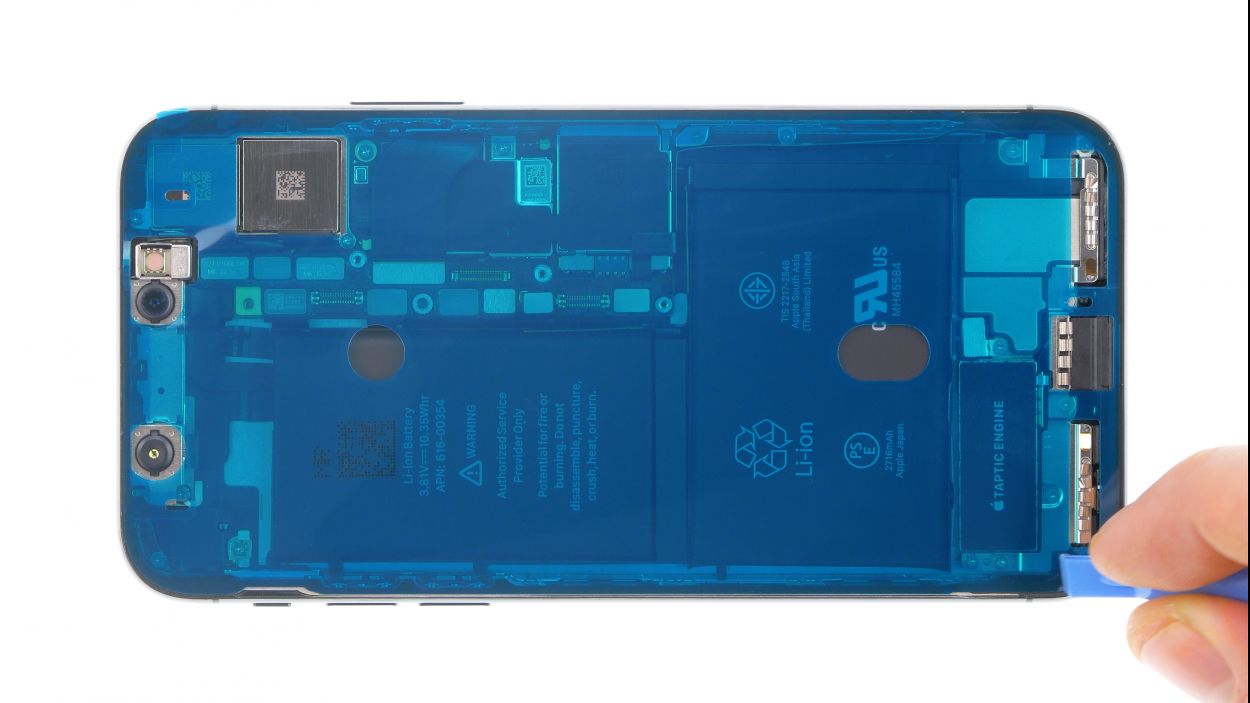
Step 6


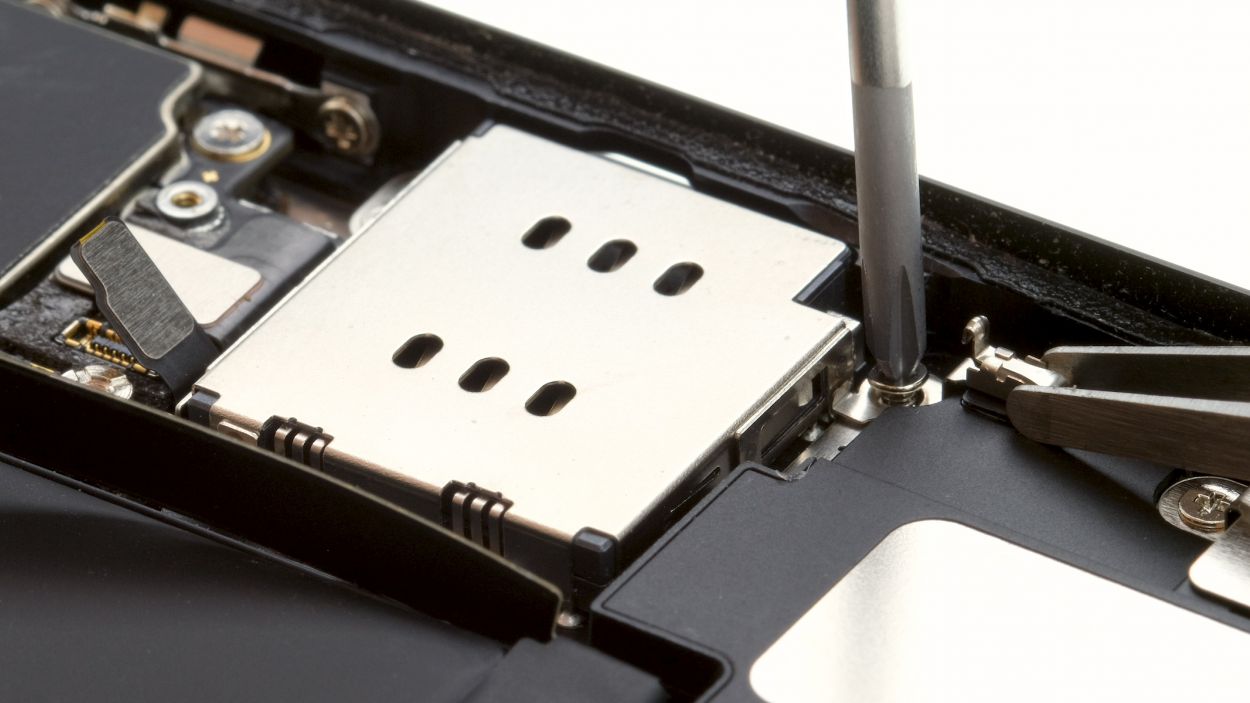
1 × 1,3 mm Phillips
1 × 1,4 mm Phillips
1 × 3,0 mm Standoff
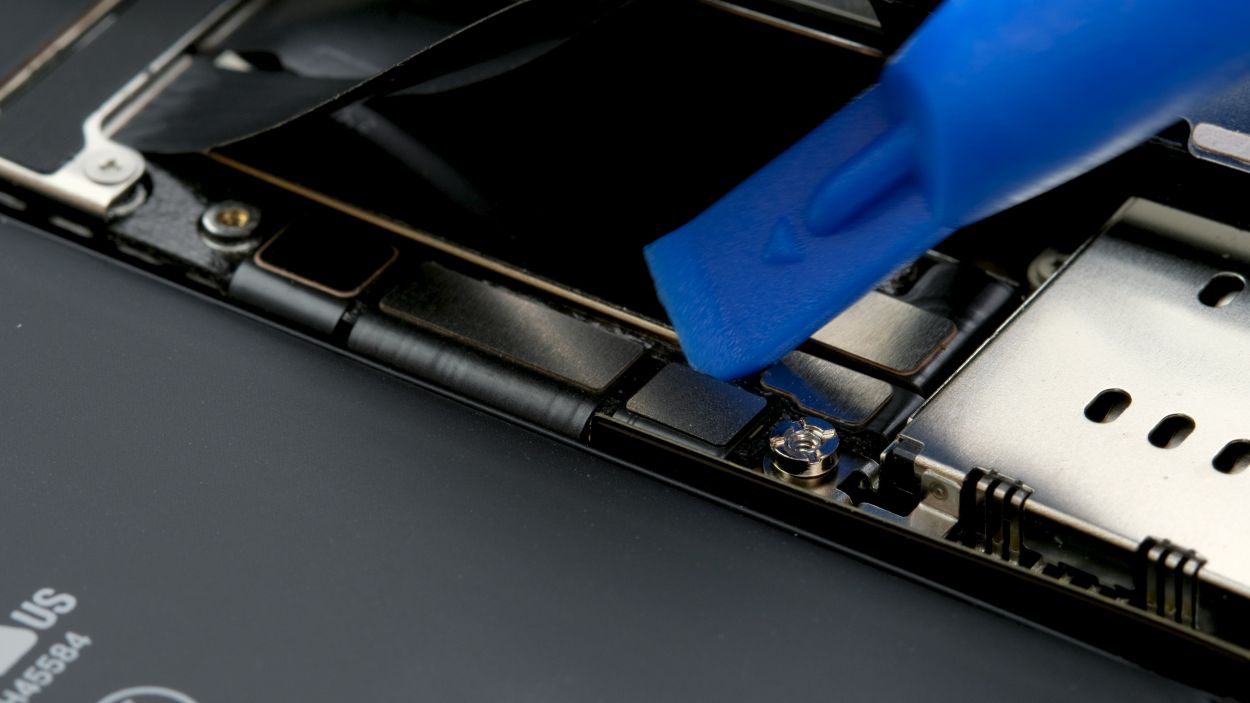
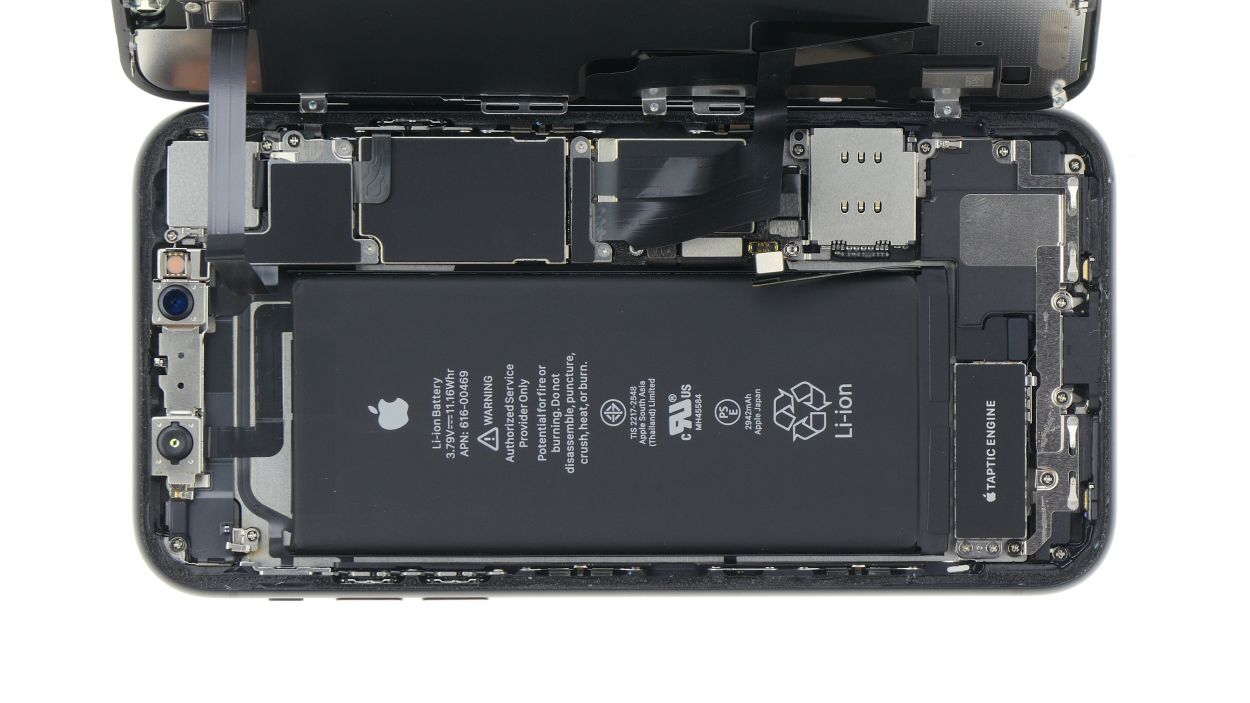
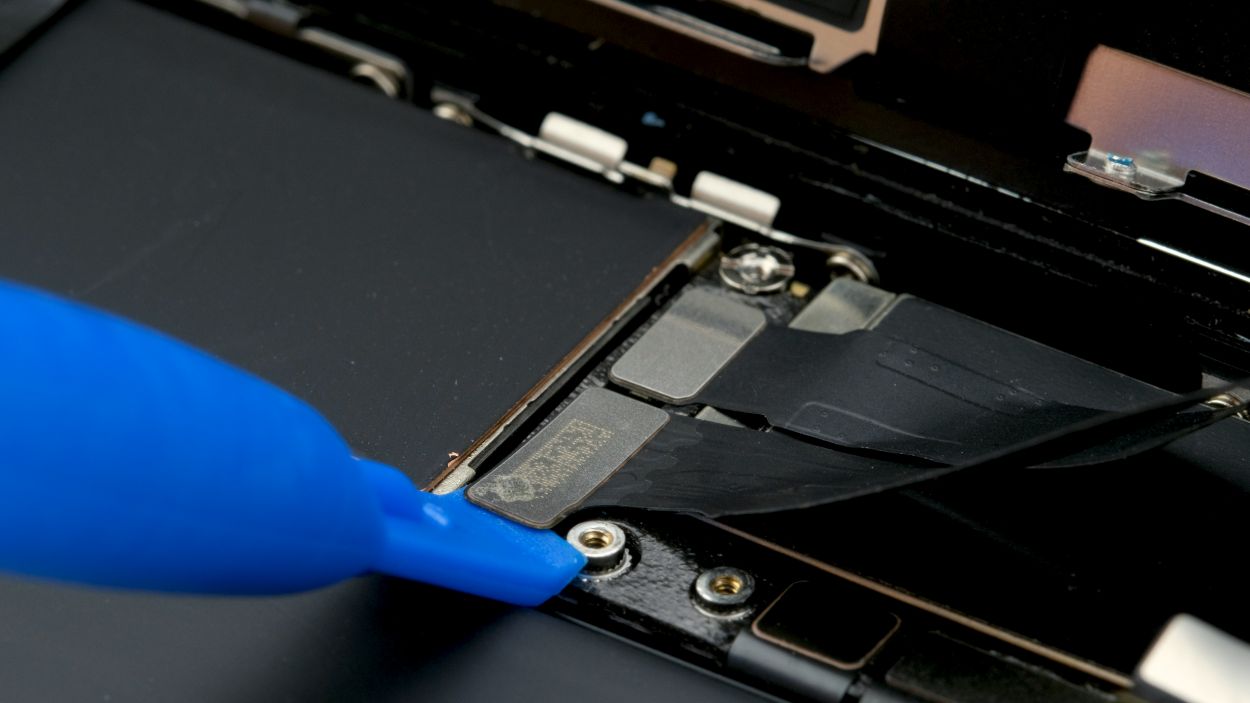
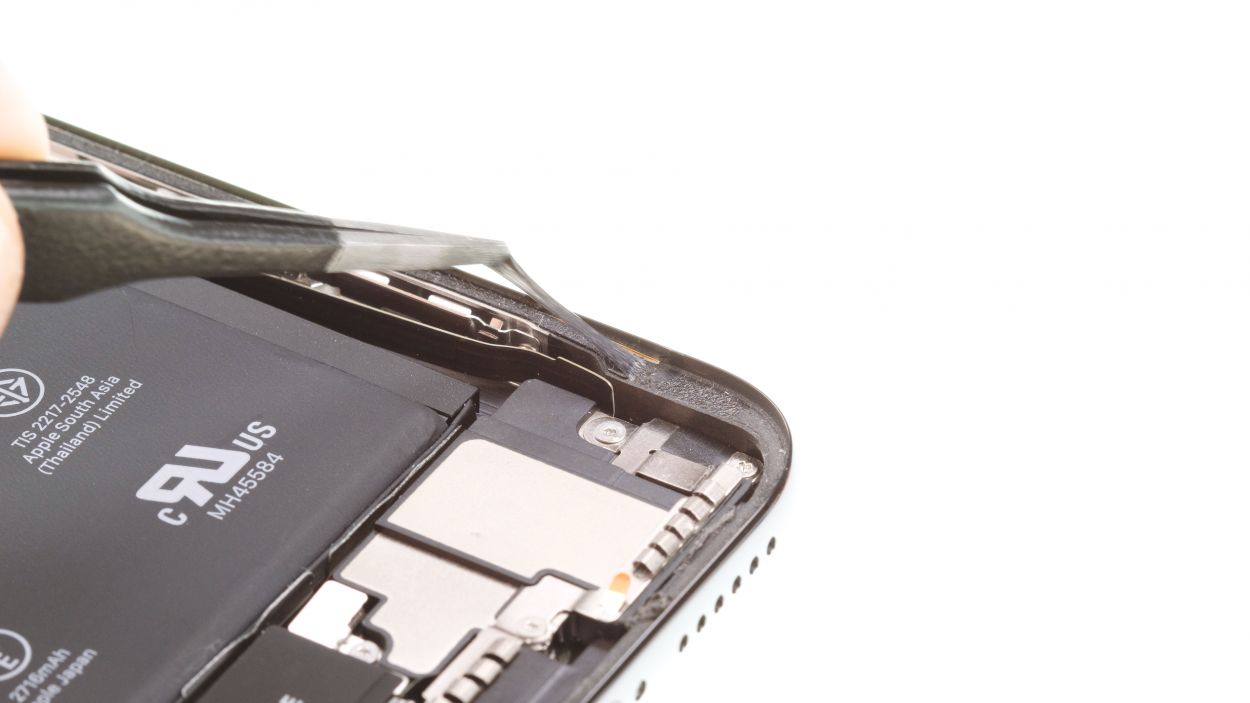
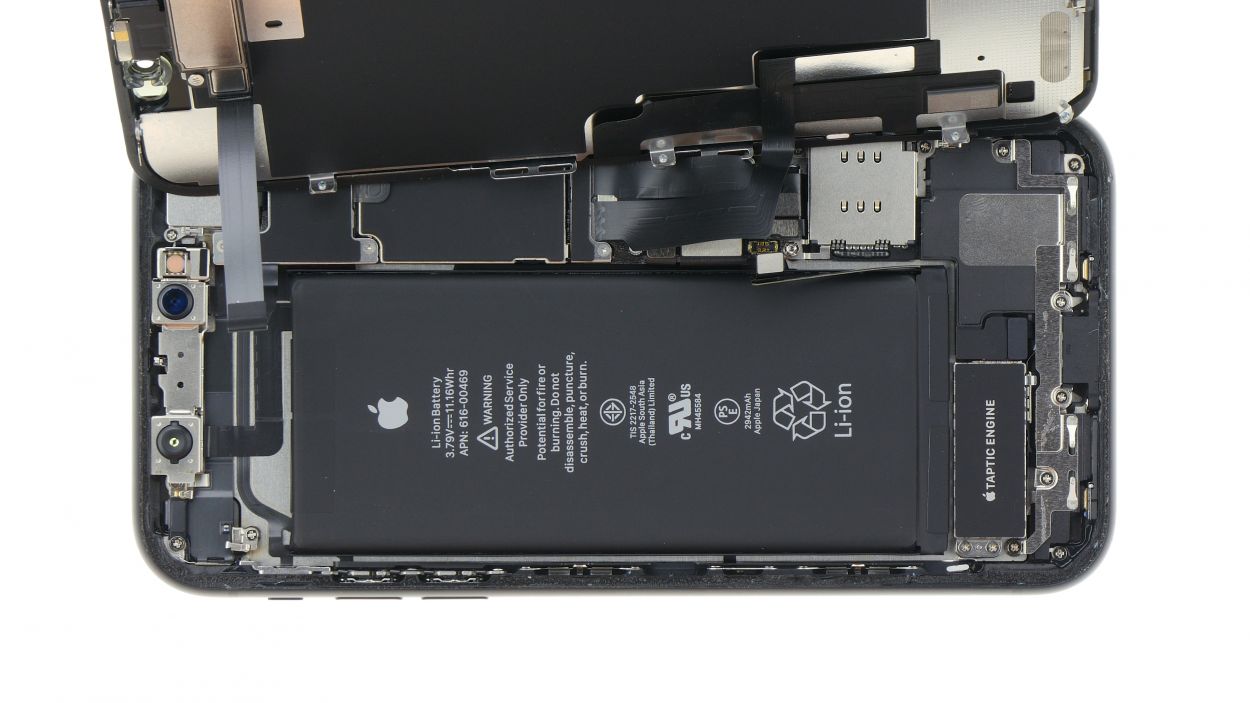
SIM reader connector
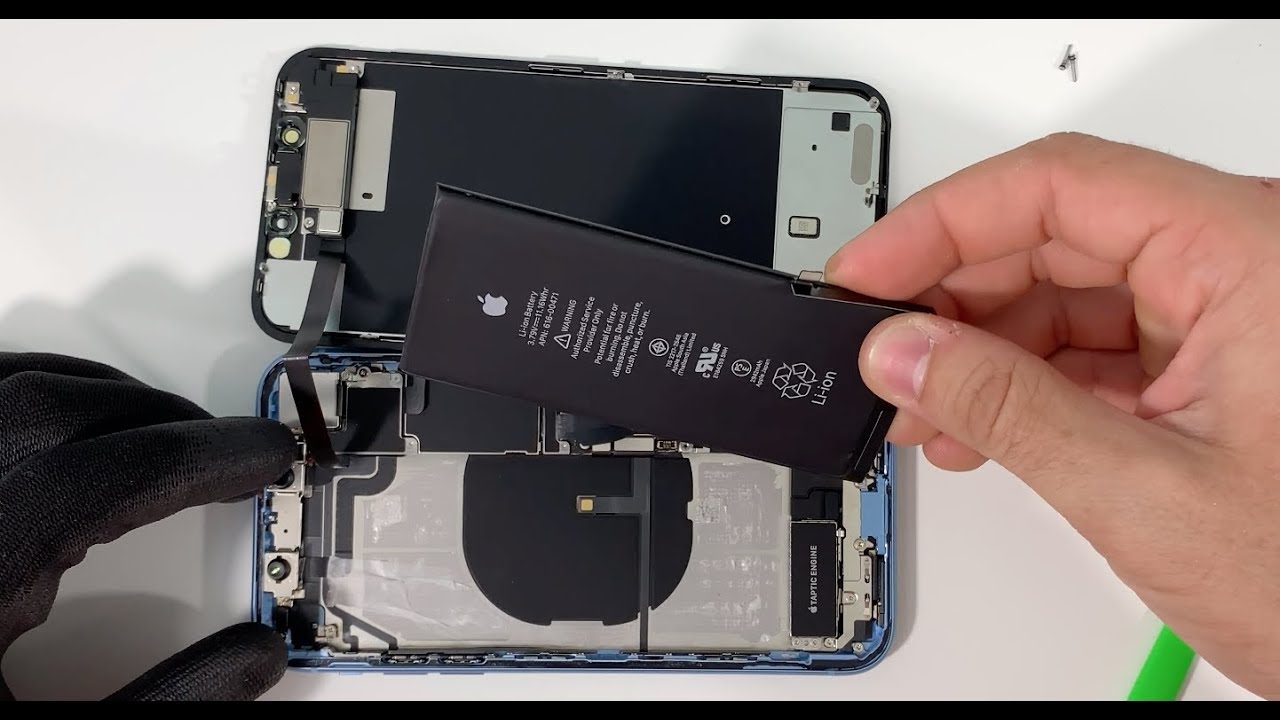
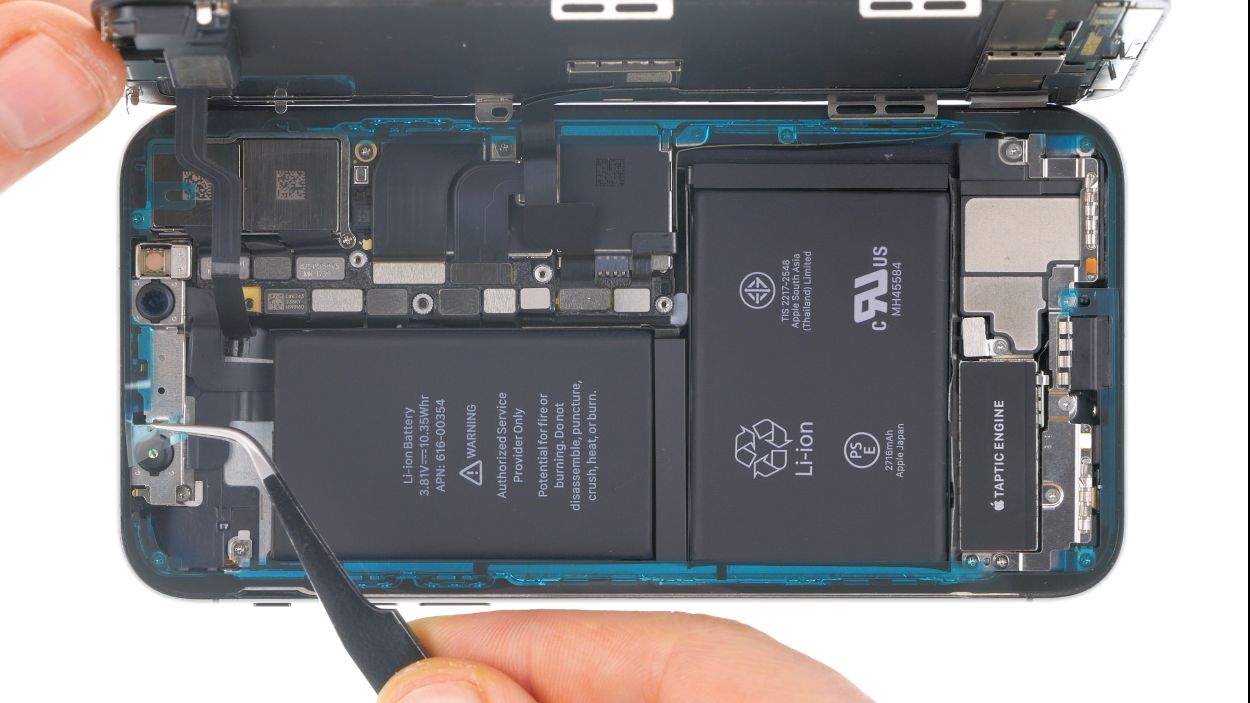
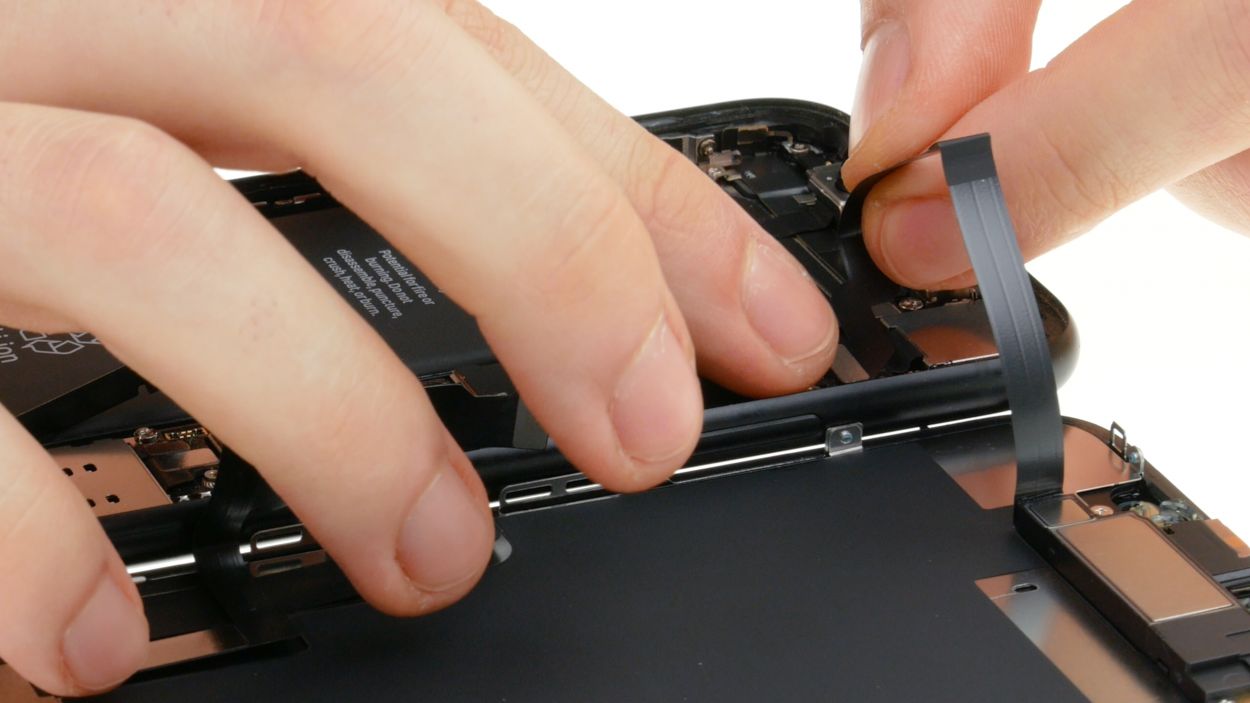
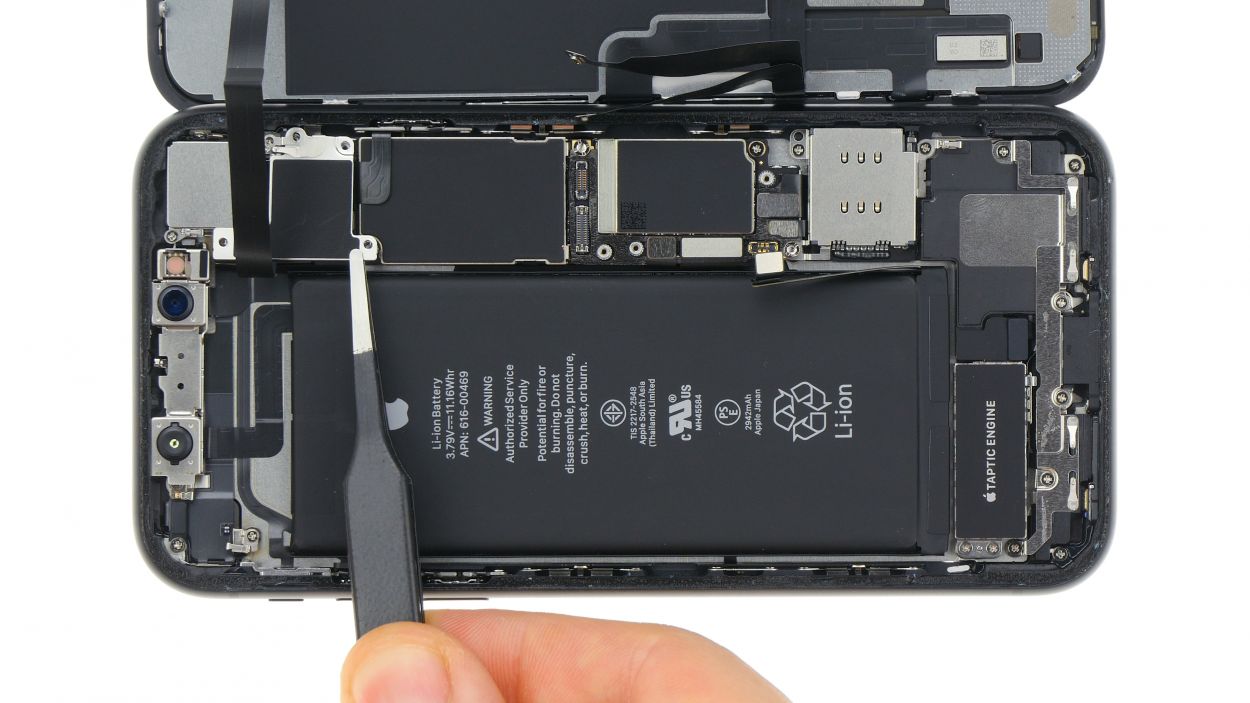
– Start by popping out the SIM card holder from your device. Easy does it!
– Next, gently use a spudger to disconnect the contact—no need to rush!
– Now, loosen those screws that are holding the card reader snugly in place. There’s a little metal clip attached with a screw, so grab your tweezers to hold it steady while you remove the screw. Keep track of how it aligns so you can put it back just right later!
– And just like that, you can now remove the SIM card reader. You’re doing great!
Step 7
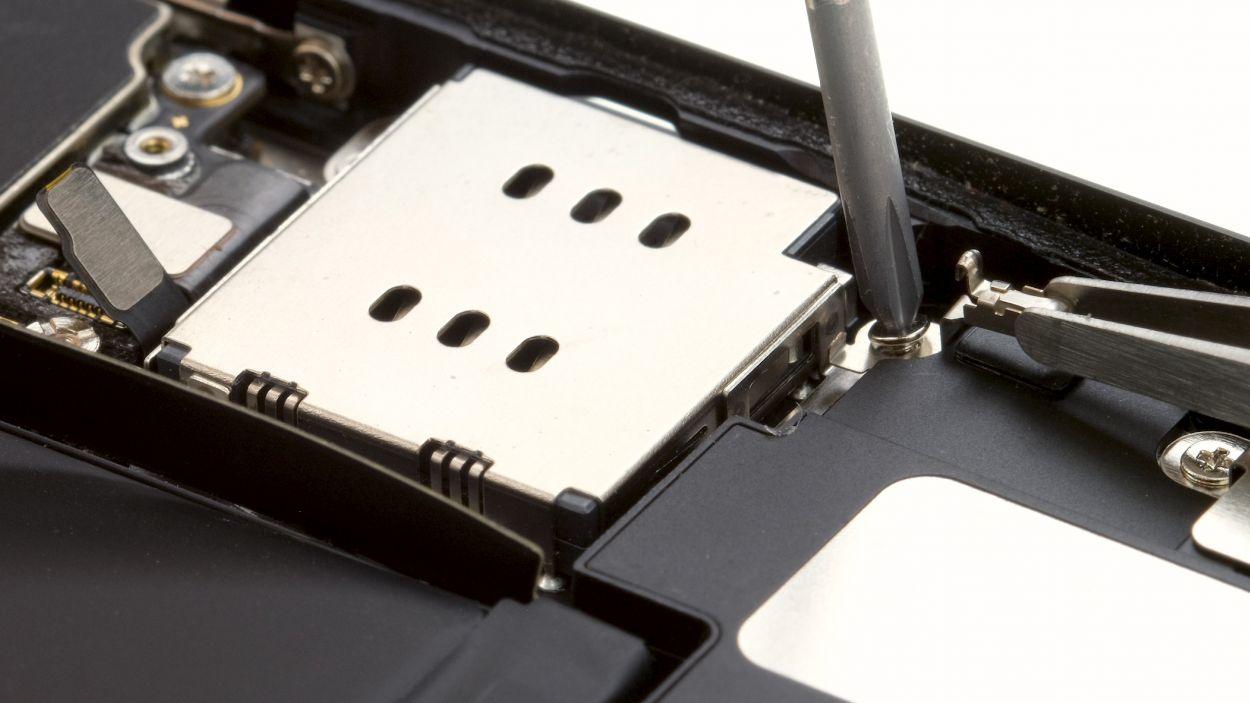
1 × 1,3 mm Phillips
1 × 1,4 mm Phillips
1 × 3,0 mm Standoff
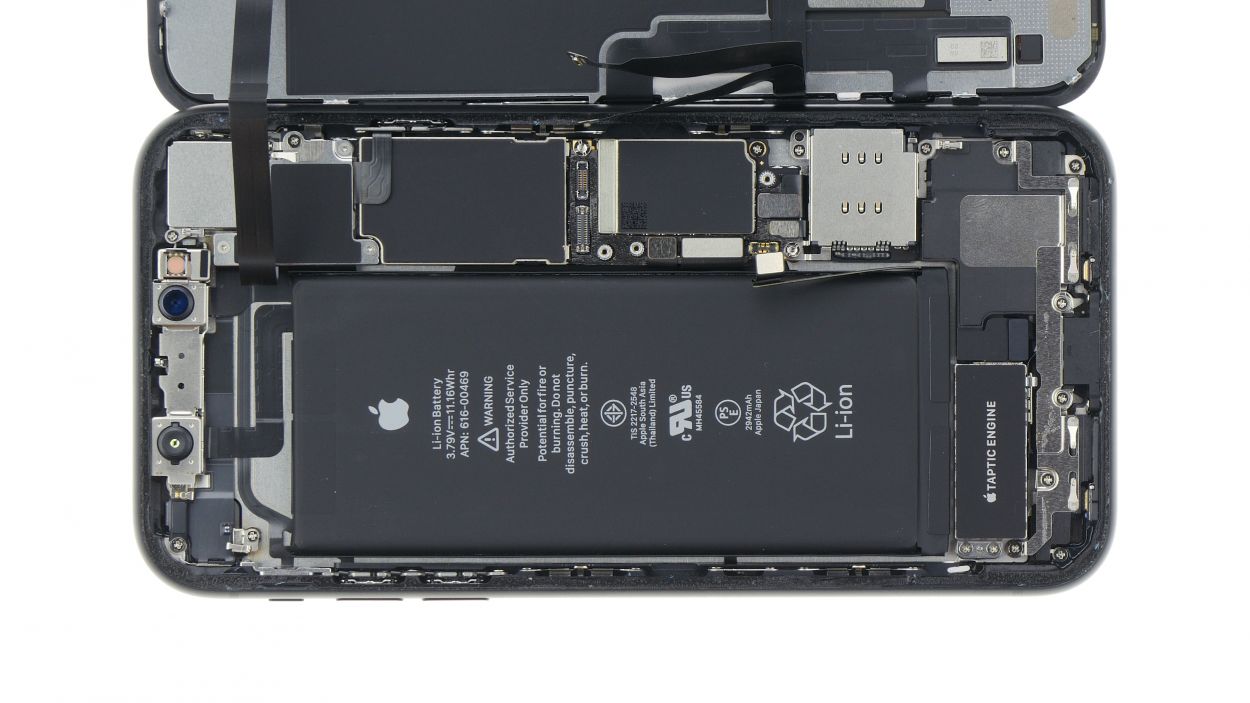
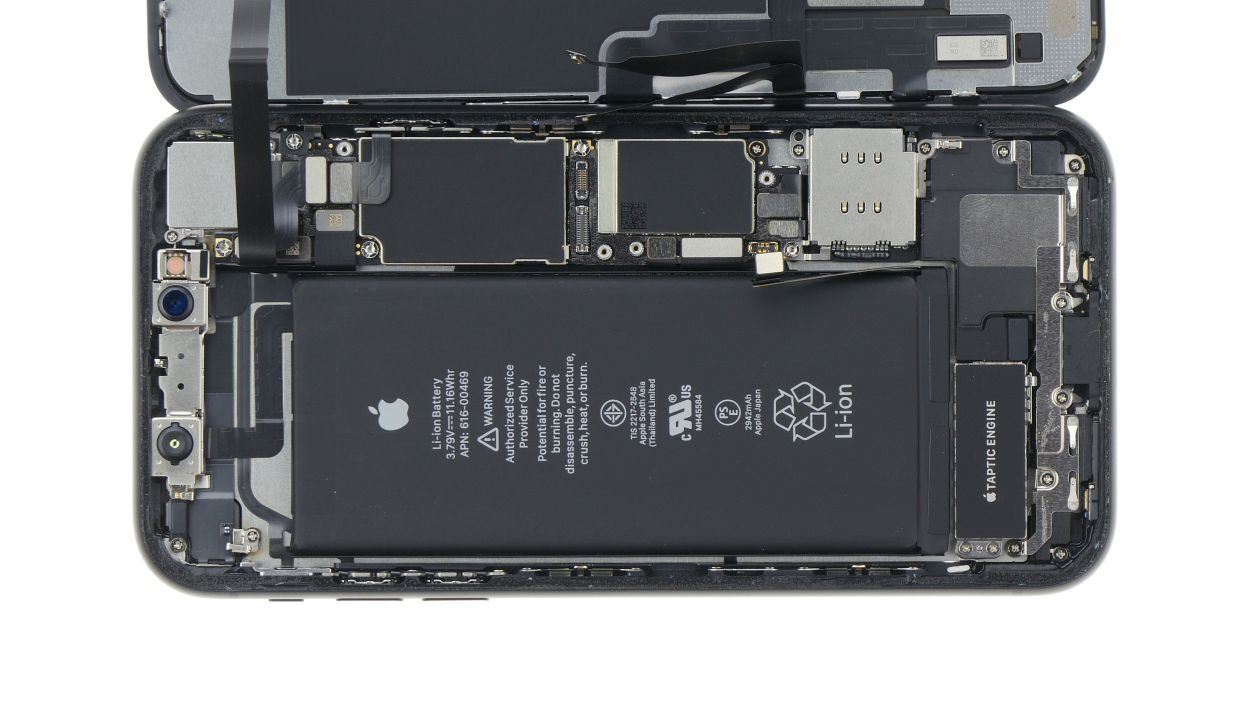
SIM reader connector
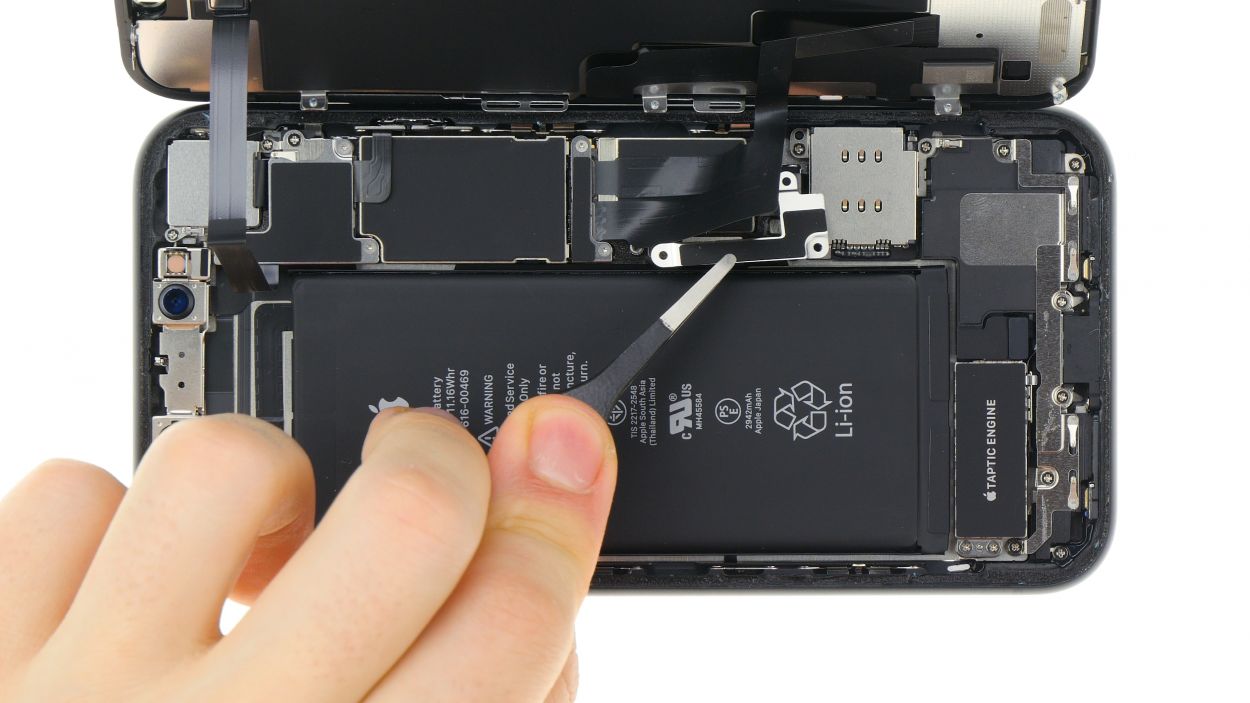
– Pop that SIM card reader back into place and secure it with a screw—easy peasy!
– Make sure that little metal clip is facing the right way; we want it to fit snugly!
– Plug in the connector for the card reader. It’s like giving it a warm hug!
– Slide in the SIM card holder. If it goes in smoothly, you’re all set! If you feel any resistance, it might not be seated right yet. No worries, just adjust it!
Step 8


– To ensure that the new frame sticker sticks like a champ, start by cleaning off any glue residue and dirt from that shiny metal frame.
– Peel off the first protective film layer of the frame sticker. It’s like unwrapping a gift!
– Carefully position the frame sticker on one edge of the frame, attaching it little by little. Make sure it’s nice and even, then press it down. You can use a spudger+iPhone+Xr&crid=1TJIMMAJSUJUZ&sprefix=repair+tools%2Caps%2C165&linkCode=ll2&tag=salvationrepa-20&linkId=c486487cf454ce8edd6f5beefab4110f&language=en_US&ref_=as_li_ss_tl’>plastic spudger to help press the adhesive into place—teamwork makes the dream work!
– Now, go ahead and remove the next large protective film.
– Feel free to keep the small protective films on for now. You can remove them after you’ve connected the display and attached the bracket plates. This keeps the frame sticker safe from any sticky situations before installation. But hey, if you want to peel them off right away, that’s cool too!
Repairing your iPhone with a frame sticker gives it a nice shield against dust and splashes, but let’s be real—it won’t make it a fish in water! Keep that in mind while you work your magic!
Check it out! In the images, we’ve got the iPhone X strutting its stuff. The iPhone Xr is practically its twin, and guess what? They both get re-glued in the same stylish way!


Earpiece connector
3 × 1,2 mm Y-Type
1 × 1,5 mm Phillips
1 × 1,3 mm Phillips
Display connector
2 × 1,2 mm Y-Type
When you’re connecting those little buddies, make sure they’re snug in their sockets! No sliding around on the logic board—let’s keep those contacts happy and intact!
To connect those other connectors, just lean the display against something sturdy. This way, you’ll keep those delicate flex cables from stretching too much. Easy does it!
Step 10

Battery connector
3 × 1,2 mm Y-Type
– Alright, time to connect that battery connector! You’re almost there!
– Next up, pop in the bracket plate and secure it with those Y-Type screws. You’ve got this!
Step 11
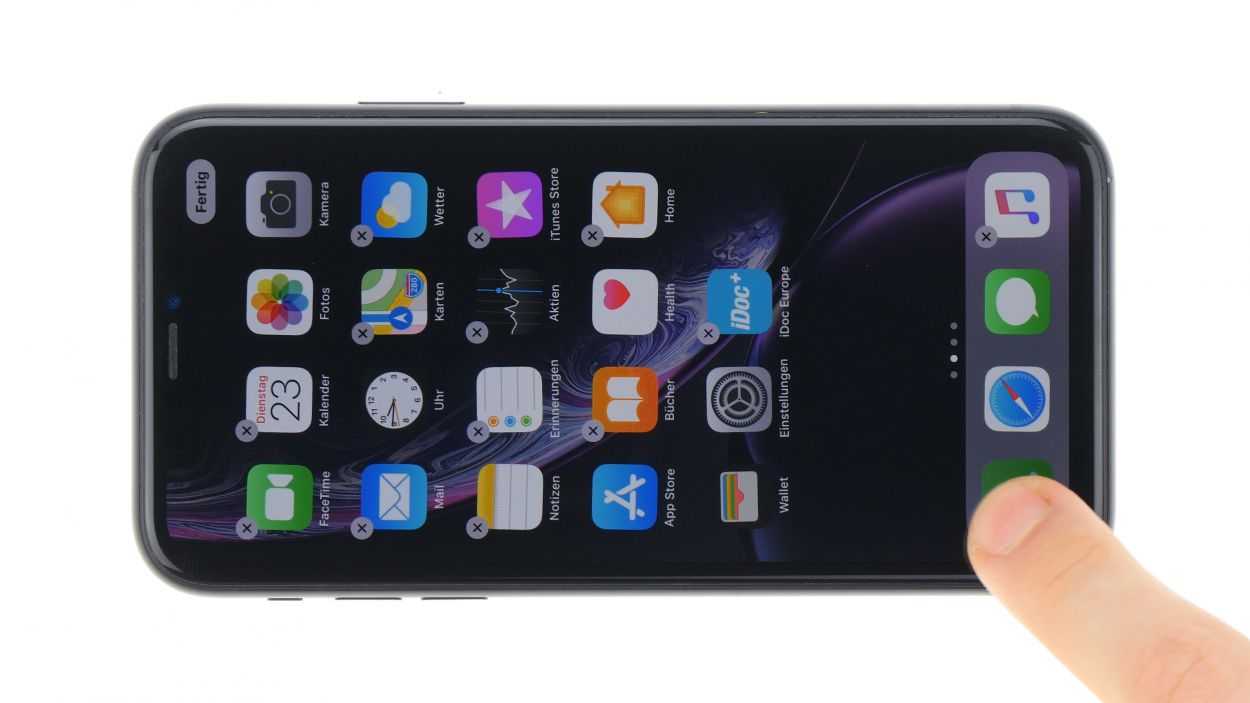


– Let’s brighten things up! Check the brightness of that display to make sure it’s shining bright like a diamond.
– Give that touchscreen a whirl! Pick an app and drag it all over the display. If it dances along with your finger, then it’s working like a charm!
– Want to test out the sound? Use the voice memo app to check the microphone, speakers, earpiece, and proximity sensor. Time to make some noise!
Step 12


Check it out! In the images, we’ve got the iPhone X flaunting its features. The iPhone Xr is basically its twin, and guess what? They both get re-glued in the same stylish way!
Step 13

2 × 6,8 mm Pentalobe
– Time to secure those two pentalobe screws right next to the Lightning connector! One goes on the left and the other on the right. Just twist them in snugly, and you’ll be all set!