DIY Guide to Replace Galaxy A7 (2018) Back Cover
Duration: 15 min.
Steps: 2 Steps
In this guide, we’ll walk you through the process of swapping out your Galaxy A7’s back cover that’s seen better days. Whether your back cover is cracked, shattered, or you’re just craving a fresh new color, we’ve got you covered!
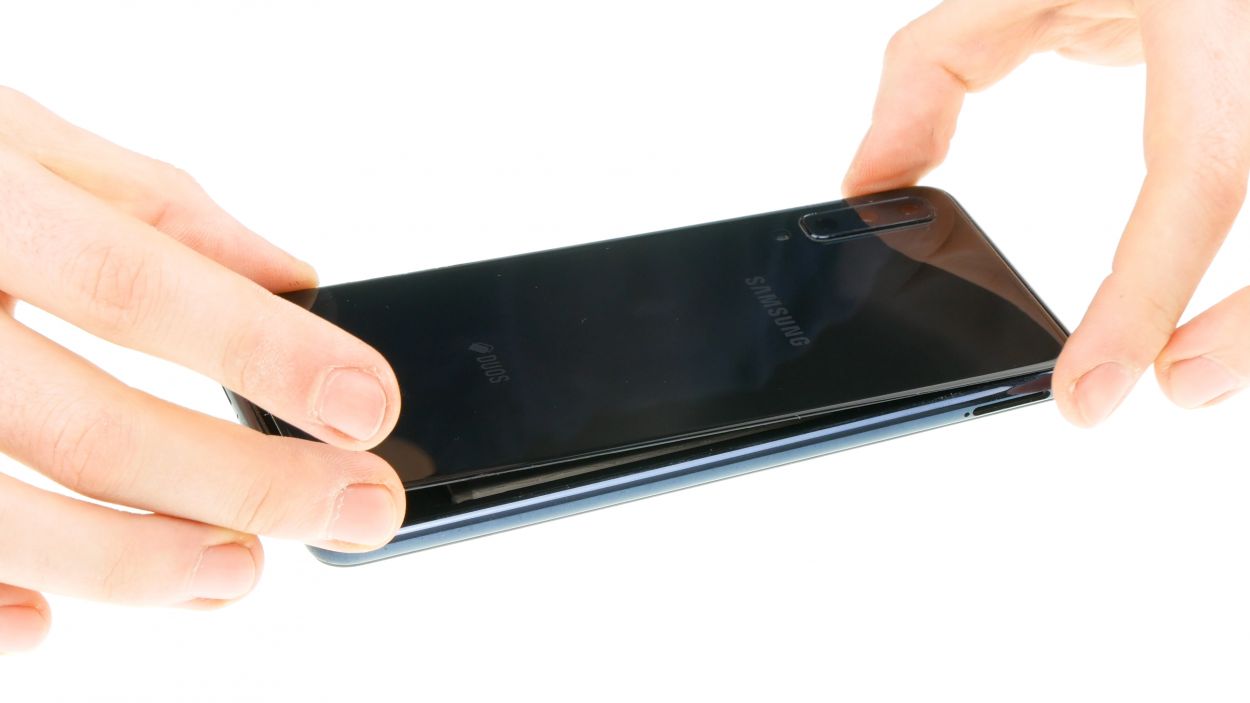
Step 1
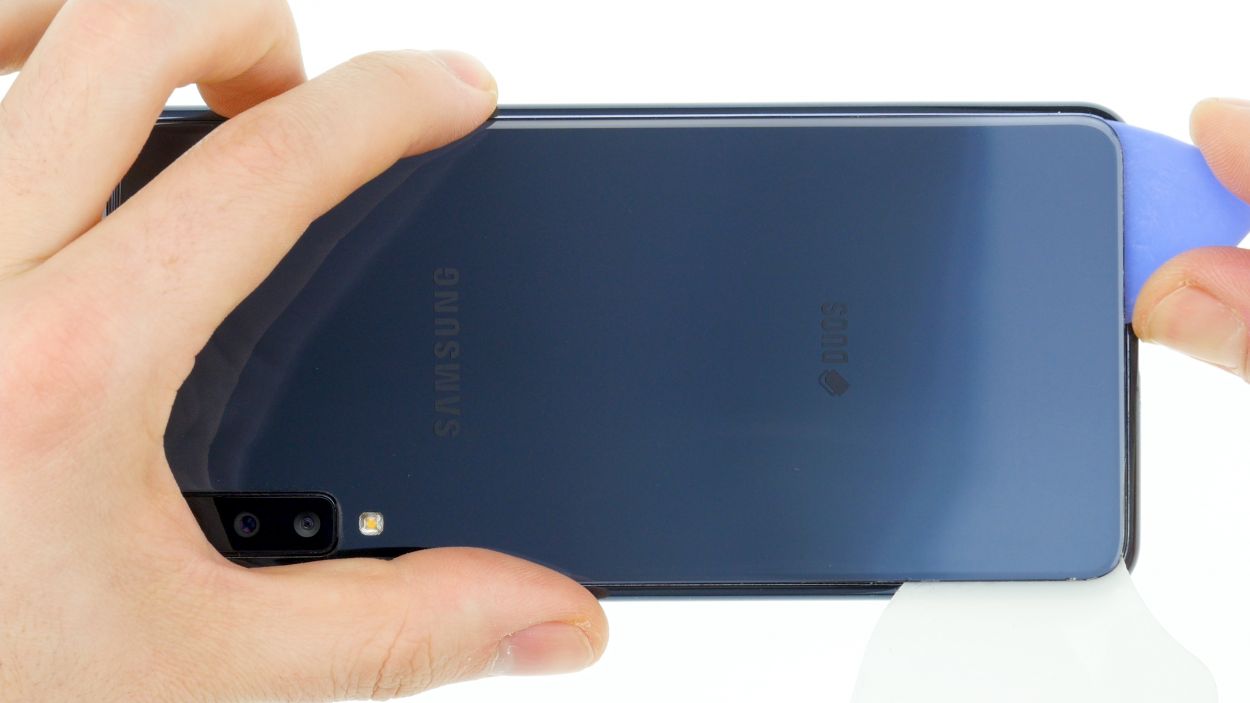

Watch out for those sharp glass edges when your back cover decides to shatter! We want you in one piece while you tackle this repair.
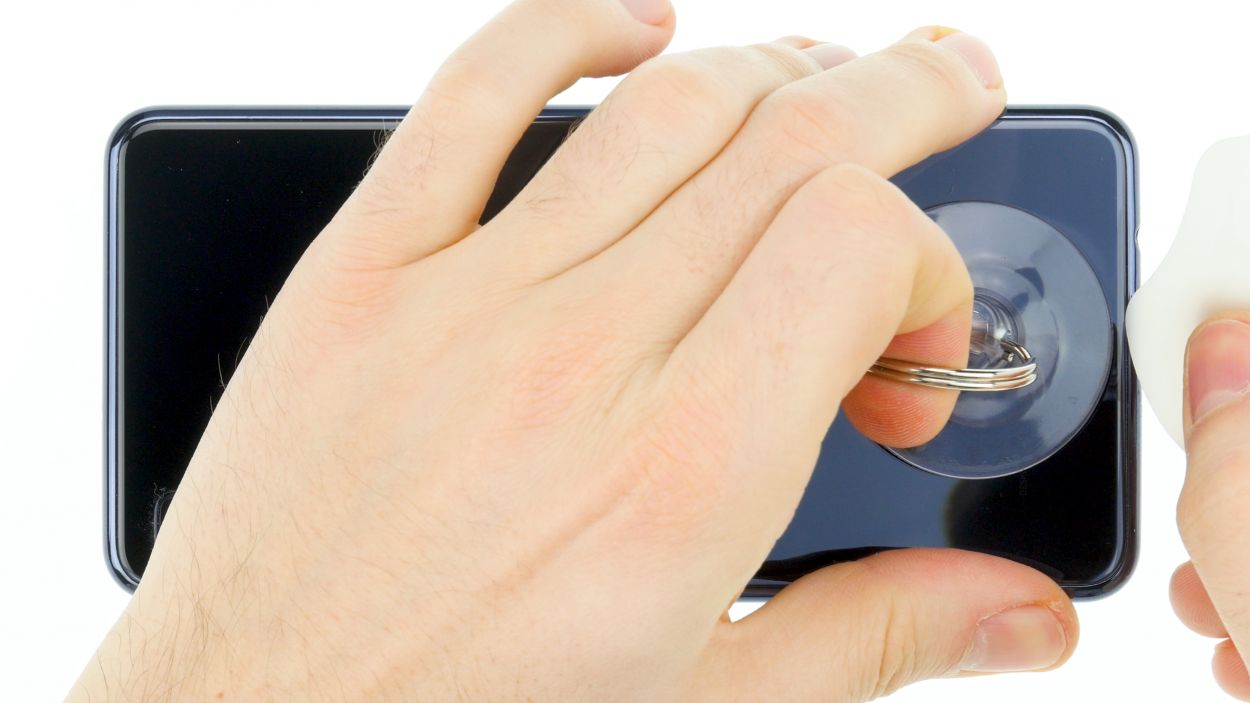
If you’re having trouble finding a spot to insert your tool, grab a suction cup and give that glass a little lift!
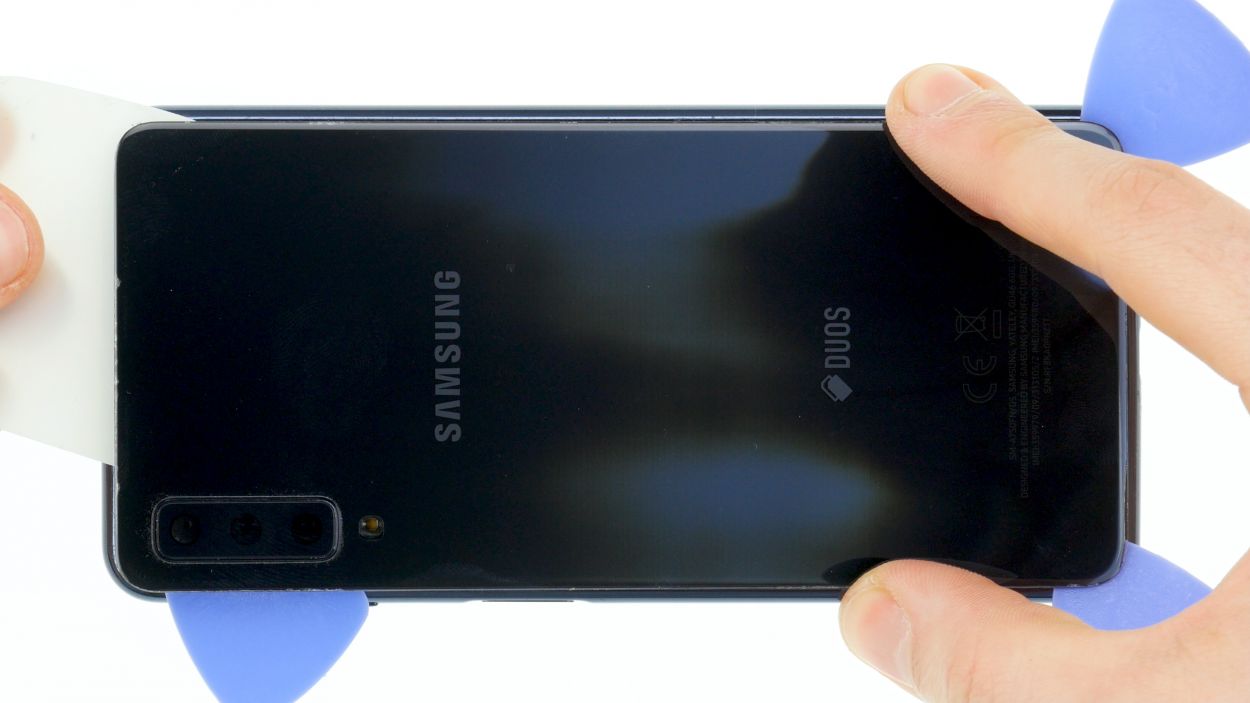
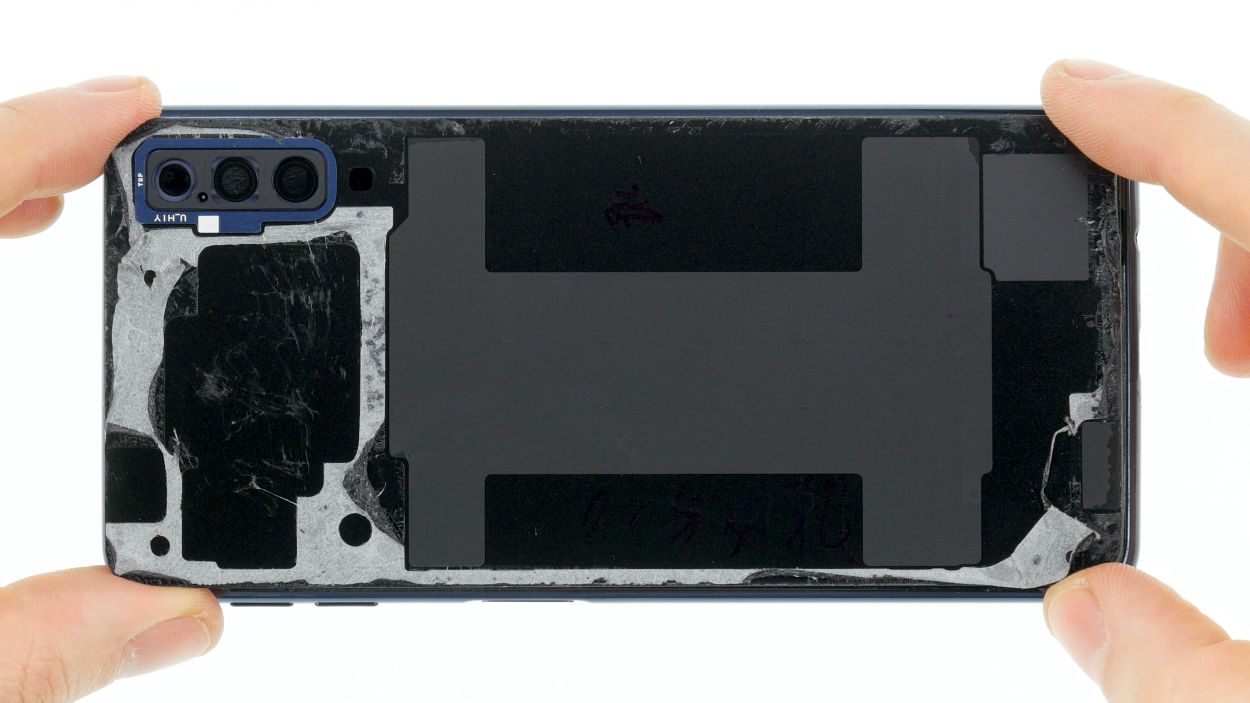
– The back cover is really stuck to the chassis. Give your device a little love by warming it up evenly with some hot air to loosen that glue. A cozy temperature of 60 – 80°C should do the trick! Just a friendly reminder: you should still be able to touch your device without feeling like you’re holding a hot potato.
Step 2
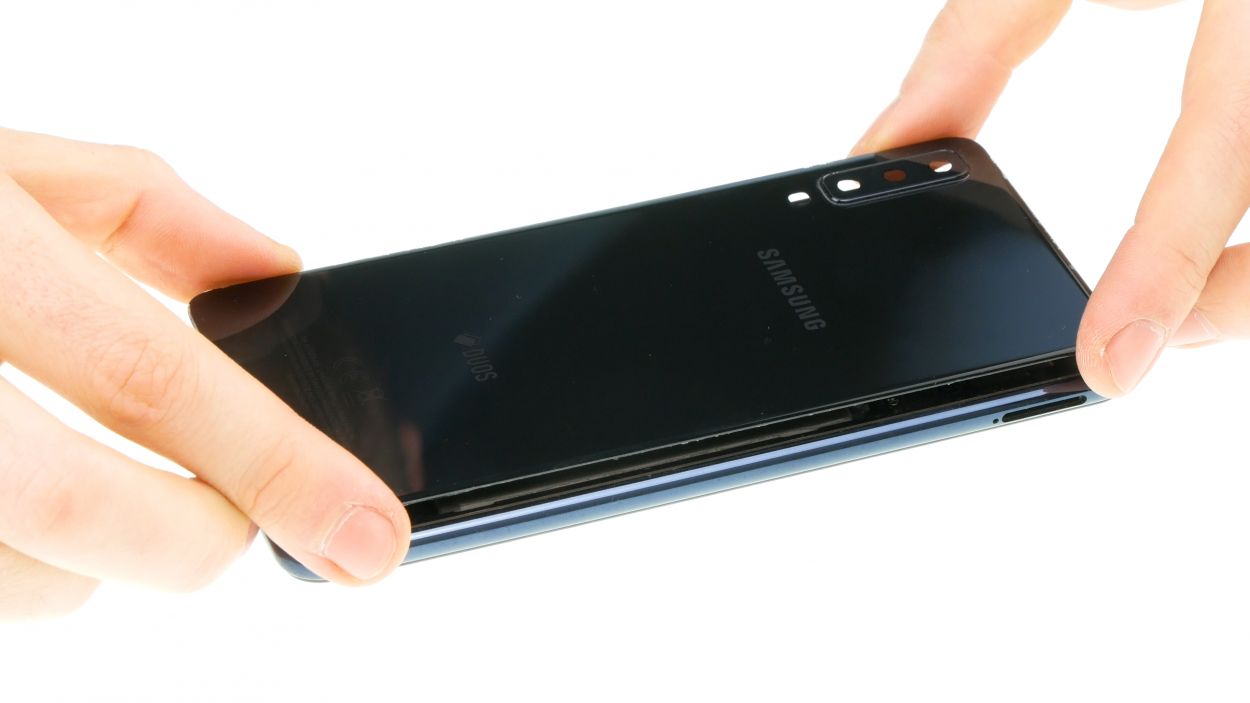
If your back cover’s already got some glue action going on, it’s time to peel away all those foils above the sticky spots. Let’s get that surface ready for some fresh adhesive magic!
– Start by giving that middle frame a good scrub and remove any leftover glue. We want it clean and ready to go!
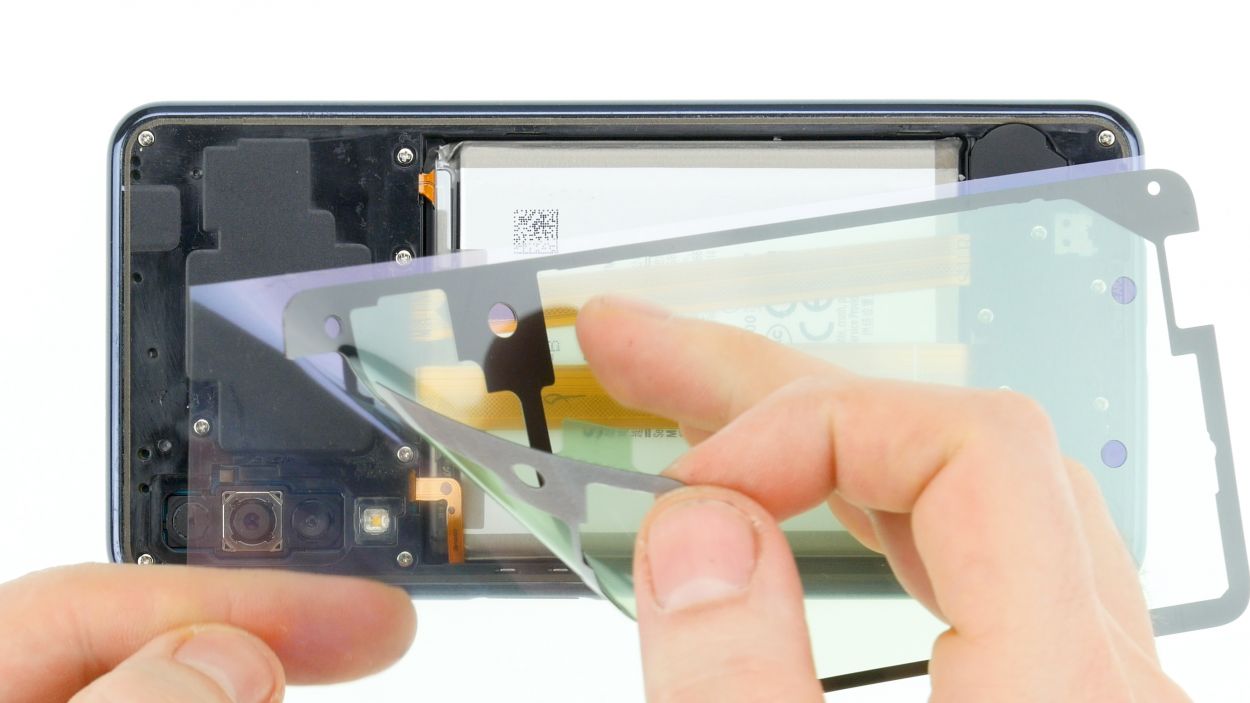
– Next up, grab your new adhesive frame and align it with the camera openings. It’s all about that perfect positioning!
– Peel off the clear protective film and gently place the adhesive frame on top. Let it glide down into the device like it’s on a smooth slide.
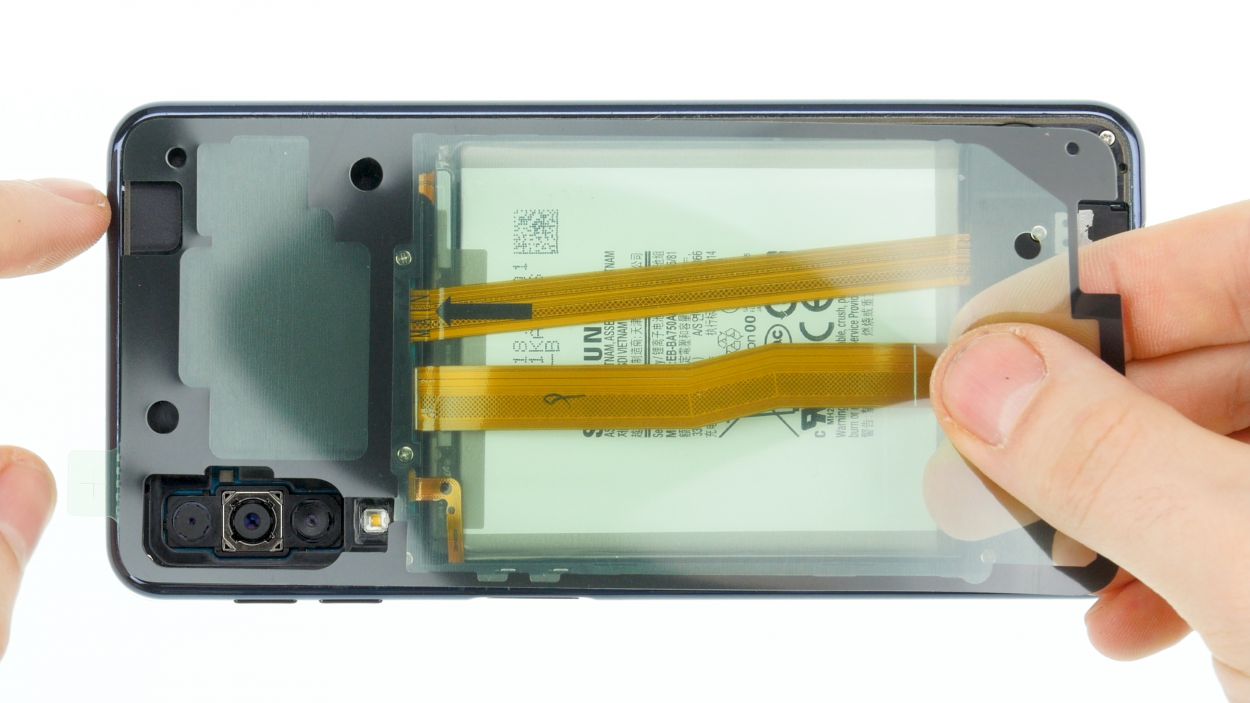
– Ensure it’s sitting nice and straight, not sticking out like it’s trying to escape the frame.
– Give that adhesive a solid press against the frame. A spudger can be your best buddy for this!
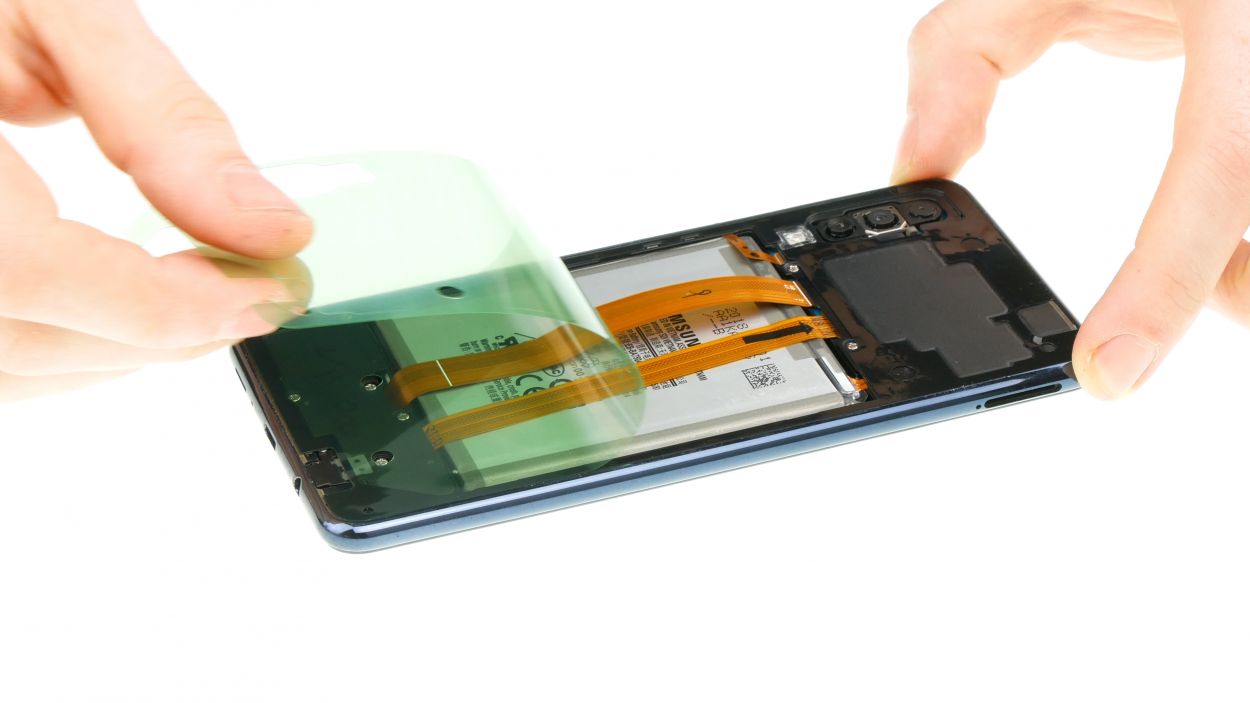
– Finally, peel off the second plastic film and check that the black glue is nice and flush all around. We’re aiming for a seamless finish!


