DIY Guide to Replace Samsung Galaxy A7 (2018) Screen
Duration: 60 min.
Steps: 13 Steps
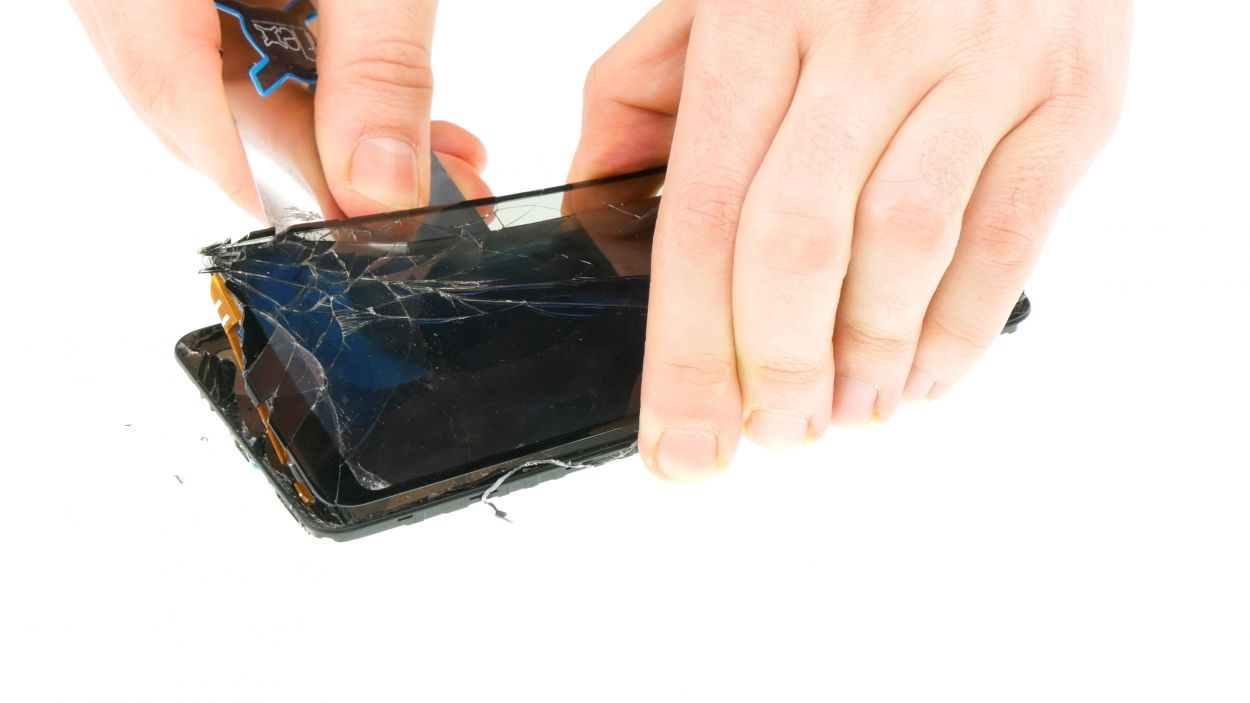
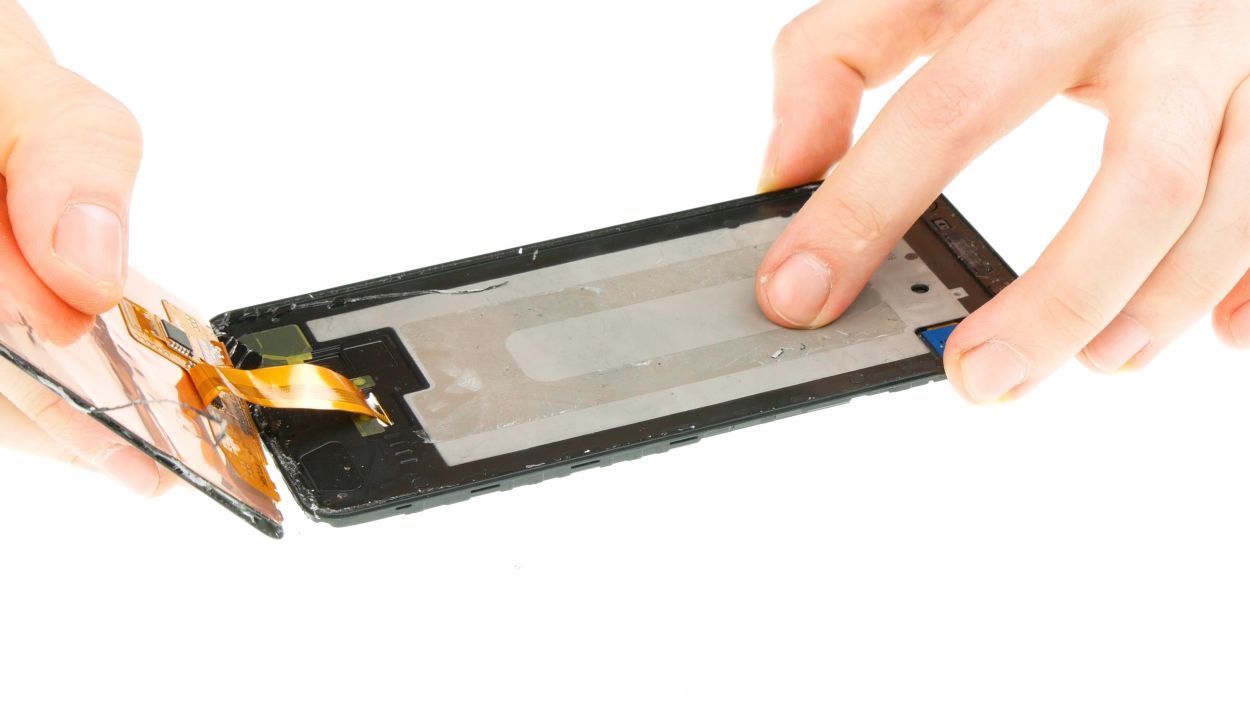
Hey there! Ready to tackle the challenge of replacing your Galaxy A7 2018 display? If your screen is cracked, the touchscreen is acting up, or the LCD is black or flickering, then it’s time for a DIY fix! Just a heads up, this repair is a bit tricky since we’ll be opening the device through the glass back cover. Don’t worry, you’ve got this! Just click the play button in the top right corner of the image to watch a video for each step. Plus, there’s a full video of the repair waiting for you at the top of this page. Let’s get started!
Step 1

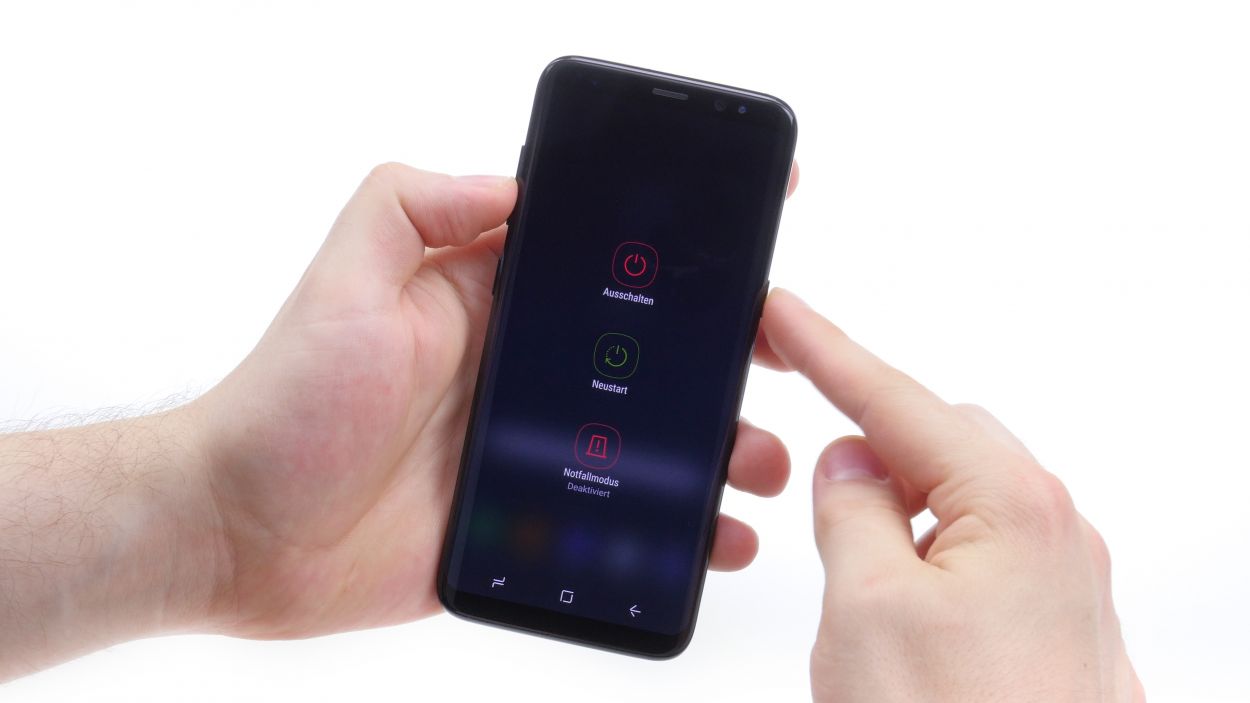
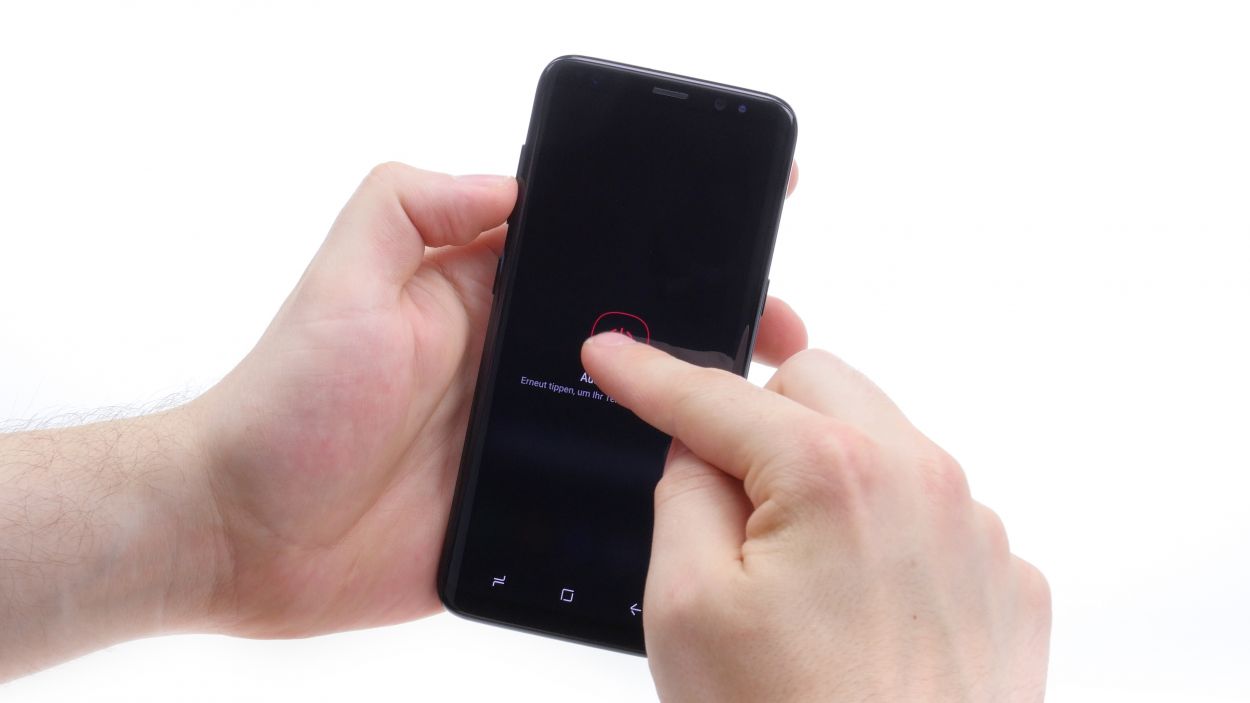
In this step, we’re showcasing a Galaxy S8, but don’t worry—powering down the Galaxy A7 is just as easy!
– Power down your device by pressing and holding the power button until the ‘Power off’ option pops up.
– Give it a tap with your finger to confirm that you’re ready to shut down your Galaxy A7 and hang tight until the screen goes dark.
Step 2

– Grab your trusty SIM tool and give that SIM tray a little nudge to pop it out of your device. Once it’s free, just use your fingers to gently pull it out completely.
Step 3
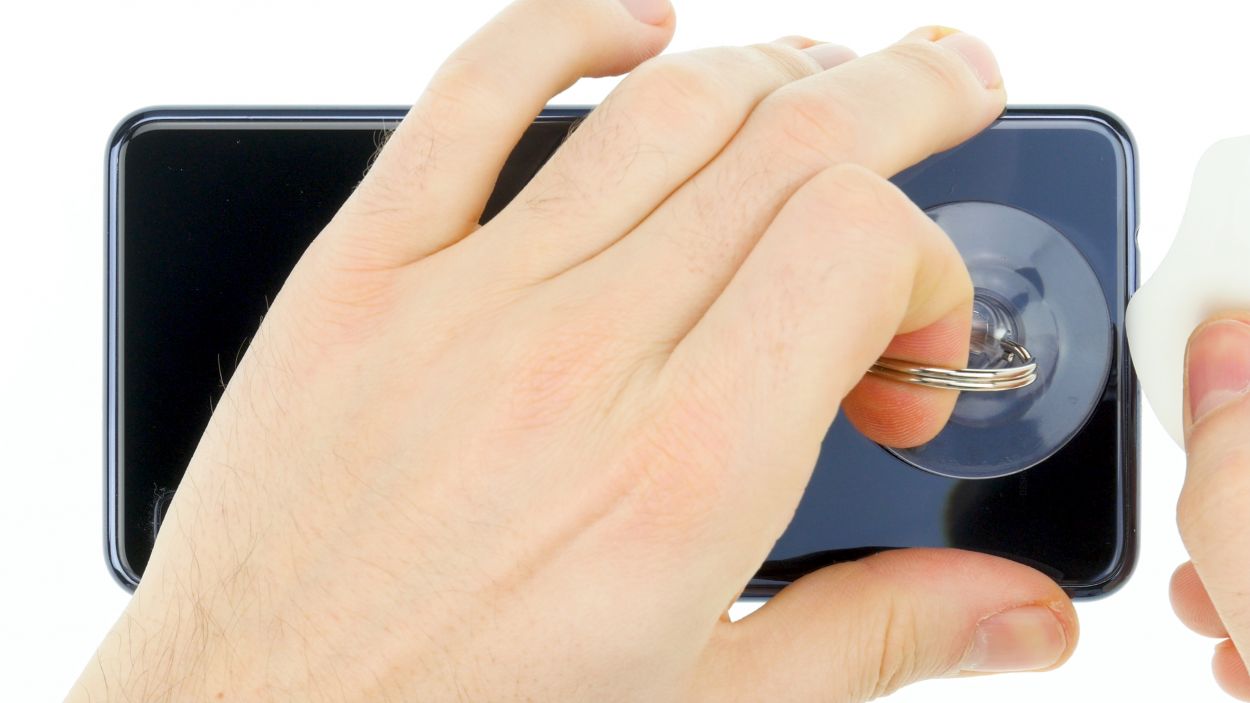
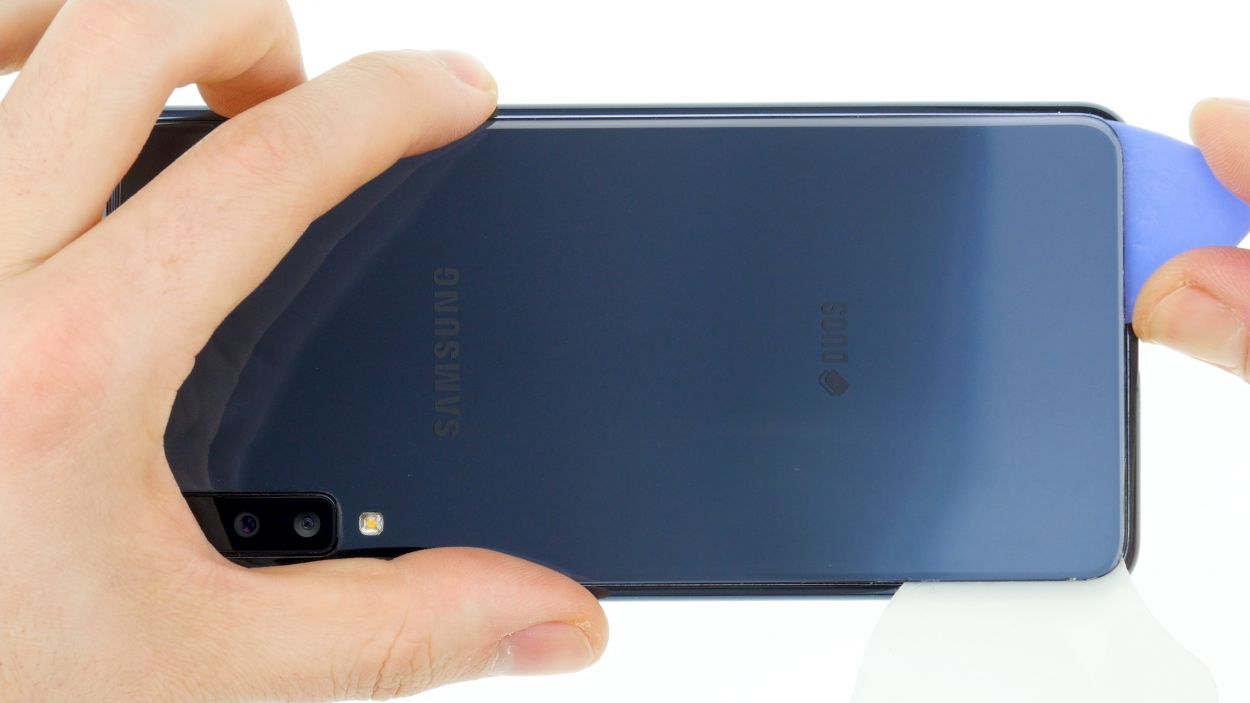
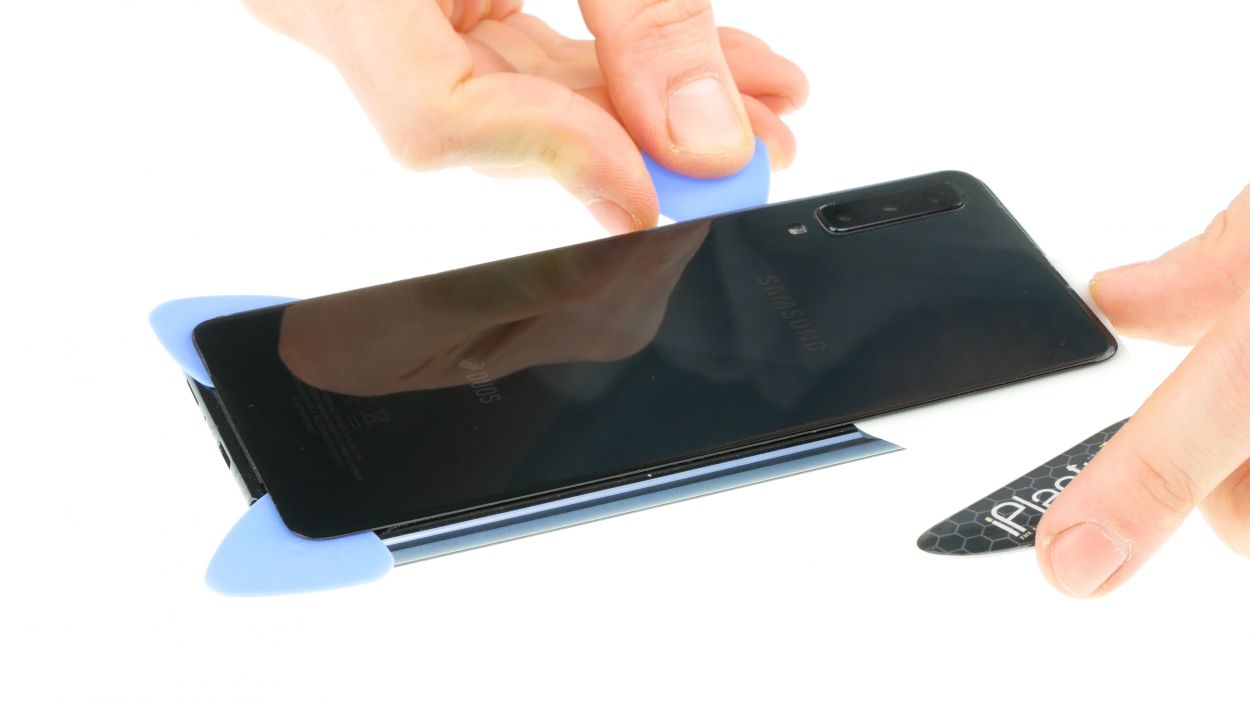
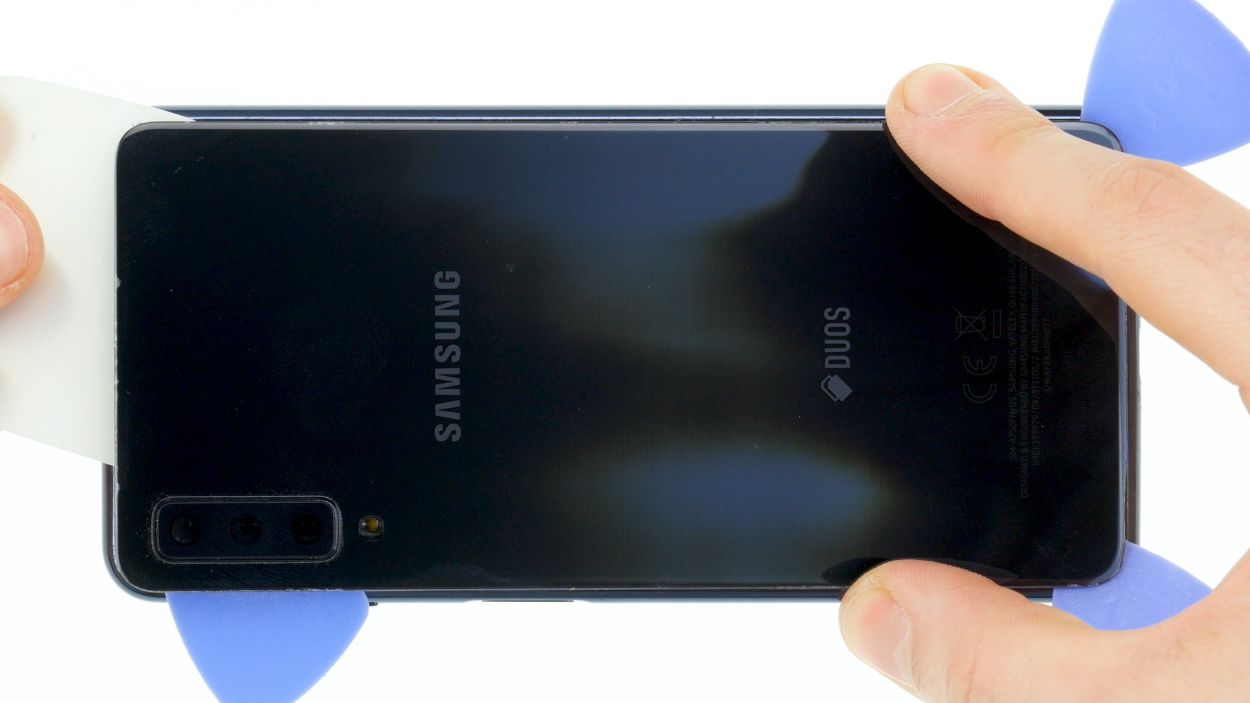

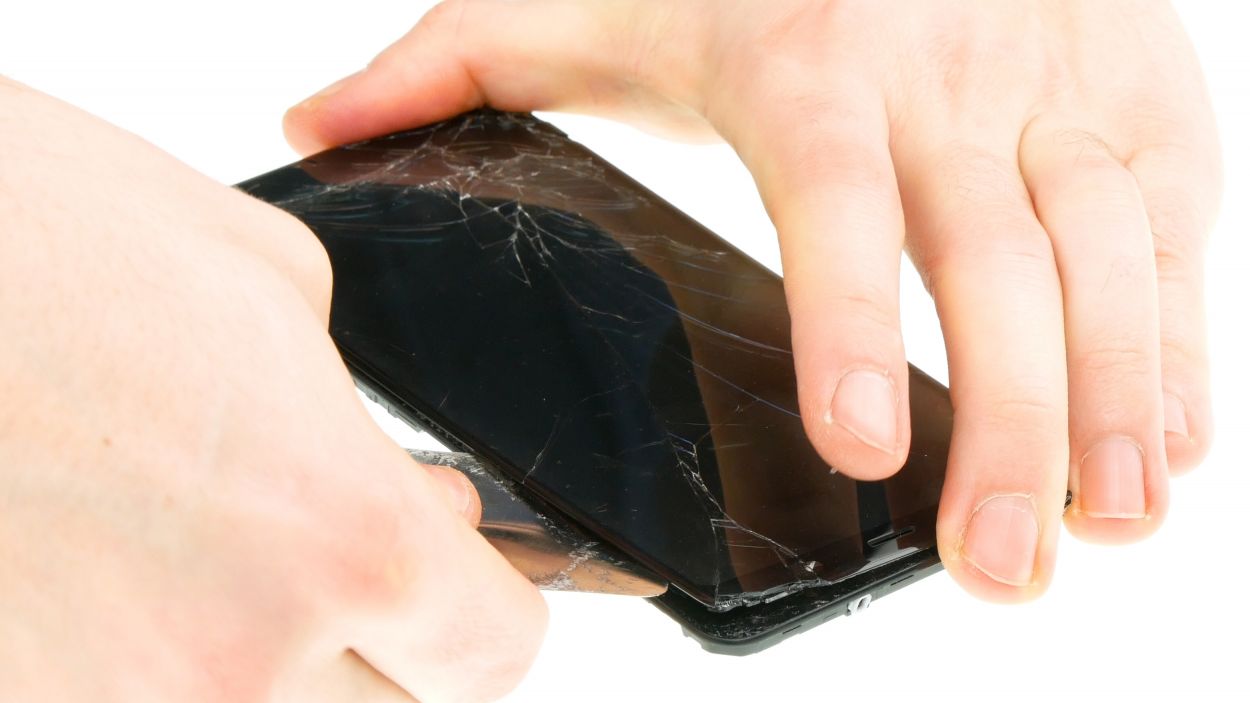
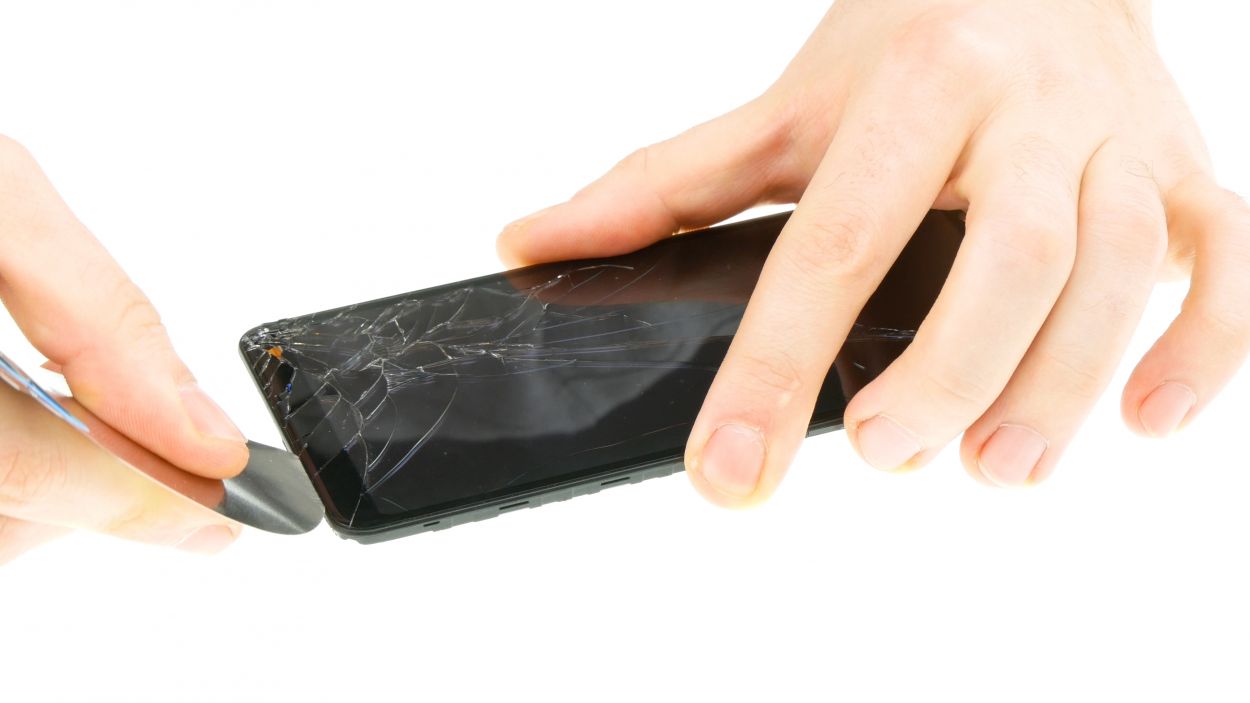
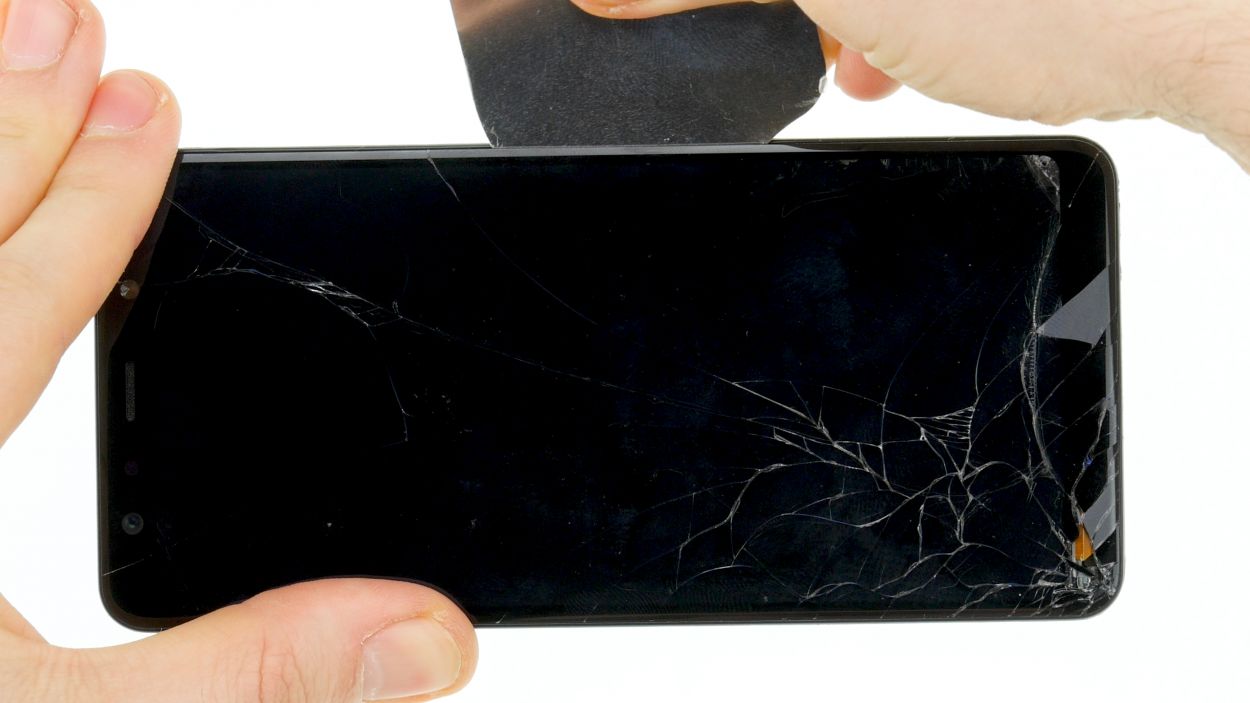
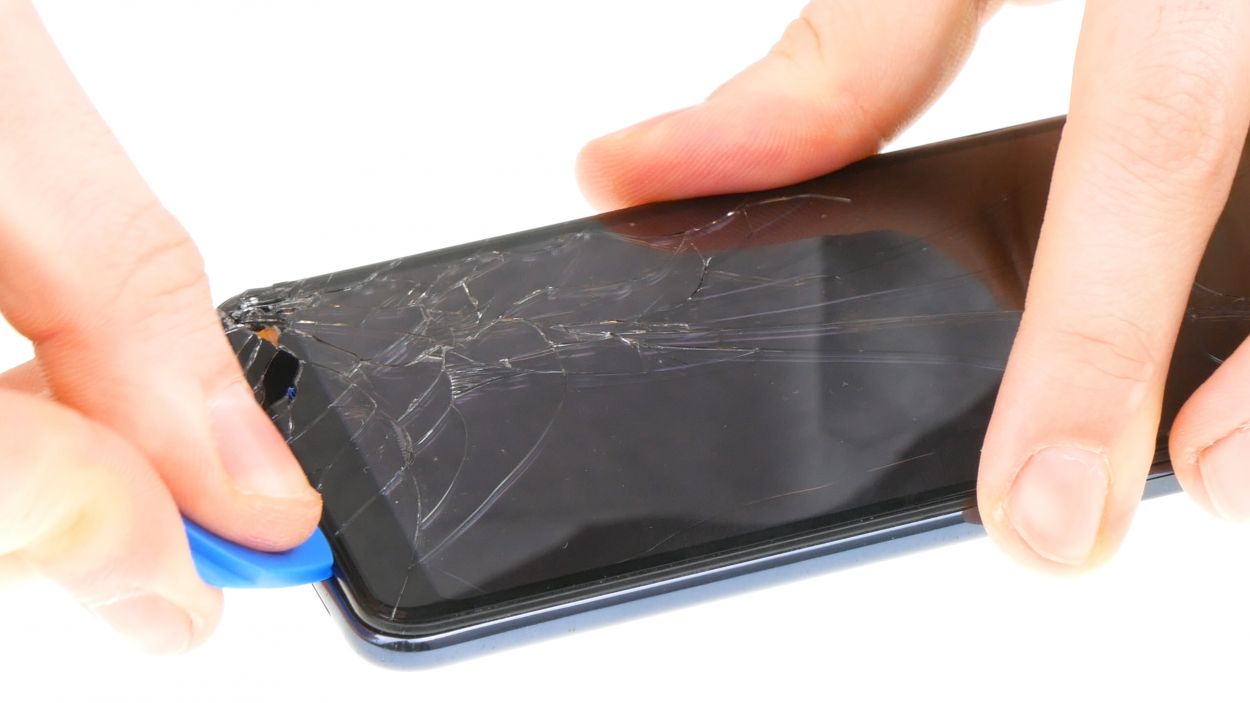
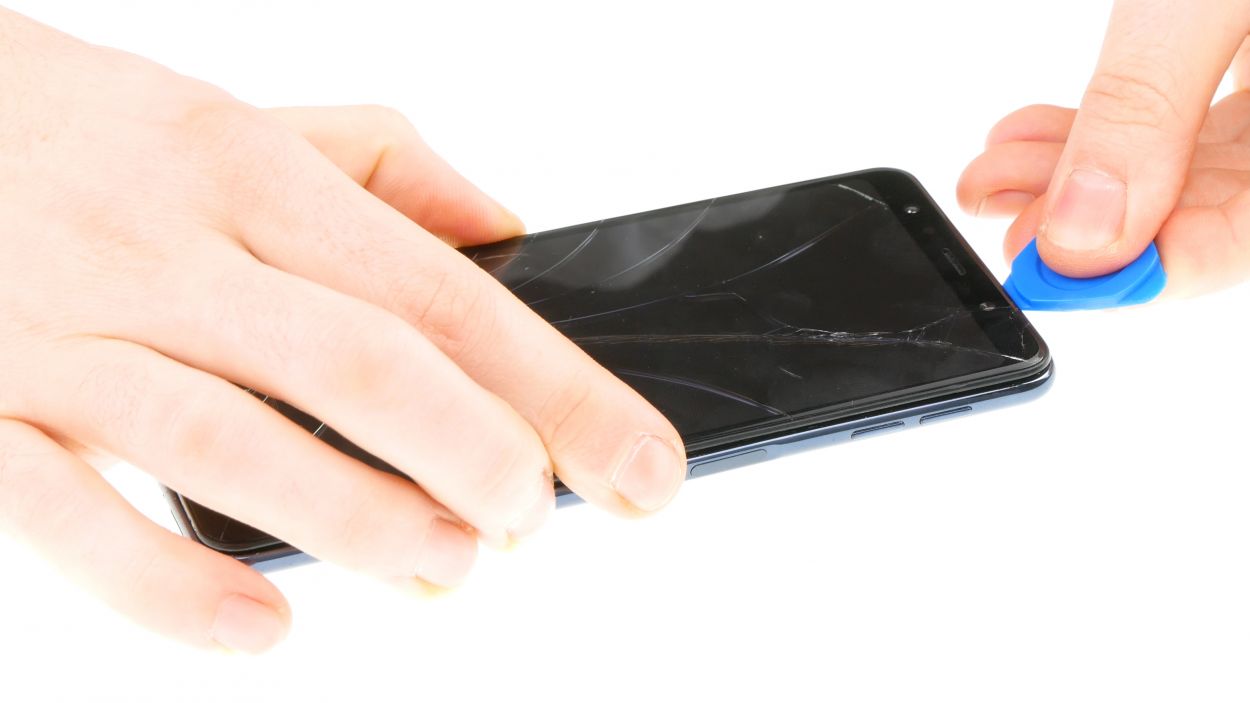
– The back cover is stuck on pretty well, so let’s give it some love! Warm up your device evenly with hot air to loosen that glue. Aim for a cozy temperature of 60 – 80°C—just warm enough to touch without burning your fingers.
– To get that back cover off, grab a flat and flexible tool like the iPlastix or iFlex. You’ll want a few picks handy to help unstick the cover all around.
– Start by heating the area where you’ll begin, then gently slide a flat tool between the back cover and the frame.
Hey there, just a friendly reminder to handle that back cover with care—it’s a bit fragile! If you’re having trouble, don’t hesitate to apply some heat a few times and give it another go. It might take a bit of time, so be patient and take your time to ensure everything stays in one piece!
The iPlastix is crafted from plastic, which means it won’t leave any scratches on your device. However, it’s a bit on the soft side and can be a little tricky to slide in.
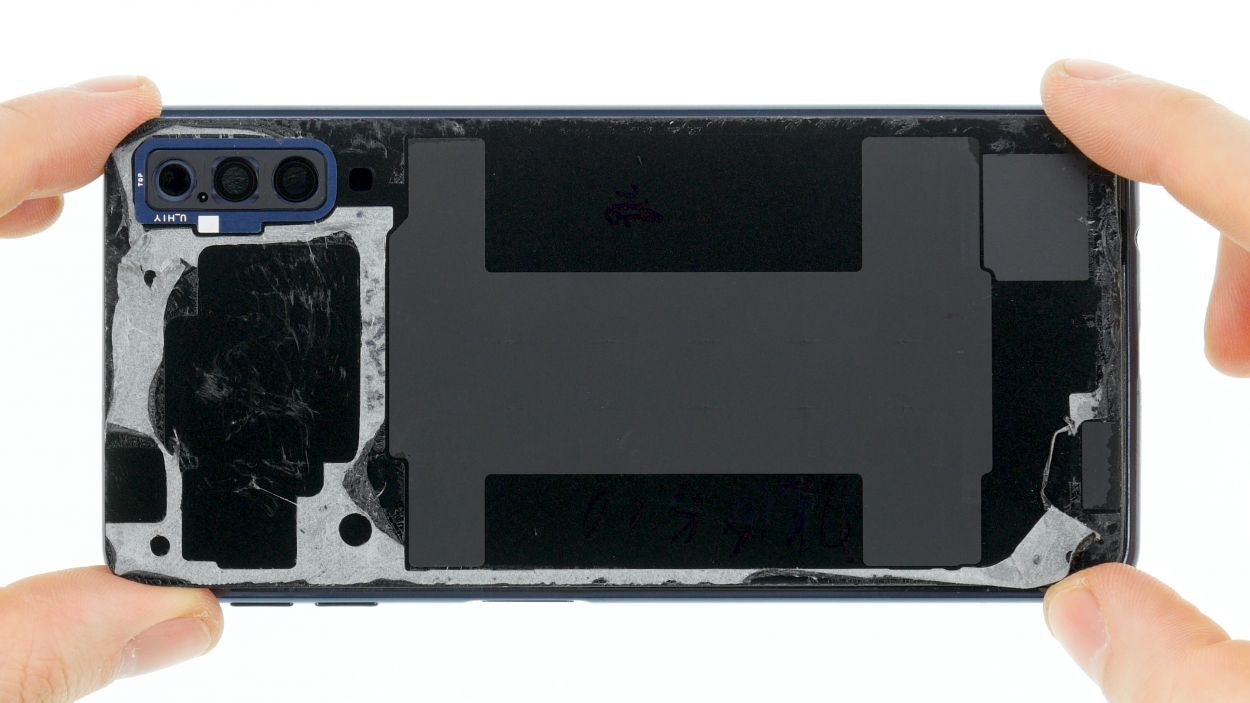
Step 4

15 × 4,0 mm Phillips
Keep an eye out for screws that might be hiding under some sticky adhesive. They can be a bit sneaky!
– First, let’s get those Phillips screws loosened up! You’ll find them hanging out all over the device, just waiting for a little attention.
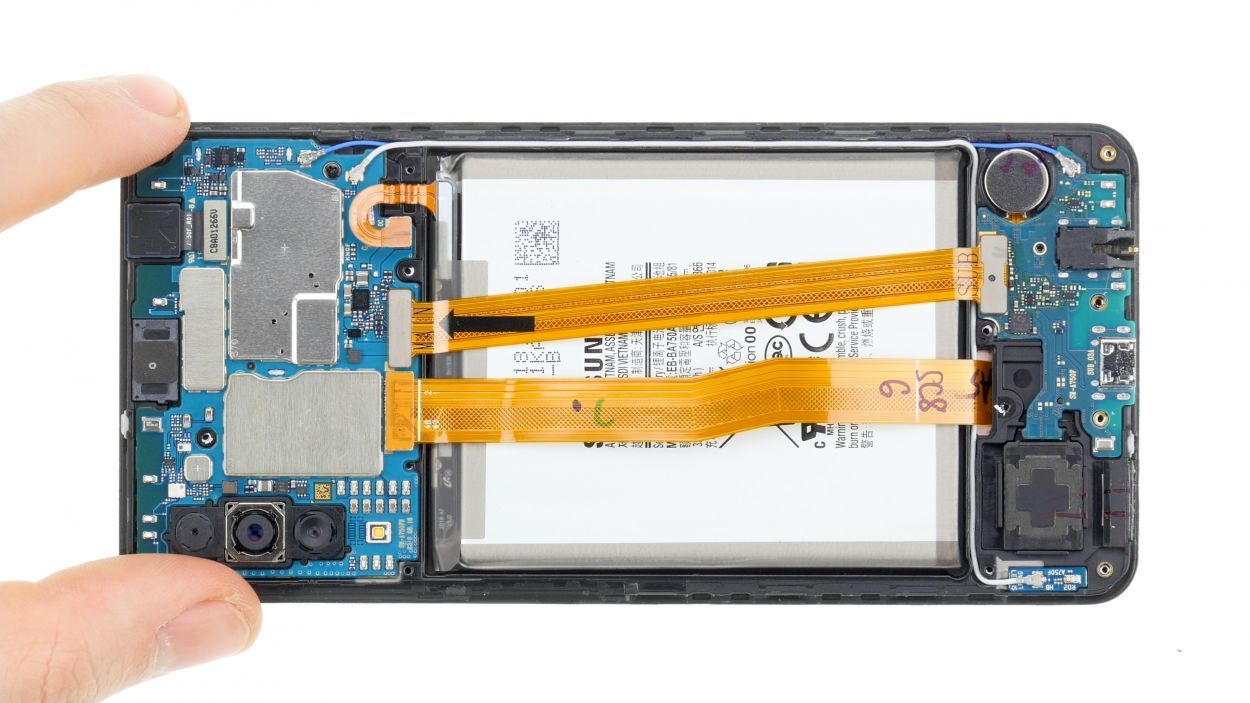
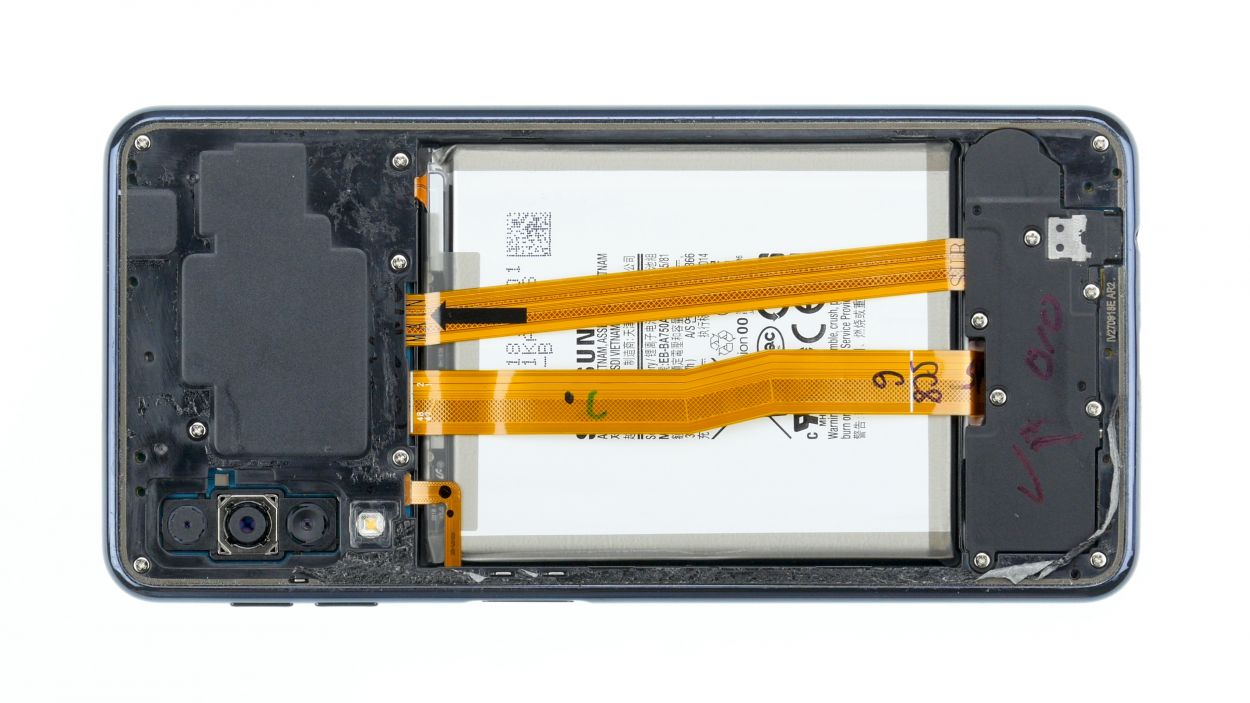
Step 5
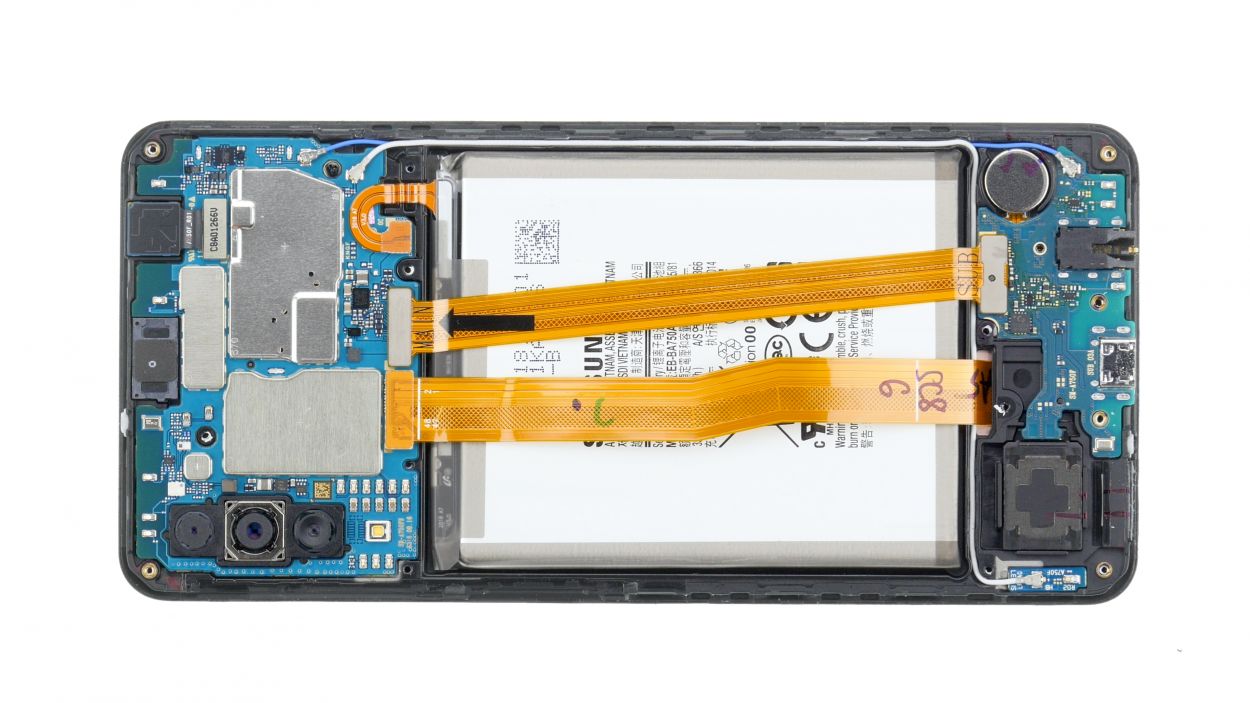
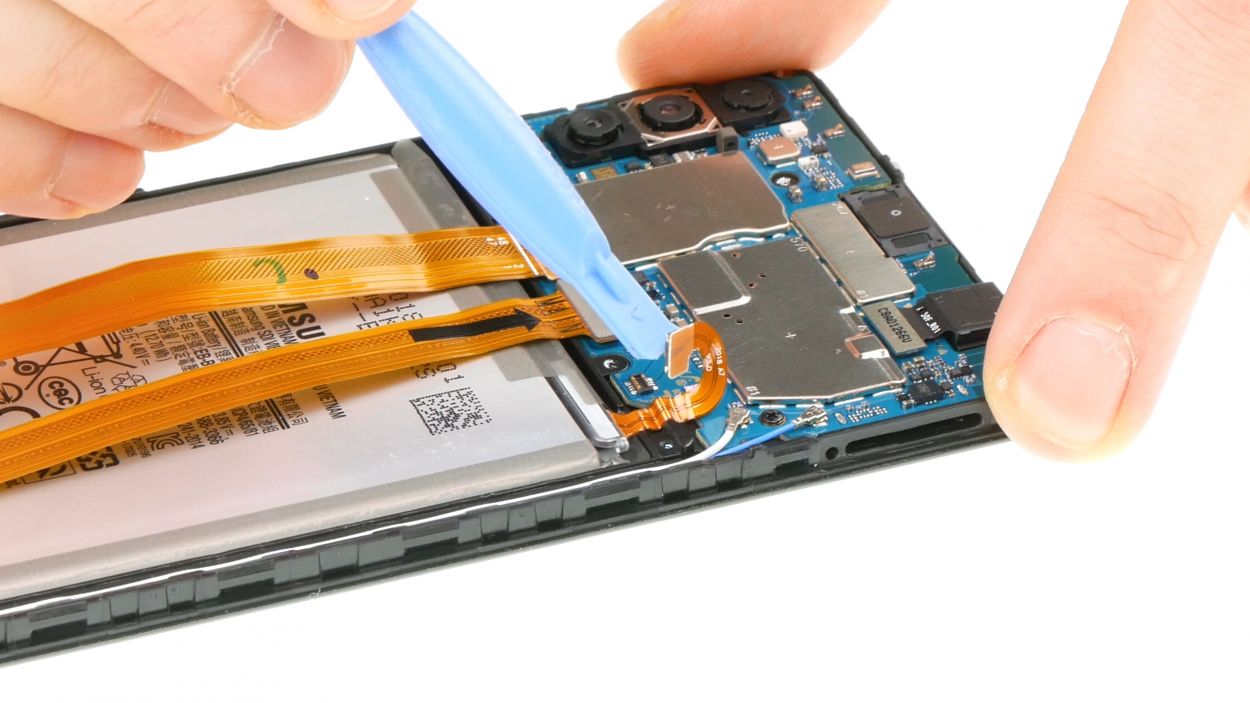
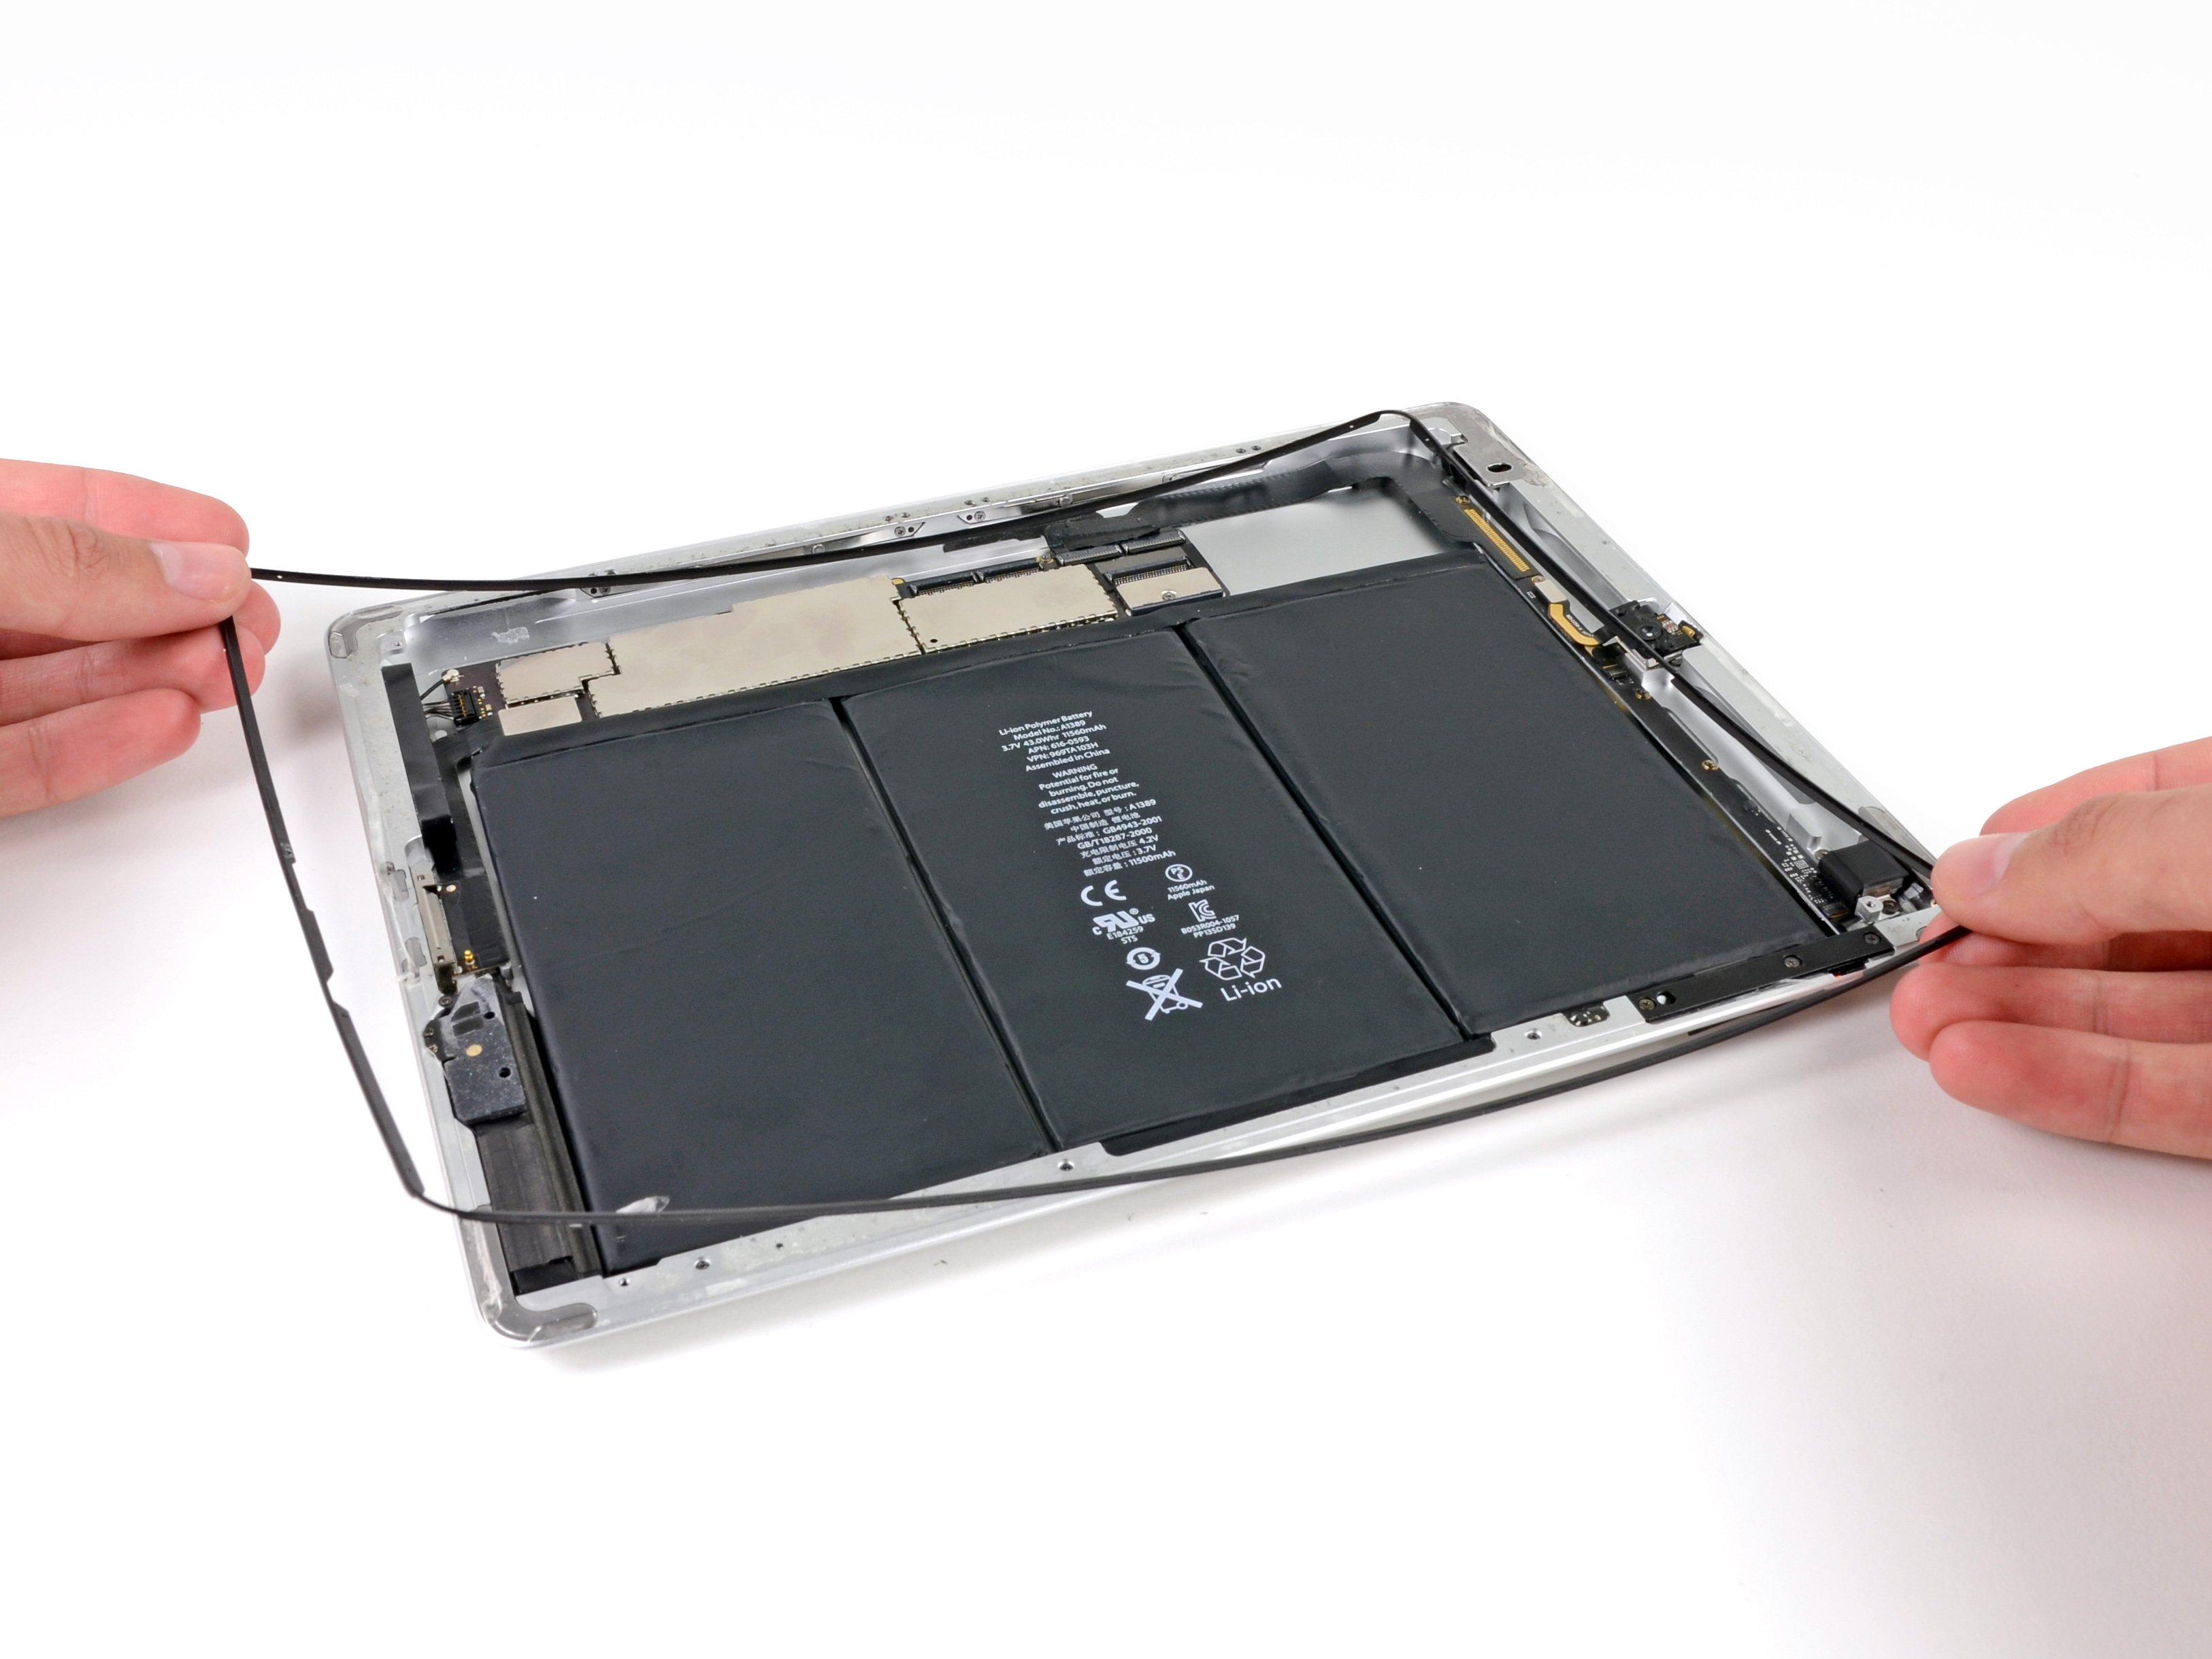
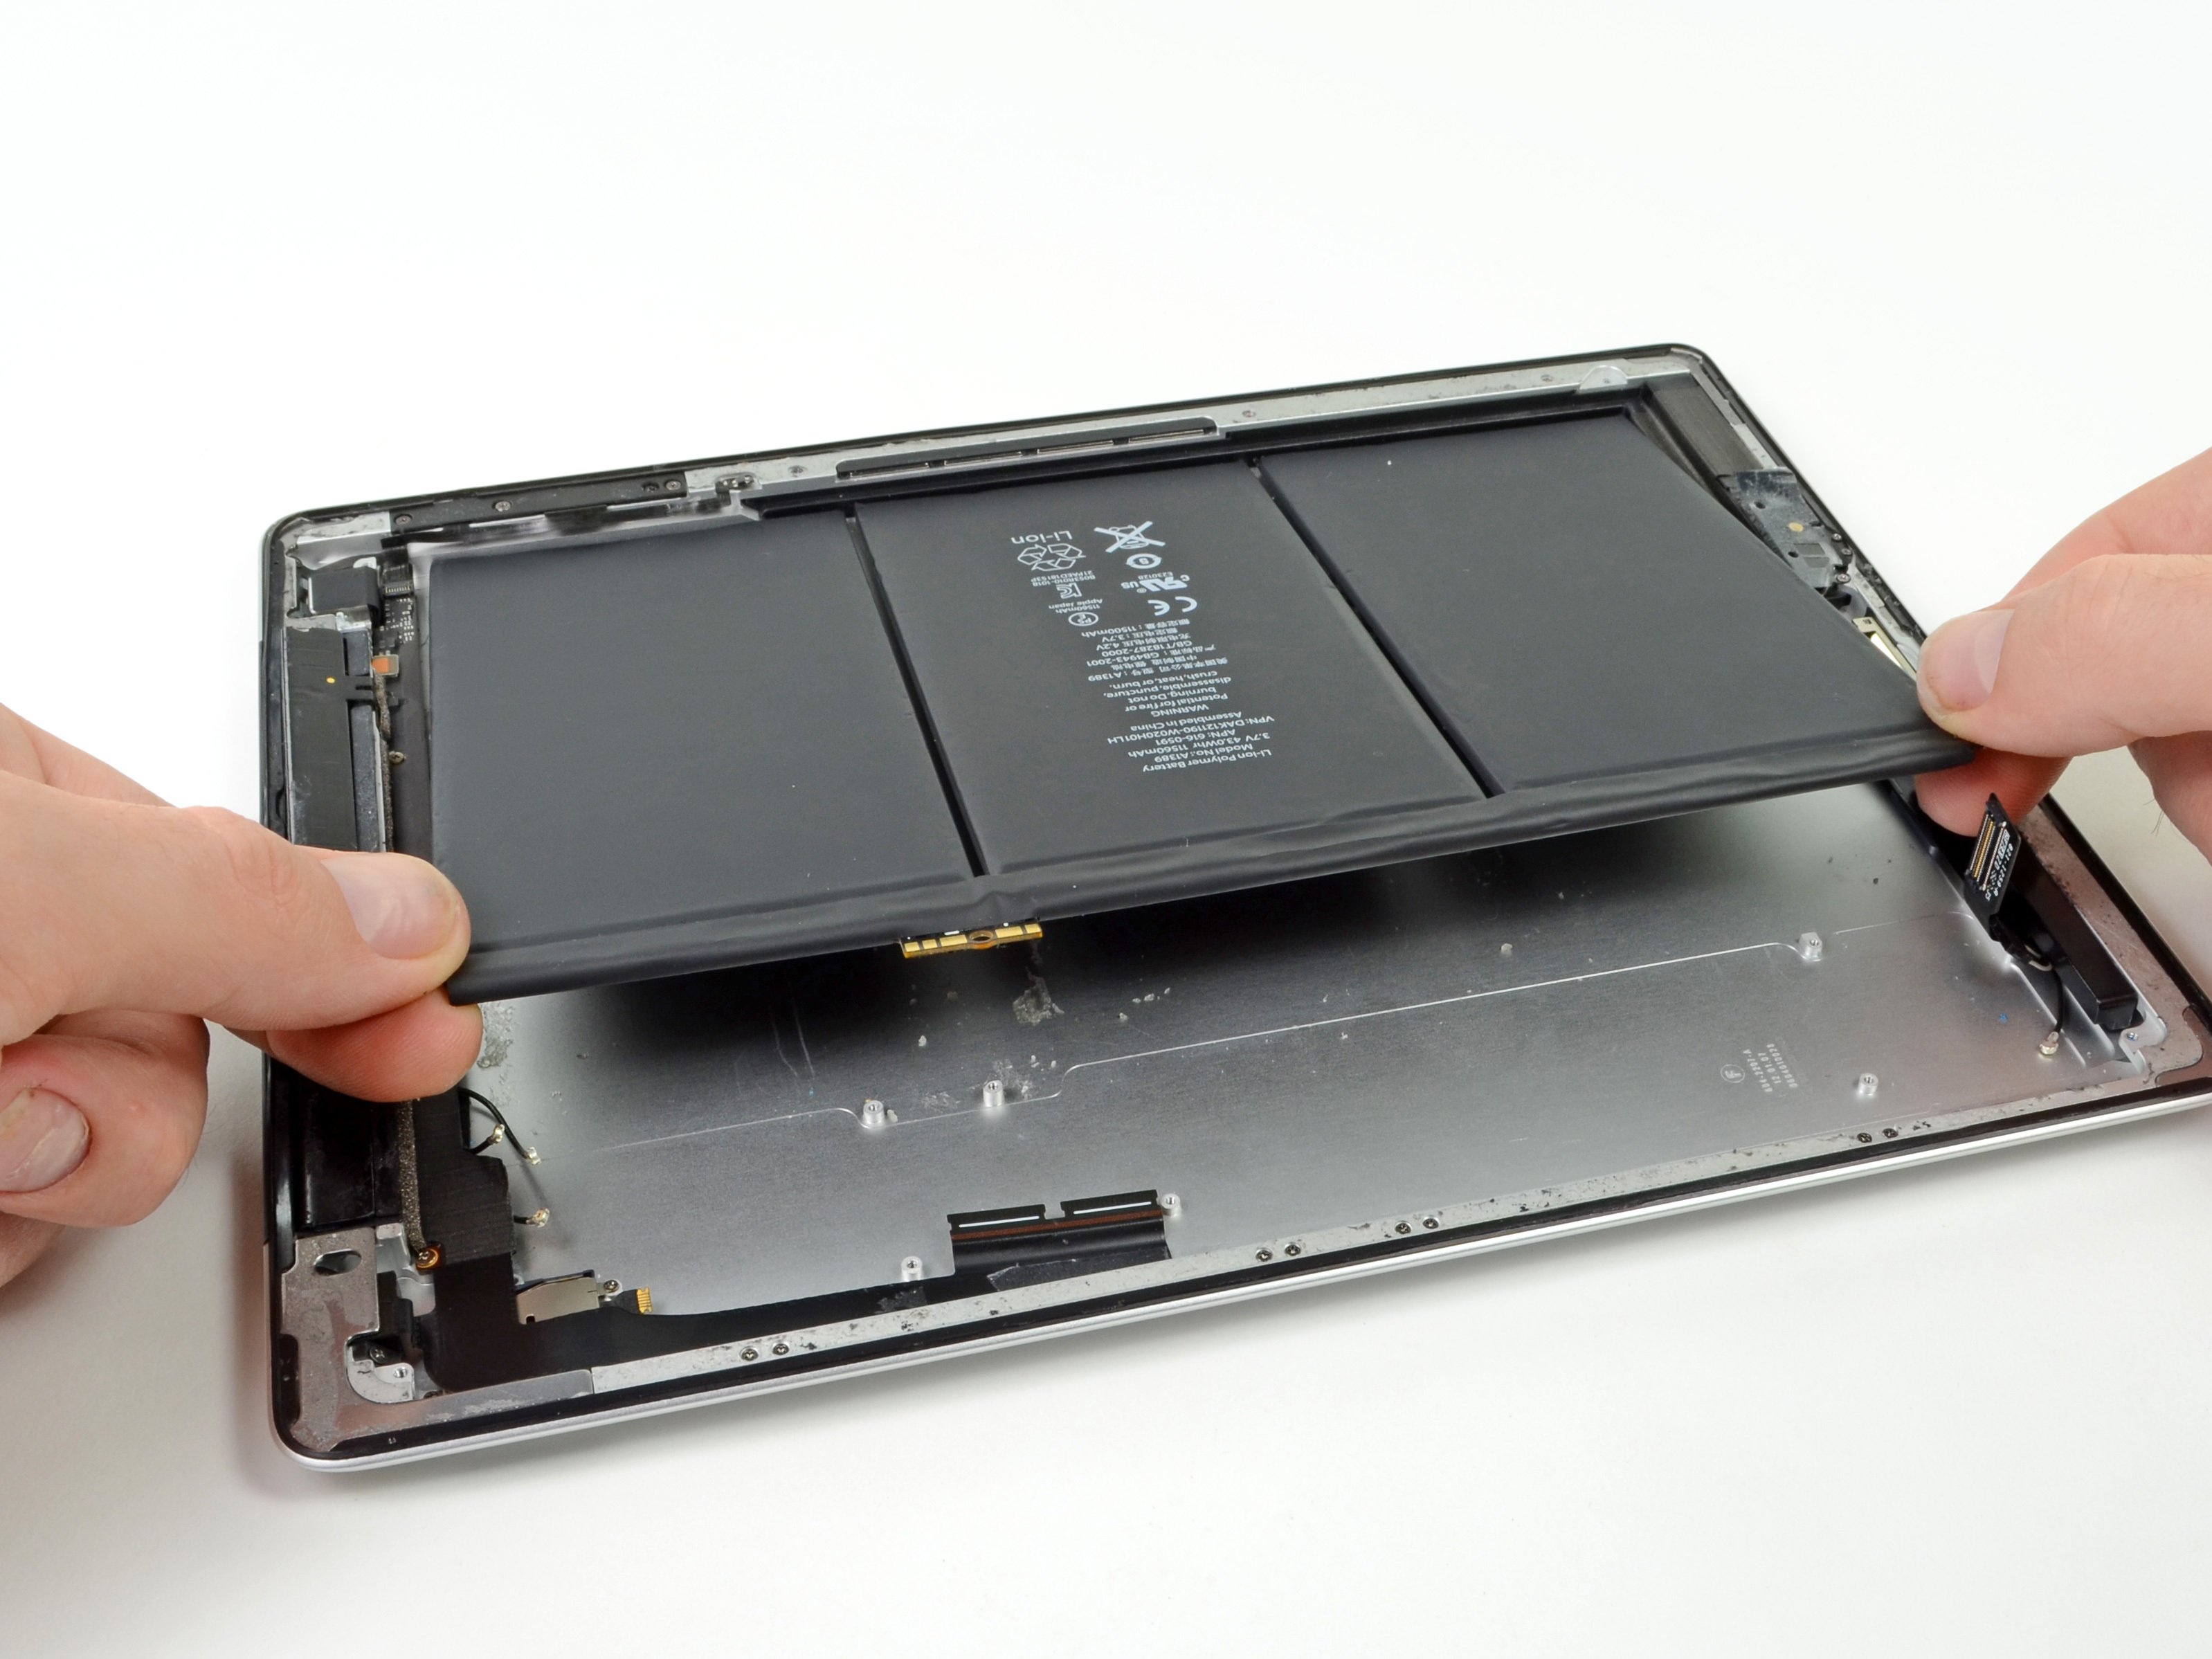
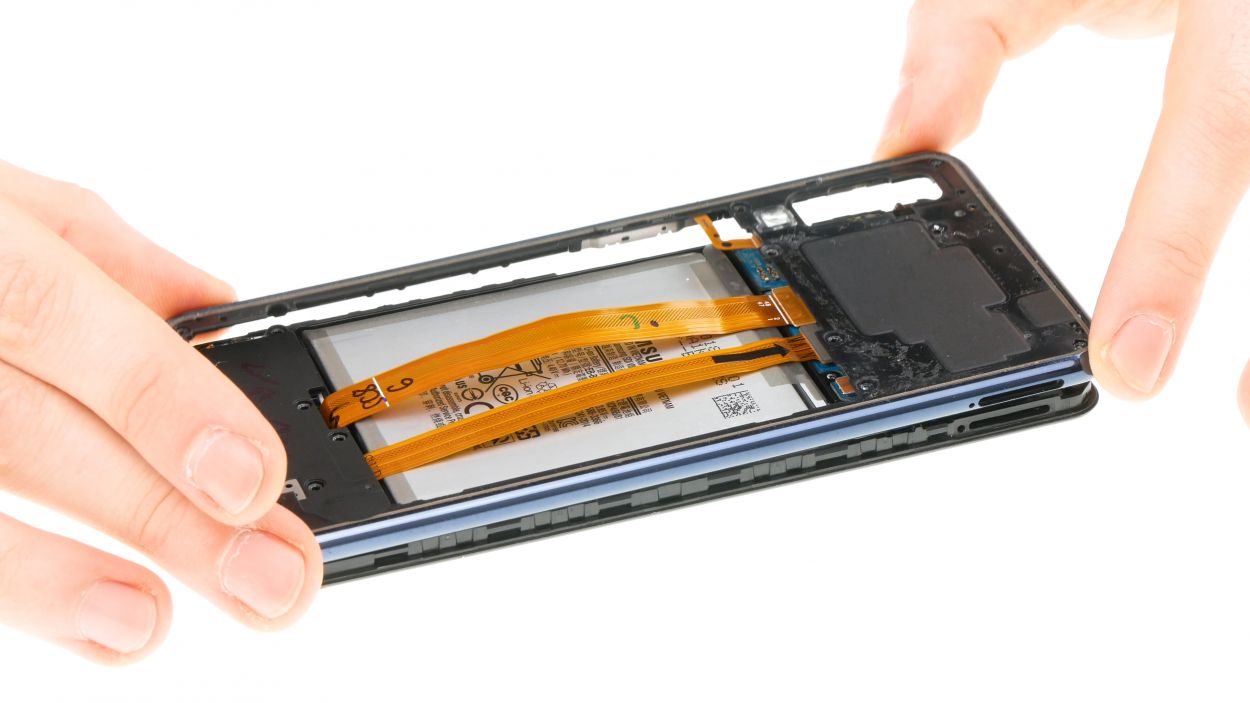
Battery connector
When you’re working on the motherboard, make sure to lever from a side that’s free of tiny components. This little trick helps you dodge any accidental mishaps with capacitors or ICs. Keep it smooth and safe!
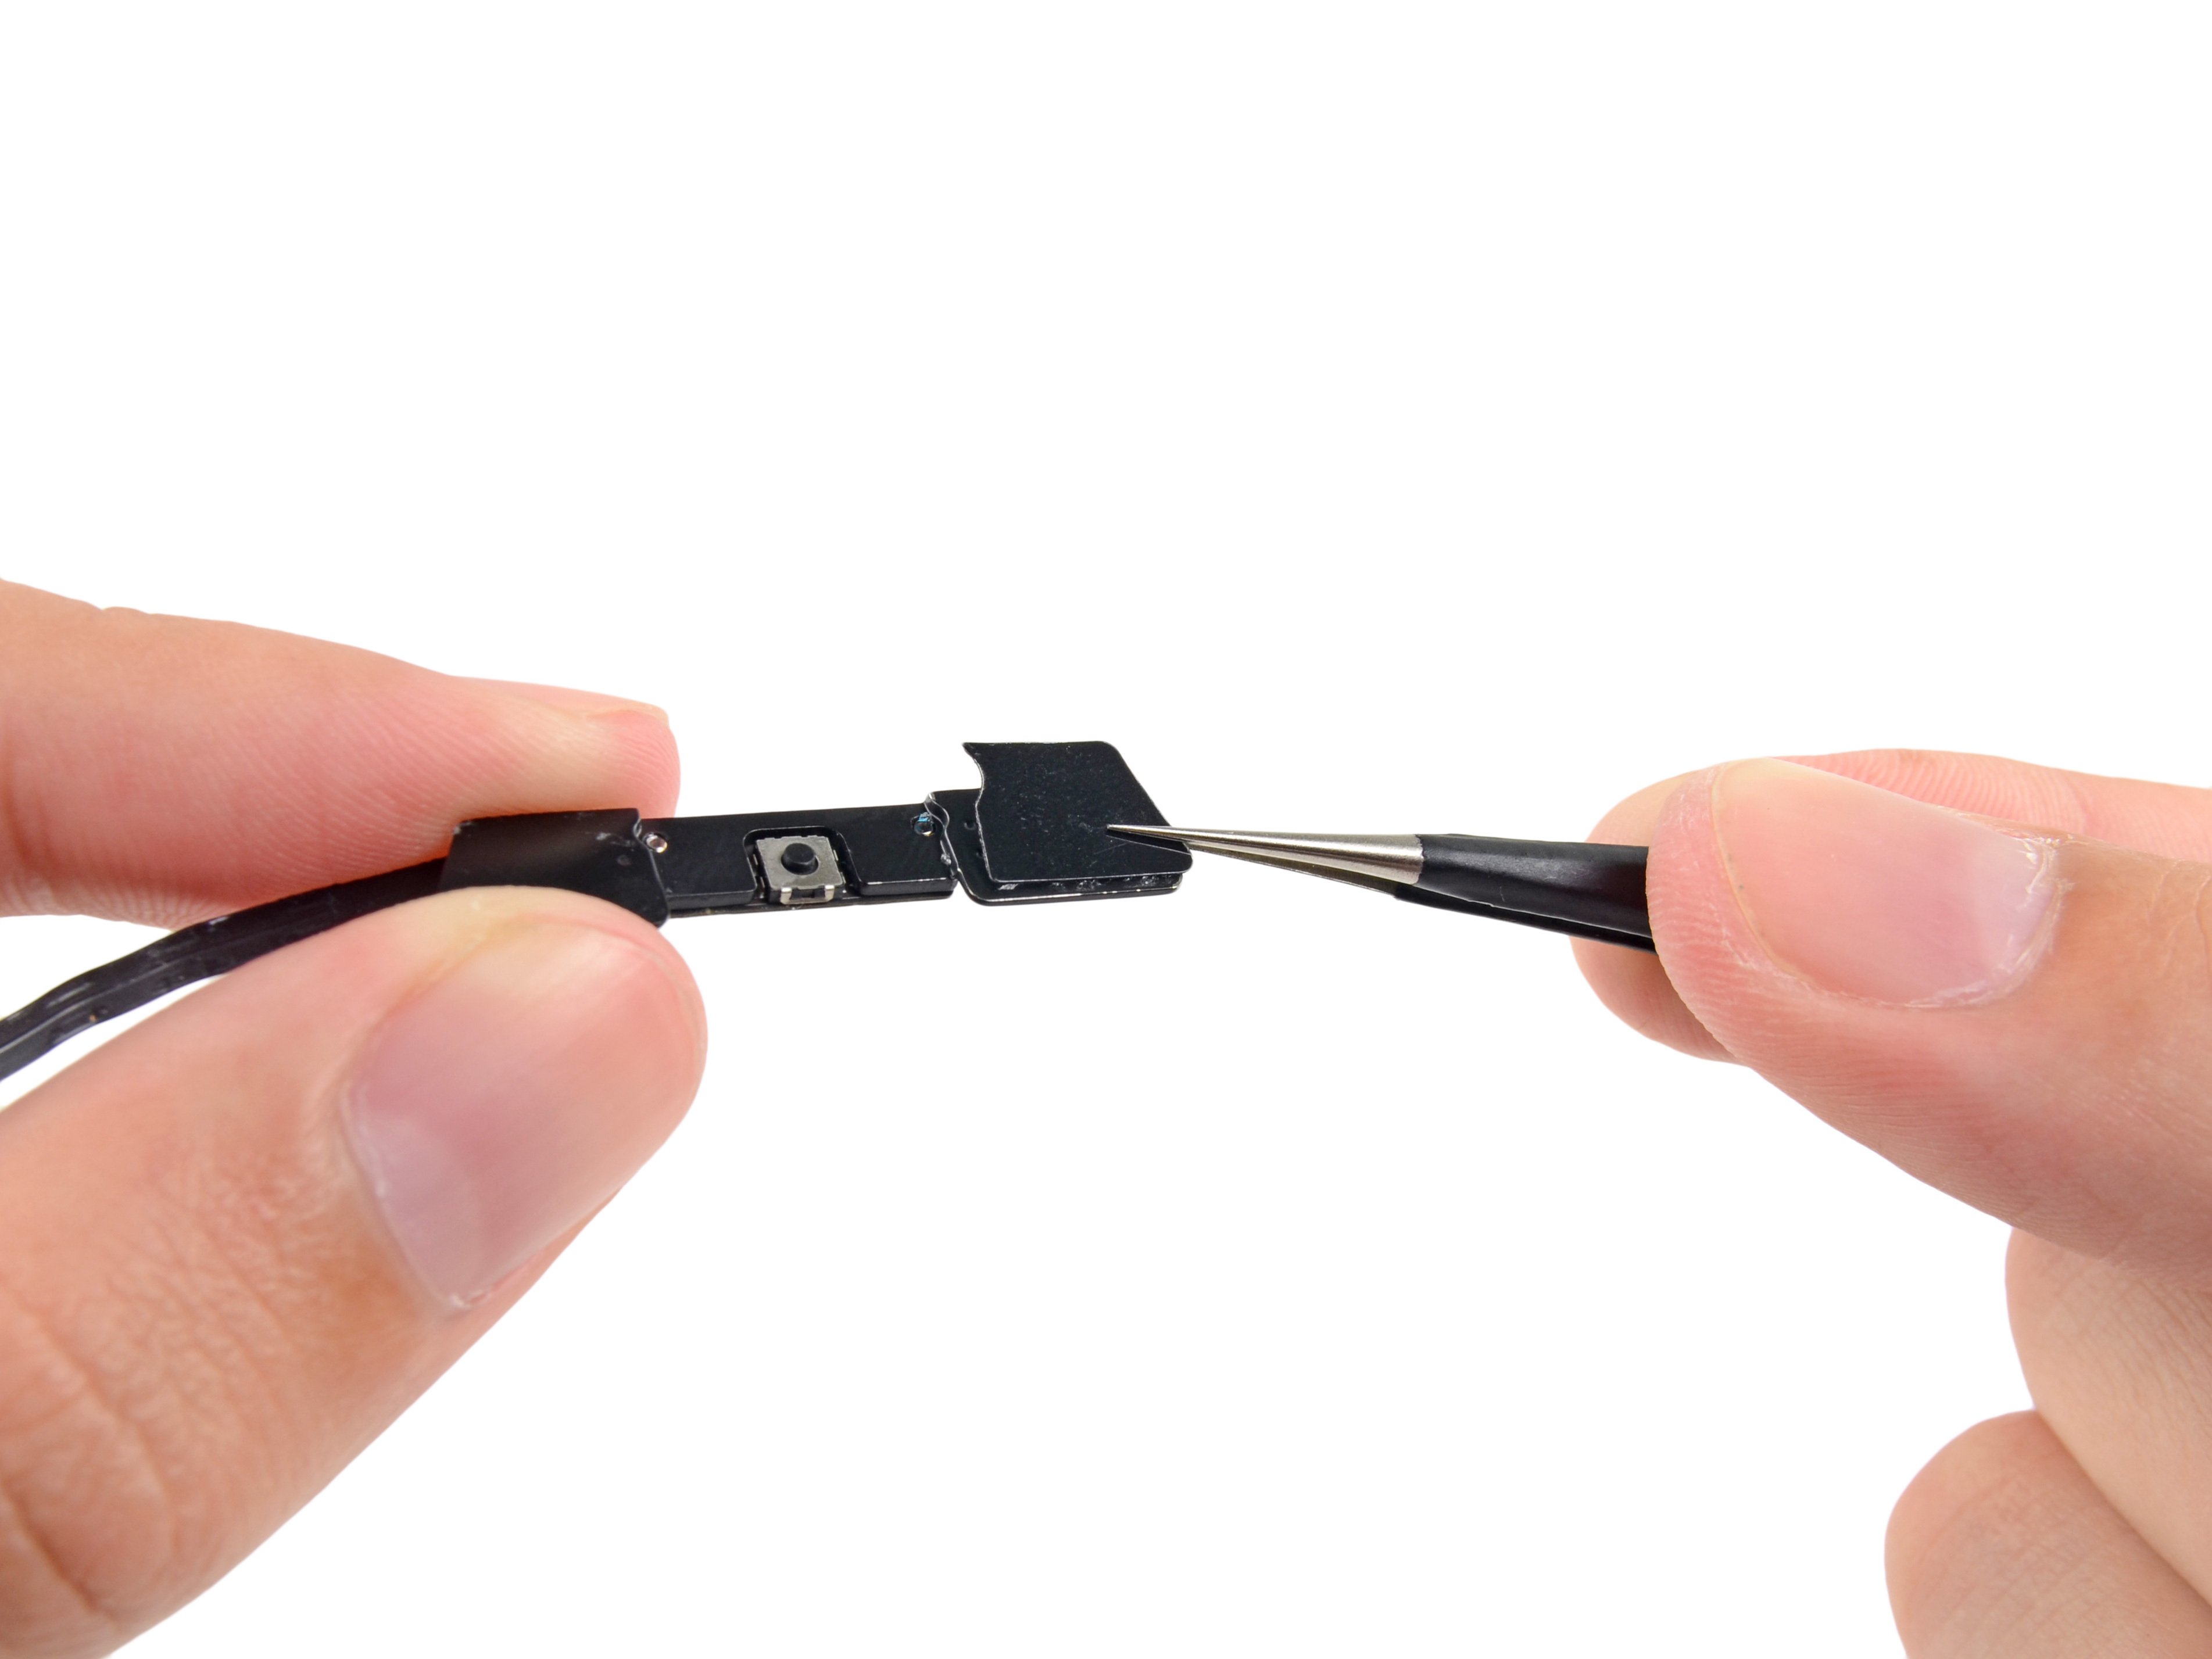
– With your trusty spudger in hand, gently disconnect that battery contact from the motherboard. You got this—just be careful and take your time!